Showing posts with label Chair. Show all posts

Sunday, April 01, 2018

Changes... And One Last Upholstery Project

It's been a little while since I posted here, and I thought I should catch everyone up with what's been happening in my life lately. It's nothing earth-shattering or tragic, so there's no need to worry, but there has been one major life change that I wanted to share with my readers. The change has to do with my job/work situation, but ultimately it will affect the home renovations as well... for the better!

As most of you know, I've been working at an upholstery shop for the past 4-5 years. As of Jan 1st, however, I no longer work there. I don't want to go into too many details or in to too much of the drama that lead up to this, but ultimately it was not an amicable break-up on my employer's part, and I was left pretty sad about how everything boiled down. The primary reason I was dismissed was that the minimum wage was set increased to 14$/hour in Ontario, and my boss was not willing to pay me this new rate. I had been working for the past few years "by contract" (a fixed price on a "per project" basis) but the new minimum wage would have required him to still cover the new minimum wage based on hours worked, which he did not want to do. That was ultimately his choice, and I respect that, but some of what happened afterwards was completely uncalled for.

Anyhow, in late December, after I raised my concerns about the new minimum wage increase, he asked me to call him after the holidays to let him know what I wanted to do for 2018. I called him on Jan 2nd, and he expressed once more that he did not want to pay the extra hourly difference, which was what I had expected to hear. A few days later I received my unemployment papers in the mail from him. Up to this point, I thought everything was fine between us.

By chance, maybe 2 weeks after this, I heard that they were hiring where my dad works, so he put in a reference for me and after several interviews I got in! However, on the last week just before I would be starting, I still had to complete my 'back check' and there was a conflict with my last employer because I said on my application that I was dismissed, and he was saying that I quit. He refused to provide a release letter, and they had to call him directly. Apparently he was not very cooperative with the recruiter, and he made some derogatory remarks about me. Without mentioning what was said, I'll just say that I was shocked. Especially since it was coming from a man who was saying a few months earlier that he'd want to sell me the business when he retires. Lucky for me, because of the way my unemployment papers were filled out with an "A Code" (which means that there was either a shortage of work, an end of contract, or a termination), my recruiter believed my side of the story. I really don't know what I did to upset my former boss enough that he would try to sabotage a potential job offer. I would have been happy to keep sending him clients, and promote his business, but now I'm just left with an awful feeling about how I was treated and I just want to put it all behind me.

On with the good news! So what's this new job? Well, it's quite a departure for me, since it's in a completely different field and it's unlike anything I've ever done so far, but I think I will like it. It's customer service for a bank at a call centre. The call centre is just a few blocks away from my house, the pay is more than double what I made the past few years, and it comes with benefits, a pension, employee perks (free bank account, lower rates on products and other special perks), an annual bonus, and the people there are just wonderful. I'm currently on week 7 of 10 for the training (which is INCREDIBLY INTENSE), and it's going well. I've been on the phone for 2 weeks out of the 7 so far, and most of our clients are actually really nice and pleasant to talk to.

So yeah, a better job, paying a much better salary, will mean that I'll be able to afford more materials and supplies for home renovations! I might even be able to finally get a car. And maybe even a cell phone! (Yeah I'm one of those rare people who does NOT own a cell phone).

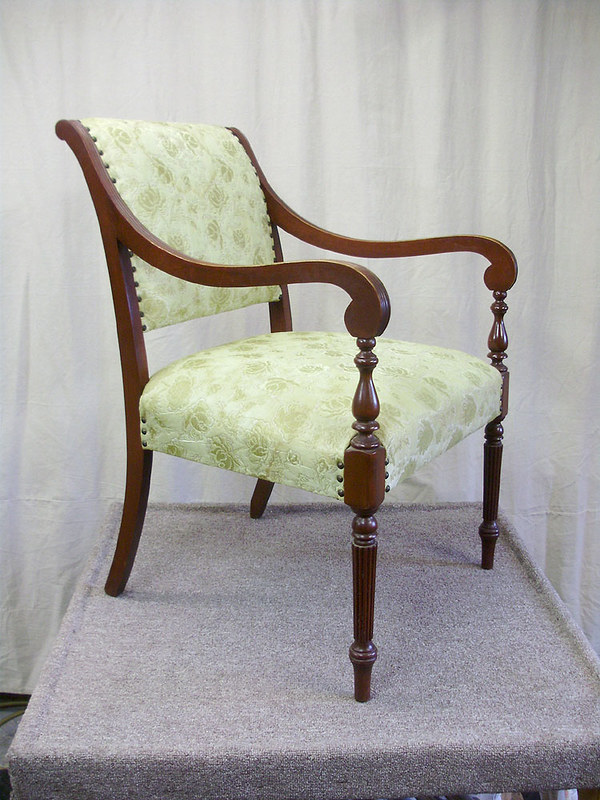
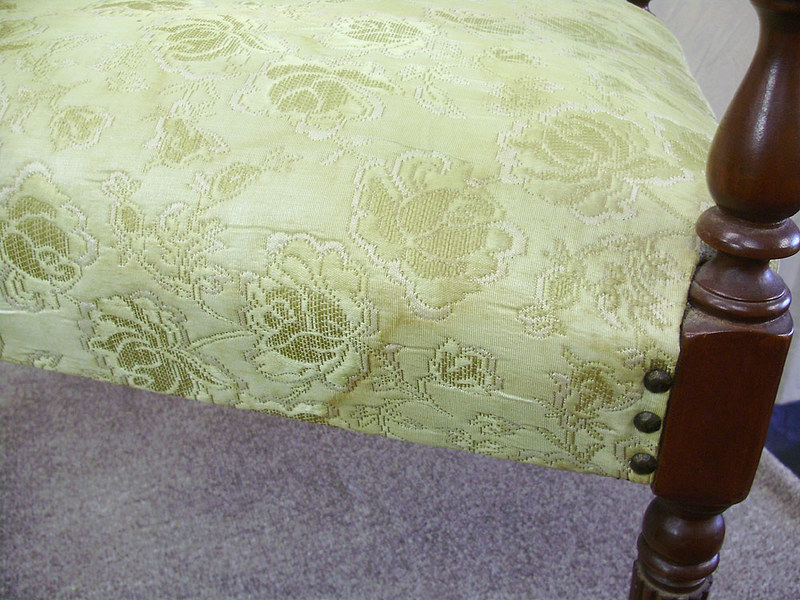
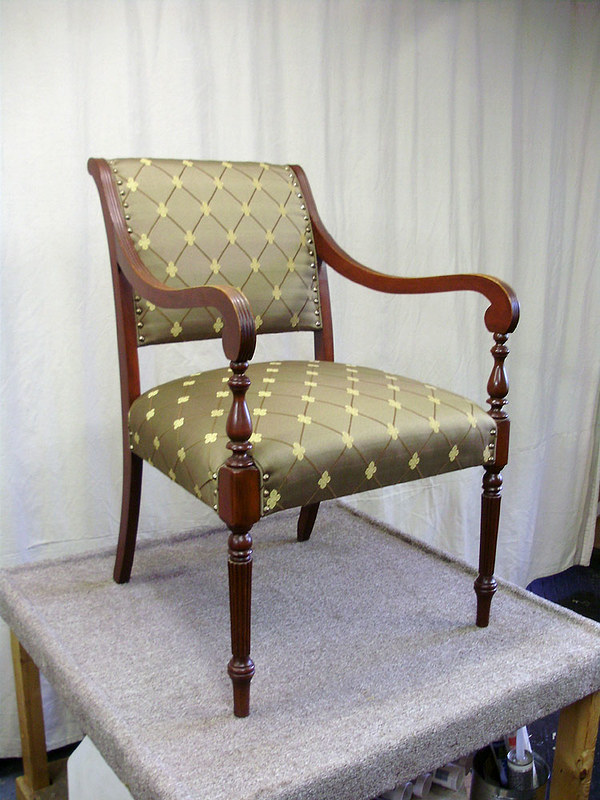
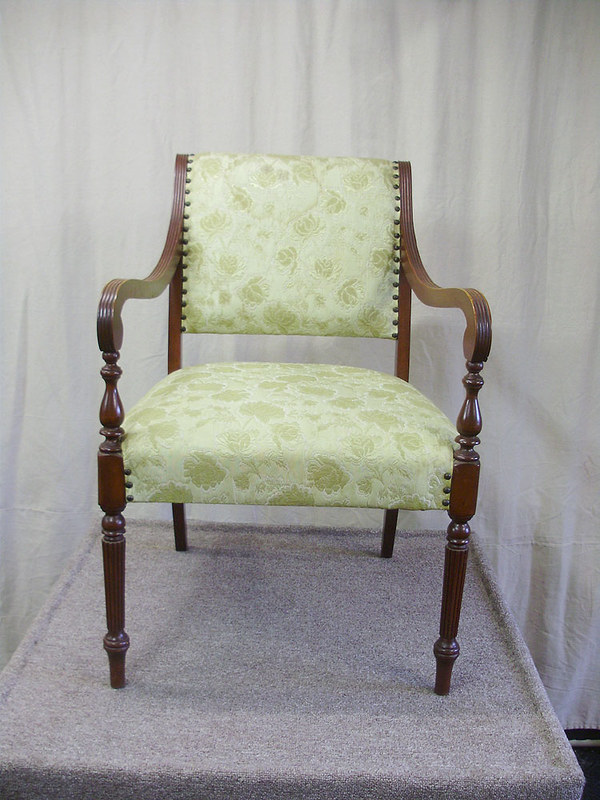
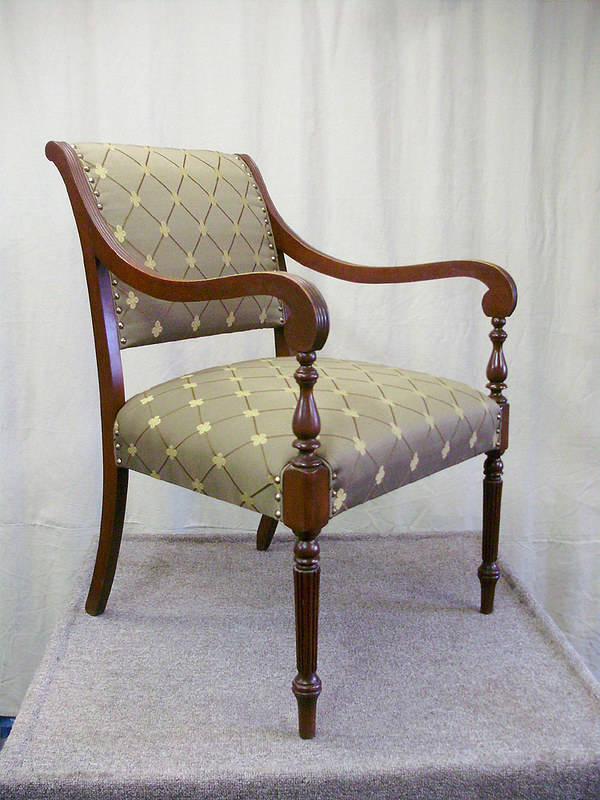
So all that said, I wanted to post one last project that I did at the shop, which was one of my chairs. This is an antique chair that I picked up shortly after I bought the house (so maybe 2010 or 2011). It was from a yard sale, and I liked the shape of it. The fabric wasn't great, but it wasn't too horrible either. I always knew that I wanted to redo it at some point, but it wasn't high on my to-do list. The old fabric was a sort of greenish yellow with roses, and there were a few light stains on it. I really liked the tacks on it, but not with this particular fabric.

About a year ago a fabric store went out of business and I was able to find a PERFECT fabric for this chair.

BEFORE:
P9150002

P9150003

P9150004

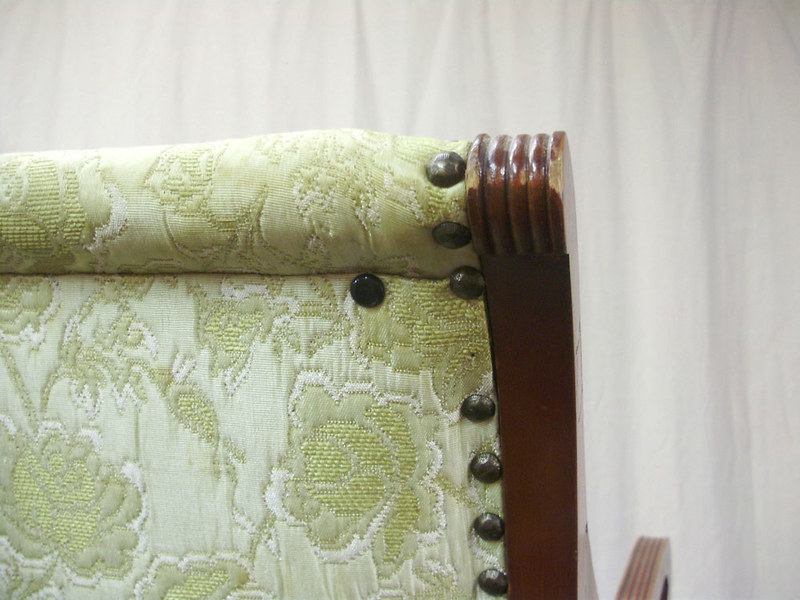
I'm not sure why there were extra tacks off to the side here:
P9150005

P9150006

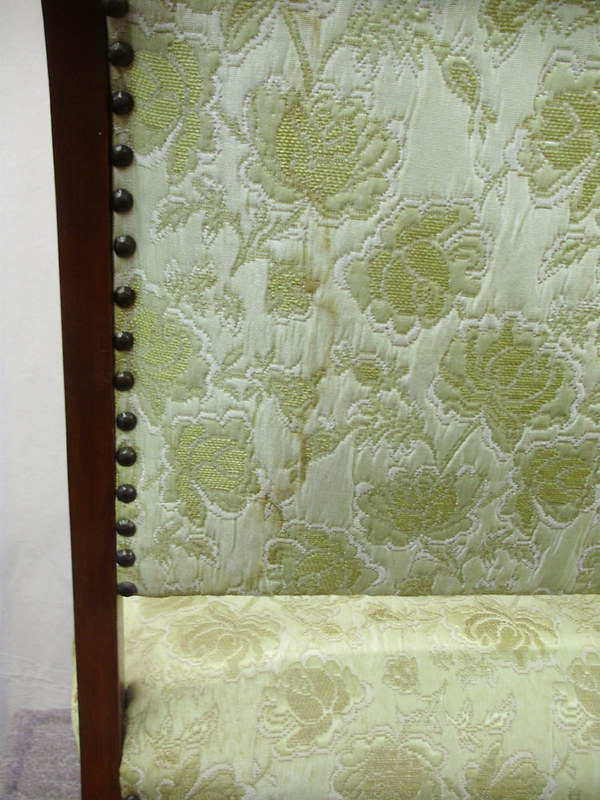
Note faint water stain:

P9150007

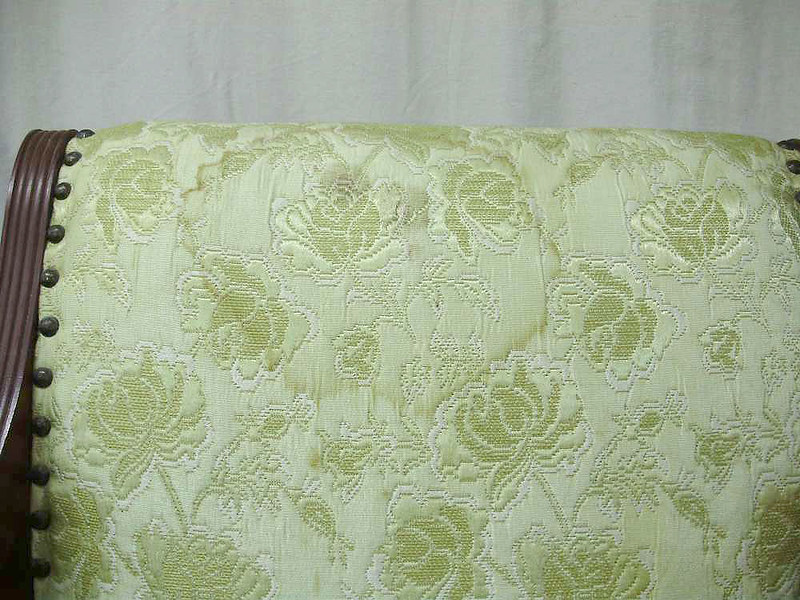
This is the back, which had two circular stains near the top. I tried cleaning these, which left an additional large circular water mark on the fabric.
P9150008

Yet another stain:

P9150009

A small chip in the wood. I decided not to repair it.
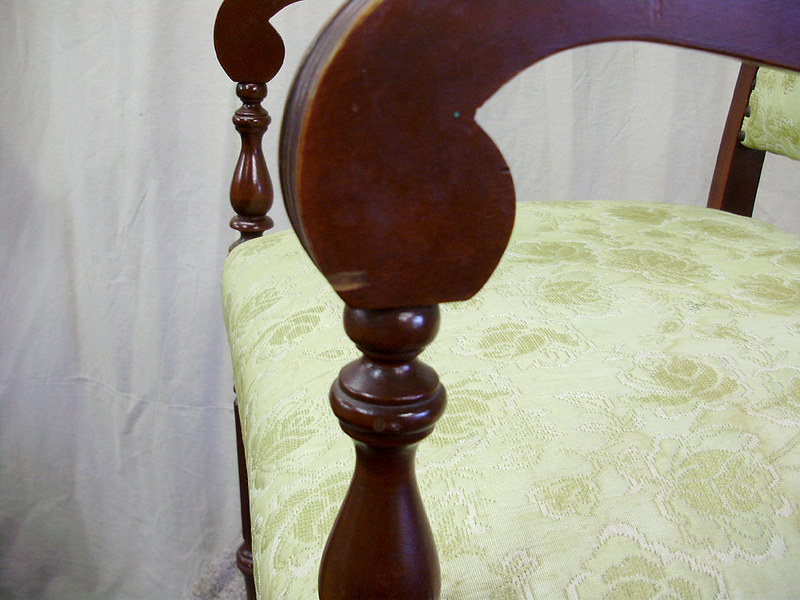
P9150010

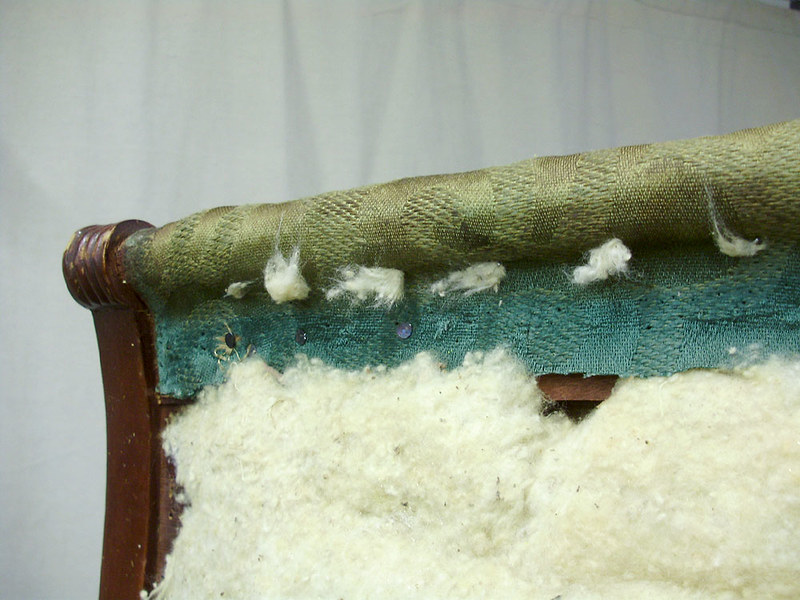
Starting to remove the back already shows that this is not the original upholstery, as there's a green fabric visible.
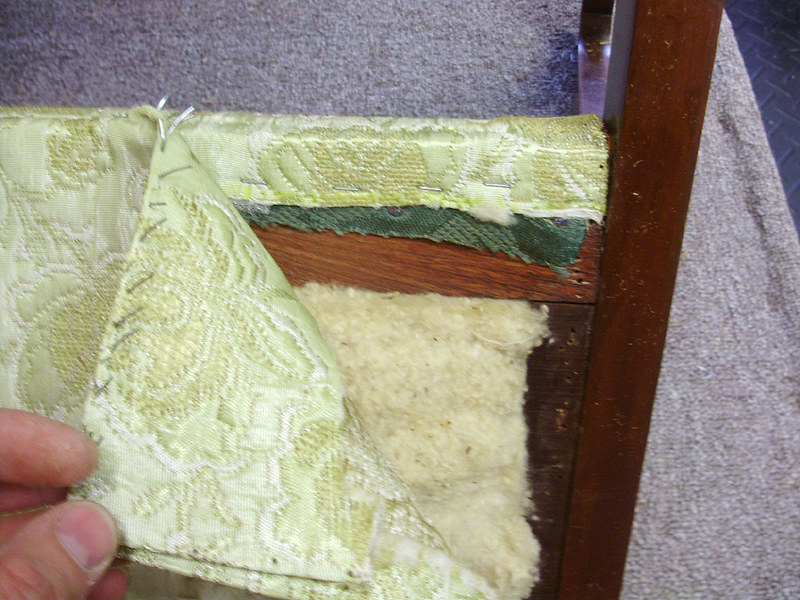
P9150011

When I took this chair apart, I was really surprised to see that it was a fair bit older than I thought it was. I had assumed that it wasn't that old, and that it was maybe from the 1960s or 1970s, but it is probably closer to 1930s or 1940s. The original stuffing in it is straw and cotton!
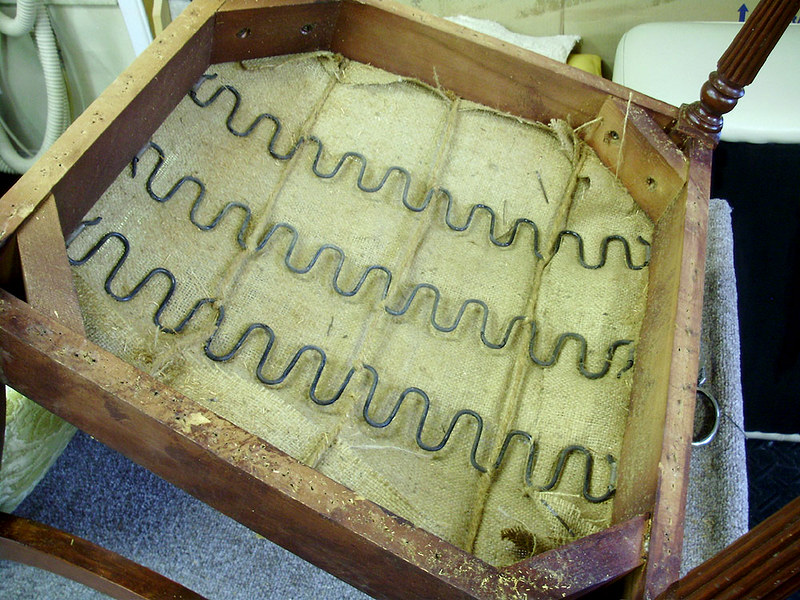
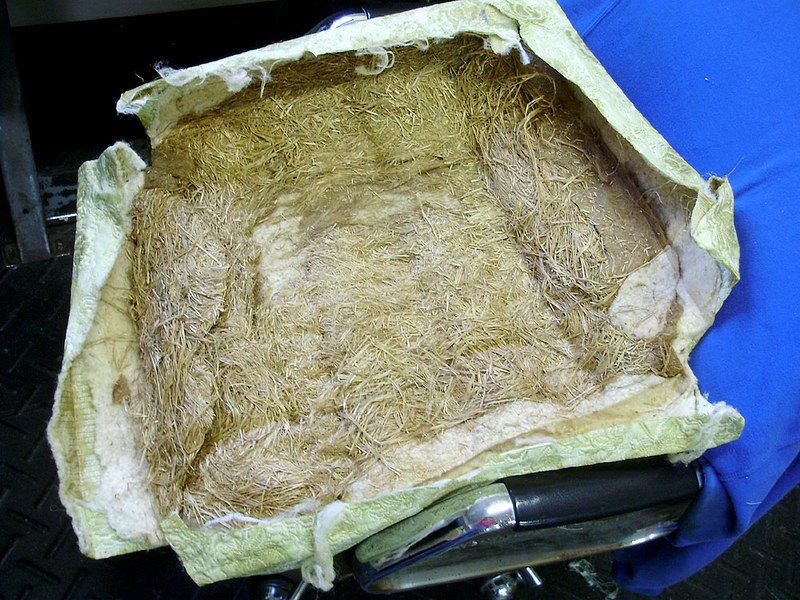
P9150012

P9150013

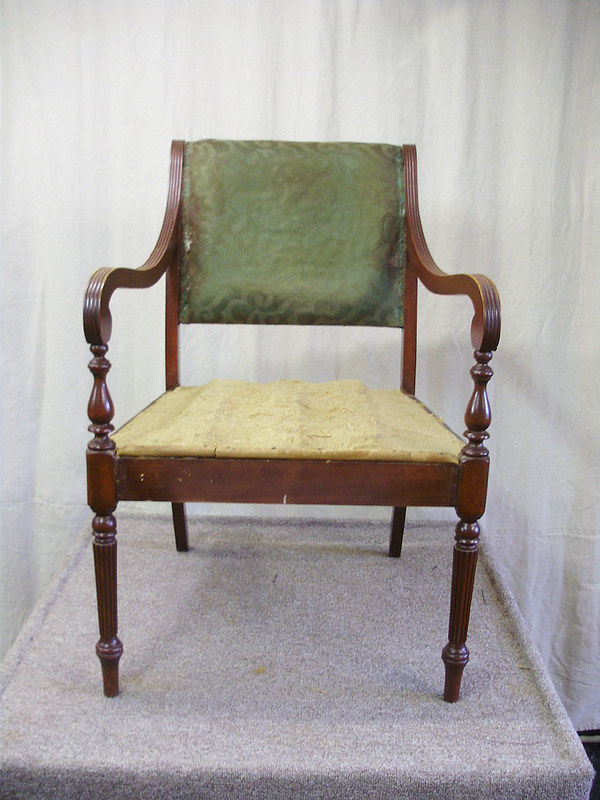
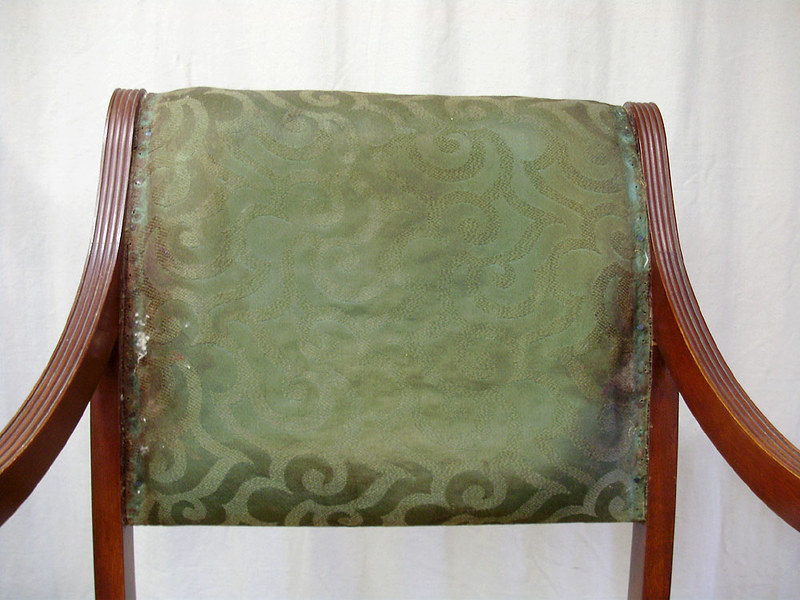
Current covers and stuffing removed, showing what might be the original green fabric on the back rest.
P9150014

P9150015

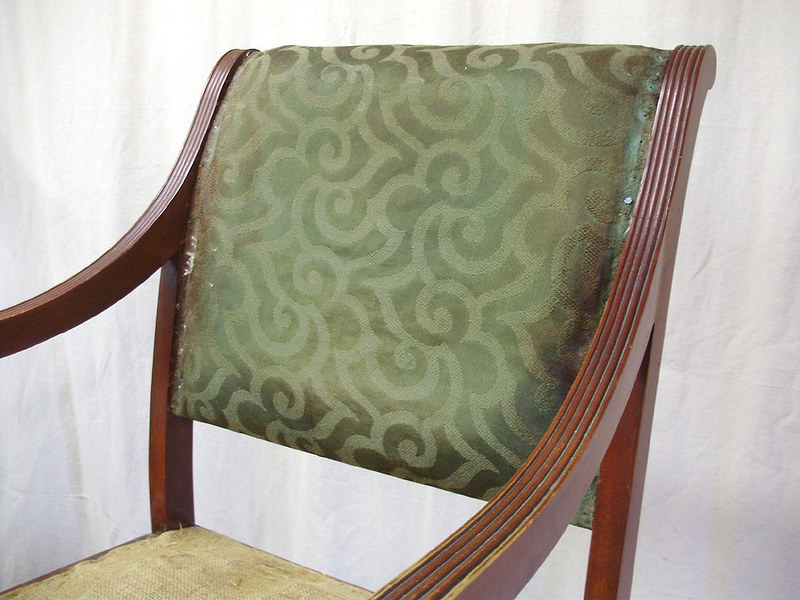
This is a rather interesting looking pattern. It's a solid green colour with a pattern in it that shows up depending on the angle. The pattern is almost on trend with modern geometric prints.
P9150016

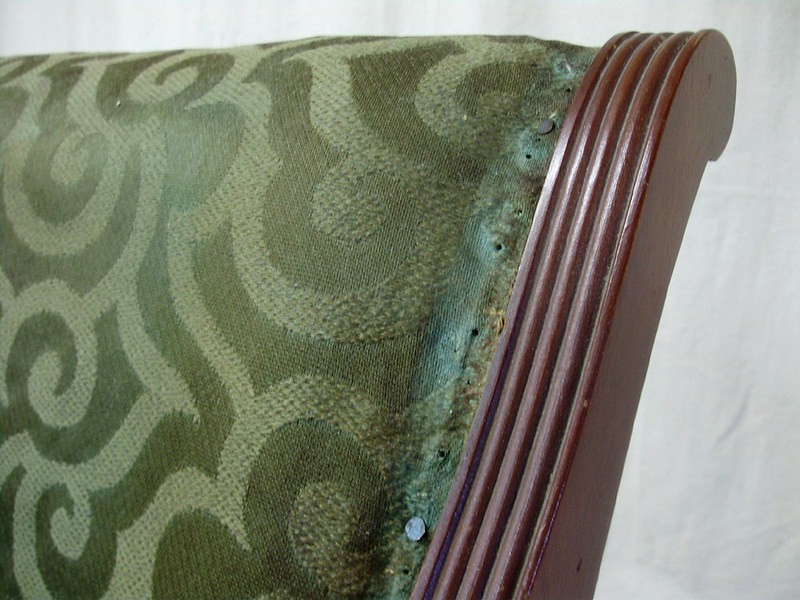
The colour used to be more of a teal shade, but it has faded or become dirty from use. You can also see the original tacks.
P9150017

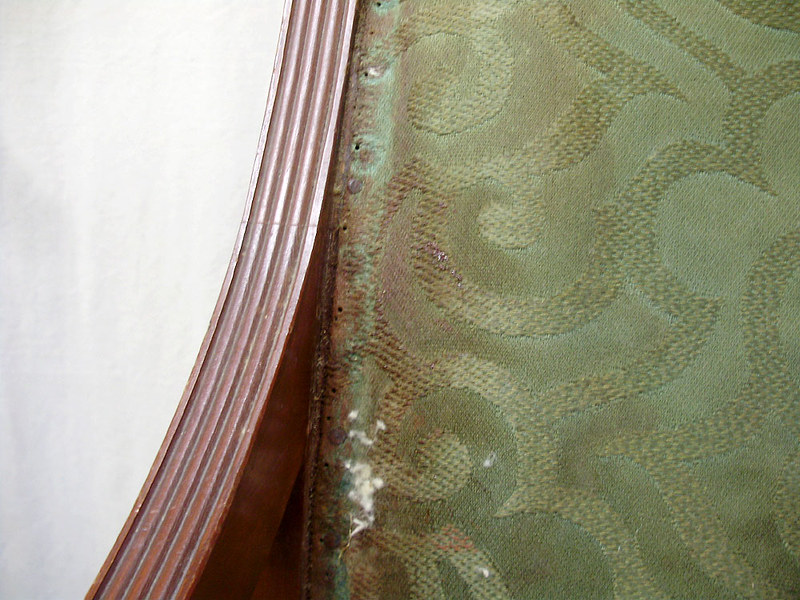
It also looks like someone might have done some stain touch-ups to the chair since there is some reddish staining here:
P9150018

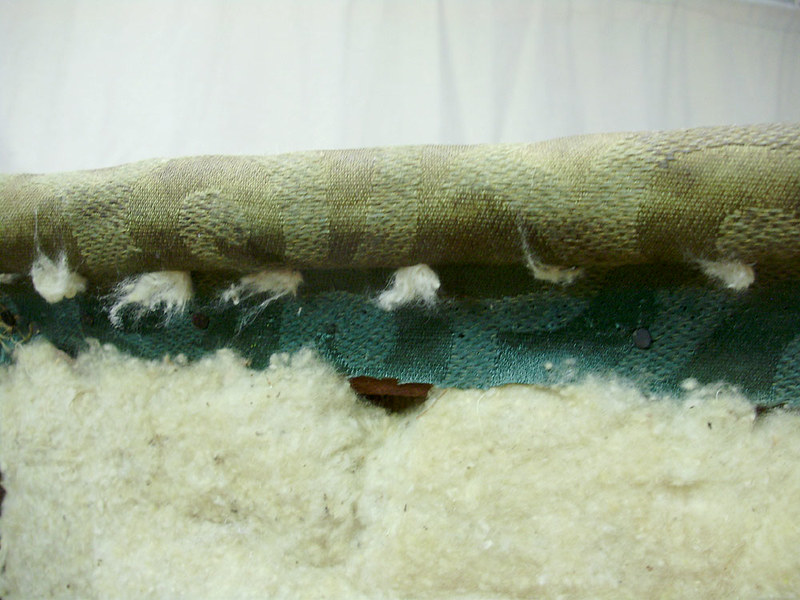
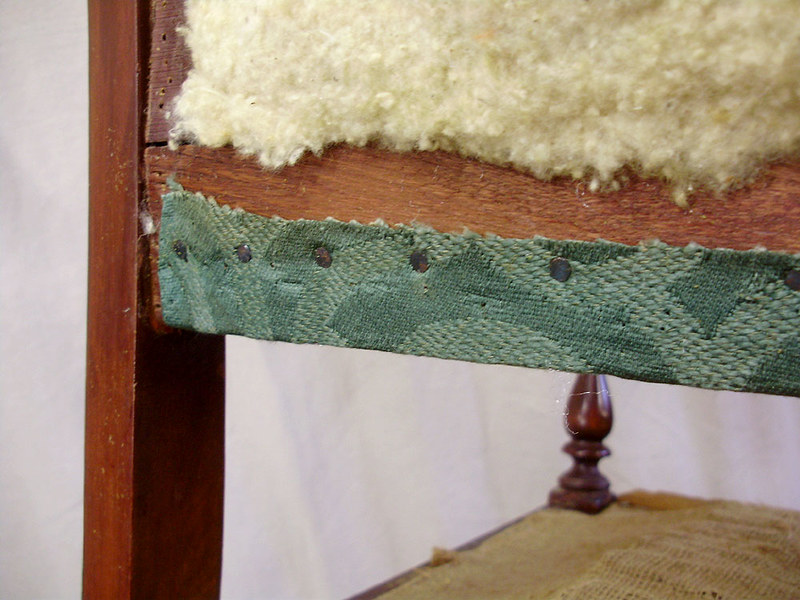
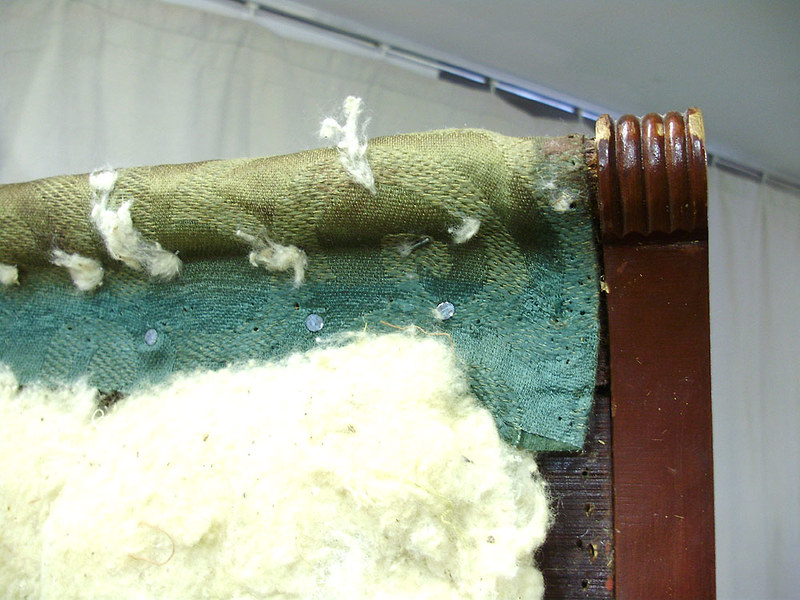
The original teal-green can be seen here where it was on the inside. Also note how lumpy the top edge has gotten.
P9150019

P9150020

P9150021

Green and mahogany have always been a pretty classic combo, even though this chair is actually not mahogany - just stained to look like it.
P9150022

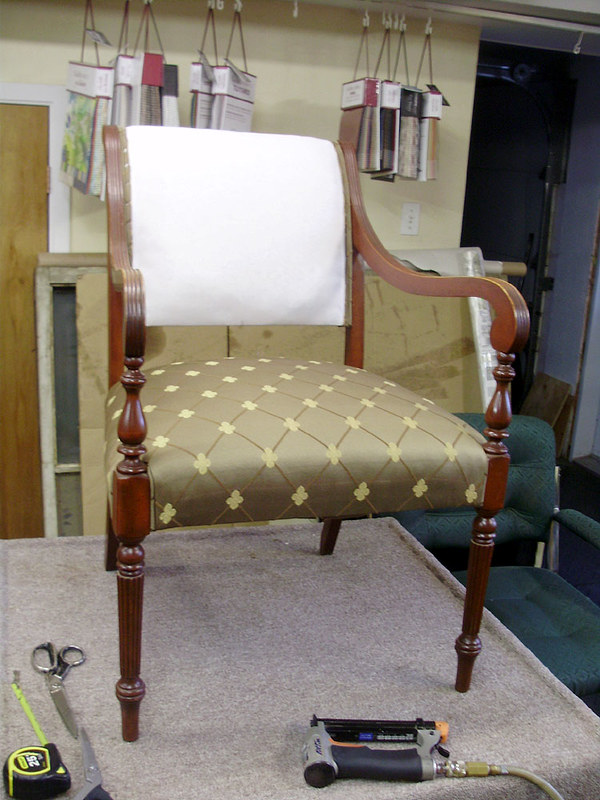
Here you can see the chair ready for upholstery. The original stuffing on the back has been readjusted, with new burlap, and new musin cloth. The seat base has been redone with new burlap, the straw stuffing was reinstalled and adjusted, and new burlap over this. Then the original cotton seat pad reinstalled/adjusted. Muslin was also added over the seat just after this.
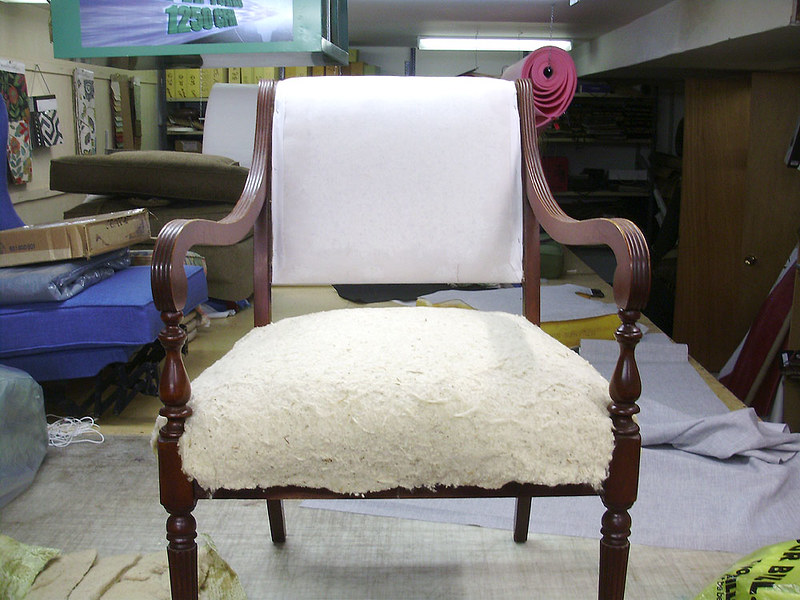
P9170045

I had ALMOST forgotten to take a photo of the seat base. The original front roll on this chair is actually a round wooden dowel, which was nailed in place (under the burlap). This is why there's no special front stitching on this chair.
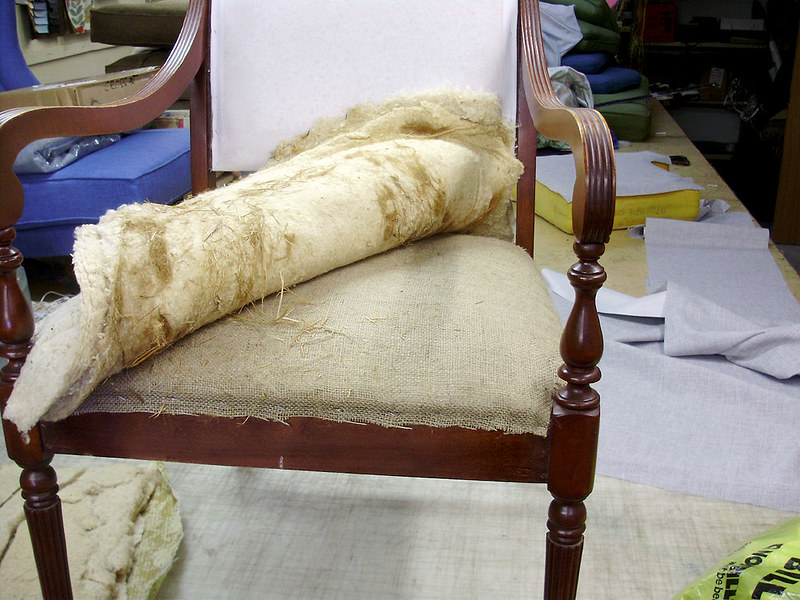
P9170046

Seat done.

P9170047

P9170048

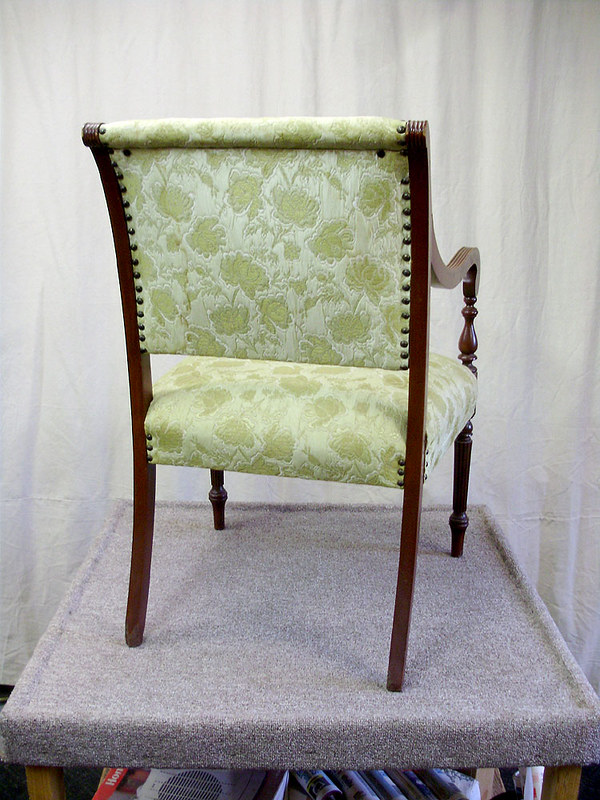
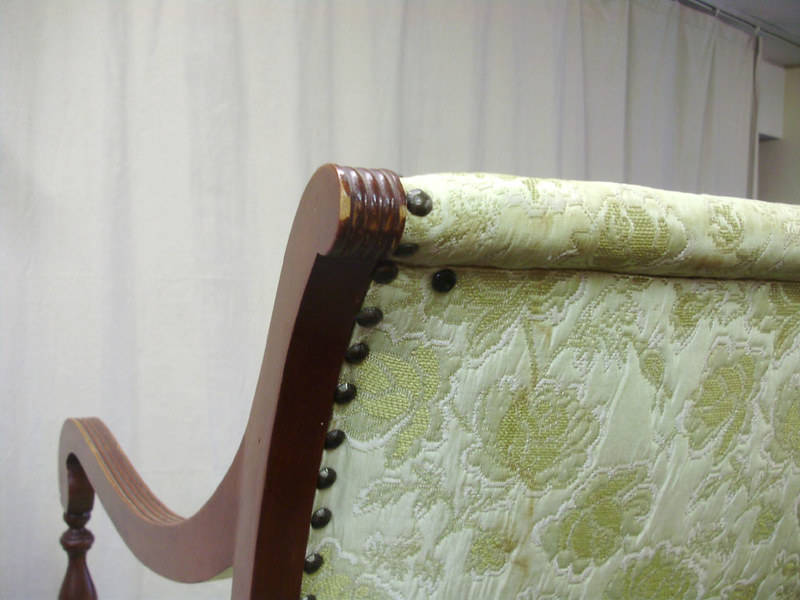
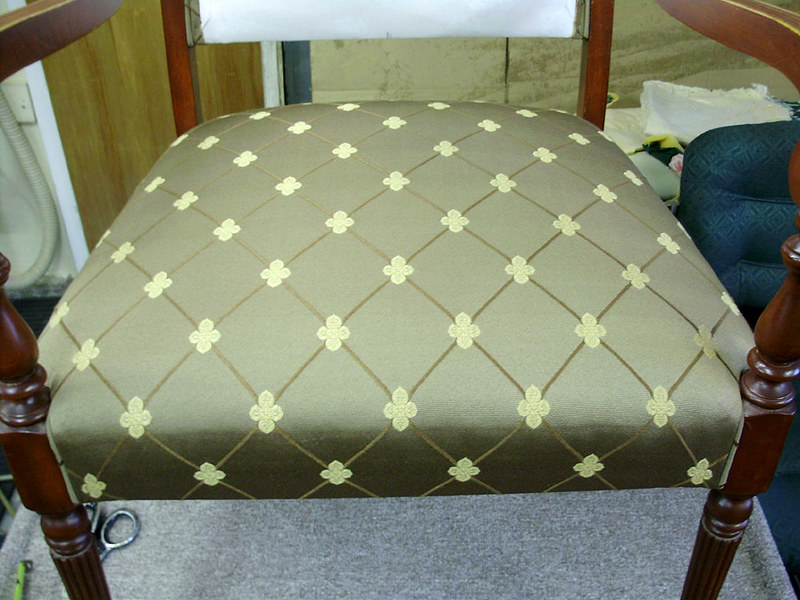
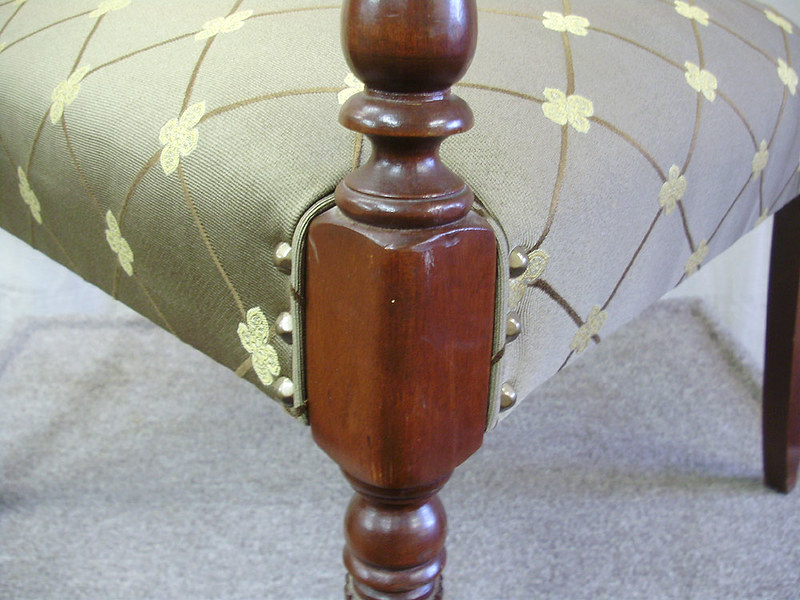
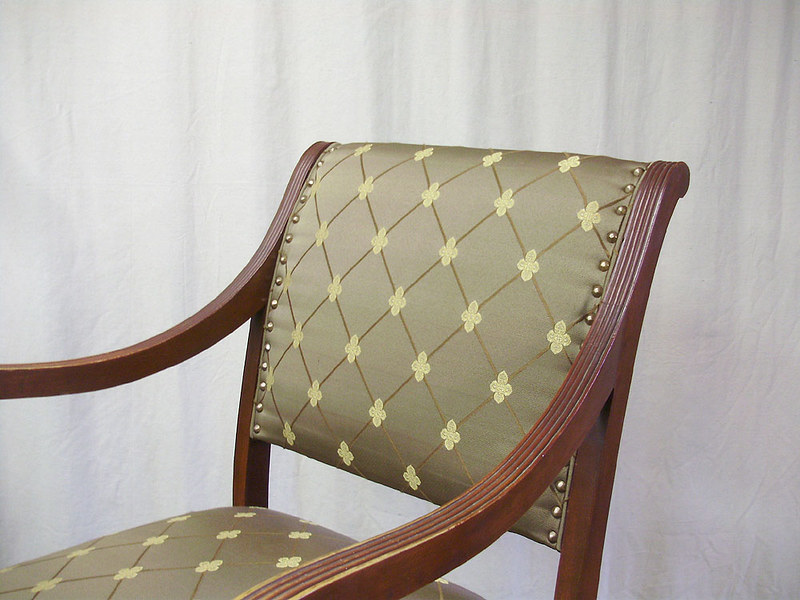
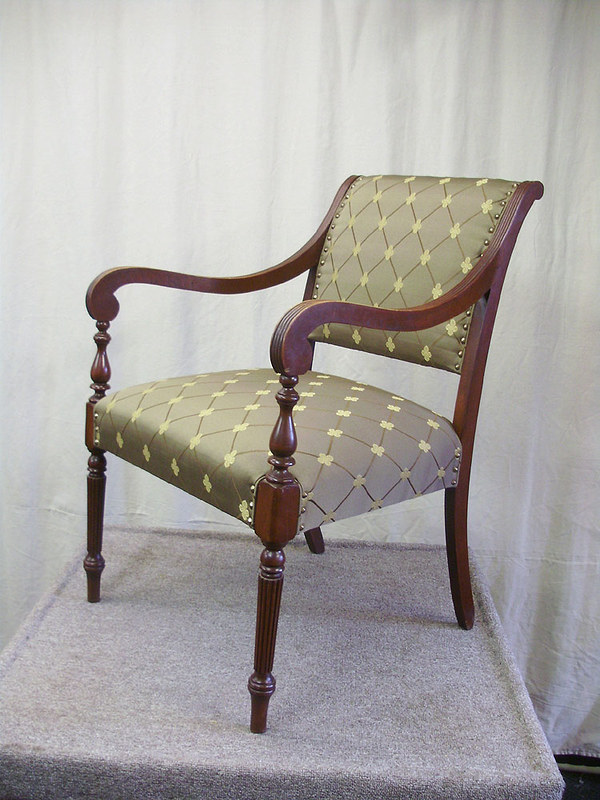
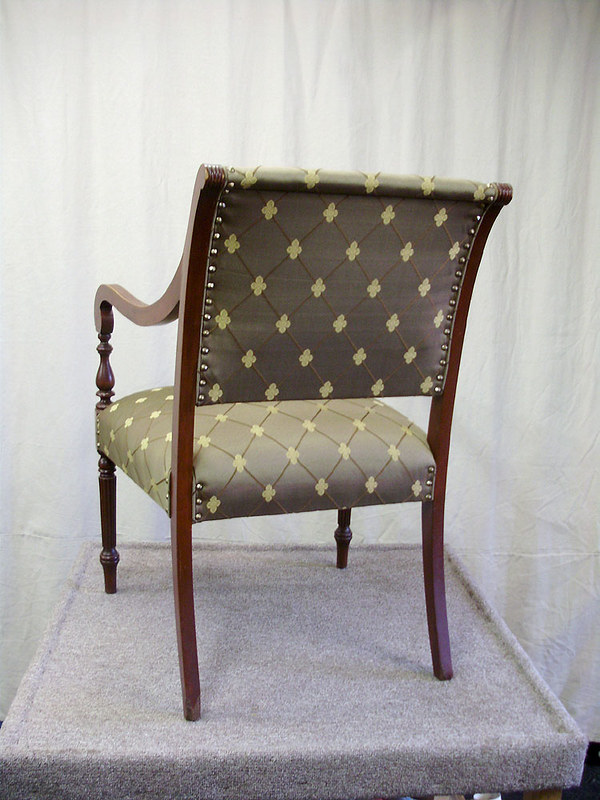
Finished chair, with piping on the edges, and copper-bronze tacks.
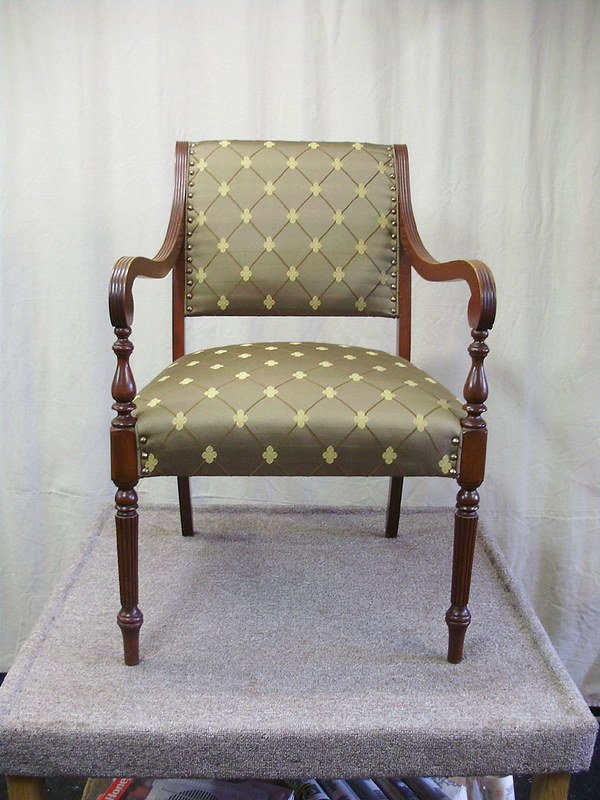
P9180058

P9180059

P9180060

P9180061

P9180062

P9180063

Note how the pattern from the top roll continues down seamlessly into the second panel of the main back.
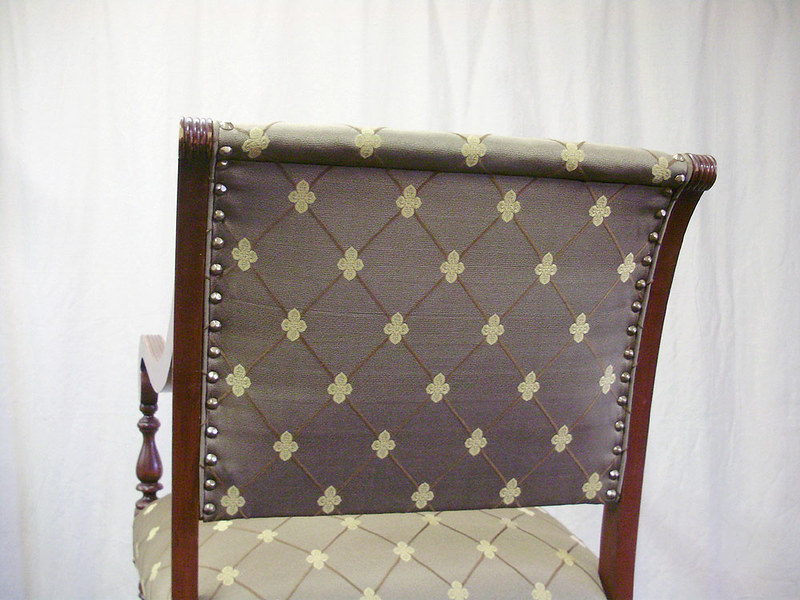
P9180066

I'm thrilled with how this chair turned out. The colour matches my bedroom furniture perfectly, but it's also generic and neutral enough that it could go just about anywhere. The fresh upholstery adjustment and new burlap also made the chair much more comfortable to sit on.
P9180068

Now this might be my last project from the upholstery shop, but it won't be my last upholstery project ever (as the blog title may seem to suggest). I still have at least 5 other chairs to work on. There's a wing chair that I got for free (I just need a fabric for it, and to refinish the legs), there's a pair of antique chair frames that need a complete restoration and all new historic stuffing, there's a lovely arm chair, and a few others as well. So don't fret. I'll eventually have a few more upholstery projects to share. I'm just not exactly sure when. I'l like to buy a half decent upholstery stapler, and an air compressor (which would be nice for air nailers and finishing spray guns as well). All in due time.

Friday, March 31, 2017

Too Many Chairs

I had a conversation at work today with my boss where I eventually ended up uttering the comment: "I need more chairs like I need a hole in the head".

This prompted me to actually go through the house tonight and COUNT all the chairs.

Apparently I have 38 chairs.

38 chairs is TOO MANY CHAIRS. I mean, seriously, that's insane. Now I should mention that I counted everything that could be considered as a chair. What I mean by this is that I included "chairs that can't currently be used", like antique chair frames that need upholstery, and broken chairs that need repairs or refinishing. I also counted junk pieces like the busted-up chair I keep in the garage just out of convenience (it's covered in paint and the original seat was changed to a piece of painted plywood long ago), and other oddballs like my computer chair, a small bench, as well as chairs like the fancy wing chair in the living room, and the deteriorating "papasan chair" in my front porch (which I want to get rid of).

Refurbished wing chair (free - found at the road, but I redid all the legs and changed the shape of the back):


Lovely antique straw and kapok stuffed chair found at the road:


Out of the "incomplete" ones, I was donated 3 chair frames. One is a completely disassembled Victorian chair in a box (it needs repairs, refinishing, gluing together, and complete upholstery), and a pair of beautiful inlaid French or English tub chairs (just the bare frames, these will be GORGEOUS but need a bunch of work, too). I need to take a photo of those chair frames. I also have a fairly plain bare frame with springs from a roadside find that I picked up probably over a decade ago.

Plain bare chair frame (roadside find) with a solid elm frame (an old photo from back at the apartment):
 photo FreeChairFrame01.jpg

Then there are the full set of chairs for the dining room (8 of them), and the chair and bench that go with my walnut bedroom set. Aside from these, all the rest are random finds. Some were bought from yard sales, one came from an auction, and several others were free or nearly free. Pretty much all of them are antique, or at least 60 years old.

Dining room chair set (mahogany):


Gibbard furniture set which has one chair and a matching bench (shown in the next photo):


Old (vintage?) chair with fancy arms and turned legs (yard sale find):


I do have at least a dozen that I want to get rid of. Obviously the majority of these are piled in the basement right now, so they aren't being used in any way.

So yeah, it's not like I'm hoarding chairs or anything (not purposefully anyway!), but I definitely have WAY TOO MANY.

Saturday, September 28, 2013

Finished Antique Chair

The chair has been finished since Monday, but I wasn't able to properly photograph it until this afternoon.

There have been several past posts about the chair, and its progress, which I'll list below in order.

Monday, June 03, 2013 - Random Side Projects

Monday, June 03, 2013 - Tearing Off
Monday, June 10, 2013 - How I Got My New Job
Sunday, June 16, 2013 - A Few Random things
Saturday, July 13, 2013 - House/Project Updates
Wednesday, September 11, 2013 - Antique Chair Update
Thursday, September 12, 2013 - Antique Chair Update (Part 2)
Saturday, September 14, 2013 - Antique Chair Update (Part 3)
Saturday, September 21, 2013 - Random Update

If you're not planning to browse through the old posts showing the progress, I'm only going to include one "before" photo (again) here.

As a quick recap, the chair was a roadside trash find from 2 blocks away. I stripped it down, took the frame apart, reglued it with period correct hide glue, repaired the original shellac finish (to blend together the crackle), polished/buffed with dark wax, and finally I redid all the upholstery, which included:

- Install new webbing
- Attach springs
- 8-way hand tie the springs
- New burlap cover
- Black fabric "straw cover" (to help keep the straw dust contained in the chair seat)
- Re-fluff and pad down the original straw
- Re-install the original "felt padding", which we discovered is actually Kapok*
- New layer of soft cotton padding
- Layer of thin muslin fabric
- Top fabric
- Hot-glued decorative gimp cording
- hand tacked black bottom fabric

* Kapok is a fluffy seed-pod fiber from the kapok tree, which is a gigantic tropical tree. It is silky, cottony, and reminiscent of the fluff commonly found in milkweed pods. This was a common upholstery stuffing material for decades, but isn't used often today.

BEFORE!


AFTER!


As you can see, even though the popular vote was for the pink or dark raspberry gimp, I ended up choosing a very dark green (which wasn't shown). I'm very pleased with the finished chair.

Saturday, September 21, 2013

Random Update

Alright, this one is going to be a bit of a mix. I spent most of the day at an antiques auction, and I bought some art, but I'm making that into a separate post.

I had hoped that my antique chair would be finished by now, but I ran into some trouble with the gimp (the decorative trim). I wasn't really that thrilled with any of the colours we had, so I went to one of the local fabric stores, and I had a look through their gimp. They had a huge variety (probably about 100 different colours and patterns), and at least 3 or 4 that might work nicely in a very dark green. I took 2 samples back to the shop:


Although I got NO COMMENTS from my readers on the last post, I did get some votes on my Facebook, and most people liked the pink gimp (not my first choice). I was leaning more towards the black, but only one other person liked the black, and my boss really didn't like it, so the dark green seemed to be the best option (I loved it, and so did Pierre - my boss), so I was all set to go buy it (the one on the right in the above photo).

When I went back to the fabric store, they apparently LOST not only my first choice (the one on the right), but also the other roll too. They looked everywhere for it, and couldn't' find it.

I was then told that they might be able to re-order some, but then the problem was that ALL of the "forest green" gimp was "colour 21". The super dark green and about 6 or 7 other shades of green all the way up to a bright grass green/emerald were all "colour 21". Basically they couldn't guarantee me the same colour.

I was pretty pissed.

I left without buying anything, and they said they'd call me back the next day to see if they could order it or not. They ended up NOT calling, so Pierre called them (since he knows one of the main girls who works there), and he talked to them to see what was up. Apparently they couldn't order any. *ARGH!*

So I went back, and the only other gimp that was the same colour (or very very close) was a smaller one, or a much larger one with somewhat of a sloppy weave. I ended up buying 2 yards of the narrower one, and we'll see how that looks. I really would have preferred the regular sized one, but since my staples are pretty neat, I can probably get away with it. If all goes well, the chair will be home Monday evening.

***

In a bit of a "Cornwall Homes" side note, I was absolutely crushed to see the eye-burning paint job on one of my favourite old Victorians. My only thoughts on it when I saw it was "OH MY GOD WHY! WHY???"


It's seriously awful. While I understand that it needed a paint job (pretty badly), I just can't understand why they would want to pick an insanely bright red that matches absolutely nothing. It looks like the house is wearing whore lipstick.


I had featured this house last year in this post: http://my1923foursquare.blogspot.ca/2012/03/cornwall-homes-3.html

If there's a silver lining, I believe that they will be re-installing the beautiful original house numbers, since I can spot the holes from the plaque in the photos (before resizing them).

Saturday, September 14, 2013

Antique Chair Update (Part 3)

Here are better photos of the nearly completed chair. On Friday I finished installing the bottom fabric (black with tacks).


The last part, which is to attach the gimp (decorative trim that hides the staples) will literally take 10 minutes, but I have to make a decision about the colour. I'm asking you guys to vote on your favourite!

Black, Raspberry
Light Red, Pale Green-Beige
Olive*, Black & Gold (leather)

* The olive is just a fabric we had on hand, but I would need to find a gimp in this colour. If I have time this afternoon I will go to a fabric store and see if they carry olive or dark green gimp.

Thursday, September 12, 2013

Antique Chair Update (Part 2)

Alright, here's another quick progress update. This afternoon after work, I spent another hour on the chair (and then I had to leave), and I was able to install the top fabric, trim it, and start attaching my bottom fabric (the dust cover).

Here's a shot of the top fabric before trimming it around the perimeter.


I should be done by tomorrow. I can probably finish the bottom fabric during lunch, and then I just have to attach the gimp (decorative edging) around the raw edge, and it'll be done.