
The hutch has been an on-and-off project since I started building it some time in 2012. Here are the relevant posts I was able to find about it.
http://my1923foursquare.blogspot.ca/2012/08/shop-storage-hutch.html
http://my1923foursquare.blogspot.ca/2012/11/alright.html
http://my1923foursquare.blogspot.ca/2013/04/shop-hutch-update.html
http://my1923foursquare.blogspot.ca/2014/12/end-of-year-wrap-up.html
http://my1923foursquare.blogspot.ca/2016/07/summertime-update.html
To recap the project just quickly and generally: this is a large cabinet I decided to build entirely out of scrap materials. I spent almost no money on this build. The only expenses were hardware (13 wood knobs at about 20 cents a piece, plus several inexpensive brass hinges), and paint. A lot of it was built from scrap 2x4s, scrap 3/4" thick pine (lots of which was already coated in old paint and full of nail holes), and scrap plywood removed from the house (sub-floor and other bad repairs). The upper doors were made from salvaged basement windows (found frequently in the trash). As mentioned in the last post above, the hutch was finished last summer.
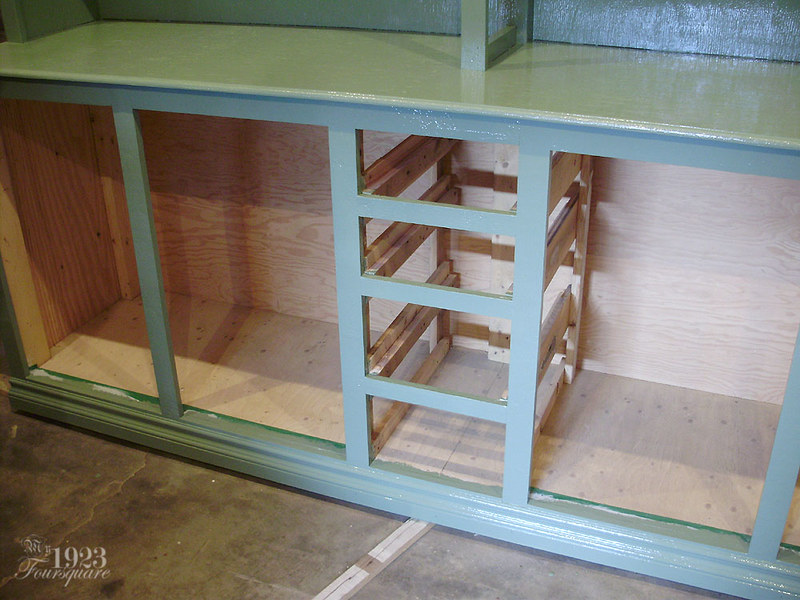
For the longest time, the part of the hutch I was avoiding finishing was building the drawers, and fitting the lower doors. The lower doors were made from the painted plywood doors from the old laundry room cabinets upstairs (demo'd sometime in 2010 or 2011). I decided that fake tongue-and-groove doors would look a lot nicer than flat doors, since I was going for a 1920s look, so I routed grooves into them. The drawer runners and spacers were also finally installed (all junk wood), and I cut the drawer faces to size (also from the old plywood doors). Once these elements were done, all the exterior parts were ready for paint. They look painted already, but it's all old existing white paint.
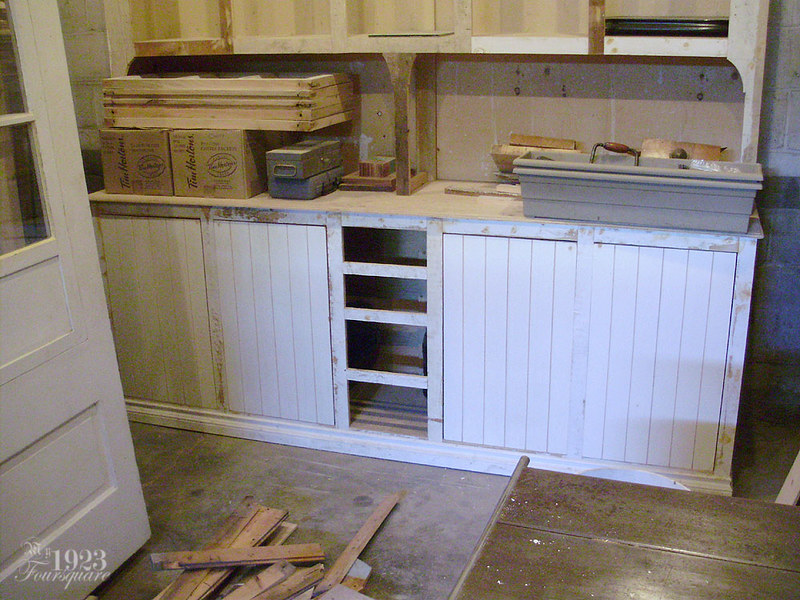
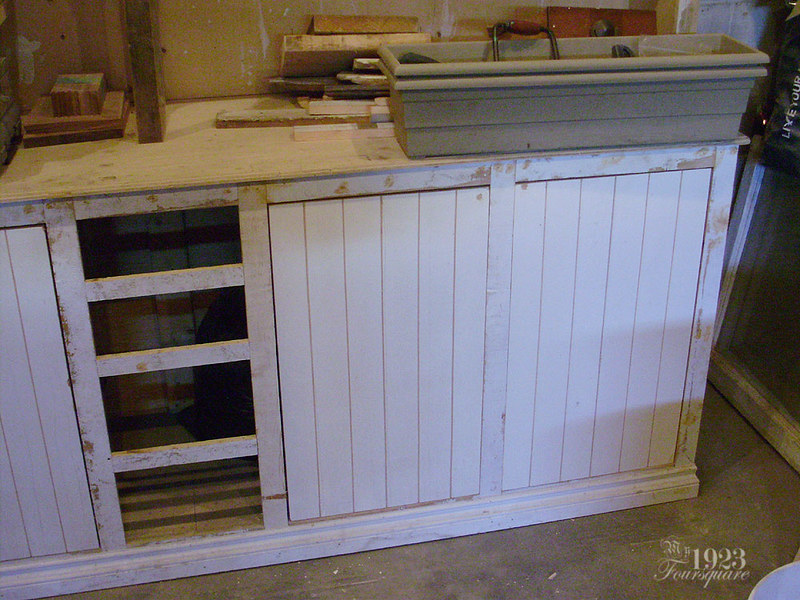
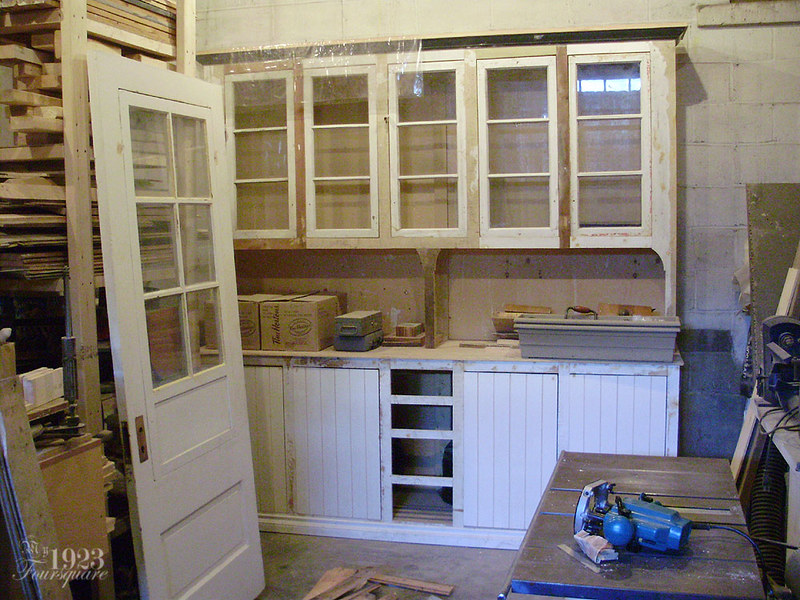
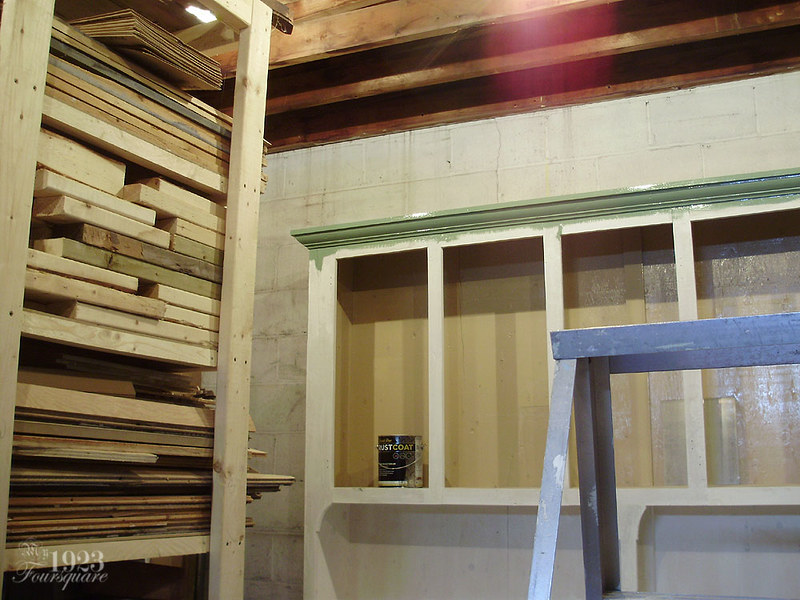
I decided to prime all the raw plywood, since I knew it would suck up too much paint if I skipped that step. I also puttied most of the holes, and put acrylic caulking along the crown and in any wide gaps or holes.
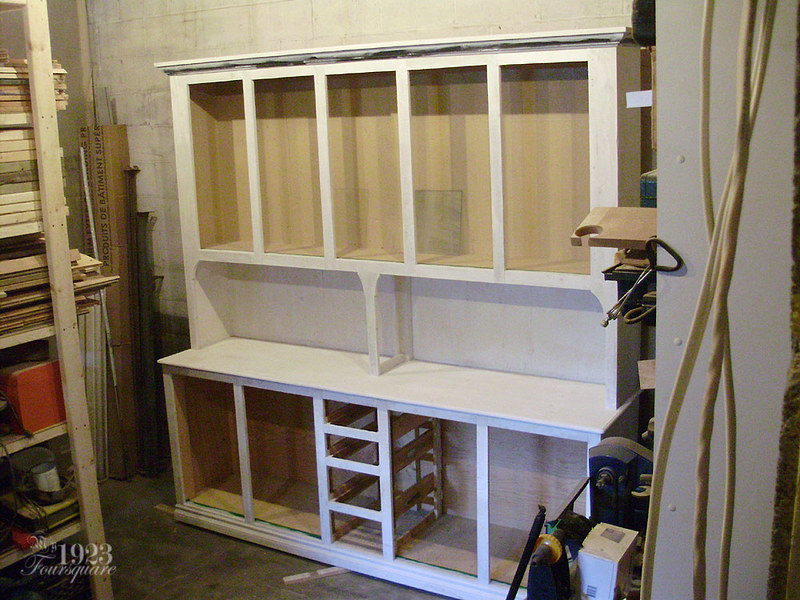
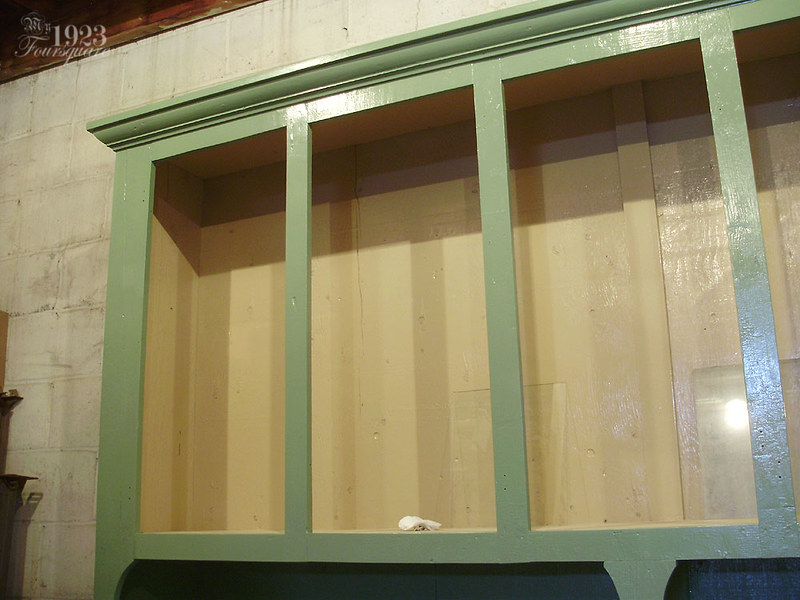
Note that the interior (top part) had already been painted with "sand" colour oil paint (a few years back). There's also some of the replacement pieces of glass in there for the doors.
It took me a while to pick a shade of green, but I ended up picking something very close to the green in the room upstairs "Olivine". This was custom tinted oil paint. Why green? No specific reason, but some woodworking tools tend to be painted a similar green, and green tends to look nice next to raw wood and white (walls will eventually be just white).
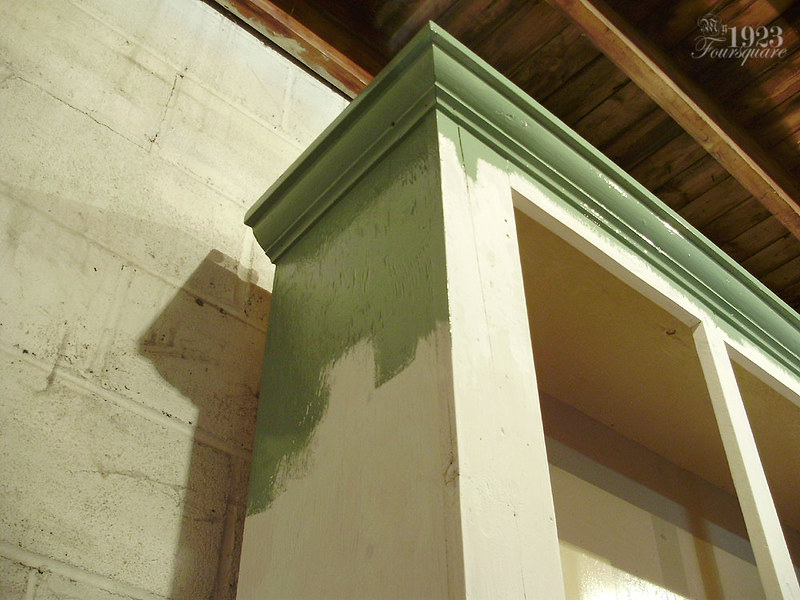
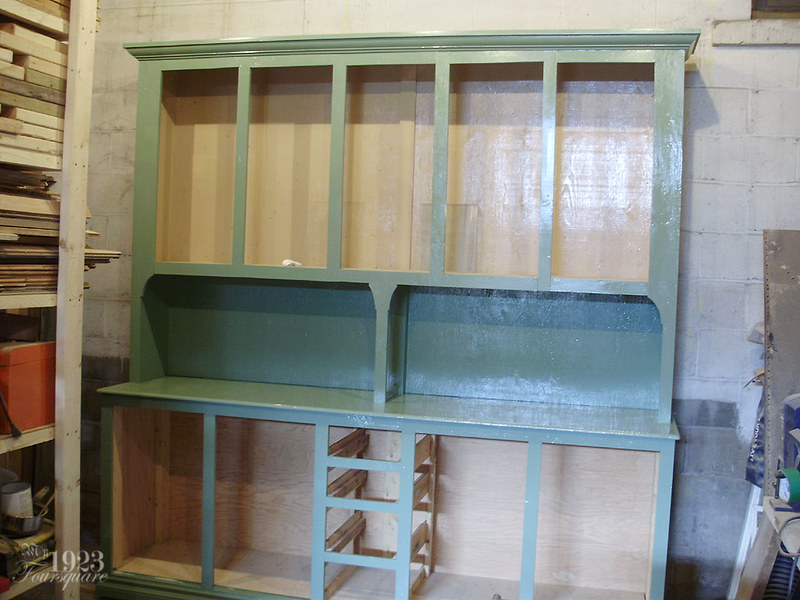
I think I only did one good coat of the green oil paint.
The doors and drawer faces had to be done one side at a time, because it's just too sticky and awkward otherwise.
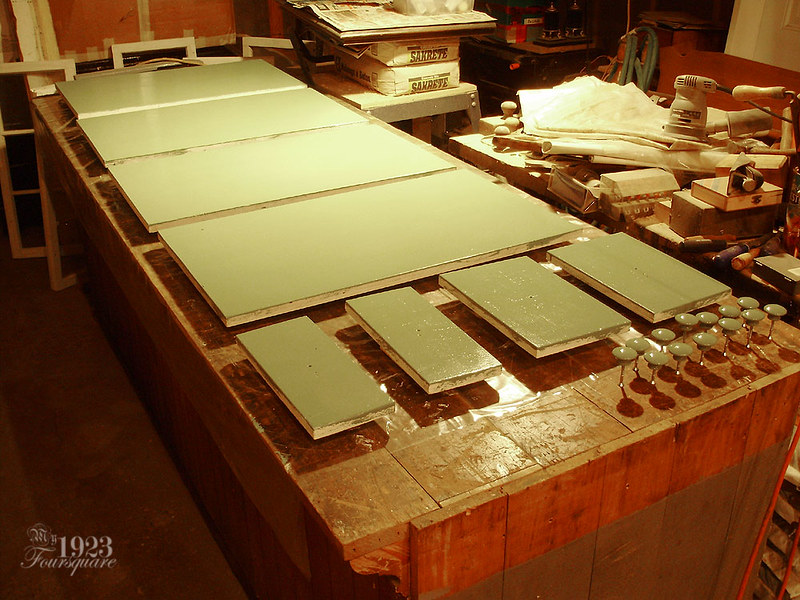
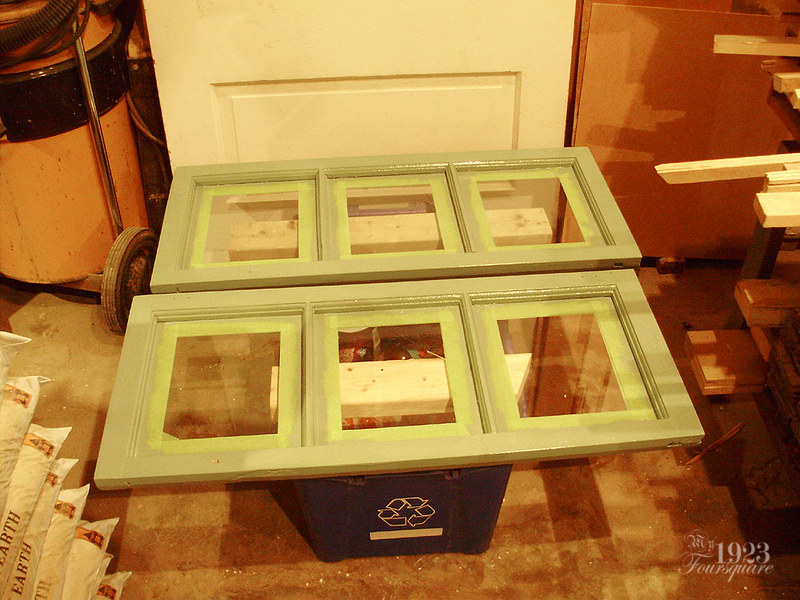
Doors were painted on both sides. It's always better to start on the backs, and finish with the fronts.
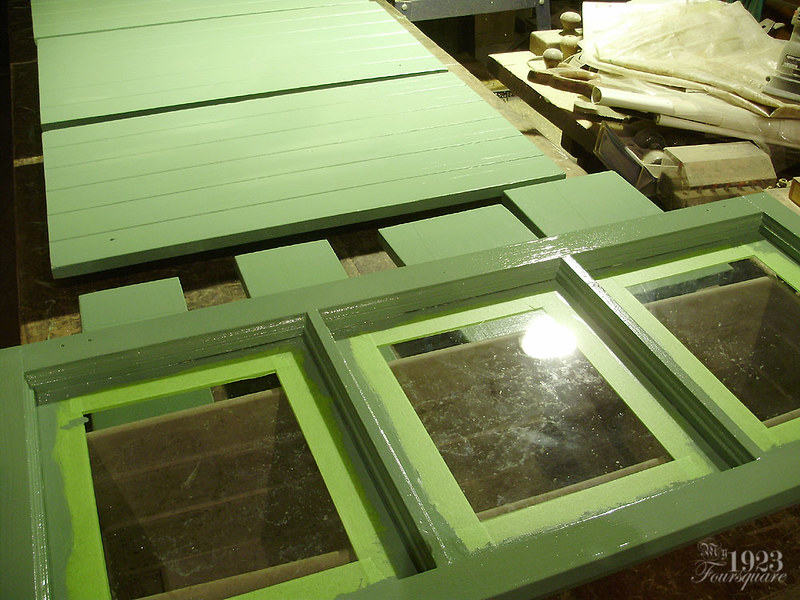
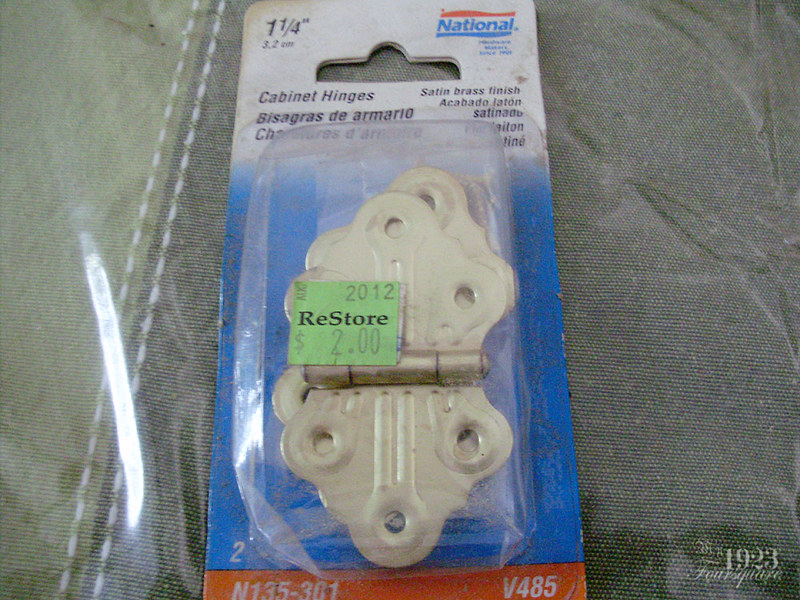
A bunch of the brass butterfly hinges were bought on sale, but I also found some at the Re-Store (Habitat for Humanity).
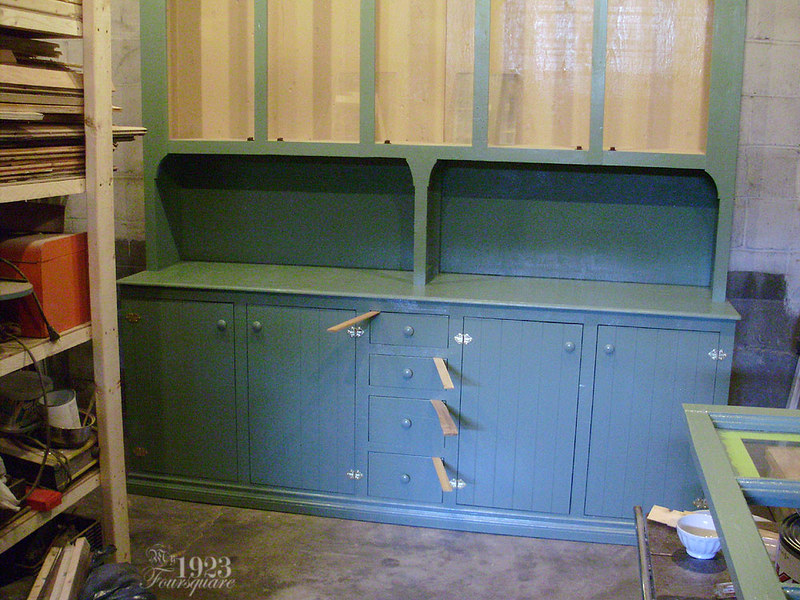
At this point, I hadn't built the actual drawer boxes yet, so these were just mocked-up for show.
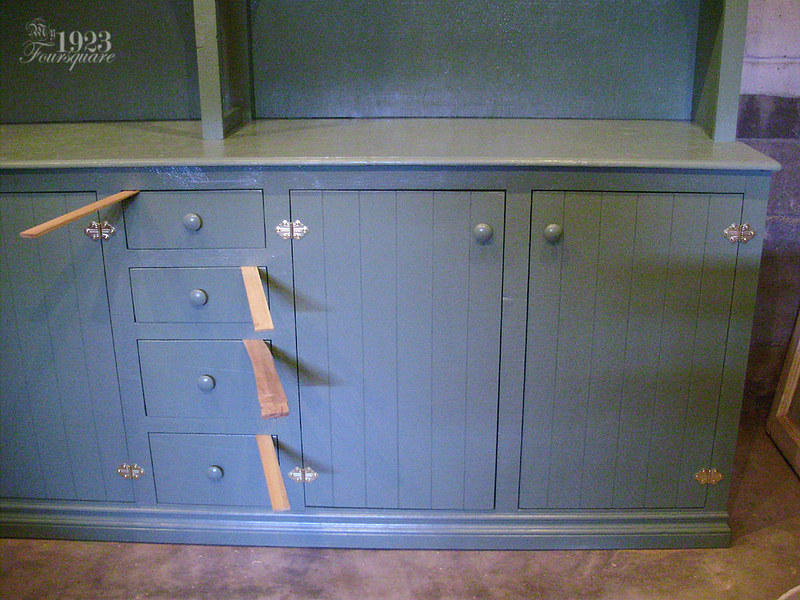
I really like wooden knobs on furniture. They seem to have largely fallen out of style though. Most people prefer metal ones.
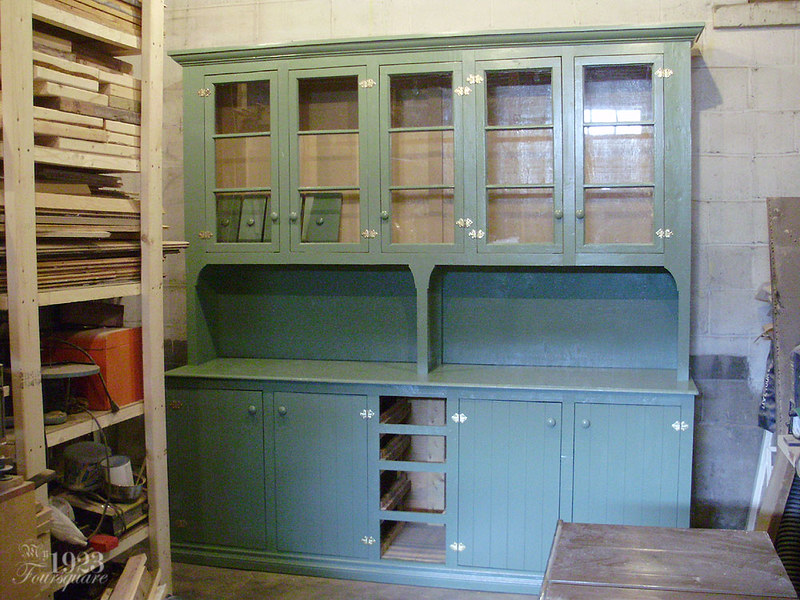
Fast-forward a few weeks, and I had built the drawer boxes, and also installed some shelves in the upper left. You might get a vague idea of the size from this photo also. The hutch is just shy of 98" tall (just a hair over 8 feet), and the countertop area is 8 feet wide exactly (I made it so that the top could be made from a sheet of plywood). Countertop is about 3 feet high, and 23" deep.
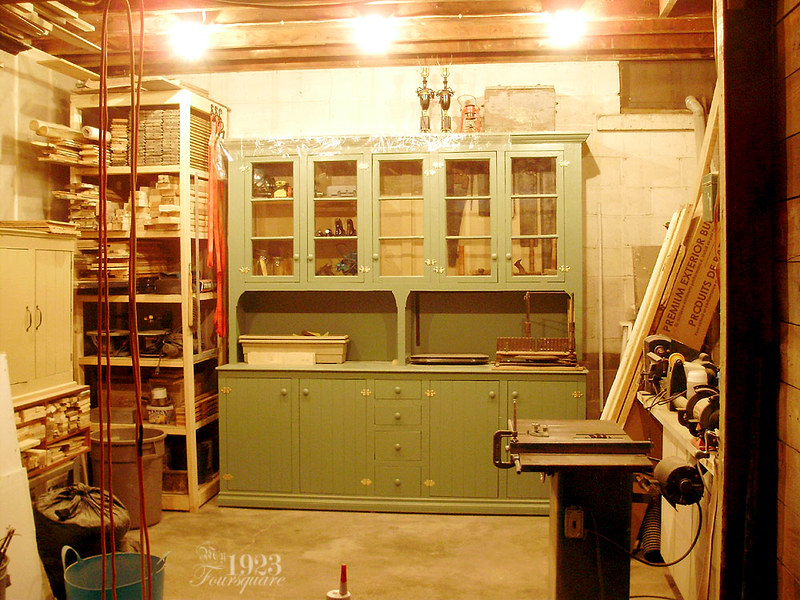
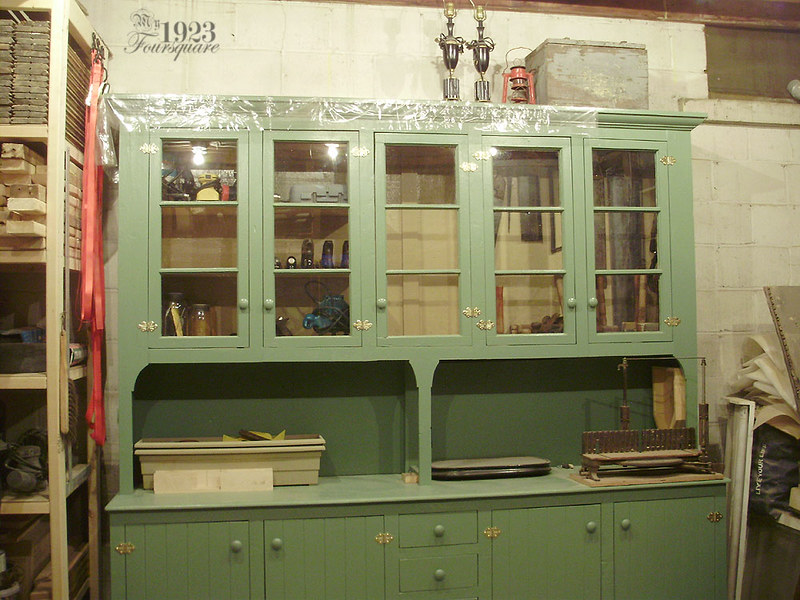
The shelves hold tools like my router, hand planes, and some sanding items.
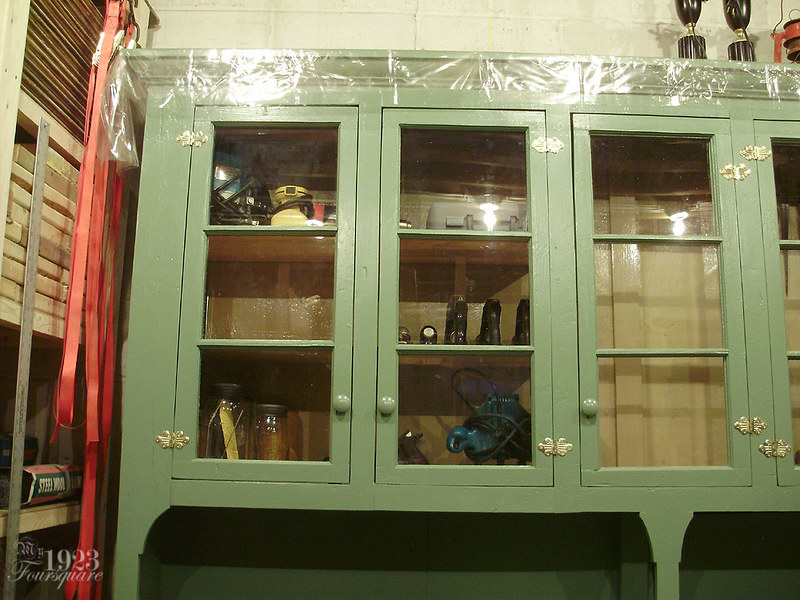
The other half holds a lot of my larger hand tools like my saws. I have a few hooks on the right for ear protection and more saws.
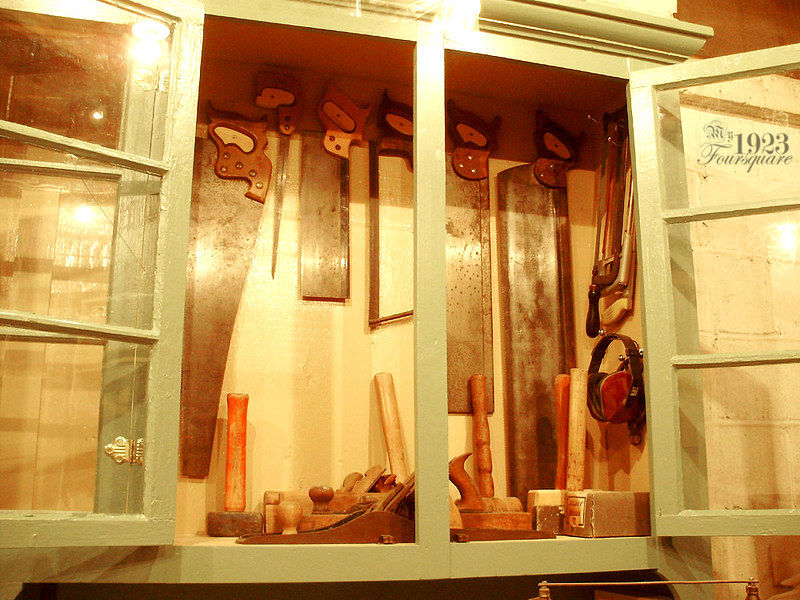
I still want to add a shelf on each side of the base.
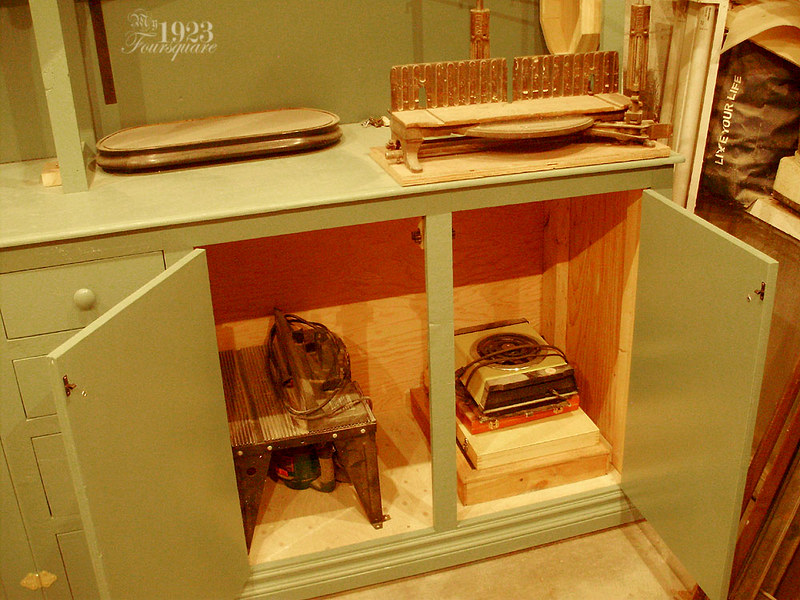
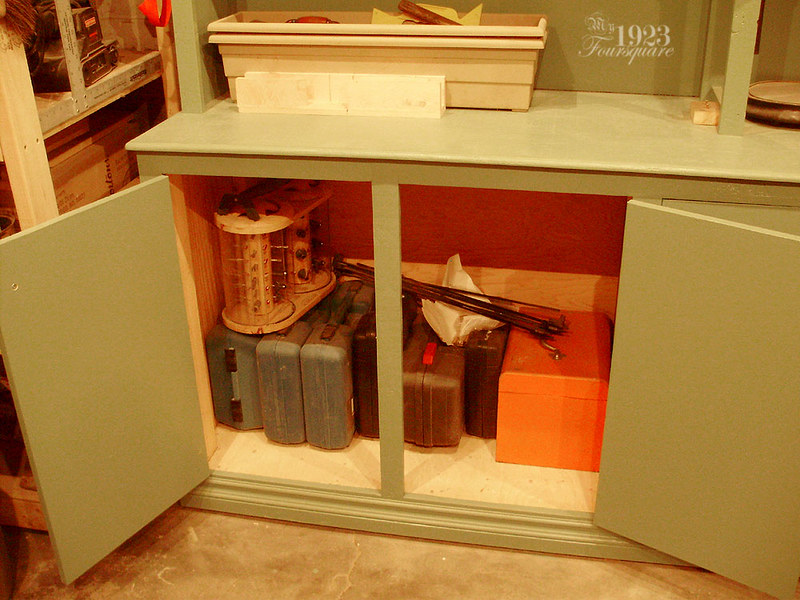
The drawers are just simple plywood boxes. They currently hold things like chisels, router bits, and a few other odds and ends.
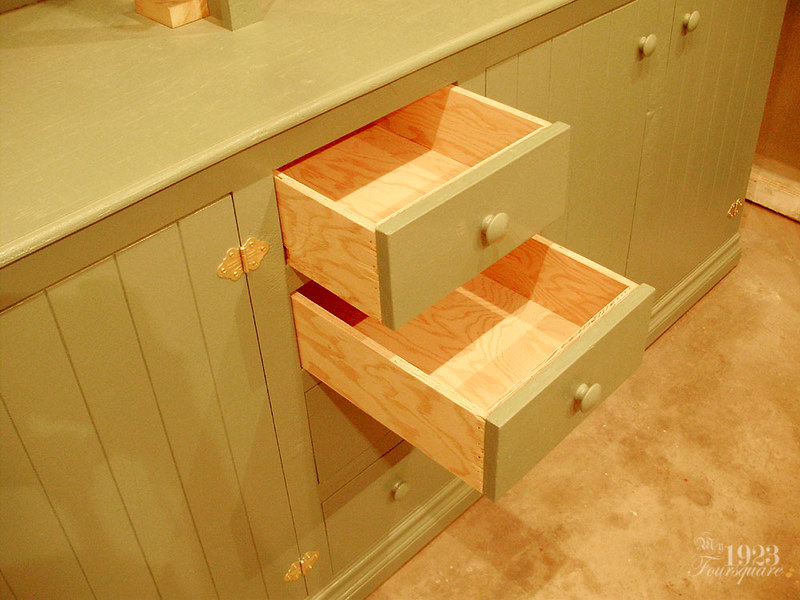
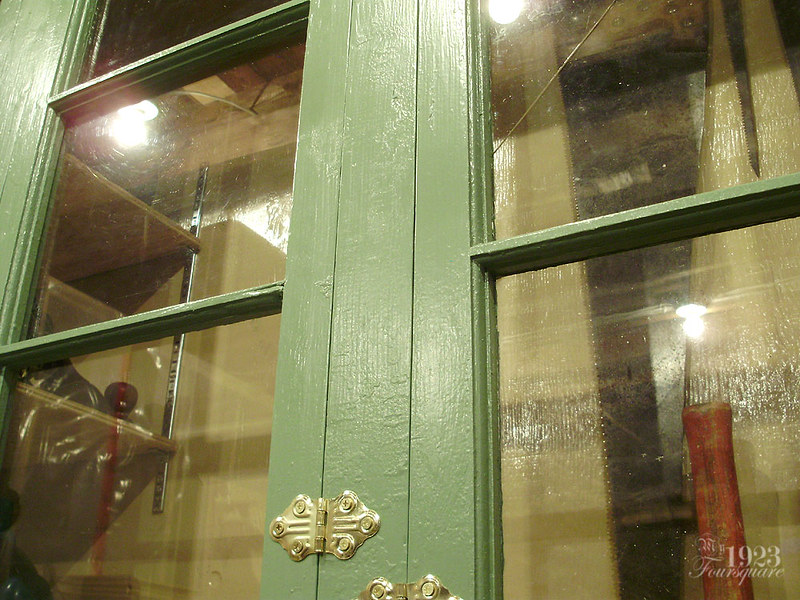
I want to stress that while the cabinet looks great, and I'm super happy with it, it's really nothing fancy. I can do precision master carpentry, but this is just a very rough piece that is 90% nailed together. There are a lot of crappy saw cuts, several crooked lines, and rough parts. Some pieces are thicker than others, some have cracks, dents, and broken bits. There are also two cracked panes of old glass that I left alone (the missing ones were replaced).
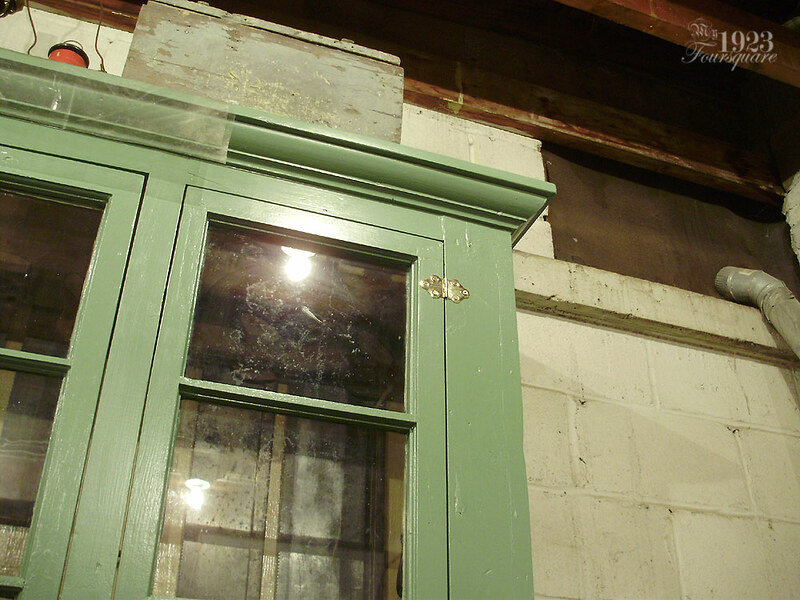
The crown was a donation from a guy down the street who saved them for me (a few different lengths). They were going to the garbage. You could easily just make a 45 degree crown or a cove crown cut on the table saw instead. There's also always places like the Re-Store that sell all sorts of crown for a few dollars per piece.
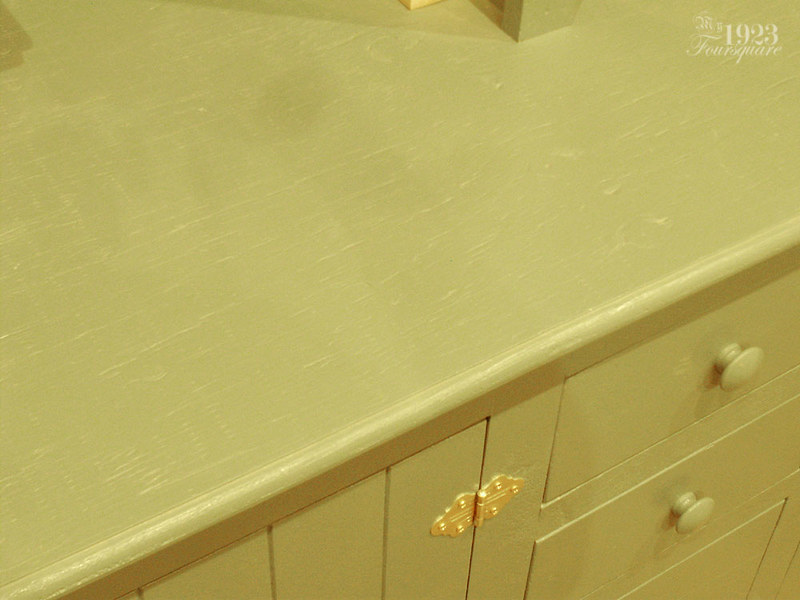
A lot of it is also cheap plywood, so you can see all the rough texture of it. If you had more money for better plywood (or MDF, or solid wood), a hutch like this could be made much nicer.
All that said, I have maybe 50-60$ in this, but obviously LOTS of time. I am really happy with it. Eventually I will also restore that giant Victorian countertop cabinet (with the 15 drawers) and a bunch more of my tools will go in there too.


