
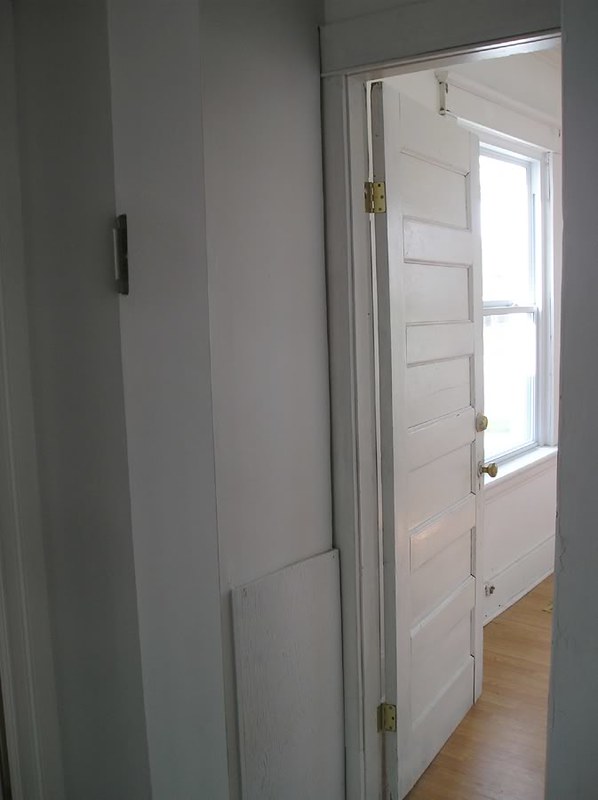
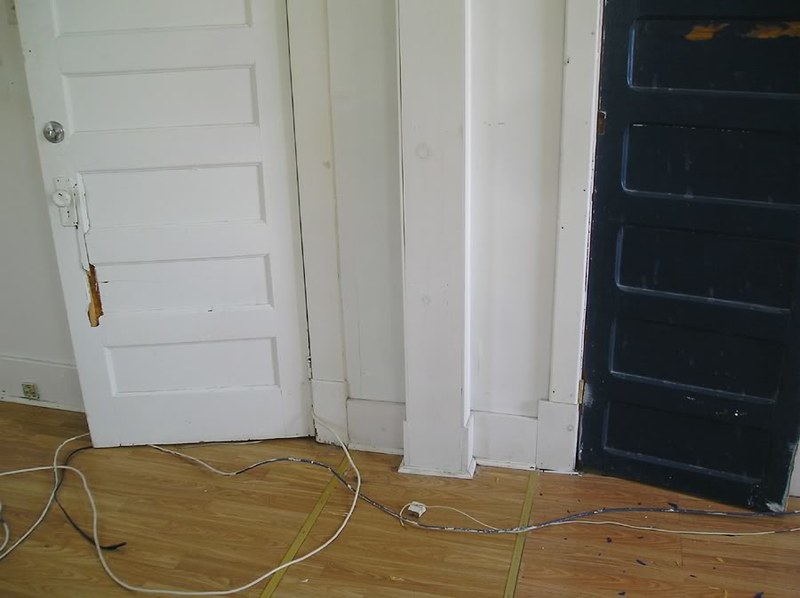
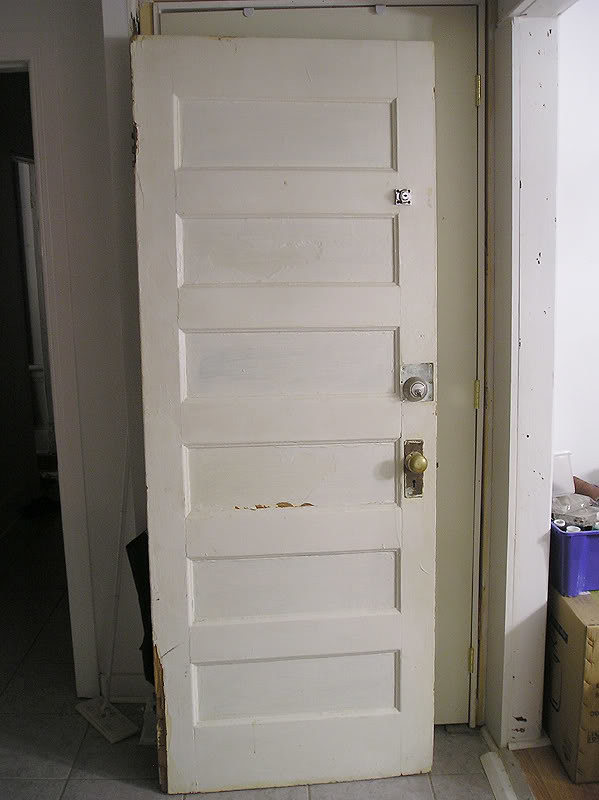
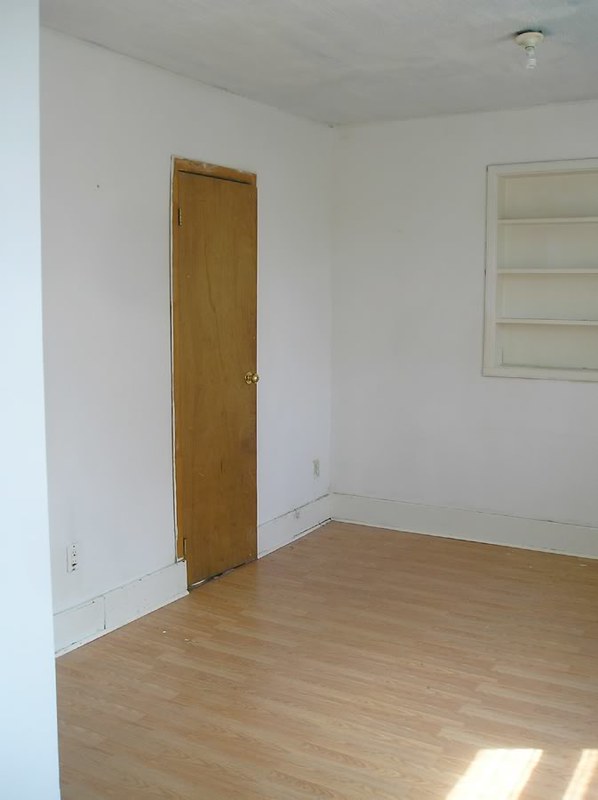
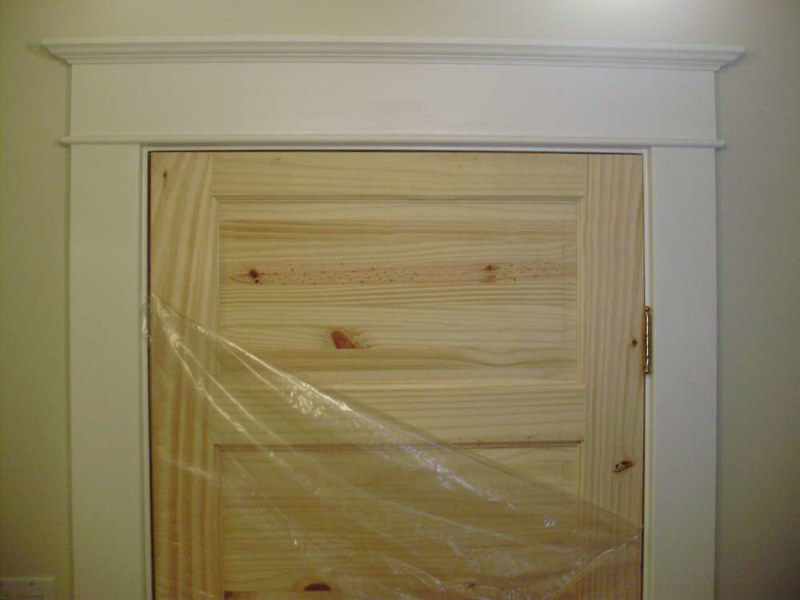
Living room door. Oh man! Remember when I had light switches half buried inside WALLS?
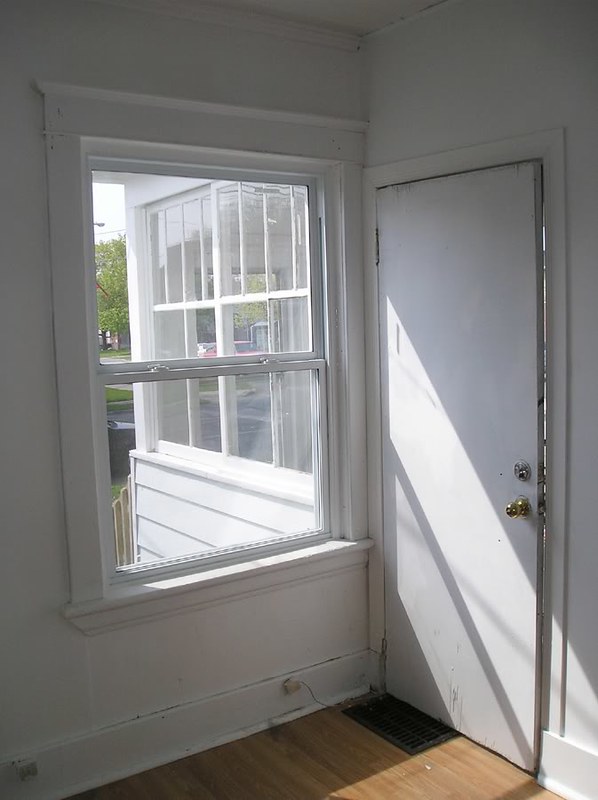
Same door, from inside living room.
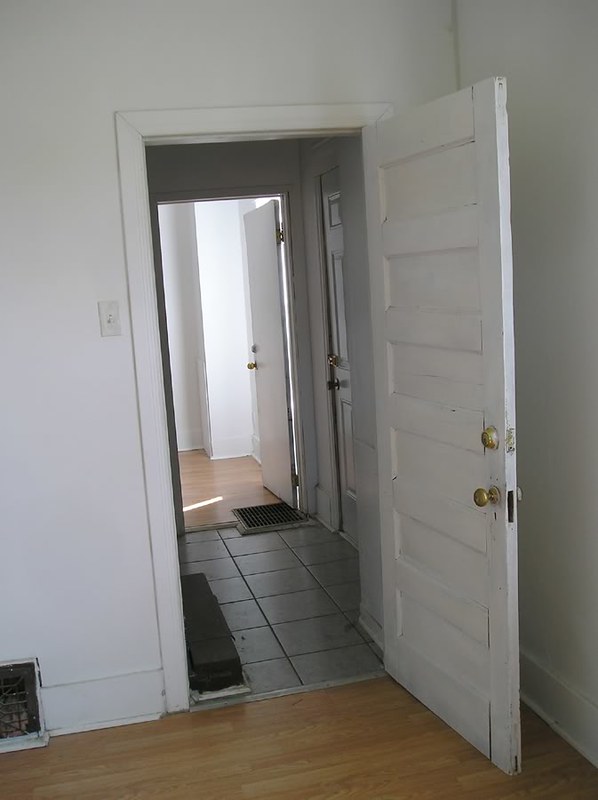
This door was falling apart, re-drilled with a deadbolt, and covered in flaky paint and varnish.
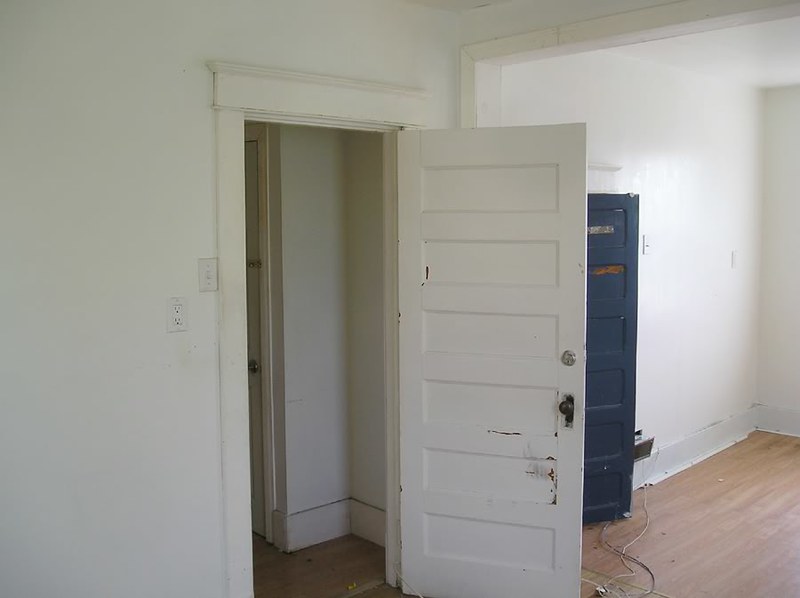
Master bedroom door. This side was not bad, but again, drilled with a deadbolt, and the back side had a panel busted-through (likely kicked-in).

The blue closet door may be original to the house (all the original closet walls were torn down, so it's impossible to know for sure), but the two I had were re-cut, and they are not exactly the same style (with rounded panel corners).
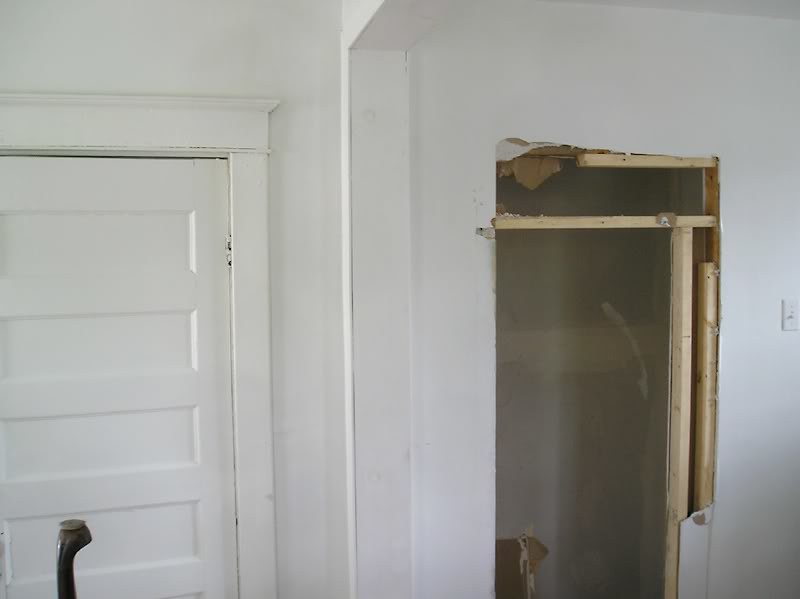
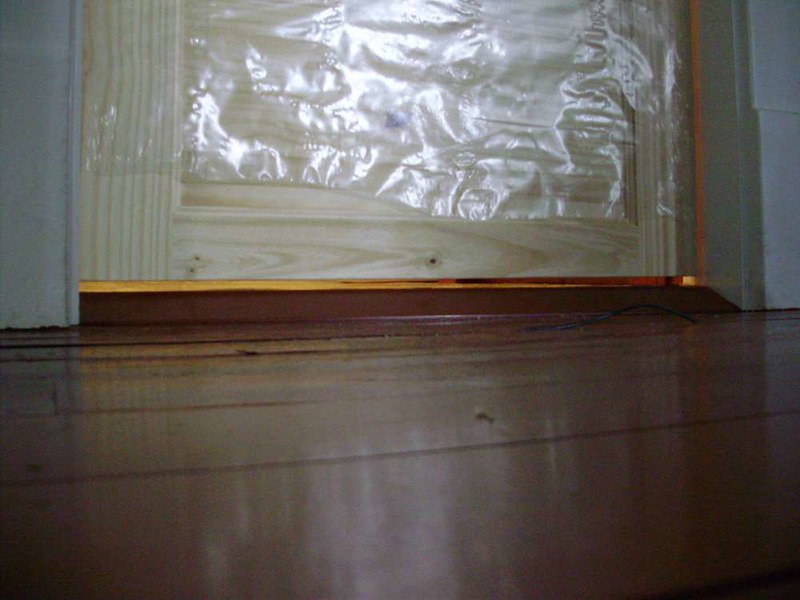
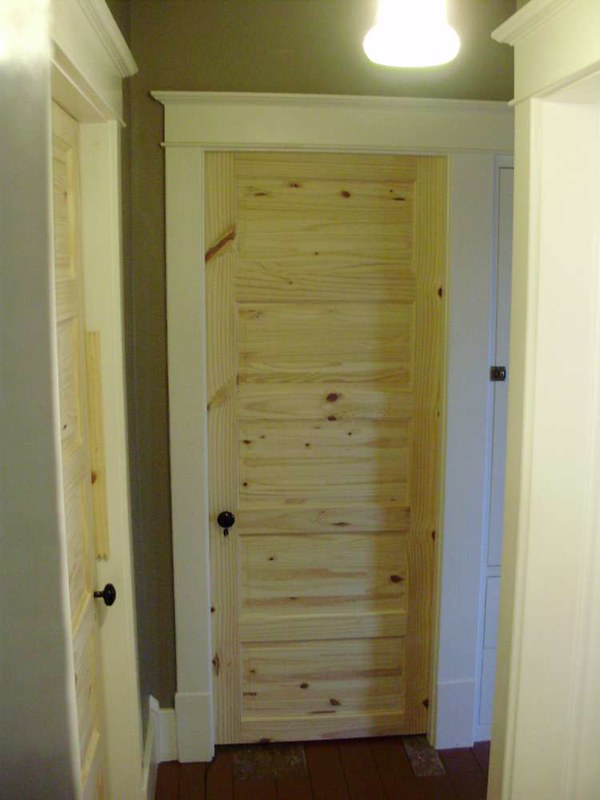
This was a few months later, when the original doorway was opened back up to the original size.
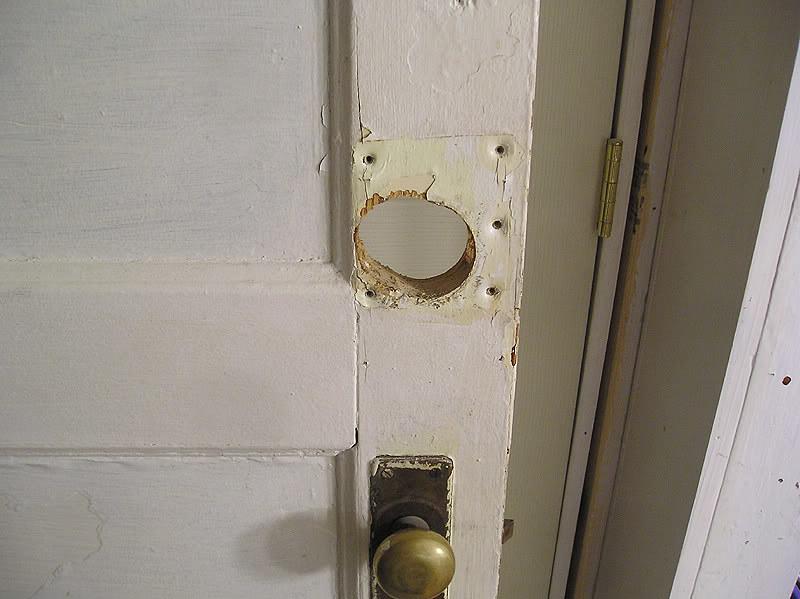
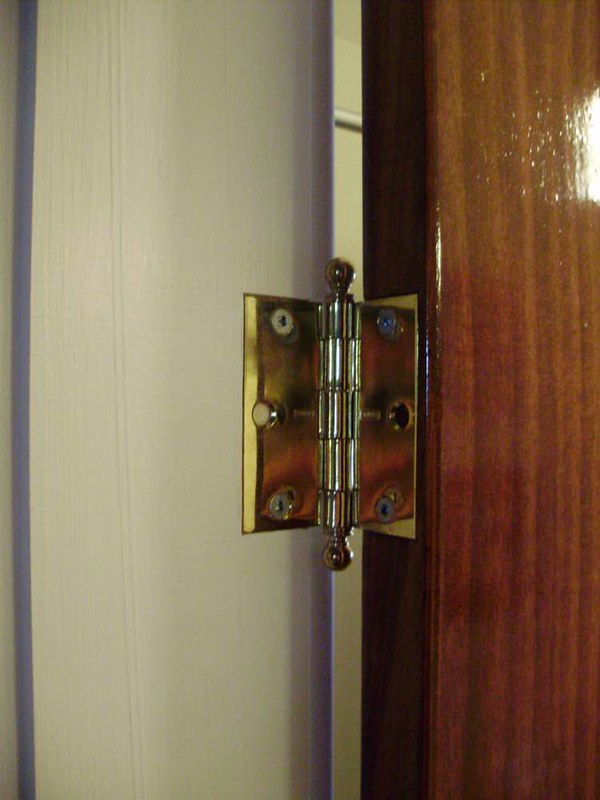
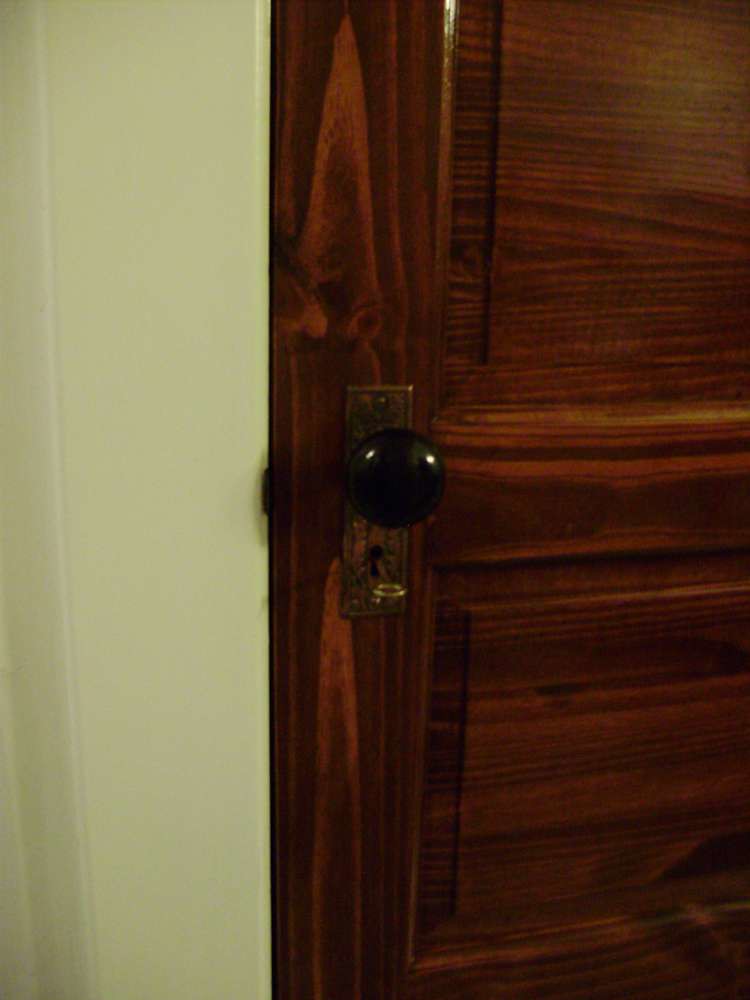
The only other original door left (there were 3 in total) was in the basement, so I don't know which door frame it went to, but it was also drilled for a deadbolt, and had the hinges torn off from it (large chunks of wood ripped out of the edge).
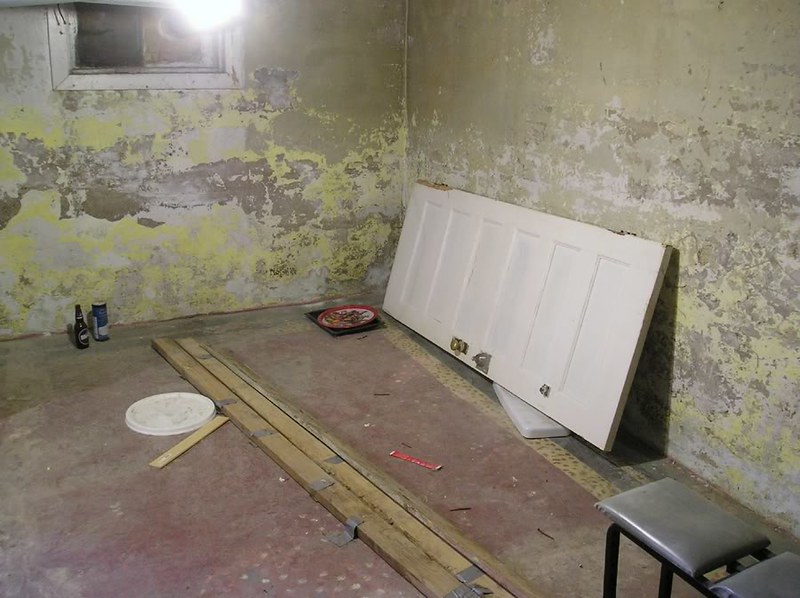
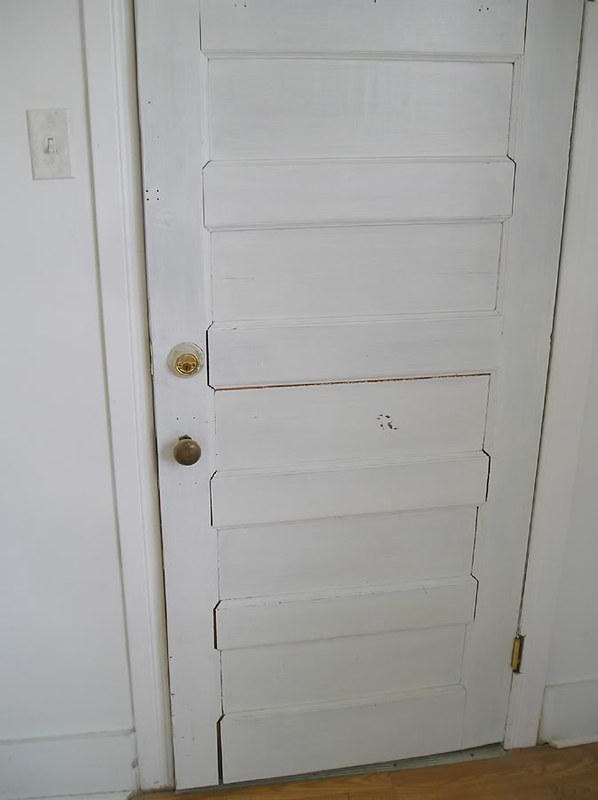
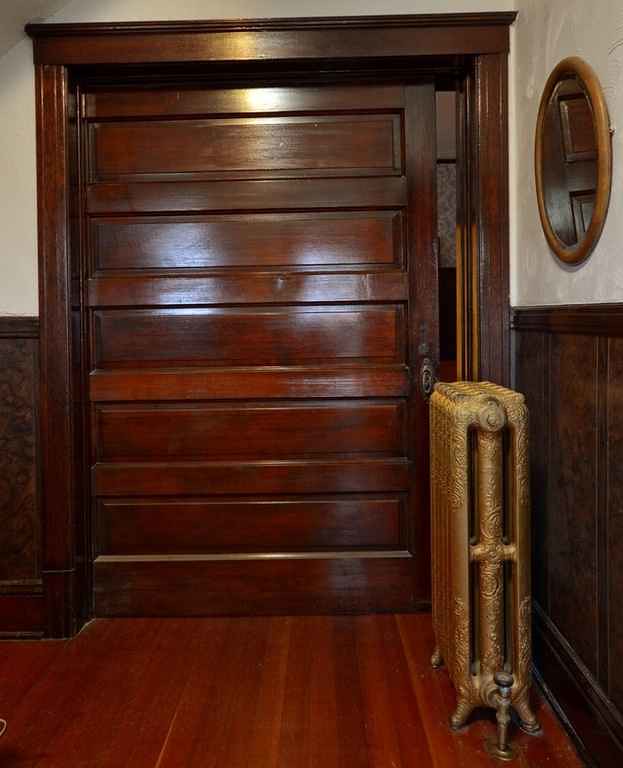
Some detail photos of that same door:
The other doors in the house were all mismatched, modern, and hollow. Some flat, some mahogany veneered, and some with 6 panel (Colonial style).
Basically all the remaining doors were all garbage or too severely damaged to repair.
So after LOTS of searching, getting quotes (as high as 800$ PER DOOR), and considering building my own, I was able to buy some nice quality doors. You can read all about that here:
https://my1923foursquare.blogspot.com/2018/07/went-shopping-doors.html
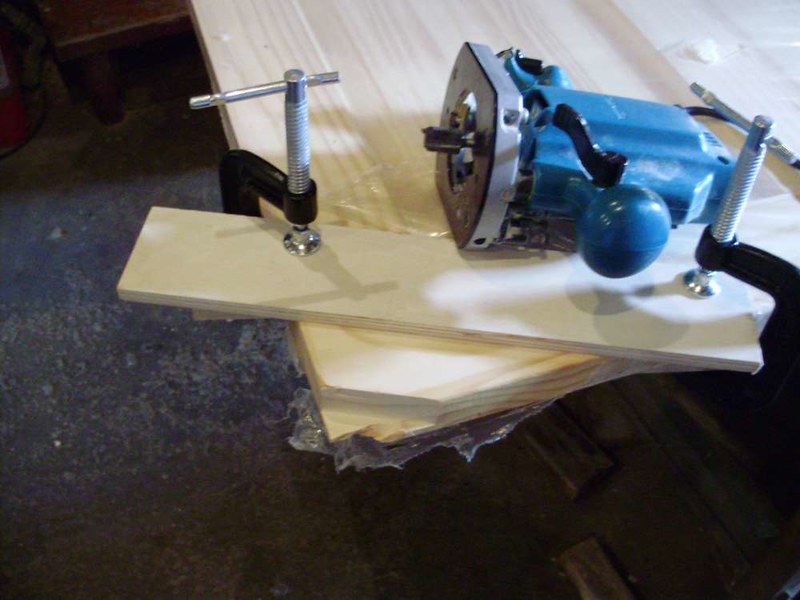
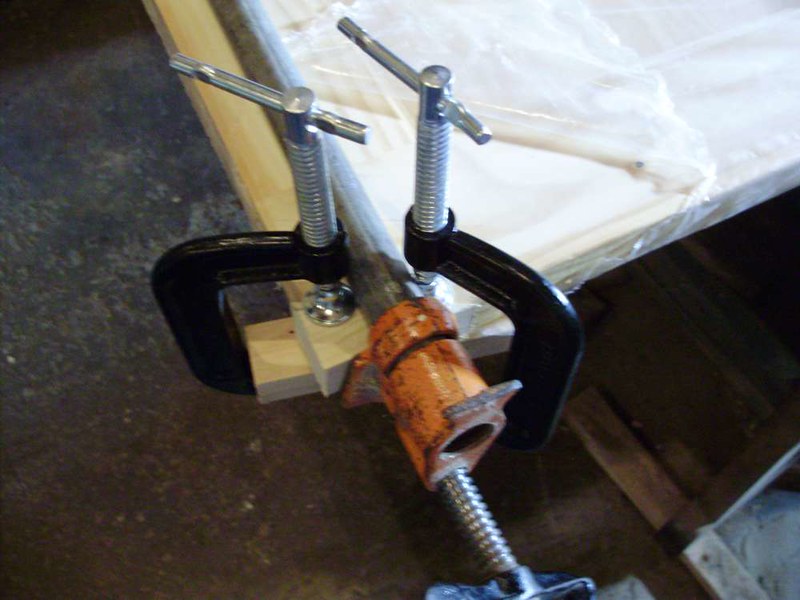
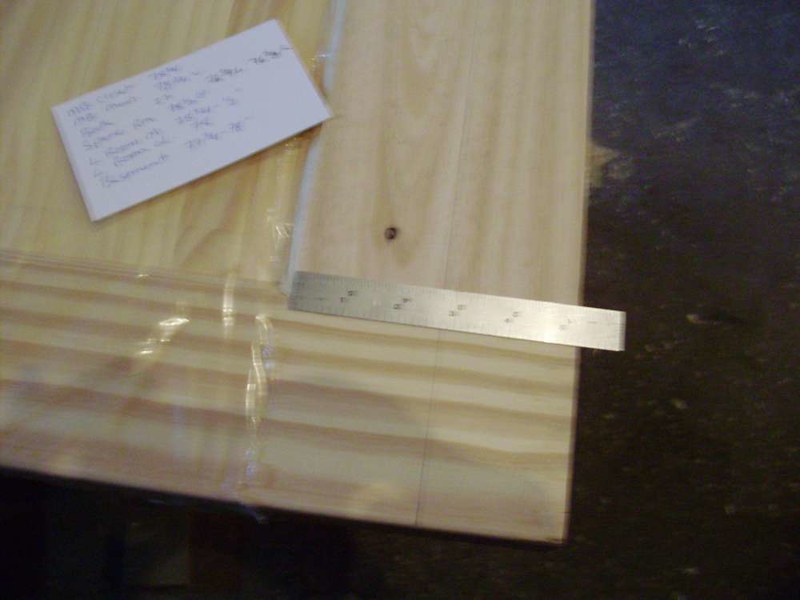
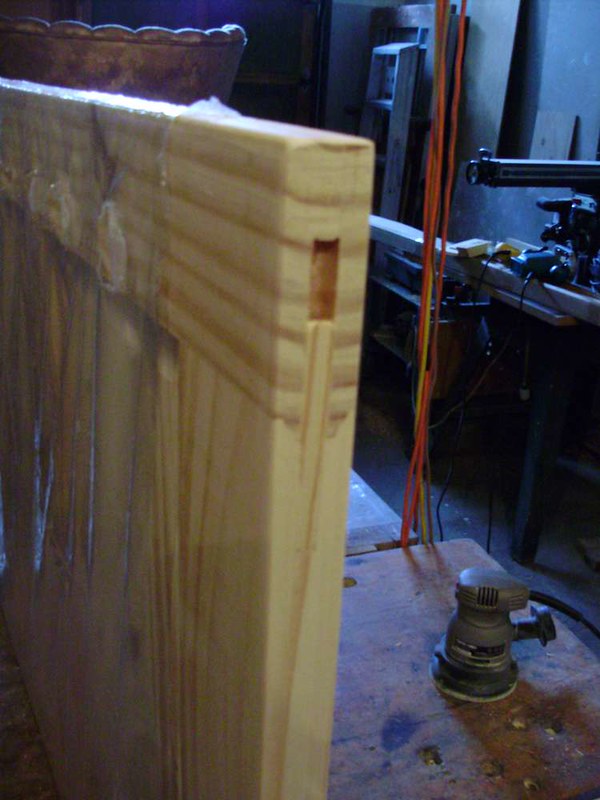
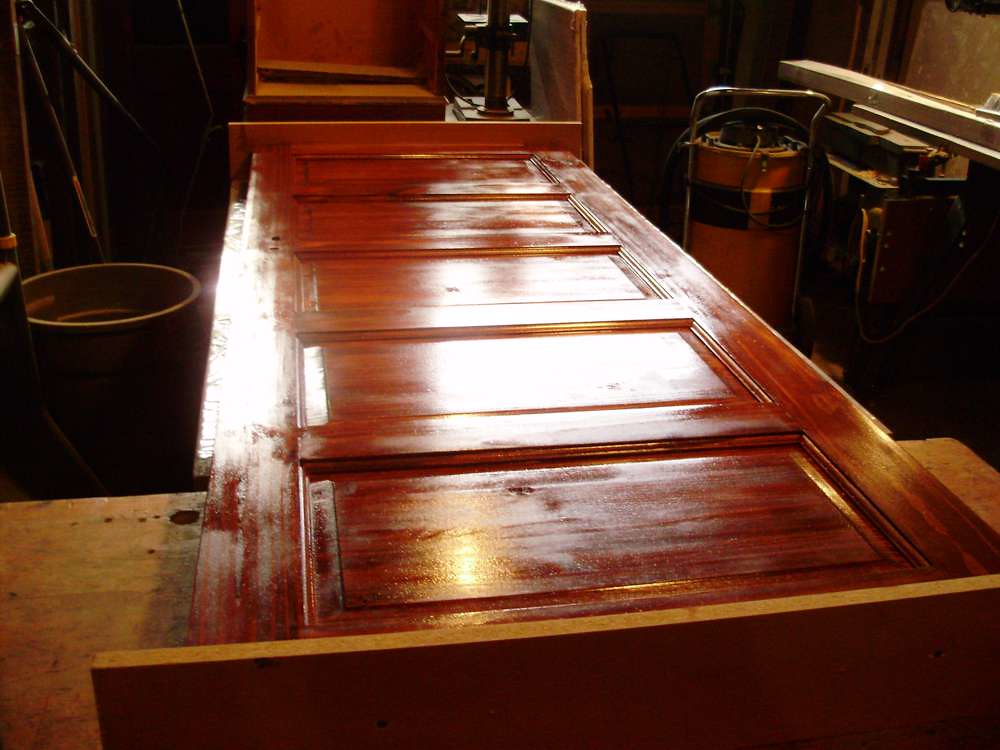
One of the doors had a damaged corner, so I got it for 75% off (basically it cost me only 20$). Here's how I fixed that one:
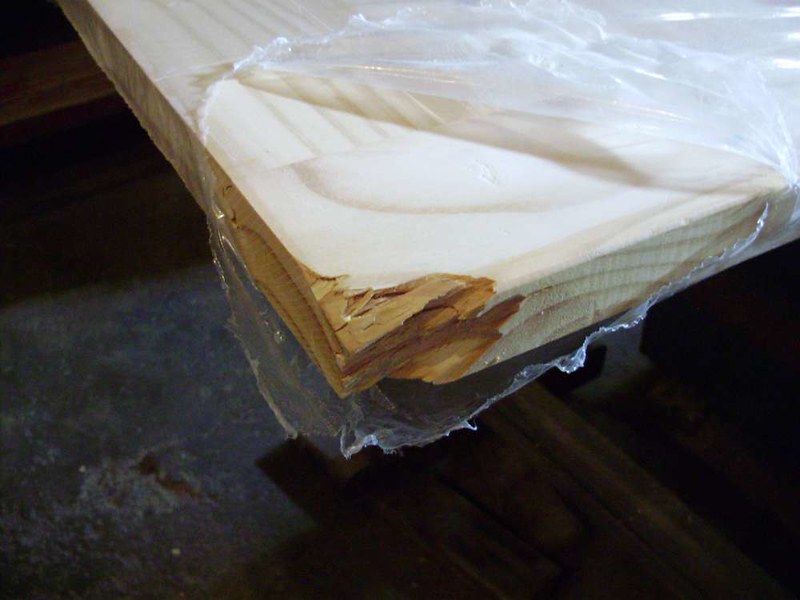
It was patched in 2 parts (one side had a larger chunk because the damage was on an angle. I used a router and a straight board as a fence.
After repair:
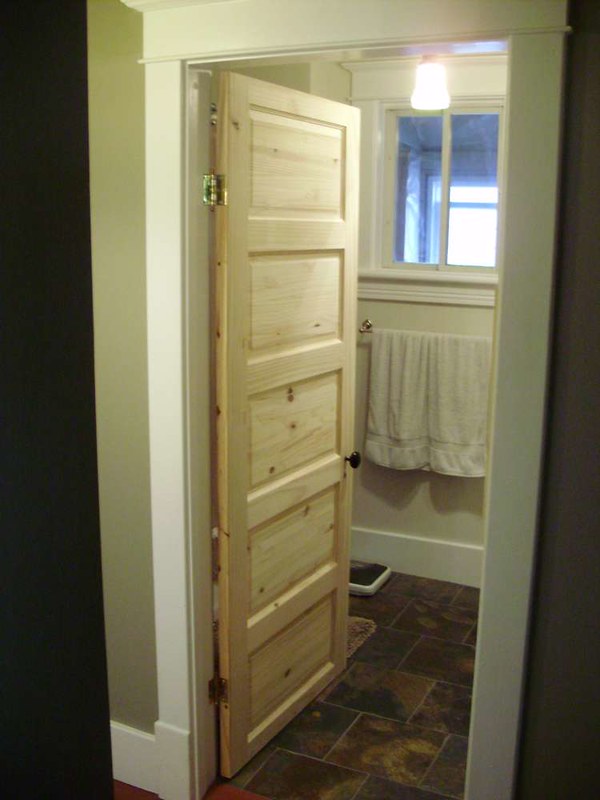
One of the issues with these particular doors (which I think I mentioned) is that they are quite limited with how far they can be trimmed. The bathroom door needed to have almost 3 inches chopped off due to the normal "shorter than standard" door height, paired with the added height of the plywood subfloor and tile.
I also trimmed the top of the bathroom door a hair shorter than the others to help with the height issue.
This particular door also had a bit of a fit issue with the hinge side being rather tight, and the open edge having almost 1/4" gap, so I fixed that by slightly bending the hinges using a vise and some wood blocks.
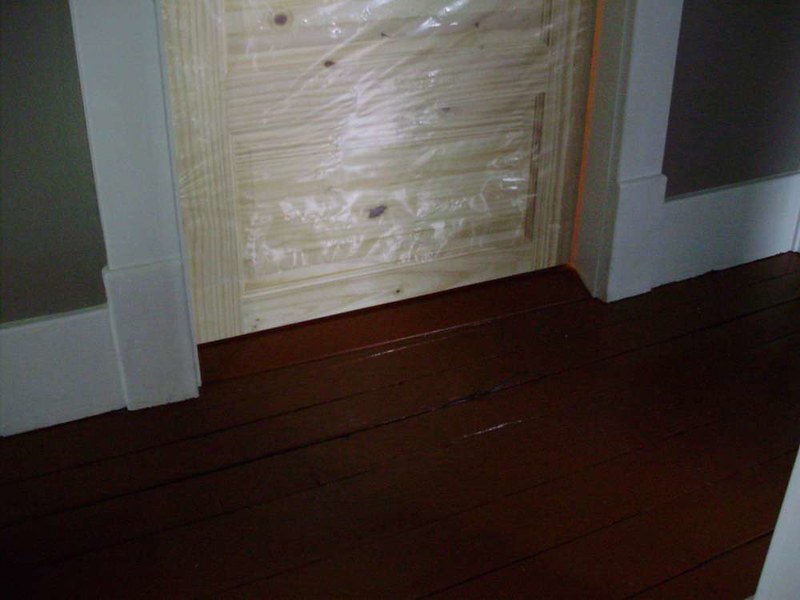
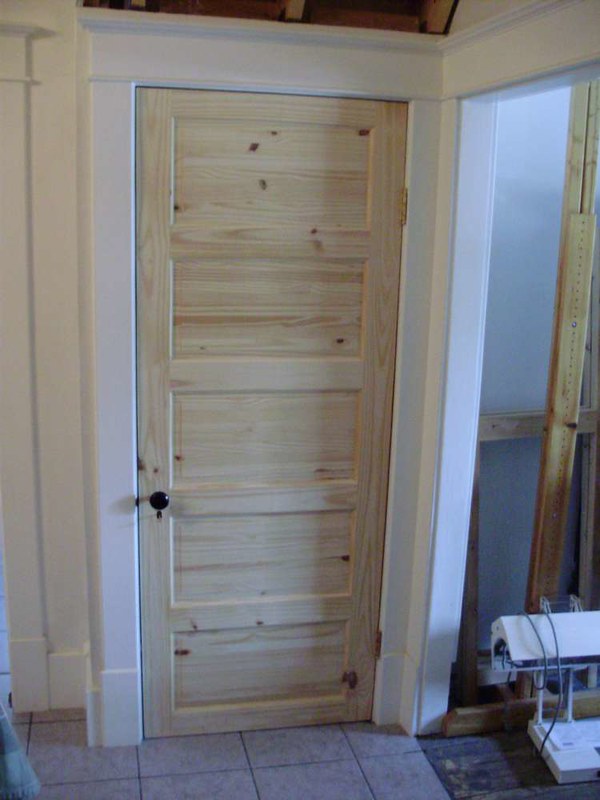
This is by far the shortest door. The bottom doesn't look amazing (since the bottom board is so skinny) but I can live with it.

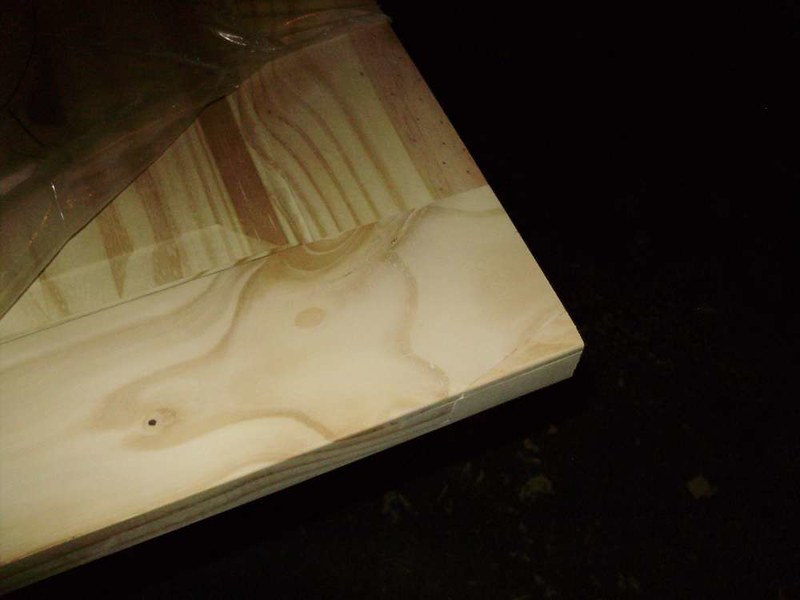
One nice construction detail on these doors is that each joint has two or three 4 inch dowels glued in place.
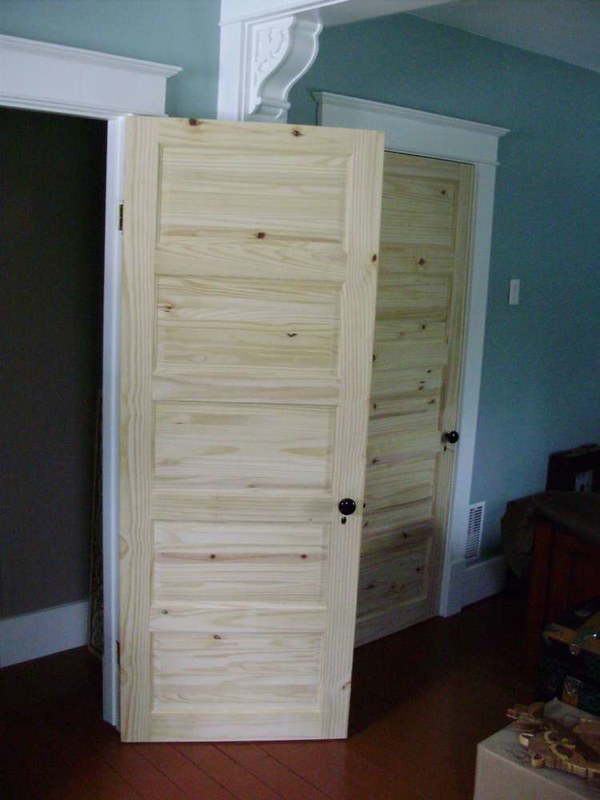
Most of the doors went in fairly easily, but pretty much all of them required multiple trips back and forth to the garage for slight trimming and adjustments. All the sizing and trimming was done using a jigsaw to cut away the bulk, and then they were trimmed perfectly flush and square with a router and fence.

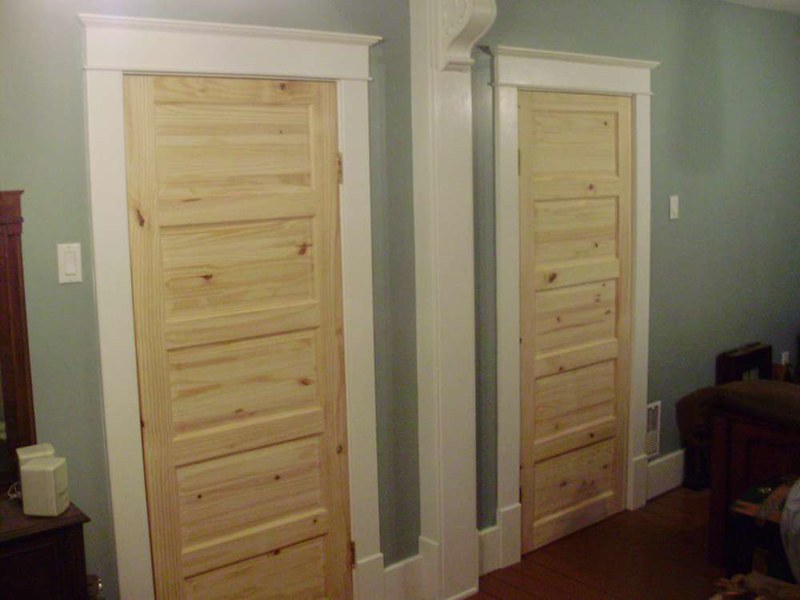
I was getting excited to finally be able to install all the salvaged hardware and lock sets I've had in storage. The lock sets were NOT fun to fit (because they had to be all hand drilled and chiseled to fit each door), but they all turned out really well. All the hardware is being fitted with slot screws (antiqued as required).
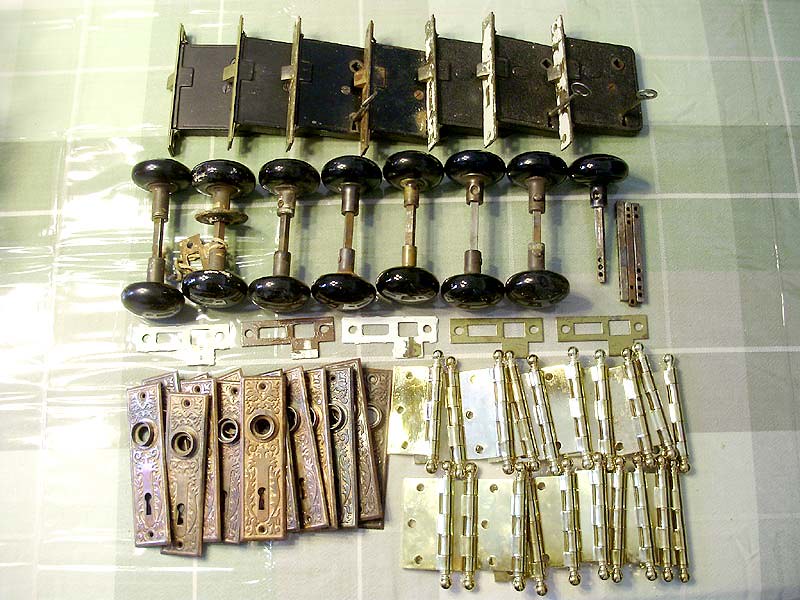
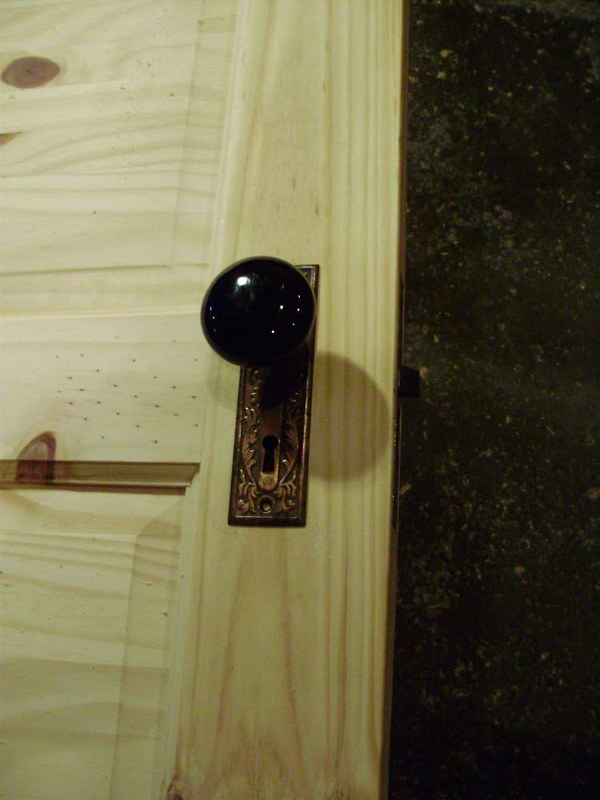
A few of the hinges on the old door jambs will need to have some patching done, and I still need to find correctly sized brass SLOT screws for all the doors. The same will be true for the strike plates (some will need patching and all will need paint touch ups).
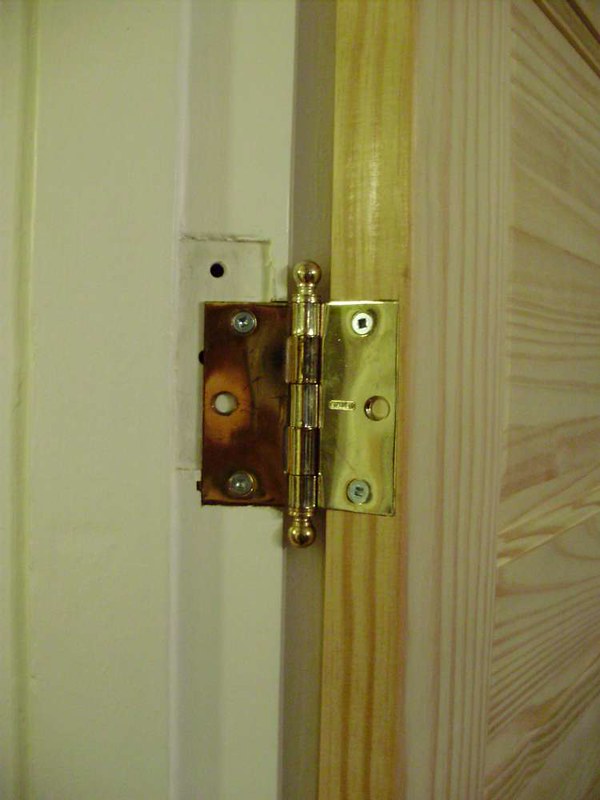
The new jambs had everything fitted perfectly (hinges and strikes). I still need to paint the interior bits (holes in the strike) and install the strop mouldings.
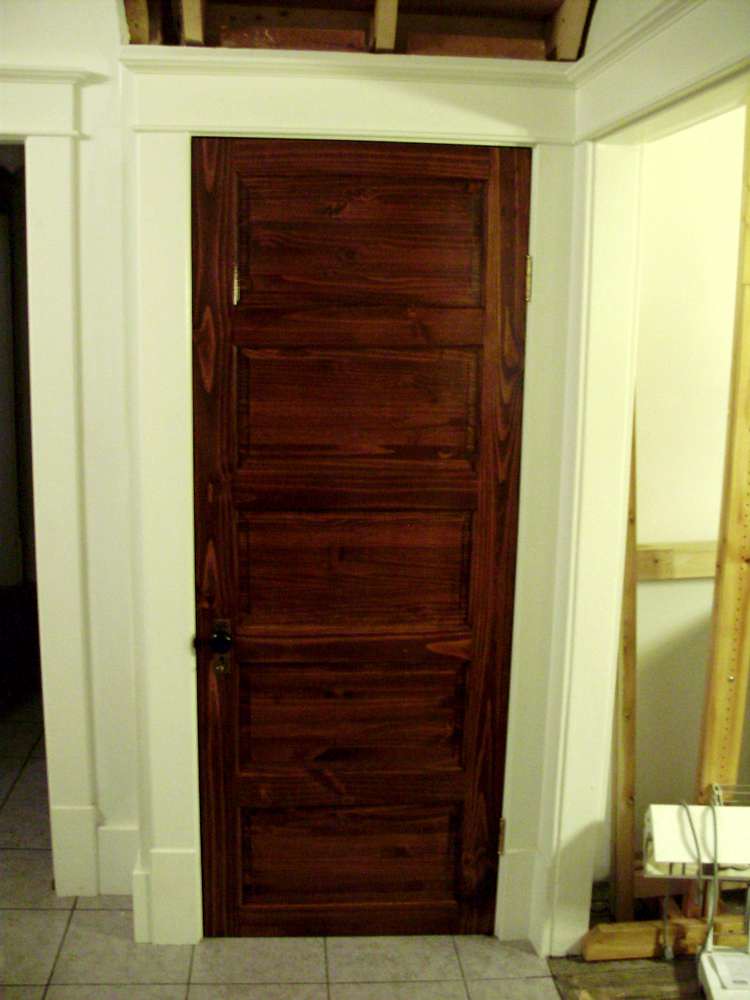
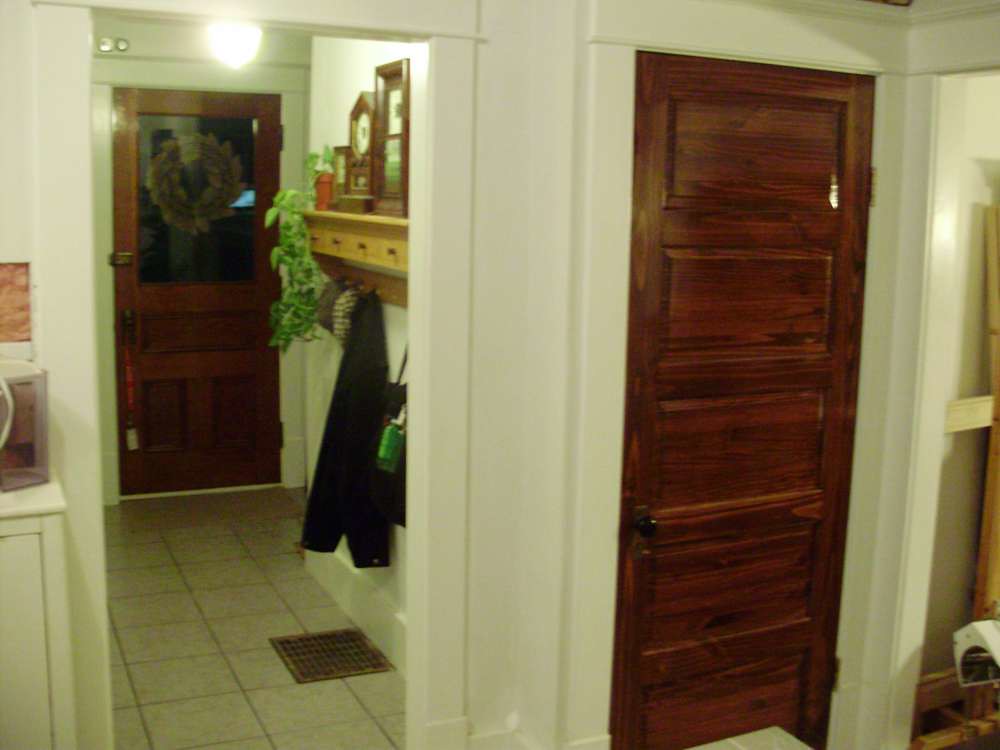
Basement door:
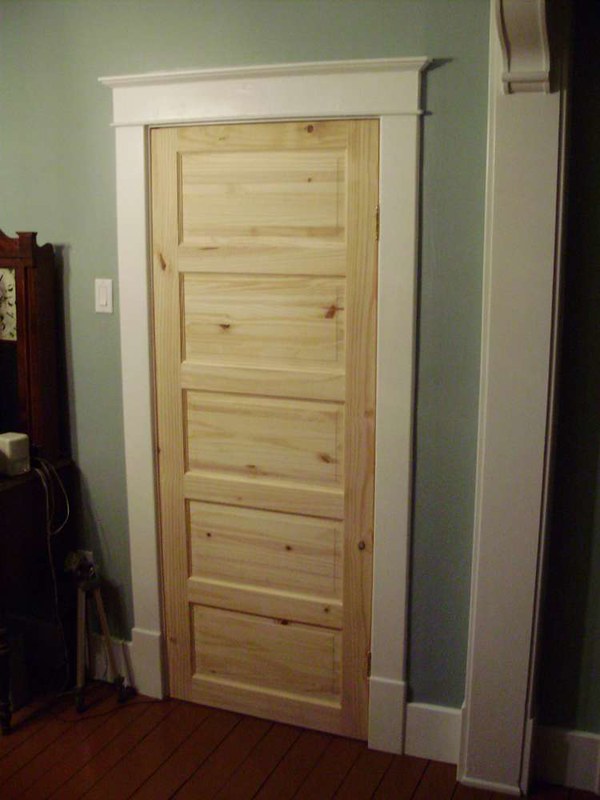
Master bedroom:
Bathroom:
Spare room (guest bedroom):
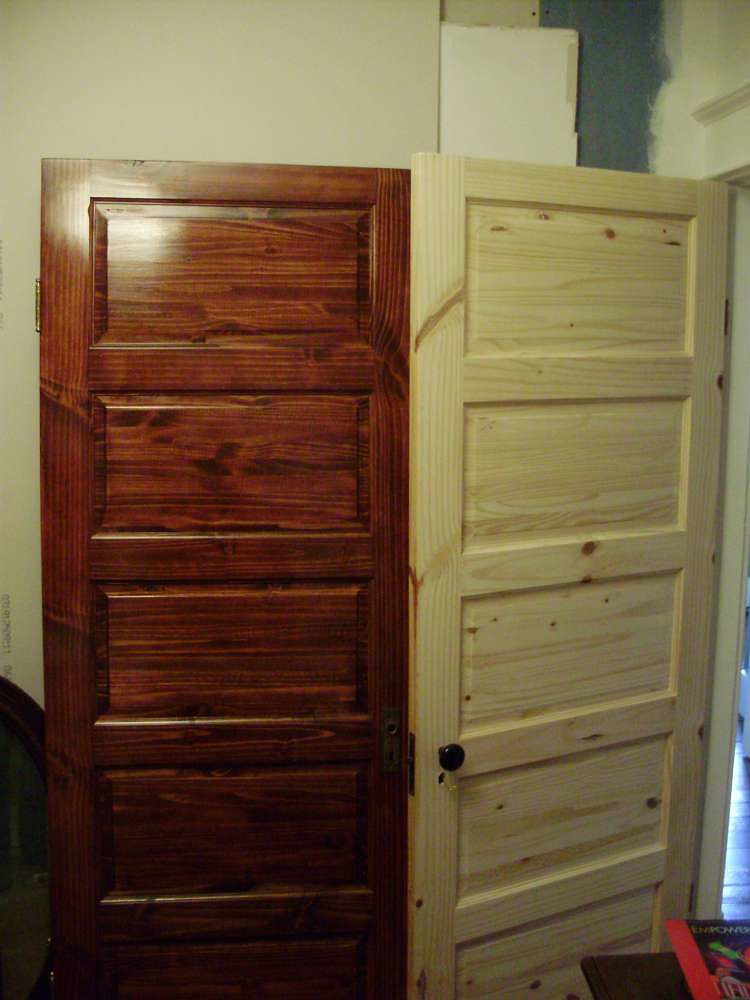
For the colour, I was torn between keeping the doors rather light, but I also really liked the colour of the salvaged front door, so I went and looked for other examples of dark doors to make sure I was making the right choice (ie: going dark):

I did love the look, so I decided to go ahead.
Finding the correct shade of "darkish-reddish-brownish-orangey mahogany" stain proved to be a pain. Most places in town don't offer custom tinted stains anymore, and nothing I had on hand was the right shade. I loved the shade I used on the bed, but it's a water based dye, and I really did NOT want to use a water based dye on these doors. I eventually stumbled on a can of "Mission Oak" stain by Varathane reduced to 5$ at Habitat Re-Store, which was EXACTLY the shade I wanted (or close enough). One can was not going to be enough. I started to look for more, but it seems as though this particular shade is being phased-out. Lowes didn't have any (they had all the other shades but not Mission Oak), but I was lucky to find that Home Depot *did* still have some in stock. Suspiciously that particular shade was on sale. I ended up buying two cans, just in case.

The board above shows the samples I did with the Mission Oak. 1 and 2 are with the Re-Store can (one coat and 2 coats), but then the single coat of the new can (3) seemed darker. I was worried it might be batch inconsistencies, but I think that more than likely I just hadn't mixed it enough.
The first door I did seemed a hair light, so I ended up doing two coats of stain on it. This was the basement door, which is the only door on the first floor (other than exterior doors).

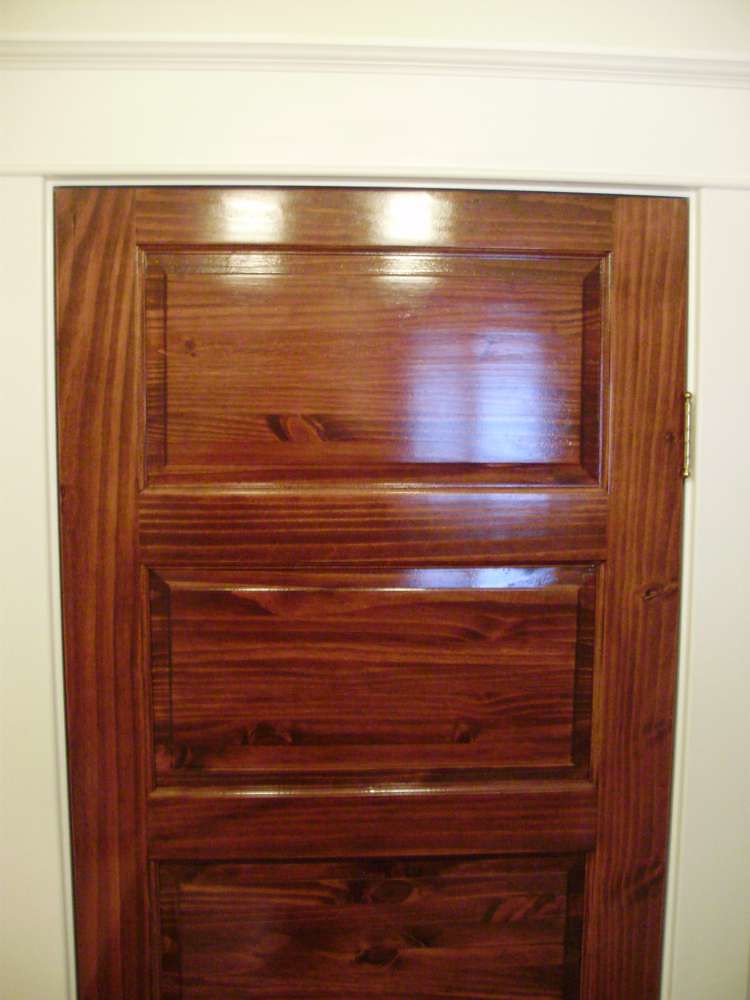
All the doors needed 3 coats of varnish. I used the same thing as on the salvaged front door: Helmsman Spar (marine) varnish in gloss. This shows coat number 2, which still shows a lot of uneven gloss.
The doors look a bit darker in some photos than in person. Due to lighting issues, and my camera not wanting to get the correct white balance, the doors are a bit tricky to photograph properly.
The colour between the two doors (new and salvaged antique) is nearly identical, and I'm really happy with how they turned out.
Again, depending on the lighting, they look really dark, but they are all the same colour. For all the remaining 7 doors (all upstairs) I chose to only do one heavy coat of stain, which turned out to give almost exactly the same colour as the very laborious two coats I had done on the first door.
I was only able to finish 4 of the 8 doors before I started working on the garage roof, and the weather got too cold. The last 4 will be done in spring 2019.
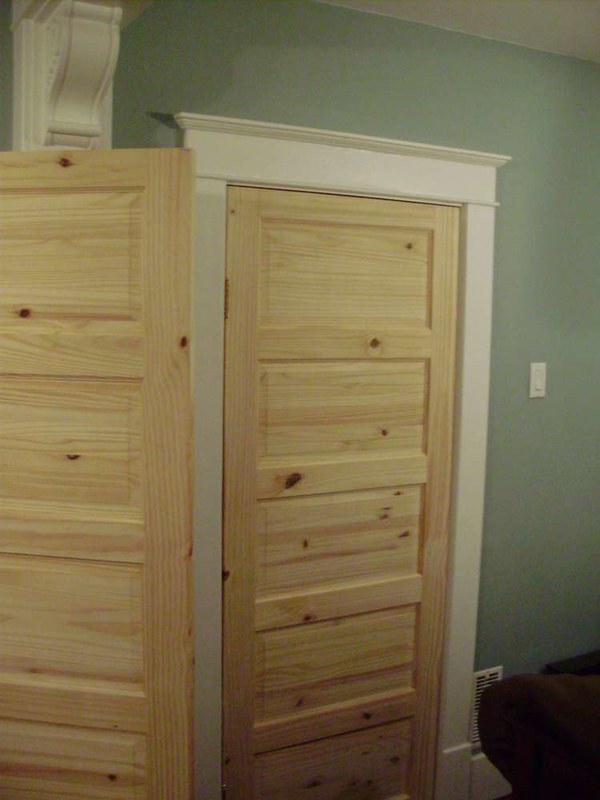
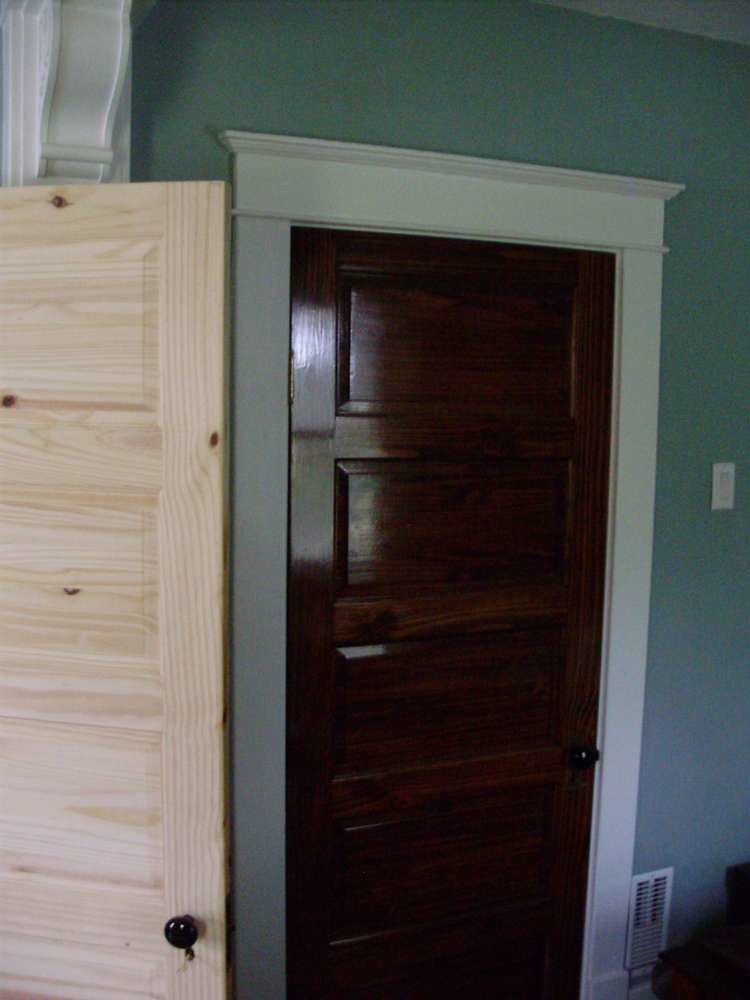
Master bedroom closet:
Bathroom:
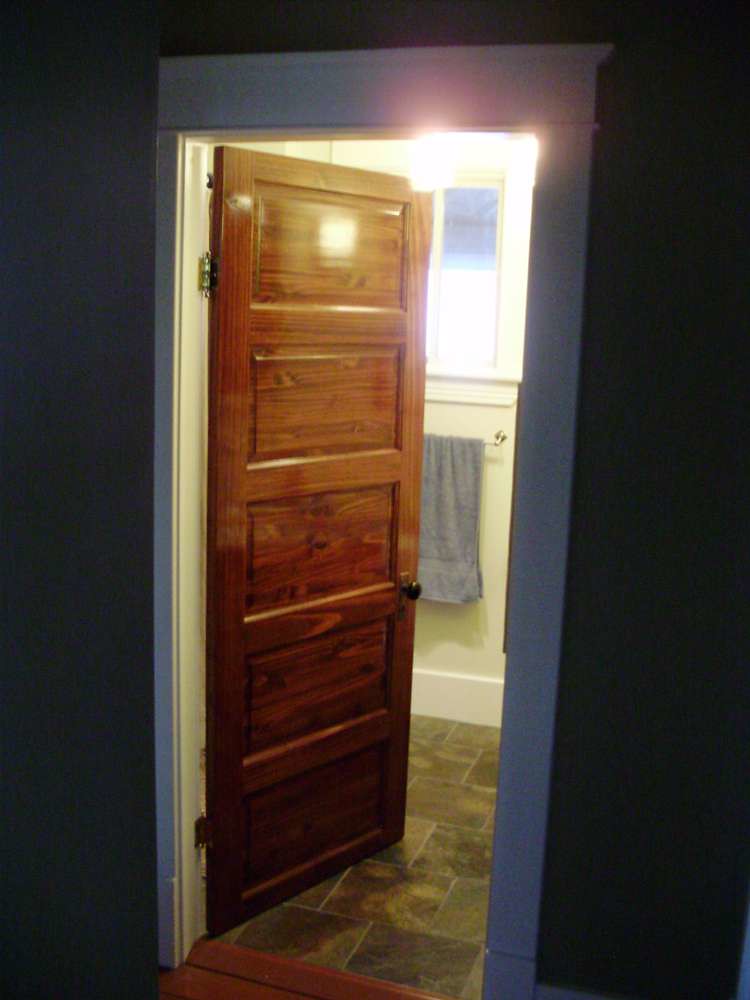
Bathroom interior detail:
This last one is the closet door to the spare room. The door frame for that one isn't even built yet as the chimney is still there. I was having issues with the varnish coming out streaky so I wanted to try it again on a less visible door.
Next post will likely be the one showing the huuuuuuge job of redoing the garage roof. Stay tuned!