Showing posts with label Finishing. Show all posts

Monday, October 29, 2018

Doors!

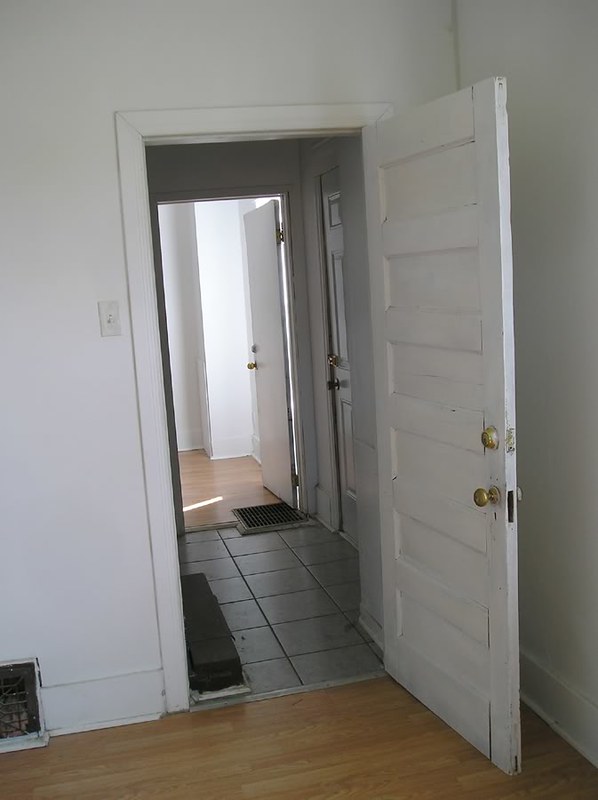
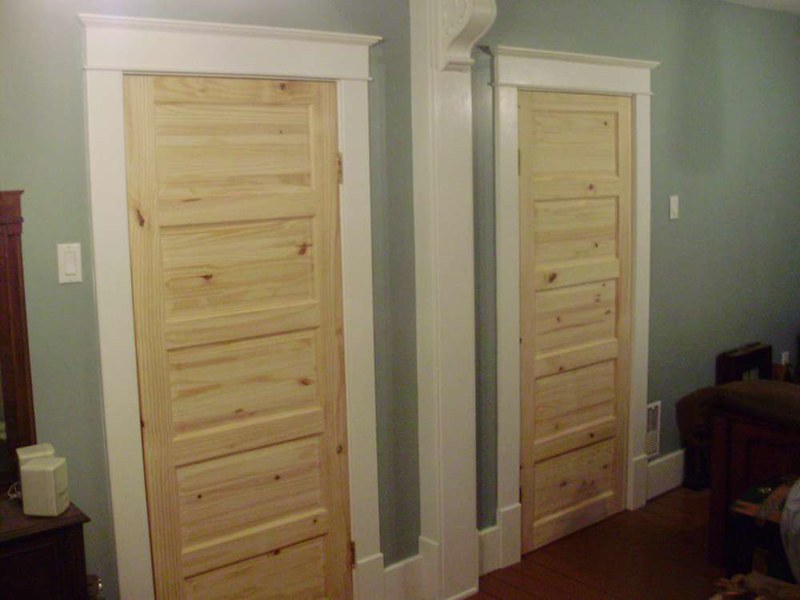
So here's one of those really rewarding posts to see, where some good progress on the house seems to really show. As most of my readers know, I haven't had doors in the house for about 8 years. I bought the house in 2010, and shortly after than time, I started to do some demolition, and I had very few original doors left, and the other existing doors were absolutely awful. Actually, let's just take a few moments to travel down memory lane and revisit what the house was like in 2010:

Living room door. Oh man! Remember when I had light switches half buried inside WALLS?
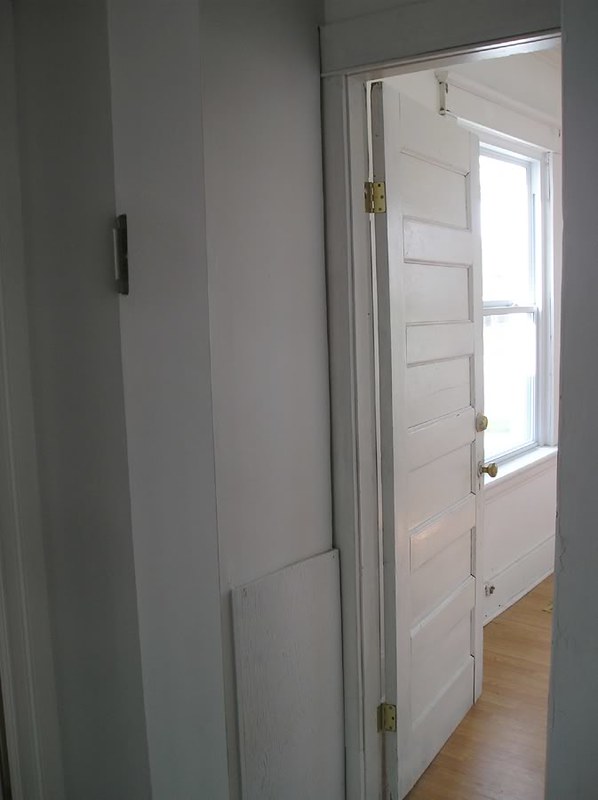
P4306767

Same door, from inside living room.

P4306768

This door was falling apart, re-drilled with a deadbolt, and covered in flaky paint and varnish.
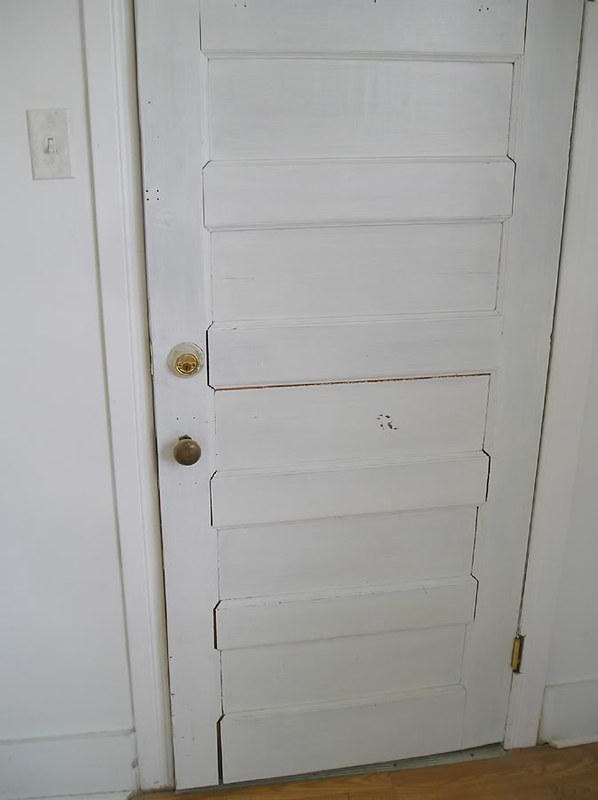
P4306776

Master bedroom door. This side was not bad, but again, drilled with a deadbolt, and the back side had a panel busted-through (likely kicked-in).
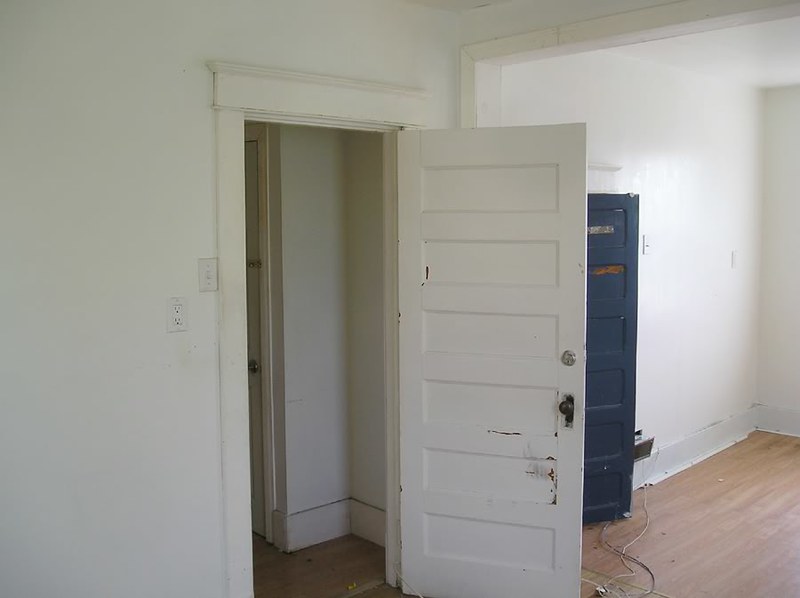
P4306852

P4306853

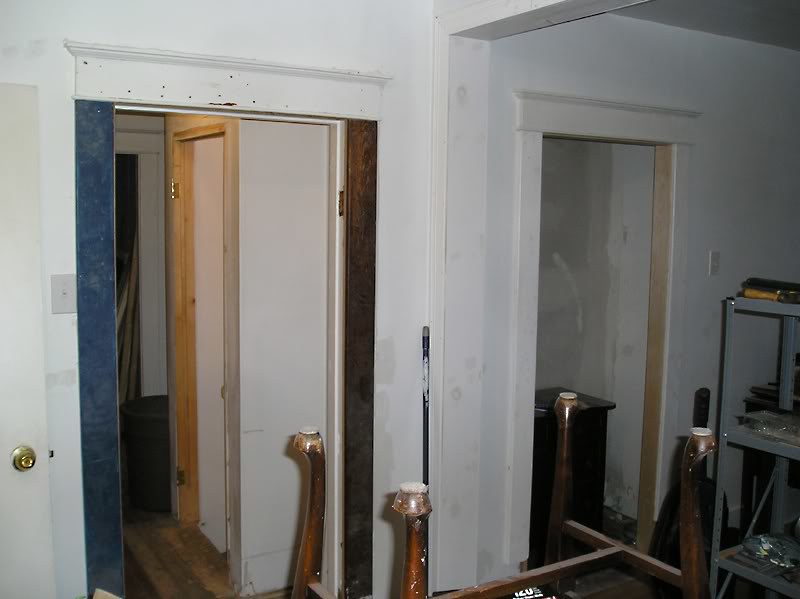
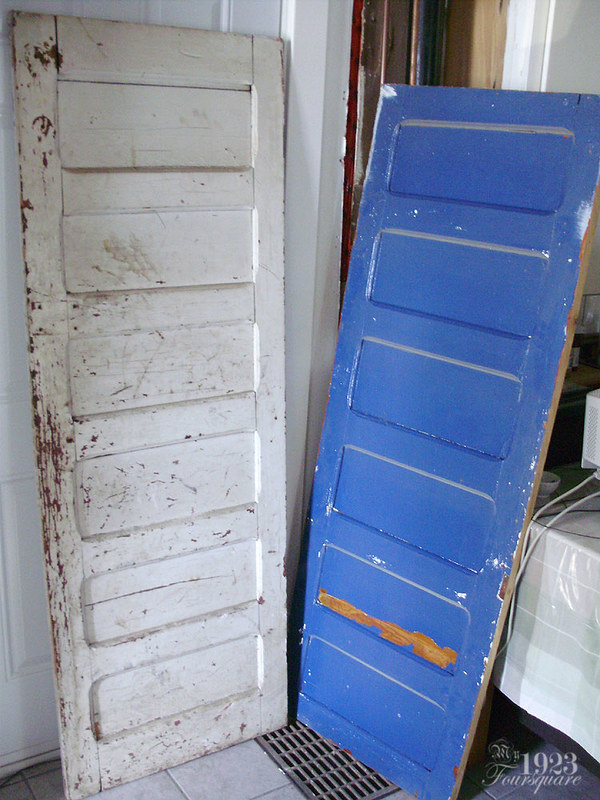
The blue closet door may be original to the house (all the original closet walls were torn down, so it's impossible to know for sure), but the two I had were re-cut, and they are not exactly the same style (with rounded panel corners).
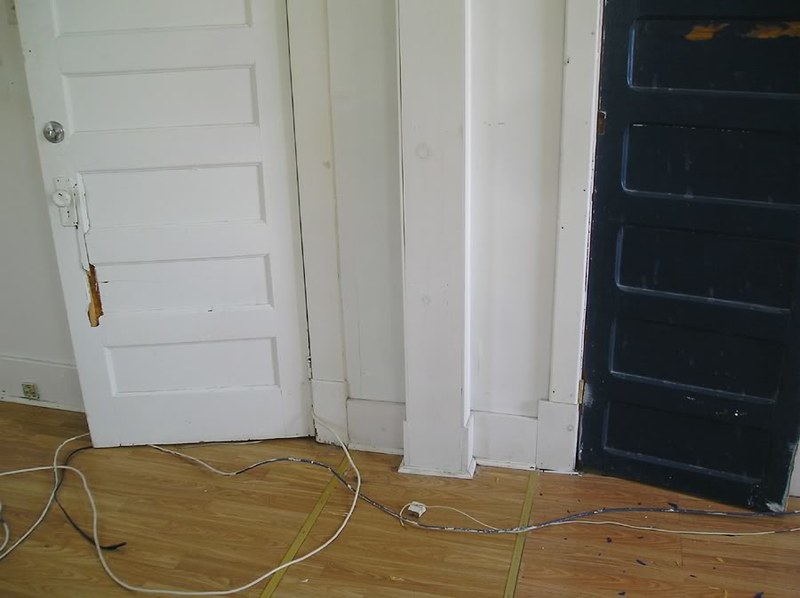
P4306861

This was a few months later, when the original doorway was opened back up to the original size.
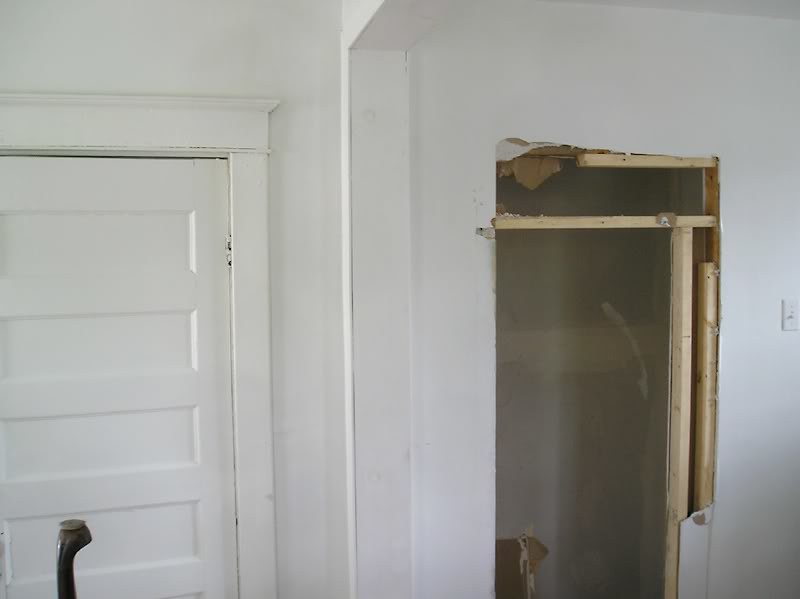
Closet02

P9017766

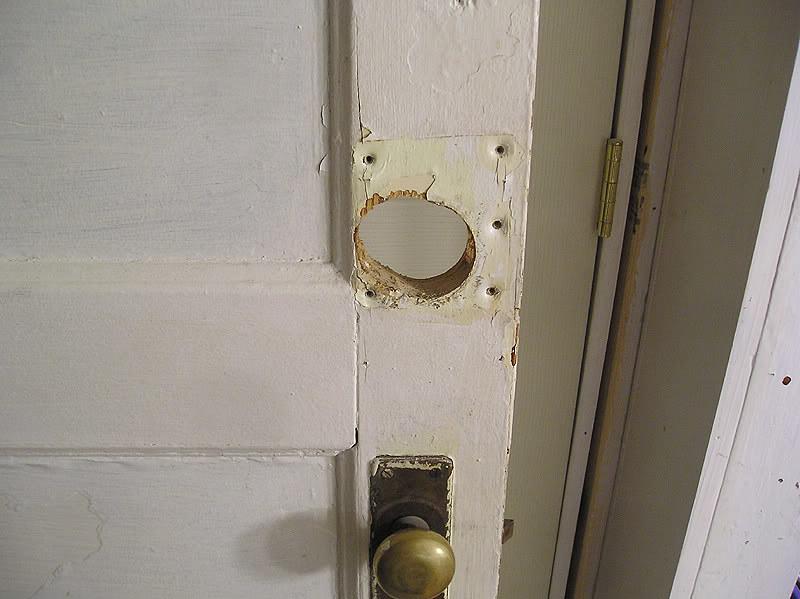
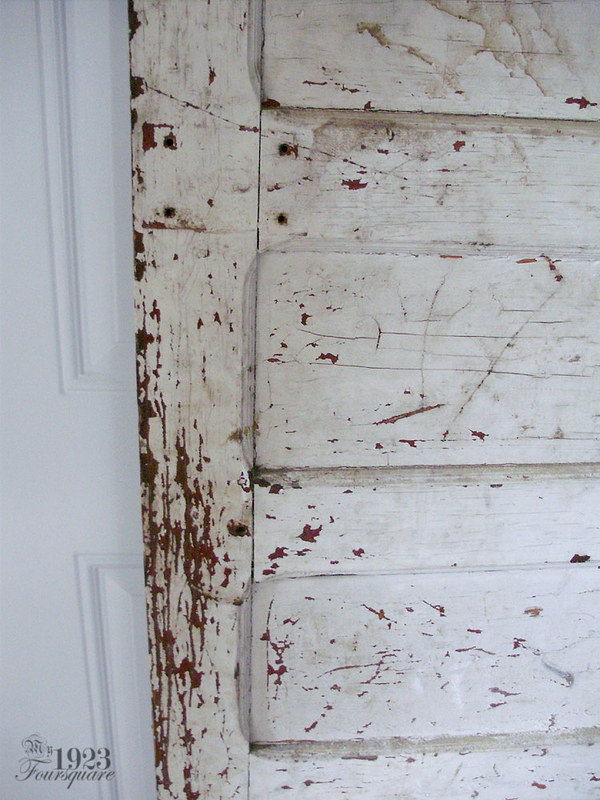
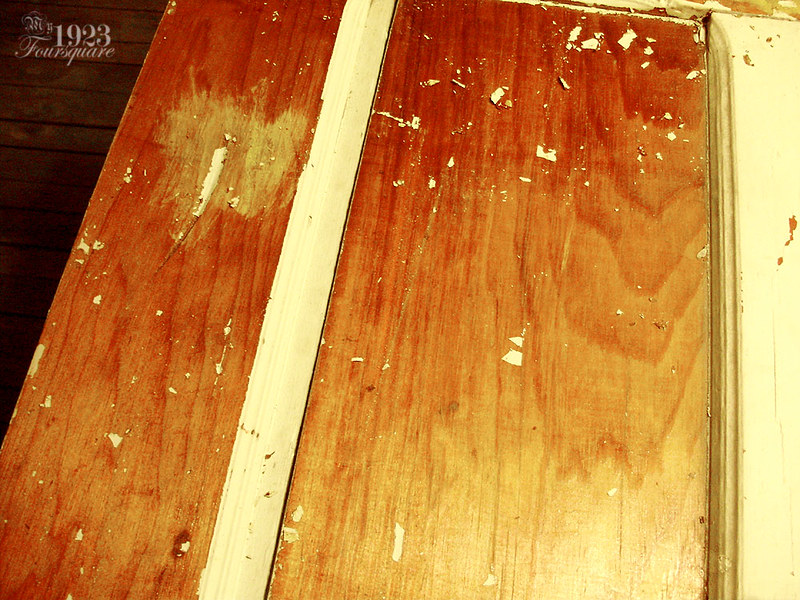
The only other original door left (there were 3 in total) was in the basement, so I don't know which door frame it went to, but it was also drilled for a deadbolt, and had the hinges torn off from it (large chunks of wood ripped out of the edge).
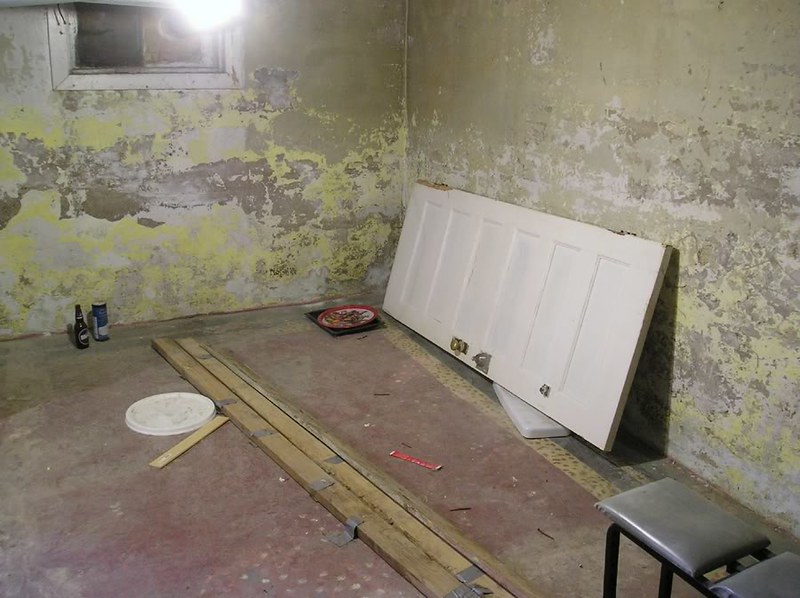
P4306885

Some detail photos of that same door:
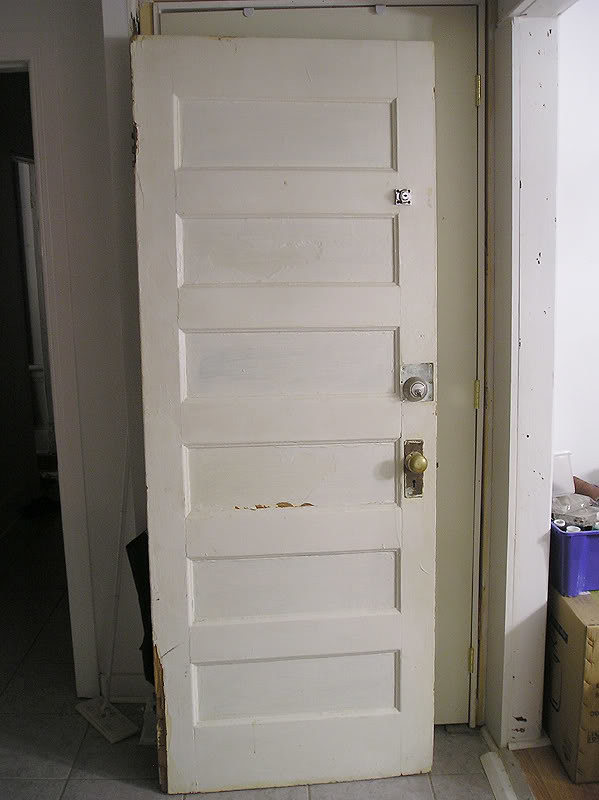
PA078077

PA078079

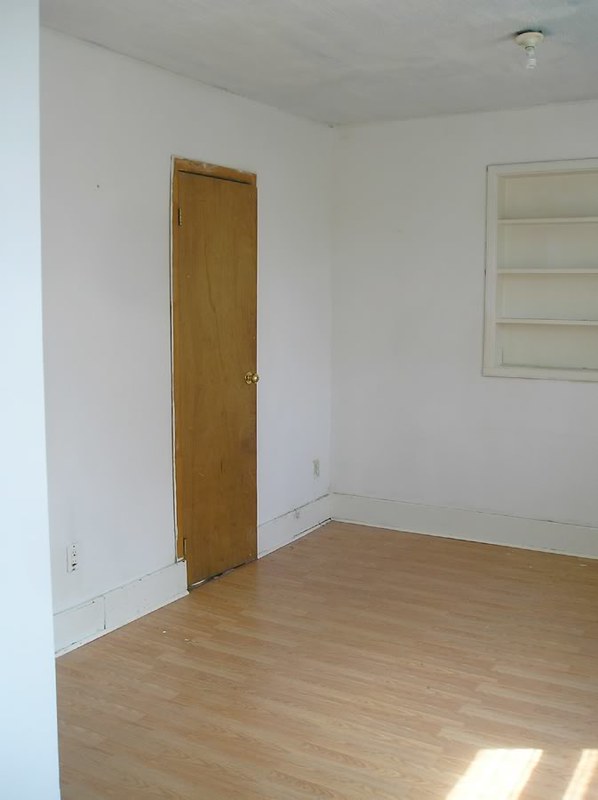
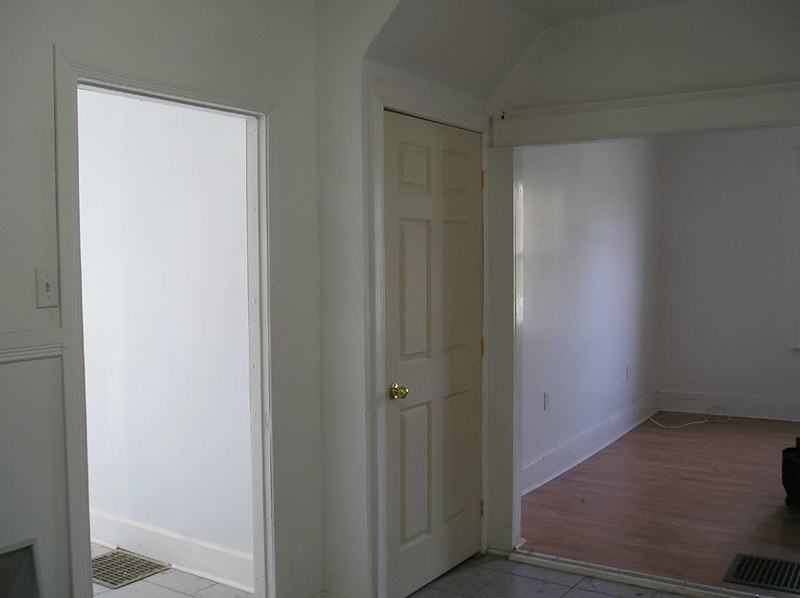
The other doors in the house were all mismatched, modern, and hollow. Some flat, some mahogany veneered, and some with 6 panel (Colonial style).
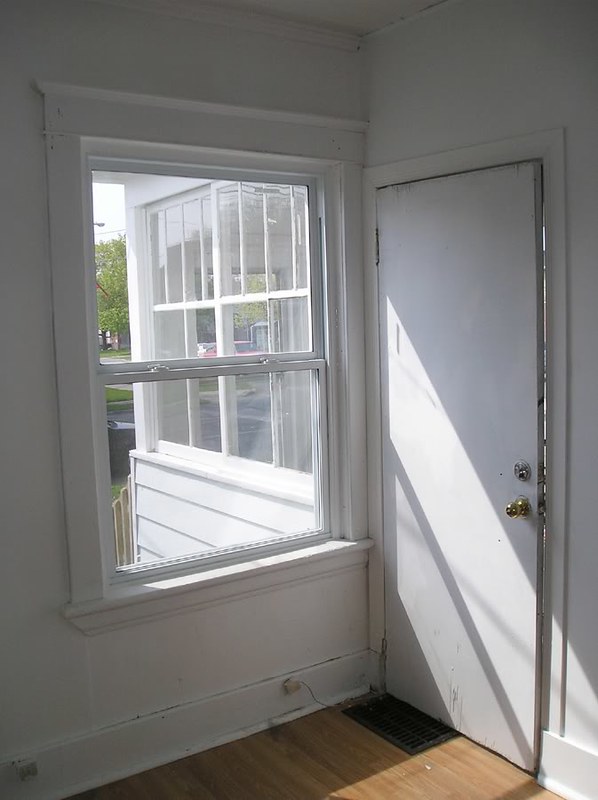
P4306759

P4306792

P4306822

Basically all the remaining doors were all garbage or too severely damaged to repair.

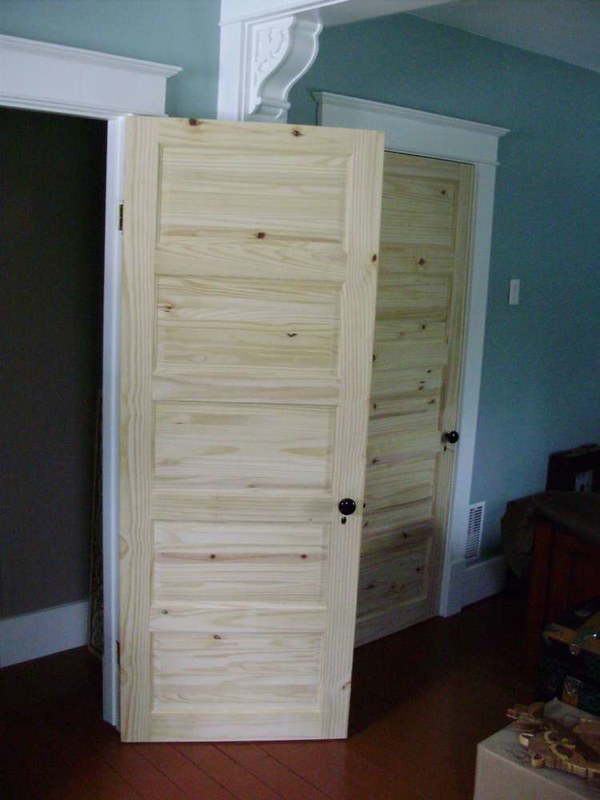
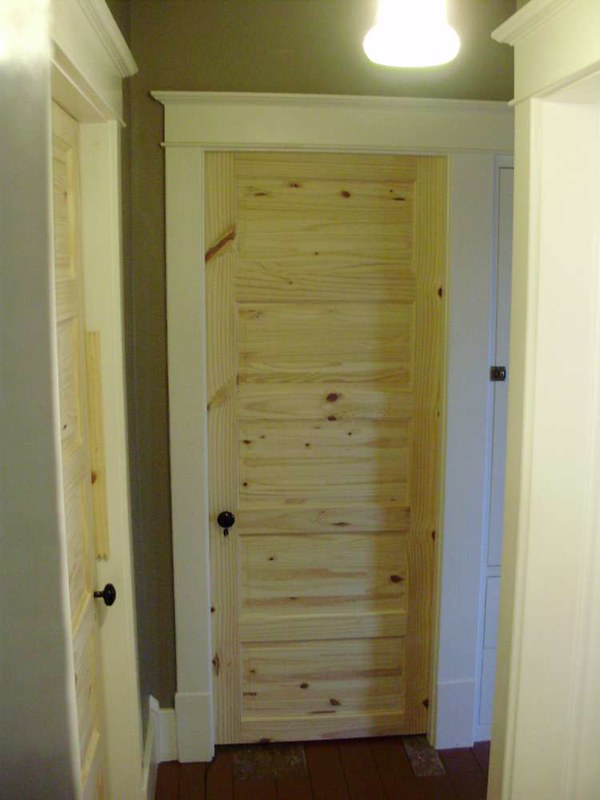
So after LOTS of searching, getting quotes (as high as 800$ PER DOOR), and considering building my own, I was able to buy some nice quality doors. You can read all about that here:
https://my1923foursquare.blogspot.com/2018/07/went-shopping-doors.html

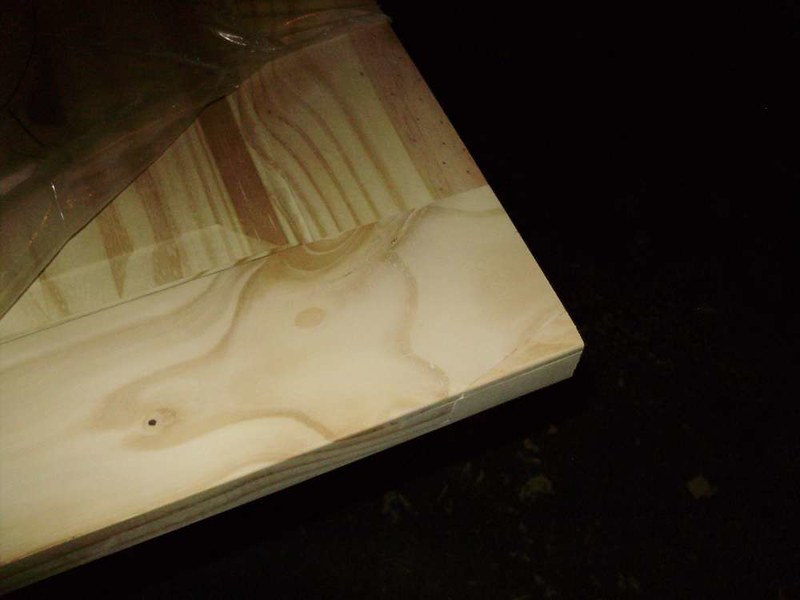
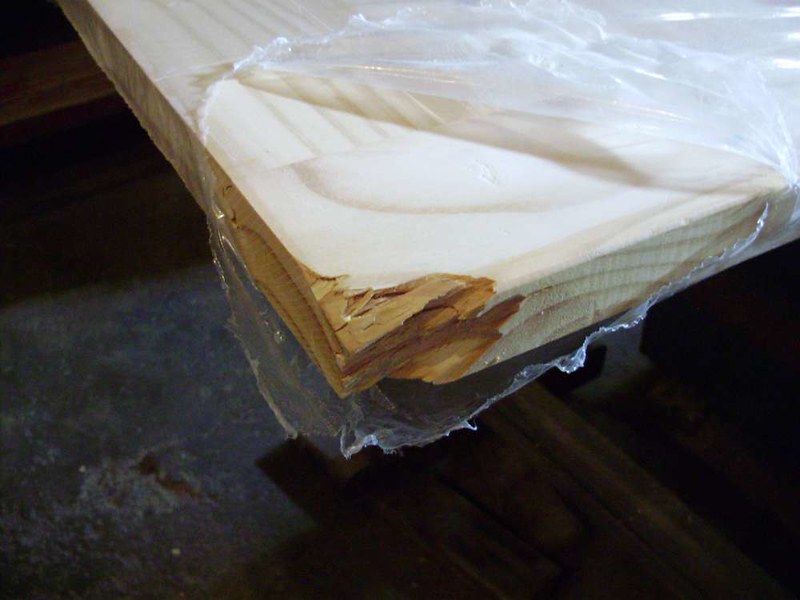
One of the doors had a damaged corner, so I got it for 75% off (basically it cost me only 20$). Here's how I fixed that one:
P8020384

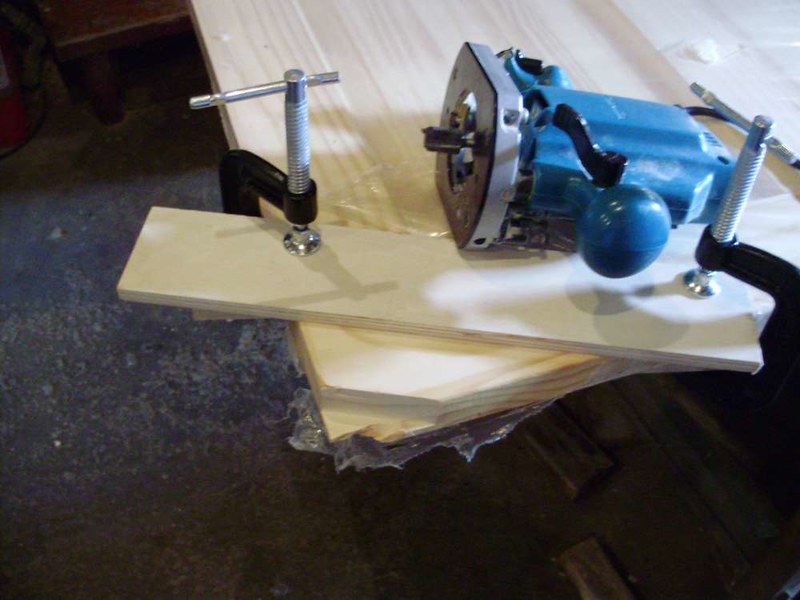
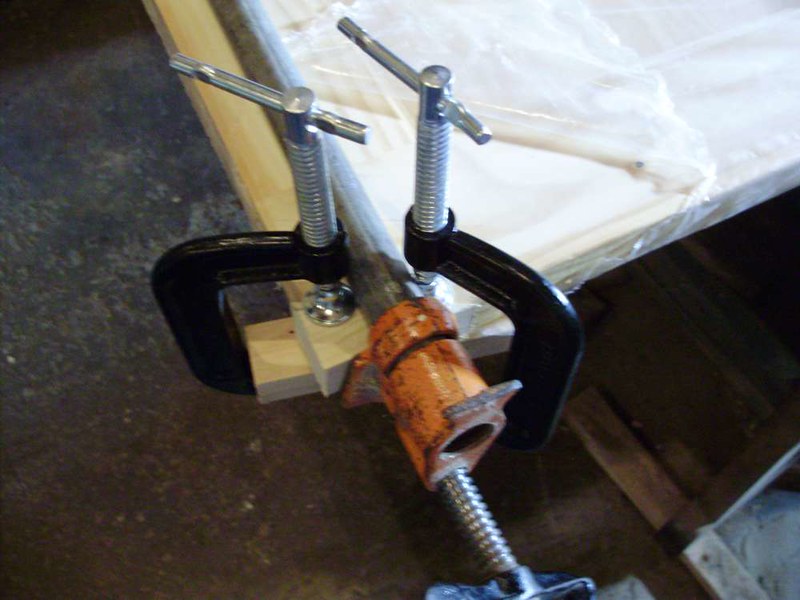
It was patched in 2 parts (one side had a larger chunk because the damage was on an angle. I used a router and a straight board as a fence.
P8020388

P8020389

After repair:

P8020391

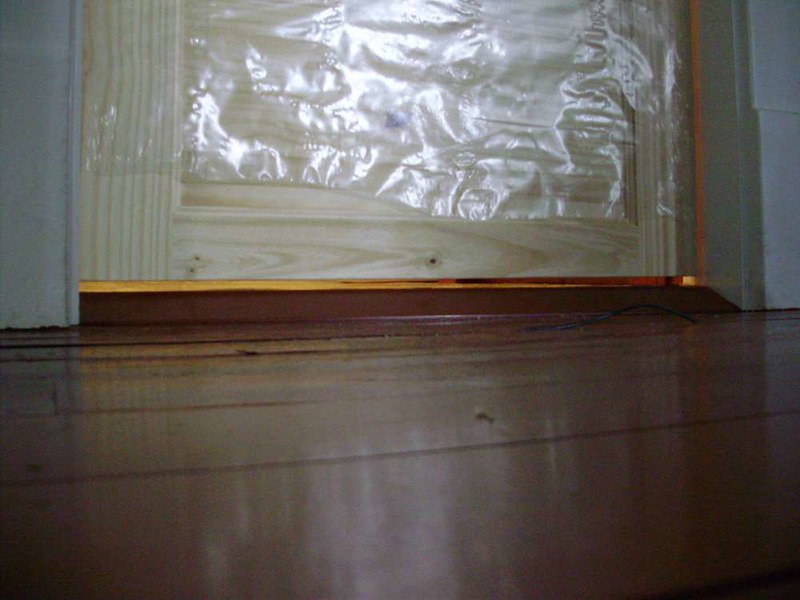
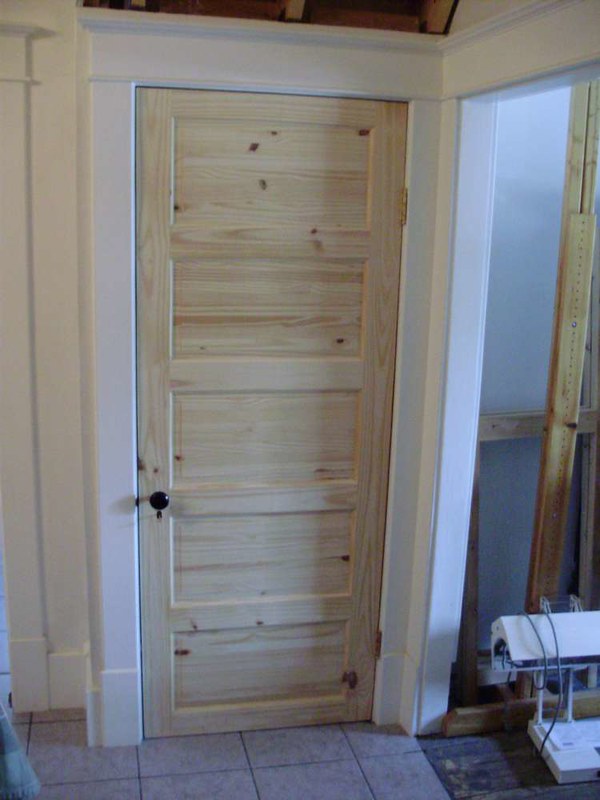
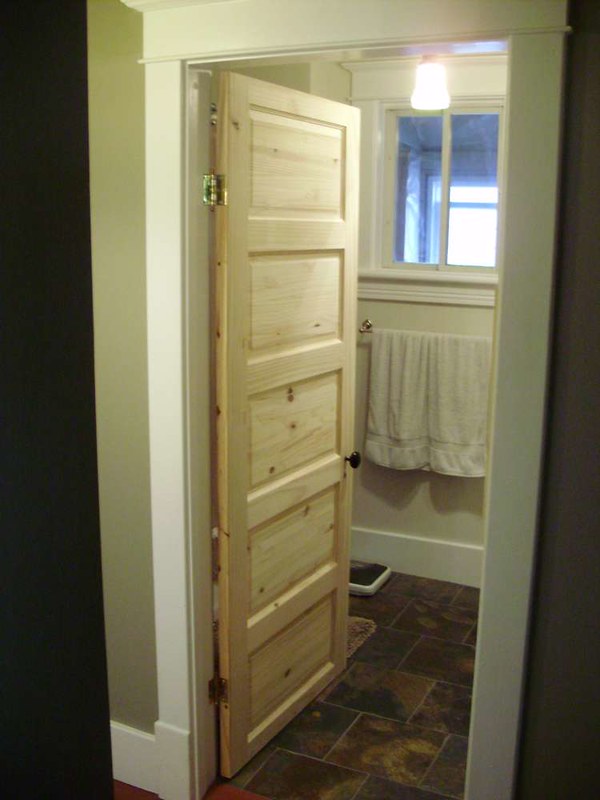
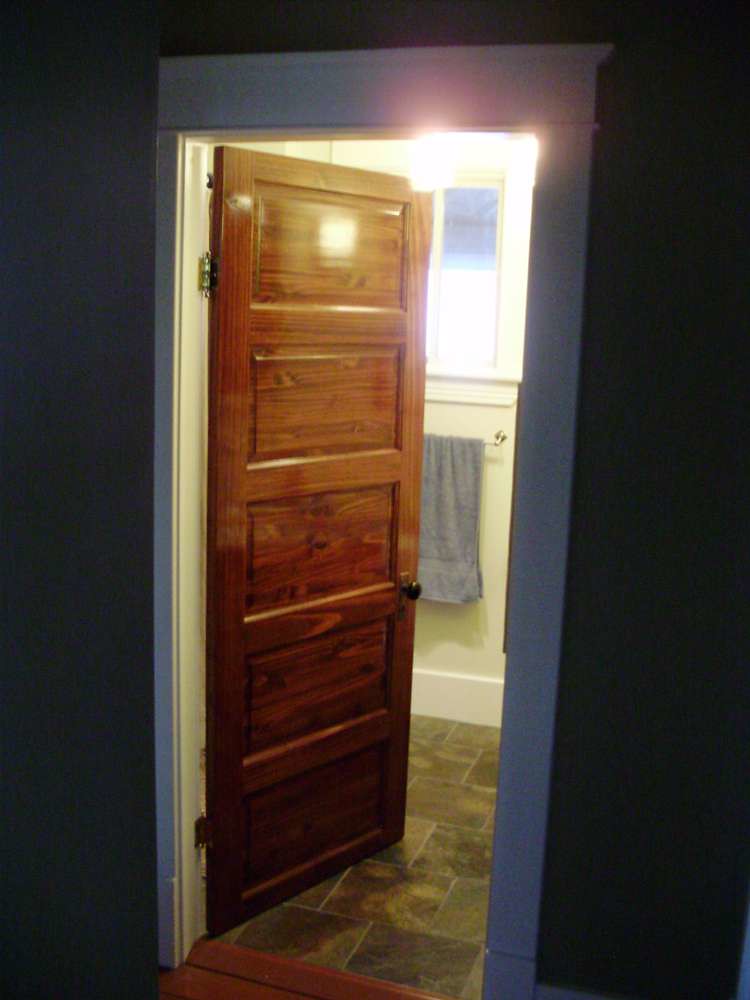
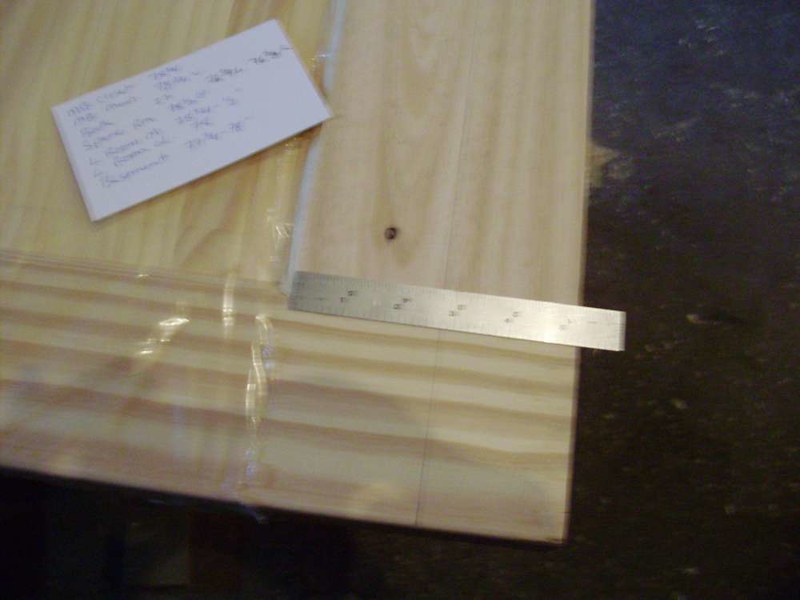
One of the issues with these particular doors (which I think I mentioned) is that they are quite limited with how far they can be trimmed. The bathroom door needed to have almost 3 inches chopped off due to the normal "shorter than standard" door height, paired with the added height of the plywood subfloor and tile.
P8030399

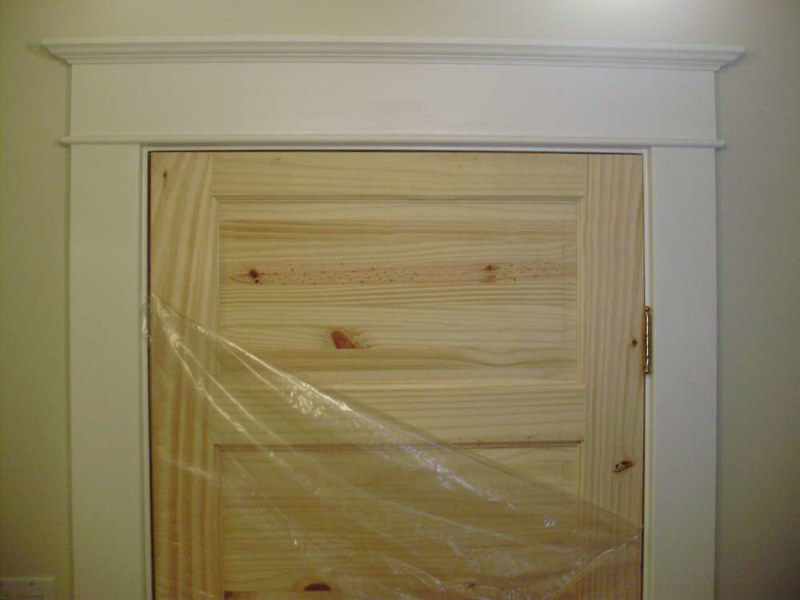
I also trimmed the top of the bathroom door a hair shorter than the others to help with the height issue.
P8030405

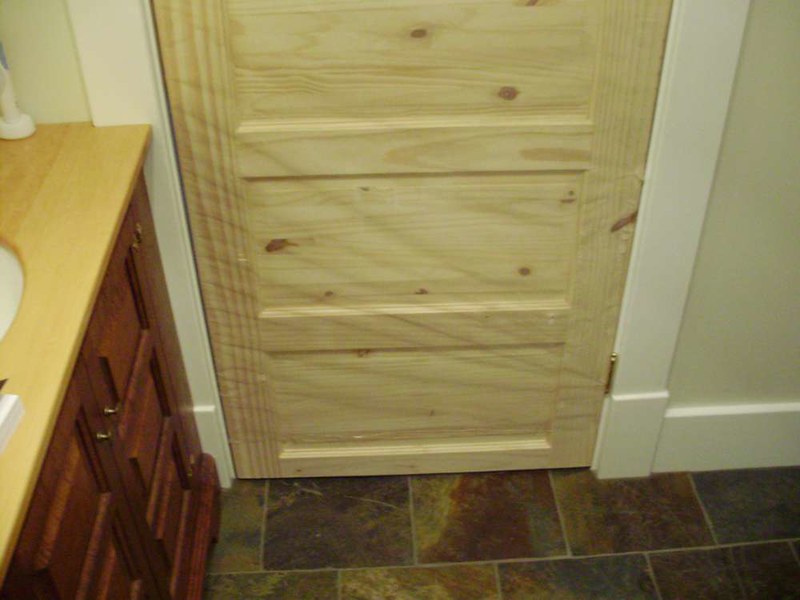
This particular door also had a bit of a fit issue with the hinge side being rather tight, and the open edge having almost 1/4" gap, so I fixed that by slightly bending the hinges using a vise and some wood blocks.

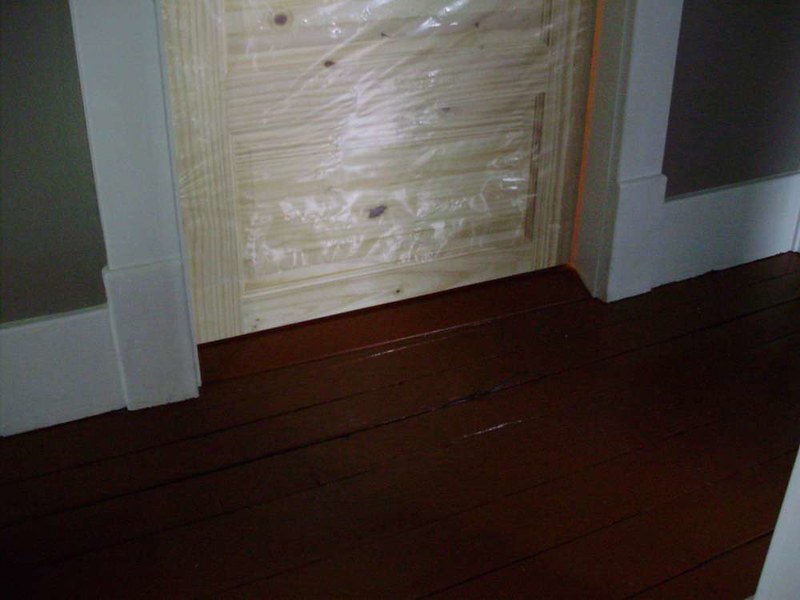
This is by far the shortest door. The bottom doesn't look amazing (since the bottom board is so skinny) but I can live with it.
P8030406

P8030412

P8030413

One nice construction detail on these doors is that each joint has two or three 4 inch dowels glued in place.
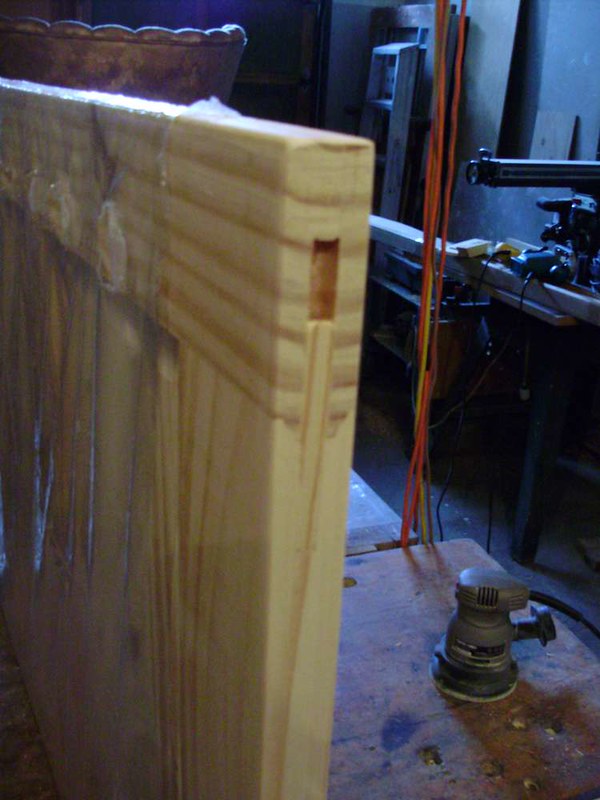
P8060432

Most of the doors went in fairly easily, but pretty much all of them required multiple trips back and forth to the garage for slight trimming and adjustments. All the sizing and trimming was done using a jigsaw to cut away the bulk, and then they were trimmed perfectly flush and square with a router and fence.
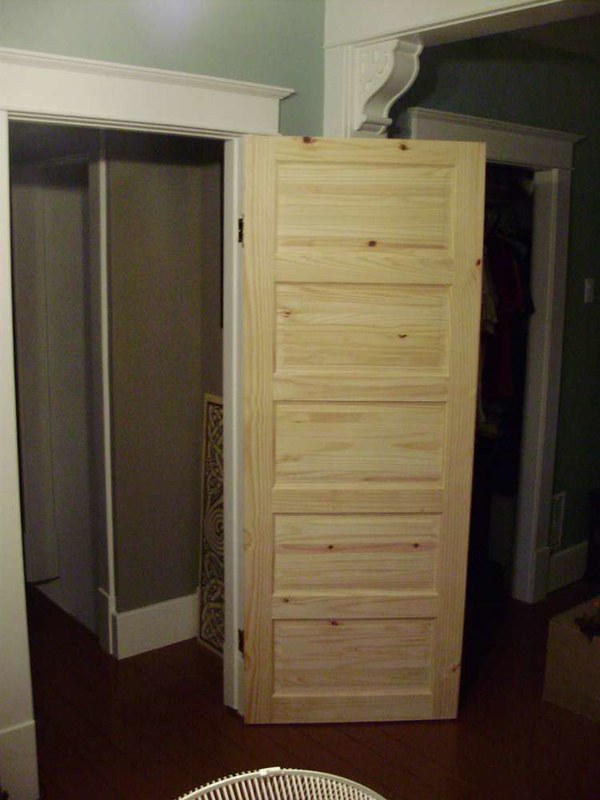
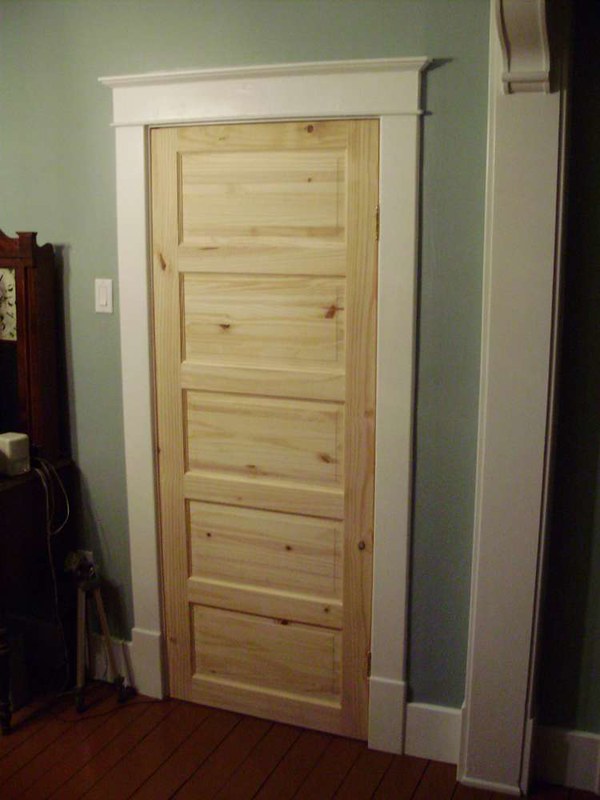
P8030416

P8030418

P8040425

P8040426

I was getting excited to finally be able to install all the salvaged hardware and lock sets I've had in storage. The lock sets were NOT fun to fit (because they had to be all hand drilled and chiseled to fit each door), but they all turned out really well. All the hardware is being fitted with slot screws (antiqued as required).
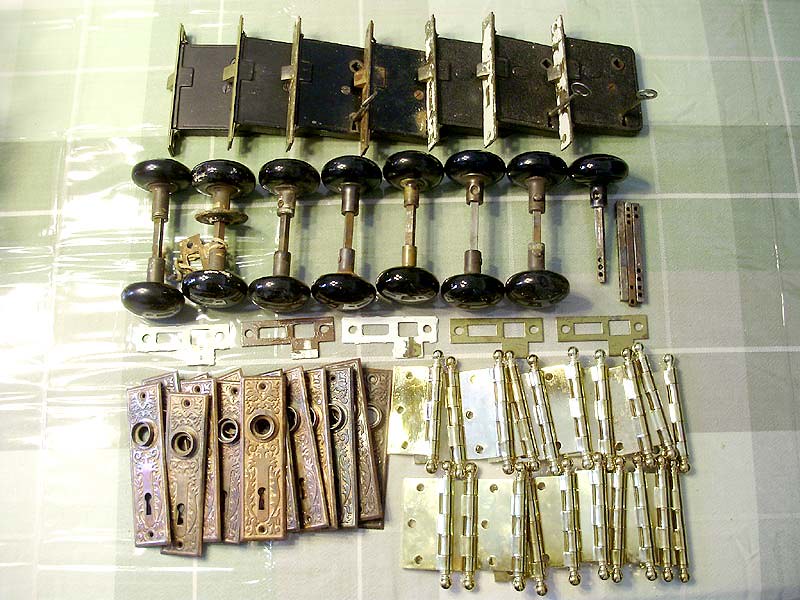
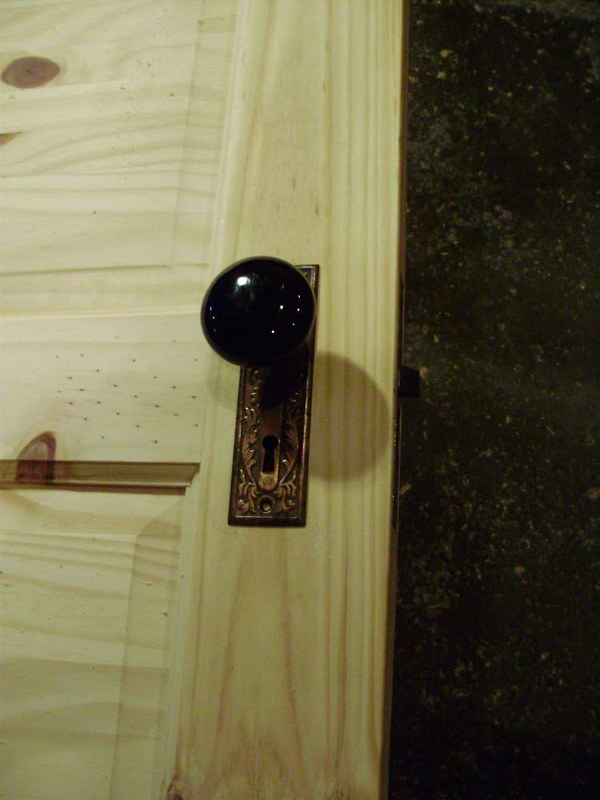
PC200928

P8090434

A few of the hinges on the old door jambs will need to have some patching done, and I still need to find correctly sized brass SLOT screws for all the doors. The same will be true for the strike plates (some will need patching and all will need paint touch ups).
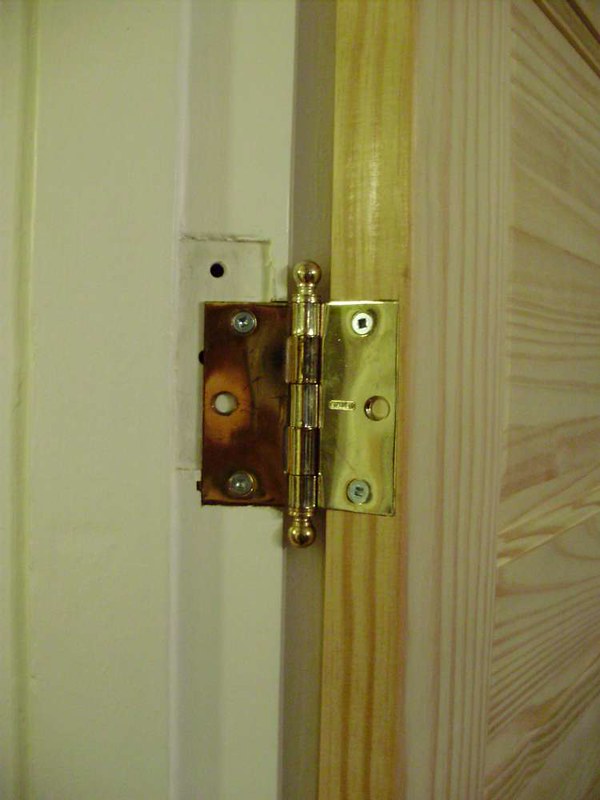
P8030422

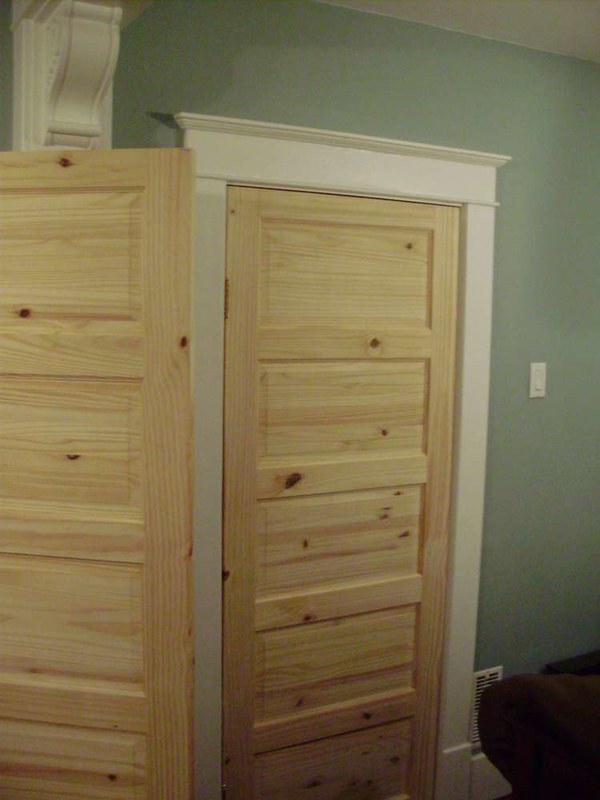
The new jambs had everything fitted perfectly (hinges and strikes). I still need to paint the interior bits (holes in the strike) and install the strop mouldings.
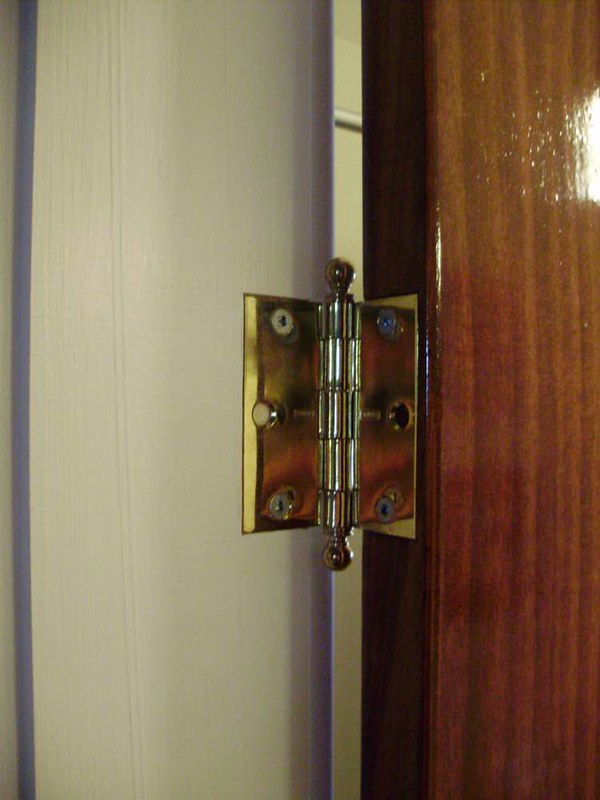
PA290010

Basement door:

P8280482

Master bedroom:

P8290487

Bathroom:

P8290491

Spare room (guest bedroom):

P8290495

For the colour, I was torn between keeping the doors rather light, but I also really liked the colour of the salvaged front door, so I went and looked for other examples of dark doors to make sure I was making the right choice (ie: going dark):
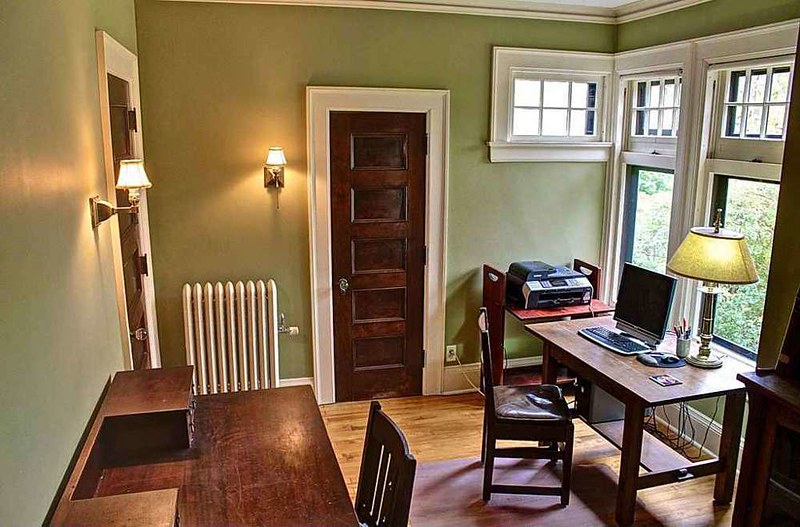
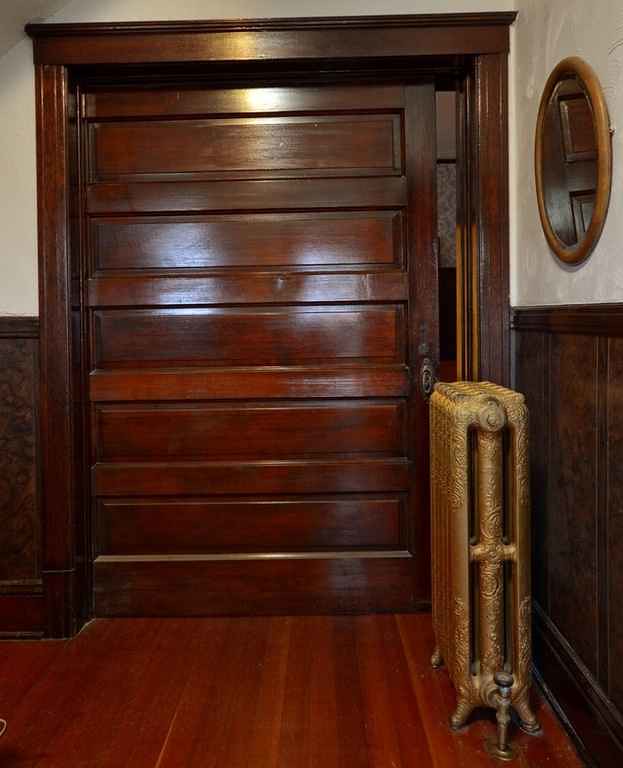
132-Marston-Ave-481

502-W-Broadway-Ave-210

I did love the look, so I decided to go ahead.

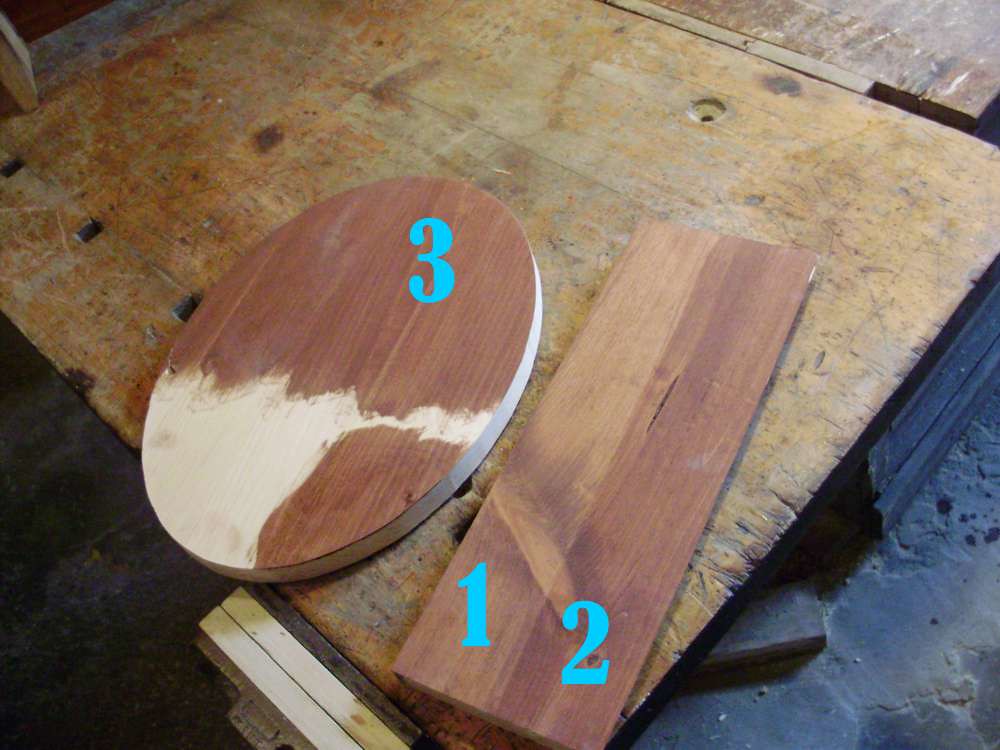
Finding the correct shade of "darkish-reddish-brownish-orangey mahogany" stain proved to be a pain. Most places in town don't offer custom tinted stains anymore, and nothing I had on hand was the right shade. I loved the shade I used on the bed, but it's a water based dye, and I really did NOT want to use a water based dye on these doors. I eventually stumbled on a can of "Mission Oak" stain by Varathane reduced to 5$ at Habitat Re-Store, which was EXACTLY the shade I wanted (or close enough). One can was not going to be enough. I started to look for more, but it seems as though this particular shade is being phased-out. Lowes didn't have any (they had all the other shades but not Mission Oak), but I was lucky to find that Home Depot *did* still have some in stock. Suspiciously that particular shade was on sale. I ended up buying two cans, just in case.
P9040521

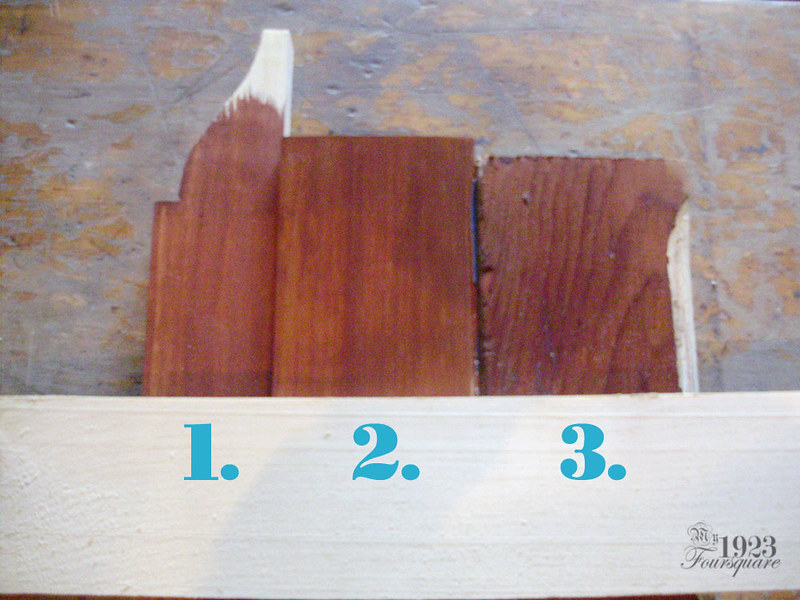
The board above shows the samples I did with the Mission Oak. 1 and 2 are with the Re-Store can (one coat and 2 coats), but then the single coat of the new can (3) seemed darker. I was worried it might be batch inconsistencies, but I think that more than likely I just hadn't mixed it enough.

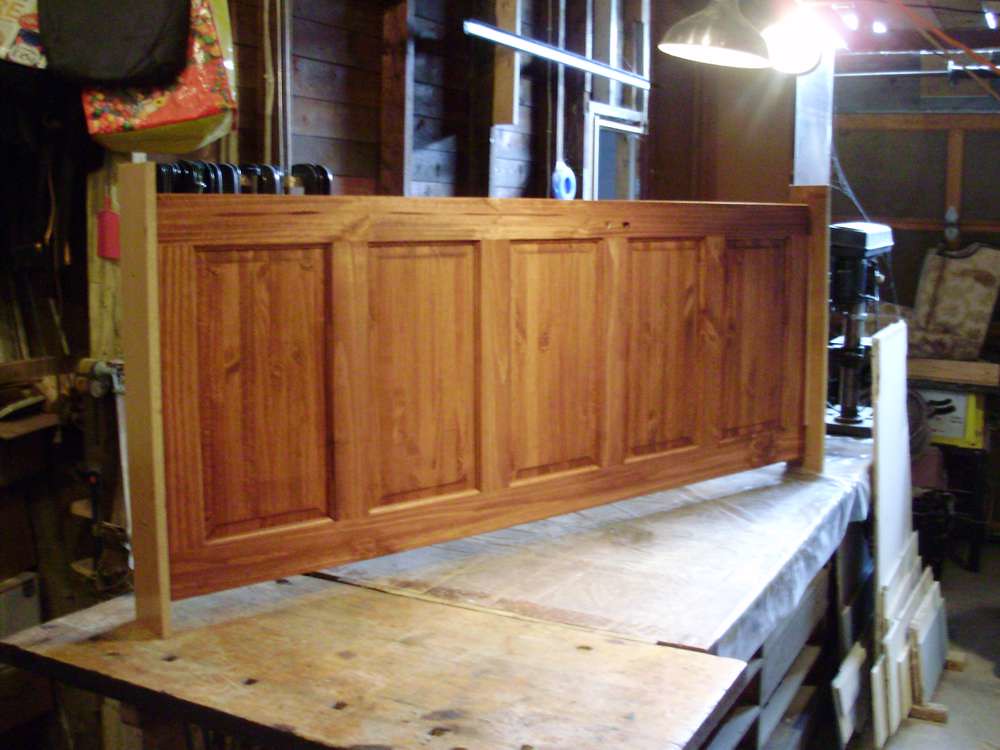
The first door I did seemed a hair light, so I ended up doing two coats of stain on it. This was the basement door, which is the only door on the first floor (other than exterior doors).
P9040519

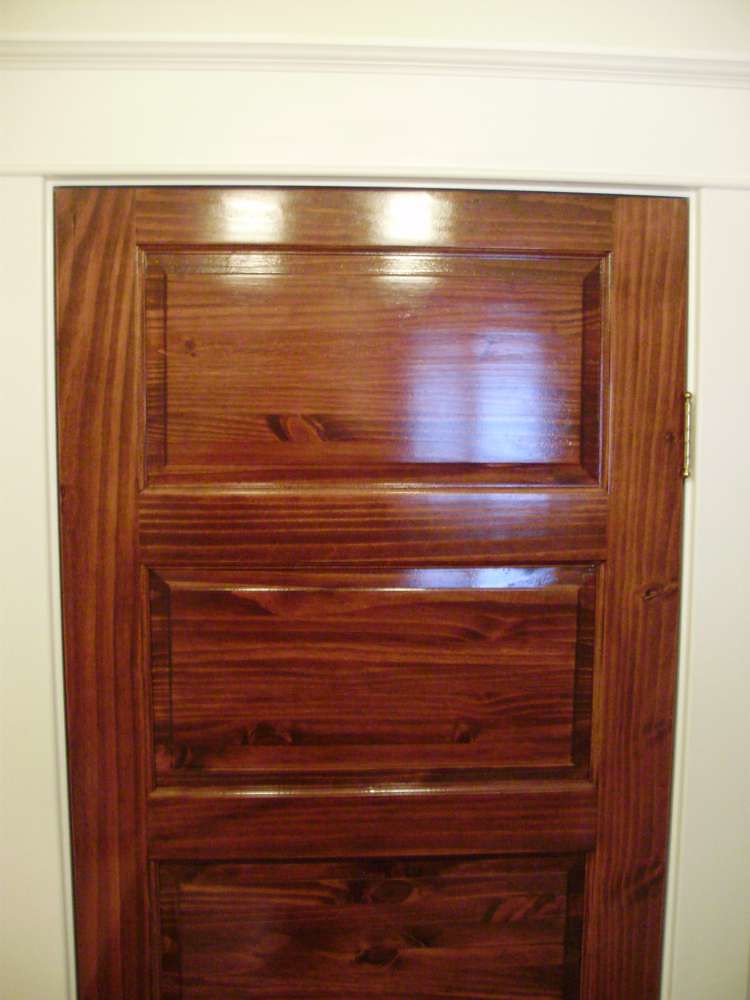
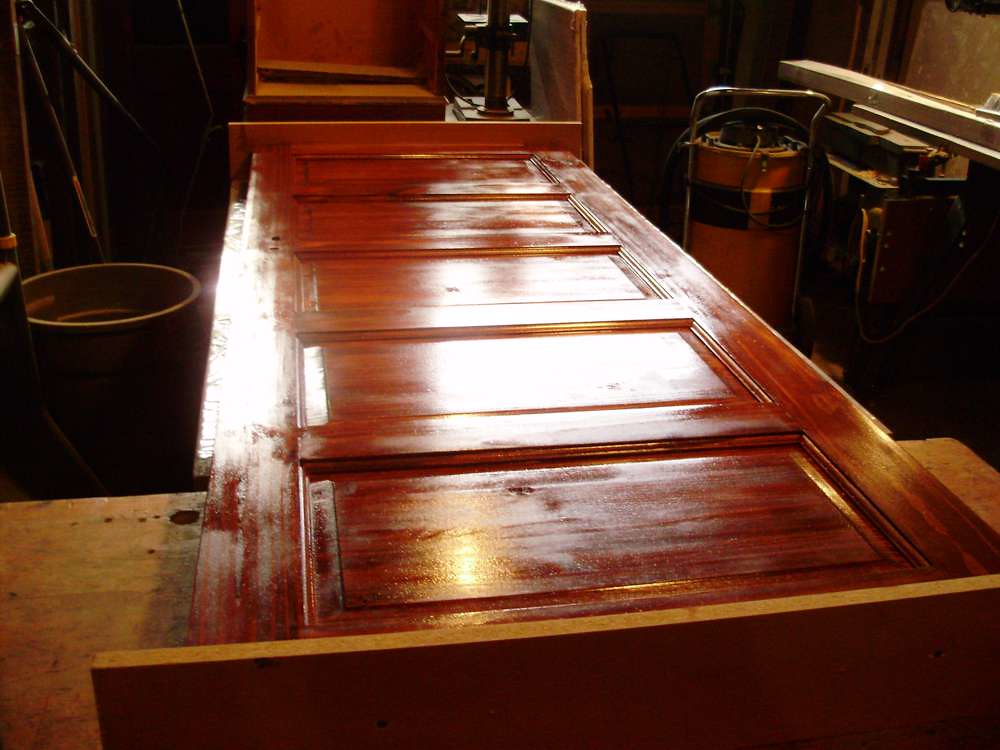
All the doors needed 3 coats of varnish. I used the same thing as on the salvaged front door: Helmsman Spar (marine) varnish in gloss. This shows coat number 2, which still shows a lot of uneven gloss.
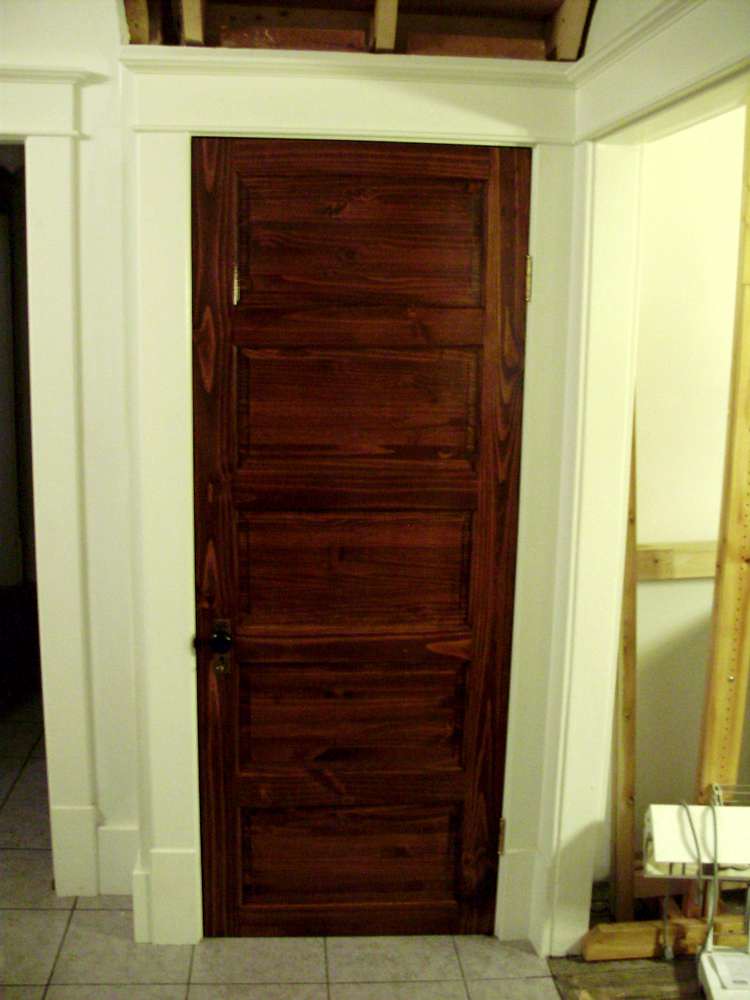
P9050530

P9060545

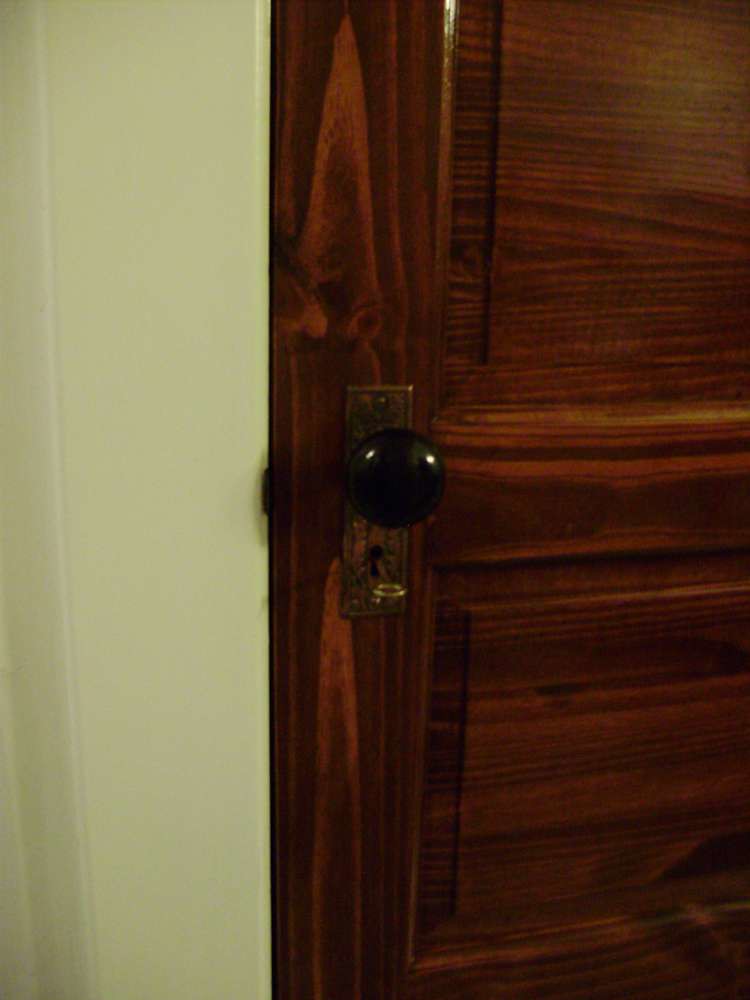
The doors look a bit darker in some photos than in person. Due to lighting issues, and my camera not wanting to get the correct white balance, the doors are a bit tricky to photograph properly.
P9060546

The colour between the two doors (new and salvaged antique) is nearly identical, and I'm really happy with how they turned out.
P9060549

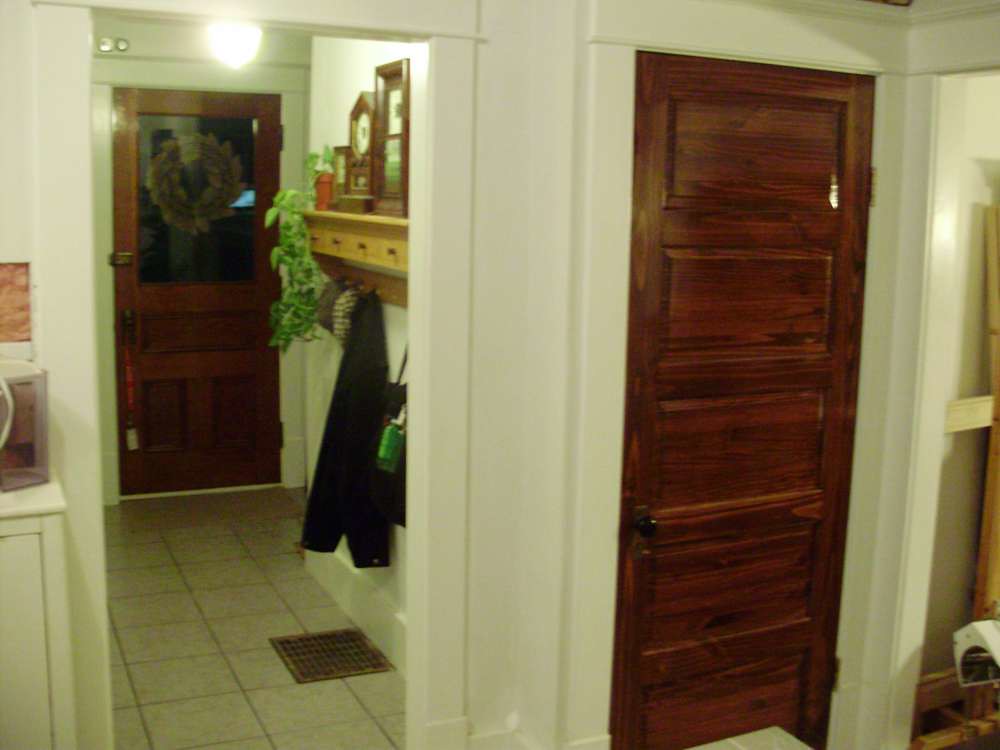
Again, depending on the lighting, they look really dark, but they are all the same colour. For all the remaining 7 doors (all upstairs) I chose to only do one heavy coat of stain, which turned out to give almost exactly the same colour as the very laborious two coats I had done on the first door.

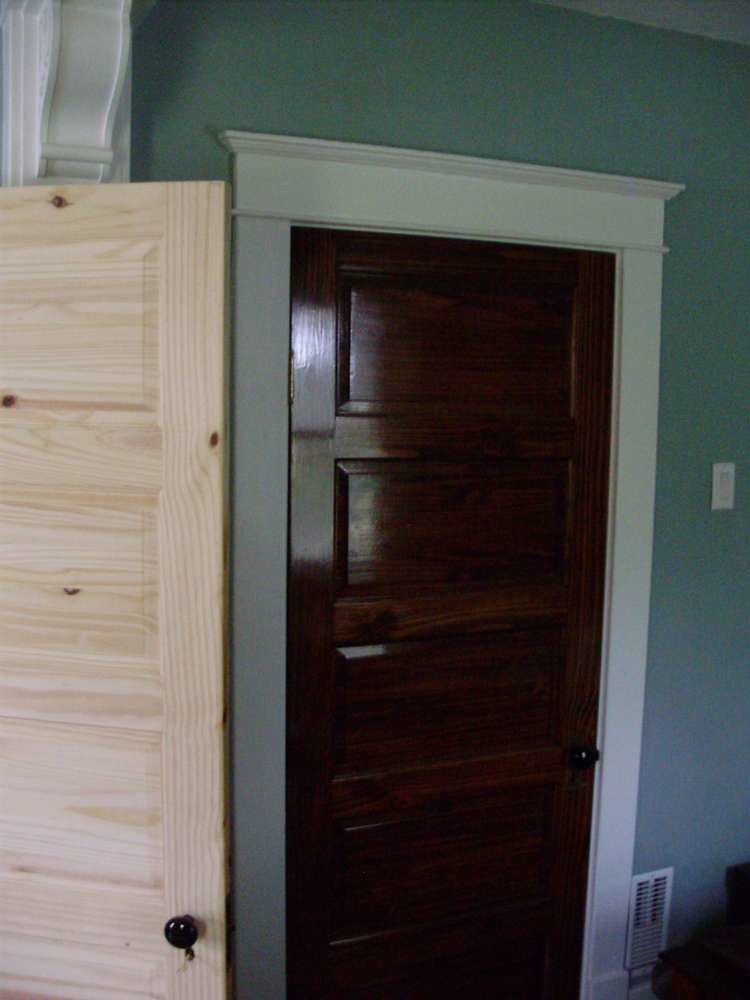
I was only able to finish 4 of the 8 doors before I started working on the garage roof, and the weather got too cold. The last 4 will be done in spring 2019.

Master bedroom closet:
PA290001

Bathroom:

PA290004

Bathroom interior detail:

PA290008

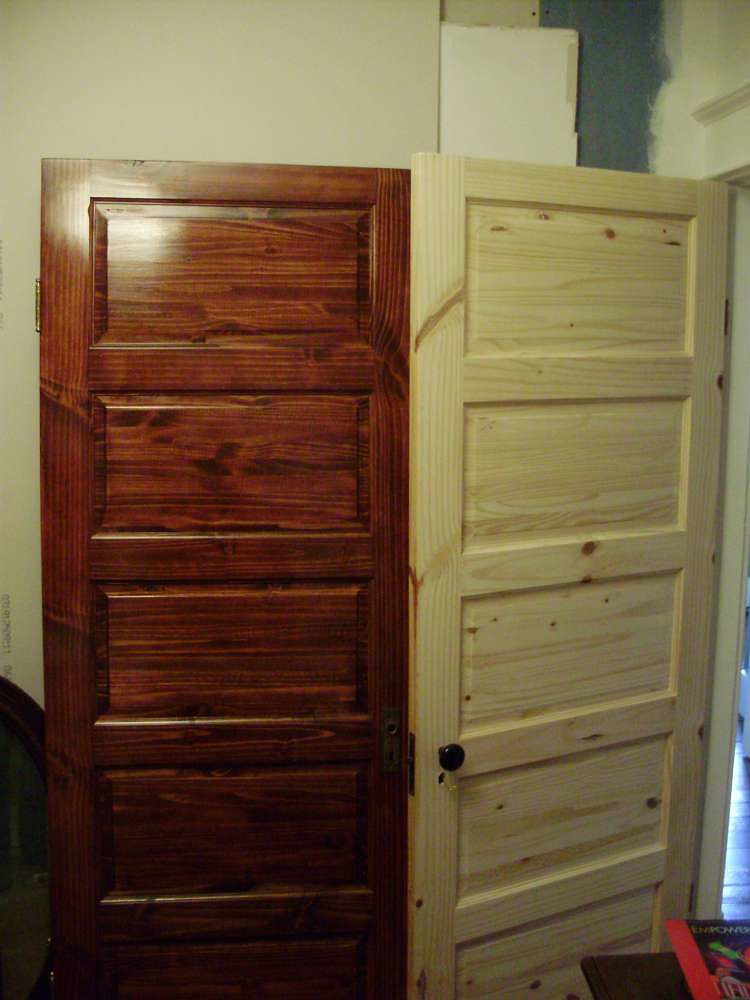
This last one is the closet door to the spare room. The door frame for that one isn't even built yet as the chimney is still there. I was having issues with the varnish coming out streaky so I wanted to try it again on a less visible door.
PA290005

Next post will likely be the one showing the huuuuuuge job of redoing the garage roof. Stay tuned!

Saturday, September 09, 2017

Summer Project No. 3 - Finally Built A Bed!
P8220014

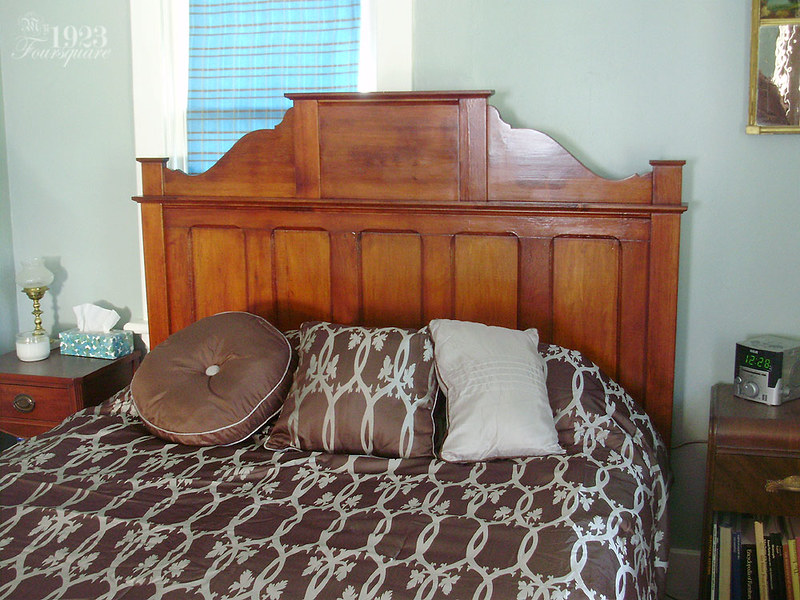
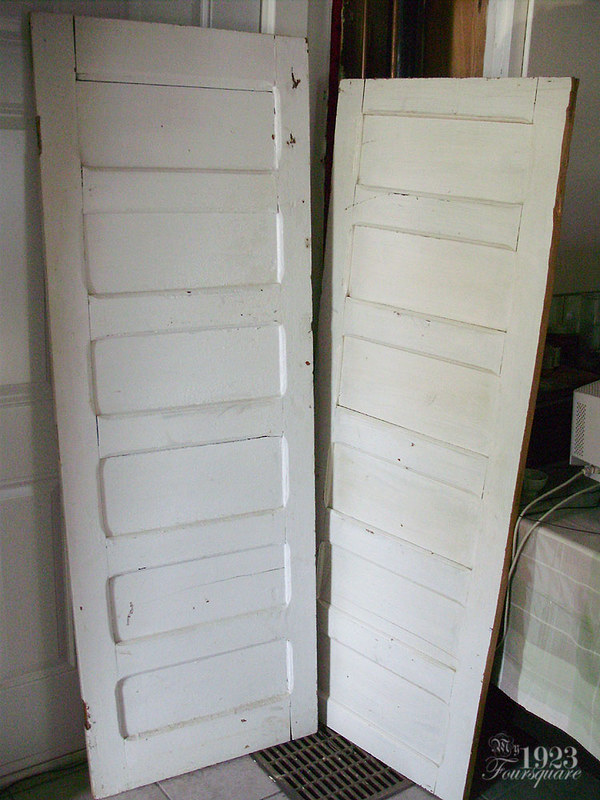
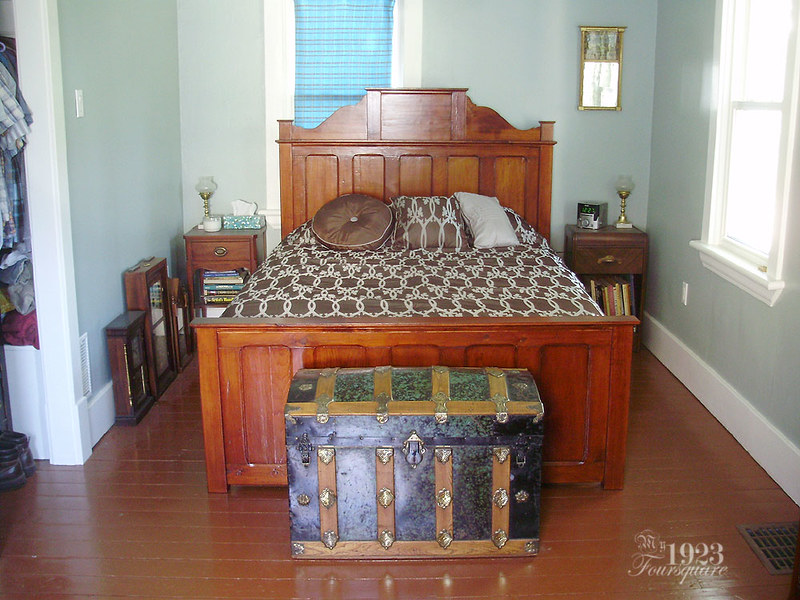
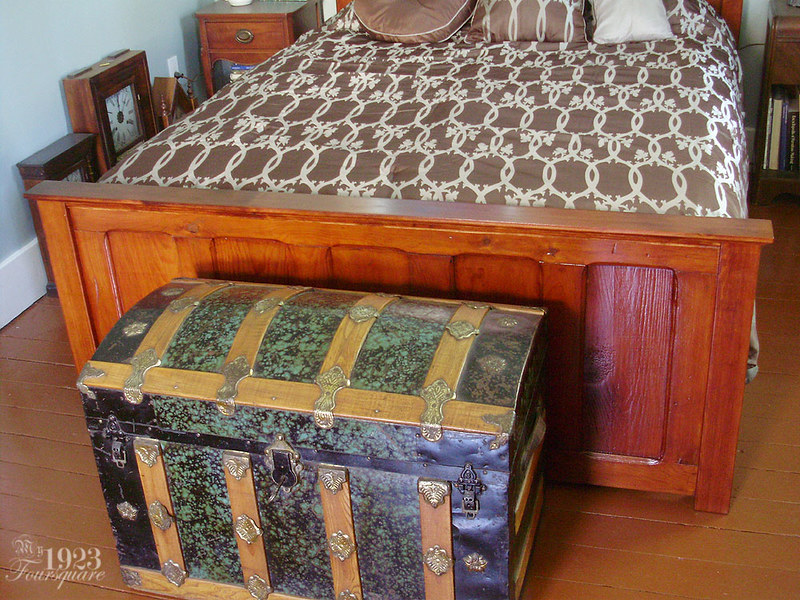
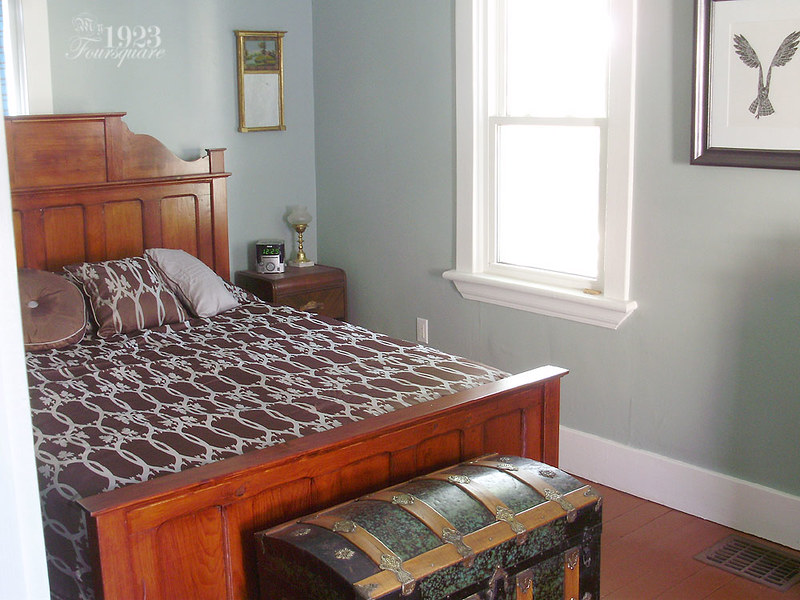
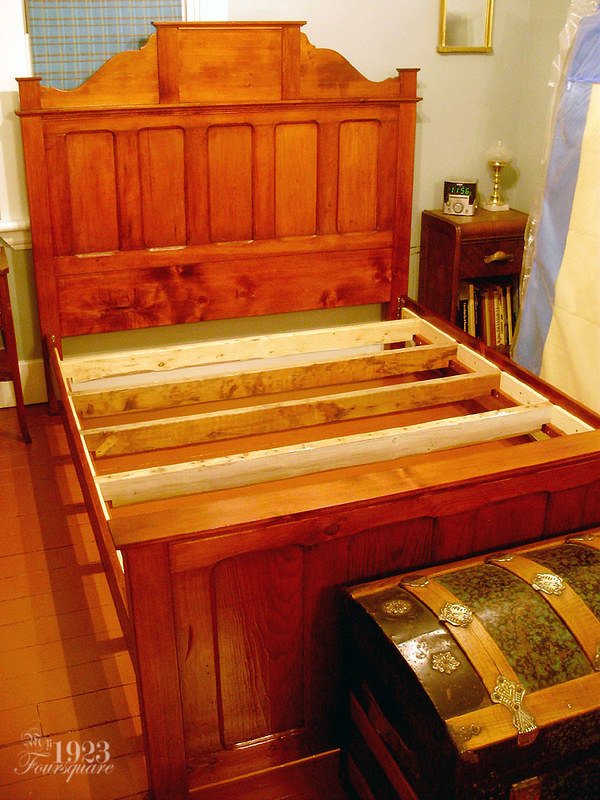
So I've been wanting to build a new Queen sized bed (or buy an old one) for a few years now. Pretty much since I bought the new mattress in 2012 (http://my1923foursquare.blogspot.ca/2012/05/new-mattress-last-weeks-work-on-porch.html). The bed I built (which you can see above) is not really what I originally wanted to build, but it's a pretty decent bed for now. My original plan was to build a 4 poster bed (and I still kind of want to... eventually). I was getting to the point where I was really sick and tired of sleeping on the floor, though. My second option was to build a panel bed (which are pretty simple to build). Panel beds are even easier to build if you're using recycled doors.

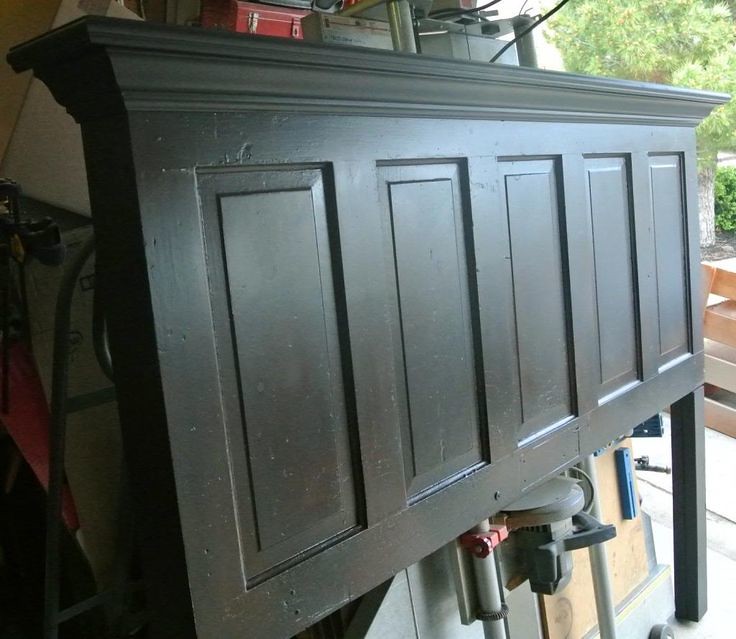
Here are some beds that are made using antique doors. There seems to be a pretty wide variety of looks and finishes when it comes to beds made from recycled doors. From really simple, to giant and clunky, to really rustic. There's pretty much a style for everyone.

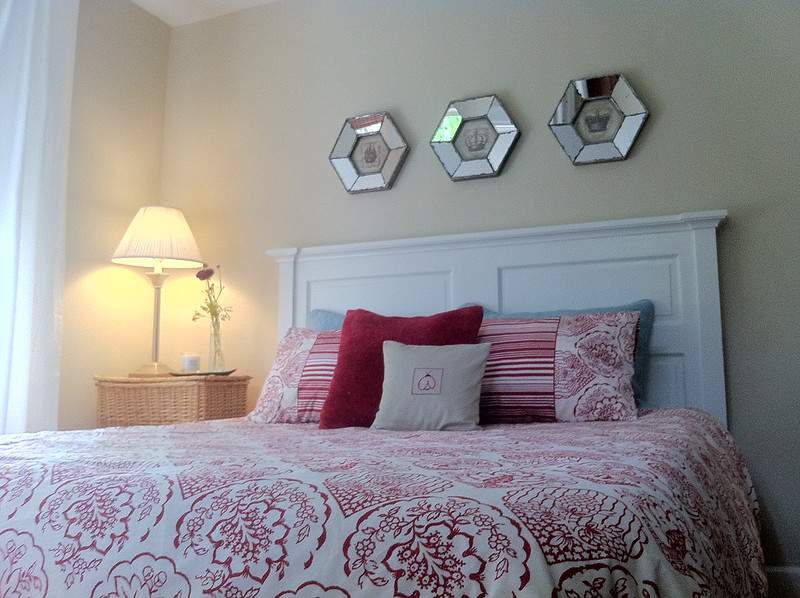
Here's a simple headboard with a large crown (painted):

Large Crown

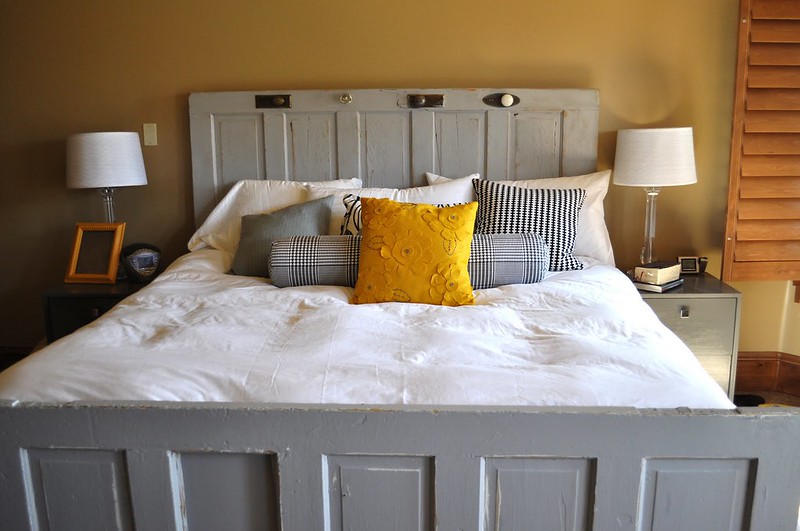
This one is a bit awkward and "lazy" with no added trim, no cutting, or any modifications. Just 2 old doors and bed hardware in between. Not my favourite look, but it could work well depending on your decor. I do like the light grey:

W Hardware

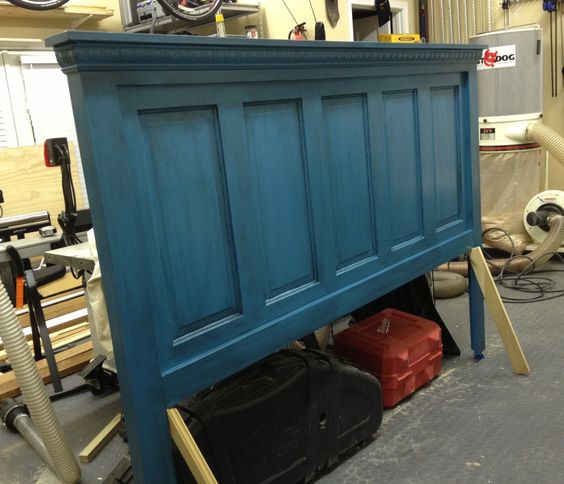
Another headboard with crown, this one with the door inset slightly within a frame:

Blue

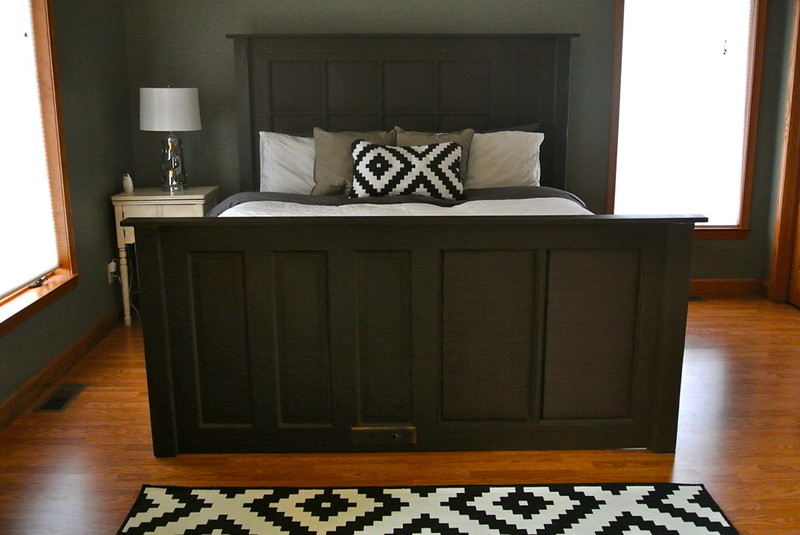
This one is neat, but it also kind of drives me crazy because it's completely asymmetrical and mismatched. It also seems like they used rather wide doors, which makes the foot board rather tall:

Mismatched

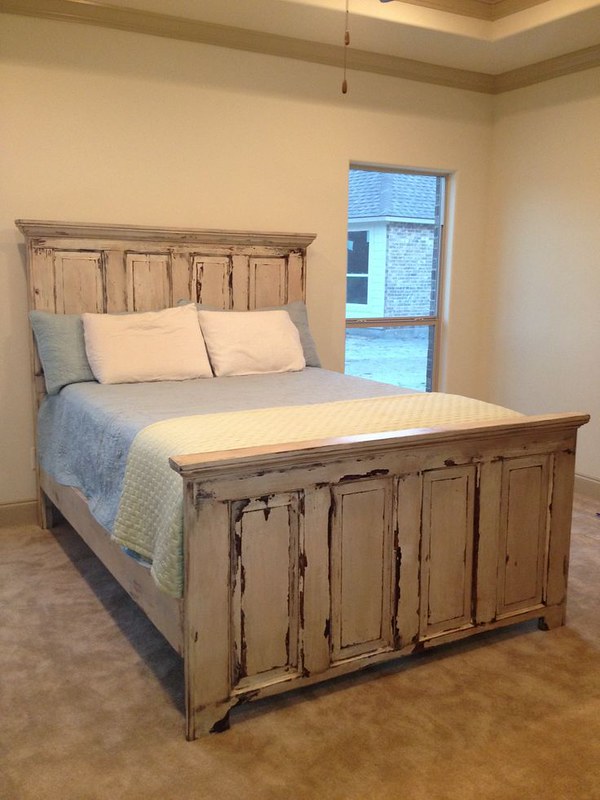
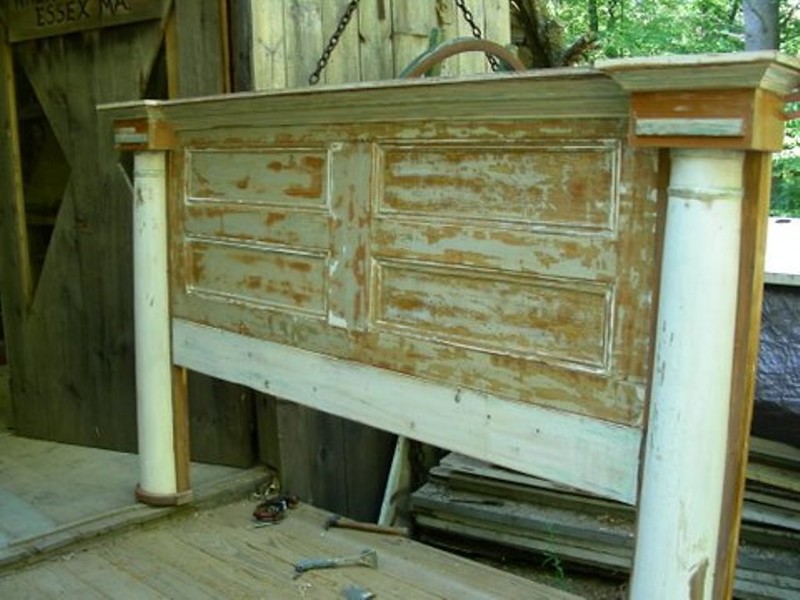
This one is quite nice, but I'm not a huge fan of the shabby chic look. It would look awesome in a "French" styled room:

Chippy

I kind of love this because of how it's styled, but it doesn't seem the most practical, since the doors look like they are just loose/leaned. Old doors could easily be mounted to the wall, though, so if you like this look, it's very easy to pull off:

Rustic

This one is nice, but the columns seem a bit too big. I assume it was to be painted, but I didn't find another photo of it. It also looks like a King size:

Antique-Headboards-and-Footboards

This one is really nice and simple. Also just a headboard. It was made by friends over at Old Town Home:
Tutorial here:
https://oldtownhome.com/2011/5/18/Opportunity-Knocks-Transforming-an-Old-Door-into-a-Headboard/

Old Town

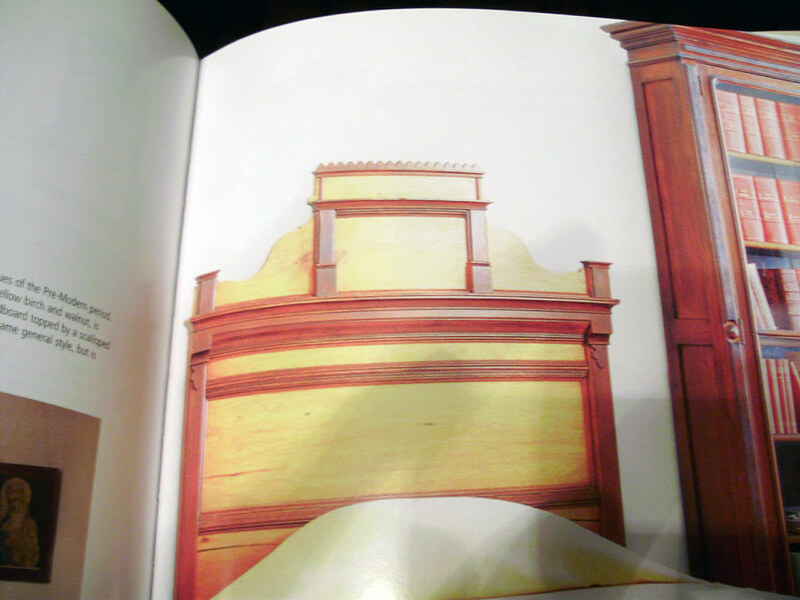
My primary inspiration for the bed I built was this particular one from one of my books:

P4020288

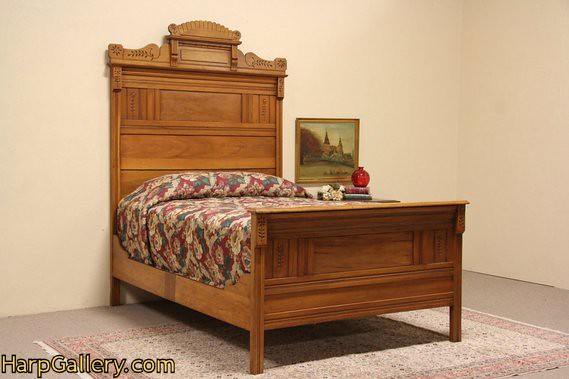
It also closely resembles this Eastlake one:

bed4368east_569x440q85wm

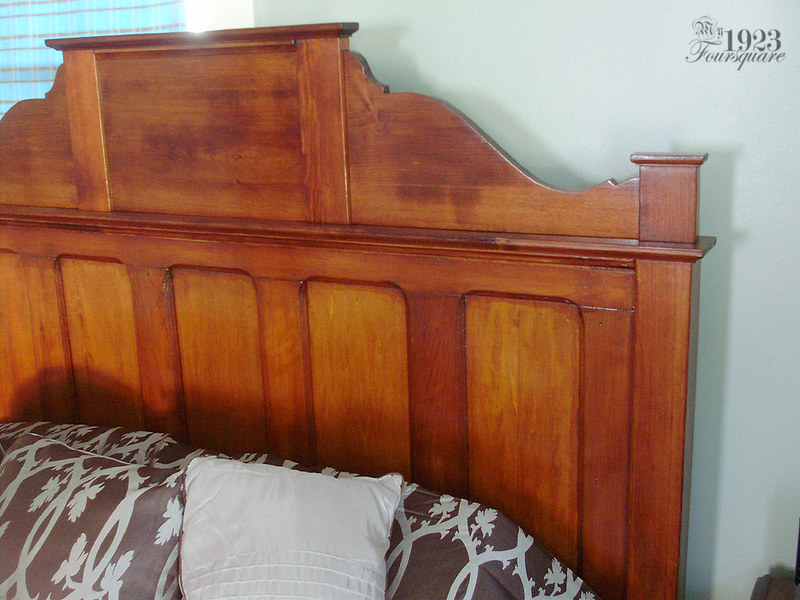
Obviously since I was using some salvaged doors, the bed couldn't be an exact copy. I also didn't make it quite as detailed with all the small mouldings, pillars, and plinths. I went for almost the same shape, but slightly simplified.

These were the two doors I decided to use for the bed. These are doors that had originally been closet doors in the house. I'm really not sure what kind of door handles they had, because they aren't drilled for normal mortise locks. The doors were in TERRIBLE shape, and they also didn't perfectly match the style of the other larger main doors (these have rounded panel corners, where the main doors had squared panel corners). These had also been chopped and hacked around the edges, and one of them was falling apart.

P2100123

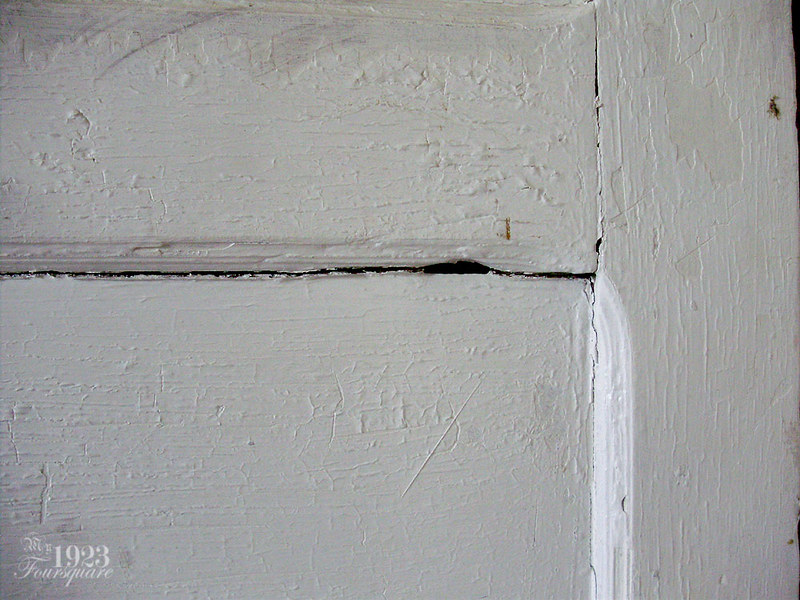
Lots of paint, damaged bits...

P2100125

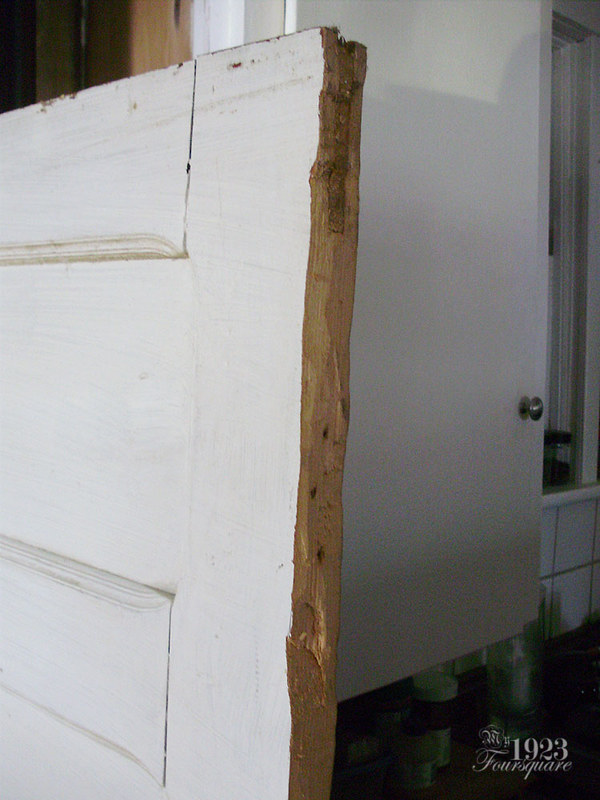
Butchered edges:

P2100126

The other two sides:

P2100129

P2100130

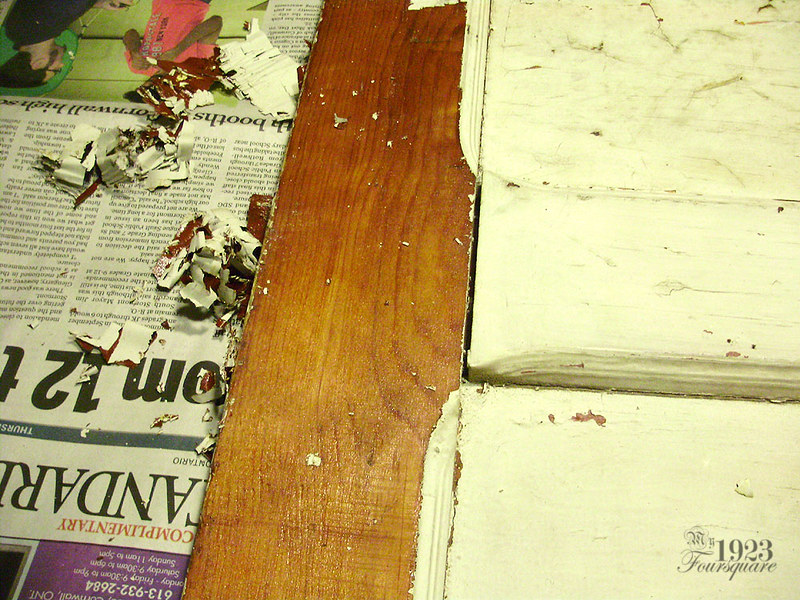
These had to be stripped (obviously), so I tried my normal method (using chemical stripper) but it was working terribly, and slowly. A heat gun turned out to work INFINITELY better, and I was able to take 99% of the paint off with the gun, then scrub and clean the rest off with the chemical stripper and a rinse.

P2100137

P2100141

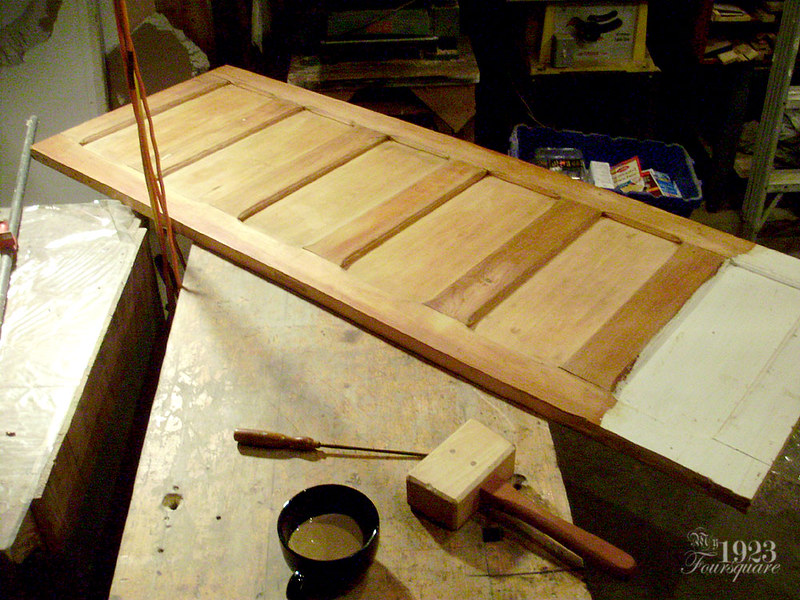
One of the two doors had to be taken apart to reglue it, so I stripped that one in pieces. This second one I only stripped the portion I would be using. One panel would get sawn off.

P7200047

P7200049

I was able to find a few sections of nice clear old 2x4s and scrap wood for the posts (I think it was half thick pine, and half a nice 2x4).

P7210054

Two 6" boards of 1" thick rough pine for the bed rails (before planing and sanding).

P7210056

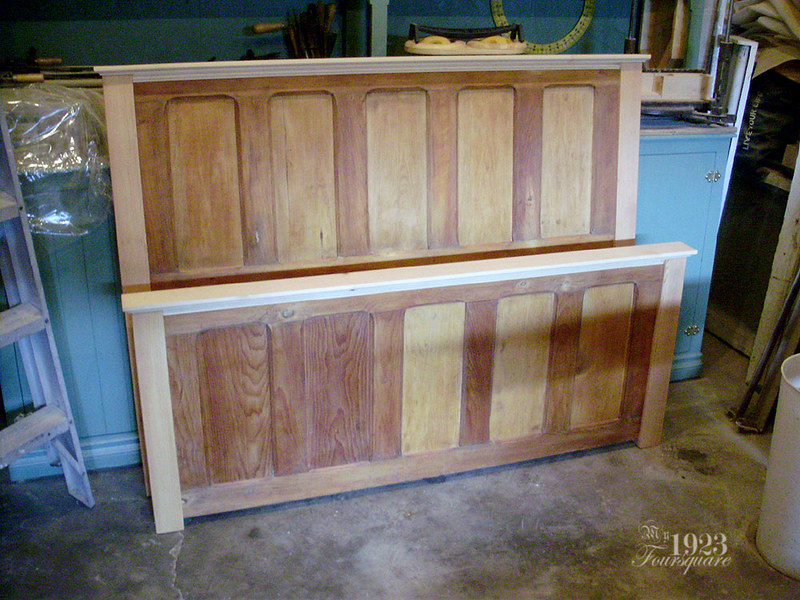
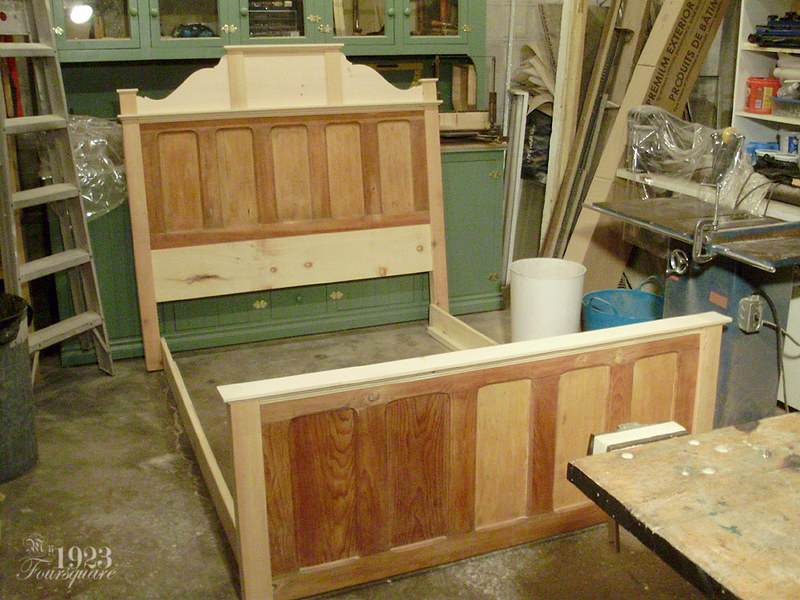
Here are the doors after trimming the 4 edges, and with the 4 posts installed. You can see how all the posts have nicer boards on the fronts, and lighter (spruce) boards on the backs. The panels were fixed to the posts with four 3 inch screws drilled into 3/8" holes, which then had wooden plugs glued in them and sanded flush.

P7210060

Top boards and mouldings applied. The tops were glued in place, and nailed down with old square nails (just because I have them, and they make the bed look old). You can also see how the doors are made of mis-matched woods. The foot board panels on the left are fir, but the others are all pine. I believe the door rails are fir as well.

P7220061

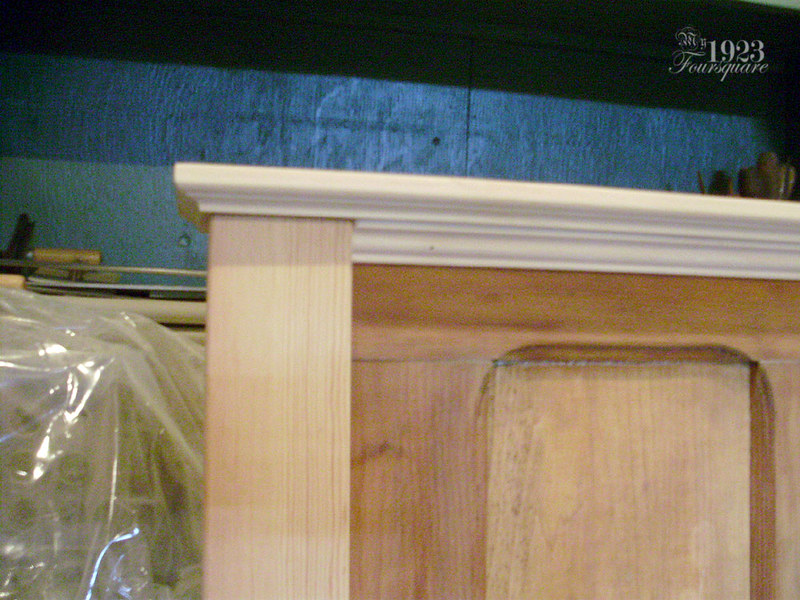
Blurry detail shot. These are fairly standard router bit profiles. A Roman ogee, and regular ogee.

P7220062

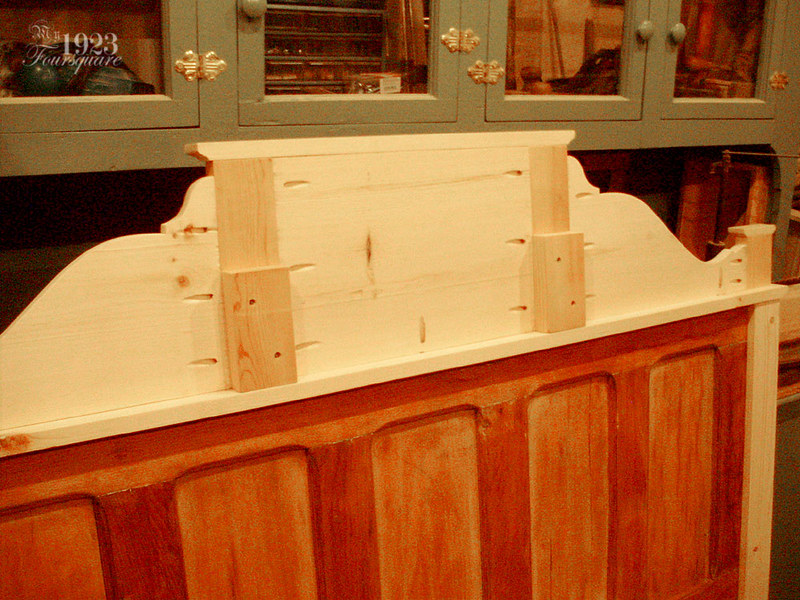
Top crest. The crest was all made from similar scrap pieces (new and old wood), and matching profiles. The majority of the crest was assembled with pocket screws. It is held to the bed top with 3 screws, so that it can easily be removed (because the headboard is both huge and heavy). The wide pine board at the base was also attached with pocket screws. This is only meant as a stopper for the mattress. I used a fairly crappy board with lots of knots and a crack (it won't be visible).

P7220064

This shows the rear construction. The two blocks that stick out prevent the crest from rocking backwards.

P7220002

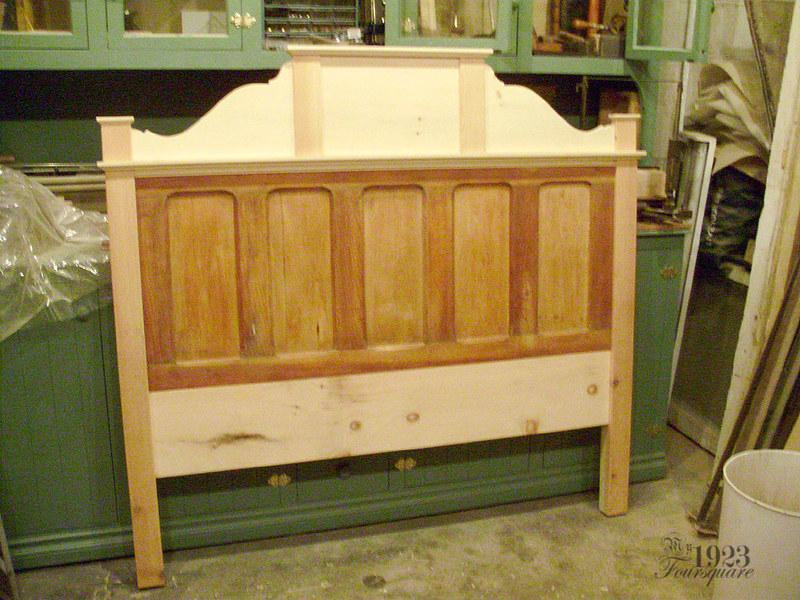
Preview of the bed before finishing. You can see the rails, which I didn't really photograph. They are about 6" x 80", and they have a beefy 1 1/4" square section of blocks glued and screwed along the base.

P7230006

Because this bed has multiple different wood species, as well as old, really dry wood, alongside brand new pine, I wanted to make sure that the stain I was using would work well and match with everything. This is really obvious in the above photo. I decided to use a water based aniline dye on this. Aniline dye is pretty tricky to use (I would not recommend it to beginners) but one of the advantages is that if you apply a second layer you can darken sections and make everything blend/match.

This sample shows:
1 - Brand new pine
2 - Antique pine
3 - Old fir door rails

P7230020

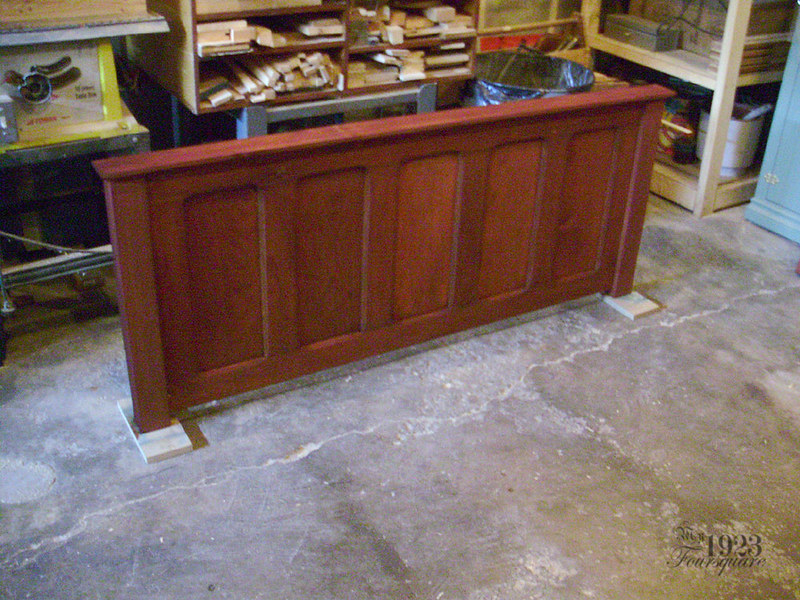
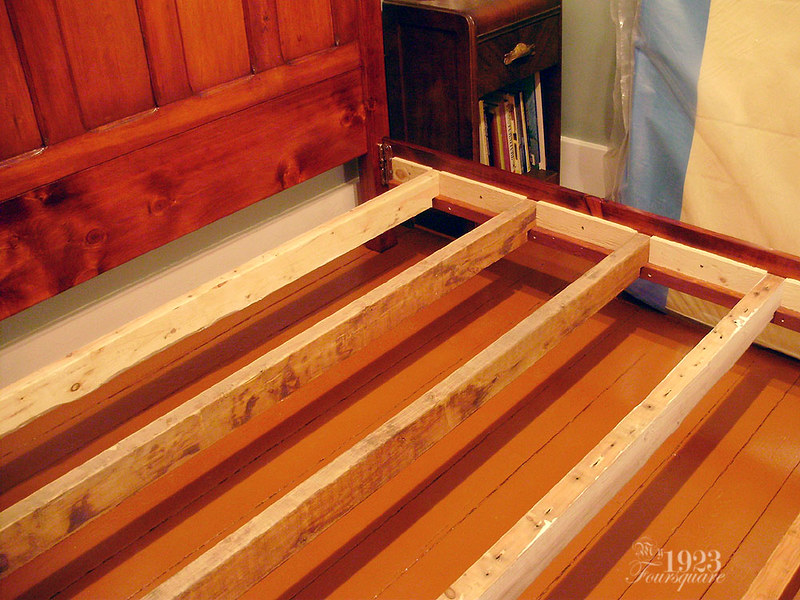
Blurry, but this shows the foot board after staining. You can see that the two left panels (the fir ones) don't quite match. I ended up giving the 3 lighter panels (but nothing else) a second coat of stain. Otherwise everything ended up matching pretty well!
P7230015

Another note on using aniline dye (should you ever try any). Once it dries, it WILL look awful. It will not look the right colour, and you might be disappointed and sad, but it's only an illusion. Once the varnish it applied, it will once again look like when it was freshly applied (wet).

P7230018

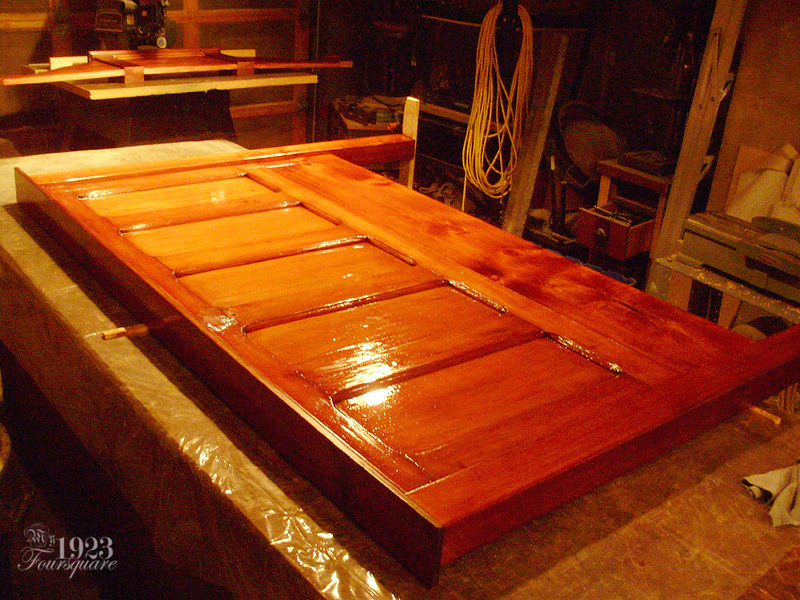
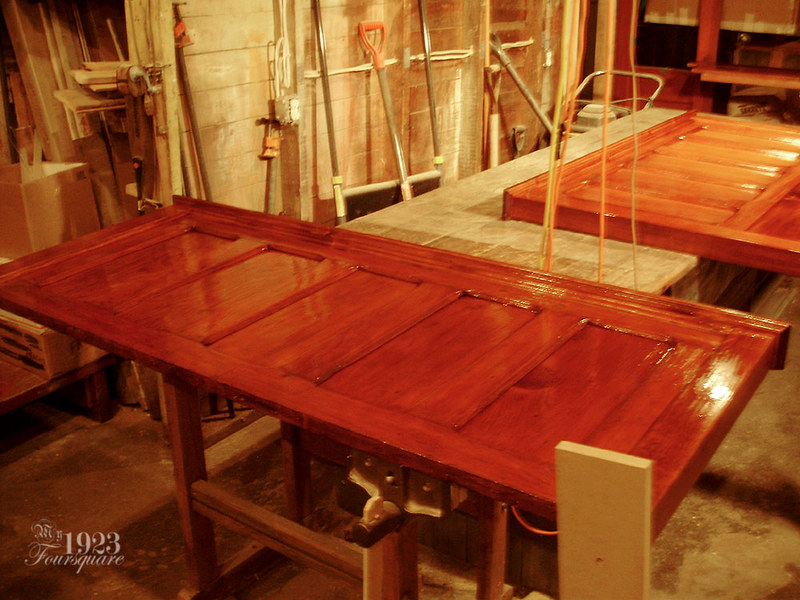
Finishing on this was a pain. The polyurethane I used was a bit thin and runny, and I could only do one thin coat at a time. It was also taking a very long time to dry (maybe the can was a bit old?) I also ended up with a few runs, so then I did one SIDE at a time, leaving the sections lying down. It took THREE coats (over a week). Usually 2 coats is plenty, but it was still looking rather blotchy with 2 coats.

P8090285

P8130392

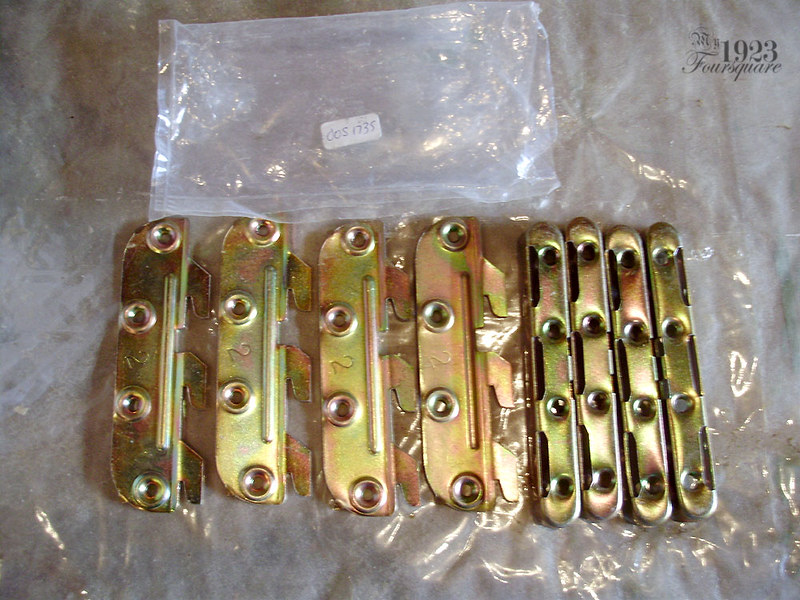
Another small hiccup that happened is that the hardware I had bought for the bed (over 5 years ago) was packaged incorrectly and it had all right side hooks! This system has the hooks screwed flush onto the rails, with the actual hooks offset (bent outwards slightly), so they aren't reversible. There are usually two #1 hooks (left) and two #2 hooks (right). I contacted the company and they sent me a new set, but I had to wait a few days for them to arrive.

P8140393

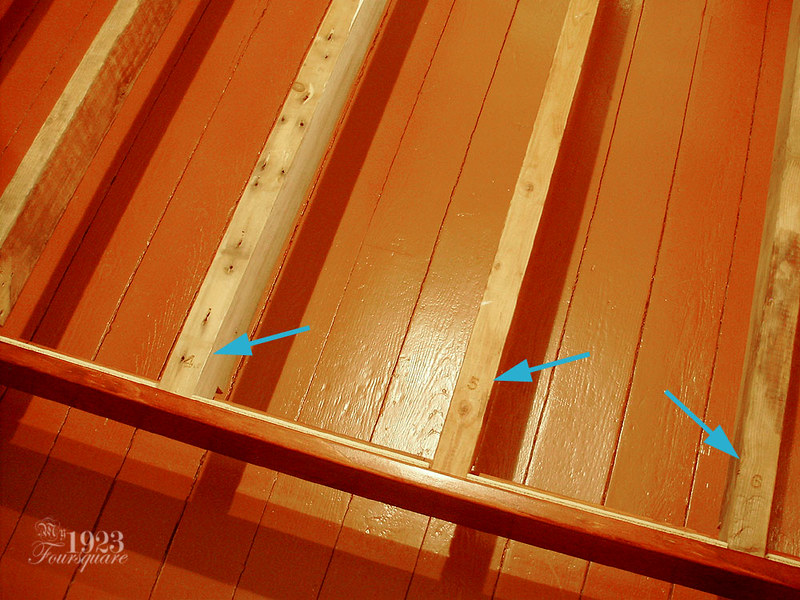
The rack system I ended up using were a number of scrap 2x4s that were notched to fit the height I wanted. These sit on the rails, and I added some plywood spacers between them (to make sure they stay vertical). This system can be changed to suit a box spring application instead (my setup is a mattress only - no box spring). Because the 2x4s are all different widths/sizes, I numbered them with a punch set. On top of the 2x4s are two sheets of thin plywood lined up so that the seams fall on one of the 2x4s.

P8180437

P8180439

You can also see how the bed hooks work (kinda). They're designed as top-mount, so they could be raised or lowered if I ever end up with a different mattress in here. It would leave screw holes behind, but those could be hidden fairly easily.

P8180440

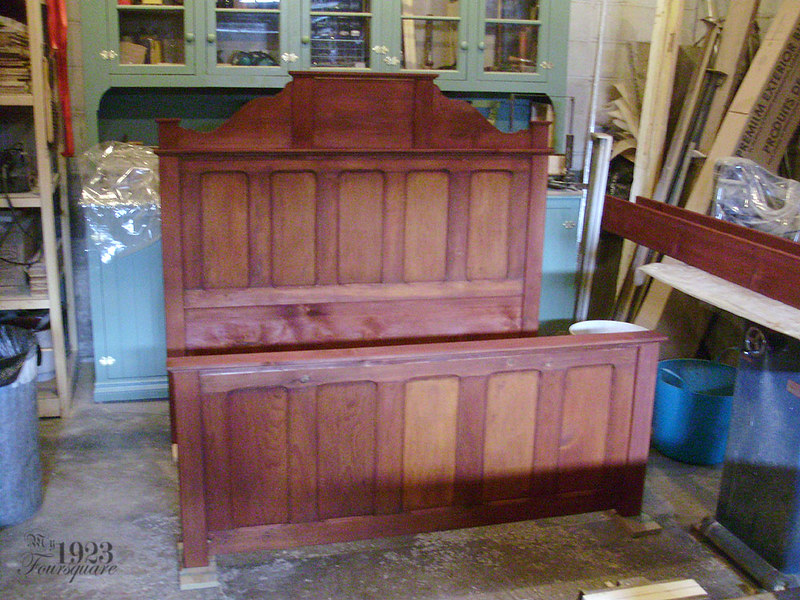
FINISHED BED! :D

P8220012

P8220014

I should also add that there were a few spots with leftover white paint from the stripping. These areas were touched-up with brownish-red paint after the staining was done (before varnishing).

P8220015

P8220016

P8220018

I'm really happy to finally be off the floor.