As mentioned previously, Pierre and Angie didn't take photos immediately after painting, so these are some that I took on my next visit after they had moved in some stuff.
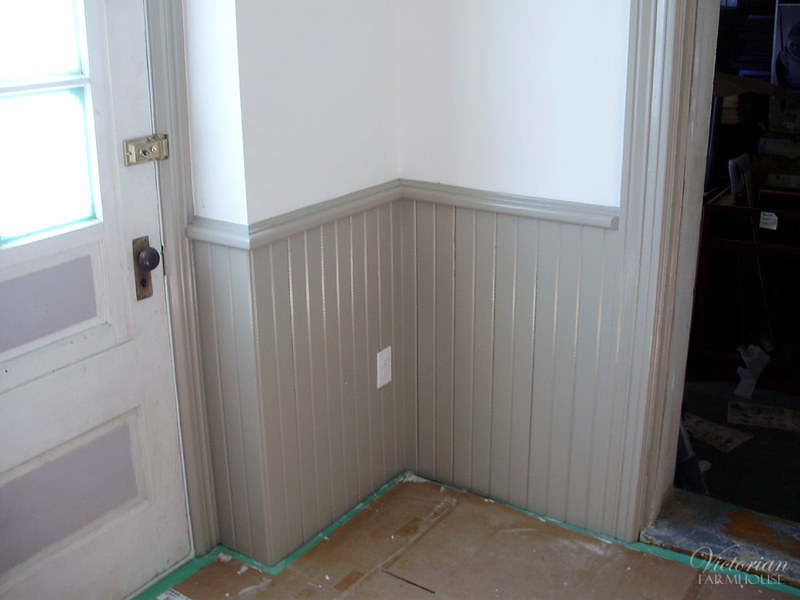
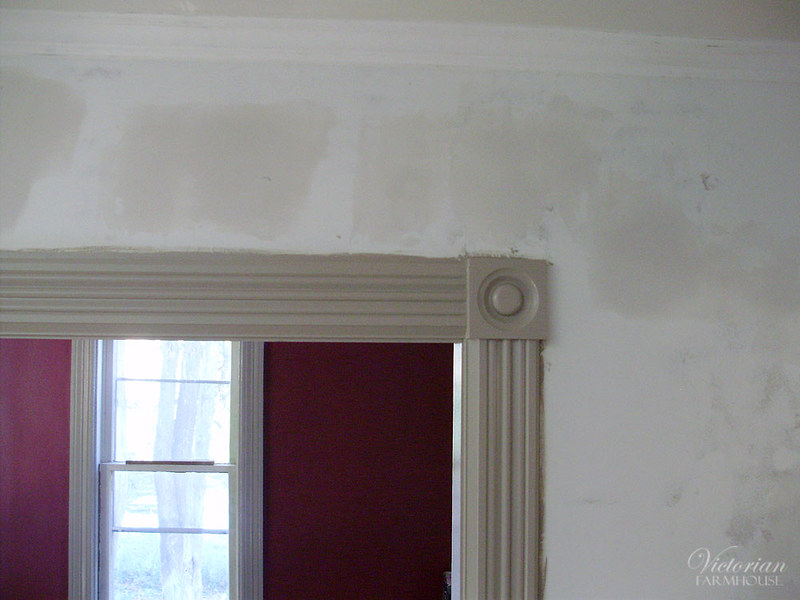
All the mouldings in the house will be painted in this shade of greyish-taupe. Because it's a colour that will be in every single room, it took us a LONG TIME to pick it out. Picking a shade of grey might not seem like a big deal, but it's incredibly difficult. Most shades of grey lean towards a certain colour. Many were too blue, too brown, or too red. In the end I'm really glad that Angie took her time and bought several samples, because the shade she picked out looks great!
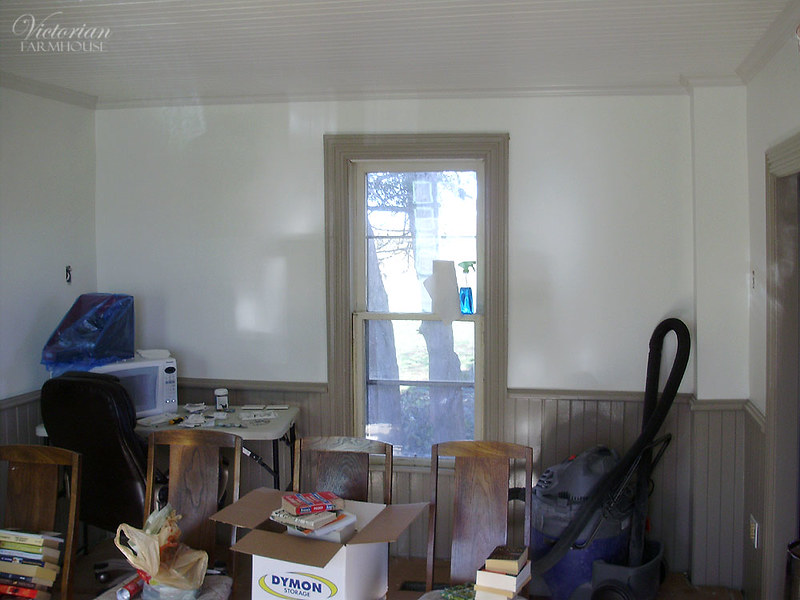
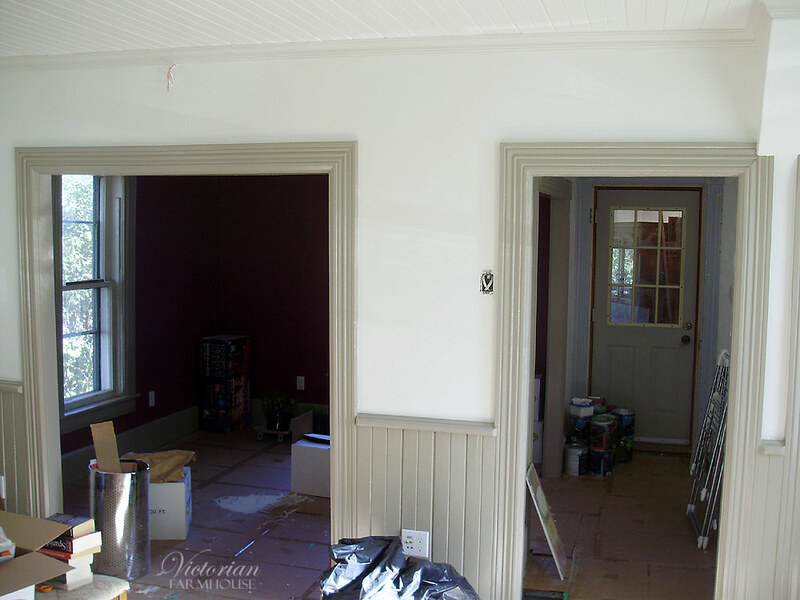
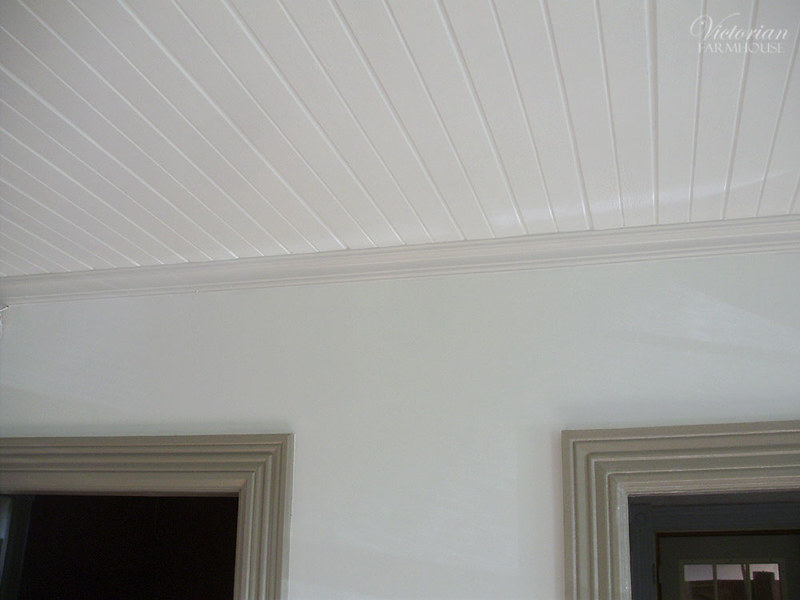
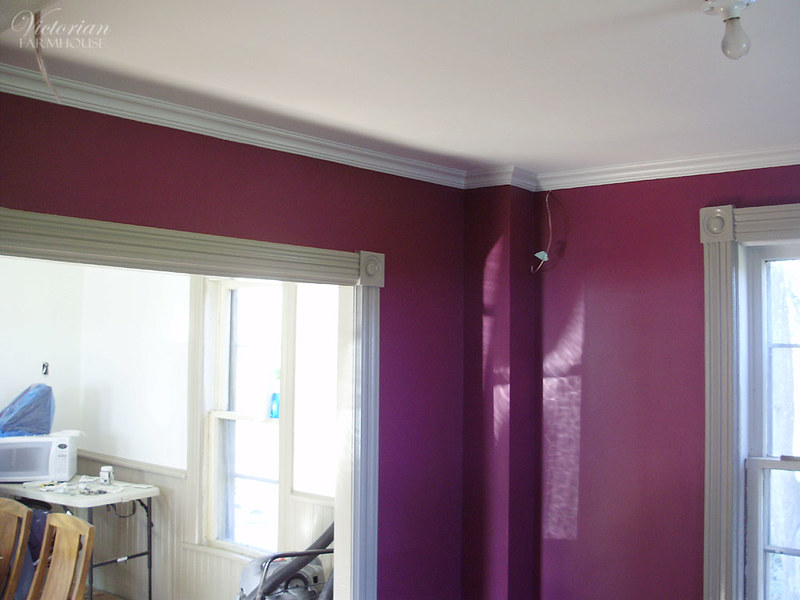
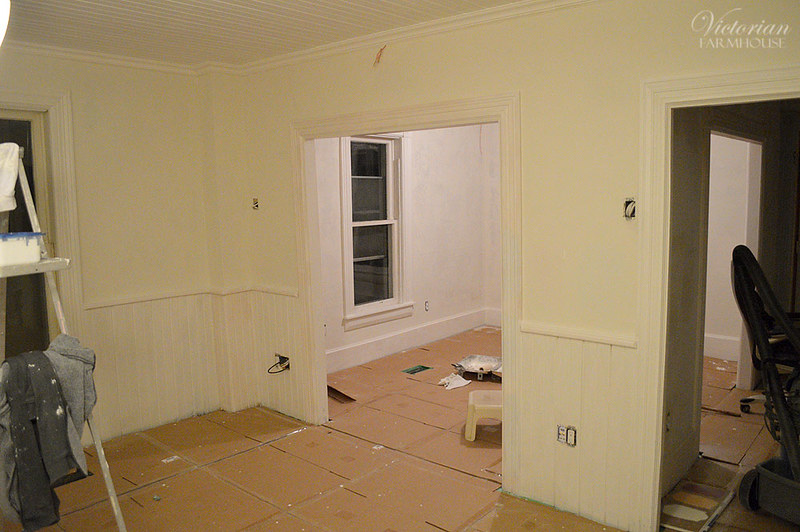
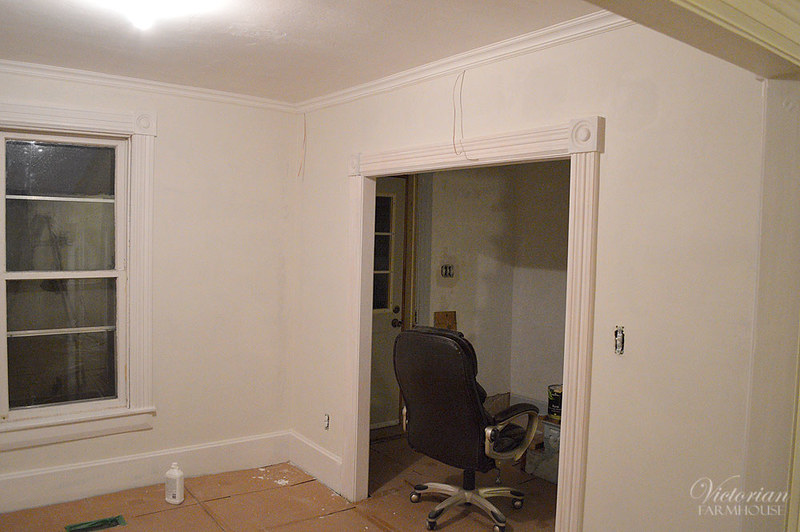
Here's the first shot of the living room. The walls in here are white (or off white), with the standard grey trim. Note that the crown mouldings are a very pale grey to make them stand out a bit.
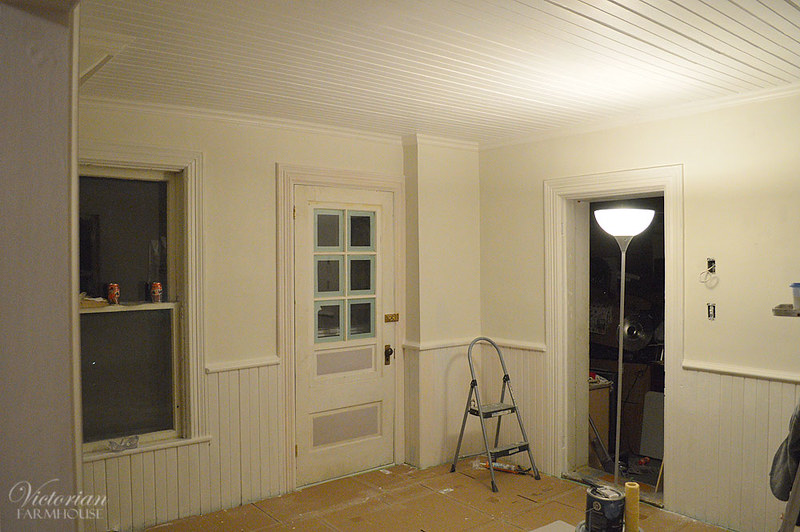
The exterior door was also eventually painted the same trim colour. You'll see it in a later post. Likewise all the antique windows will need to be restored, and they will eventually be painted the same grey on the interior.
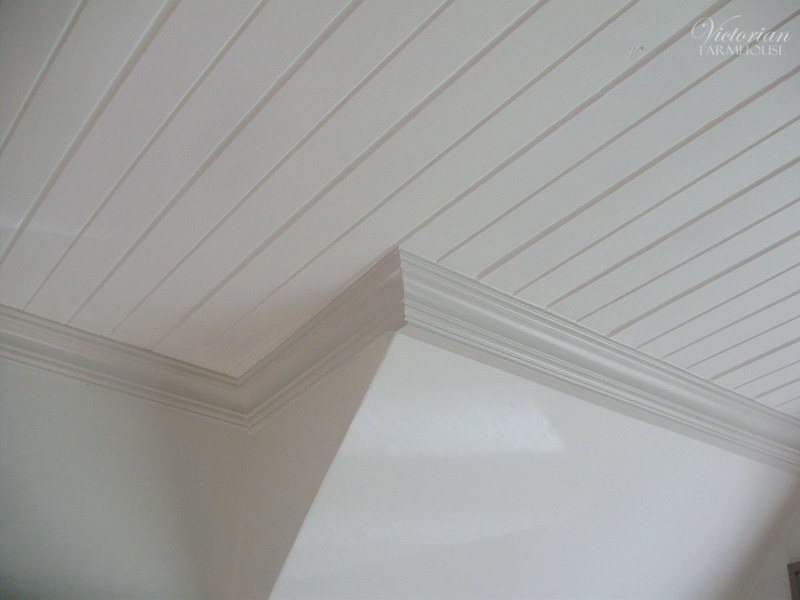
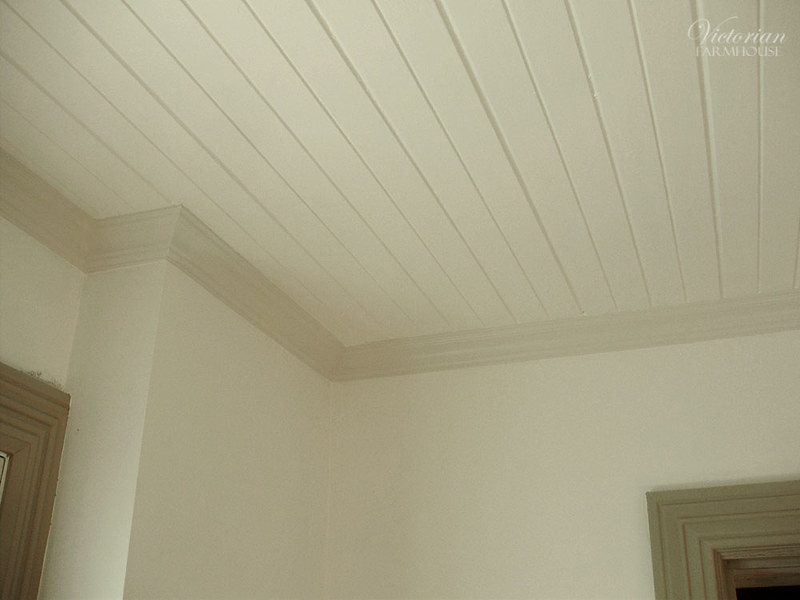
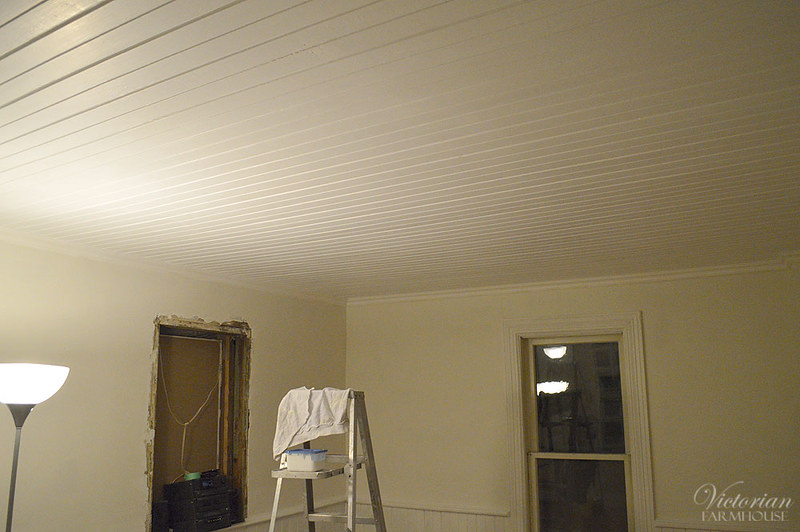
The living room ceiling turned out great!
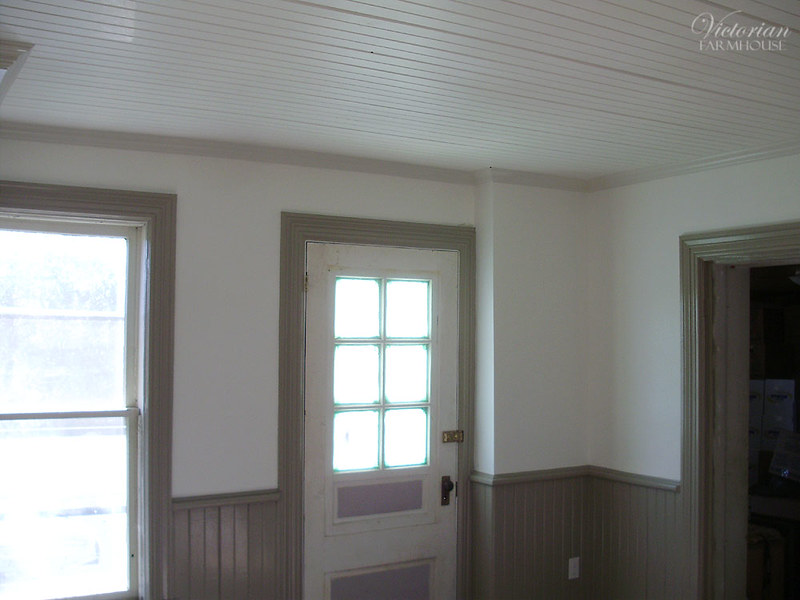
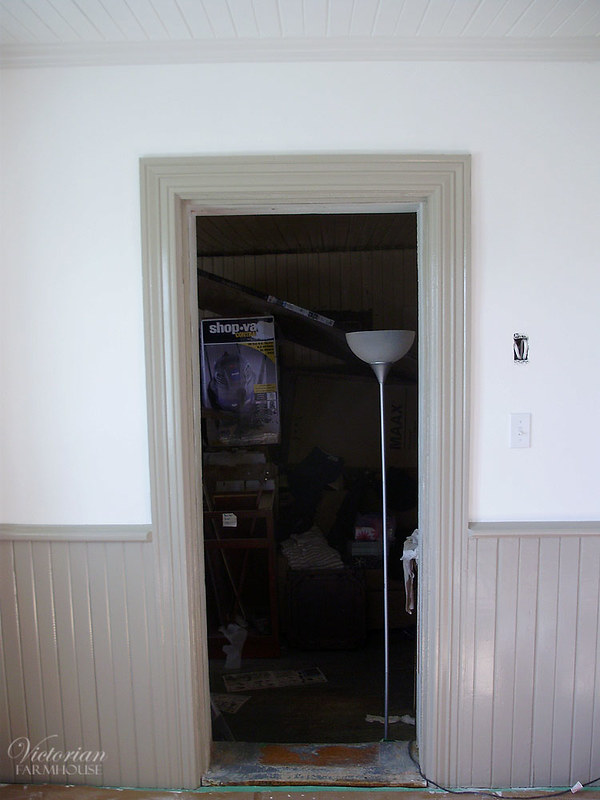
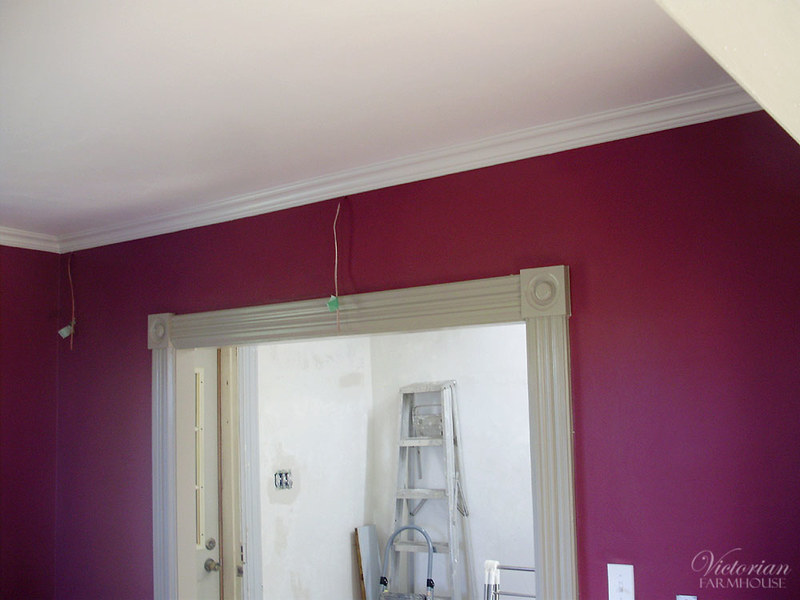
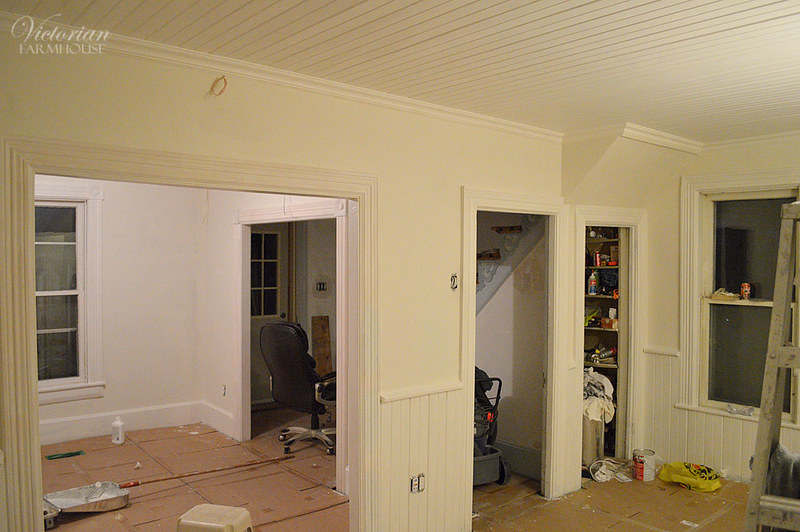
Doorway into the kitchen:
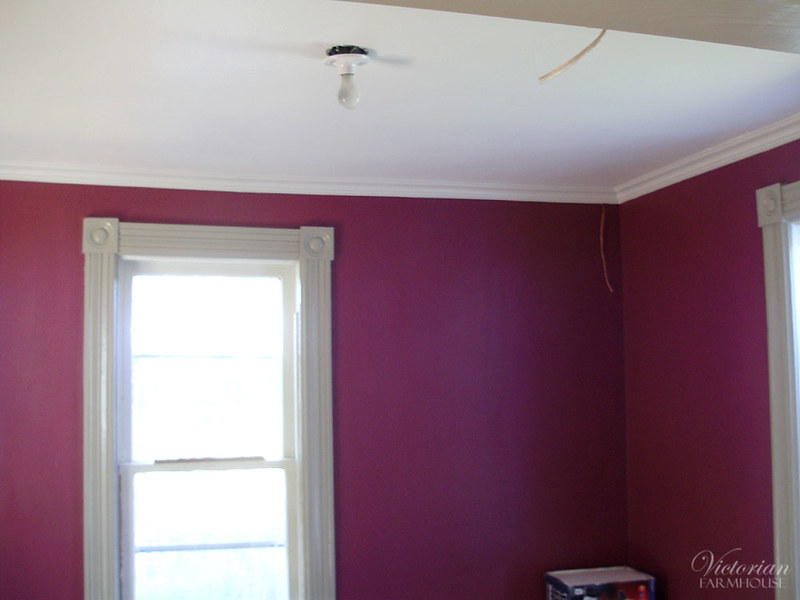
The office got a dramatic burgundy shade. Pierre and Angie wanted a dark colour for this room so that they wouldn't see the walls of the room as much while they watch TV (the TV will be in front of the narrow dividing wall). It is much less pinkish in real life than what the camera picked up. It actually leans more to a dark wine red with a touch of purple.
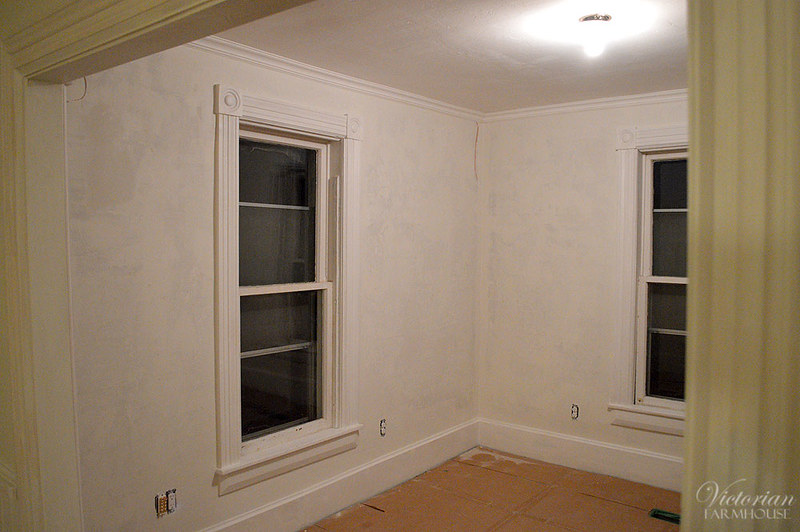
It's amazing how much difference you can make with just a bit of prep work, crack filling with DAP, and fresh paint. These mouldings almost look new, but they're the originals and they have many layers of paint on them.
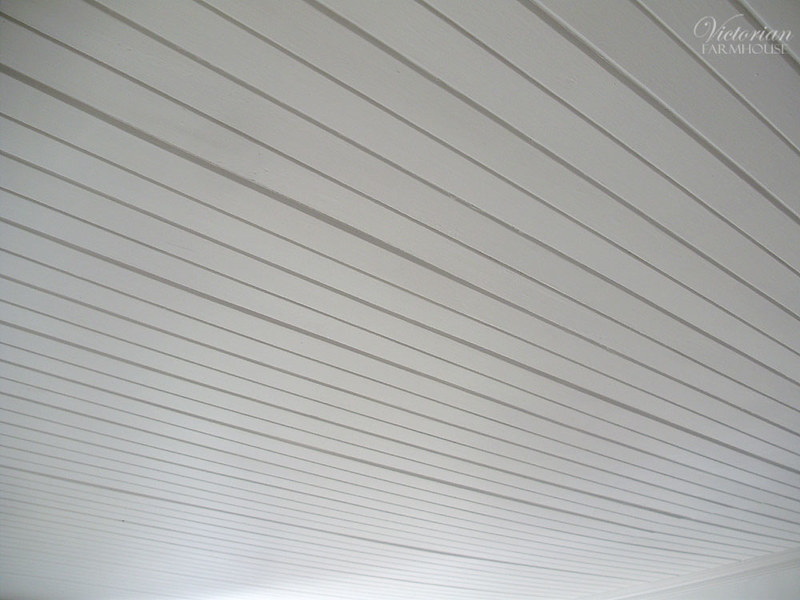
The ceiling is far from perfect but the fresh paint makes a big difference there too.
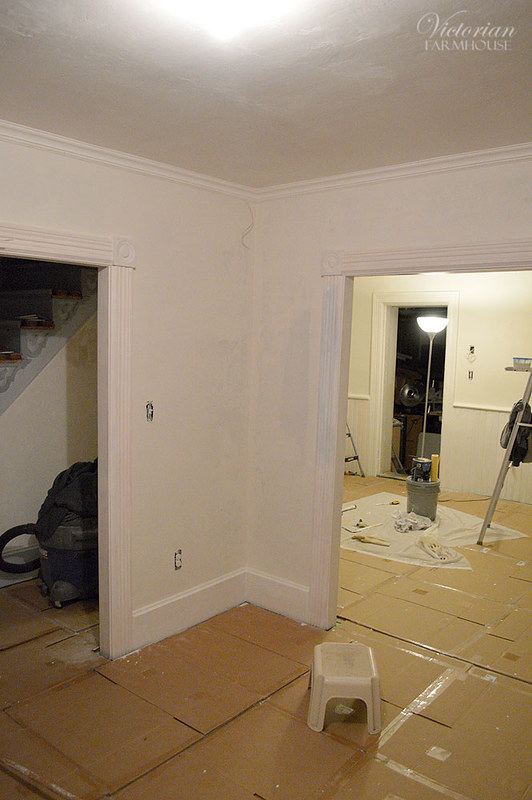
The main hallway is not painted yet. Neither is the upstairs. These are the brand new mouldings (compare with the originals above).
This photo set is sort of the "in between" shots before the bulk of the main floor got painted. Unfortunately, Pierre didn't take any "after painting" photos, so the photos I have will be with a bunch of things already moved into the house. Those will be coming soon. Maybe later this week.
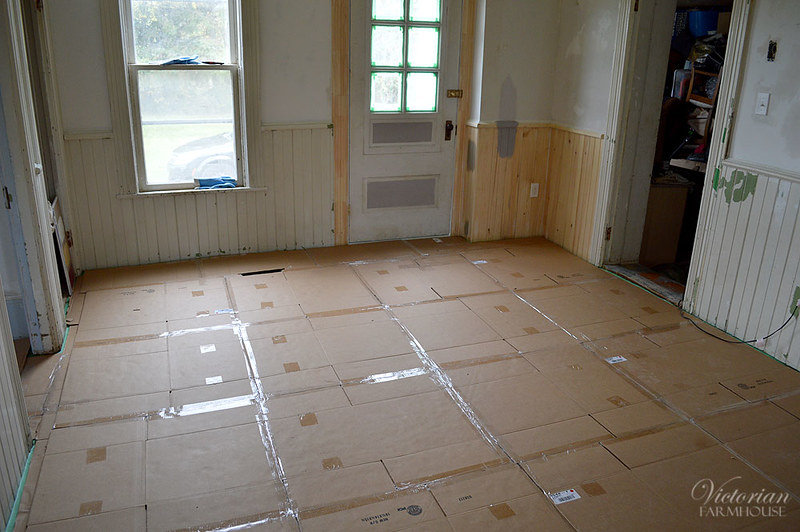
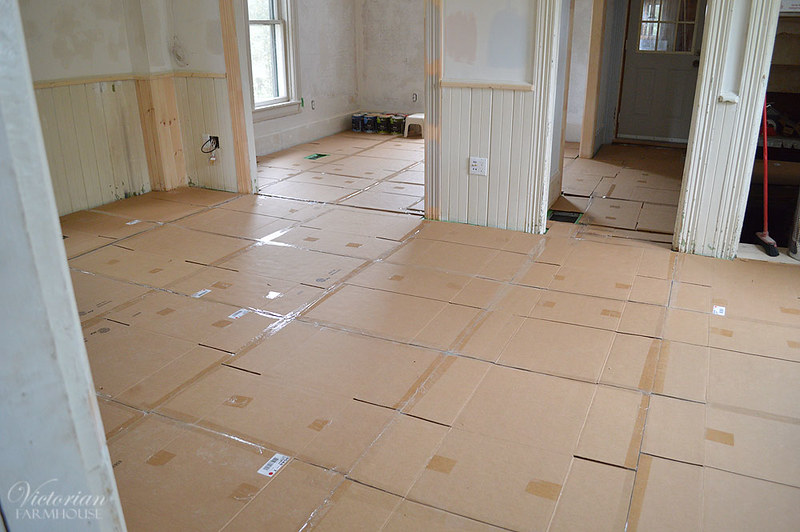
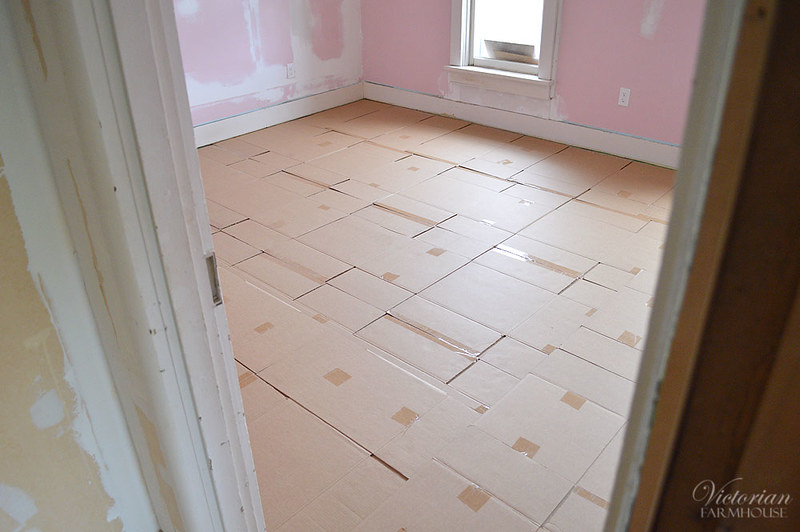
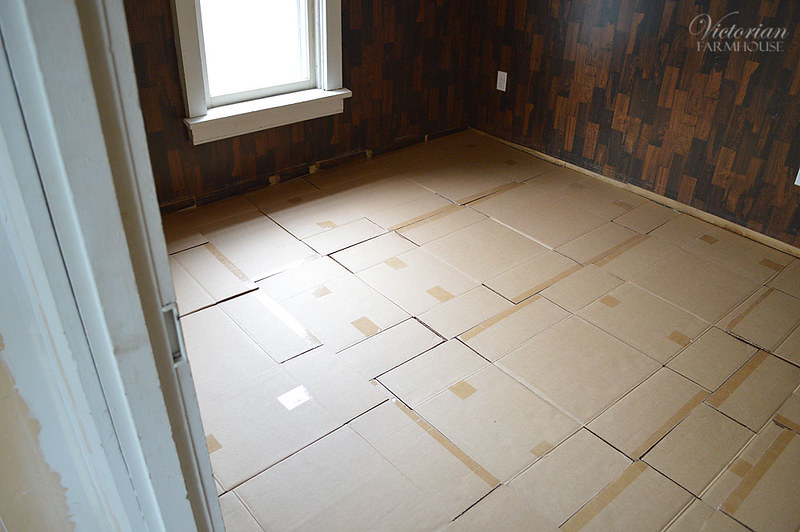
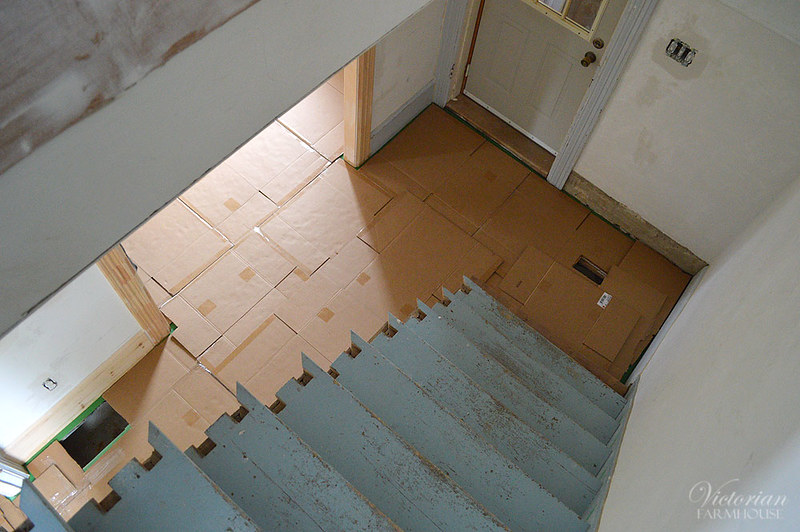
Pierre was able to get a large amount of cardboard boxes inexpensively to protect the floors, so he spent some time putting those down and taping them.
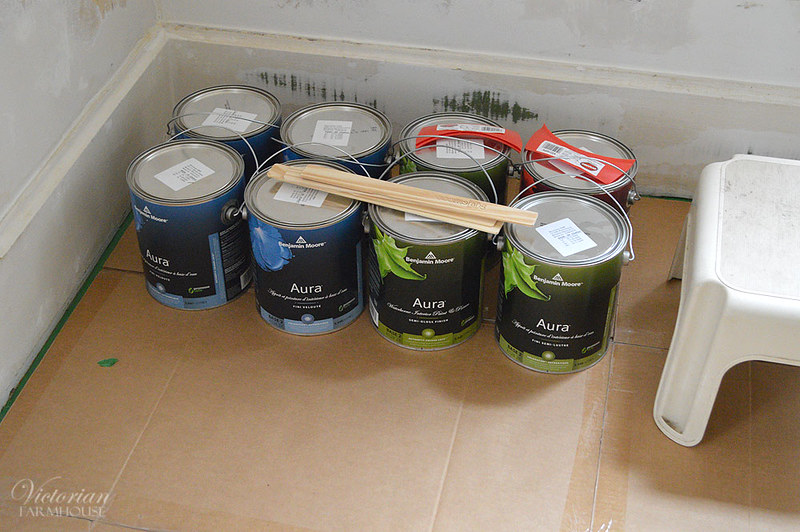
Angie spent some time looking into paints as far as quality vs price, and she ended up choosing Benjamin Moore which were also on sale. I didn't actually do any of the painting, so I can't compare it to the Behr (which I really like), but as far as I can tell it's just as good quality.
The upstairs is not quite paint ready, but the floors were protected in the meantime.
There were a few last minute little bits to sand on the living room ceiling.
PRIMER!
I think this is the first coat of white on the ceiling.
White ceiling in the office! Remember how yellowed it was?
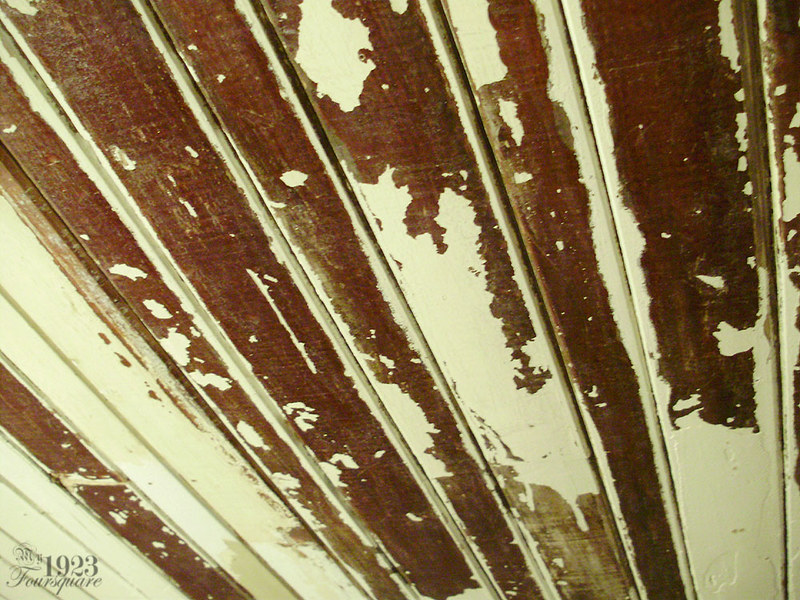
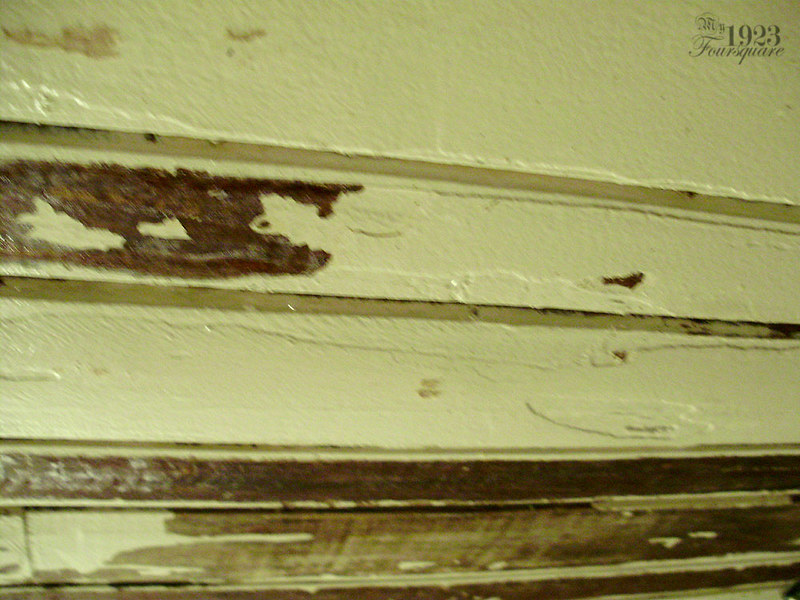
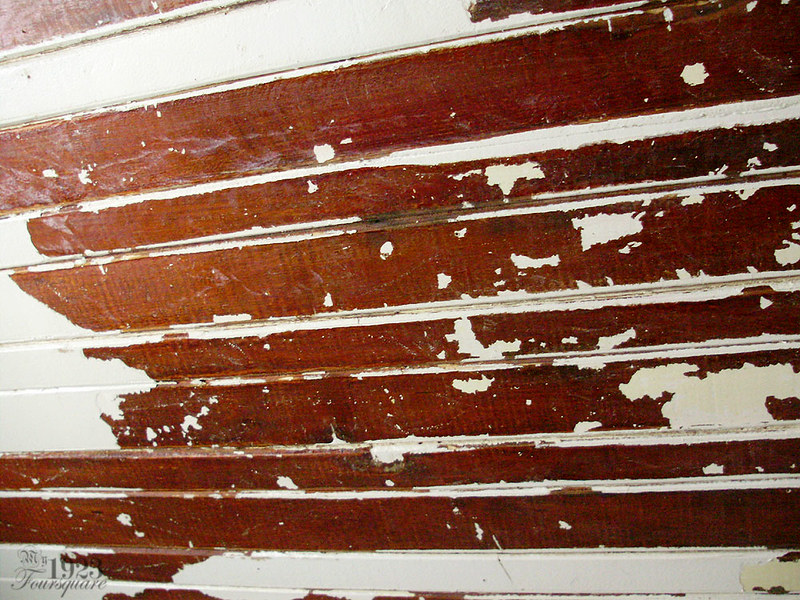
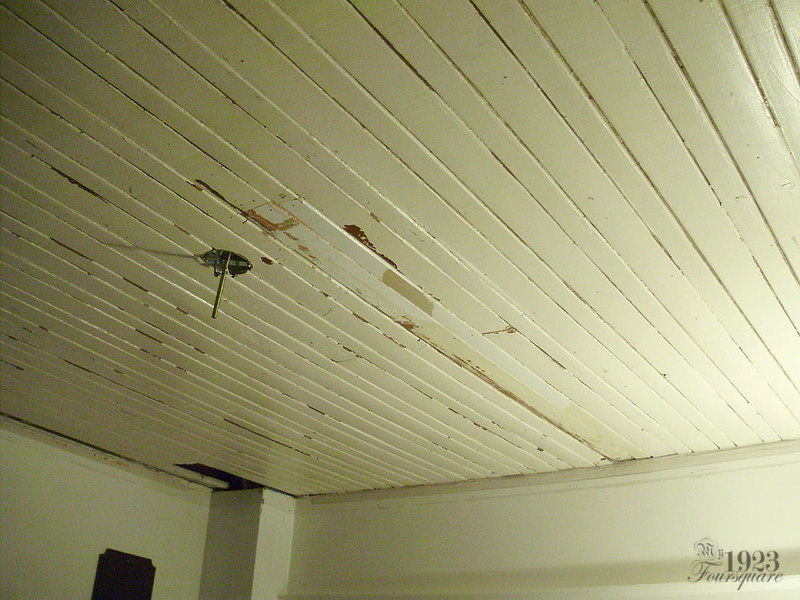
So the dining room ceiling project has kind of gone off the rails and spiraled into "hellish pain in the ass" territory. When working with old painted woodwork or walls, I tend to give the advice "don't pick at it", but sometimes I don't follow my advice. On this particular job, I HAD to at least chip off the unsightly chunks of paint in order to be able to do a quick patch job. I was originally just doing this near edges and in the V grooves. The plan was just to clean up the ceiling and then patch the chippy edges of the boards.
A preview of things to come...
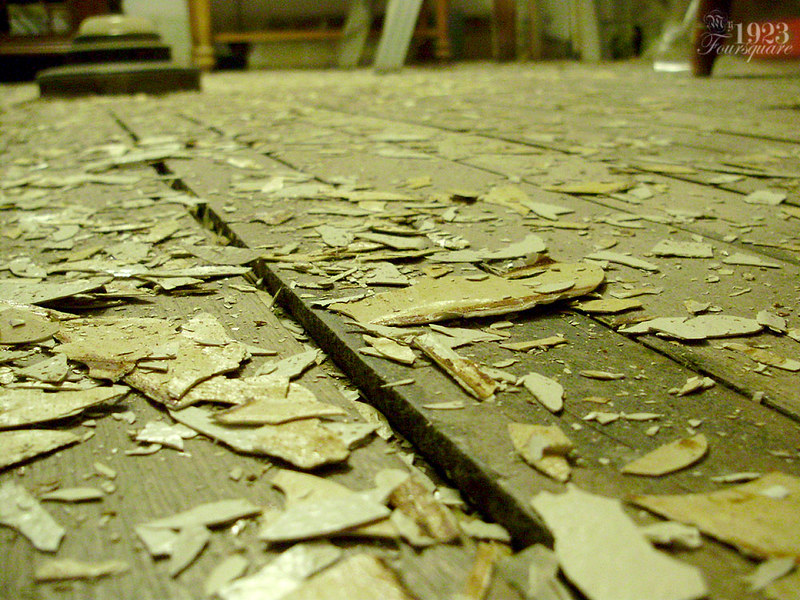
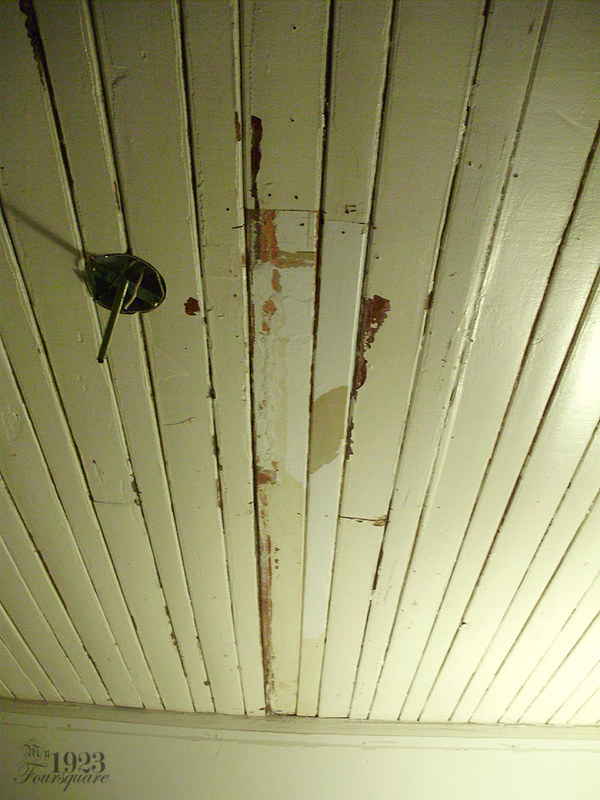
Unfortunately (or maybe fortunately? you be the judge) I ended up chipping off a big section of one board and then kept going.
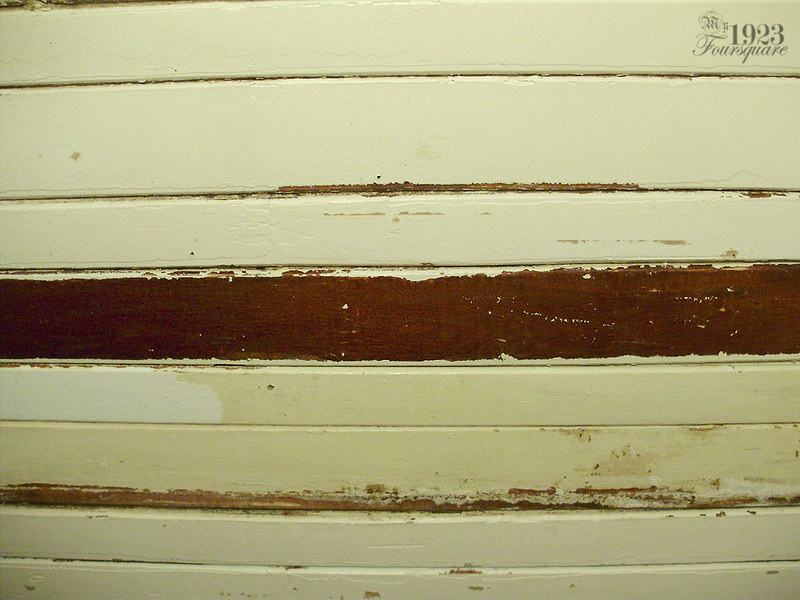
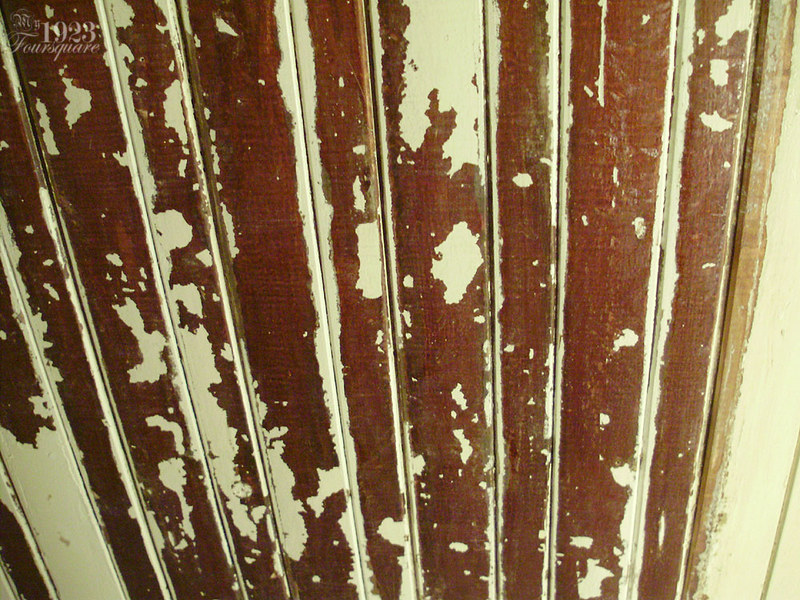
This is the result of just half a minute of work. The thick layers of paint in the centre of the boards came off quite easily. This leaves just a bit of white at the edges where the paint had previously chipped and they had painted over it. The paint film separated right at the layer of shellac over the wood. As it turns out, the entire ceiling is actually stained and shellacked solid birch. In today's world (and today's prices) this would be about a 1000$ ceiling to put in. There's at least 500-600$ in wood, plus the added labour to have it stained and varnished. Back in the 1920s, however, it was probably just a bit more expensive than drywall, or possibly close to the same price, since drywall was still a very new product.
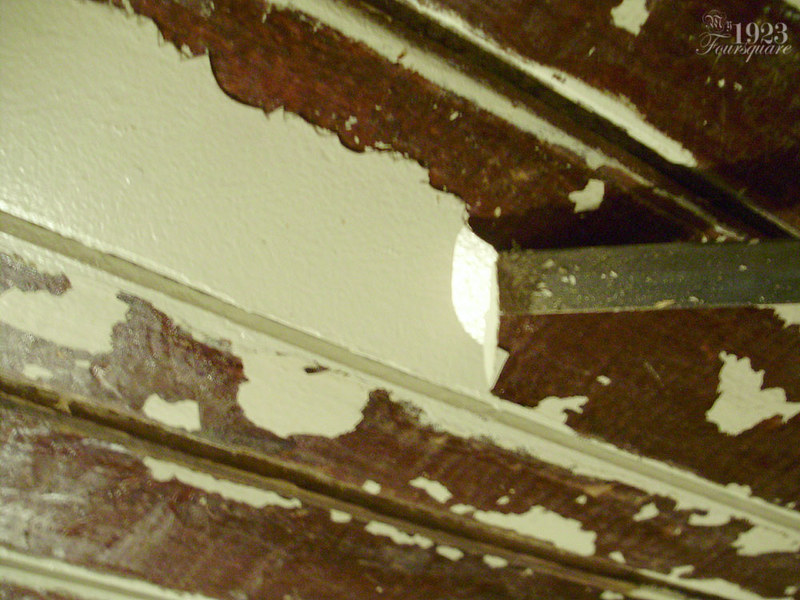
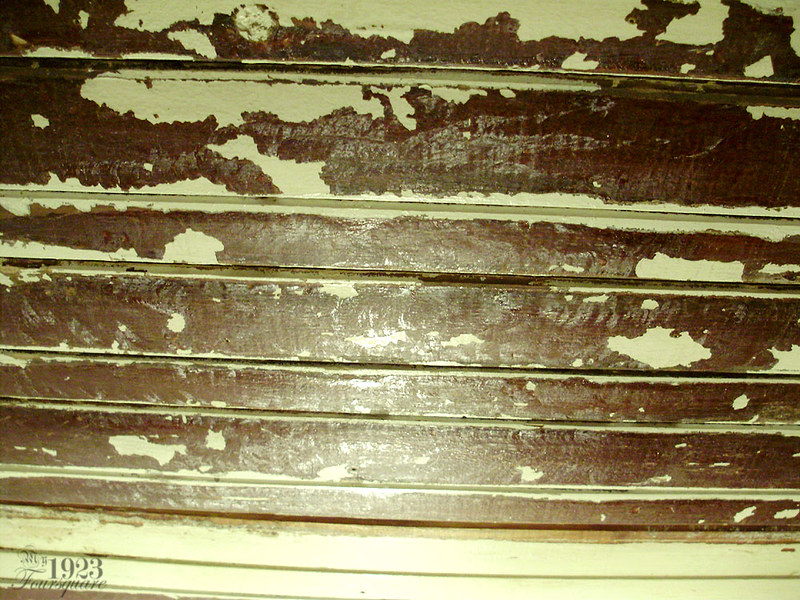
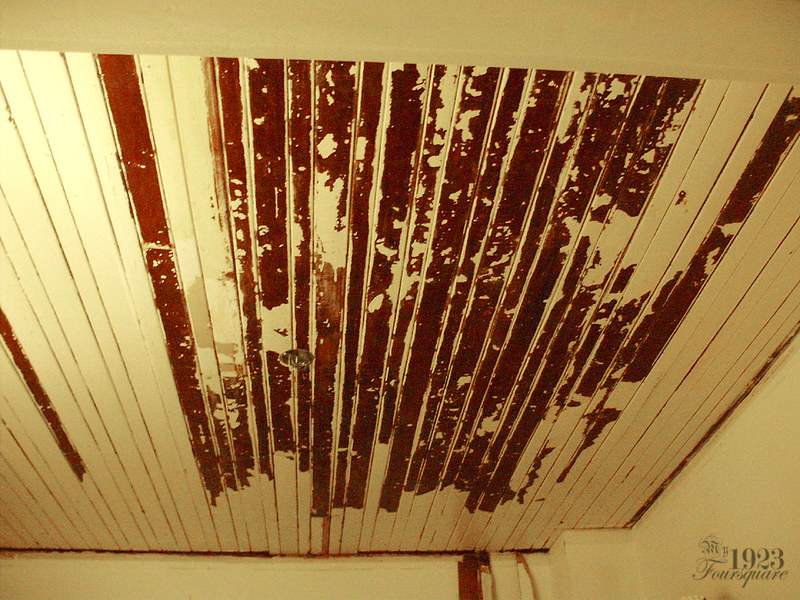
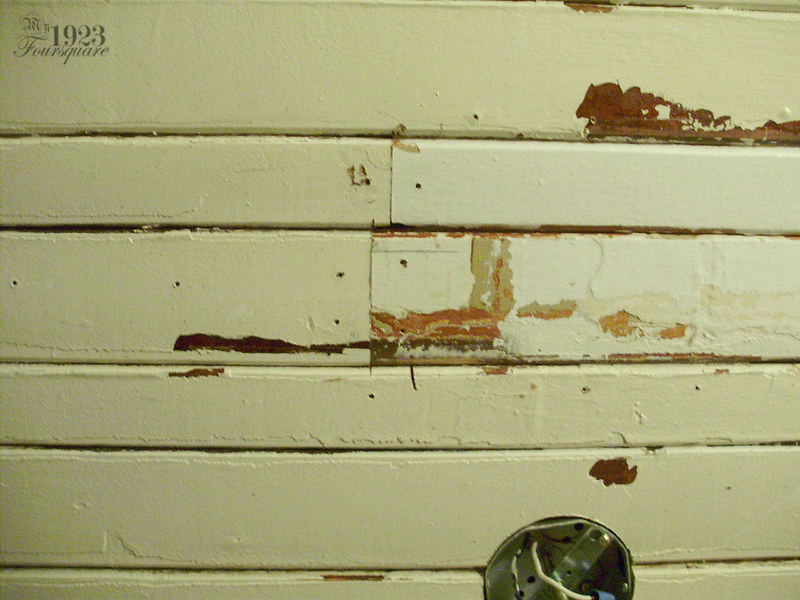
Here you can see a bit of an action shot (which was hard to photograph with my left hand) showing how the paint was coming off the boards.
Some of the first layer of oil paint was not coming off as easily, but at least the first 10 coats was chipping off pretty effortlessly.
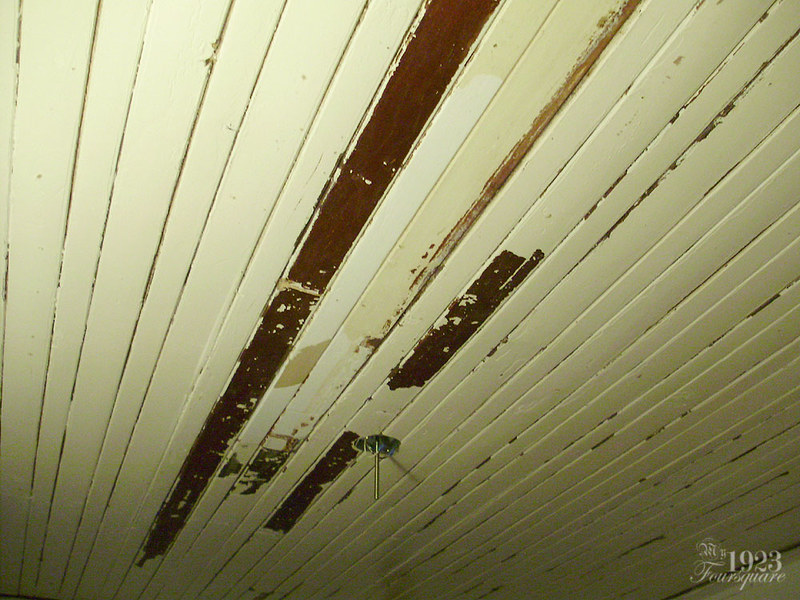
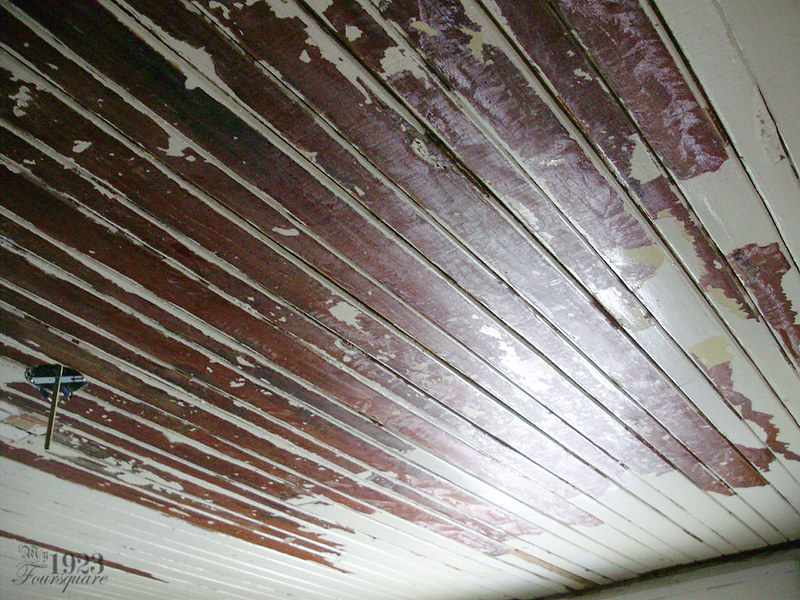
This is probably and hour's worth of work. This was not fun, since you're working on a ladder with your neck bent.
The original shellac under the paint seems to have had some kind of reaction over the years and it now has sort of a swirly frosted look to it. Reminds me of frost on a window.
Here's a terrible photo.
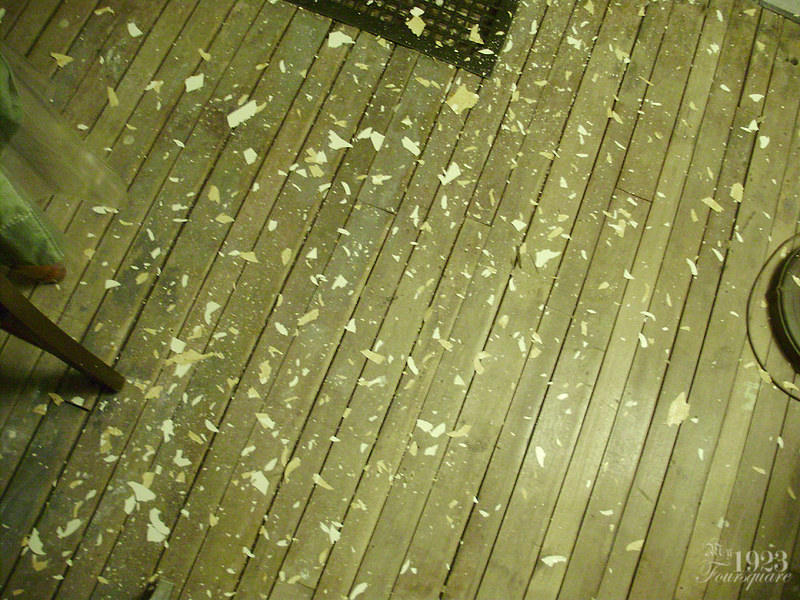
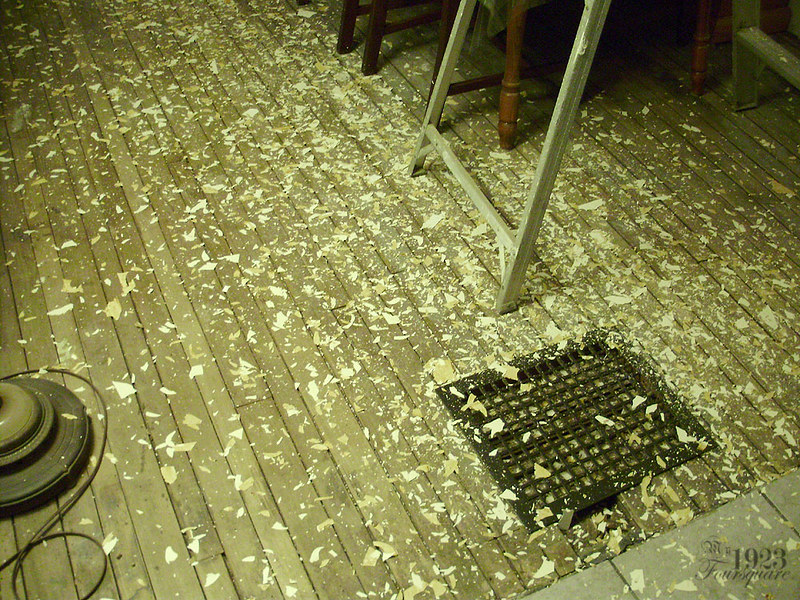
By far the worst part of this whole job is just the paint chip management. I vacuumed the room about 3 or 4 times but it's basically an unending mess.
I think this is what I managed to scrape in one or two sessions (a few hours).
Yeah, I think that's what I did on the first night, and this was the next day (the bulk of the ceiling scraping was done between about Jan 2 to 6).
I also shot this terrible video for you guys. You might want to turn down your volume, as I had loud trance music on in the background as I was working.
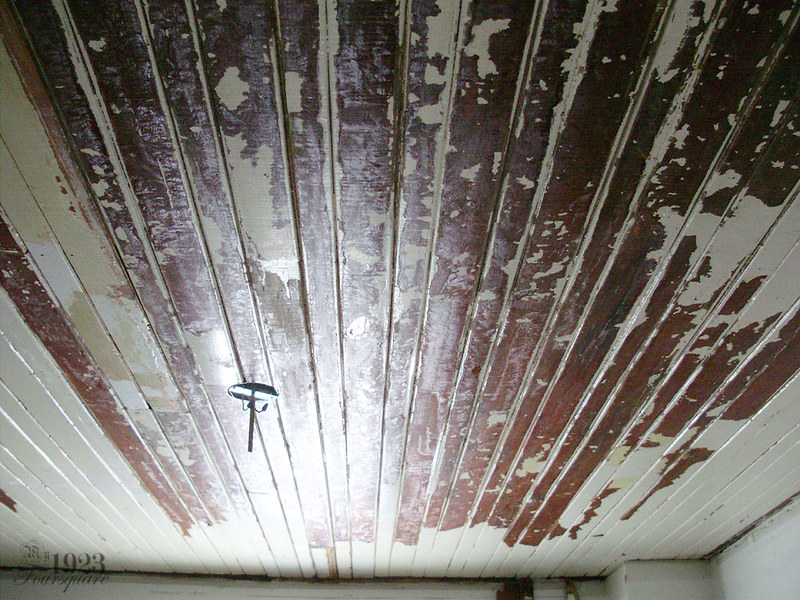
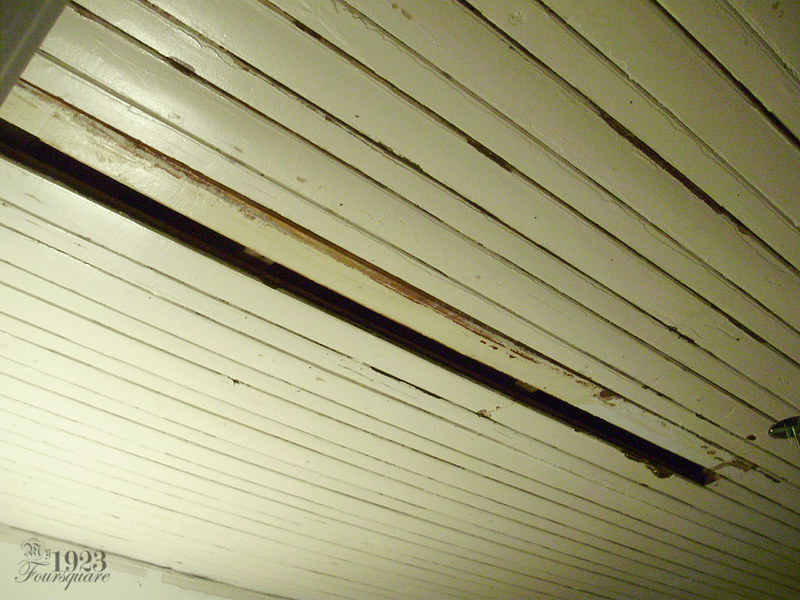
As of today, 95% of the ceiling is paint free. I have a few edges left to do, then I can patch and putty the damaged bits. There's one big saw cut to putty, and several nail holes.
Yesterday I went to buy BIN (shellac based) primer and some white paint.
And yes I did briefly consider trying to save and refinish the original wood ceiling, but it would be an insane amount of work. All the cracks are still full of paint, the new patched-in boards don't quite match the original colour, and to actually get everything nice I'd have to chemical-strip, sand, and re-stain the entire ceiling. That's just NOT going to happen. It's too much work, and in the end, it wouldn't match anything else in the house. All the other ceilings and trim have already been painted-over decades ago. I'm just aiming to have a nice white tongue-and-groove ceiling instead of the drywall. I will also fix the ceiling in the kitchen, but not yet. There's no sense in trying to do it now because I need to remove the chimney in order to patch that corner hole. I will also need the cabinets to be out of there because they do sit right against the t-g ceiling and there's probably many extra coats of paint on the inside of the cabinets.
Speaking of the cabinets, I've actually determined that they must be original to the house. They kind of look more like 1940s or 50s cabinets, but the way they are built and how they were installed seems to prove that they were put in at the same time the house was built. They but-up against the ceiling, and they finish on the original tongue-and-groove paneling that went around the kitchen originally (more of the same wood). Additionally, when I removed the plumbing stack, the exposed cabinet side was unfinished white wash, which is the same wood that was used for the casings. Anyhow, more on that later.
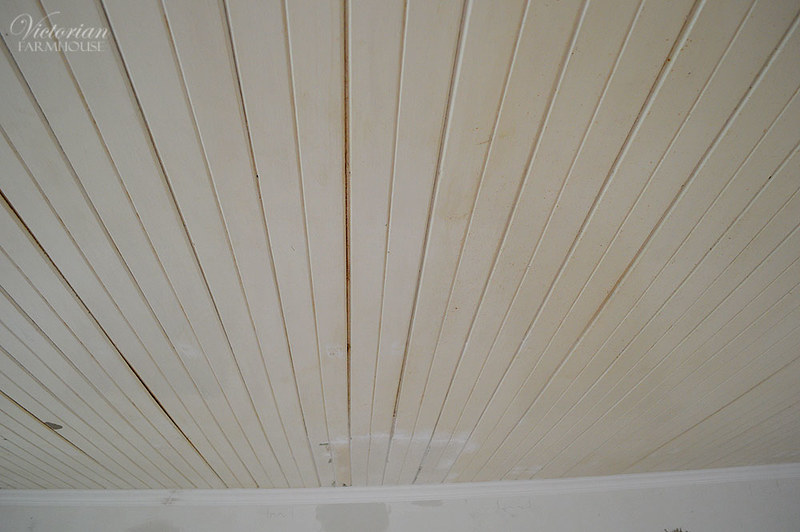
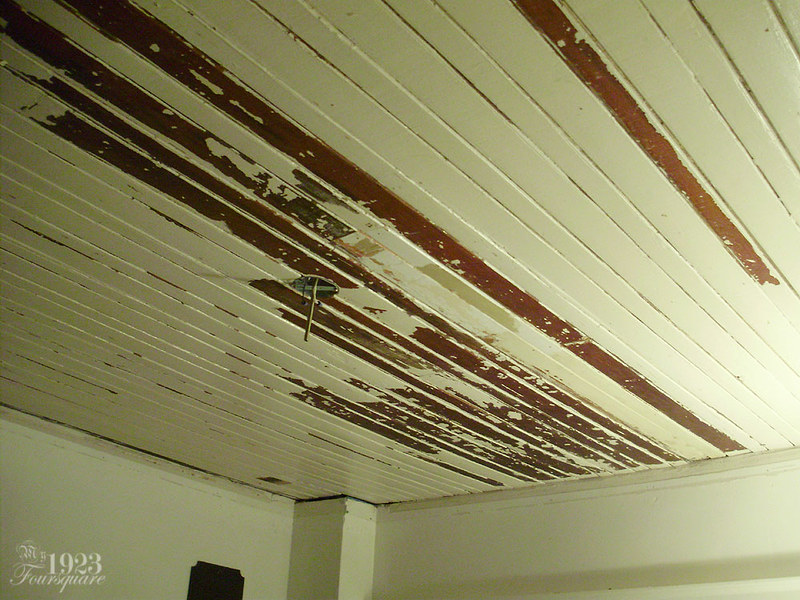
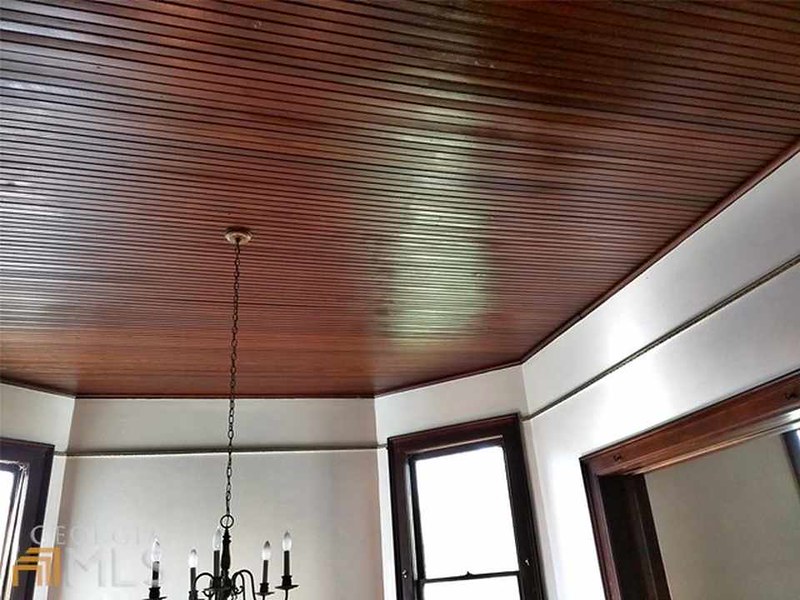
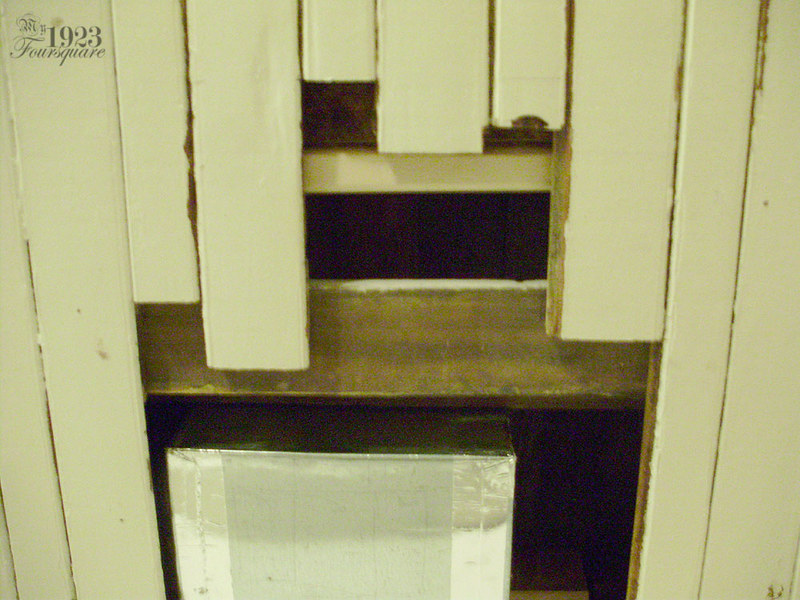
Lastly, I'm including this photo to give you an idea of what a dark wood ceiling would look like. Many houses still have them, but a lot of people don't like the dark wood, so the survival rate for these is getting lower every year. The craze for DIY renos and constantly wanting to stay "on trend" with interior design is also not helping.
It's late (3:20am), but this should be a relatively quick post to write.
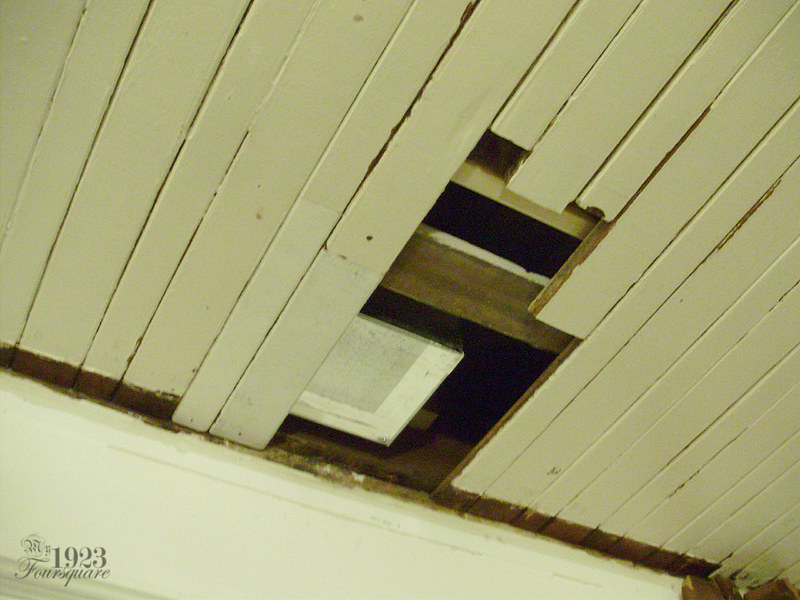
With the old tongue-and-groove removed from the chimney cabinet, I was able to start patching all the damaged/rotten boards in the ceiling. This was the first of the two long centre boards:
Second board:
Staggered joints in the middle.
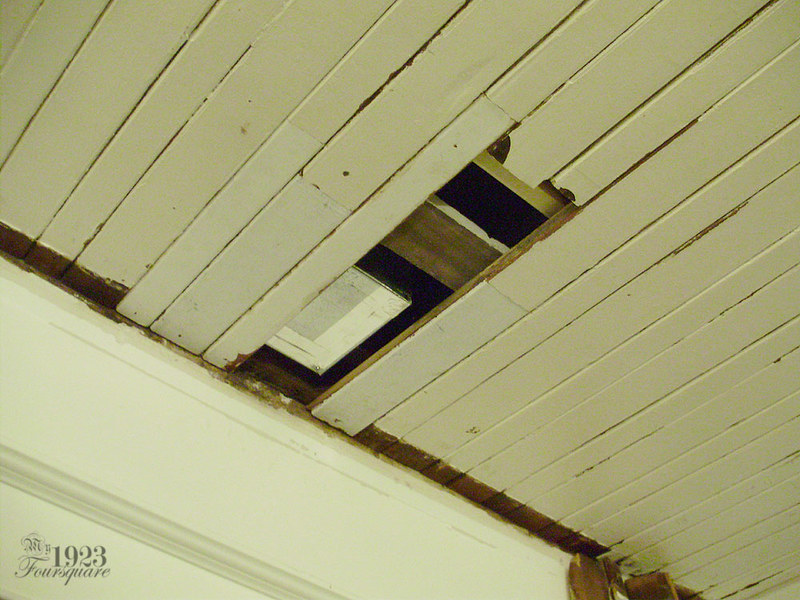
Some of the short boards were attached with this scrap piece of wood which was installed with screws from above. The screws were installed using a small hand-held ratcheting screw driver.
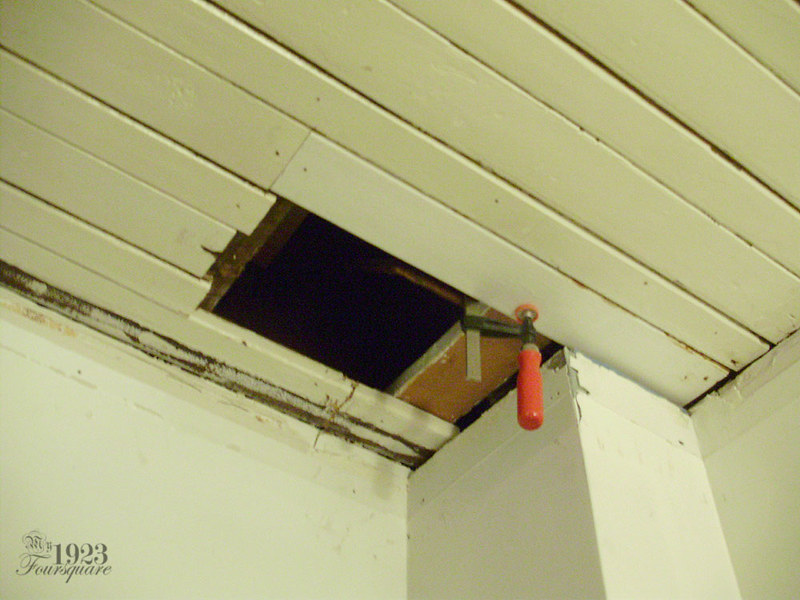
First two boards. Screwed from above, and nailed at the edge of the wall. A small clamp (seen later) helped keep pieces in place while driving the screws.
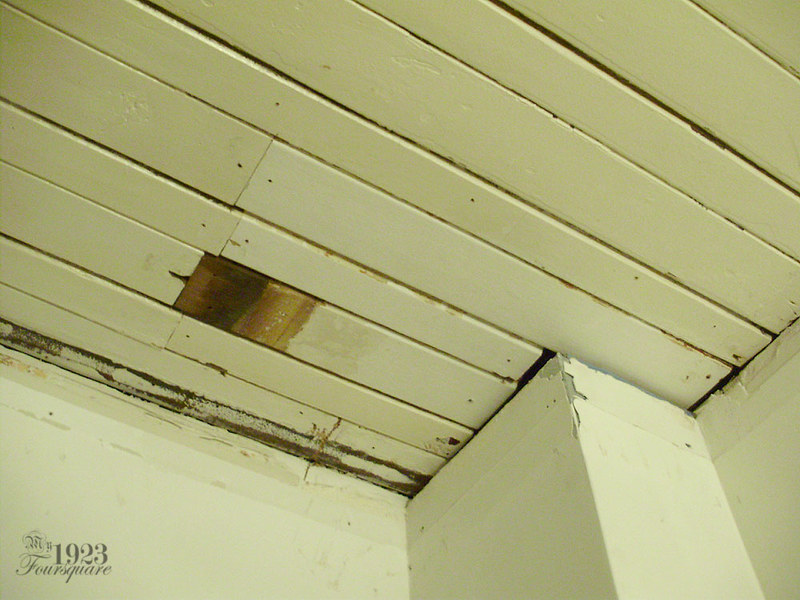
3rd and 4th boards.
The last few were nailed to the floor joist.
I used the same system near the bath drain and heating duct corner.