Showing posts with label Living Room. Show all posts

Sunday, November 24, 2019

Before & After Photos - First Floor

Here are some before and after photos of the first floor renovations between the day I bought the house, and just after I finished the floors. These are just a few random photos I was able to match up with an old and new image. There aren't many that show the hallway or front door.


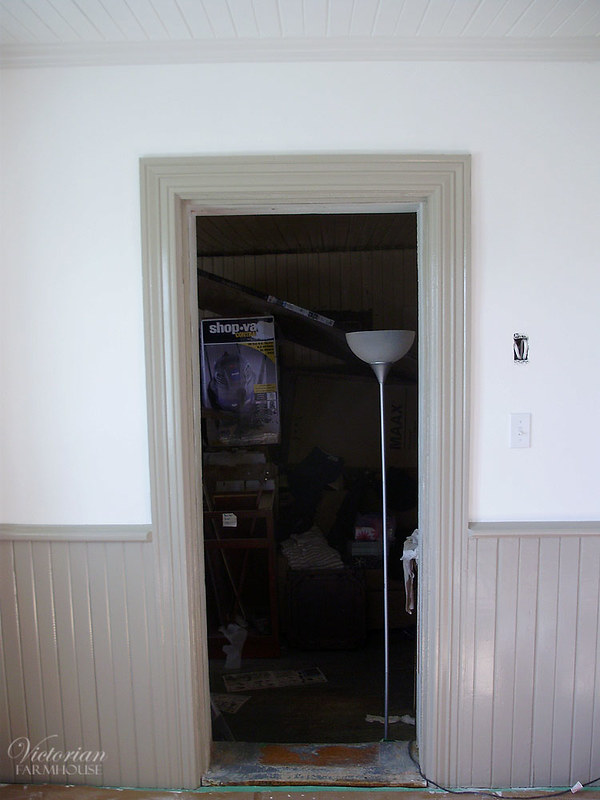
Major changes in the photo above: Remove door, relocate heating grate from floor to wall, redo door mouldings, fix light switch, (the rest is the more obvious stuff like refinish the floor, paint, etc).


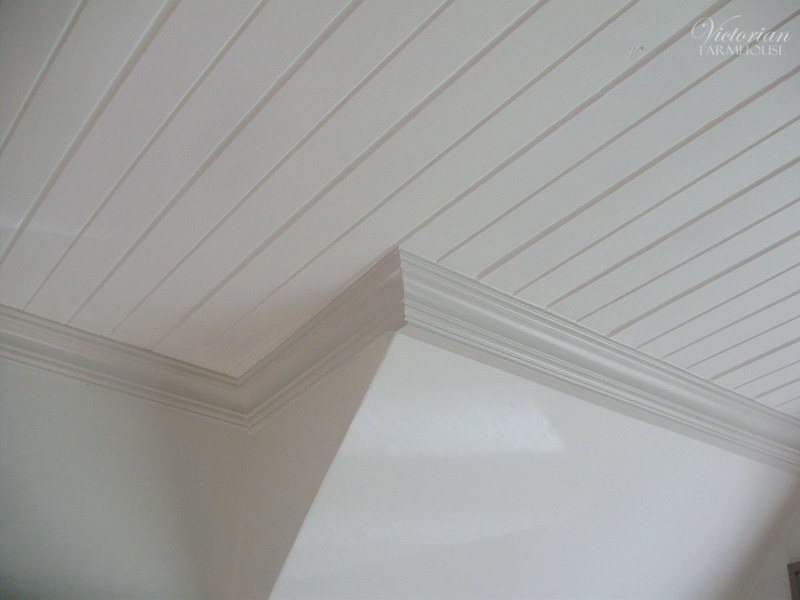
Drywall (heating vent) stack redone. Ceiling patched and crown matched/patched.


It doesn't look hugely different other than the door and the repaired mouldings, but this corner was huge. Note that the outlet location in the wall did NOT move. Hole in the floor had to be patched.


The stairs were not original and I can't imagine that they originally ended partially into the doorway.


Notable change is that the light switch is no longer buried into the wall, and that ugly plywood access panel (which served no purposed) is done away with. The entire drywall column was redone.


Changes here are mostly the floors and the replaced mouldings. Note front door also.


Living room before/after. The bare light bulb was replaced with a rewired antique pan chandelier from the 1910 era. The new flooring that was removed revealed an original heating grate opening. I had to swap some around to get one to fit this existing hole. The entire corner duct work column was completely redone. Again, electrical outlet no longer partly covered by the wall.


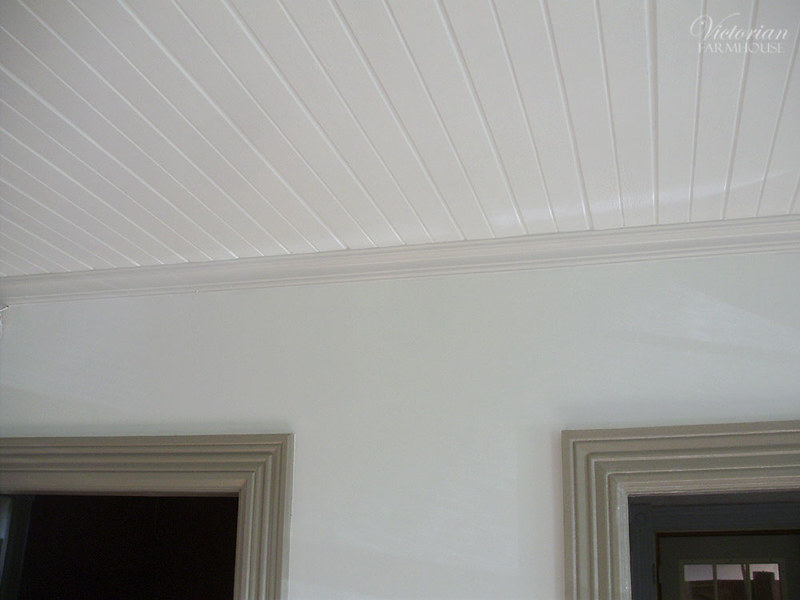
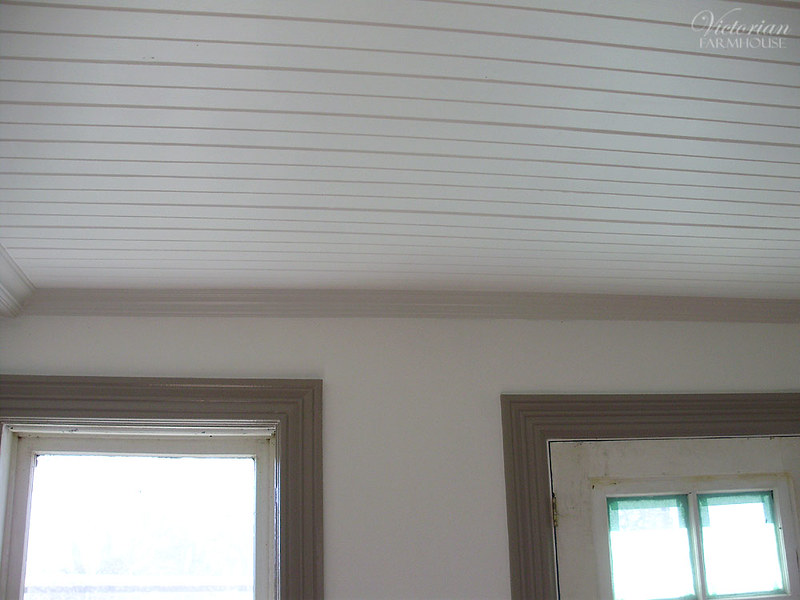
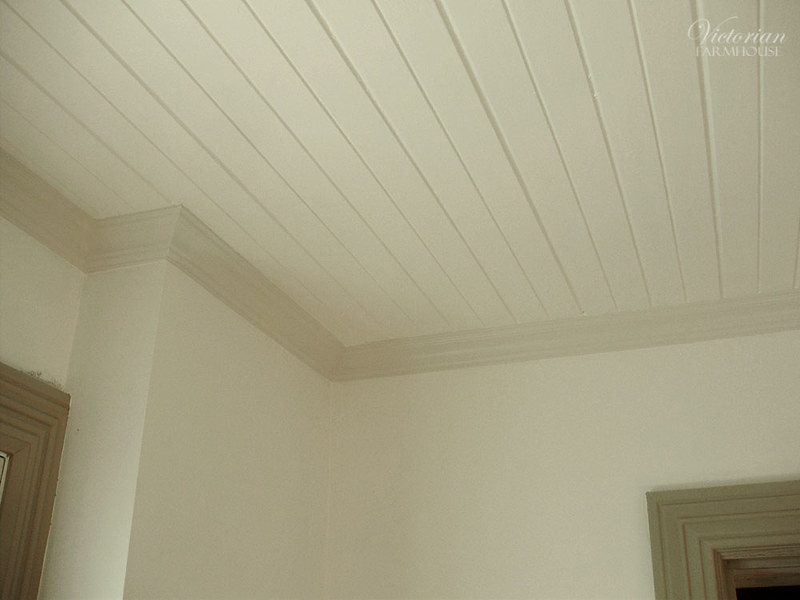
Some new crown moulding was made to match. Note that the size shrunk down quite a bit (width of 4 boards down to two).


Detail of bottom.


Opposite corner. That drywall corner was also redone. Heating grate was repaired and painted to match the baseboards. The additional outlet is for phone and cable connections.


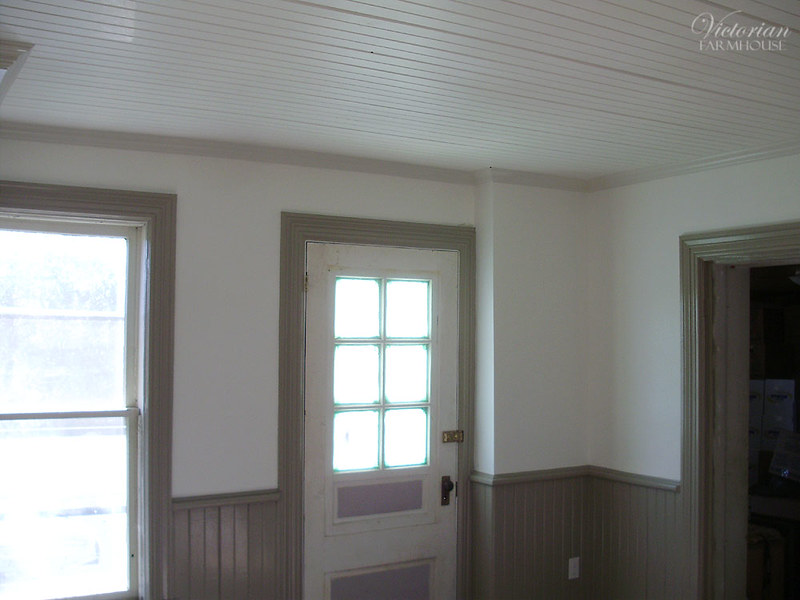
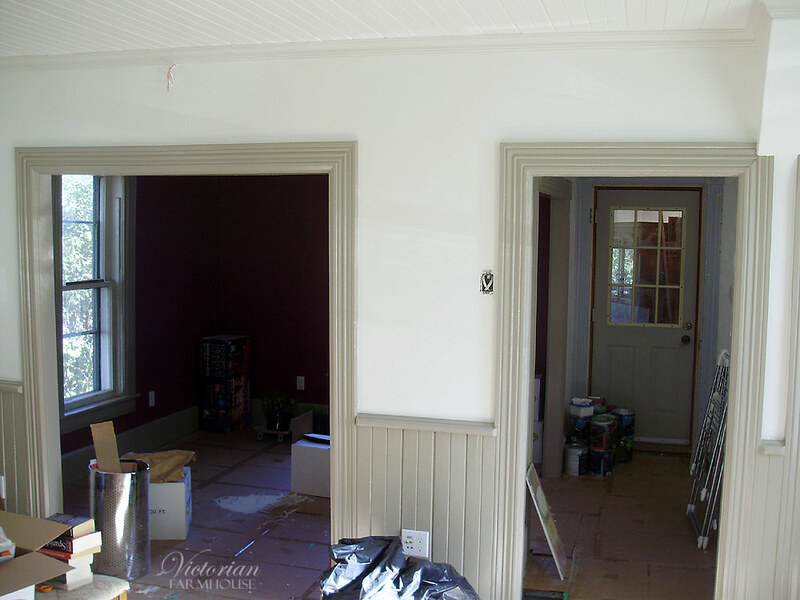
Lastly the dining room. Most of the work in this room was restoring the ceiling and repainting it. Other than that, redoing the two drywall corners (you can tell visually how much the one in the far right corner shrunk), repairing/replacing the mouldings and refinishing the floor.

Sunday, January 29, 2017

Victorian Farmhouse Part 24 - PAINT!

As mentioned previously, Pierre and Angie didn't take photos immediately after painting, so these are some that I took on my next visit after they had moved in some stuff.

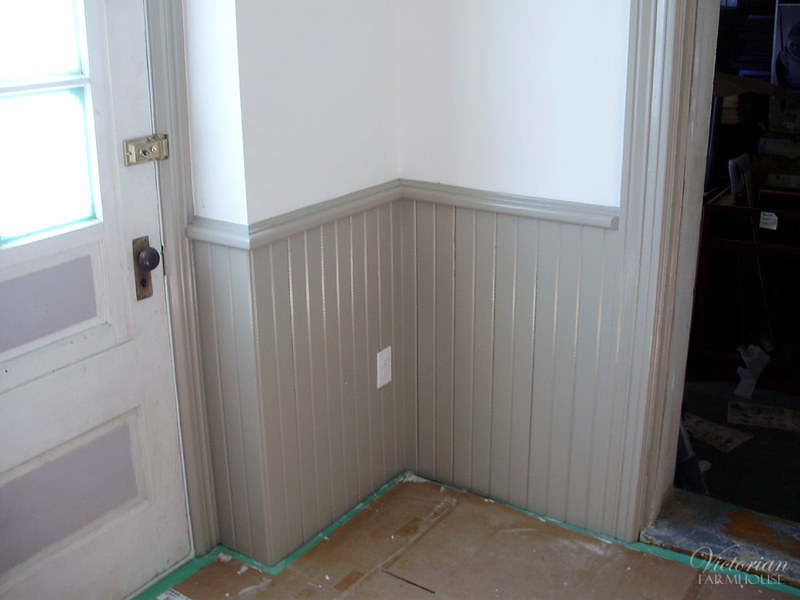
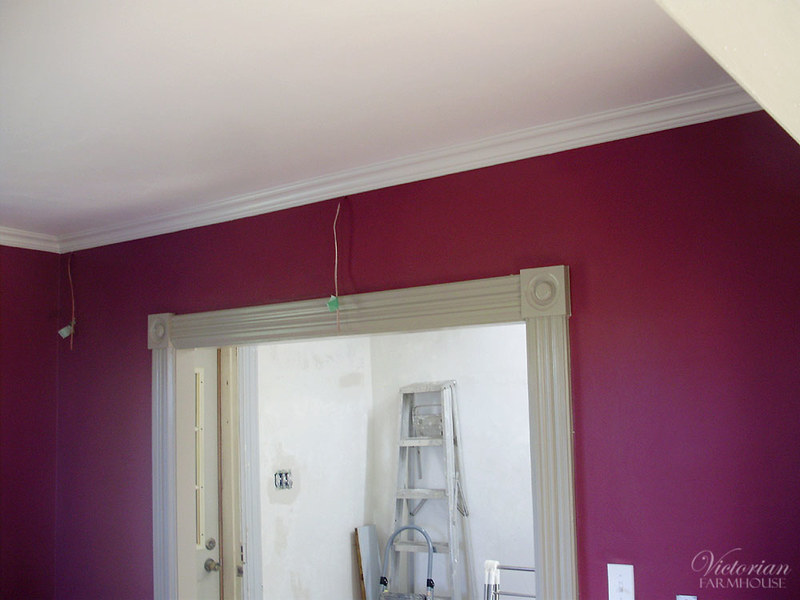
All the mouldings in the house will be painted in this shade of greyish-taupe. Because it's a colour that will be in every single room, it took us a LONG TIME to pick it out. Picking a shade of grey might not seem like a big deal, but it's incredibly difficult. Most shades of grey lean towards a certain colour. Many were too blue, too brown, or too red. In the end I'm really glad that Angie took her time and bought several samples, because the shade she picked out looks great!

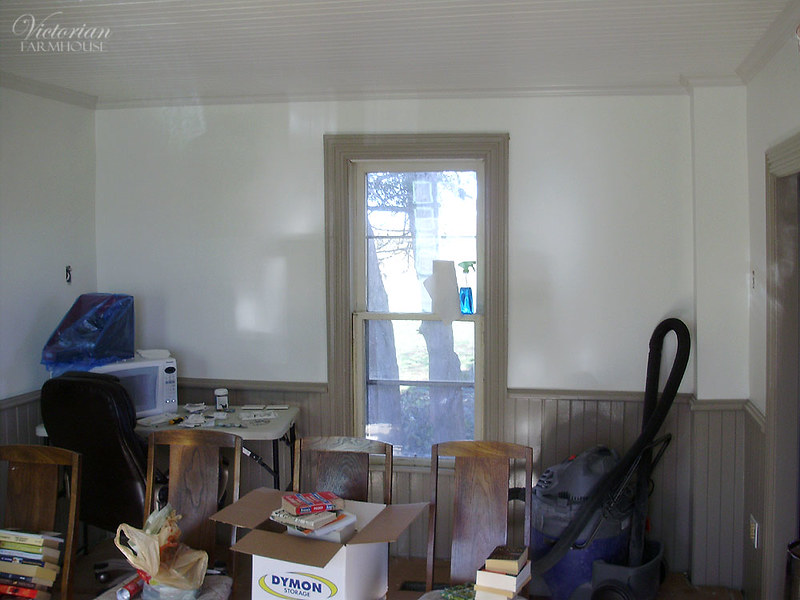
Here's the first shot of the living room. The walls in here are white (or off white), with the standard grey trim. Note that the crown mouldings are a very pale grey to make them stand out a bit.

PA130354

PA130355

The exterior door was also eventually painted the same trim colour. You'll see it in a later post. Likewise all the antique windows will need to be restored, and they will eventually be painted the same grey on the interior.

PA130356

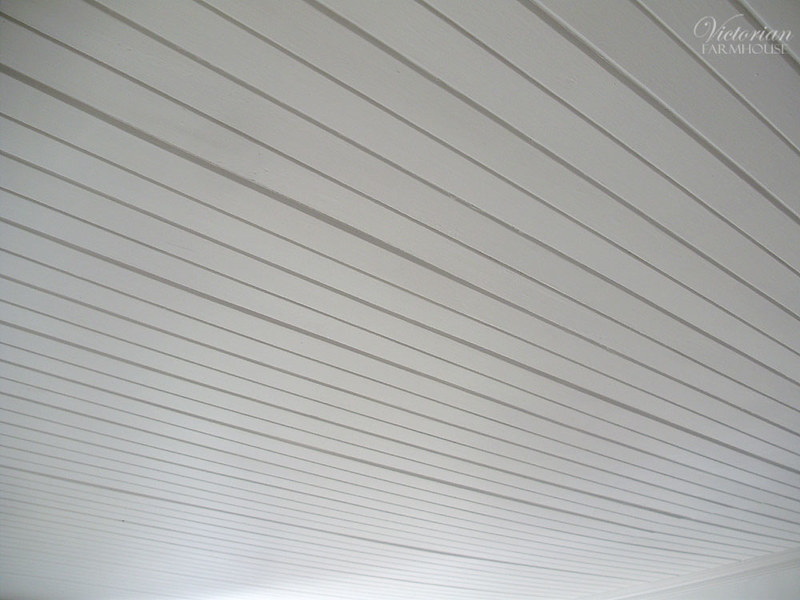
The living room ceiling turned out great!

PA130358

Doorway into the kitchen:

PA130359

PA130360

PA130361

PA130364

PA130365

PA130366

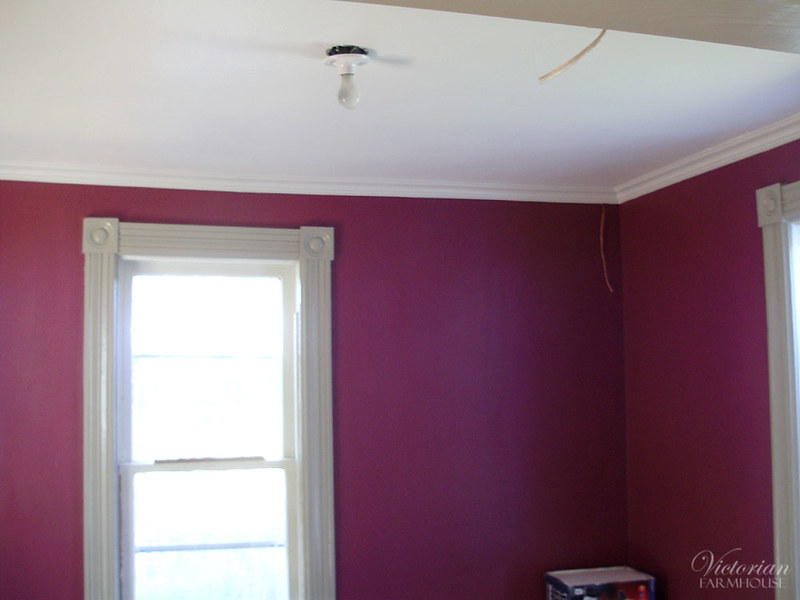
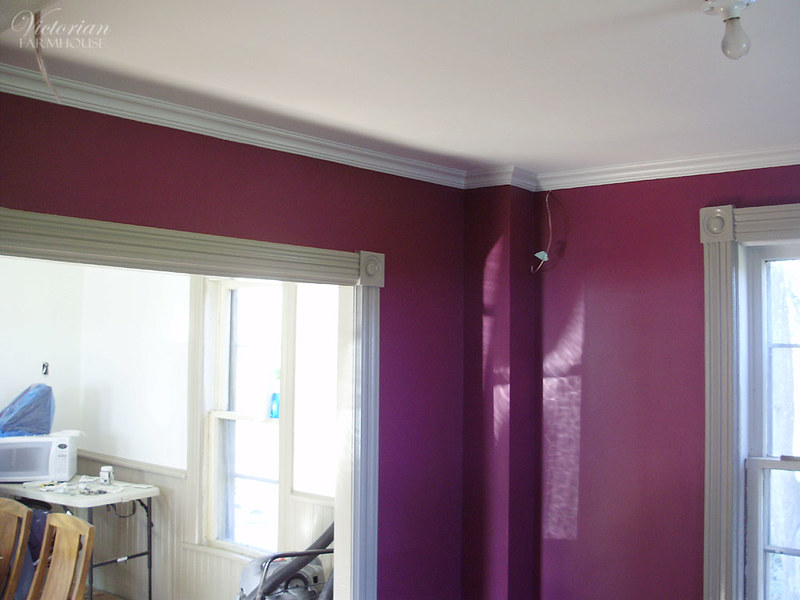
The office got a dramatic burgundy shade. Pierre and Angie wanted a dark colour for this room so that they wouldn't see the walls of the room as much while they watch TV (the TV will be in front of the narrow dividing wall). It is much less pinkish in real life than what the camera picked up. It actually leans more to a dark wine red with a touch of purple.

PA130363

PA130367

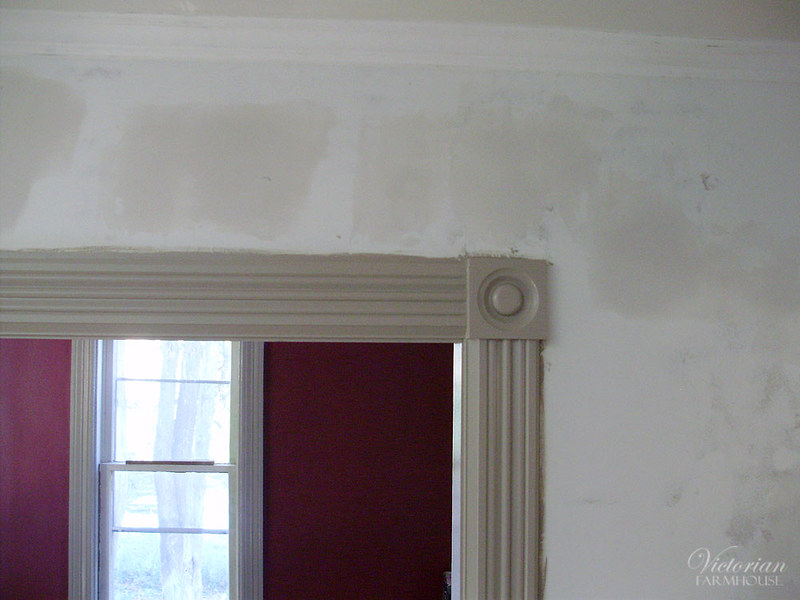
It's amazing how much difference you can make with just a bit of prep work, crack filling with DAP, and fresh paint. These mouldings almost look new, but they're the originals and they have many layers of paint on them.

PA130369

The ceiling is far from perfect but the fresh paint makes a big difference there too.

PA130368

The main hallway is not painted yet. Neither is the upstairs. These are the brand new mouldings (compare with the originals above).

PA130379

Saturday, November 07, 2015

A Comfy New Addition & Halloween

Wing Chair Project:

So the house has a new addition in the form of a piece of furniture. This is a wing chair I picked up at the curb down the road in May 2014. I have been on the lookout for a wing chair for a while, and I had spotted this one coming home from work. When I went to look at it, I noticed it had nice legs, so I brought it home.


Now, right off the bat, I knew I'd be changing the chair if I decided to keep it. I absolutely hate the back (La-Z-Boy style pillow back), and when I took a closer look at it, I discovered that the legs were just cheap plastic.


Ugh. At this point I wasn't sure if I should just put it back at the road, or try to save it. I decided to strip it down somewhat, and see if the frame on it was decent.

With just the back removed, the chair already looked a lot better. One other feature that I really liked on this chair was the lean on the back rest.


I decided that I'd make new legs, and make a few modifications to the frame. The frame on it was solid wood (mixed hardwoods) and it was fairly decent (far from the best, but it wasn't made with scrap wood or plywood).

The following 3 photos were some of my inspiration for the legs. I didn't want to do any complicated carvings or shaped Queen Anne style legs. Since I have a lathe, turned legs would be easiest option.


I decided very early on that if I was going to keep this chair, I wasn't going to spend much money on it. The new legs were made from scraps of cherry that I had on hand, and the chair was upholstered in a plain grey upholstery fabric that I had bought over 10 years ago for another project that never got done (the two previous sofa chairs I threw away when I redid the antique settee).

The new legs were done in a fairly simple, yet traditional style.


Since the legs on a chair are usually built right into the frame of the chair (for strength), these had to be tacked-on and held with large dowels and biscuits. Since the fastening method is a bit weaker, I decided to add stretcher bars in between. Normally, higher end and older chairs have these stretchers. I'm not really a fan of the stretchers, but they were needed for strength.

Also notice that the bottom curve was removed from the front rail, and a taller back centre board was added (I didn't like the flat back). I finished working on the frame and finishing the legs just about a month ago.


The chair was brought into the shop a few weeks ago, and I reupholstered it.


I changed all the foam on the chair. The arms had gotten too soft, the back was no longer the original pillow type, and the seat cushion was worn (and very cruddy).


The finished chair has nail-head detail around the legs. It's an extremely comfortable chair. Combined with the ottoman I did a while back (which matches the sofa cushions) it's just fantastic to sit in. I got the chair home just a few days ago.


I'm very happy with how it turned out. The fabric choice is a bit boring, but it works well in the room, and it was basically free. The chair does take up a fairly large amount of floor space in the small living room, so for now it's in this corner. It's hard to believe it's the same chair, and hopefully this gives you some ideas if you're thinking of having a piece of furniture redone. I often tell people that you're better off redoing an old sofa than buying a new one. Once it has new cushions, and fresh fabric, you're left with a beautiful piece that isn't shoddily thrown together like what you find today. Most of the newer frames I've worked on were garbage, and I'd say anything older than 1980s is good. This particular chair is probably 1990s, and just starting to drift into "modern junk" territory.


Halloween:

This year's costume was a cheapie. I'm pretty broke at the moment, so I only spent 5$ on this costume (the price of a plain red t-shirt from Wal-Mart). I went as Peter Parker, or "Spiderman in disguise".


The shirt was done using some quick sketches, freezer paper, an iron, and spray paint. For those who don't know, freezer paper (the kind used by butchers and available at most grocery stores) is a fun way to make simple stencils. You simply cut out what you want, and iron it in place. The glossy side of the paper melts and sticks in place creating a perfect stencil for fabrics.

I started with the curved horizontal lines, which were an absolute pain in the ass to line up.


The verticals were much easier, but they were also made up of hundreds of pieces. Largely thin strips, followed by tons of little bits to fill-in all the gaps.


The spider was fun. It's a mirror image, so I just quickly sketched out one half, cut it, then stuck it down.


Despite several coats of black on the spider, it didn't completely hide the web lines. The shirt still turned out really well though. I mentioned to several people that I had made the shirt, but no one really took me seriously until they saw the "making of" photos on my Facebook page.


I'll conclude by saying that I had a record number of trick-or-treaters this year. I normally buy for roughly 40-50 kids, but this year I had enough for 50, and I ran out completely within an hour! I started to get kids at around 5:50pm, and by 6:30 I was completely out. I had to be gone for the party by 7pm, but normally if I'm home for the evening, I keep handing out candy until 7 or 8pm.

Sunday, July 06, 2014

Insert Whitty Title Here

I don't know how people on other blogs manage to come up with all sorts of witty and interesting titles for their posts. I suck at it, and usually don't even try, but I didn't want to call this "Another Boring Update".

As promised, here are the two completed antique grates. One is original to the house (the one in the green living room), and the other identical one was installed to replace the large and poorly located floor grate next to the front door.

If you missed it, and wanted to see how I did that, go see these posts (in this order):
http://my1923foursquare.blogspot.ca/2013/01/secret-project-revealed.html
http://my1923foursquare.blogspot.ca/2013/01/office-floor-new-look-for-2013.html

As I mentioned a few posts ago, I had one missing thumb latch from my original grate, so I had a new copy cast in brass. I had paid 50$ for the second (and complete) grate, and unfortunately, it cost 45$ just for the casting. I could have just bought an entire new grate for an extra 5$, but I would have needed to travel out of town to go get it, and I hadn't gotten a quote for the casting, so I didn't think it was going to be that much.


Here's the final product. Grate closed:


Grate open:


Office grate:


In other news, I decided to spend last night with some lovely antique lighting. I used my two whale oil lamps, paired with old mirrors to double the light.


This prompted me to look for my other whale oil lamp AGAIN. I had another nice clear lamp that I've had packed away, and I couldn't find it. I looked for it on 3 or 4 occasions over the past month or so, and I finally found it this afternoon.

I wasn't happy with how I found it though...


Broken in half.


I actually discovered that the lamp was already broken here, and previously repaired. There was a thin layer of clear adhesive, and I spent about 30 minutes scraping it off and cleaning the joint. I plan to re-repair the lamp with Hxtal, which is a specialty glass adhesive used by museums. It's very expensive, but it's supposed to make an incredibly strong repair, and be crystal clear. I've been meaning to buy some to repair a broken clock glass (hand painted) from the 1840s, so this is another excuse for me to buy some.

This fine lamp also has a completely ruined original pewter collar, which I will need to replace, along with a burner. Unfortunately it's not a standard size, which will make my restoration job incredibly difficult. The lamp is from the 1830s or 40s.