Showing posts with label Office. Show all posts

Sunday, November 24, 2019

Before & After Photos - First Floor

Here are some before and after photos of the first floor renovations between the day I bought the house, and just after I finished the floors. These are just a few random photos I was able to match up with an old and new image. There aren't many that show the hallway or front door.


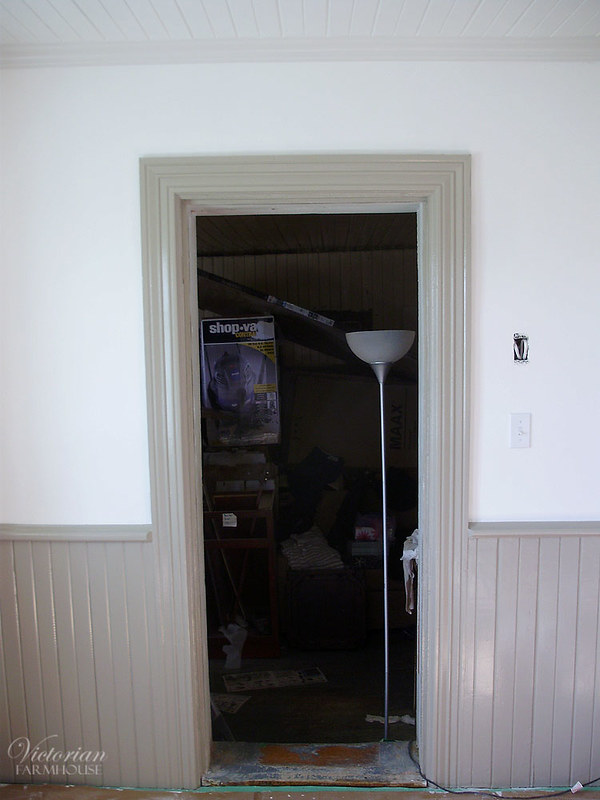
Major changes in the photo above: Remove door, relocate heating grate from floor to wall, redo door mouldings, fix light switch, (the rest is the more obvious stuff like refinish the floor, paint, etc).


Drywall (heating vent) stack redone. Ceiling patched and crown matched/patched.


It doesn't look hugely different other than the door and the repaired mouldings, but this corner was huge. Note that the outlet location in the wall did NOT move. Hole in the floor had to be patched.


The stairs were not original and I can't imagine that they originally ended partially into the doorway.


Notable change is that the light switch is no longer buried into the wall, and that ugly plywood access panel (which served no purposed) is done away with. The entire drywall column was redone.


Changes here are mostly the floors and the replaced mouldings. Note front door also.


Living room before/after. The bare light bulb was replaced with a rewired antique pan chandelier from the 1910 era. The new flooring that was removed revealed an original heating grate opening. I had to swap some around to get one to fit this existing hole. The entire corner duct work column was completely redone. Again, electrical outlet no longer partly covered by the wall.


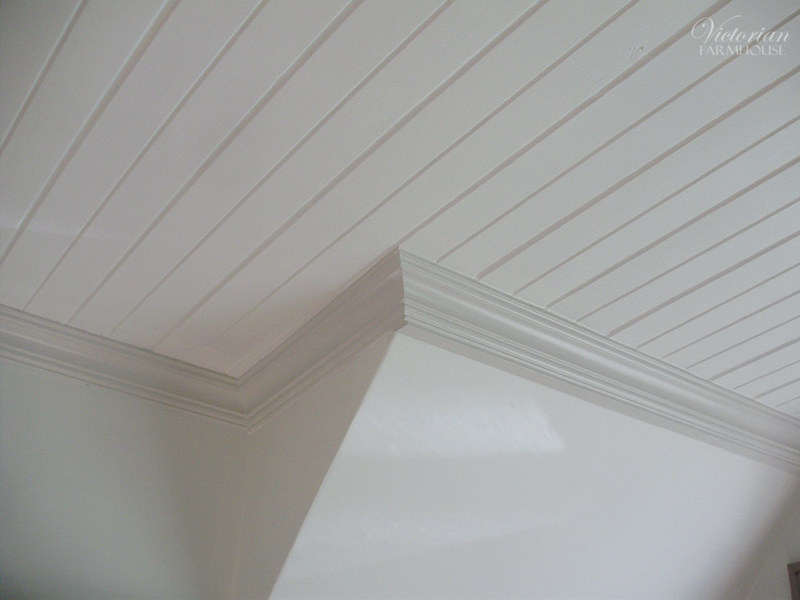
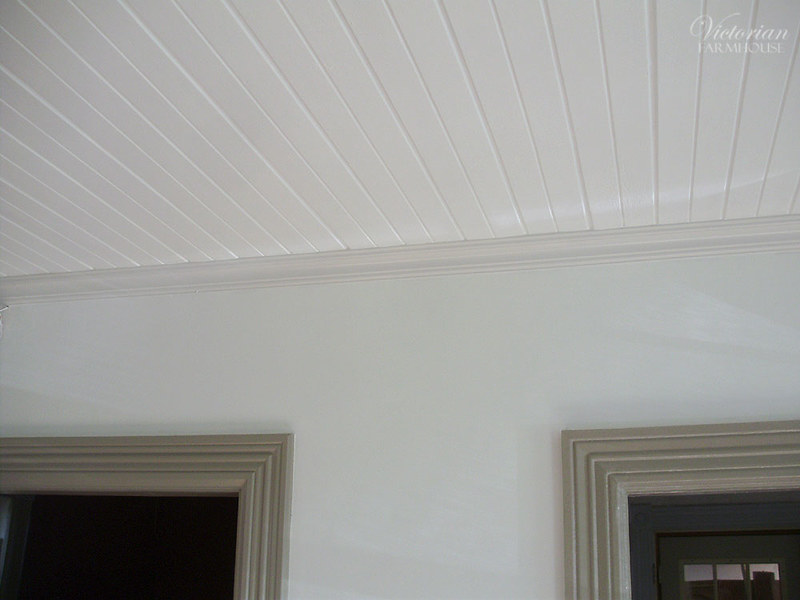
Some new crown moulding was made to match. Note that the size shrunk down quite a bit (width of 4 boards down to two).


Detail of bottom.


Opposite corner. That drywall corner was also redone. Heating grate was repaired and painted to match the baseboards. The additional outlet is for phone and cable connections.


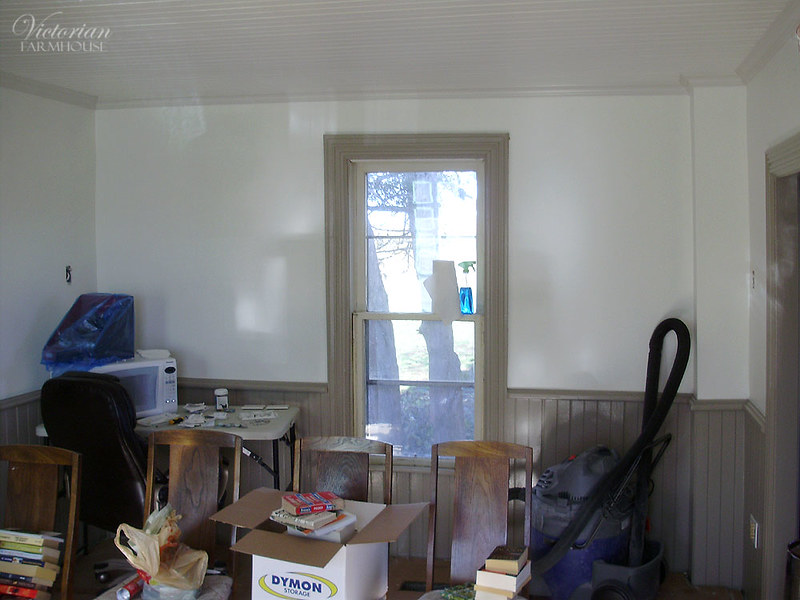
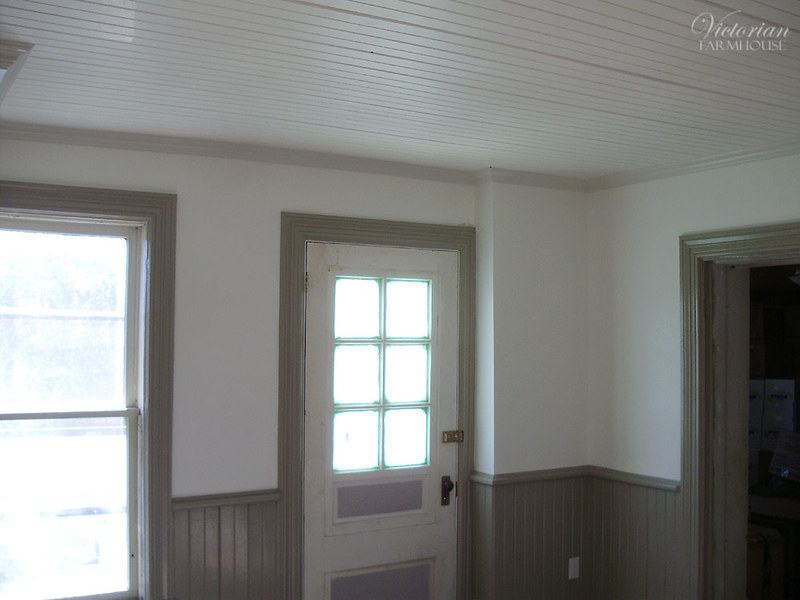
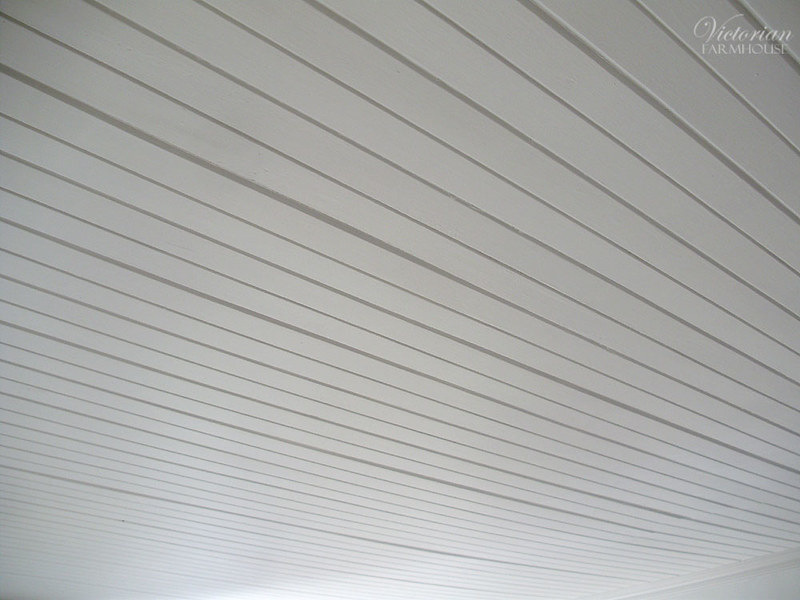
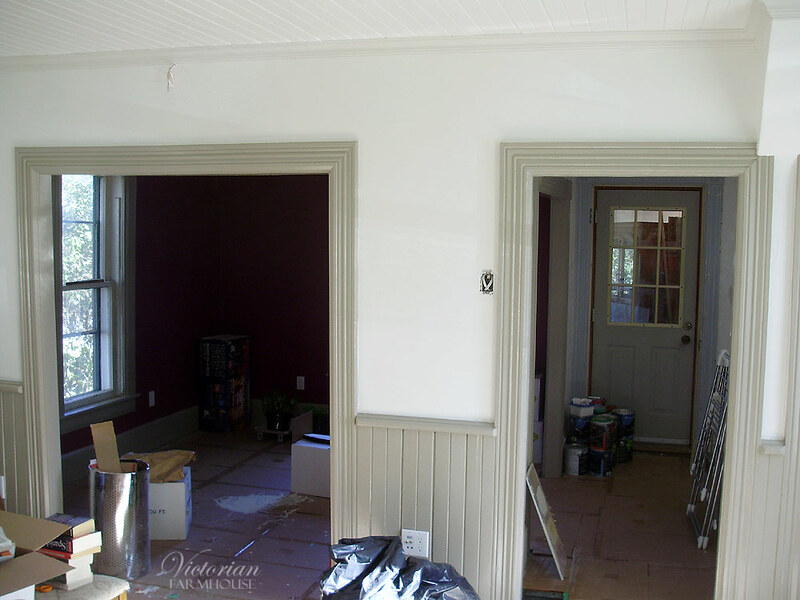
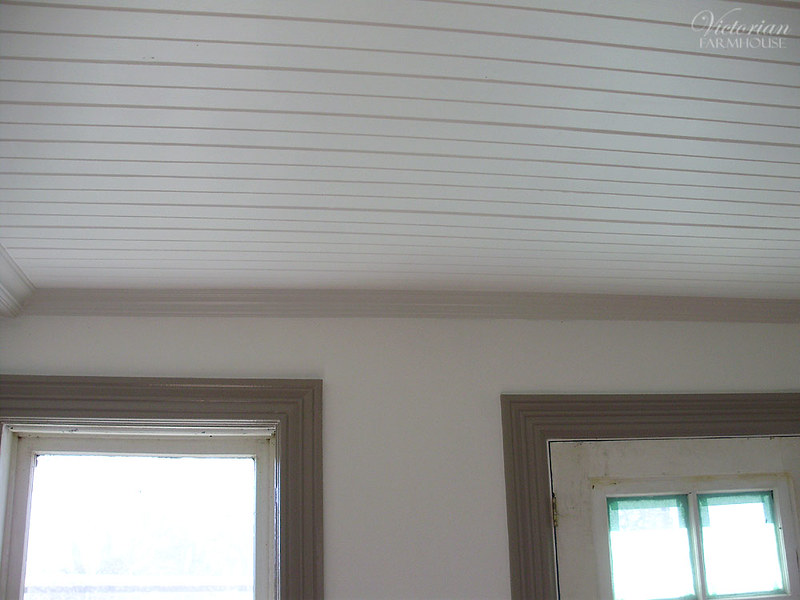
Lastly the dining room. Most of the work in this room was restoring the ceiling and repainting it. Other than that, redoing the two drywall corners (you can tell visually how much the one in the far right corner shrunk), repairing/replacing the mouldings and refinishing the floor.

Sunday, January 29, 2017

Victorian Farmhouse Part 24 - PAINT!

As mentioned previously, Pierre and Angie didn't take photos immediately after painting, so these are some that I took on my next visit after they had moved in some stuff.

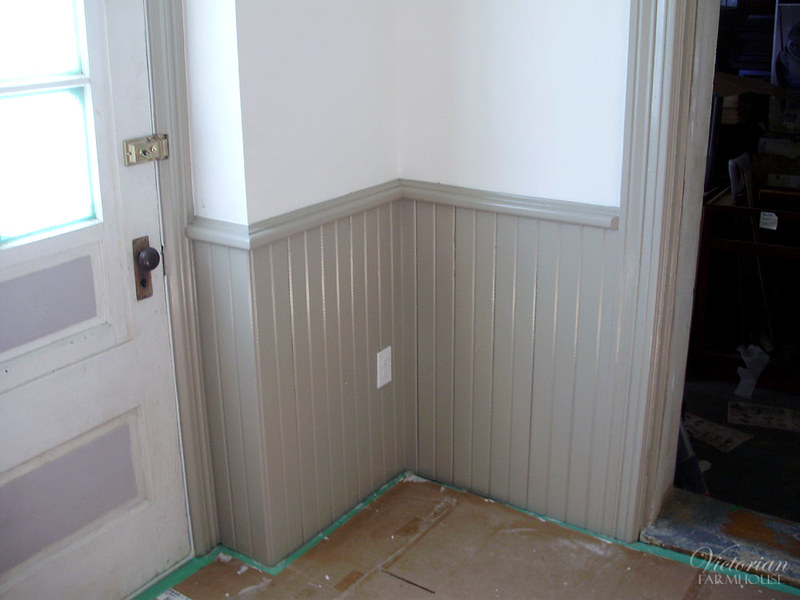
All the mouldings in the house will be painted in this shade of greyish-taupe. Because it's a colour that will be in every single room, it took us a LONG TIME to pick it out. Picking a shade of grey might not seem like a big deal, but it's incredibly difficult. Most shades of grey lean towards a certain colour. Many were too blue, too brown, or too red. In the end I'm really glad that Angie took her time and bought several samples, because the shade she picked out looks great!

Here's the first shot of the living room. The walls in here are white (or off white), with the standard grey trim. Note that the crown mouldings are a very pale grey to make them stand out a bit.

PA130354

PA130355

The exterior door was also eventually painted the same trim colour. You'll see it in a later post. Likewise all the antique windows will need to be restored, and they will eventually be painted the same grey on the interior.

PA130356

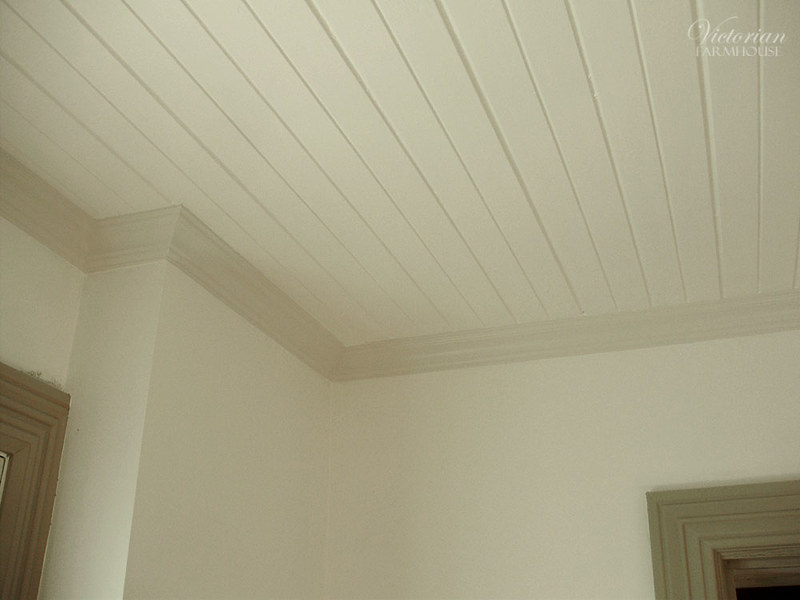
The living room ceiling turned out great!

PA130358

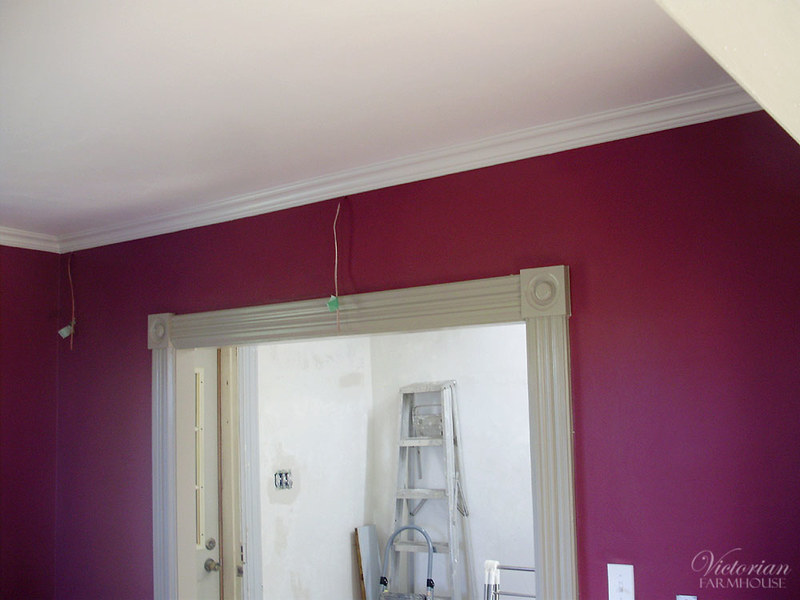
Doorway into the kitchen:

PA130359

PA130360

PA130361

PA130364

PA130365

PA130366

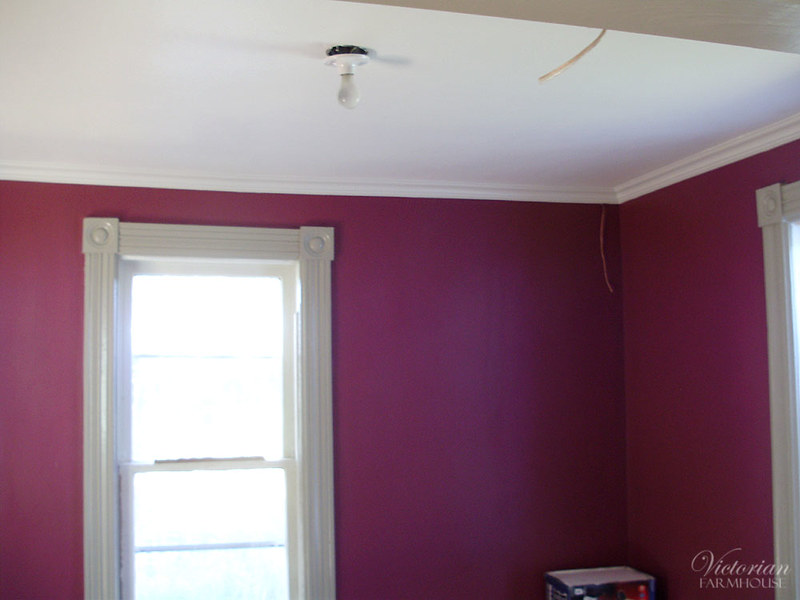
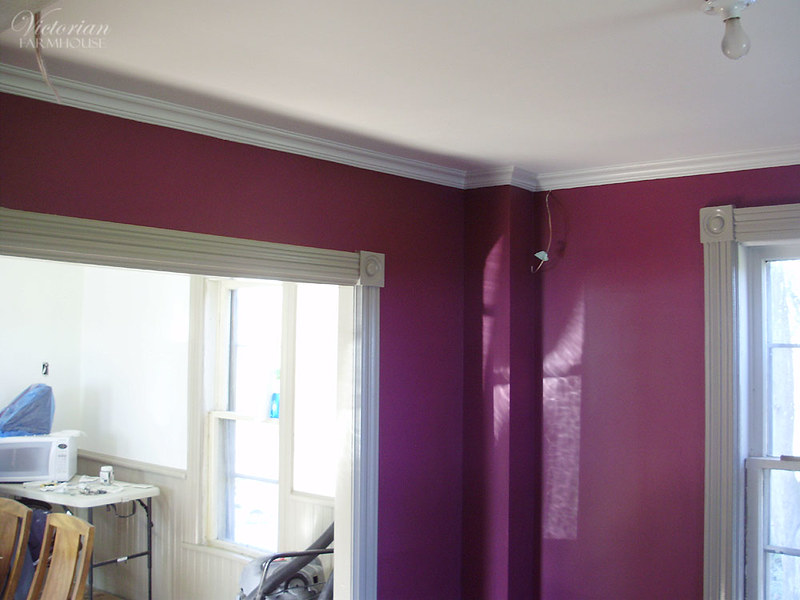
The office got a dramatic burgundy shade. Pierre and Angie wanted a dark colour for this room so that they wouldn't see the walls of the room as much while they watch TV (the TV will be in front of the narrow dividing wall). It is much less pinkish in real life than what the camera picked up. It actually leans more to a dark wine red with a touch of purple.

PA130363

PA130367

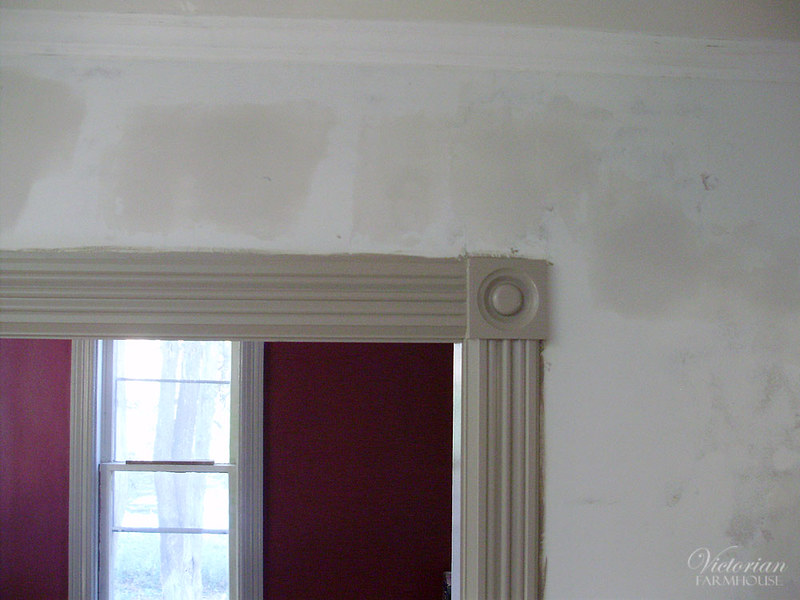
It's amazing how much difference you can make with just a bit of prep work, crack filling with DAP, and fresh paint. These mouldings almost look new, but they're the originals and they have many layers of paint on them.

PA130369

The ceiling is far from perfect but the fresh paint makes a big difference there too.

PA130368

The main hallway is not painted yet. Neither is the upstairs. These are the brand new mouldings (compare with the originals above).

PA130379

Sunday, July 06, 2014

Insert Whitty Title Here

I don't know how people on other blogs manage to come up with all sorts of witty and interesting titles for their posts. I suck at it, and usually don't even try, but I didn't want to call this "Another Boring Update".

As promised, here are the two completed antique grates. One is original to the house (the one in the green living room), and the other identical one was installed to replace the large and poorly located floor grate next to the front door.

If you missed it, and wanted to see how I did that, go see these posts (in this order):
http://my1923foursquare.blogspot.ca/2013/01/secret-project-revealed.html
http://my1923foursquare.blogspot.ca/2013/01/office-floor-new-look-for-2013.html

As I mentioned a few posts ago, I had one missing thumb latch from my original grate, so I had a new copy cast in brass. I had paid 50$ for the second (and complete) grate, and unfortunately, it cost 45$ just for the casting. I could have just bought an entire new grate for an extra 5$, but I would have needed to travel out of town to go get it, and I hadn't gotten a quote for the casting, so I didn't think it was going to be that much.


Here's the final product. Grate closed:


Grate open:


Office grate:


In other news, I decided to spend last night with some lovely antique lighting. I used my two whale oil lamps, paired with old mirrors to double the light.


This prompted me to look for my other whale oil lamp AGAIN. I had another nice clear lamp that I've had packed away, and I couldn't find it. I looked for it on 3 or 4 occasions over the past month or so, and I finally found it this afternoon.

I wasn't happy with how I found it though...


Broken in half.


I actually discovered that the lamp was already broken here, and previously repaired. There was a thin layer of clear adhesive, and I spent about 30 minutes scraping it off and cleaning the joint. I plan to re-repair the lamp with Hxtal, which is a specialty glass adhesive used by museums. It's very expensive, but it's supposed to make an incredibly strong repair, and be crystal clear. I've been meaning to buy some to repair a broken clock glass (hand painted) from the 1840s, so this is another excuse for me to buy some.

This fine lamp also has a completely ruined original pewter collar, which I will need to replace, along with a burner. Unfortunately it's not a standard size, which will make my restoration job incredibly difficult. The lamp is from the 1830s or 40s.

Friday, June 27, 2014

Antique Heating Grates (Update)

I just finished-up the two antique heating grates last night (for the Office and Living Room). The new casting for the missing latch was brought back to me this week, and I painted it over the past few days (primer, followed by black on the back end, then white on the front). And they are now installed and functional again.

The casting ended up being quite expensive (nearly the price of buying an entire salvaged grate), but I had never gotten an actual quote for the casting, and it's over and done now.

I wanted to share photos, but I forgot my camera at work, so I will post those next week.

Saturday, May 03, 2014

Super Simple Curtain Rod

This is a post that I've been meaning to write for probably almost a year now.

In most of the house, I'm planning to use Roman Shades (the master bedroom ones are STILL not made, despite the fact that I have already bought 90% of the materials needed for them), but for the office (aka computer room) I wanted more window & lighting options, and I wanted a sheer curtain (to be eventually paired with a top-down & bottom-up Roman shade).

Back when I was living in my apartment, I was a huge fan of tab-top curtain panels on simple rods. I had come up with a brilliant and extremely inexpensive curtain rod setup that cost only about 6-7$, and they were in all the main windows.

What did I use, you may be asking? A 5$ chrome shower rods (in 6 foot lengths) paired with some specialty 1" hoop holders I was able to find. To plug the open ends, I just found some 1" plug caps at the hardware store, and Boom! Beautiful, professional (and very strong) curtain rods for 6-7$ each.

I've also heard that a lot of people use electrical conduit pipes, which are a bit thinner, and also very cheap & strong. Who really wants to pay 50-60$ for a metal pole?

Here's the break down of all the components I used:


As you can see, there are also chrome grommets and shower curtain rings. These were to add a bit of a classier look to the huge sheer panel that I found at my local thrift store. I have tall ceilings (100 inches) and I needed a panel that was close to "floor-to-ceiling" length.

With the grommets in place, and all the hardware mounted, it turned out looking like this, and I couldn't be happier. Since this was all re-used hardware from my apartment, I only spent about 3-4$ on the rings and grommets, and I believe the sheer panel was under 10$.

Monday, April 21, 2014

Small Project Updates

So as I mentioned the other day, I did some stripping for a few small projects, and here they are!

First off, it's nothing too exciting, but it was a *LOT* of work, and I want to show it off: the living room heating grate. It still needs the thumb latch, and I'm getting a copy cast for it:


Next is the inlay maple desk/table. I can't tell you how thrilled I am to finally have some semblance of a proper desk after 4 years of dealing with a rickety card table. I also took the opportunity to thoroughly vacuum the floor, clean out the computer (inside) case, and clean all the wires.

The desk turned out pretty well. The finish isn't perfect (since it's hand-brushed), but it should be quite durable. I like the edge a lot better without the brown paint, and I also fixed the drawer and replaced the runner boards.

The only problem now, is that my office chair (which I reupholstered last week) is now too low (the lift on it is broken). So I need to fix it, since the desk is now about 2" taller than before. Two inches doesn't sound like much, but it's a big difference.


You can see the office's matching heating grate in these next two photos.


Additional notes: There was a bit of a burn mark in the wood which is still a bit noticeable in the photo above, but it's not enough to bother me. I also decided not to do any modifications to the top (I had thought of routing another profile on the edges, or sanding it flush to eliminate the double bead, etc. I also didn't bother to do any veneer repairs (there was one large-ish chip). Instead, I just used wood filler in a light golden yellow, and it was a close enough match to do all the little chip and nick repairs.

Wednesday, November 13, 2013

Firewood Part Deux

After the freebies from last time, I also got a trunk-full of old lumber that my boss had set aside from the burn pile. The stock has a lot of useful pieces, such as thin pine backboards and drawer bottoms (which are useful for clock repairs), as well as several large pieces of lumber (armoire pieces?)

Initially I had no room for it anywhere, so it was piled in the front hallway (I didn't want it left in the cold porch).


The top board on this pile is actually a broken headboard from an old pine bed.


This second batch of firewood wasn't just boring wood planks. There were also a few fun pieces. Among them was this gorgeous gesso-decorated mirror frame. I was amazed that it was still in good shape, because I literally dug it out of the back of a pickup truck full of scrap wood. It was half buried, but it has almost no breaks. it will just need a few touch-ups. The frame has already been repaired with wooden dowels drilled diagonally and glued into the corners.

You can see it here in front of the previous mirror (which needs a lot more work), and 2 of my other old frames behind it. You can also make out the love seat on the right. The frame is pretty large at ~16" x 57". I'd date the frame to around 1900, but it has a similar style to earlier 1800's over-mantle mirrors. I plan to just touch up the frame, and install repro wavy mirrors.

Also note that large Victorian carved table leg on the floor. I have no idea what I'll do with it, but it's solid walnut, so sadly I may just use the lumber. Otherwise it's just a giant (and very random) decoration.


I also salvaged some interesting fretwork pieces. The large one is likely from a gramophone or radio cabinet, while the smaller one is from some sort of decorative wall shelf. The piece at the front is the top of an old mirror. It's ruined, but the pressed/carving can be removed and reused.


The desk has been brought upstairs into the "L Room" for storage until I can work on it.


The rest of this post is just a few random bits.

Here are two shots of the restored finish on the mahogany serving piece. I think it turned out awesome for so little work.


The colours are wonky in this one, but you can see the top better. It's not 100% perfect (since the top had a LOT of stains and blotches), but it's pretty good, and I prefer imperfections on antiques.


Lastly, here's a half finished project. I've started working on some of the grates. This one has been cleaned, scrubbed free of excess rust, and painted. The interior (and back sides) are flat black, and the front is gloss white. I used spray paint for a beautiful smooth finish. The screw was also cleaned-up with a metal file (to remove burrs and marks), and painted.


The reason it's only half finished is because the latch hasn't been stripped and painted, and neither has the interior flap. These will be worked on at the same time as I do the second one for the living room.

I also took advantage of this past week's sale on paint at the Home Depot. I spent over 200$ on 3 1/2 cans of paint. I bought green for the upstairs "L Room", and blue and light grey for the main hallway (it will be blue on the main floor, and grey going up the stairs).

Monday, October 14, 2013

Varnish Update

Alright, so far, so good. Several things are now varnished and DONE, but there's still a few things left to do, still.

First, the two built-ins are varnished, and have the shelf hardware installed. Second, the body of the bookcase is varnished, as are the backboards, which are installed, and the doors. What's left on the bookcase are the shelves (they have 1 coat so far), and I still need to make the knobs for the upper doors, a shelf for the upper case, and the top crest. The backboard (ply) is cut, but I want to paint it teal, and I need to decide on a shade.

I also need to pick up some glass for the upper doors.

Here are some photos (minus the upstairs built-in, which I forgot):


I had originally wanted to have the cherry stained a deeper red/mahogany colour, but it would have required a lot more work (stripping and sanding additional sections), and in the end, I'm quite happy with just the clear varnish.


The office built-in (same room). Same story here. I had thought about staining the Fir plywood a shade darker, but it came out perfect with just a clear varnish on it.


These next ones show the pieces in context within the room.