It's that wonderful, yet sometimes stressful, time of year again at the Foursquare!
Lucky for me, I was relatively well prepared this year, and I didn't leave too many things up to the last minute. My annual dinner party with close friends was this past Saturday evening, and now most of the holiday stress for me is over.
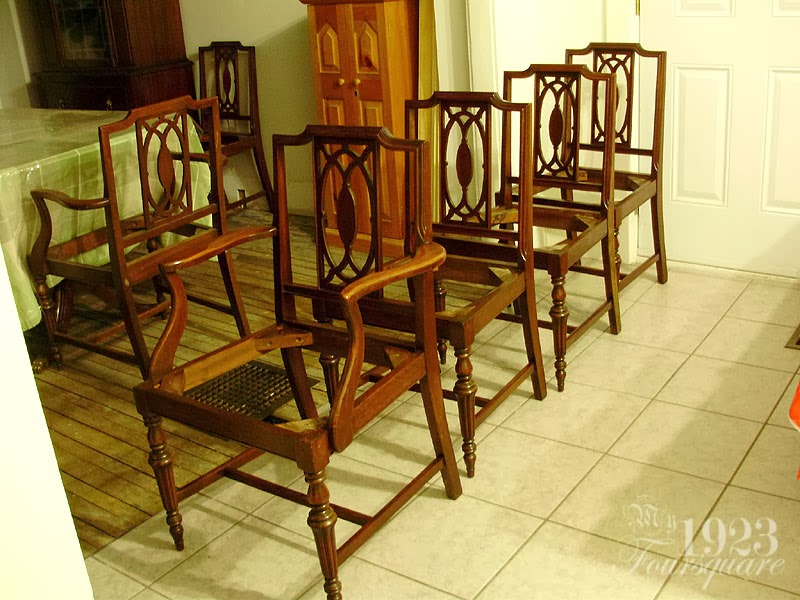
To prepare for the party, I needed a few projects to get done: mainly the dining room chairs.
I had been pondering several fabric options over the past several months. I wanted something fun, but not too crazy. I wanted something that wasn't too light (because white or beige get dirty too quickly), and not too dark (since all the dining room furniture is dark mahogany), and I wasn't sure if I wanted a solid, a stripe, or a print.
At first, I was thinking of finding another fabric to closely match the current pink and lime green stripe, but this proved very difficult.
After that, I considered this fabric, which is a very nice quality, historic looking, and gives a rich look, but in the end, I thought it was just too busy.
As I was taking apart the chair seats, I also fell in love with the beautiful original damask fabric, which was a sort of indigo or periwinkle blue. Pierre and I flipped through several books, and we found 2 similar blue fabrics, but after taking them home, I found that both of them looked too dark, and with the dim and yellowish lighting of the dining room, the blue just looked like a drab grey.
In the end, I went with this lovely lime-ish green textured fabric. It was a remnant we had at the shop, and it was *JUST* large enough to do all my seat covers. Pierre was also nice enough to donate the fabric!
I got all the seats stripped, added a bit of new cotton (in addition to the original straw and old cotton historic padding) during my lunch breaks, and after work. I love how they turned out.
Before the seats were reattached, all the chairs were given a coat of the Howards Restore-A-Finish, which cleaned up a lot of the scratches and dings.
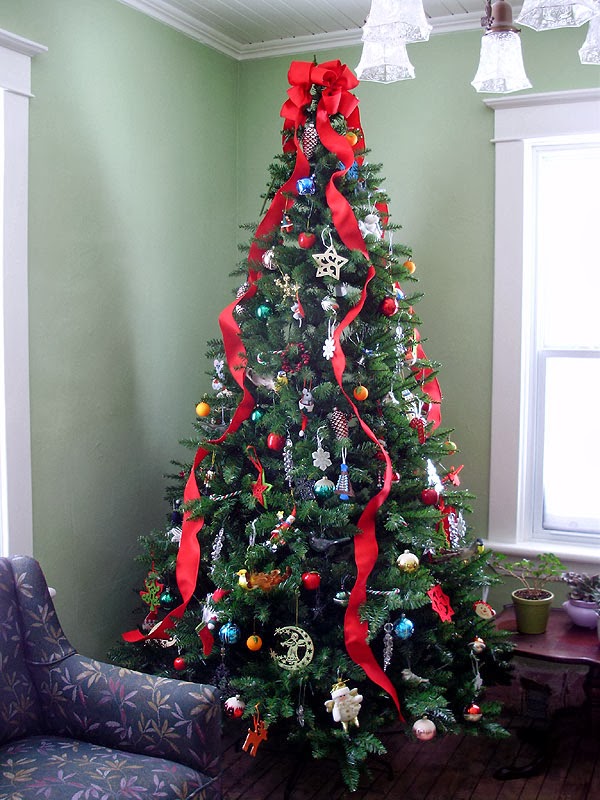
The next big project was setting up my Christmas tree. This is the fist time in many years that I actually have a full sized tree. Since 2003, I only once had a real tree, and all the other years I just went without one, or used my little mini tree that had been given to me by a coworker. This new tree is a nice pre-lit one that I had been eyeing for weeks last year, and after Christmas was over, it was drastically reduced and I think I bought it for only 60$.
The tree was still new in the box so it took about 1 1/2 hours just to set it up, and fluff all the 1200+ tips. I had thought I could have the tree in front of the larger window in the living room, but with the base of the tree at over 4 feet across, this just wasn't possible. I put it in the corner between the two windows, and moved the furniture around just a bit.
When it came to topping-off my tree, I had been wondering for a while what I should do. I'm not religious anymore (having grown up as a Roman Catholic), and I didn't want a star, or an angel, which leaves very few options. I had seen bows and ribbons before, but it wasn't until I saw this one on display at Sears, that I was confident it would look great.
I loved the ribbon on this display tree, and I asked the clerk if they sold these bows. After we looked around for quite a while, we turned up empty handed, but I spotted just the ribbon for sale, and I realized that someone had just thrown the bows together themselves! At only 6$ per spool (and 18 feet long each), I bought 2.
The bows were easy to make. All I did was I unravelled the entire 18ft roll, found the centre, and did a few looped rectangles. After that, it was just a matter of tying them in the centre with a stiff metal wire, and voila! The extra long tails were burned on the ends to keep them from fraying, and the tails were used to trail down the sides of the tree.
Here's my quick (crappy) sketch in Paint of the bow-making steps:
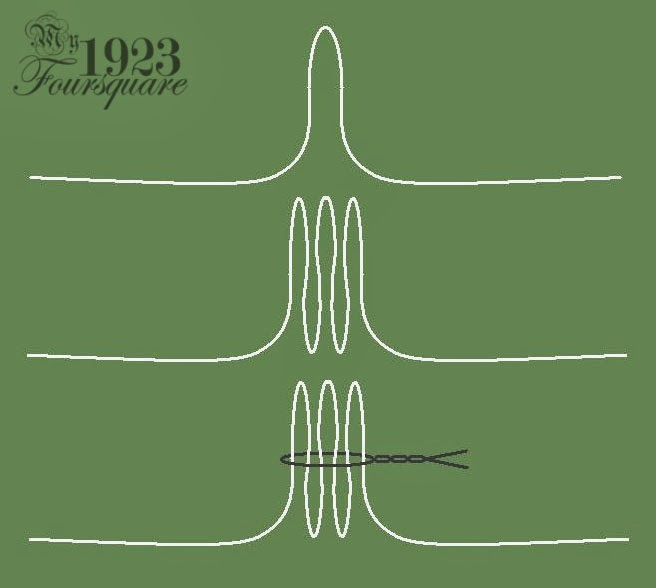
Super easy, and I couldn't be happier with the results! This design uses two bows, and leaves 4 long tails. I preferred the tails to gently trail vertically, but you can also place them in a spiral, though you may need longer ribbons, or additional lengths where you can tuck/hide the seams in the branches. I also liked that the display tree used two or three contrasting ribbons, but I chose to keep my tree a bit more simplistic.
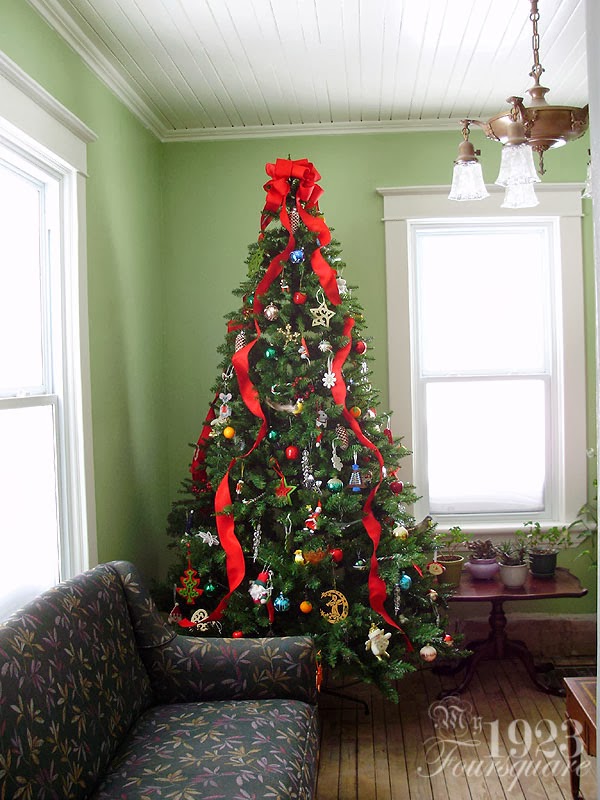
I've also slowly fallen in love with the green living room paint colour. It suits Christmas decorating especially well.
I had thought that I might not have enough decorations to fill an entire tree, but as it turns out, my years of hoarding vintage and handmade ornaments has left me with enough ornaments to decorate at least 4 trees! For this tree, I just stuck with my favourite handmade ornaments, childhood favourites, and beautiful hand-painted glass ornaments (antiques). I also have a love of birds, and they remind me of my grandmother, who is no longer with us.
In this photo, you can see a lovely bird (one of three) with curled feathers, which I actually found at the dollar store several yeas ago. The cute little felt mouse in a Santa hat was handmade by my Mom.
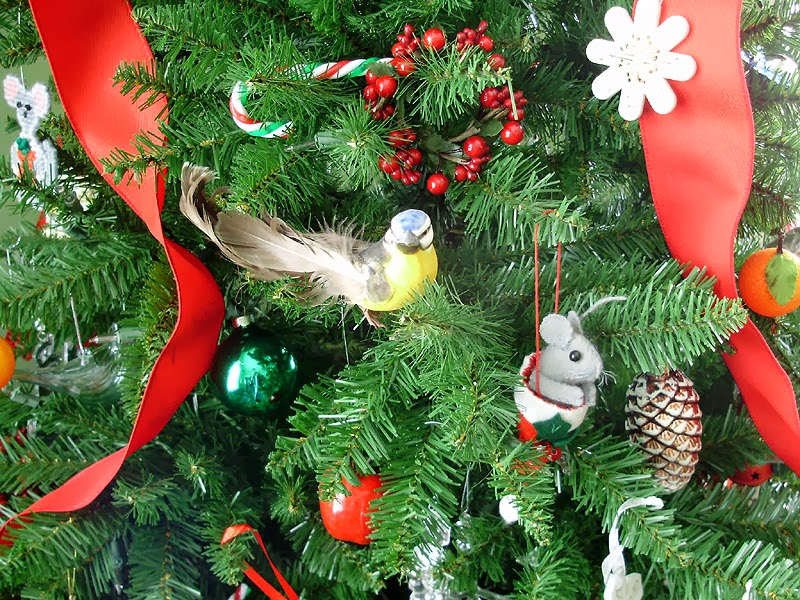
In this one, you can see some of the apples and oranges, which are some of my favourite decorations (because they remind me of times gone by, where these simple fruits were difficult to obtain, and considered a real treat). You can also see two of the antique Christmas balls (next to the 3, and above the snow man).

The bear with the red bow was handmade by my Mom from "Plastic Canvas" which was incredibly popular back in the 1990s. The eyes are made with peppercorns. Above him is a hand blown glass bird ornament, hiding in the branches.
The bows, which each have 5 loops. They turned out even nicer than I had thought. I also love that the ribbon has a nice ribbed texture to it. It's not as easy to see in this photo, but you can see it clearly in the photo with the bears above.
And here is the tree in the evenings. I haven't bought a tree skirt yet, so the bottom looks a bit odd.
Also in the living room are two snow men carollers which were recently donated by my Mom, and my childhood Christmas stocking, which you can see farther below (in the photo of the pink roses).
While preparing the dining room, I also made an amazing, and exciting discovery (for me, at least!) I needed to swap-out the dining room table. As much as I love the Duncan Phyfe style mahogany table that goes with the set, it's 42" wide, and the dining room is quite narrow. It wouldn't be too bad if the sideboard wasn't as deep (it's around 21" deep), but with the existing table, it was difficult to push-out your chair without banging into the sideboard. My old table is only 36". It's not a huge difference, but every inch helps. What also didn't help the old table is that I still don't have the original leaves that go with it (that's a whole other long story, but basically they're still looking for them).
While I was wrapping-up and moving the old table top, I found this!
This is the ONLY label on the entire set, and I only spotted it by accident. If the table had been flipped the other way, I wouldn't have seen it. CFM is an amalgamation of several old furniture companies in the Toronto area. CFM started around 1901. Oddly enough, my 1880s grain-painted dresser is also made by one of the companies that eventually got grouped into CFM.
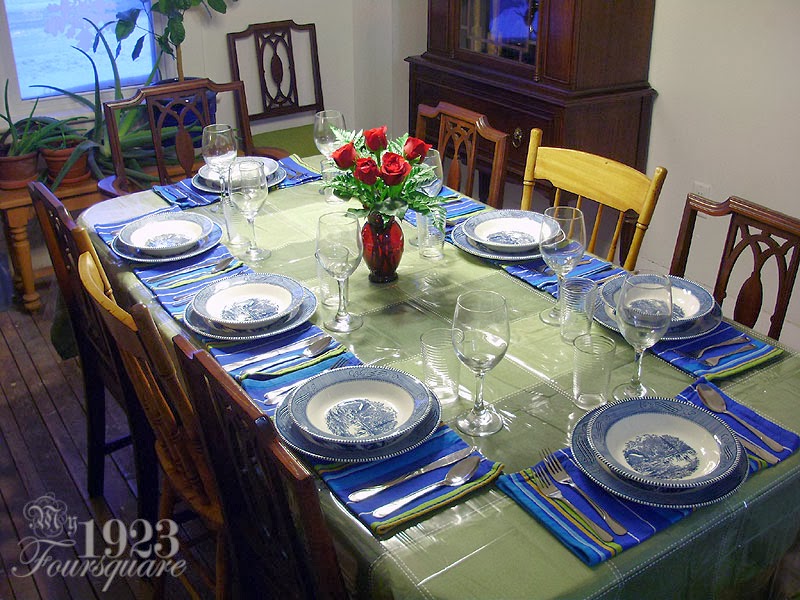
The dining room looked pretty festive this year. It will look even better once I paint the walls and refinish the floor, but that will get done eventually. Here you can see the current setup. I wanted to use the 8 matching mahogany chairs, but they were too wide to all fit under the table, so I used the two blonde ones.
I was also able to find a similar green table cloth to match the new chair seats. This table cloth is similar to my previous one, but the other one was much lighter.
I added yet another nutcracker to my collection: A snowboarder! I thought he looked neat (and different) plus he reminds me of a coworker from my previous job, who loved snowboarding.
In addition to oiling all the chairs, I also did all the furniture from the dining room set, which needed it. I also cleaned all the clocks with lemon oil, which smells wonderful.
This wreath was also donated by my Mom.
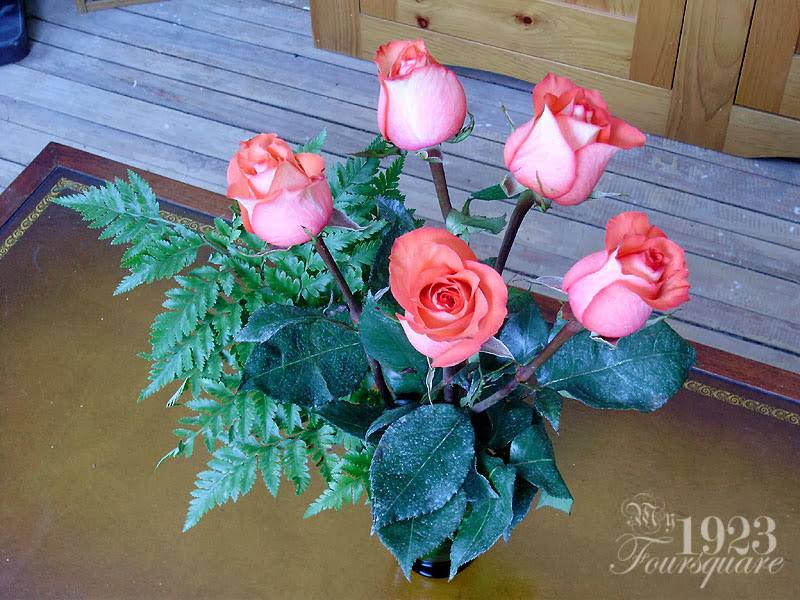
This is the first time I buy myself flowers for the house. I feel like the house is finally getting close to the point where I can bother to do this. These were inexpensive roses from the grocery store (5$ per bouquet of 5). I'm not crazy enough to spend 20$ for flowers.
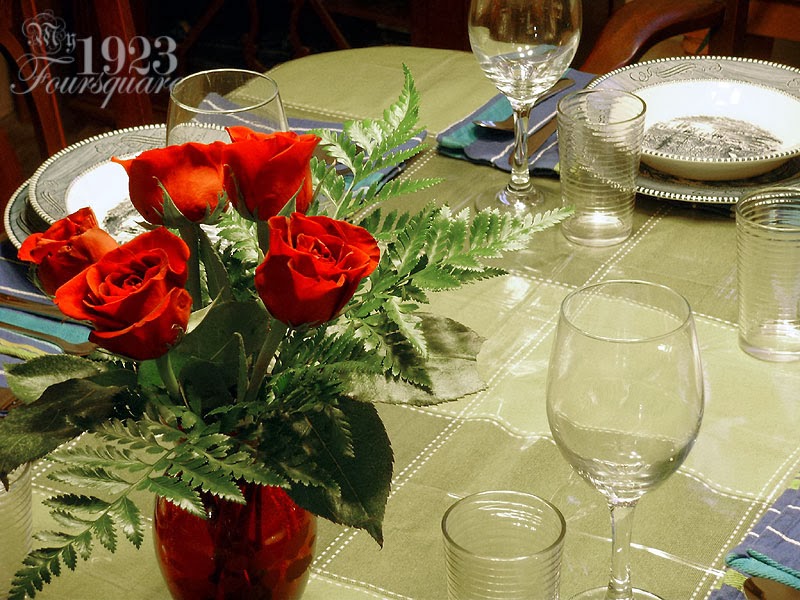
A daytime shot (the day after). I'm not sure why the camera didn't focus quite clearly on the roses.
I bought a bouquet of red for the dining room, and a bouquet of pink for the living room.
The party itself went really well. I had 8 guests, with only one person who couldn't be here for the supper (he came after 9:30). The rest of us enjoyed a meal with the following:
- Caesar Salad
- French Onion Soup
- Boeuf Bourgignon with sides of mashed potatoes and green beans
- All served with French baguette, cheese, and red wine.
The beef turned out exquisite, and melt-in-your-mouth. The only issue was that the sauce/broth was much too liquidy since I didn't add enough flour. I was also very happy with how my French Onion Soup turned out. I had made it once before with ho-hum results, but this time it was just perfect.
Another pleasant surprise for me was the wine selection. I'm generally not a fan of wines. I've tried dozens so far, and for me, it's either love or hate. All the wines we had with the meal were awesome! The wine I used for the beef was Peller Estates Cabernet Sauvignon, which was good (90% of it got used in the cooking with just a bit left for drinking), then I had a friend who brought a large bottle of Tocornal Cabernet Sauvignon Shiraz from Chile, which was great! Then I also had a bottle of wine that my boss Pierre gave me, which is one of his home-bottled wines: La Réserve du Coq de Bruyère 2007, and that one was also very good. Potent, though. It needed to breathe, and my friend said it would have benefited from using an aerator (which I didn't have). The bottle still disappeared pretty quickly. On top of those, we also shared another blackberry wine cooler that I had on hand, and then we were out of wine, haha.
Overall, though, it was a great evening with friends.
Monday, December 23, 2013
Sunday, December 08, 2013
The Squirrels Get Evicted!
Alright, I've talked about it before, and I had hoped to deal with this problem sooner, but in the mean time, I've had enough, and I decided to finally DO SOMETHING about it.
Squirrels.
Now, I'll be the first to say it: I like squirrels. I think they're cute, and the same goes for chipmunks, and mice, but NOT when they're uninvited guests. For the most part, I assumed they weren't doing much harm, and that since I'd be replacing/rebuilding the fascia boards along the whole roof, it could wait.
That was up until a few weeks ago, when I discovered that I had no power in the "L" Room upstairs. Odd, I thought. I had been in the breaker box for something the previous day, so I assumed I had just hooked the breaker, so I turned it back on. The following day: same problem. No power.
Awwww crap!
I knew the problem instantly. The squirrels had started to chew the wiring.
I thought this might happen, but like I said earlier: I thought I'd have the roof fascia redone this year, but I had lost my job, and had no money until now.
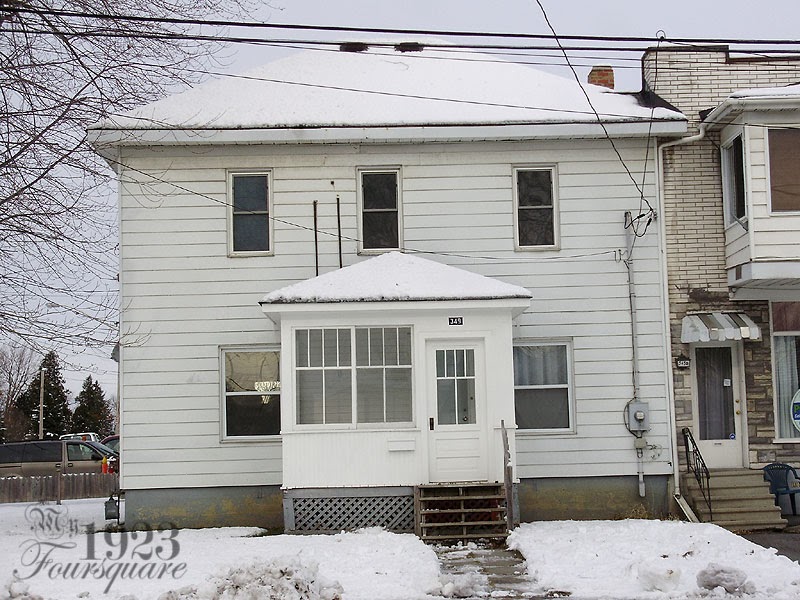
Anyways, I've known about the squirrels' entrance for quite a while. You can spot it between the two windows on the left.
Right here:
The easiest solution would be to just throw a ladder up to there and cap over it with larger pieces of flashing, but as you can see, the porch is in the way, making this impossible. The only way to reach that spot would involve a whole bunch of scaffolding.
The next best option is through the attic.
Because of how the house is built, there's no direct access to the roof edges. Everything is blocked off with tongue and groove boards that run up from the exterior walls of the house to the roof. This is good and bad. Good, because it makes sure that the pests don't have complete free range over the entire attic area, and bad because it makes repairs/access a lot trickier.
If you go back to the first time I found the squirrels (Dec 2011, ugh...) you'll see a line drawing of the attic configuration, as well as the first patch job I had done.
http://my1923foursquare.blogspot.ca/2011/12/argh.html
I had thought that my chance to do something this winter had already passed, since we already had a large snow fall, and I had no garage roof access (to get the long ladder inside), but this Friday was nice and mild, and all the snow melted away (which would be all the snow that you see in the first two photos). I decided to tackle the problem today.
I got up early, and got my tools/supplies ready. I had to go and buy some 1/4" chicken wire mesh, but the rest was stuff I had on hand.
While I was on the garage roof, I cleaned off the leaves I never got a chance to clean-off, checked the gutters, and reinforced another possible weak spot in the fascia metal cladding. Then I brought-in the ladder. Please ignore my dusty floors - I'm due for a huge top-to-bottom house cleaning before my Christmas party in 2 weeks.
I started by checking the wires from the "L" Room to see the damage. There are only 2 wire holes feeding 3 outlets for this room. The one in the far corner was the chewed-up one (on the East wall. You can see the cinder block of the building next door). You can see a large portion of fully exposed black (hot) wire, and a small section (maybe just an inch) of the white (neutral). He must have gotten quite a shock.
This wire will need to be replaced, but in the meantime, I patched it with a whole bunch of electrical tape. This is a plug that I don't really use (which means there won't really be any current going through it), so it will be safe as-is for now. I'll need to do some electrical work later on when I re-route the main upstairs lines once the chimney is gone, but I may rewire this sooner than that (as soon as the fascia is repaired).
To prevent further access to the really damaged wire (on the East wall), and the following one (South), I slightly enlarged the second hole (the one feeding the other two plugs on the South wall/front of house), and patched-up the opening in the fascia. Note: These two wires appeared to be free of damage.
Next was the main opening. I took a rough measurement, and estimated that the hole should be here:
Bingo.
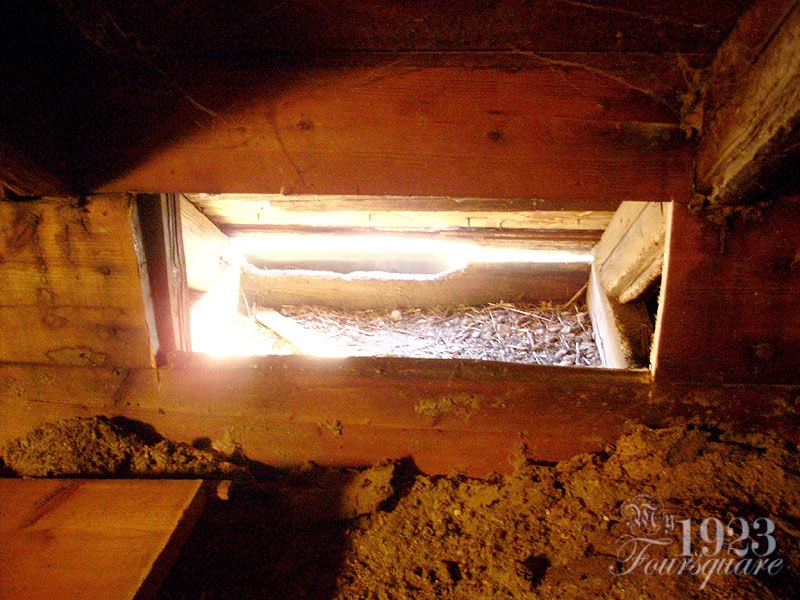
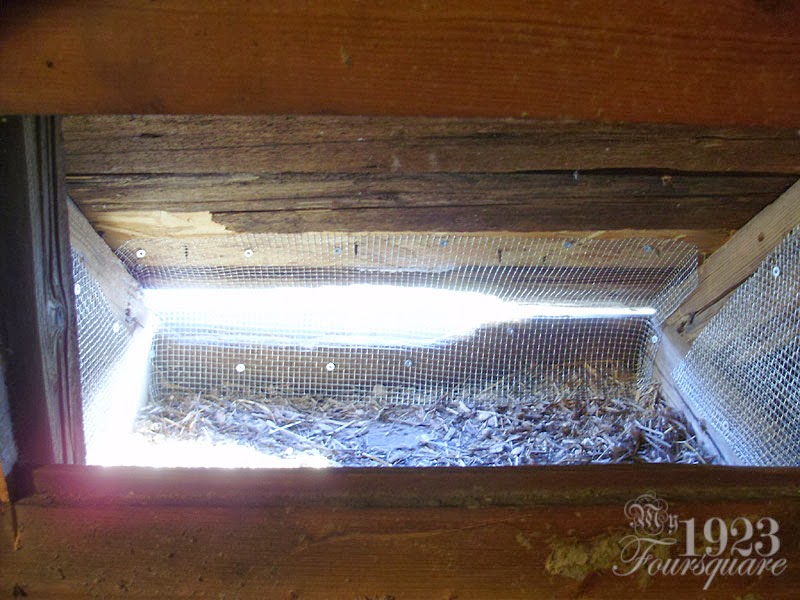
The hole was larger than I had originally thought. Part of the reason for this is that a bunch of the old roof boards along the roof edge are totally rotted. I would have thought that when they re-faced the roof top with new plywood that they would have patched the really bad/rotten boards, but apparently not. This made access pretty easy. It also doesn't help that the aluminum fascia cladding was attached to fairly rotten wood, which is why it looks so bad in the first photo. It looks like they went back and added screws when the metal started coming loose.
So more mesh. The two sides are blocked to hopefully completely block access, and the main hole is patched as best as I could, considering there wasn't much to screw into, other than the new plywood decking.
I actually had a surprise visit from one of the squirrels as I was fitting some of these pieces. He scurried away quite quickly.
As you can see in this photo, there are other spots along the roof that are not too great. This is not the fascia, but the old roof deck edge. I'd almost like to do a whole rebuild of the roof, but that would be insanely expensive...
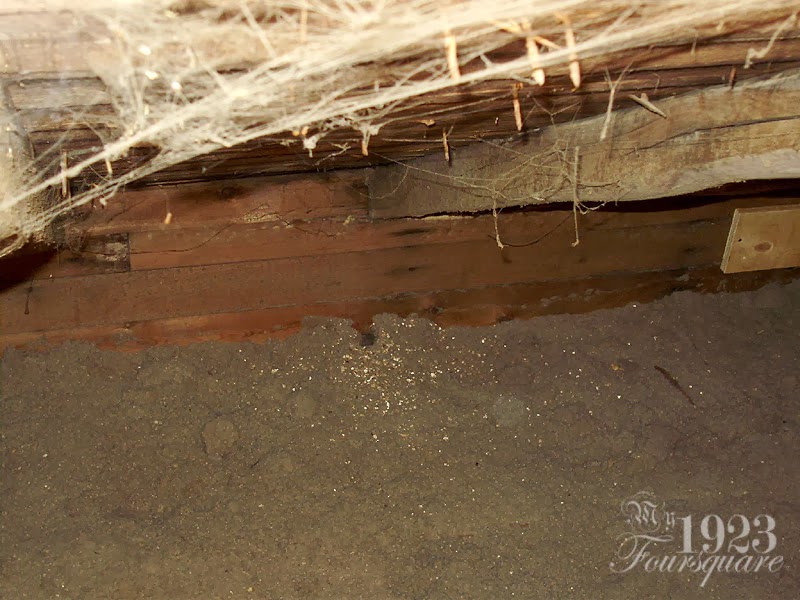
By this point, I had been up in the attic for several hours, and I decided to call it quits. I still need to go back up there and check the rest of the wires for damage, and I also noticed this small hole. Judging by the size, I would guess this was from a mouse. How a mouse got up here, I'll never know.
As if I hadn't already had my fill of rodents, I also found these prints in the garage.
I did a Google search, as based on the size, I'm guessing these are from a cat? The paw prints are only about an inch. I was worried that it might have been a raccoon, but the shape is wrong. I have NO FREAKIN' clue how a cat could have gotten in, though. I know there's a gap along the top of the garage door, and a very narrow gap along the sides, but not enough for a cat. Thoughts?
In the meantime, I noticed some unhappy rodents in the maple tree. Ask me if I feel bad!
Saturday, November 30, 2013
Fun Quickie Restoration: Nutcracker
Ever since I saw photos of Alex & Wendy's impressive and beautiful collection of nutcrackers, I've decided that I want to start a similar collection of my own.
Alex & Wendy's Collection:
Check out their amazing house blog over at Old Town Home
I've actually really loved nutcrackers ever since I was a kid, and I remember asking my Mom for one for Christmas many years ago. I still have him, and he can be seen below.
In the past few years, I've looked around for more of them, but I have found them either hard to find, or of very poor quality. I tend to hate sparkles, so sometimes this limits the choices further, but I have found several nice ones at a local grocery store last year, as well as this year.
These three are new, and I bought them last week.
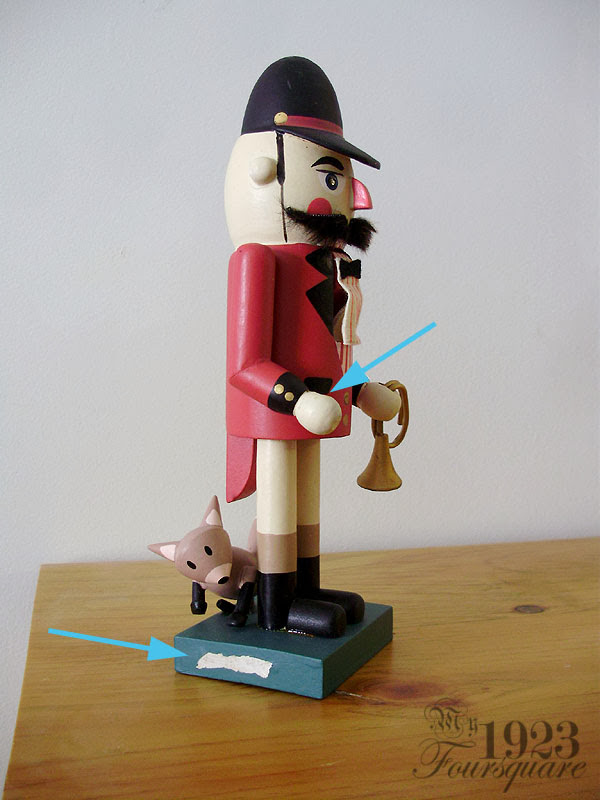
Today's post, however, deals with the newest addition, which I picked up just this morning at a thrift store. I pondered a few minutes about whether or not I should spend the 2$ asking price, as he was missing a piece, and had some flaking paint on the base.
I set him back down, and kept browsing the store, but on my way out, I decided he was too cute and interesting to pass up.
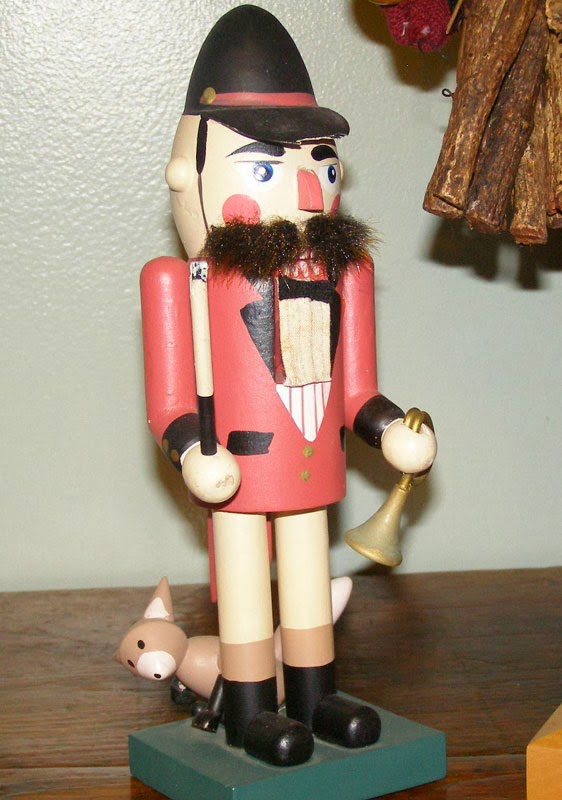
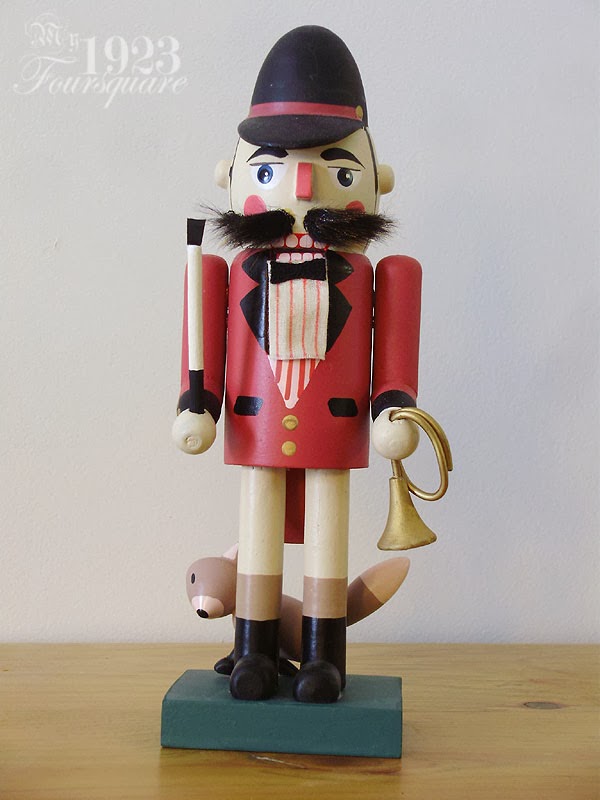
Some interesting features include the hair moustache, the ears, and the fox.
Seriously, how cute is that fox!
I was initially worried that I might not be able to figure out what was missing from his hand, but luckily the internet is a thing, and I was able to find a photo of an identical model. It helped that he is specifically a "fox hunter", because if he didn't have much of a theme, it would have been like finding a needle in a haystack. The sticker on the base reads: © House of Lloyd 1995 - Made in China.
Web photo:
Turns out he's missing his riding crop. I actually found a few other photos. The end is some type of cheap black fabric, but I chose to use thin cardboard instead.
The riding crop was easily made from a small piece of dowel, a piece of cardboard, and paint. To fix the chipped paint, I sanded the entire chipped surfaces (both ends), and painted them in a near perfect match. The slight difference in colour won't show on a surface like this, since it will just look like a difference in lighting. It's much easier to repaint the entire side than to try to paint the patch.
While I was at it, I also did a few other small touch-ups around the hands, to the brim of the hat, and to one boot.
Ta-Dah! I think he looks awesome! The riding crop is a hair longer than the originals on other versions, but I think it looks better (as far as the proportions), and I only estimated the length.
And here's the whole collection so far. My original (first one), which I mentioned earlier is the small teal one at the front with a crown.
***
As far as the house goes, there aren't many projects on the go, currently. I will be reupholstering the dining room chair seats before my Christmas party (on the 21st), and there will be an update coming soon about the Rosemirlea apartment building, which is currently being demolished. I'll also probably be posting about holiday decorating, etc. so stay tuned!
Subscribe to:
Posts (Atom)