Showing posts with label Patching. Show all posts

Tuesday, May 23, 2017

Patching a Friend's Floor

So my friend Devin decided recently to rip-up the carpeting in his living room. He knew there was hardwood under the carpet, and it was one of those "we'll eventually fix it" projects, but since he has a baby on the way, he's decided to tackle a bunch of projects NOW.

So he sent me a message a few days ago with a few photos and asked me if I could give him a hand.

18553863_10158703562585188_1907995575_o

Since this used to be two rooms, there was part of a wall that had been poorly patched up. Originally Devin just wanted to fit some boards in there across the grain, but I told him that would look like crap, and that we could probably steal some flooring from one of the closets and just patch it in.

When I got there on Saturday afternoon however, the entire household was in a panic because there was a pipe that had burst in the basement. He and his parents were in the basement most of the day cleaning up and inspecting the damages. Luckily the pipe hadn't leaked for very long.

As this was going on, I made the discovery that our plan was NOT going to work.

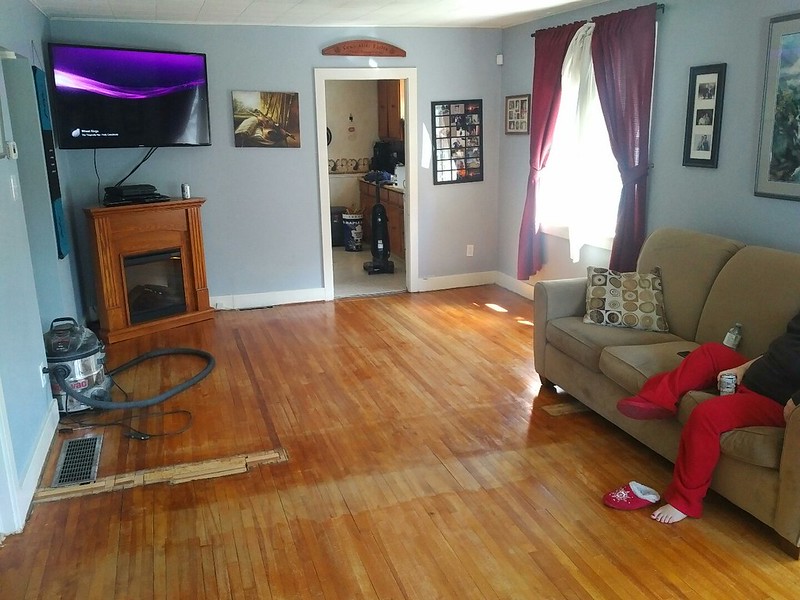
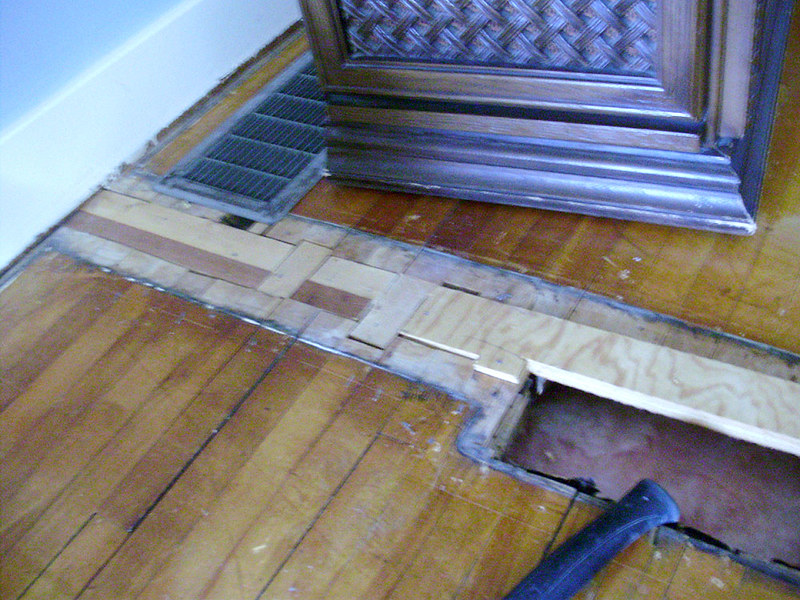
If you look at the photo above, the shop vac is in a tiny hallway that leads to the bathroom, with one bedroom on the side, and one small closet in the hallway. To the front lower left of the photo is another bedroom (with a closet that buts up to the one in the hallway). When I checked the closet flooring in the hallway, I found that it was 2 1/4" wide birch boards, which are a half inch too wide (the flooring in the living room is 1 3/4" birch). Same in the two bedrooms and all 3 closets. Because of this, I made the executive decision to pry up a small amount of flooring from in front of the bathroom door (the span of the hallway). I made a quick calculation with Gen (who was taking it easy on the sofa - because she's pregnant) that the patching I'd need to do would only require about 7 floor boards from the hallway (which works out to about a 1 foot section of flooring. We could install new wood here, and it would be much less noticeable than in the middle of the floor in the living room.

With this decided, I spent probably an hour just trying to carefully pry-up that first board or two without breaking too much of anything. A few boards did snap into pieces, but I was able to reglue them at home and use them.

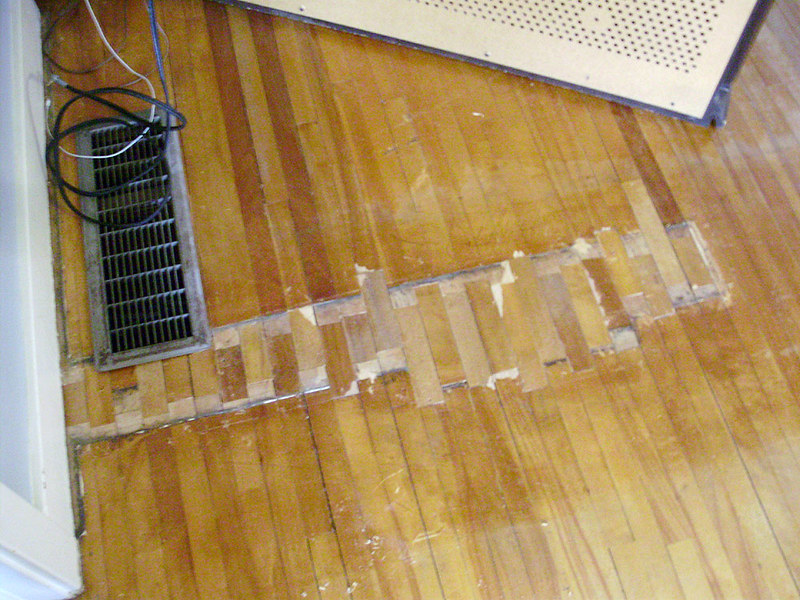
On this side (sorry for the blurry pics, they're all I've got) there was a section of wall as well as a heating grate hole (plus the cold air return near the wall).

P5100001

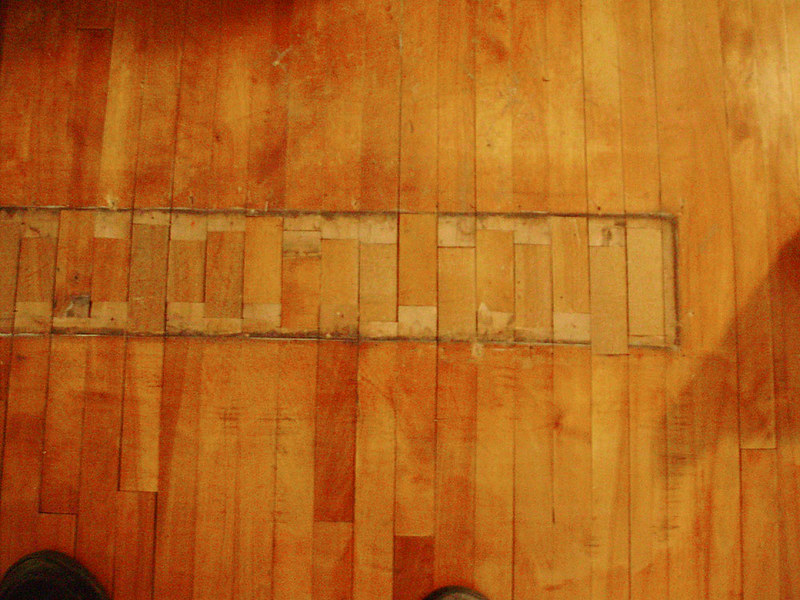
I started with this section. All the boards had to be cut to make a random staggered pattern. Once the boards were trimmed (using a multi-tool with a wood cutting blade), I then carefully cut and installed each section one board at a time. This it tedious since you want a nice tight fit. If it's too tight, you risk chipping or cracking the edges of the boards, and if it's too loose, you get unsightly gaps. I spent about 7 hours on this the first day (Sat), and finished this section and the other side on Sunday.

It looks kind of terrible right now, but once it's all sanded and the odd nail holes are filled, it should all virtually disappear.

P5110012

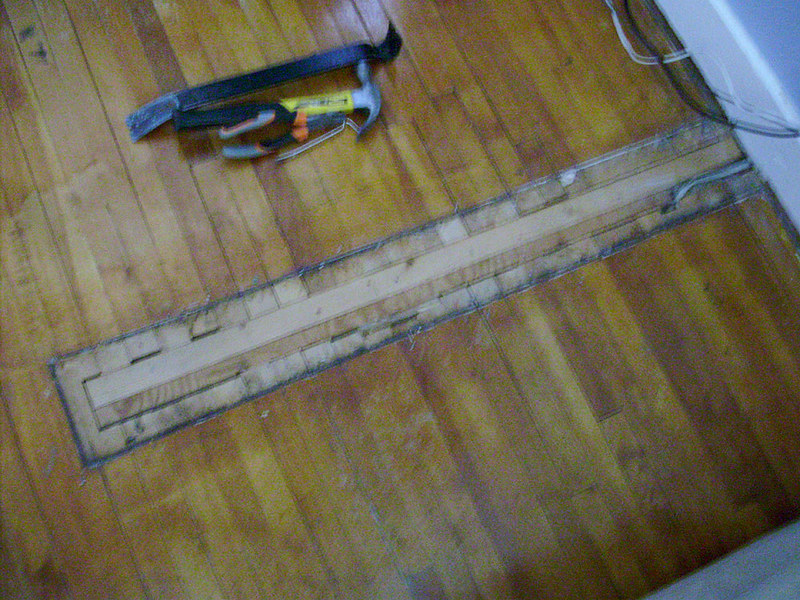
On this side I had to groove into the sub-floor to bury that electrical wire.

P5100002

I think I must have done about another 6-7 hours on Sunday, too. I went in around 11:30 and didn't get back home until supper time. Maybe 5pm or 6pm?

P5110009

P5110010

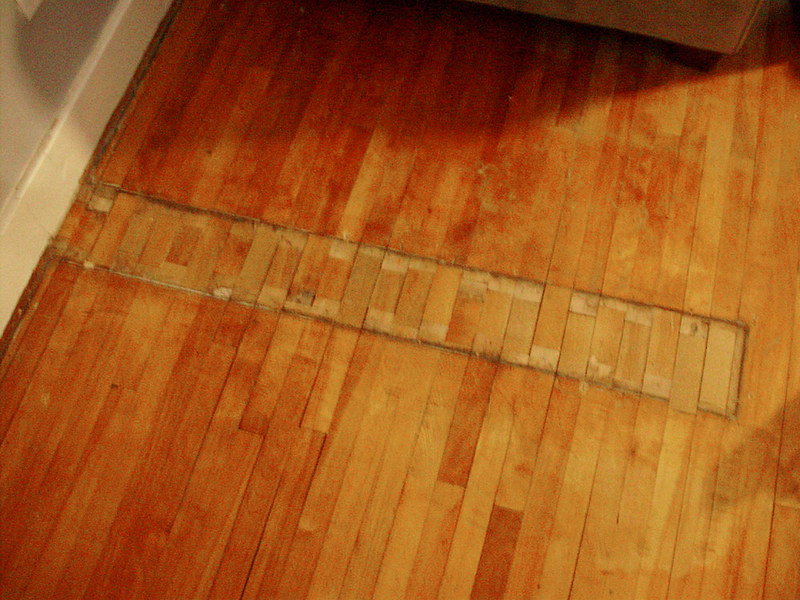
Overall it turned out pretty good. I did end up running a bit short on wood, and taking up an 8th row, but the overall section to replace will only be about 15" x 38".

The seams in the floor overall are very tight, but I suggested to Devin that he should putty these gaps (there aren't that many). I'll probably give him a hand to sand next weekend.

Saturday, January 14, 2017

Dining Room Ceiling Project Part 3 - Patching

It's late (3:20am), but this should be a relatively quick post to write.

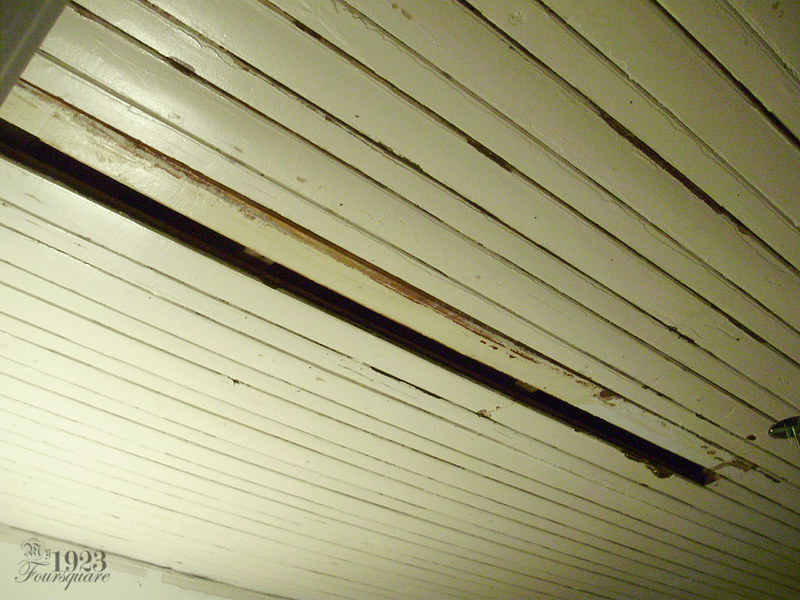
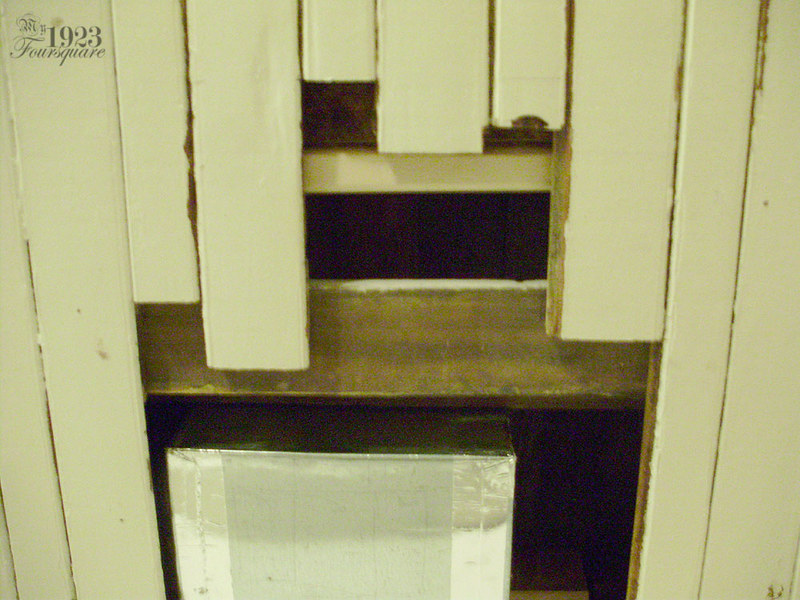
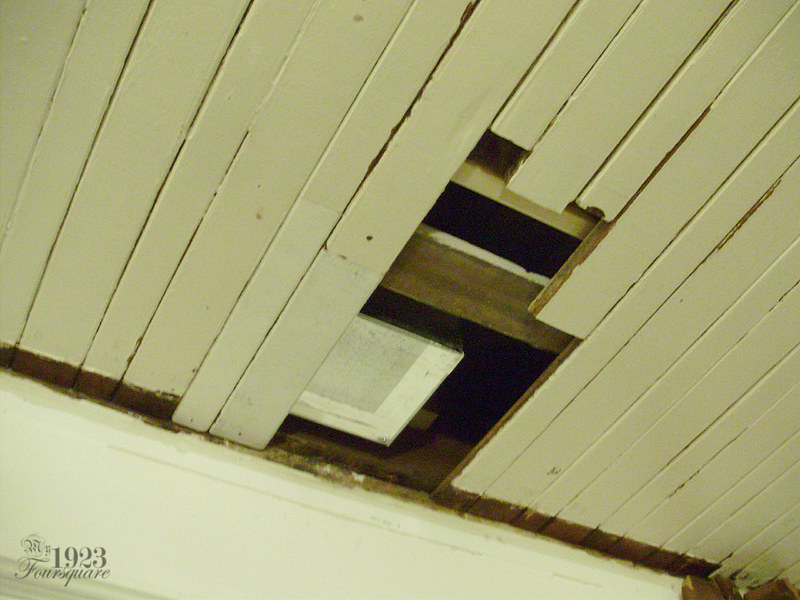
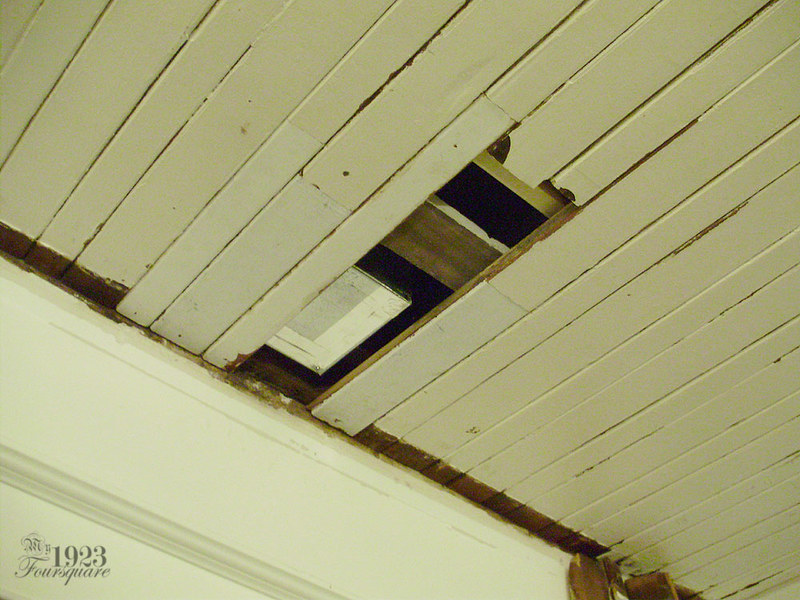
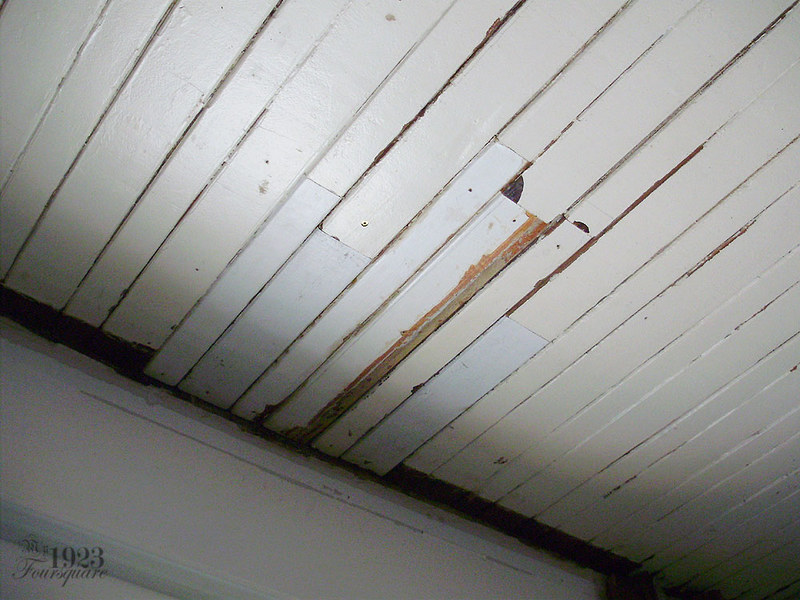
With the old tongue-and-groove removed from the chimney cabinet, I was able to start patching all the damaged/rotten boards in the ceiling. This was the first of the two long centre boards:

PC220193

Second board:

PC220196

PC220197

Staggered joints in the middle.

PC220198

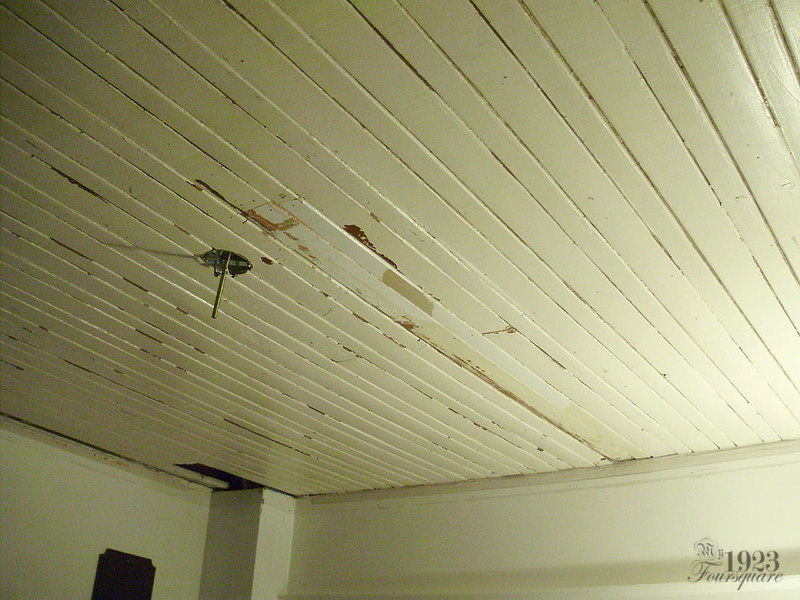
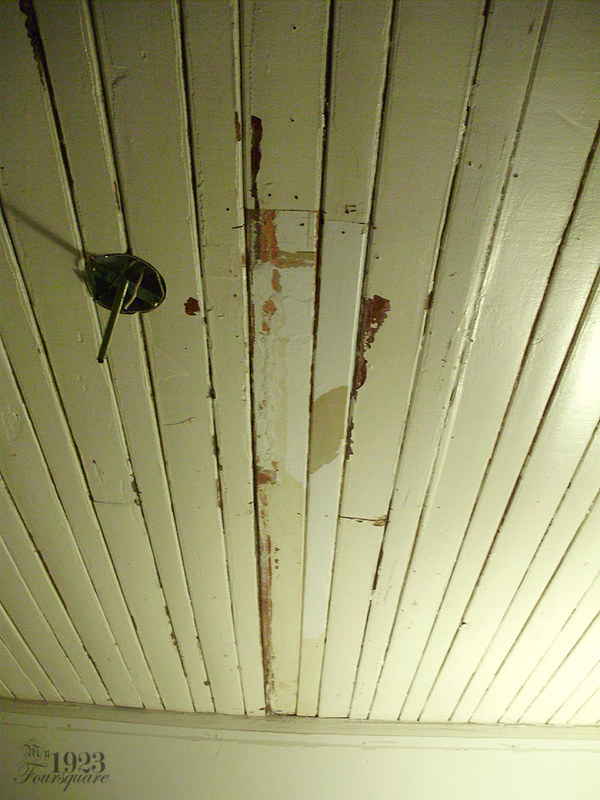
Some of the short boards were attached with this scrap piece of wood which was installed with screws from above. The screws were installed using a small hand-held ratcheting screw driver.

PC220201

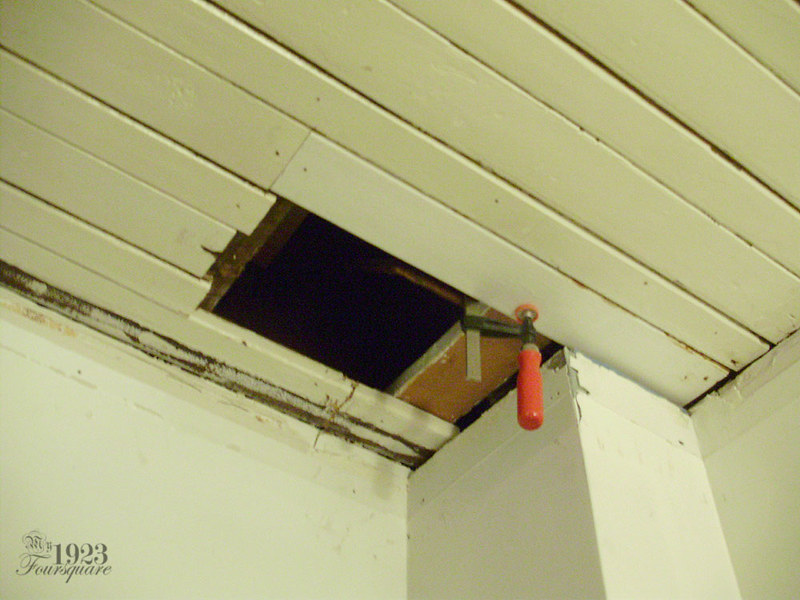
First two boards. Screwed from above, and nailed at the edge of the wall. A small clamp (seen later) helped keep pieces in place while driving the screws.

PC220203

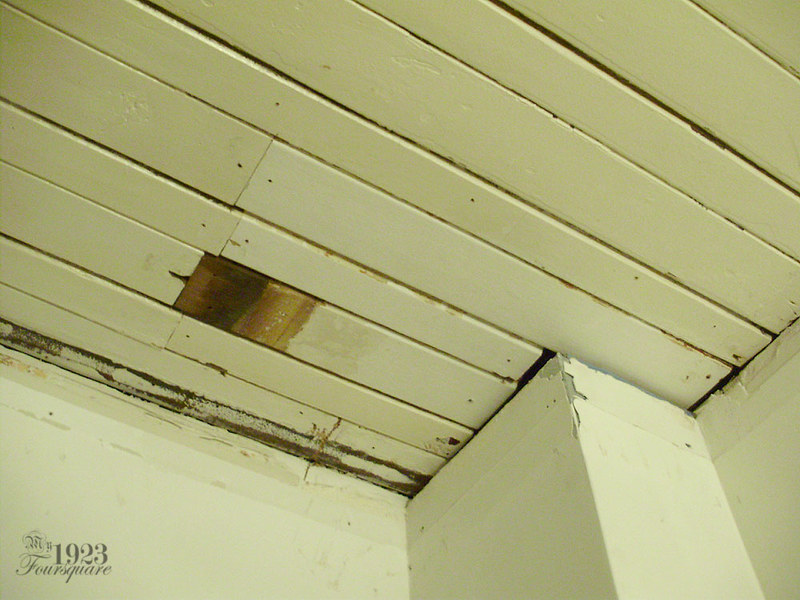
3rd and 4th boards.

PC220204

The last few were nailed to the floor joist.

PC230215

I used the same system near the bath drain and heating duct corner.

PC230216

PC230217

More in a few days!

Thursday, December 29, 2016

Destroying the Dining Room

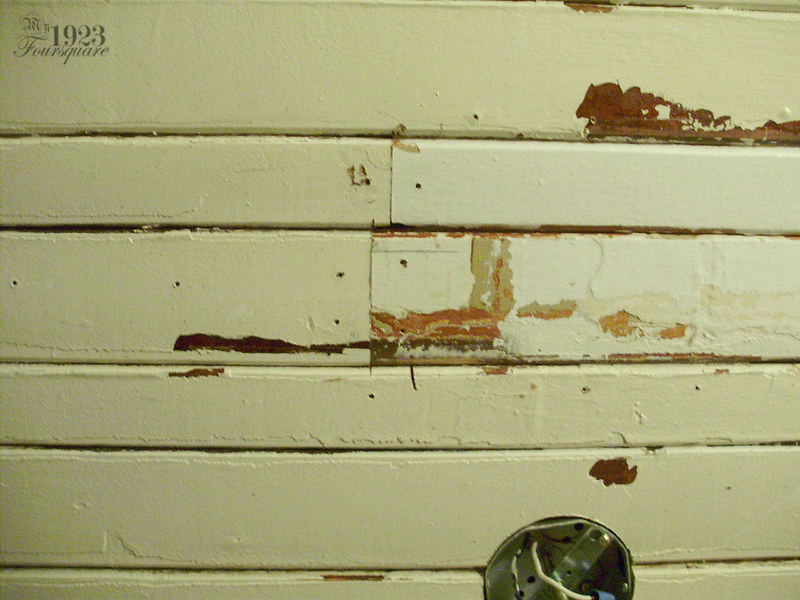
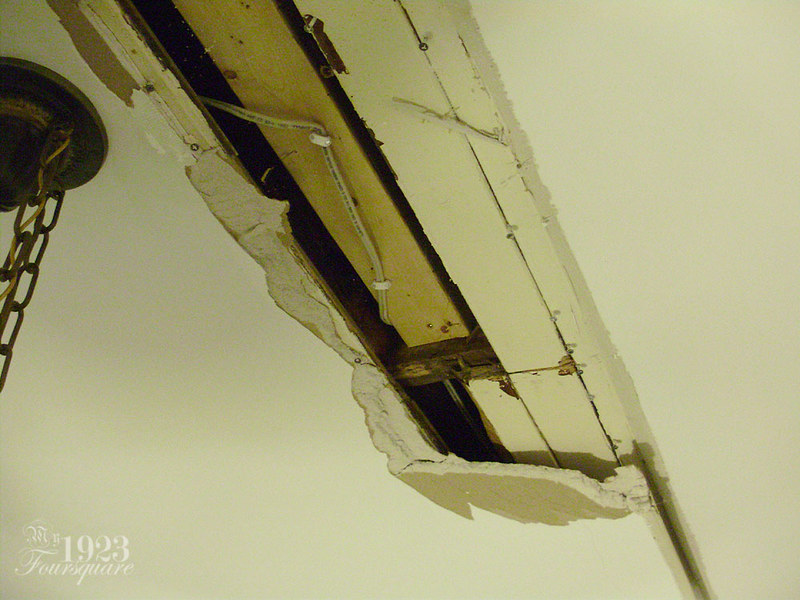
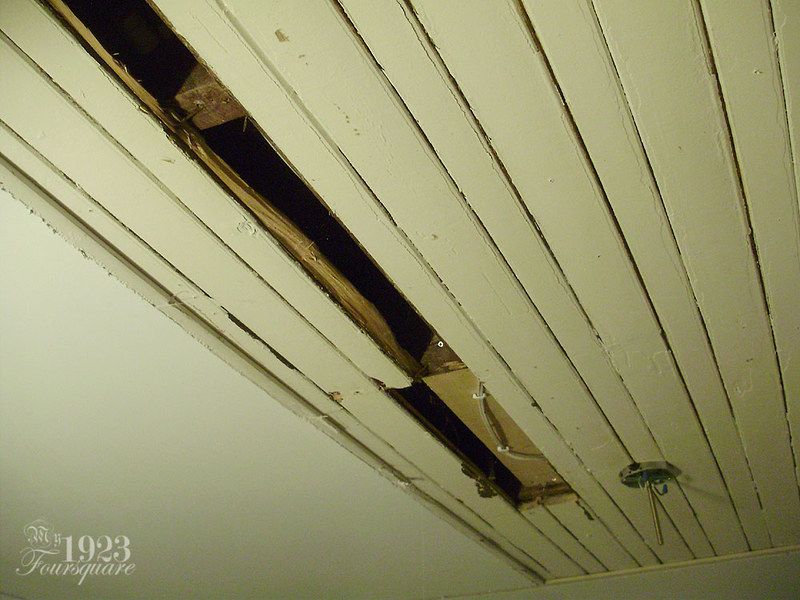
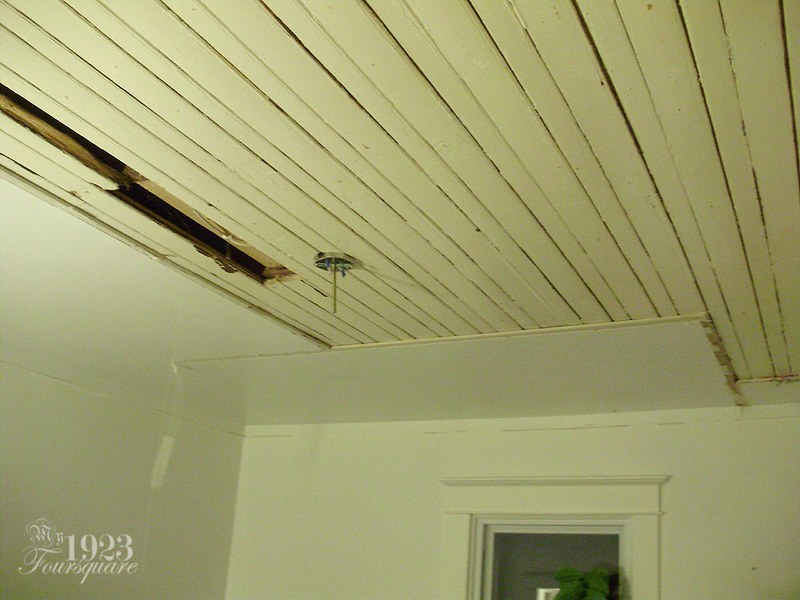
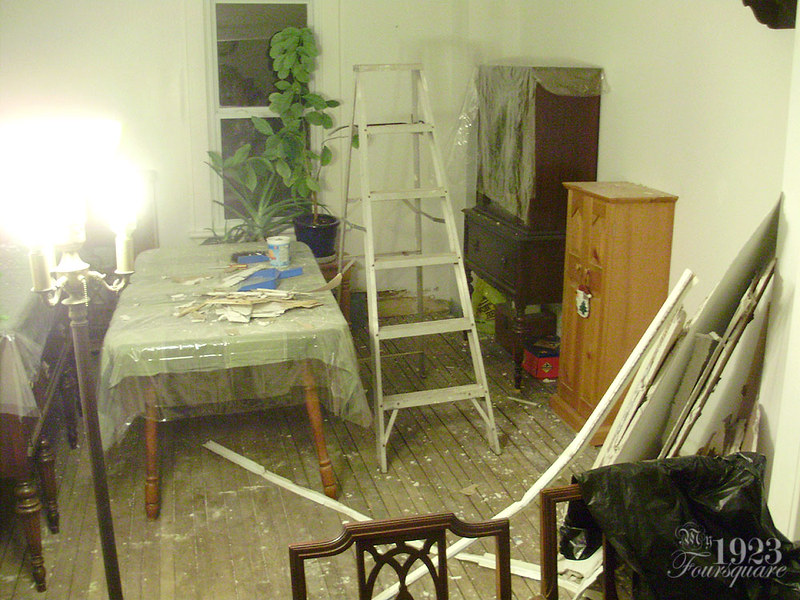
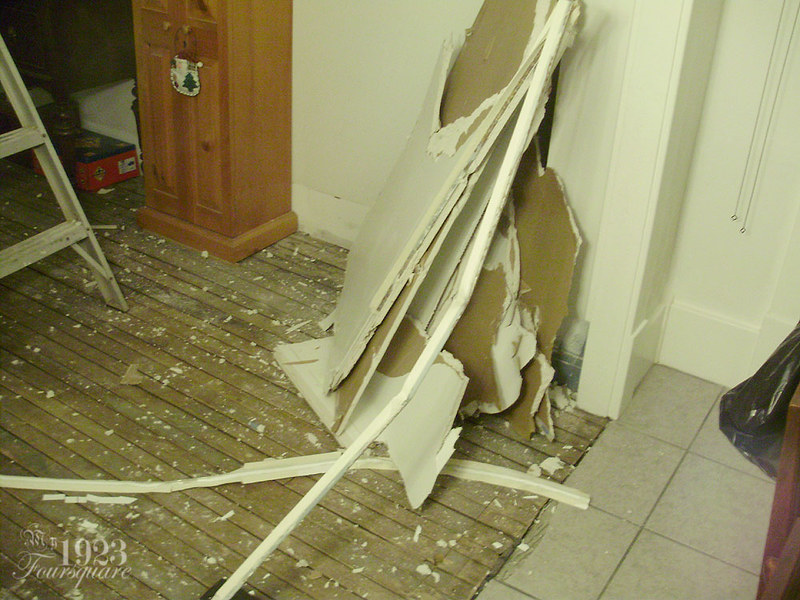
As promised (and briefly mentioned), I've decided to gut the ceiling in the dining room. Was this smart? Was this crazy? Am I sane? I had a perfectly good drywall ceiling (probably the nicest section of drywall in the house), and I ripped it all down. Why? Because there's an original hardwood tongue-and-groove ceiling under there.

As I sit here typing this, I have to admit that this may or may not have been the best idea. As it turns out, this particular ceiling is in TERRIBLE shape, but let's not skip ahead too far.

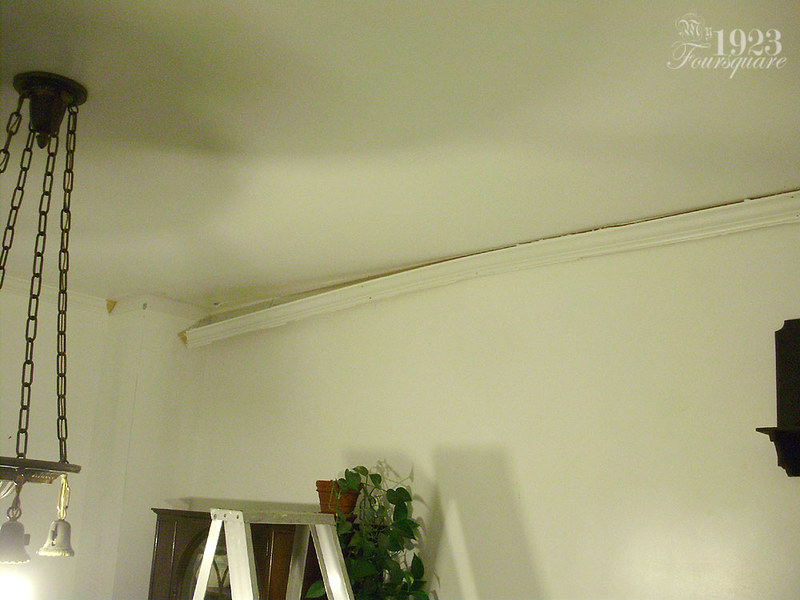
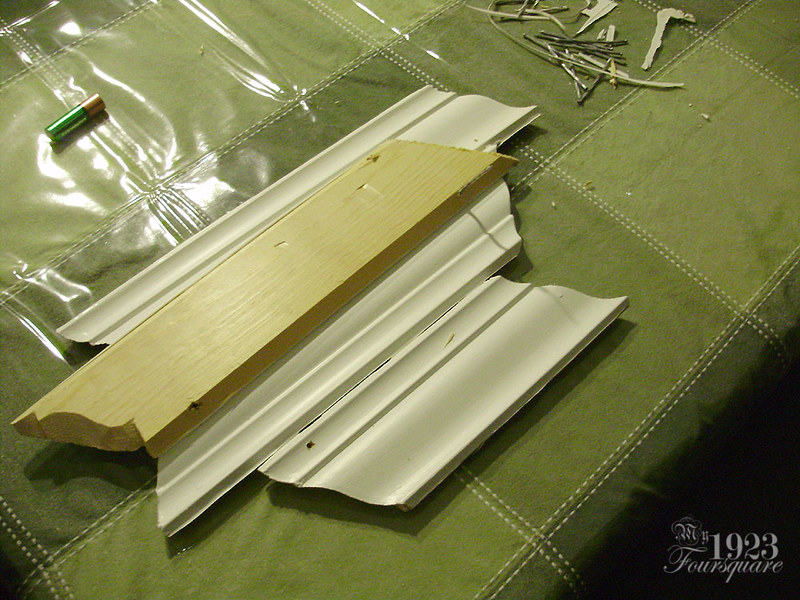
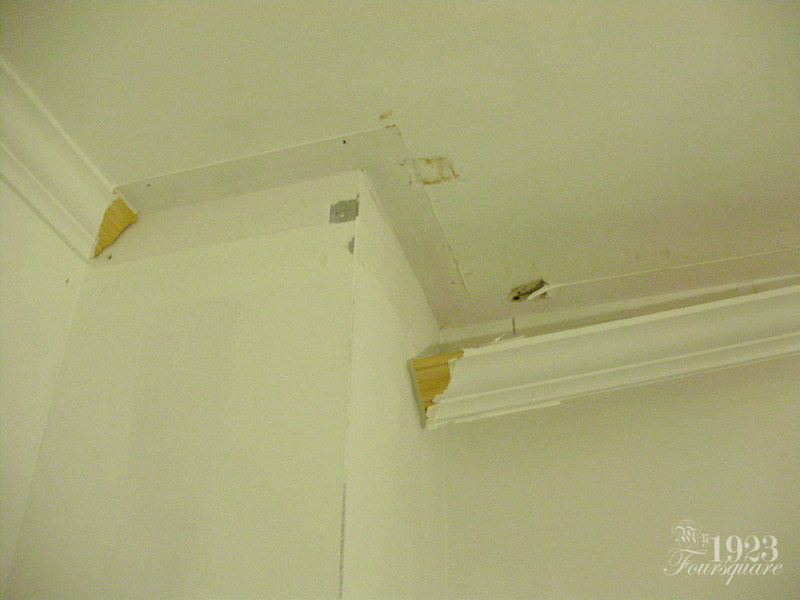
The first thing I did was carefully remove all the crown mouldings. These are all new, solid pine, and definitely still good. I installed them back in 2012. I know this because I had signed my name and dated them on the backs! I don't even remember doing that, haha! See: http://my1923foursquare.blogspot.ca/2012/11/finished-crown-photos.html

PC170131

Hopefully I can just fix the original ceiling and then reinstall these. I was able to remove all of them fairly easily except a small corner where a sliver snapped off (I'll just glue it).

PC170132

PC170134

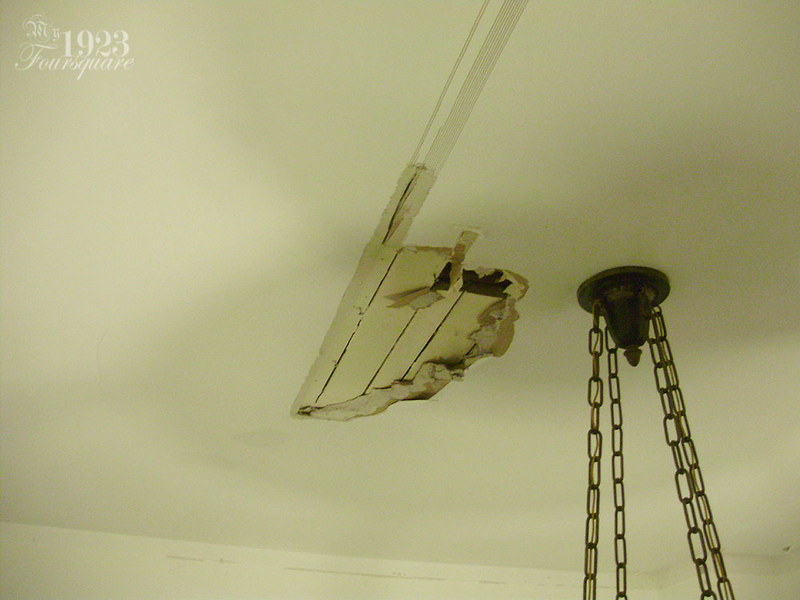
I knew exactly where to start the demo because I had installed a patch when I had moved the location of the light fixture (it wasn't centered on the window, which bothered me).

PC170135

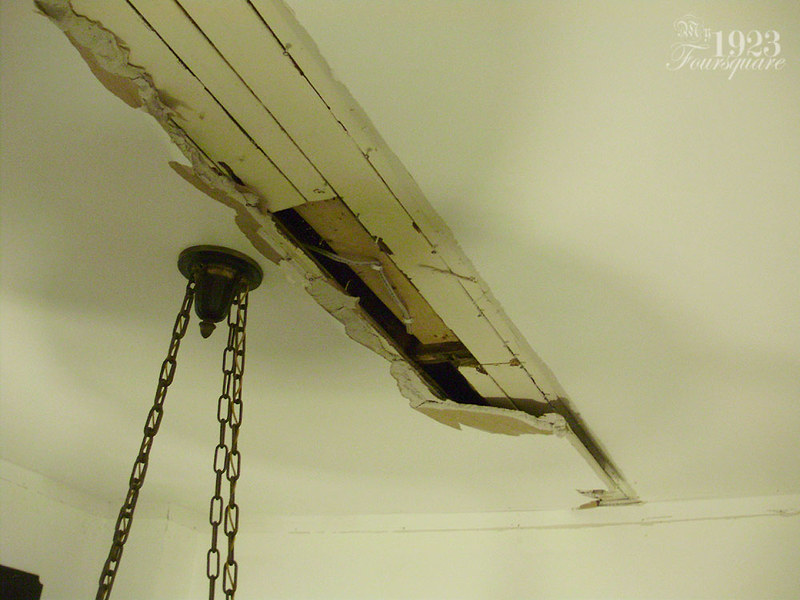
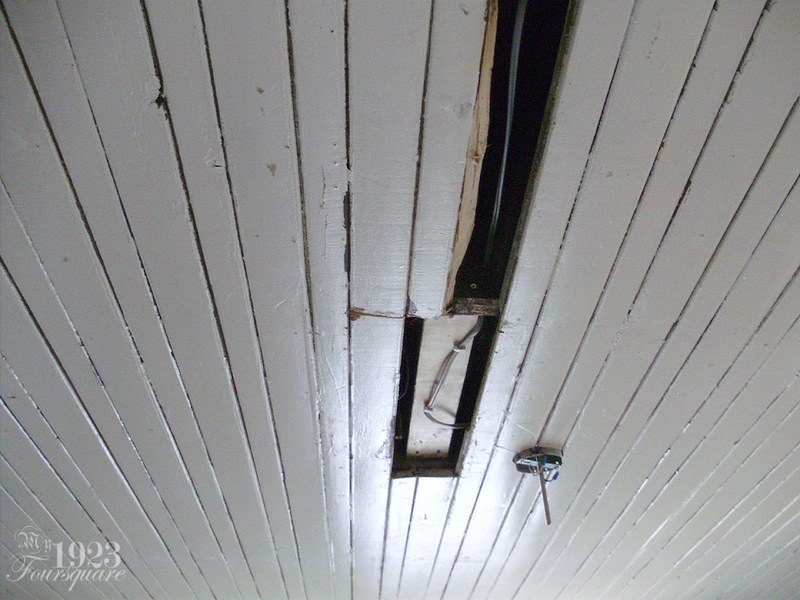
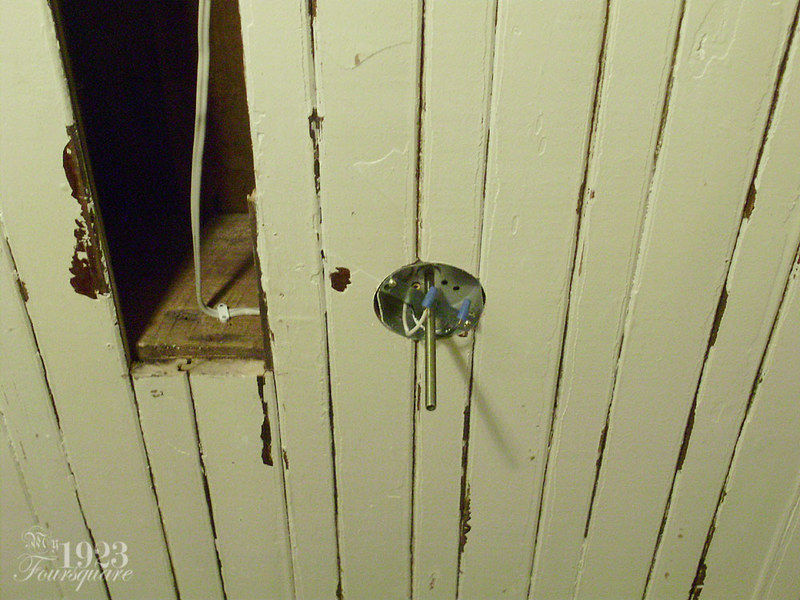
This looks really awful already, but this is the same thing they had done in the living room and in the office to run the new electrical. They butchered two boards and tore them out to pass the wires. The 2x4 was to hold the electrical box (which I had moved).

PC170136

PC170137

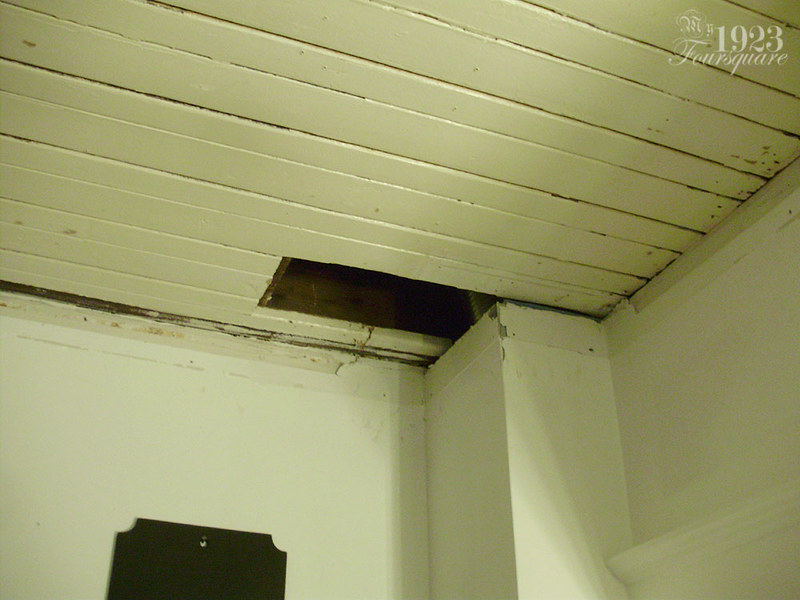
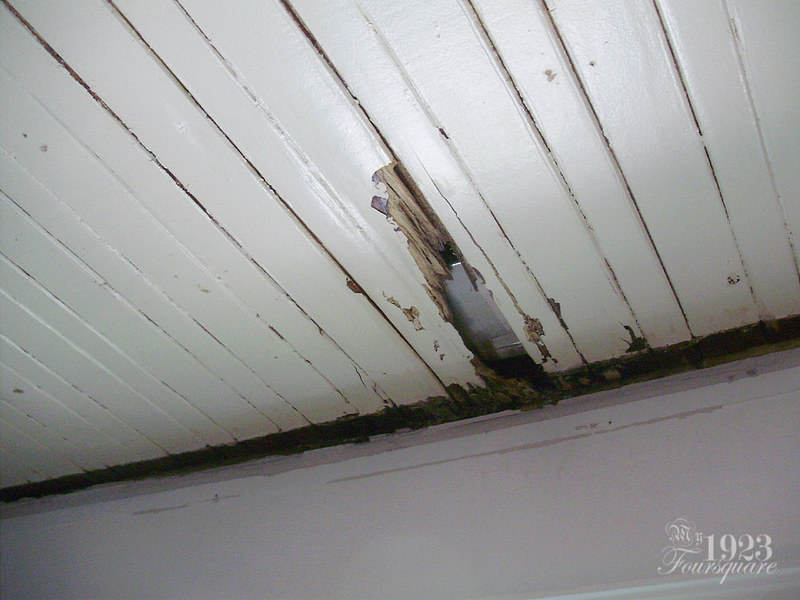
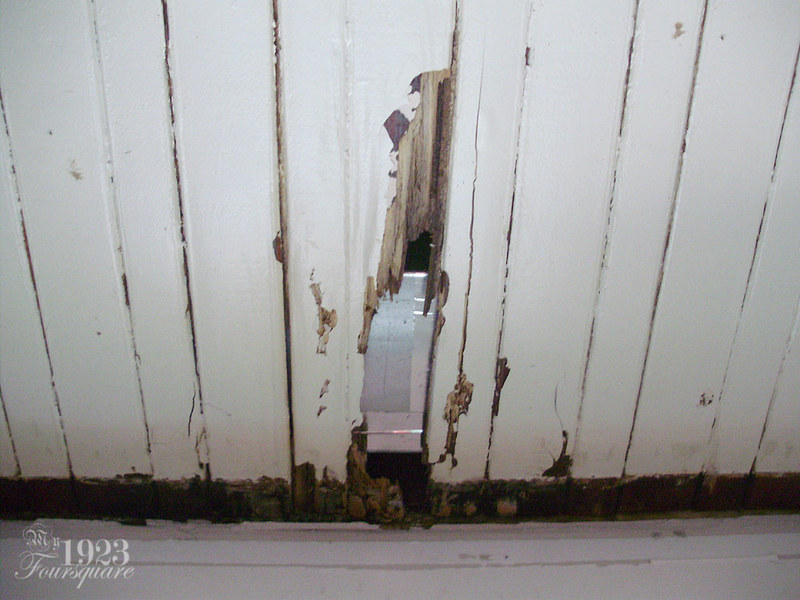
After removing the first section of drywall (which made a huge, HUGE mess, by the way), I found another hole in the ceiling, under the bathtub.

PC170138

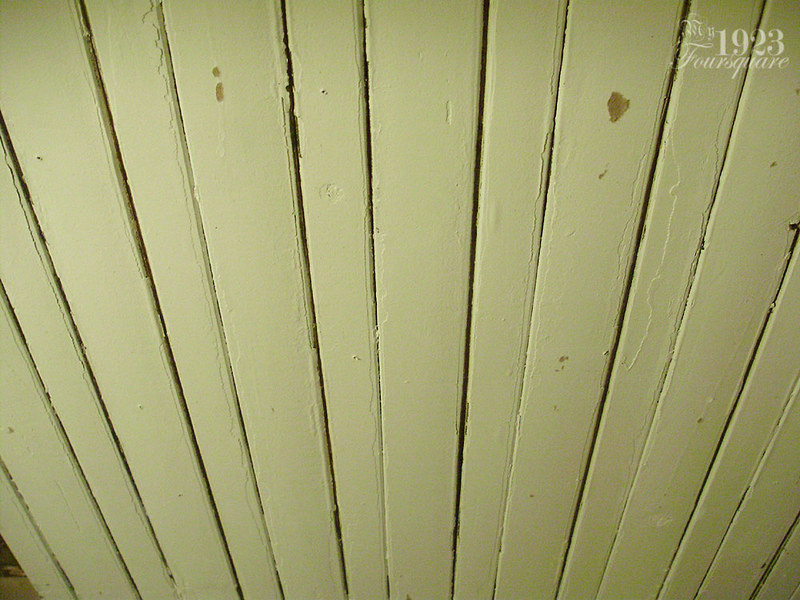
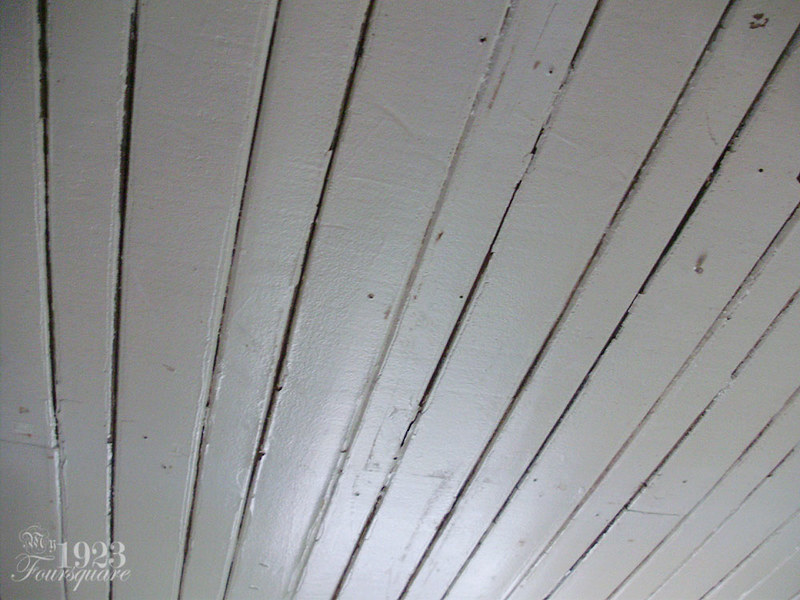
After removing the second section, I started to really look at the ceiling and wonder if I should even continue. The ceiling was in TERRIBLE condition. The worst of all the rooms in the house. Everything is chipped, flaky, bumpy, plus all the drywall screw holes. In terms of detail and how it actually looks in real life, this is probably the best photo of the bunch.

PC170141

I decided to stick with it, and that even if it's going to be a LOT of work, "Hey I can fix this!" Hahahahaha... ughh...

I can really see why they abandoned all hope and slapped drywall up there.

PC170142

Another angle of the "main hole".

PC170143

This is as far as I got on the first night (the night before last - the 27th). There were just 2 full 4x8 sheets left.

PC170144

Some of the mess cleaned up. I worked carefully around the furniture, but everything else (all the clocks and fragile items) were taken out, and I put tarps on everything.

PC170145

PC170146

Next day (yesterday morning) I removed the rest of the drywall, cleaned everything up, and vacuumed. Right above the window was another damaged section of the ceiling. All rotten. I knew about this ahead of time. Years ago when I fixed all the duct work, I saw this spot was all rotten from the top (which is in the master bedroom). Tracked down the old photo:

Photobucket

It's actually not too bad. I can just cut out the bad bits and patch it. I just can't understand how it could have gotten to this point. Rot like this would be from years of water damage (think about how long a log takes to rot and decompose in the forest).

Maybe there was a leak in the original wooden window frame? But the wall doesn't seem to be rotted...

PC180149

A lot of this was so soft you could just poke through it with a screwdriver.

PC180154

A few photos in the harsh light of day.

PC180161

PC180162

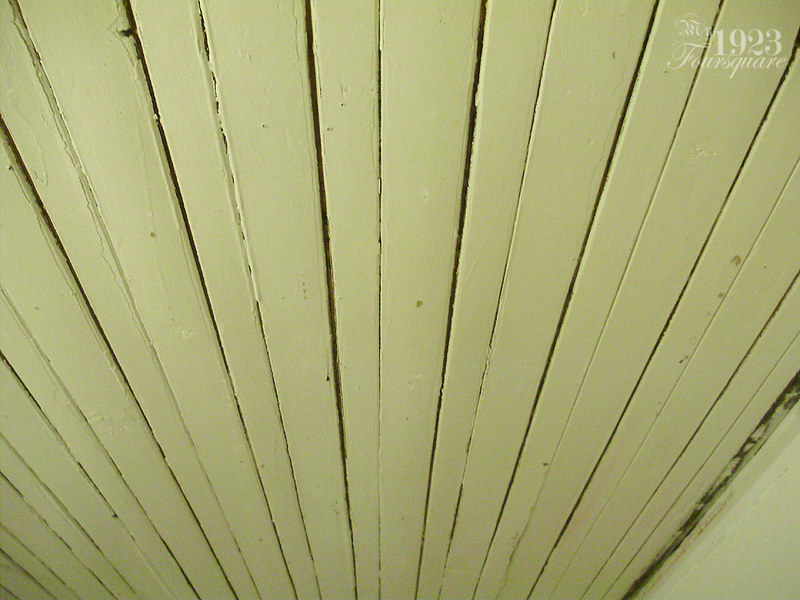
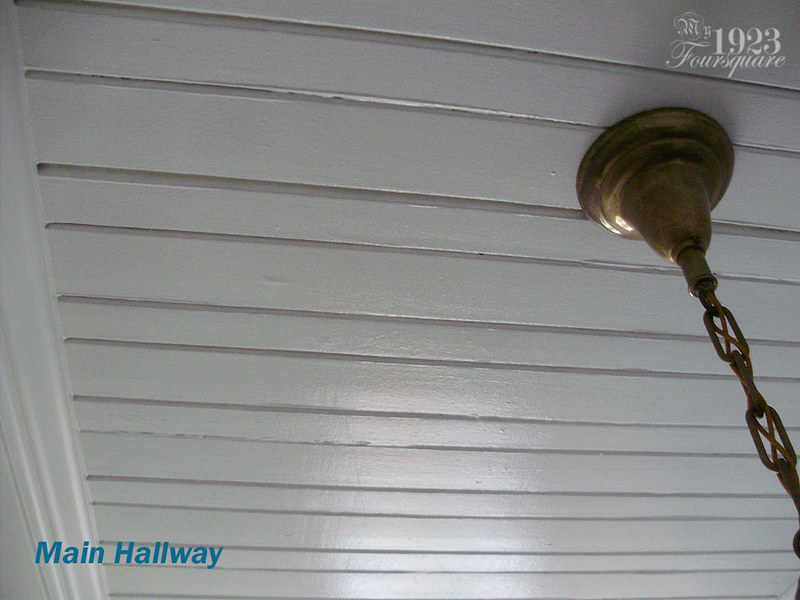
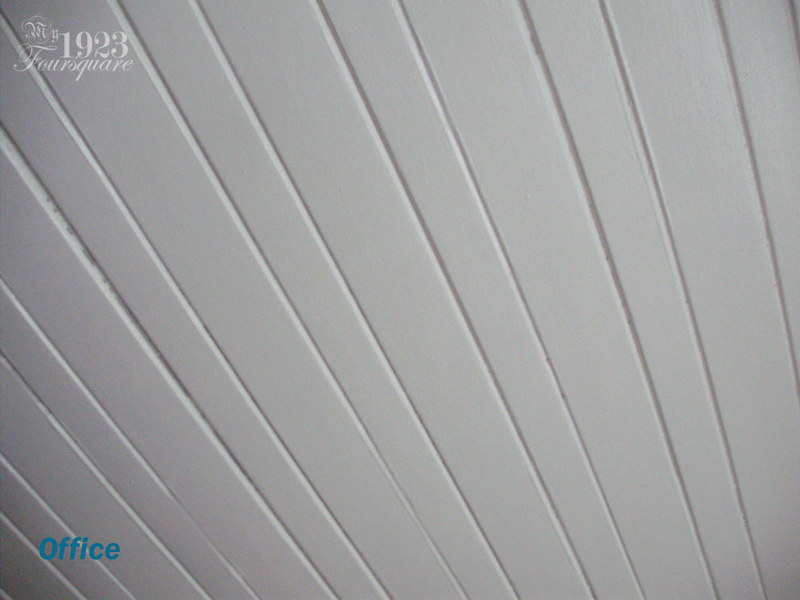
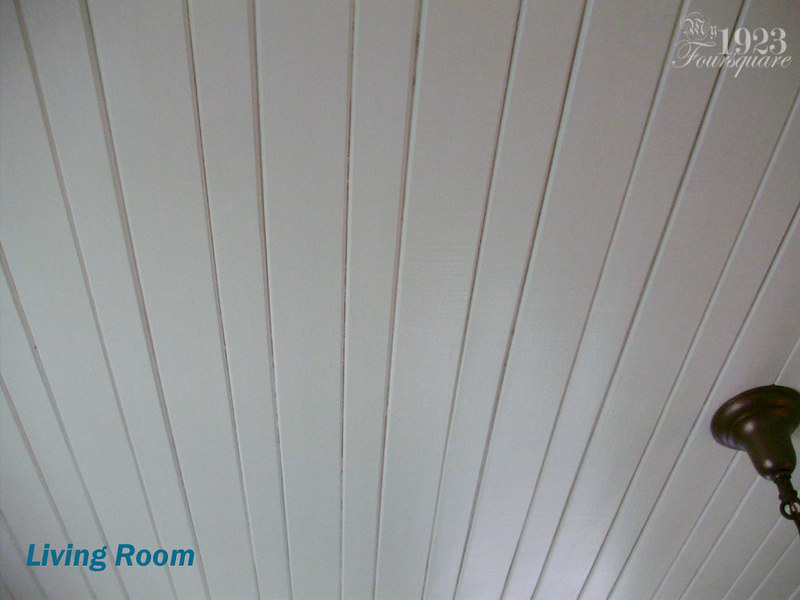
For comparison, the other three ceilings on the main floor (which I just had to minimally repair where they passed the wires, and then paint):

PC180163

PC180164

PC180165

Yeah, AWFUL when you compare them.

So you might be asking yourself the question: "And how the hell are you going to fix that?" And yeah it's a great question. There are several options, each of which are a pain in the ass, time consuming, or expensive.

Option 1:
Give up and install new drywall on top (and cry) - not going to happen.

Option 2:
Strip all the flaky paint off (or hire someone to strip the paint), then repaint everything nice and fresh and clean - too messy/expensive.

Option 3:
Painstakingly patch it, smooth it, sand it, putty it, and agonize over every square inch, paint and pray it looks decent - I'm poor, so this is the route I'm choosing.

Yeah you read that correctly. I'm going to work on it in sections. I've already gone through half the ceiling and scraped off all the loose and really bumpy bits. The puttying is going to be the biggest job. I'm just going to use drywall compound. I've had really good luck with this, and it works well. I'll be doing a quick coat of shellac primer to make sure everything sticks nicely, and painting it the same semi-gloss trim colour as everything else.

SHOULD BE LOADS OF FUN! (sarcasm)

Earlier this evening I removed that 2x4, re-tacked the wire, and reinstalled the electrical box flush with the ceiling.

PC190168

I also trimmed a bunch of the spots where I'll need to patch the wood.

PC190170

I notched just a bit of one of the three boards here so it's not just a clean line (which always shows). I might have to also trim a 4th board. The edge of the outer board is pretty messed-up.

PC190171

As of tonight, that's where I am with the ceiling.

Monday, December 26, 2016

Victorian Farmhouse - Part 19 Hallway Floor

This entry is one I've been looking forward to posting about. It deals with flooring, and you know how much I love old wood. It wasn't a project I was too excited to work on, though. This is another one of those big pain-in-the-butt jobs, but one that was needed.

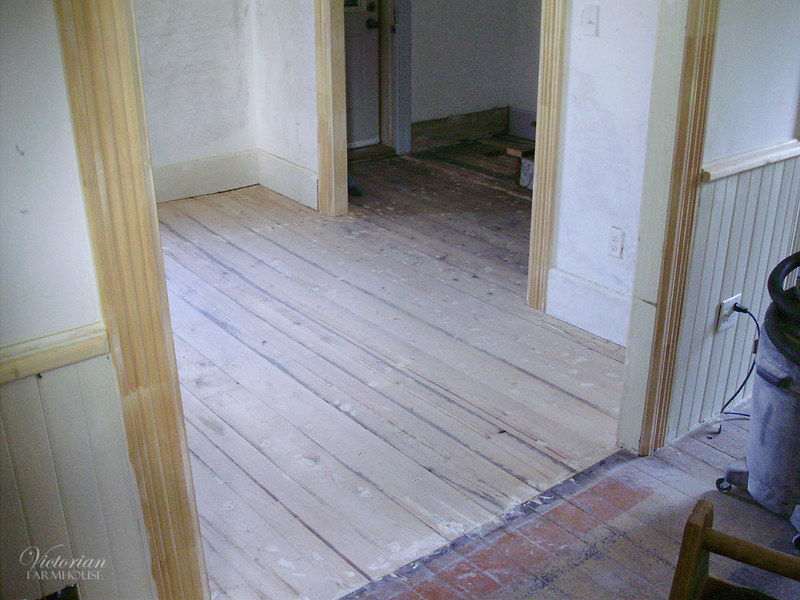
This is the last of the flooring that needed to be fixed before the flooring guys were coming to sand and refinish everything. As you will remember, the original floor in the "fancy" part of the Victorian has rough cedar plank floors because it likely had nice (expensive at the time) carpeting. The back half with the simpler mouldings (no rosettes) had just "plain" maple flooring.

Because this floor was not necessarily meant to be visible, it's been really mistreated over its life, and now it has HUGE gaps in it from shrinkage, along with nail holes, old paint and lots of dirt. To fix the gaps, we had previously pulled-up all of the office floor and reinstalled it. See: http://my1923foursquare.blogspot.ca/2016/06/victorian-farmhouse-reinstalling-floor.html

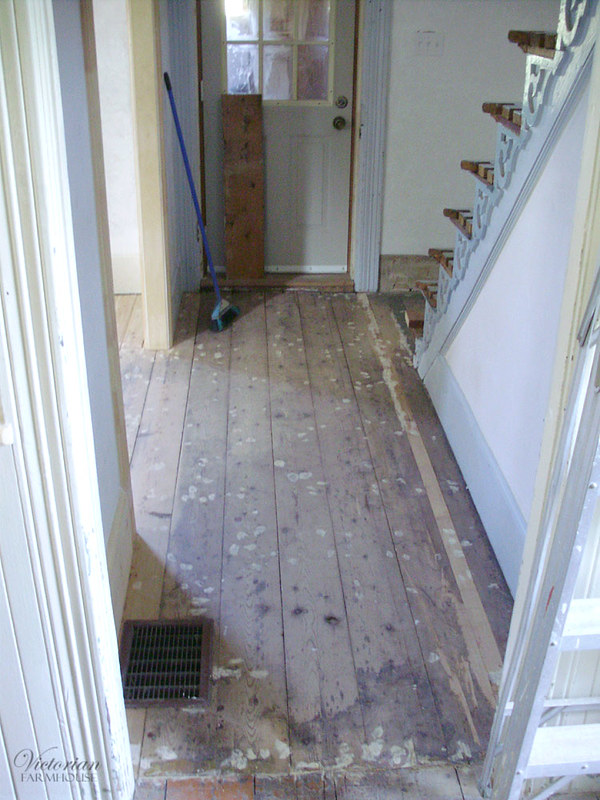
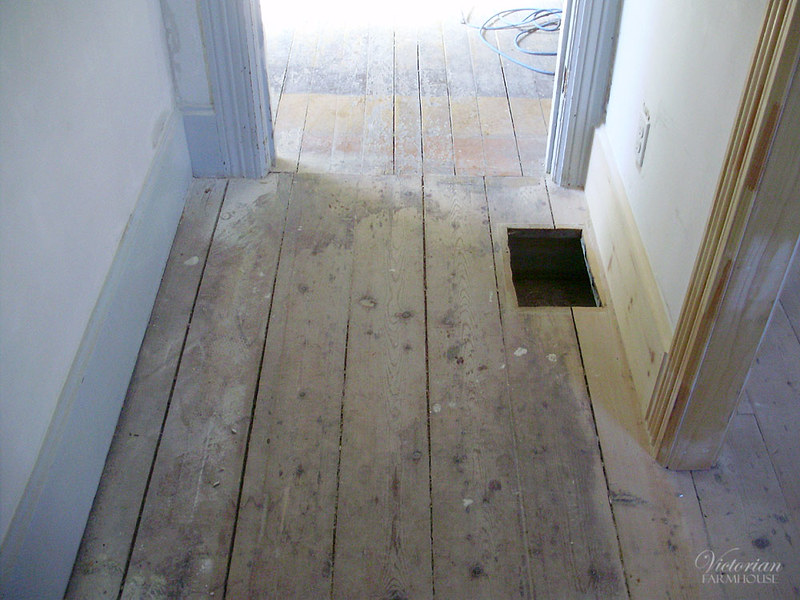
Anyhow, we had stopped at the arch, and we were either going to leave the hallway as-is, or fix it later. Well, we decided to fix it. Here are some before photo showing some of the gaps.
P8260020

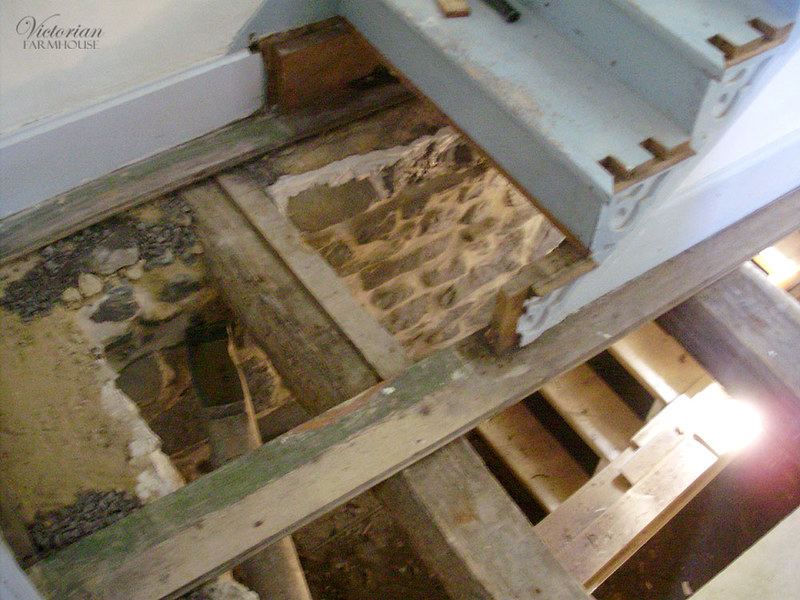
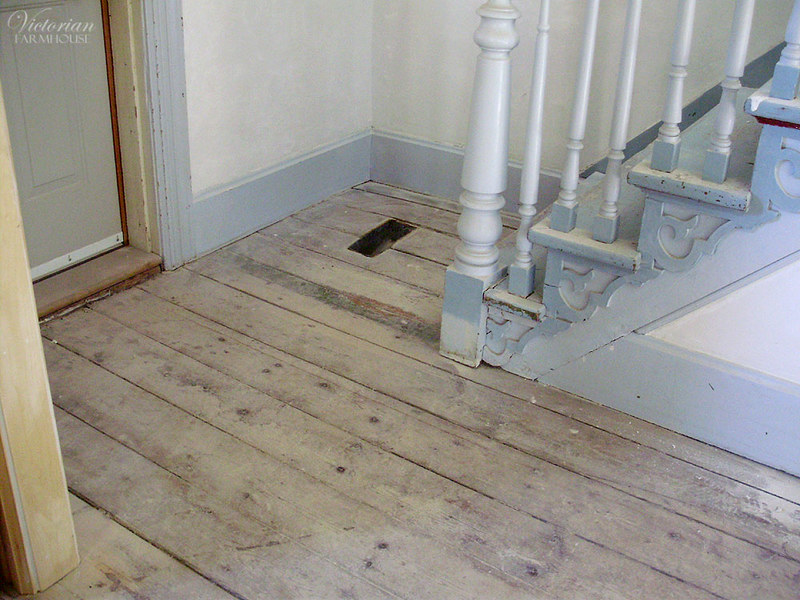
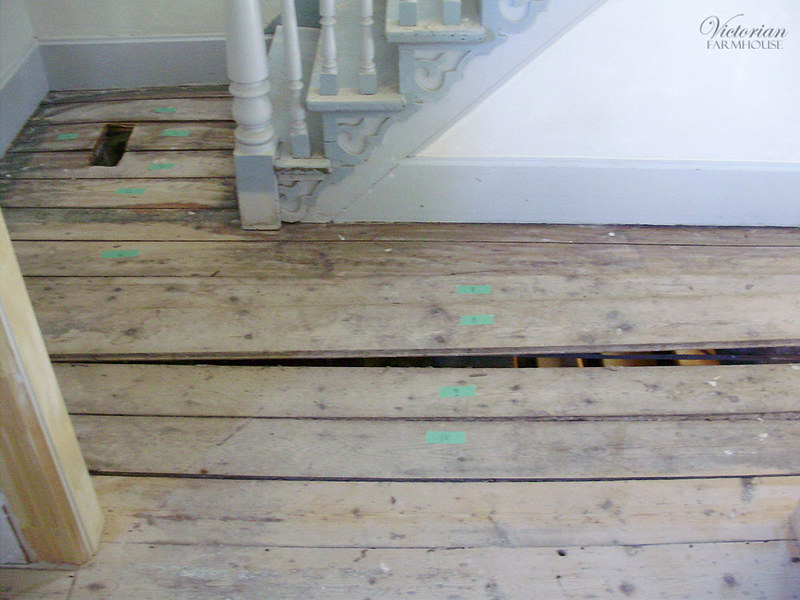
The worst part of the floor was the huge buckle and gaps near the base of the staircase. This was made worse by a past owner having installed a heating grate here, which is a terrible place for it.
P8260022

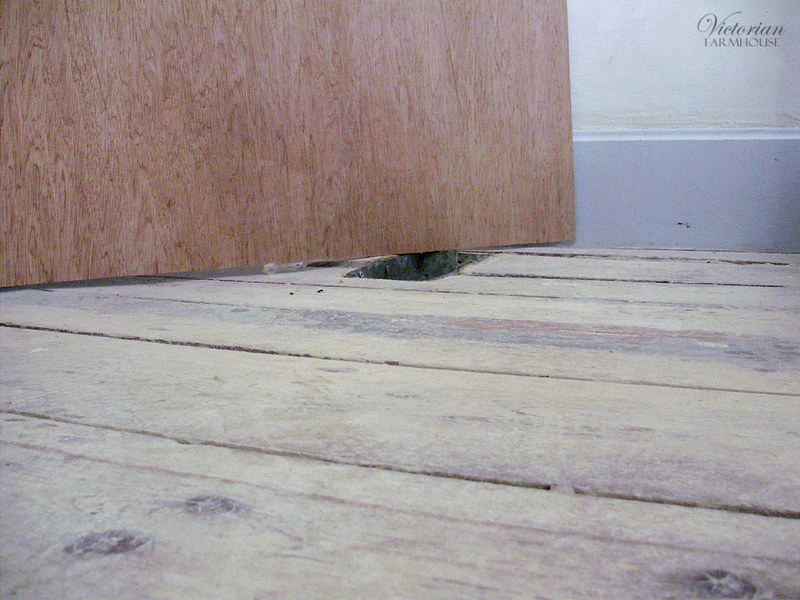
You can KIND of see the buckle with this piece of plywood across it. There's almost an inch difference and it's all wavy and terrible. The gaps near the vent were also 3/8" or more.
P8260023

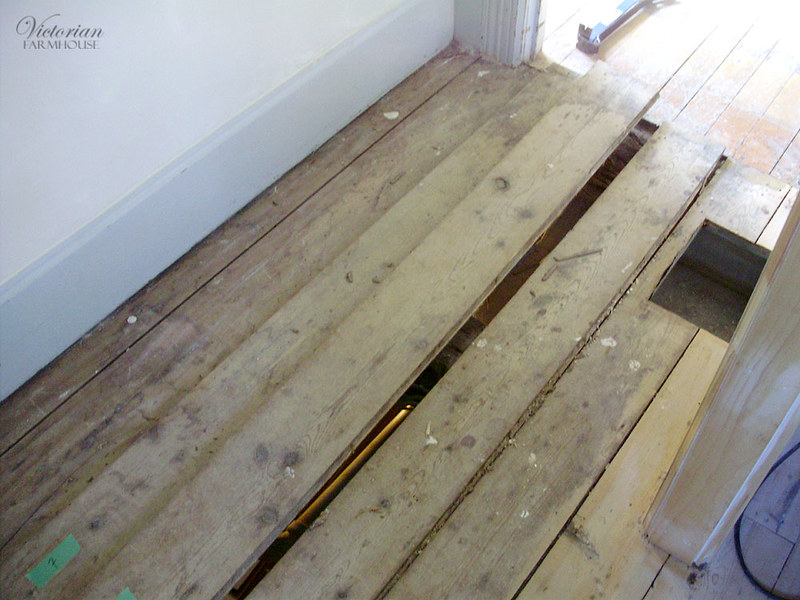
The hardest part of this is getting the first board(s) loose without breaking everything in the process. This was made even harder by the fact that we couldn't take everything out due to the staircase.
P8260025

P8260026

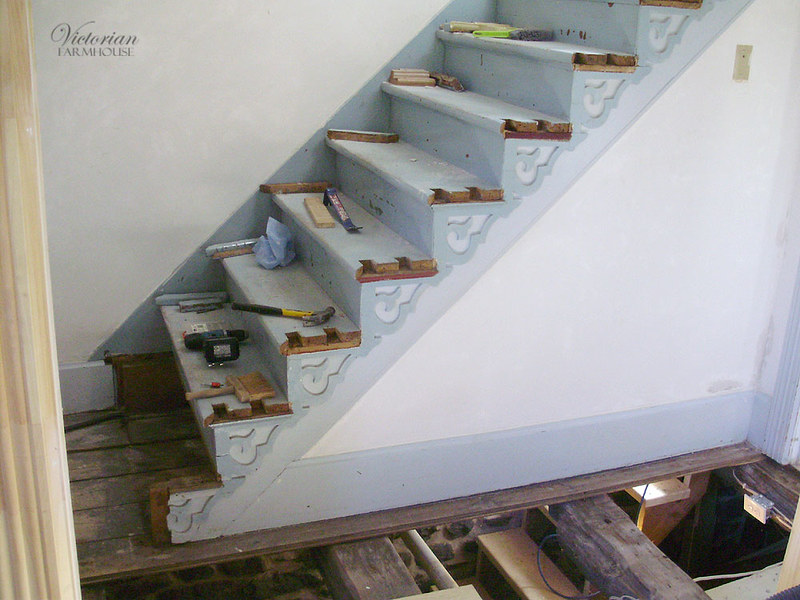
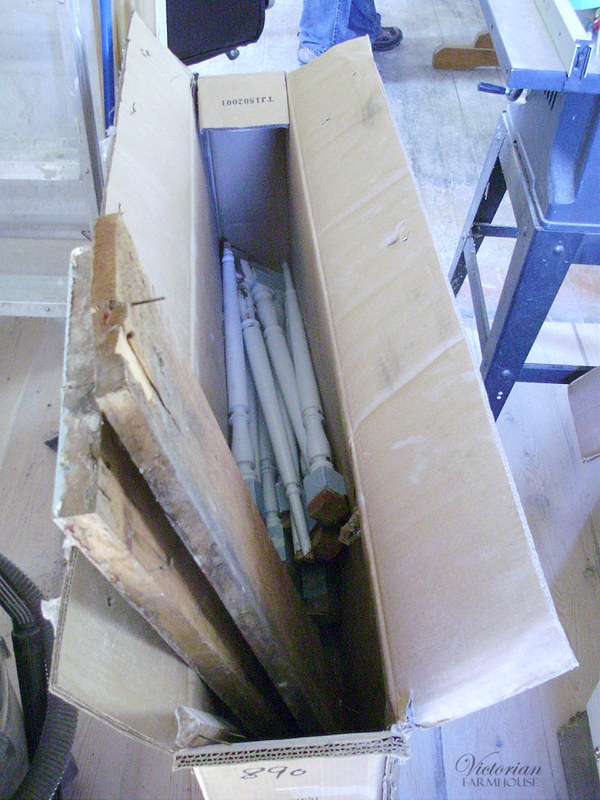
In order to make things easier, we numbered and removed all the spindles and the railing. The plan is to sand and stain the railing and the post, and sand and varnish the stair treads. The rest will be painted unless someone changes their mind again.
P8260027

P8260030

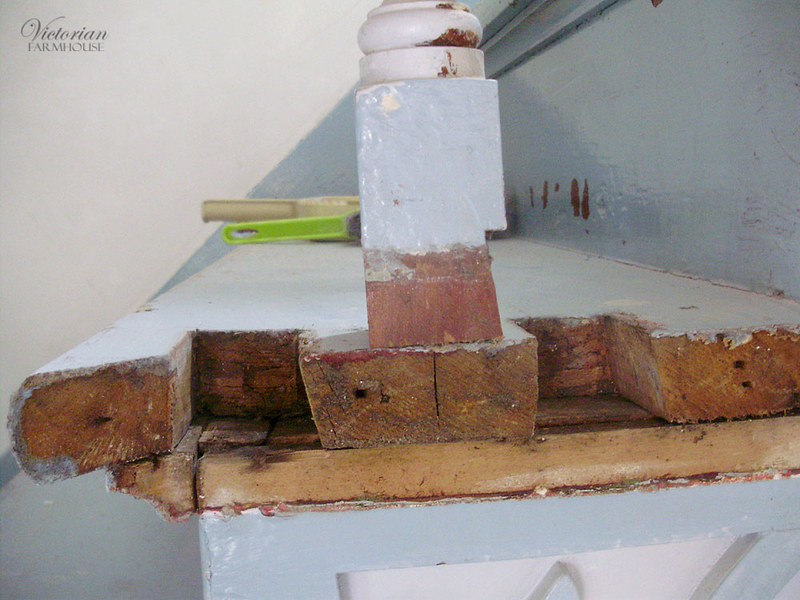
The bottom step was also removed so we could remove the floor, and to make it easier for the floor guys.

Notice how all the spindles are dovetailed to "lock" them in place. They are a bit shrunken and loose now, but we can fix that with a few thin shims, and glue (when we reinstall them).
P8260032

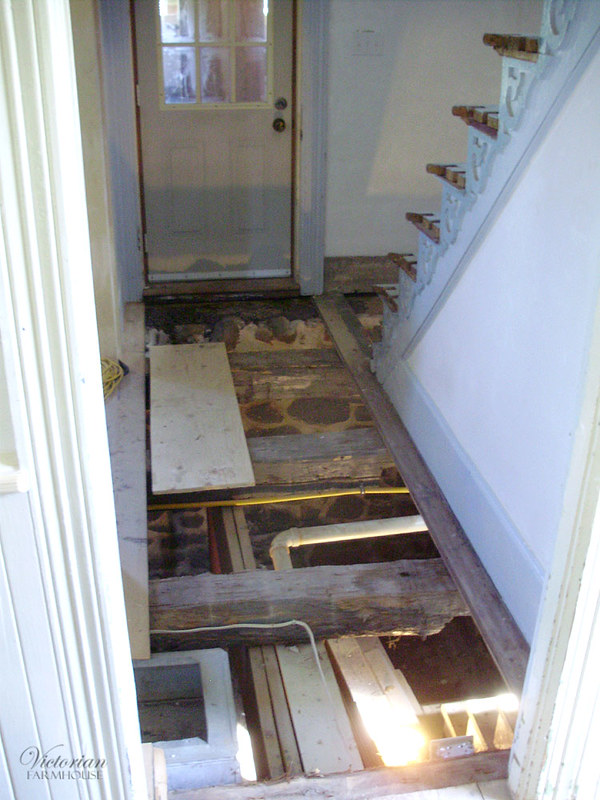
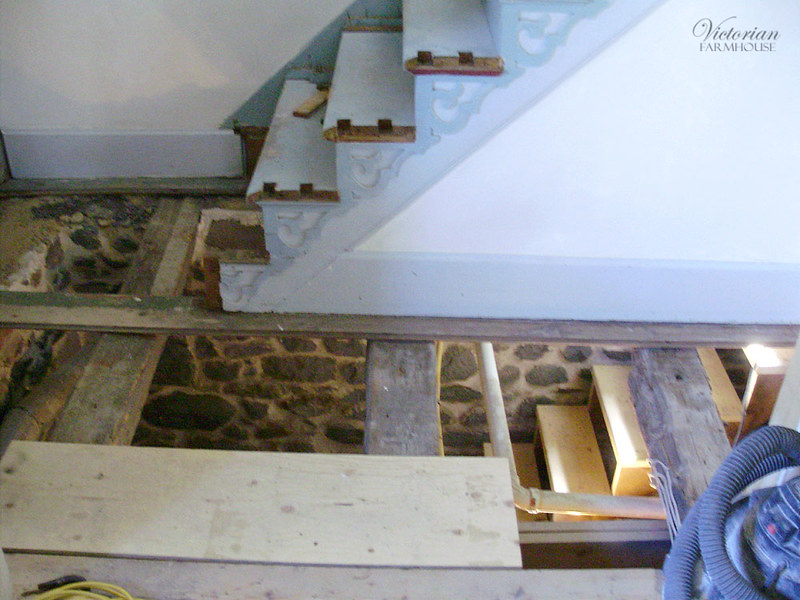
This is as much as we could remove of the floor. Pretty much everything except the short board near the wall, and the one running under the staircase.
P8260034

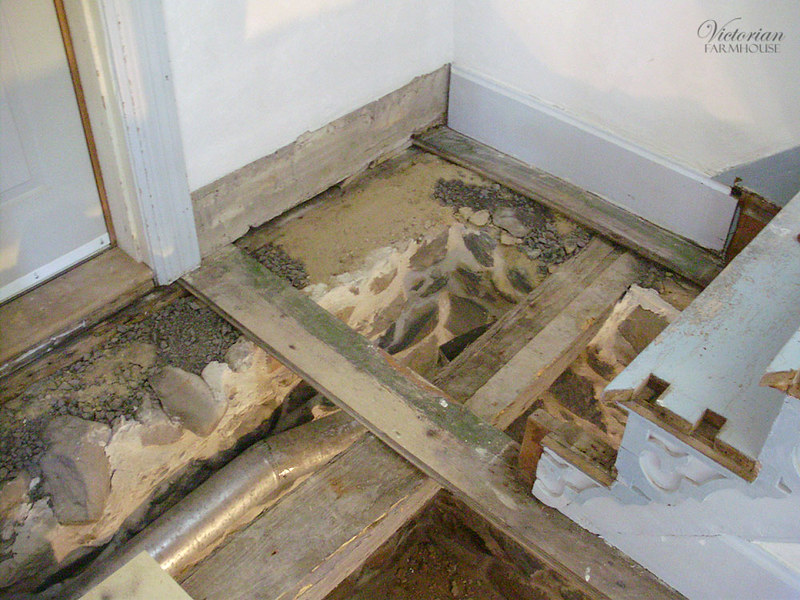
Again we had lots of gaps and holes and we filled them with just gravel. The high spots were also adjusted.
P8260036

I really need a new camera...

P8260038

P8260040

One of the structural issues we had to fix was this beam. Originally it had a leg holding it up. This is clearly visible by paint shadow lines and by how it's been cut and notched. The previous owners had installed a big cross beam of 2x10s with 2 or 3 metal support columns (you can see it in the photo above), but because everything is uneven tree trunks, it didn't really work too great. Note the gap between the floor and the baseboard also.
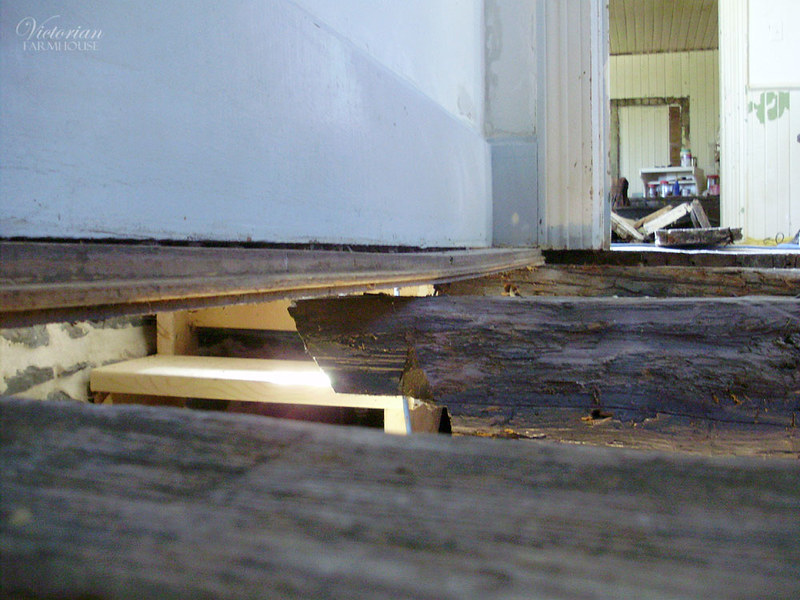
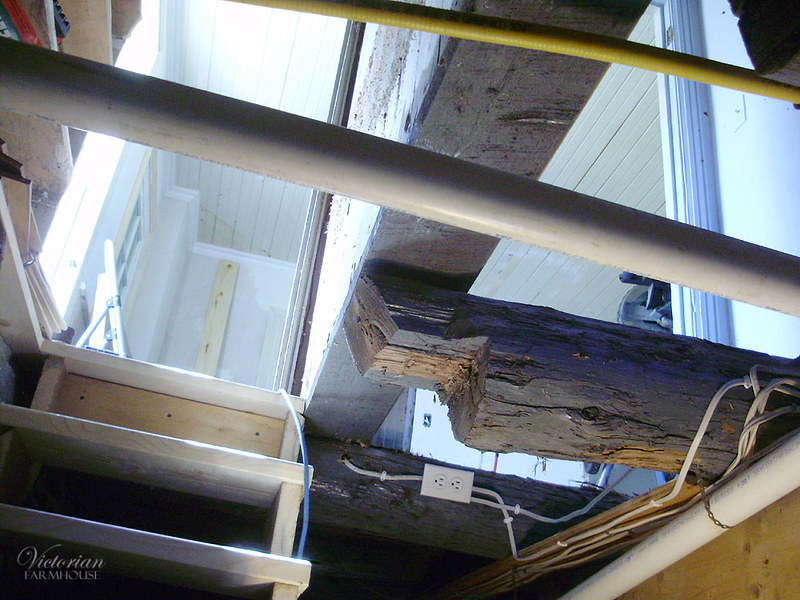
P8260041

P8260042

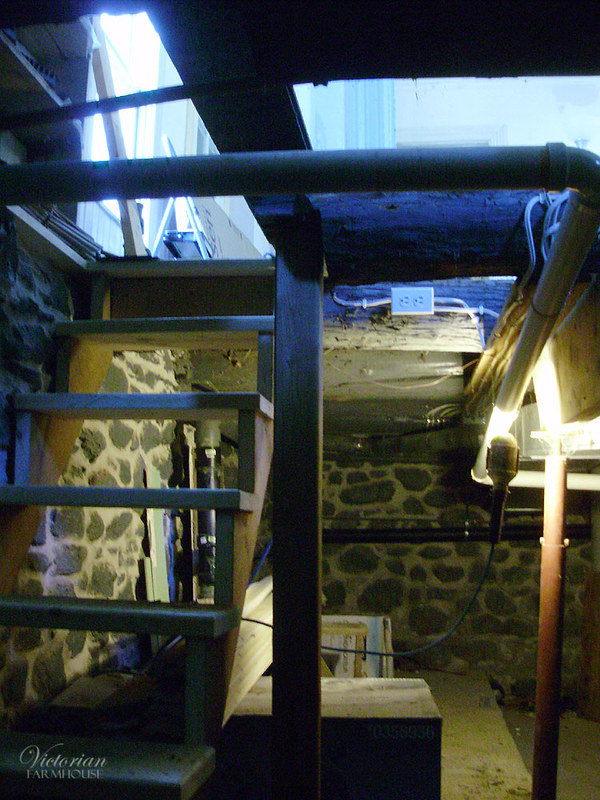
To fix this, we used an old jack to raise the beam, and then we installed a 4x4 sitting on a large stone.
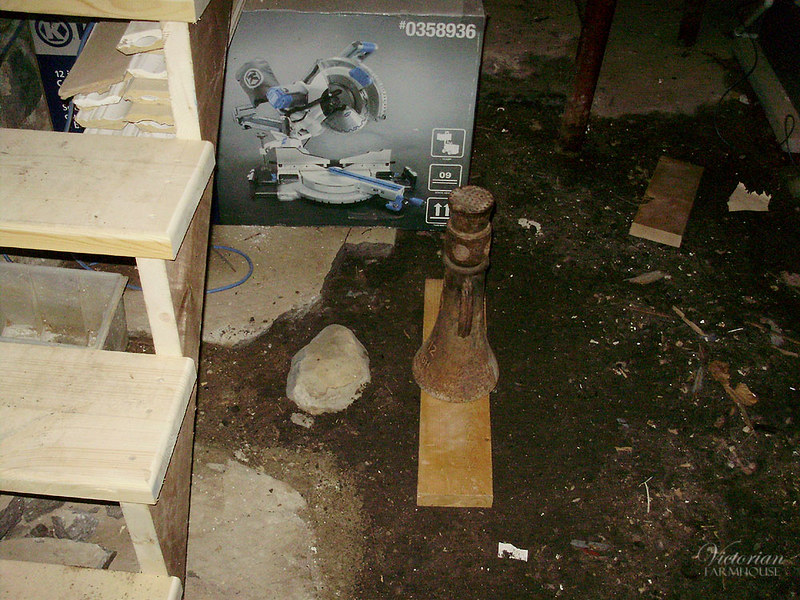
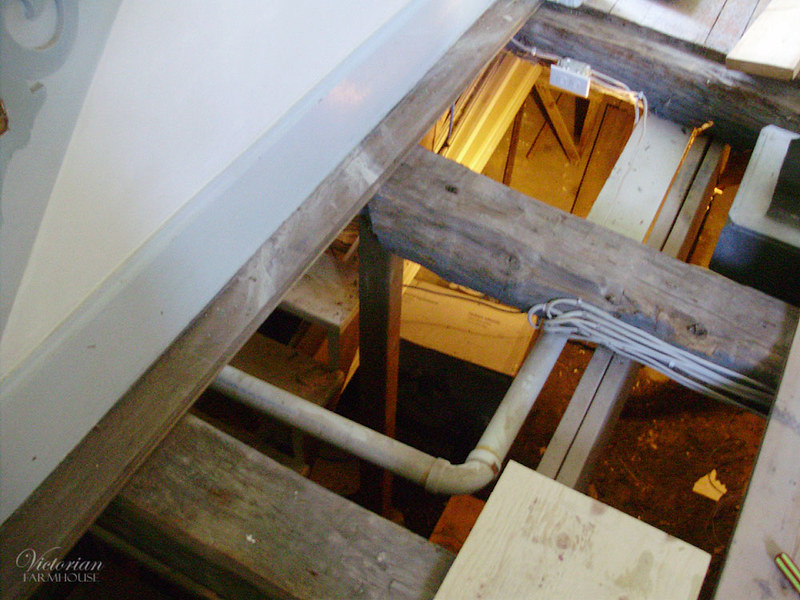
P8270043

P8270046

P8270047

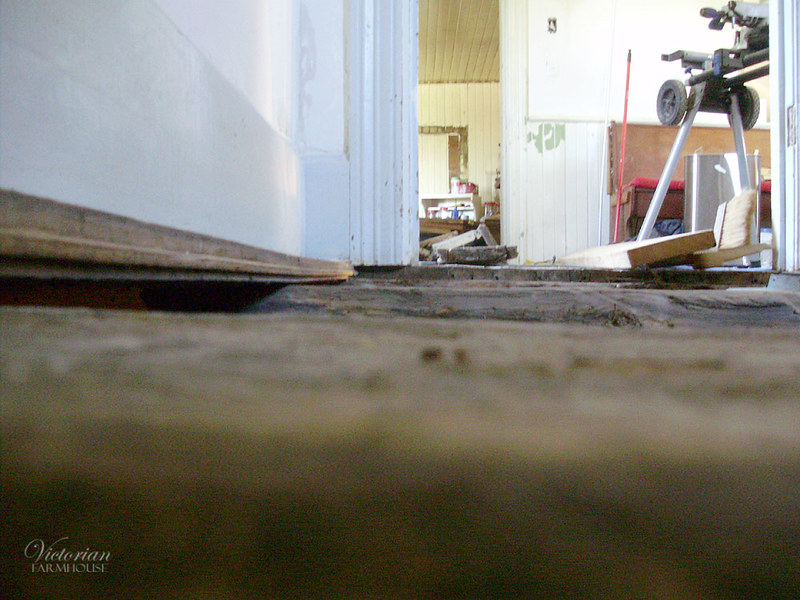
In this photo it still looks a touch crooked, but I can assure you that it's only the floor board that is bent. The baseboard is now touching, the beam is tight to the staircase, and all the tops of the hand hewn beams line up perfectly. Having fixed this also straightened out the staircase by about an inch. The staircase wasn't too crooked, but every little bit helps.
P8270049

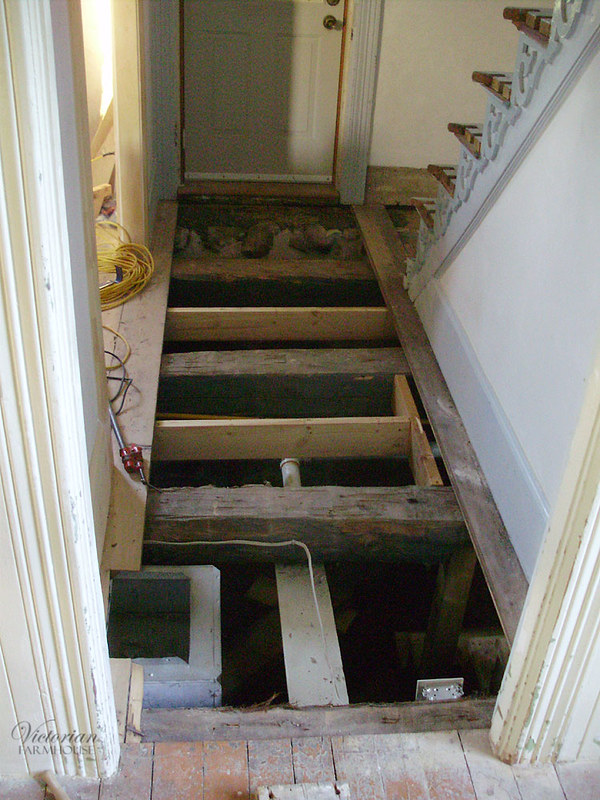
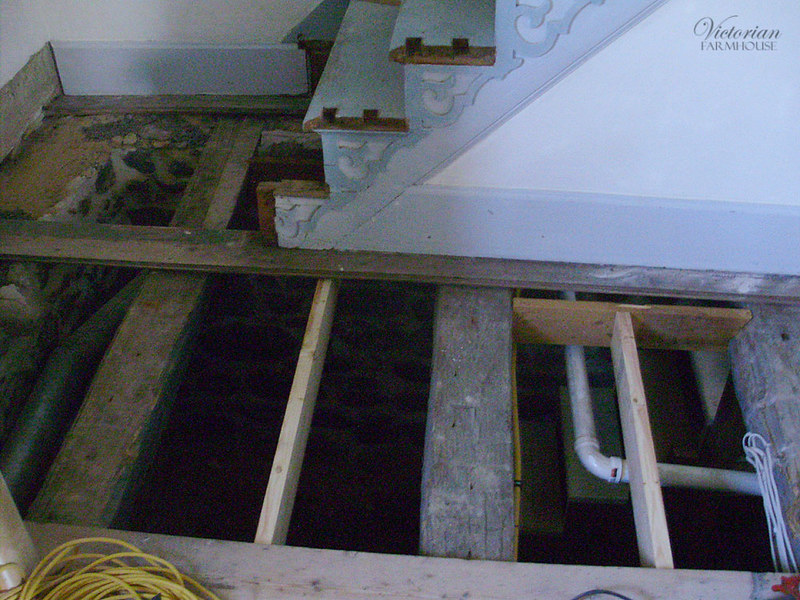
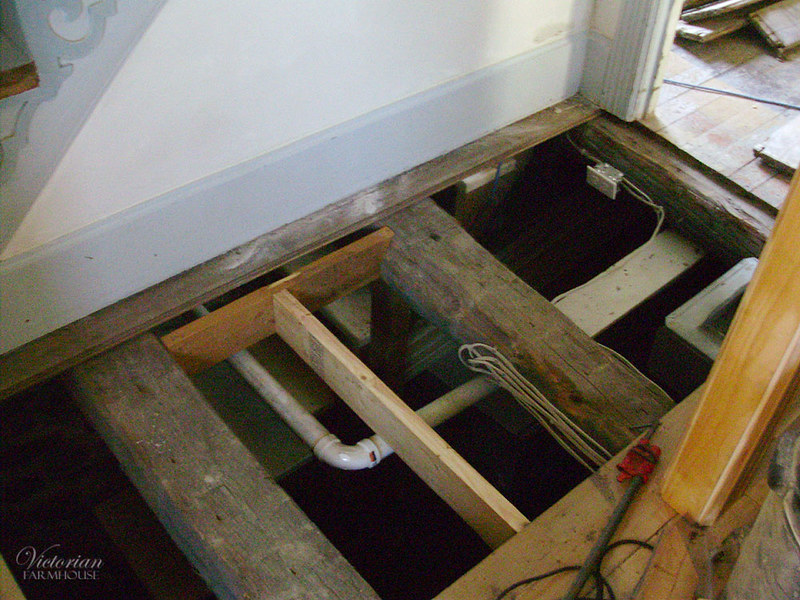
With the new 4x4 post firmly in place, we removed the gig clunky (and poorly installed) 2x10 beam underneath, and we installed new 2x6 beams in between for better floor support (like we did in the office).
P8270050

P8270051

P8270054

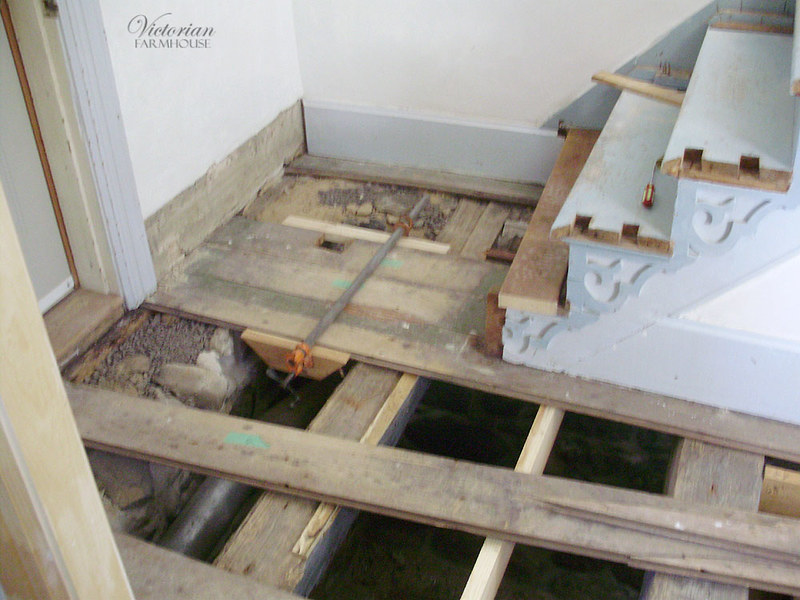
I started in the corner because it was the easiest to work on. Pierre was busy elsewhere and he helped me with the longer boards.
P8270056

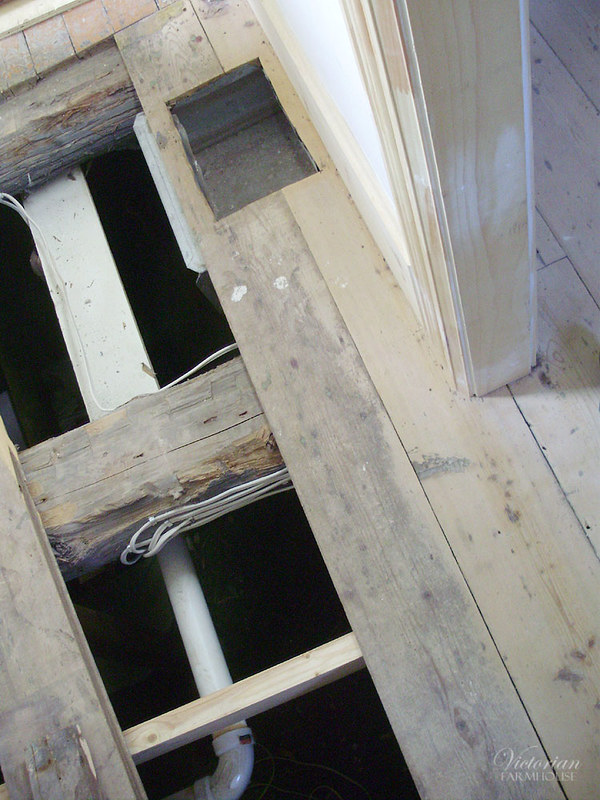
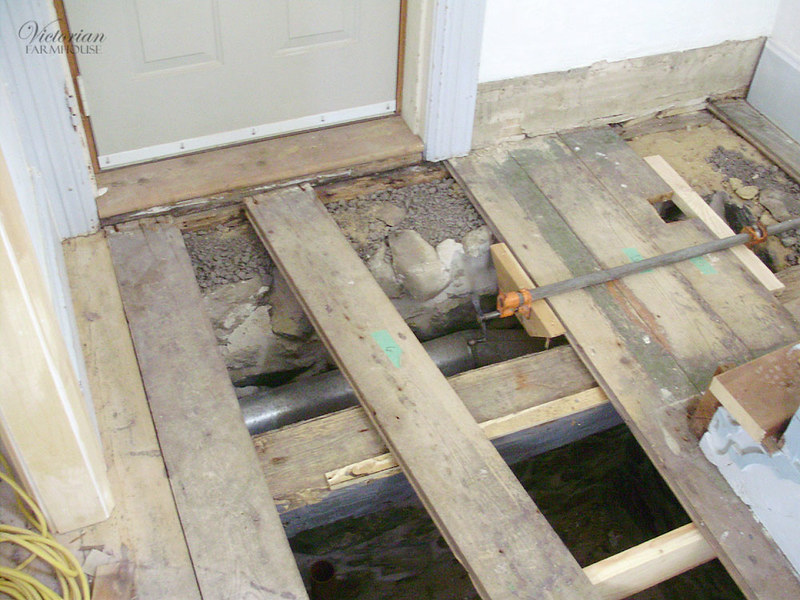
JUST this first board was already so much better that it "ate up" about 1/4" of floor space. This meant that the metal of the duct didn't fit anymore and I had to re-trim the hole! CRAZY!
P8270057

P8270058

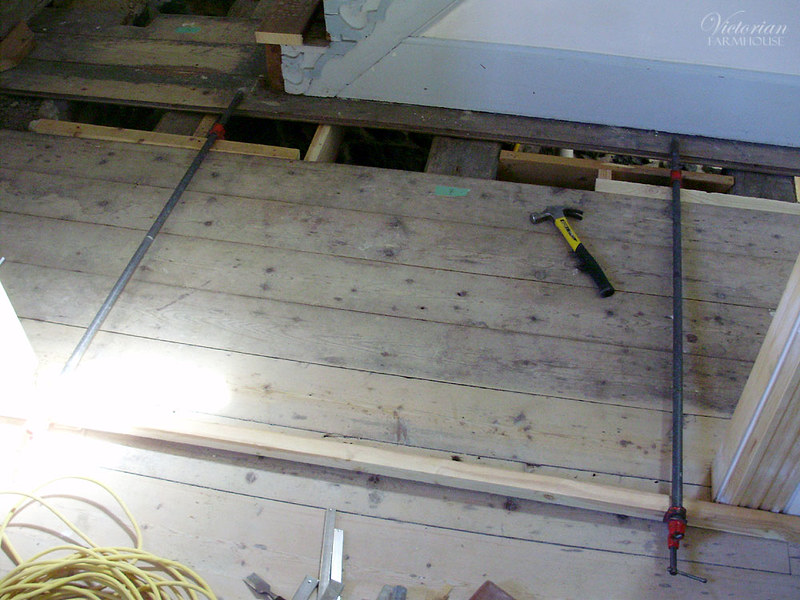
This floor went in place SO MUCH easier than in the office, because we didn't have that insane idiot plane all the boards (I don't even want to get into it but you can read allllll about it in the office flooring posts). I used a large board across the archway to clamp and pull the boards tight. Pipe clamps are essential for this. You might not think you need them, but some of these needed hundreds, if not thousands of pounds of torque to hold them exactly where they needed to go.
P8270059

Nice tight seams:

P8270061

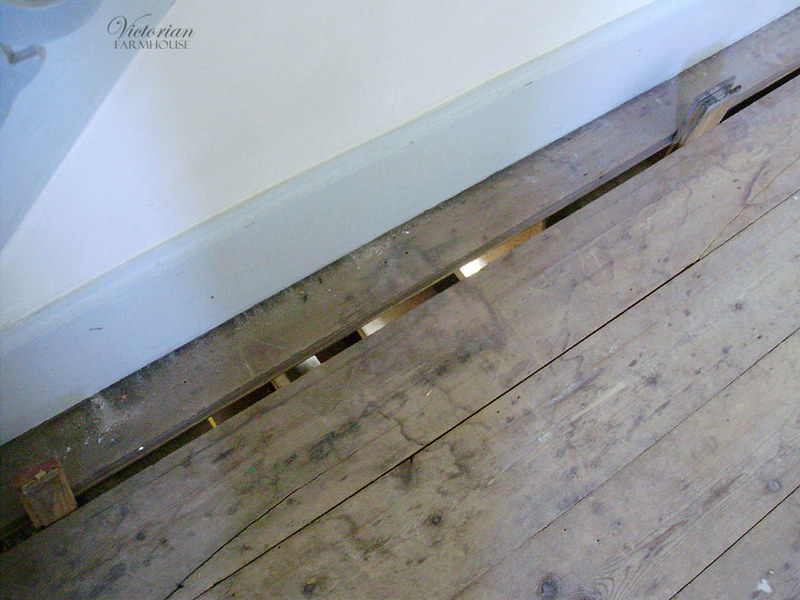
So here's how much gaps we took-up by reinstalling the floor. Maybe about an inch in just the width of a hallway.
P8270062

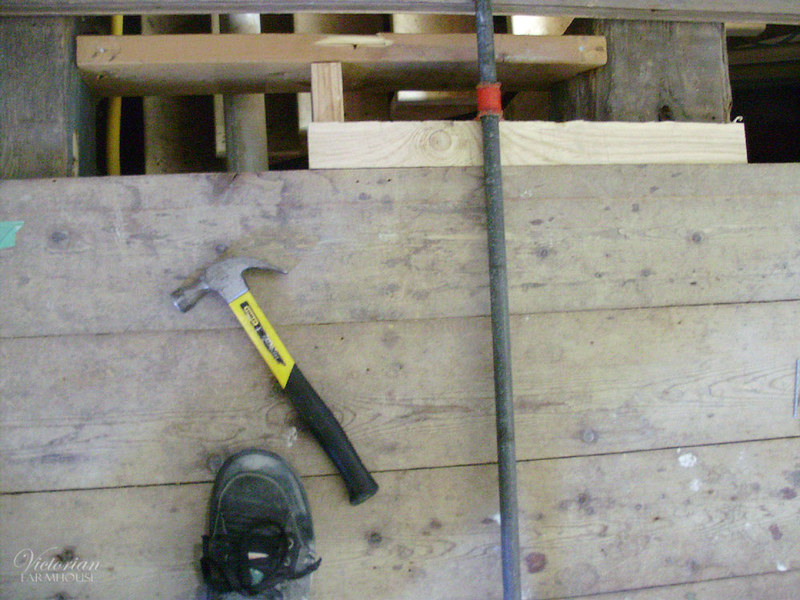
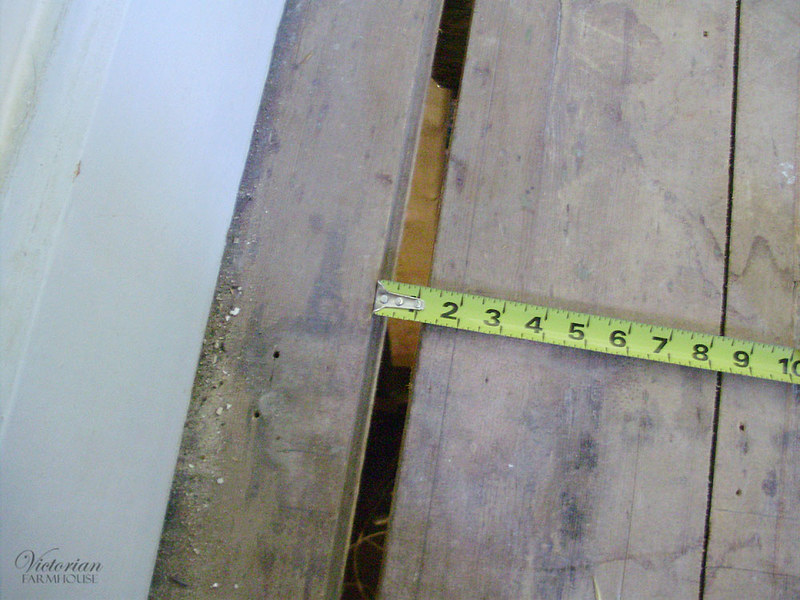
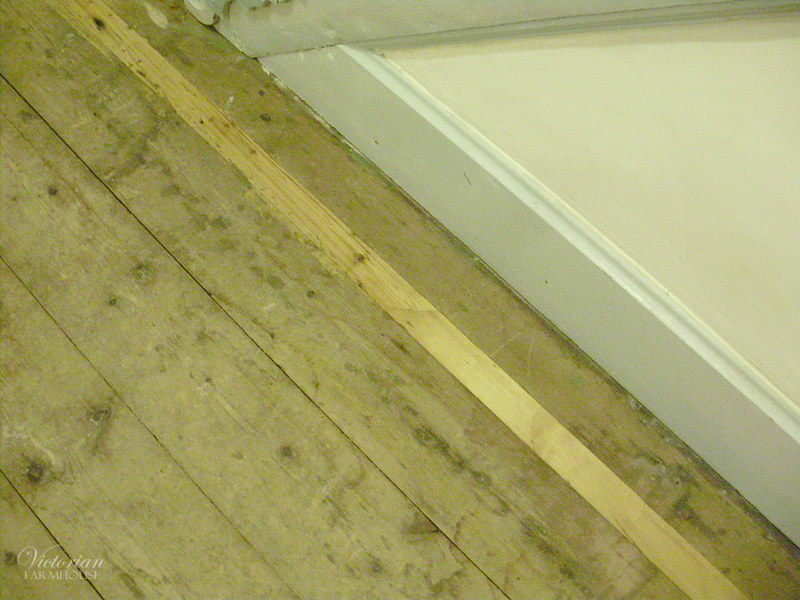
Obviously we need to patch this with something, and luckily we had spare wood from the office (the last two boards that were against the far wall). HOWEVER, because everything is kind of randomly tight and loose and nailed in place, the entire gap varied in width. How to fix this? Easy. Since I'll be gluing fresh wood to widen the existing board, it will need a fresh square edge. All I had to do was cut a 2" wide tracing block, and follow the edge of the staircase board to transfer a line. The new line will not be straight, but the new "patching wood" will be a perfect 2" and I can cut that on the table saw. This is essentially more scribing, which is used often in cabinetry and installation jobs.
P8270064

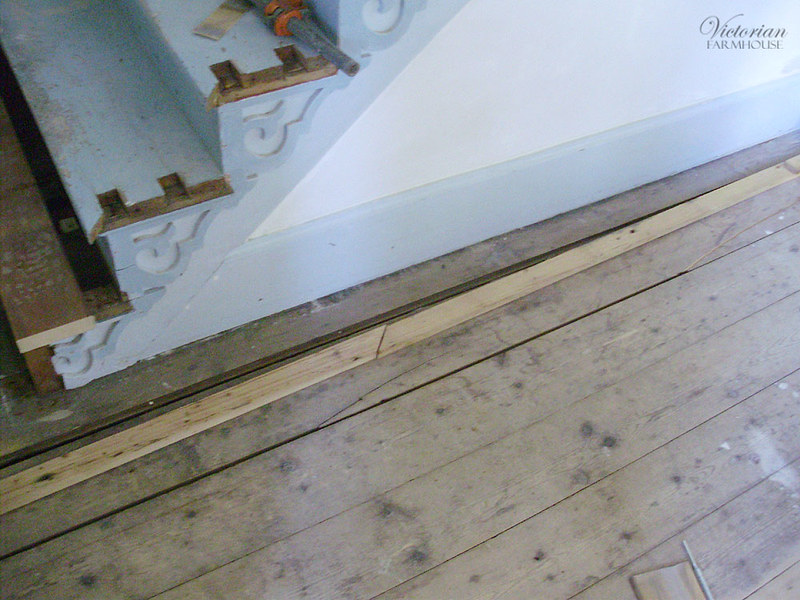
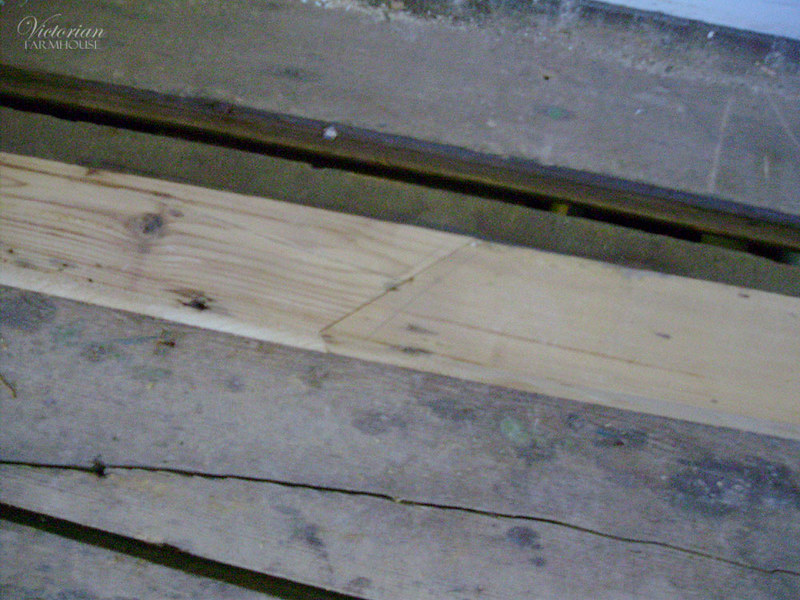
The old board was cut on the line, the salvaged wood was trimmed to 2" and it was glued onto the floor board. Easier said than done, especially with limited tools, and not enough clamps, but it worked out. Since I had 2 boards, I used a mitred cut to join the three pieces together (see photos).
P8270066

P8270070

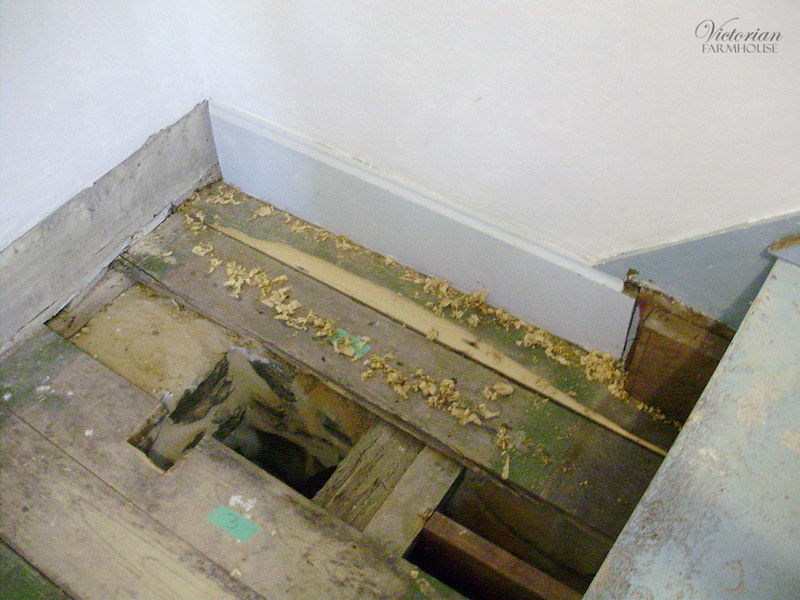
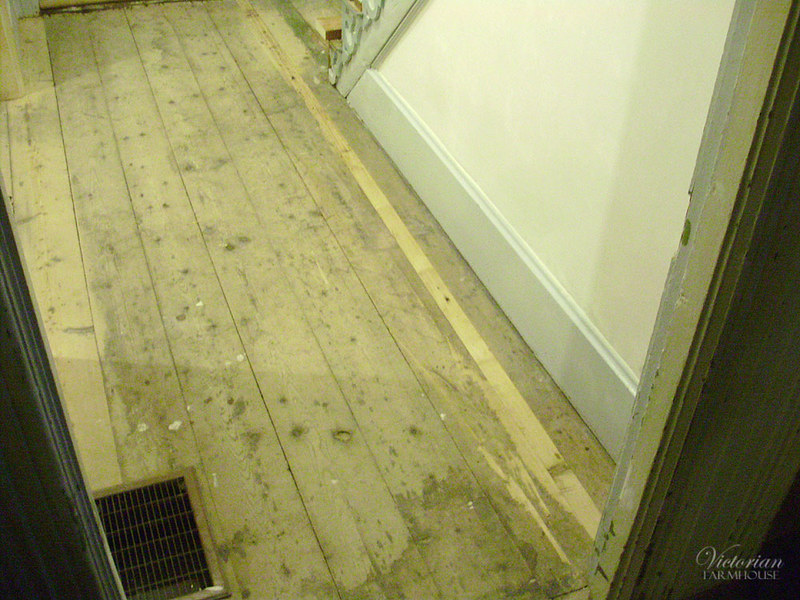
The last board at the bottom of the stairs would also need to be widened in the same way. It looks like a short piece, but the board extends a few feet under the stairs. A very high spot on the edge was hand-planed to help the floor guys a bit.
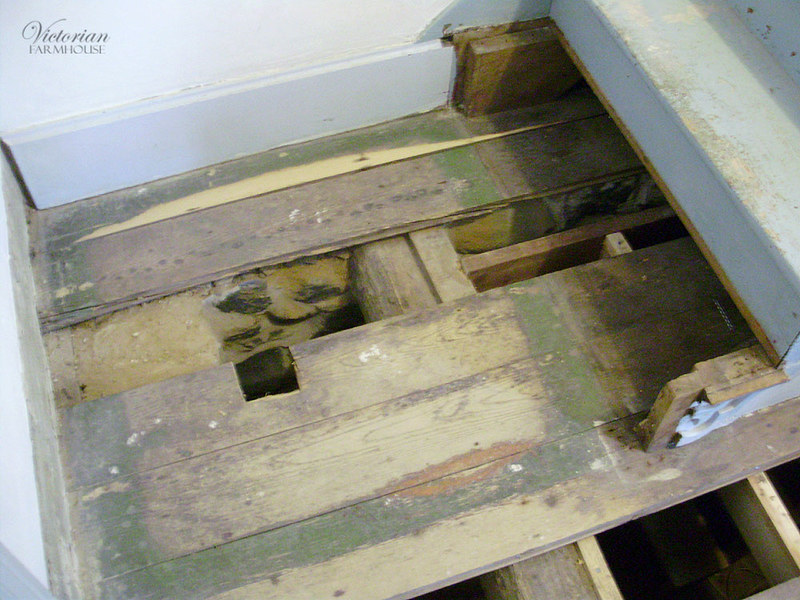
P8280071

P8280073

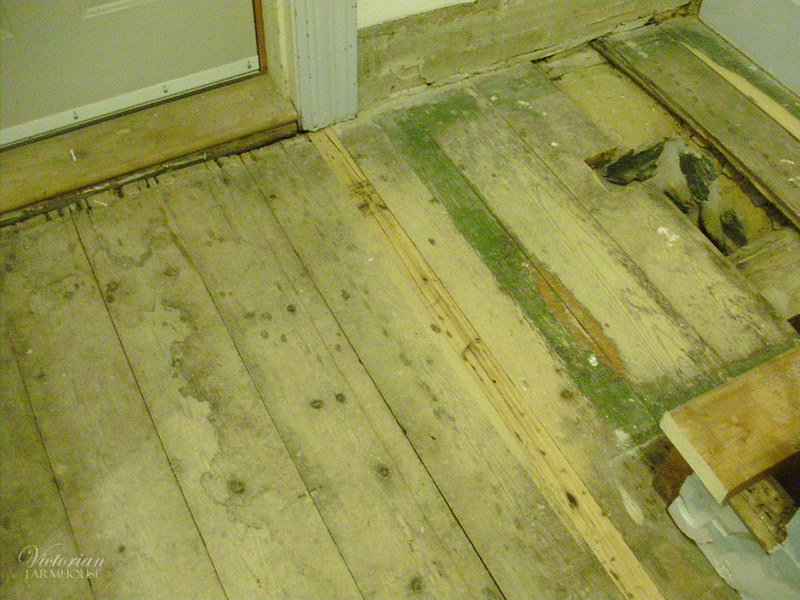
The finished board was then grooved on the staircase side to go over the tongue, and it was a nice TIGHT fit. We had trouble getting it in place, and I had to take a few shavings off from it in one or two spots, but in the end, it fit beautifully.
P8280075

Here's the joint. In an ideal world I would have had enough old wood to salvage, but these were the only pieces I had.
P8280077

P8280078

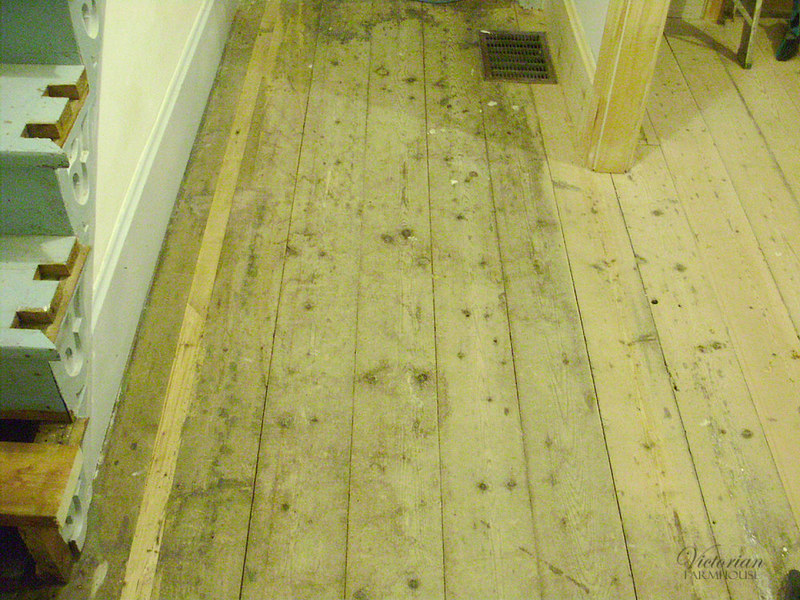
The last board was still being glued up. This was the end of the day (poor evening lighting).
P8280079

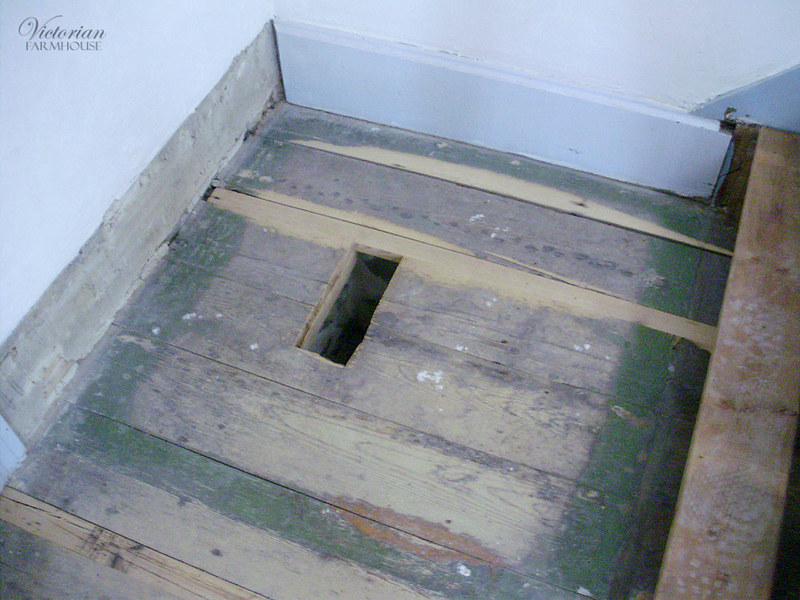
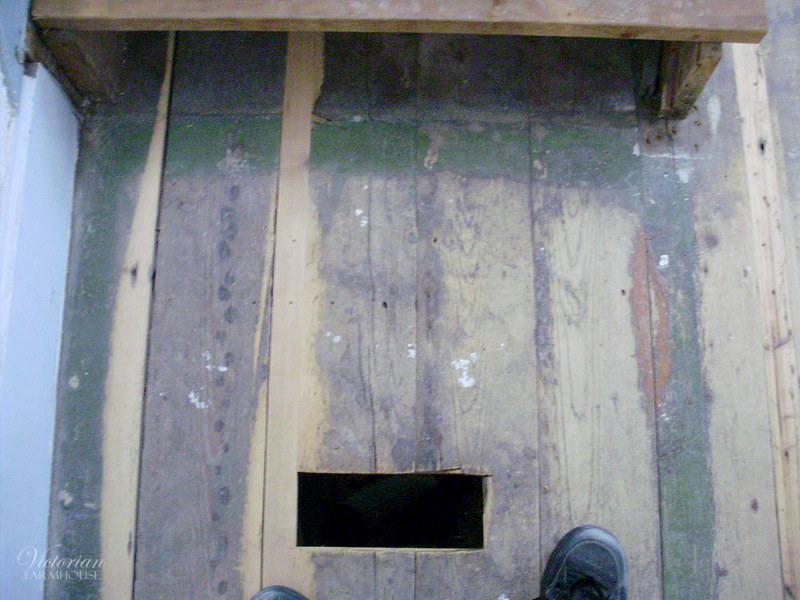
Next day with the last piece installed. Under the vent, I also installed two cross-braces perpendicular to the boards to lock everything together. You can see a bit of one peeking through the hole. These extend across 3 boards (tight against the stone on one side).
P8280084

P8280086

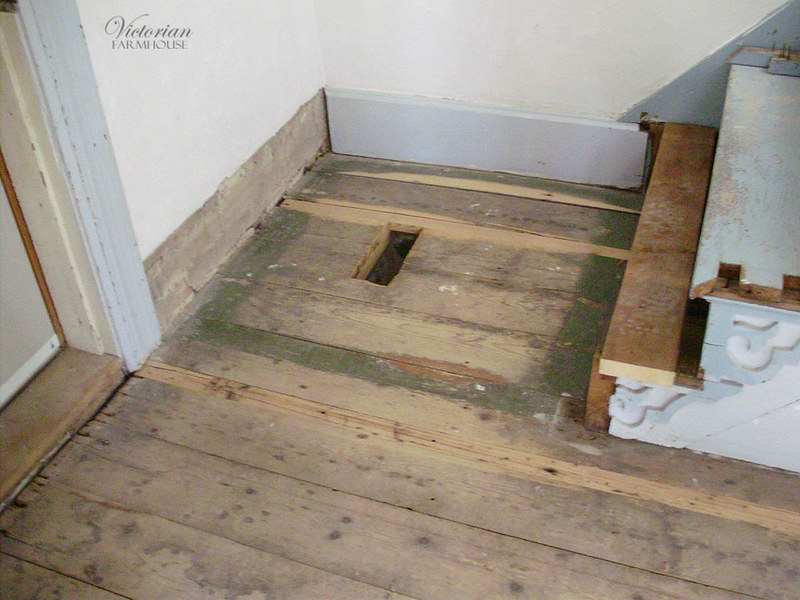
There's still a TINY bit of a wave, but it's infinitely better than it was.
P8280087

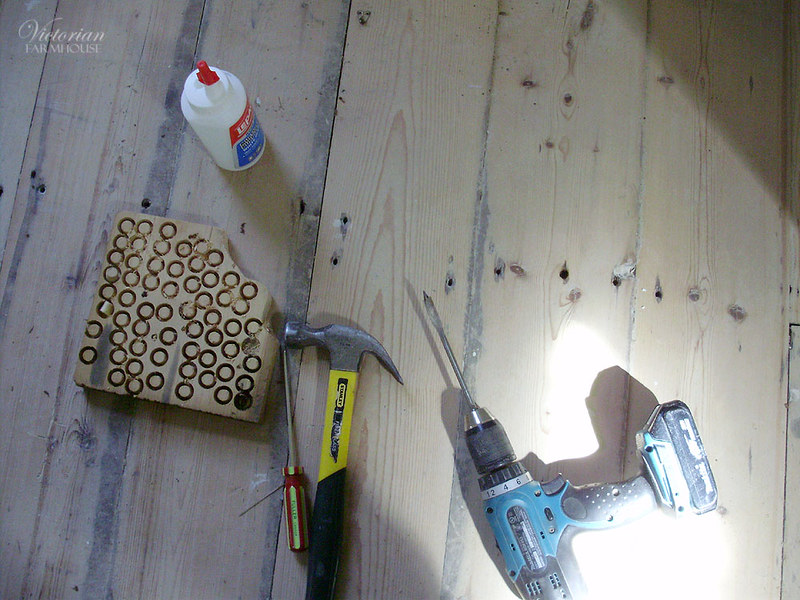
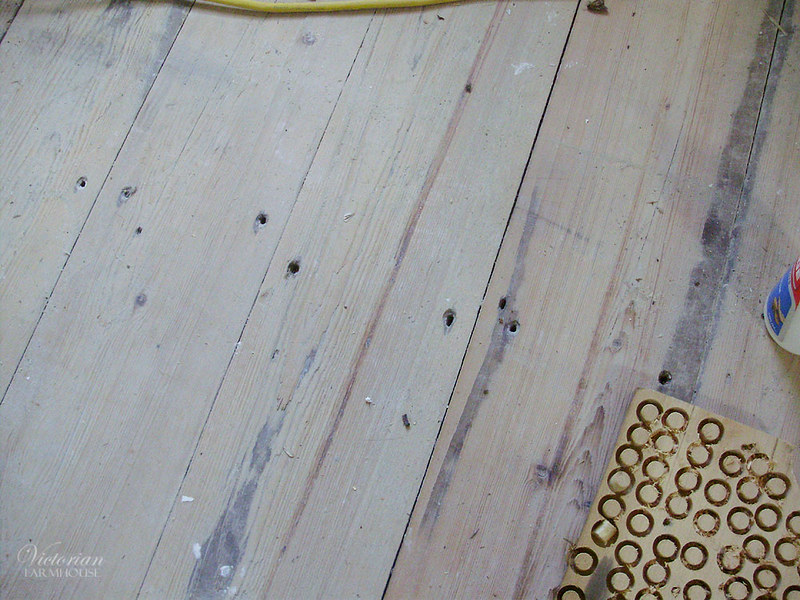
I made a whole bunch of plugs in cedar to patch all the giant nail holes. These were mostly only along the last beam in the office.
P8280089

P8280090

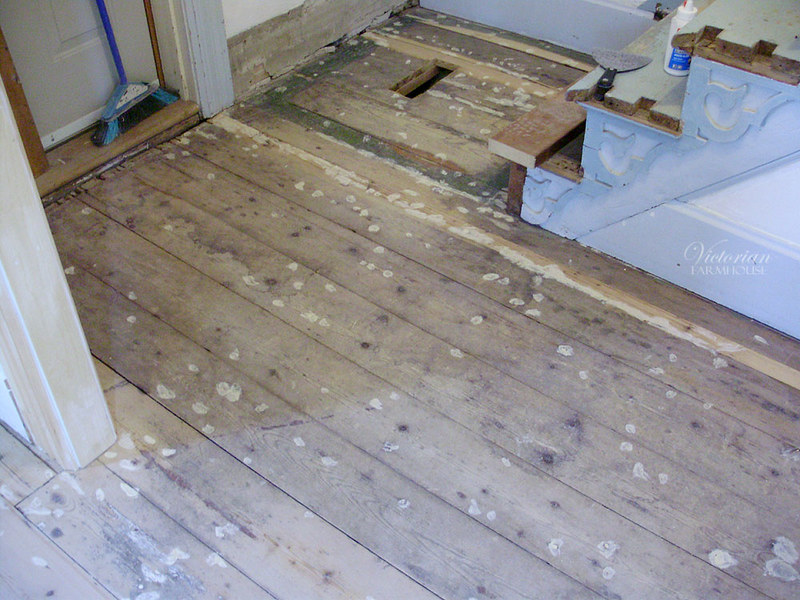
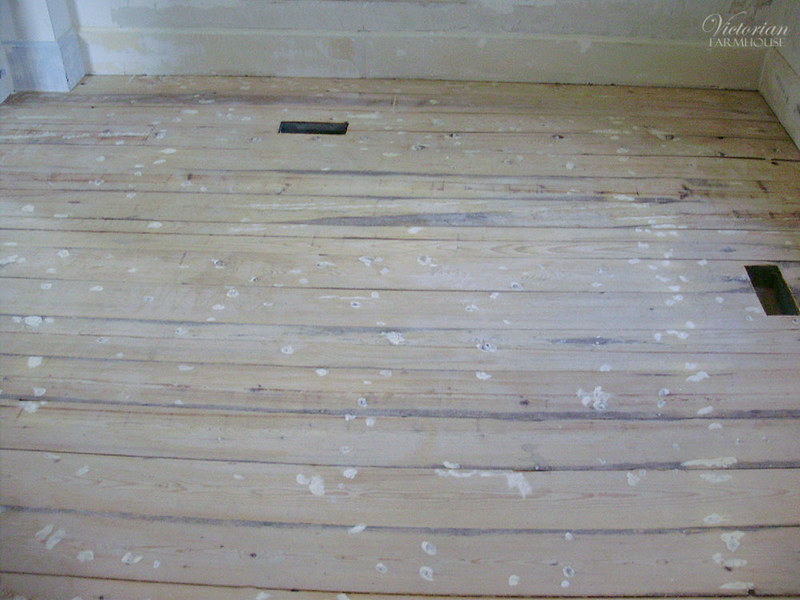
We puttied all the nail holes we could find. 90% of these will be completely sanded out, but a few will show. I also filled 2 other knot holes, and the old electrical hole in the archway.
P8280091

P8280092

P8290094

P8290097

You will gag when you see how gorgeous the old floors turned out!

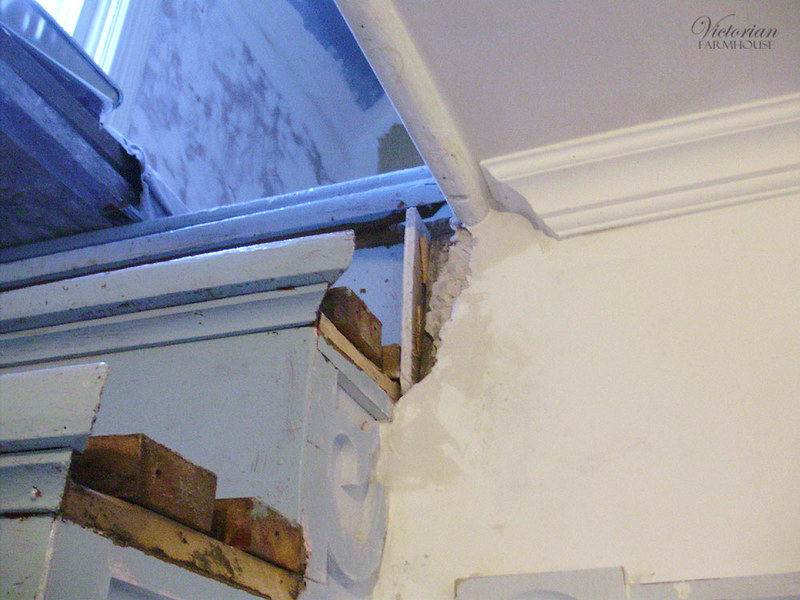
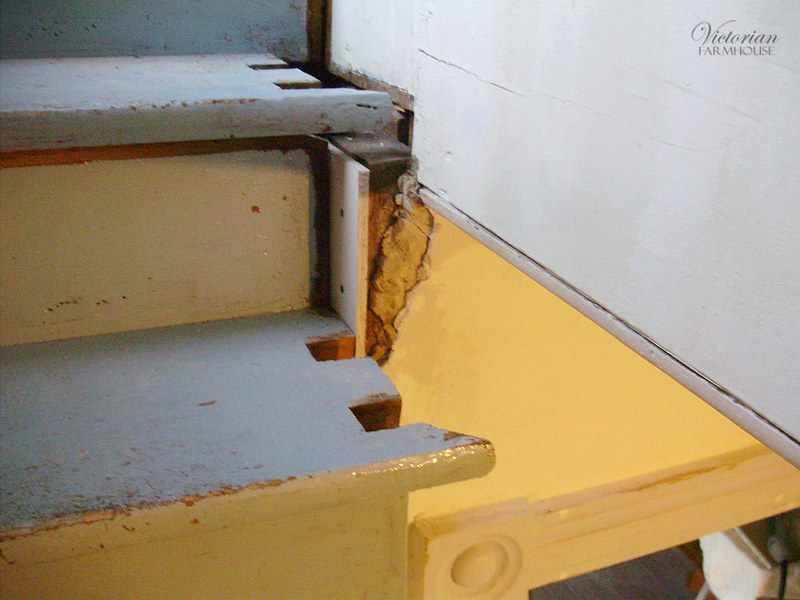
The last little bit of work we did which is related was fixing up this corner. Sadly I don't remember if I had a proper before photo, but this corner has a spindle mostly in front of it, and there were bits of plywood and moulding boxed around the corner to hide some damage or poor joints.
P8290098

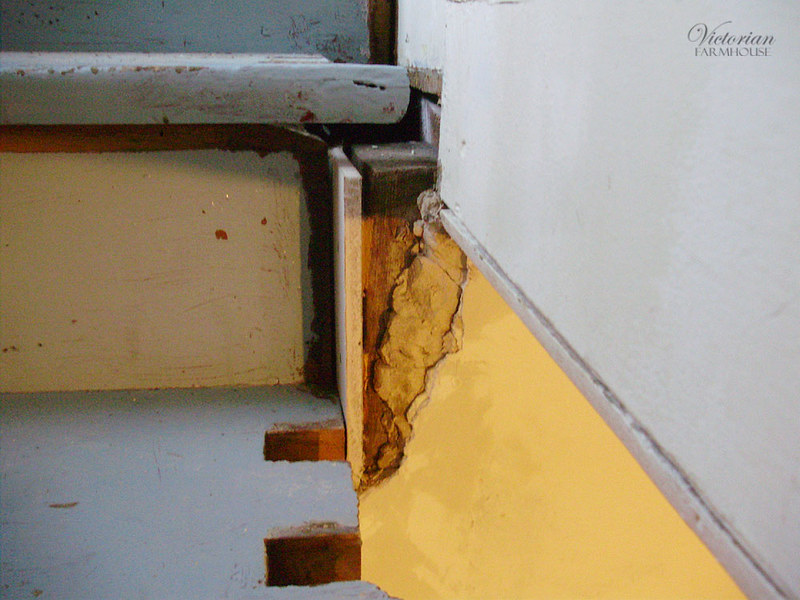
You can sort of see how close that spindle needs to slide in to fit. We patched this with drywall to make a nice corner again. If I have to, I'll trim part of the dovetail to fit that one spindle.
P8290099

This will be filled with compound, and a paper corner joint. On top I'll install a small wooden cap, since it extends past the step (otherwise we could just box it in).
P8290100