Showing posts with label Flooring. Show all posts

Saturday, June 15, 2019

Floors Update

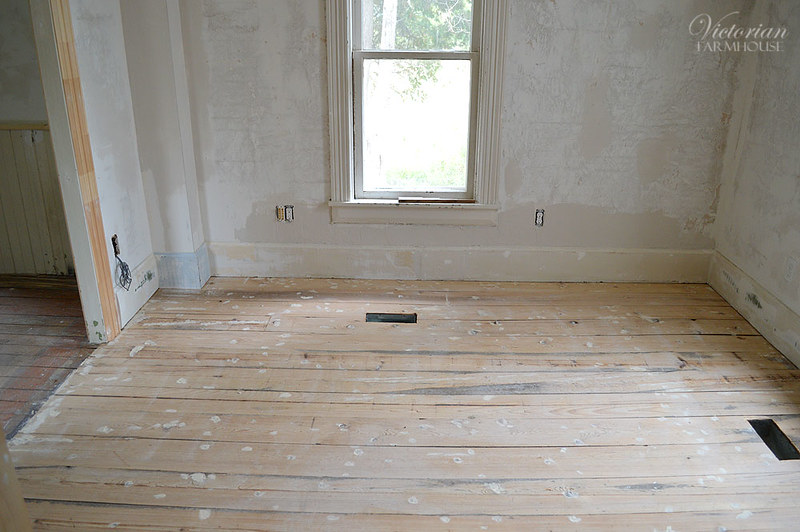
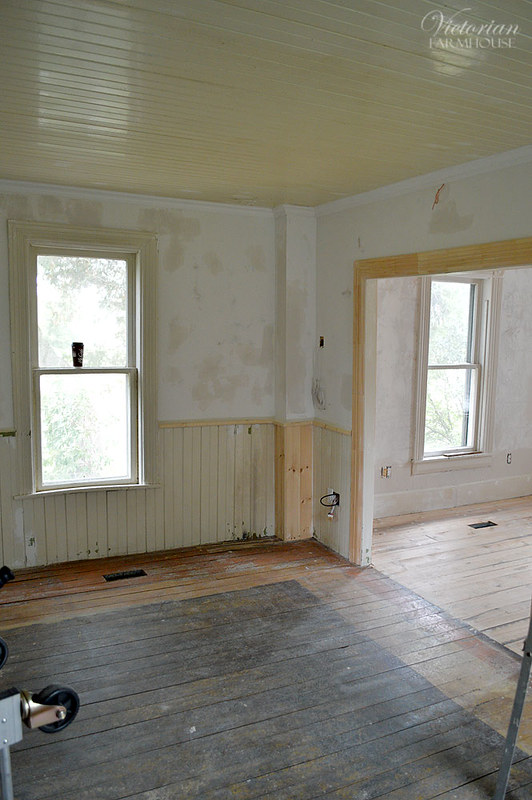
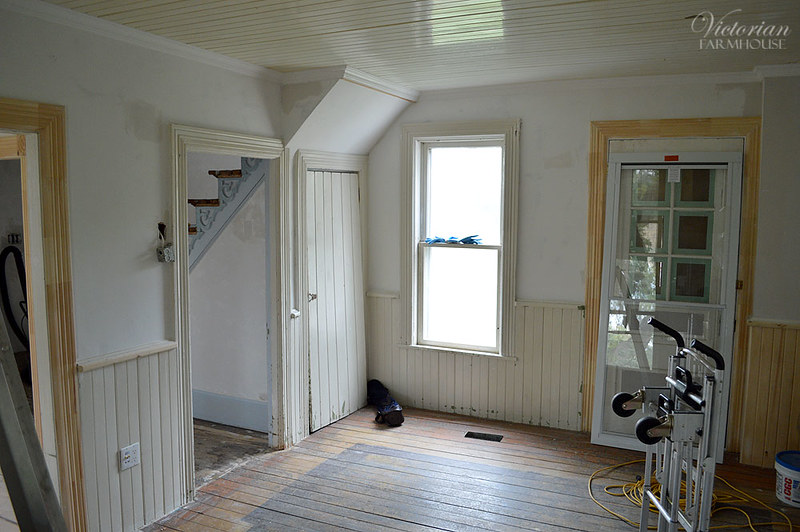
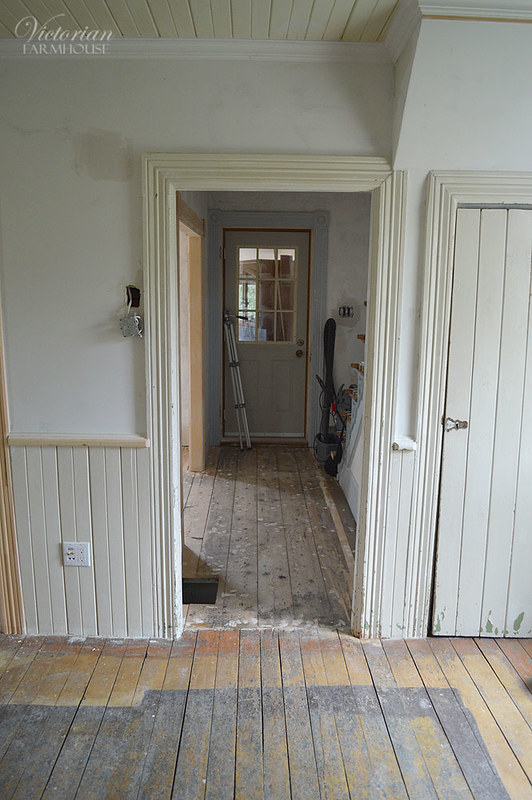
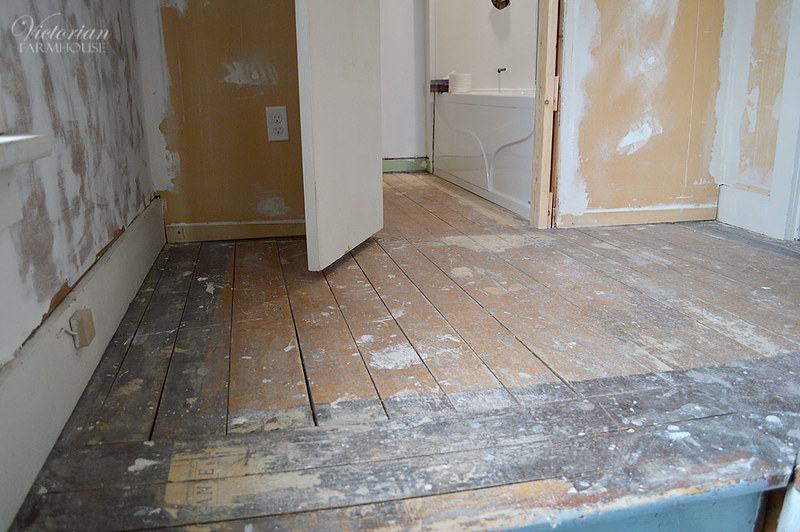
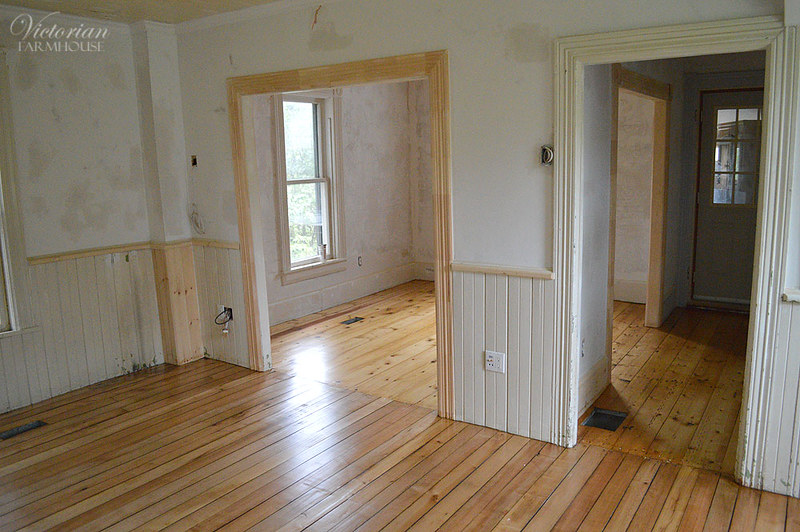
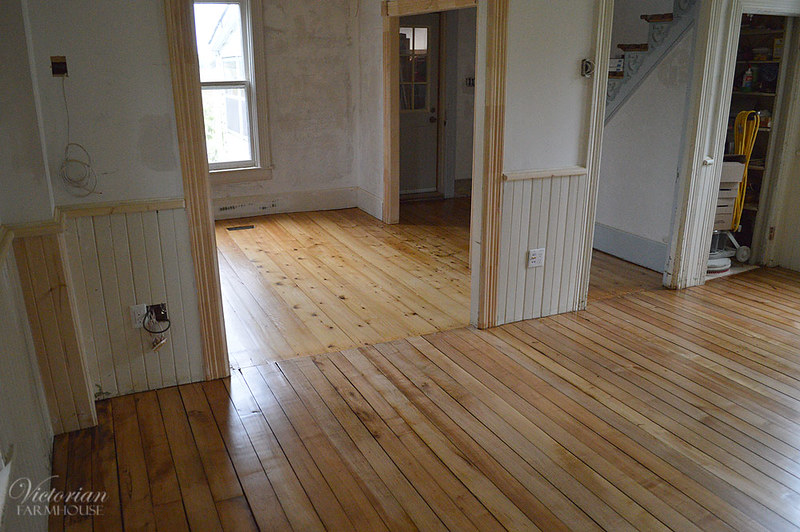
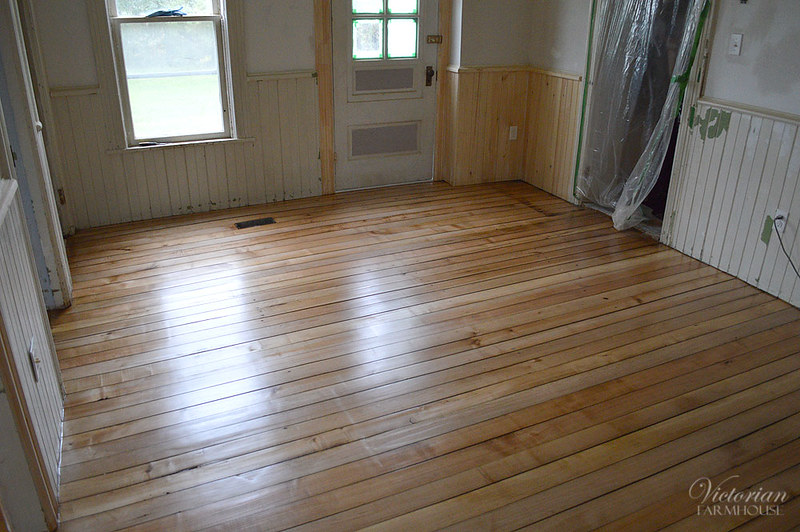
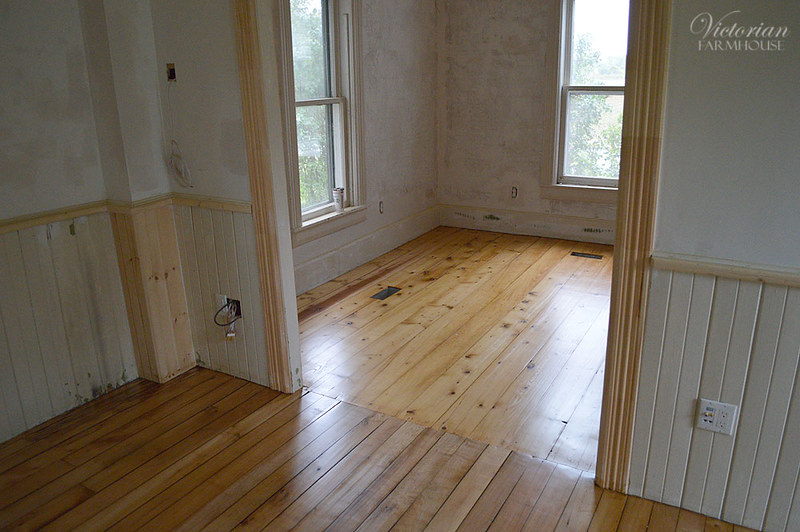
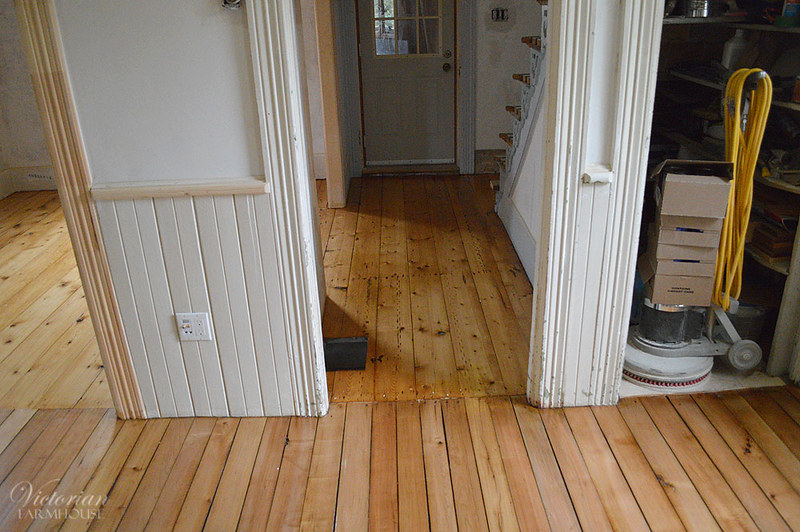
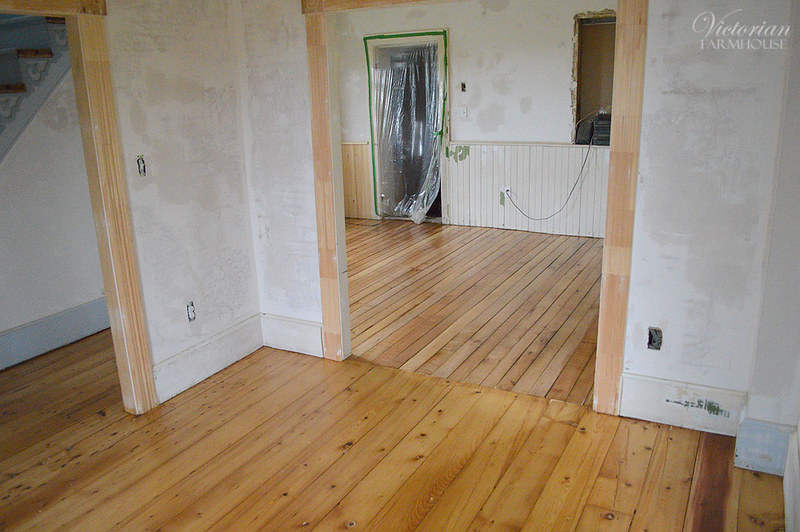
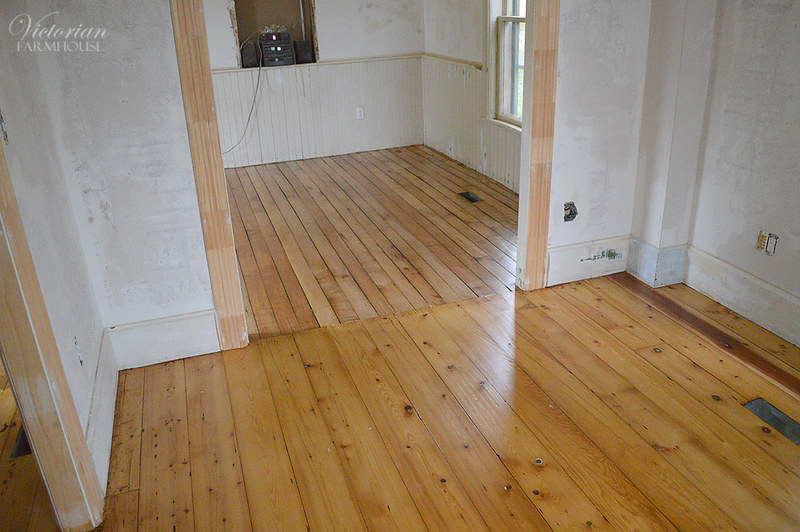
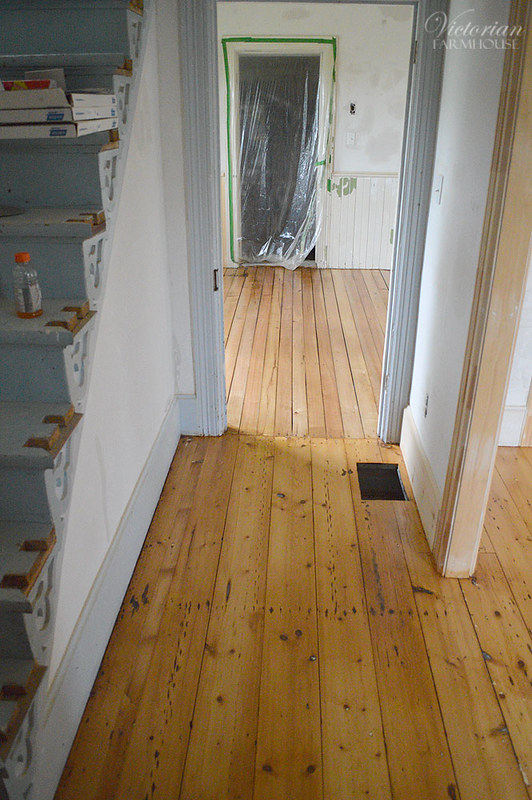
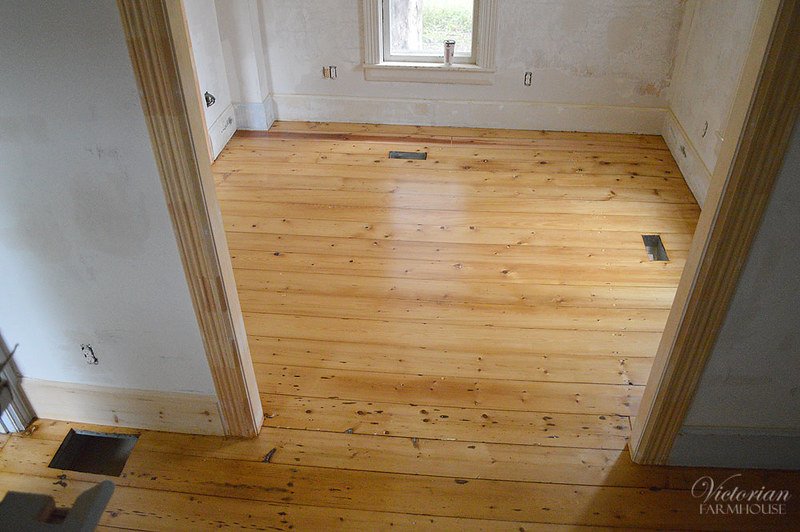
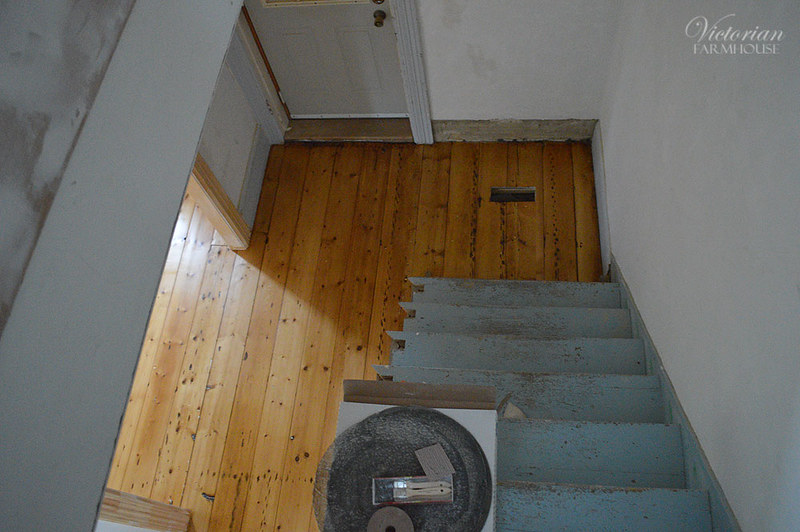
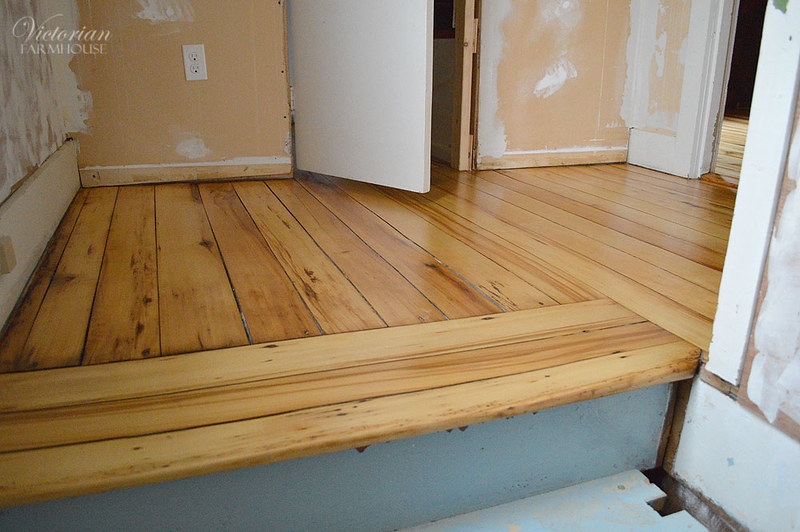
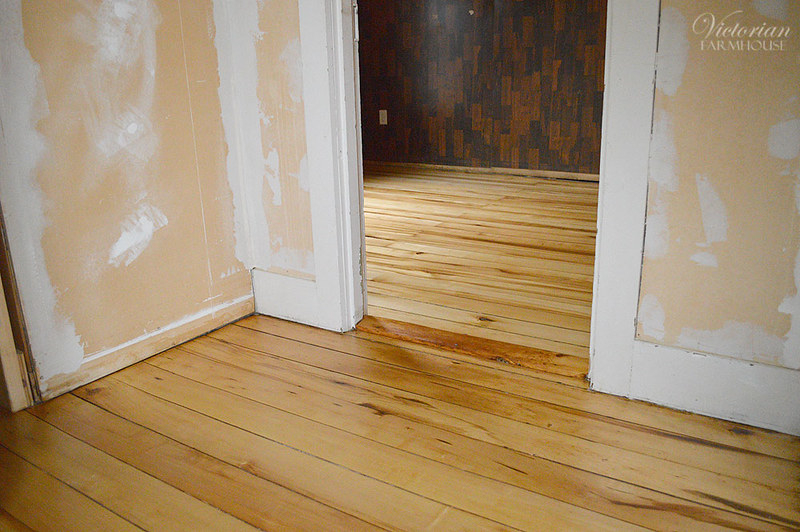
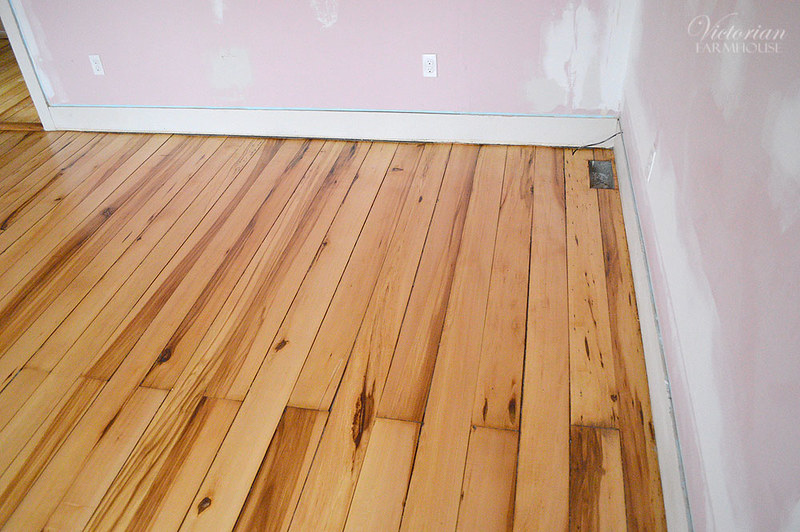
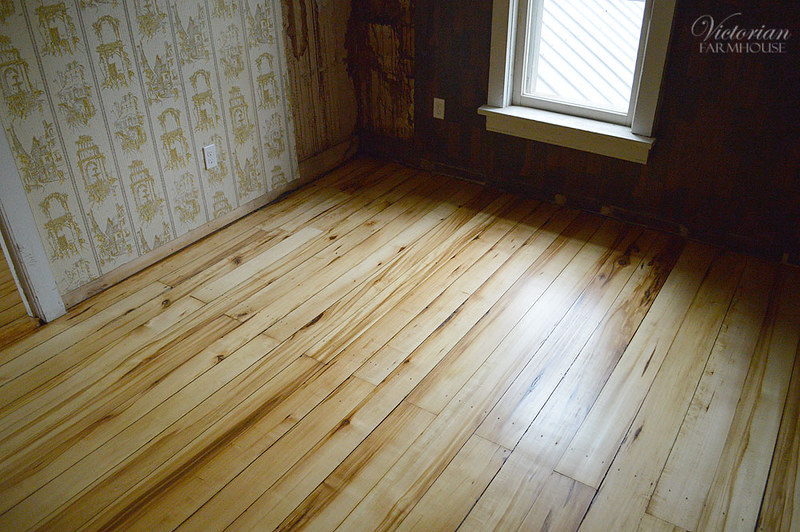
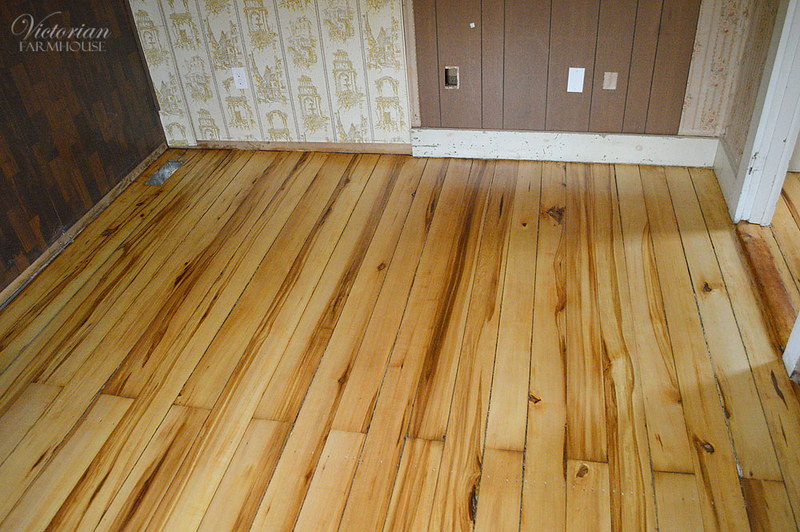
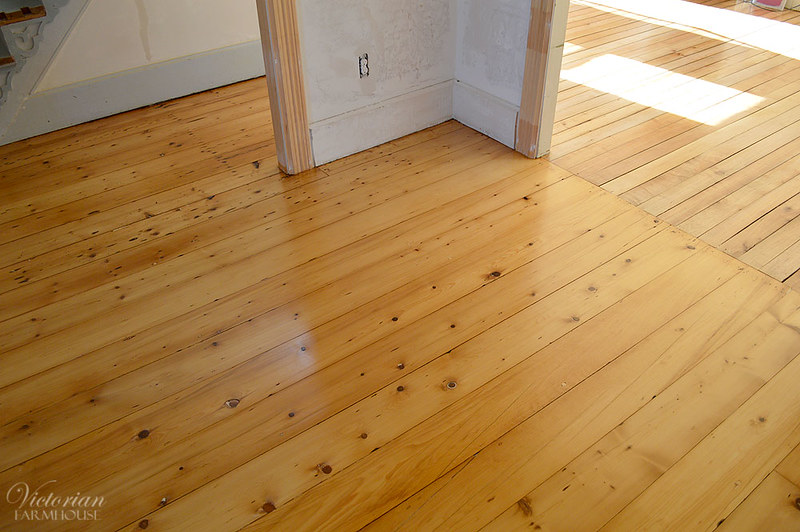
Alright, so there's been some major progress on the house this past week. All of the floors are sanded, and the 3 main rooms (all of the OLD floor) is done, which was 4 coats of varnish total. The floors went from a delightful sanded "blond" wood colour to a surprisingly deep/rich cherry colour. Some spots with damage have blotches which appear almost black, while some of the boards near the edges of the room, or which stayed for a very long period of time under furniture are more of a light yellow to light orange colour. At minimum I'd say that there are about 6 colours within the floor. The heavily traveled areas are more or less dark pinkish orange. All of this with just a simple clear coat (or 4).

I still haven't figured out what to do regarding photos for this blog. I may just use the default Google Photos "upload" option. Here's a preview that shows you an idea of the "sanded" VS clear coat. The difference in colour is jaw-dropping. EDIT: Actually if this photo works, I may just edit this whole post and add a whole bunch of other photos.

Edit: Okay so I'm not happy with the posted image. For whatever reason, the posted image that's been resized to 800x600 to fit the blog now appears really blurry and grainy. If you click full sized then it looks fine, but I don't understand why it looks so crappy. I'd expect this quality loss if I was trying to increase the image size, not shrink it.
Edit 2: Okay so I had manually resized the image from the default size option, which had not worked properly. Google Images through Blogger gives me unspecified size options. I switched it to "Xtra Large" which turns out to be only 640x480 (WTF?) Past this size is "Original Size" which will be way too large to display properly. I think I will just save my blog images at 800x600 and just have them be posted at "Original Size" to save headaches.

Today I managed to mix a "close enough" colour match, which was a mix of 3 different stains (2 types, 2 brands, 3 colours). I applied it earlier this afternoon and it's now drying. It's by far not a perfect match, but since the old floor has such a huge variety of colours in it, it should look fine. This colour will be on the main hallway and the staircase (treads and risers).

So now I'm letting that dry, and I will see if I can put the first coat of varnish on the hallway tonight. I'm so sick of the smell of varnish in the house, you can't even imagine. For most of this past week I've been sanding and varnishing the rooms one at a time. I'd do one before work, come home from work and do a second one. The next day before work I'd do the third room. That night I'd sand and recoat the first room, ad nauseam. I had originally planned to varnish everything in one shot (stain the hallway and varnish everything all together) but when I did a test of the clear coat on a scrap of the old hardwood and saw the colour shift, I knew there would be trouble, so I decided to do all the old floors FIRST, and then do the colour match. I'm really glad I did, because my colour would have been COMPLETELY different.

Oh, speaking of varnish, there was a bit of an issue there. I had been planning for YEARS now to use Spar Varnish (Helmsman) to varnish the floor, since it's beautiful, dries quickly, is waterproof, and has UV protection, BUT, when I actually went and bought the cans, and I was reviewing the label info, it specifically stated: Not recommended for floors. :( So instead I got Minwax Super Fast-Drying Polyurethane for Floors (oil based). It did dry fairly quickly -within 8 hours as stated, and id did sand nicely with just 250 grit paper by hand, so no major complaints. I used the satin sheen, and it truly is a satin, which is nice. I do want some gloss, but not a ton, so it's perfect. If I had one small gripe, it's that it didn't quite smooth-out and flow as nicely as some other varnishes. I did the entire floor by hand with a 4" brush, BTW.

So once the hallway is done (which will take several more days), then all the hardwood flooring will be done. At that point I can install and paint all the baseboards, and touch-up the office and living room (they are already painted, just not at the bottom), and then I can ALSO paint the front hall (blue), and the dining room, which I've decided will go the same light grey as the stairwell. This will mean that pretty much ALL of the main rooms in the house will be done except for the kitchen, and the upstairs spare room!

Stay tuned!

Tuesday, May 23, 2017

Patching a Friend's Floor

So my friend Devin decided recently to rip-up the carpeting in his living room. He knew there was hardwood under the carpet, and it was one of those "we'll eventually fix it" projects, but since he has a baby on the way, he's decided to tackle a bunch of projects NOW.

So he sent me a message a few days ago with a few photos and asked me if I could give him a hand.

18553863_10158703562585188_1907995575_o

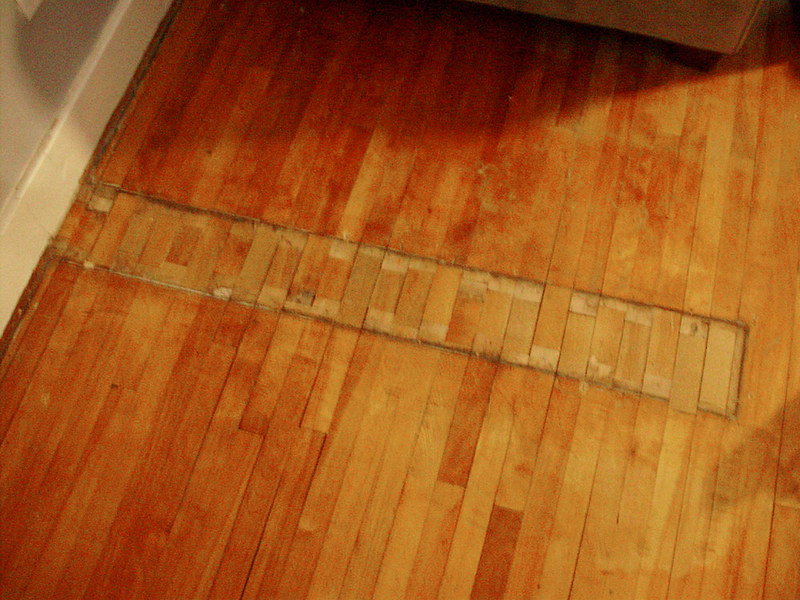
Since this used to be two rooms, there was part of a wall that had been poorly patched up. Originally Devin just wanted to fit some boards in there across the grain, but I told him that would look like crap, and that we could probably steal some flooring from one of the closets and just patch it in.

When I got there on Saturday afternoon however, the entire household was in a panic because there was a pipe that had burst in the basement. He and his parents were in the basement most of the day cleaning up and inspecting the damages. Luckily the pipe hadn't leaked for very long.

As this was going on, I made the discovery that our plan was NOT going to work.

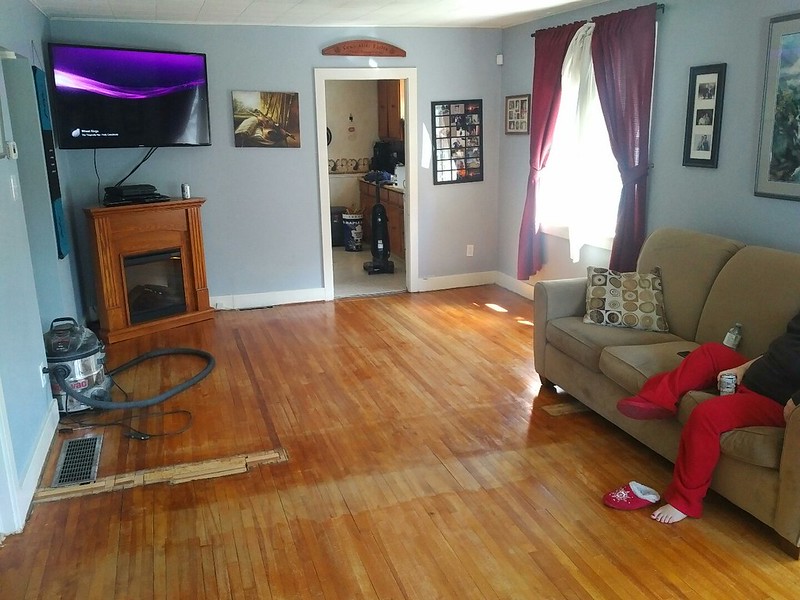
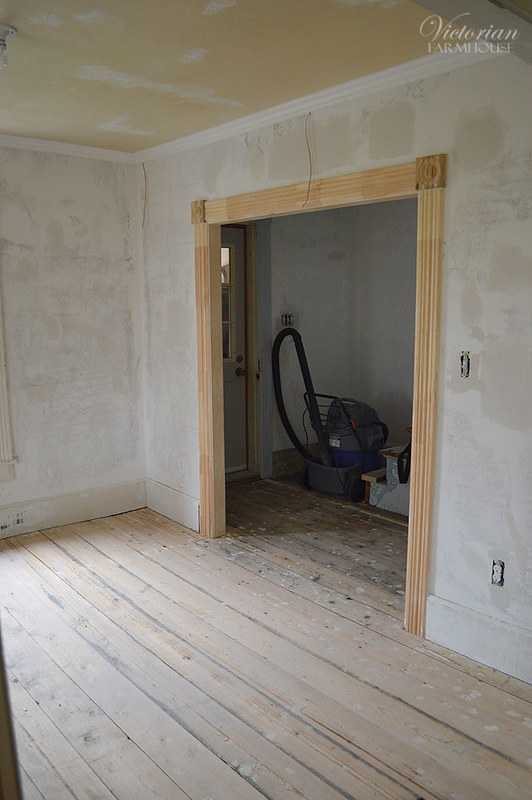
If you look at the photo above, the shop vac is in a tiny hallway that leads to the bathroom, with one bedroom on the side, and one small closet in the hallway. To the front lower left of the photo is another bedroom (with a closet that buts up to the one in the hallway). When I checked the closet flooring in the hallway, I found that it was 2 1/4" wide birch boards, which are a half inch too wide (the flooring in the living room is 1 3/4" birch). Same in the two bedrooms and all 3 closets. Because of this, I made the executive decision to pry up a small amount of flooring from in front of the bathroom door (the span of the hallway). I made a quick calculation with Gen (who was taking it easy on the sofa - because she's pregnant) that the patching I'd need to do would only require about 7 floor boards from the hallway (which works out to about a 1 foot section of flooring. We could install new wood here, and it would be much less noticeable than in the middle of the floor in the living room.

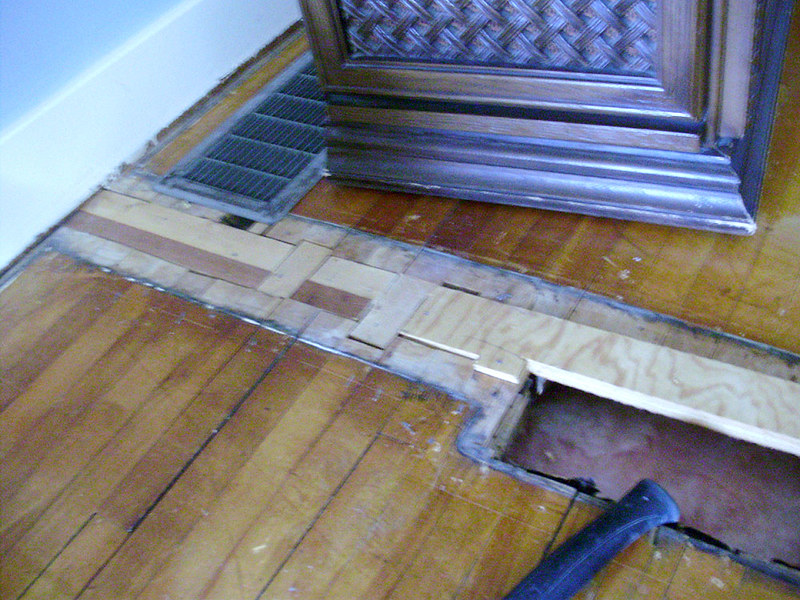
With this decided, I spent probably an hour just trying to carefully pry-up that first board or two without breaking too much of anything. A few boards did snap into pieces, but I was able to reglue them at home and use them.

On this side (sorry for the blurry pics, they're all I've got) there was a section of wall as well as a heating grate hole (plus the cold air return near the wall).

P5100001

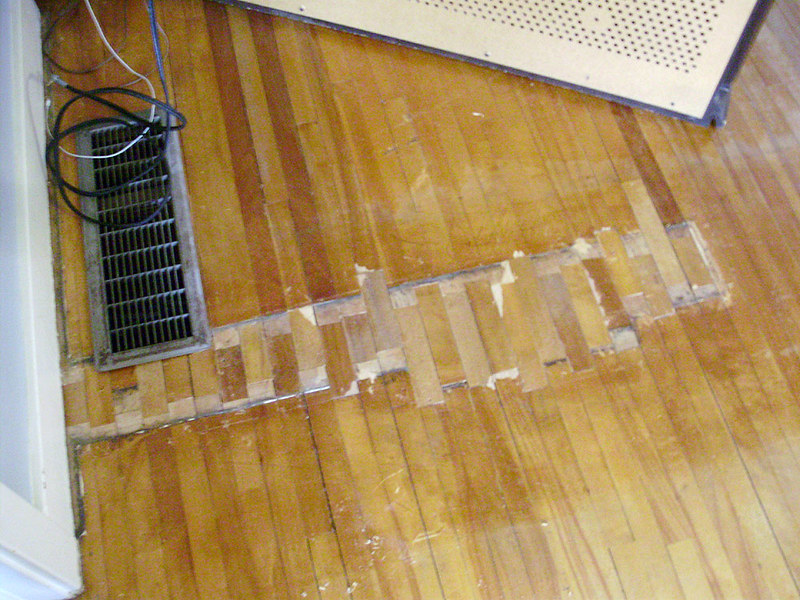
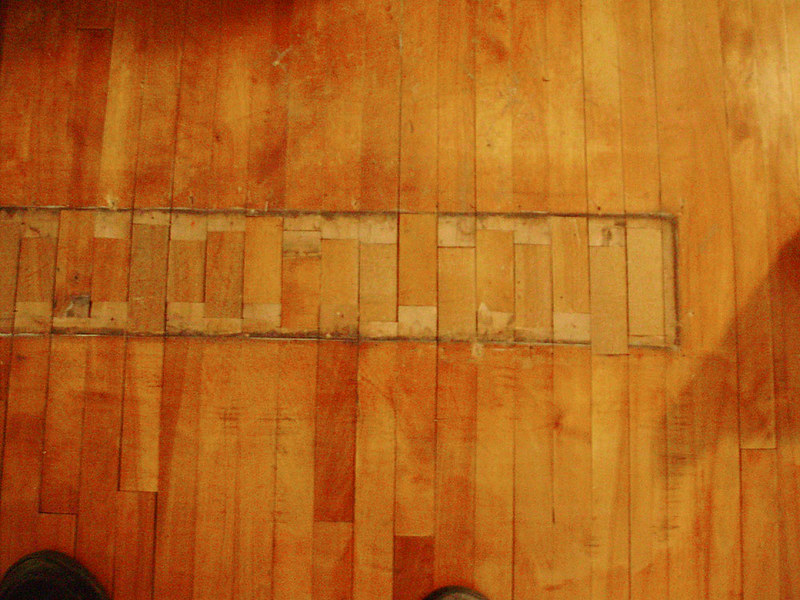
I started with this section. All the boards had to be cut to make a random staggered pattern. Once the boards were trimmed (using a multi-tool with a wood cutting blade), I then carefully cut and installed each section one board at a time. This it tedious since you want a nice tight fit. If it's too tight, you risk chipping or cracking the edges of the boards, and if it's too loose, you get unsightly gaps. I spent about 7 hours on this the first day (Sat), and finished this section and the other side on Sunday.

It looks kind of terrible right now, but once it's all sanded and the odd nail holes are filled, it should all virtually disappear.

P5110012

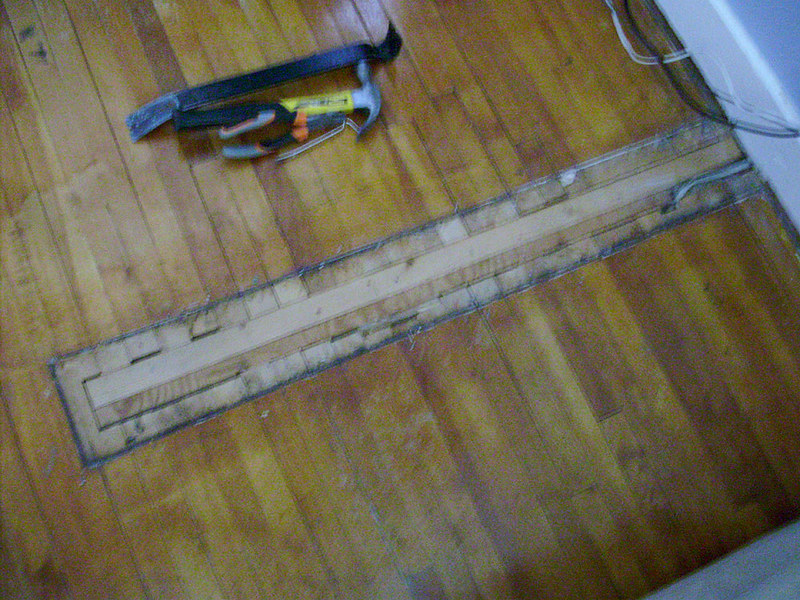
On this side I had to groove into the sub-floor to bury that electrical wire.

P5100002

I think I must have done about another 6-7 hours on Sunday, too. I went in around 11:30 and didn't get back home until supper time. Maybe 5pm or 6pm?

P5110009

P5110010

Overall it turned out pretty good. I did end up running a bit short on wood, and taking up an 8th row, but the overall section to replace will only be about 15" x 38".

The seams in the floor overall are very tight, but I suggested to Devin that he should putty these gaps (there aren't that many). I'll probably give him a hand to sand next weekend.

Tuesday, January 03, 2017

Victorian Farmhouse - Part 22 The Refinished Floors, Before and After!
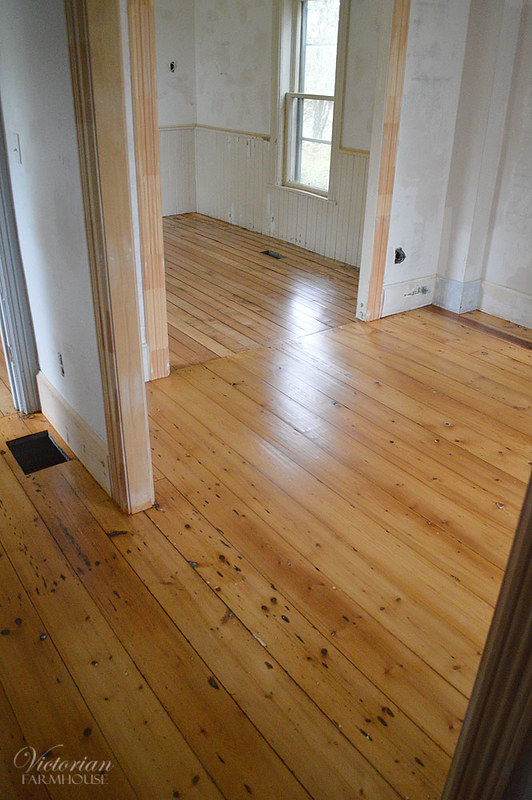
Alright peeps, this is the one you've all been waiting for. 50 glorious before and after photos, courtesy of Pierre (since I wasn't there). Pierre spent some time scraping the gunk out of the floor boards upstairs, emptying out the entire house, and puttying a few additional nail holes, and he took the time to take a whole bunch of before and after photos while the floors were being sanded and refinished over the period of about a few weeks. This was in late summer (before Halloween for sure, but I've lost track of exactly when).

For the most part this will just be a photo post without much dialogue. I may just indicate a few notes as to which rooms are shown, or where large patches were made in the floor, but it's mostly just for the photos.

DSC_3512

DSC_3513

DSC_3515

DSC_3520

DSC_3521

DSC_3522

Not really discussed or photographed earlier, you can see that in the living room only the edges of the floor were painted. There was originally some sort of rug in the centre (for a while at least). This floor had been painted a few times. Yellow, orange, and brown at least.

DSC_3523

DSC_3524

DSC_3525

Upstairs landing and bathroom.

DSC_3527

Spare room.

DSC_3528

Note floor patch.

DSC_3529

DSC_3530

DSC_3531

Note that the closet was removed.

DSC_3532

Master bedroom.

DSC_3533

Note floor patch.

DSC_3535

DSC_3536

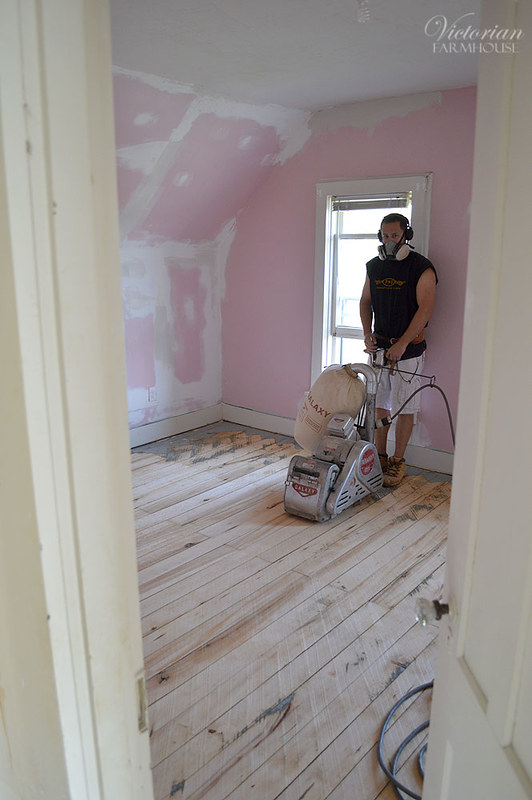
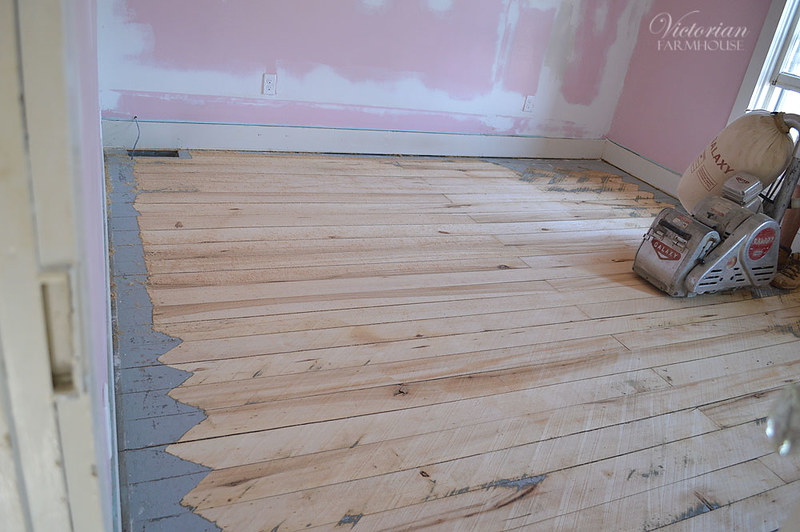
I told Pierre to get a few photos of the floor while they were sanding it. I may have taken one or two of these, since I was there that one day when they started. The guy was only there for a few hours since they were working on a few flooring jobs, apparently. How cool is that old vintage floor sander?!?! It took 2 people to lift it. Edit: apparently the company (Galaxy) still sells this exact same sander, and according to the stats, it weighs about 237 lbs (107.5 KG)!

DSC_3539

DSC_3540

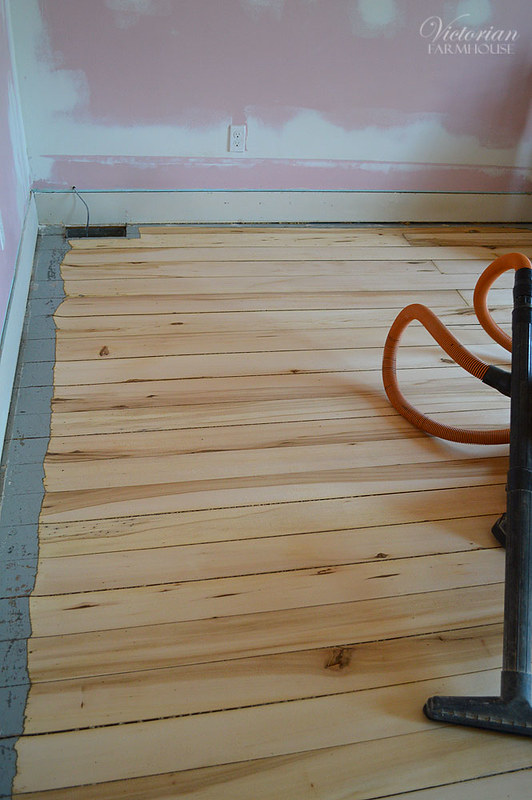
Rough sanding done.

DSC_3541

This is where the patch was installed where there was a huge floor grate hole. How awesome is that! Blends in seamlessly! As it turns out, this floor (upstairs) is Basswood (aka Linden).

DSC_3542

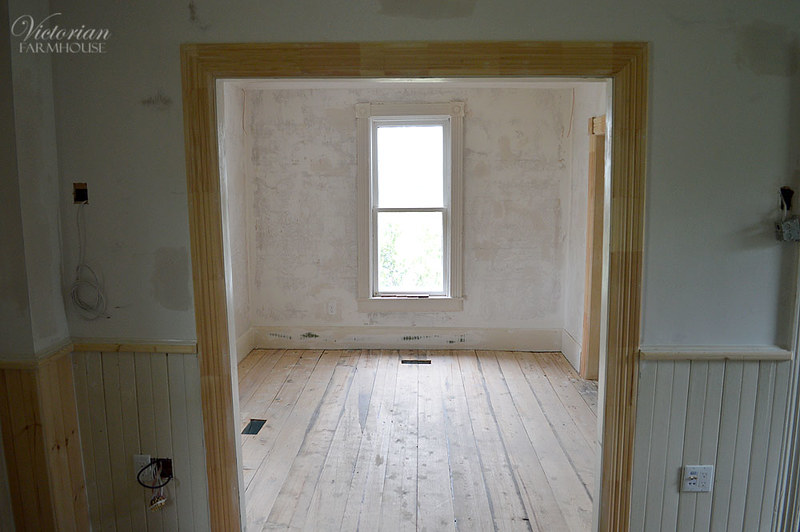
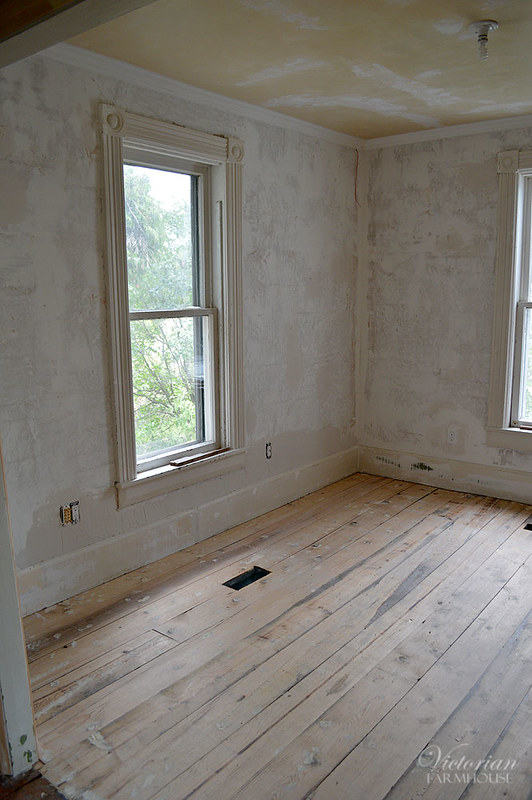
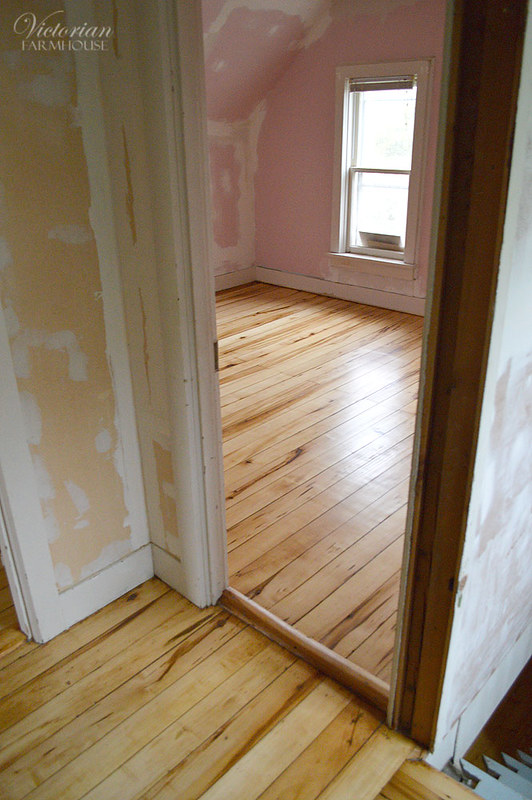
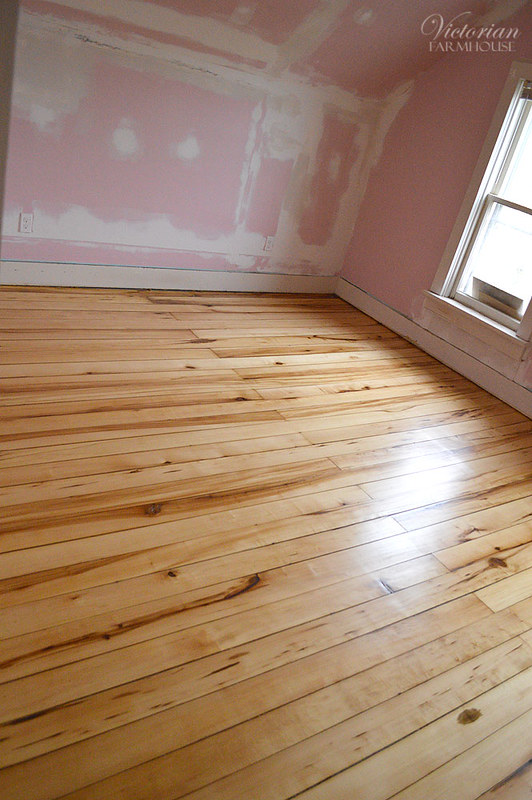
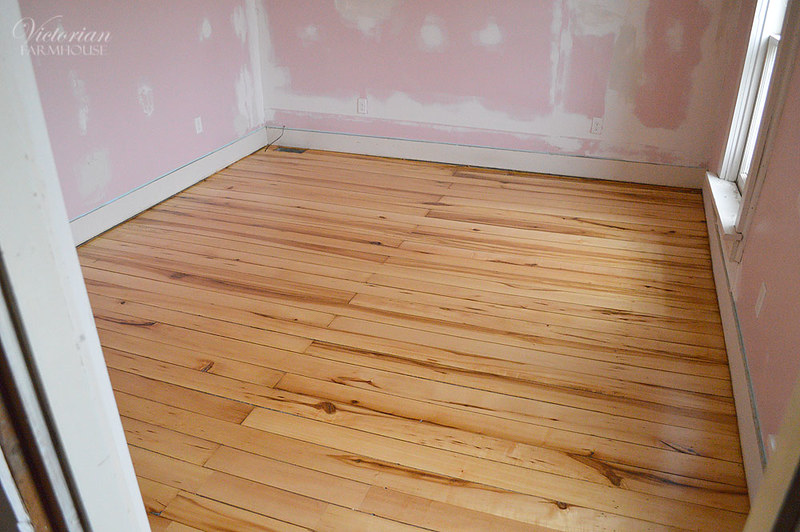
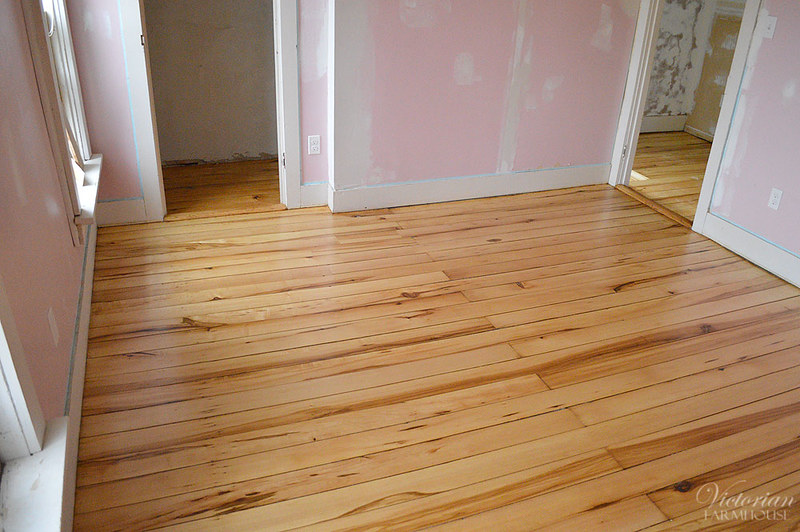
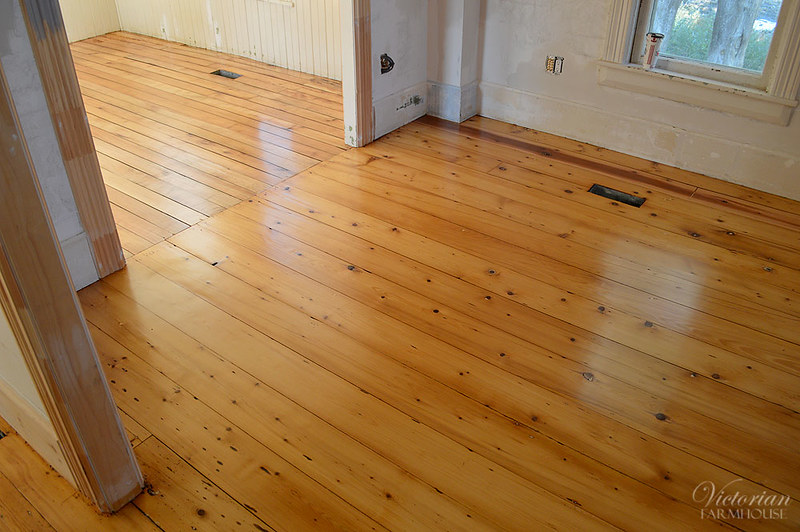
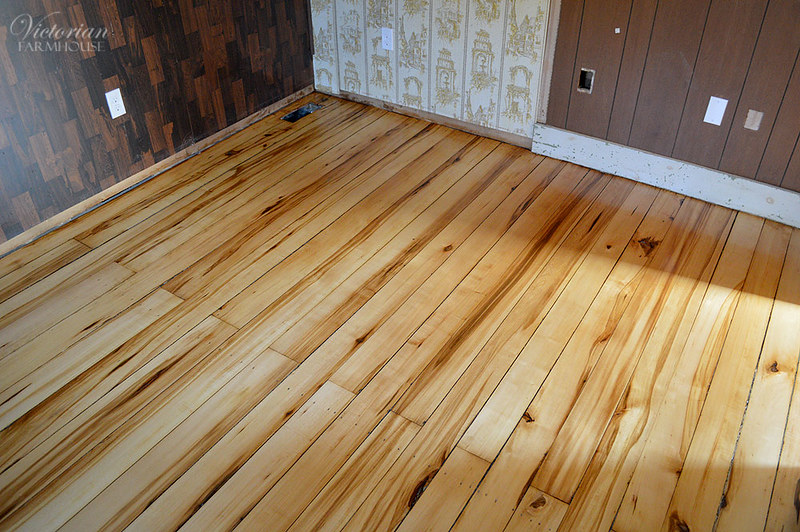
Are you ready??? Here are the finished floors! On the main floor is what looks like Silver Maple (aka Soft Maple - which is not at all "soft" as the name suggests) in a slightly pinkish hue, and cedar on the other half in a slightly more mellw yellow tone (the half we had to rip up and carefully reinstall). Upstairs, as mentioned, is all Basswood.

DSC_3545

DSC_3546

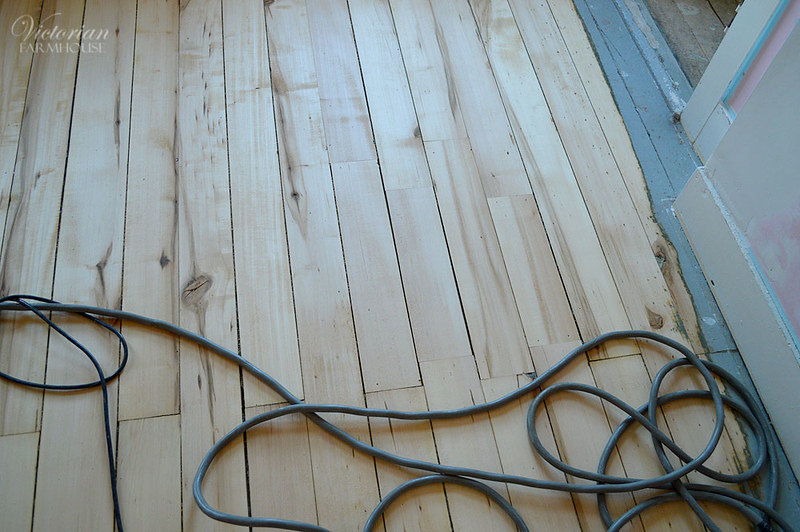
Something you will no longer find in new homes, or at any DIY store are FULL LENGTH floor boards. Most of all these are single boards with no joints (aside from a few rare spots and where we made repairs). This is something I really love about old floors. They don't look like hundreds of little brickwork tiles, which is all you can find these days. All the hardwood floors now only come in lengths of about 4 feet long or shorter. Why? Because they can use crappier wood and cut around all the knots instead of giving you nice long clear boards. It also means that the boards are less likely to warp or twist (which isn't a problem if the wood is seasoned properly).

DSC_3547

DSC_3548

DSC_3549

DSC_3550

DSC_3551

DSC_3552

DSC_3553

DSC_3554

DSC_3555

DSC_3557

I was pleasantly surprised to see that the old paint within the floor gaps doesn't really show up very much. I had seen other refinishing jobs where it was very obvious that the floor "used to be blue, or pink, or whatever".

DSC_3558

Master bedroom.

DSC_3559

DSC_3560

I find it a bit strange how they chose to lay out the floor upstairs. Still long length boards, but they put all the joints along the same stud, which gives the same effect into both main rooms.

DSC_3561

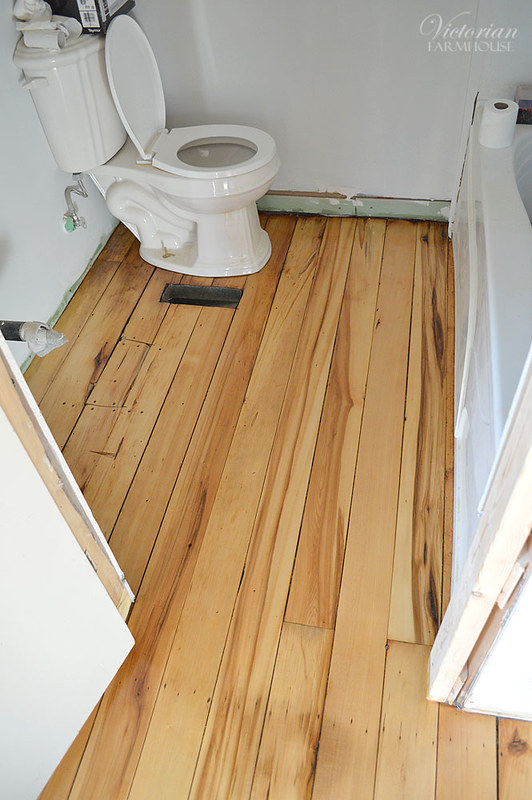
You can just barely tell where the patch was installed. This is why it's so important to use the same wood (same species, same age, everything). We used pieces from under the tub for the floor repairs.

DSC_3562

DSC_3563

Spare room (note patch location).

DSC_3565

DSC_3567

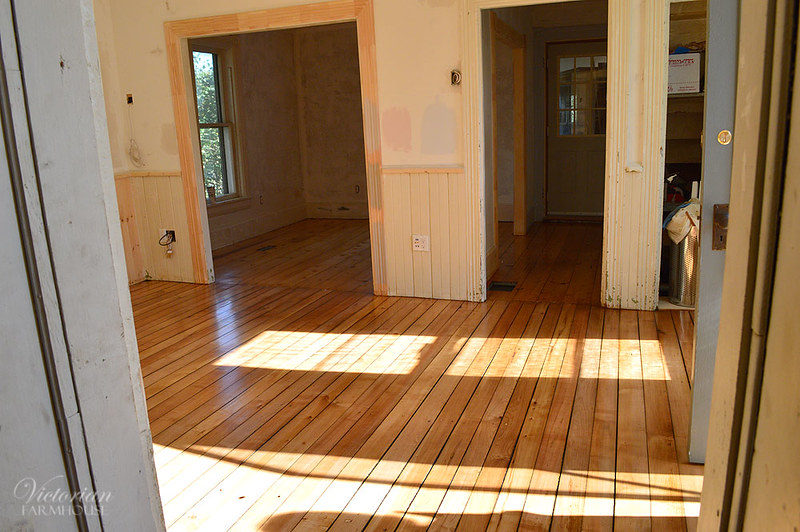
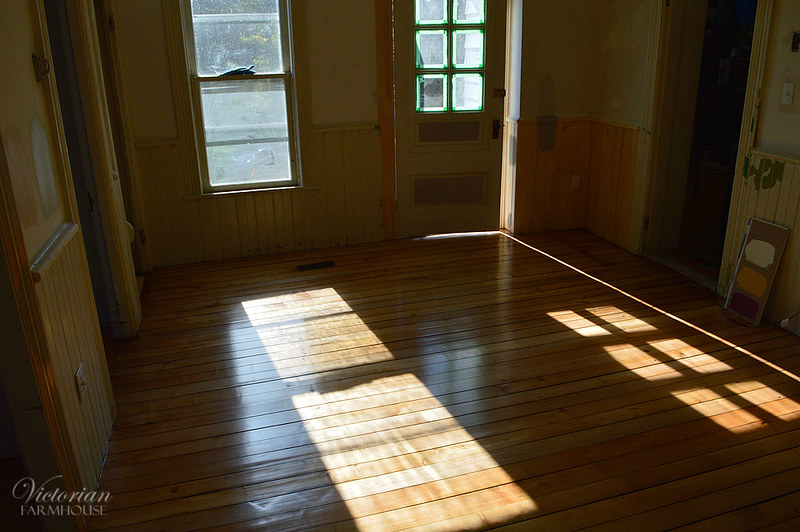
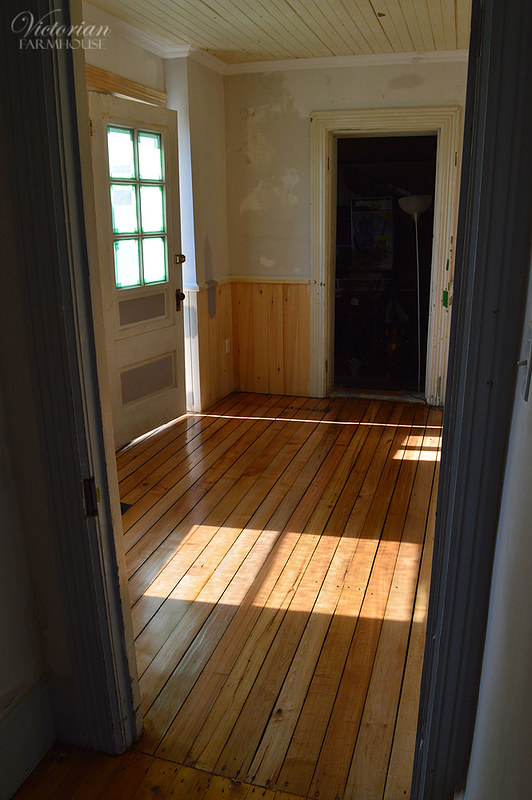
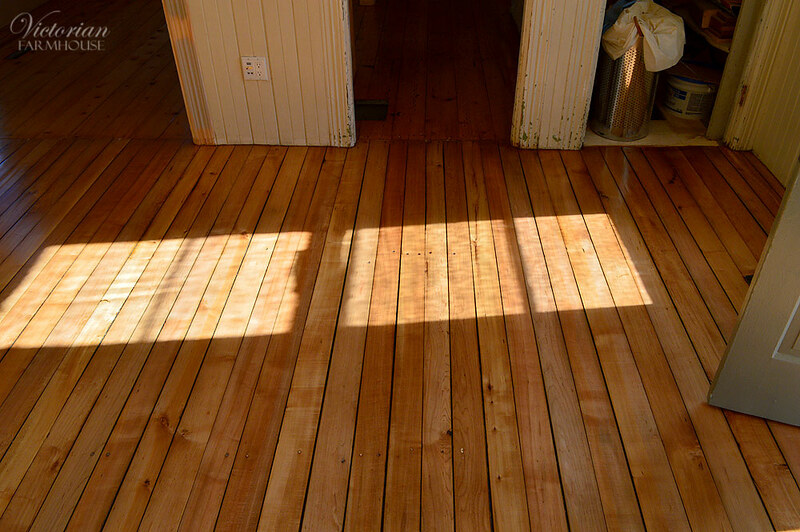
The next few photos are a few glamour and ambiance photos taken the next day with some beautiful sunshine gleaming across the floors. You might also spot a few paint samples and swatches on the walls. This post contains the last of the "before paint" photos.

DSC_3569

DSC_3570

DSC_3571

Is that not a gorgeous floor? Can you remember how awful it looked (with the paint). And remember that over the paint were two layers of linoleum, and then shag carpeting.

DSC_3577

Some of the putty stayed rather pale yellow, so I may go over all the light spots with touch-up pens.

DSC_3579

DSC_3580

The bathroom.

DSC_3588

And a last shot of the spare room (in better lighting). I really love the Basswood as a flooring wood. It's not a wood I see often. It's generally used as "white wood" for paint-grade applications (similar to Poplar).

DSC_3598