
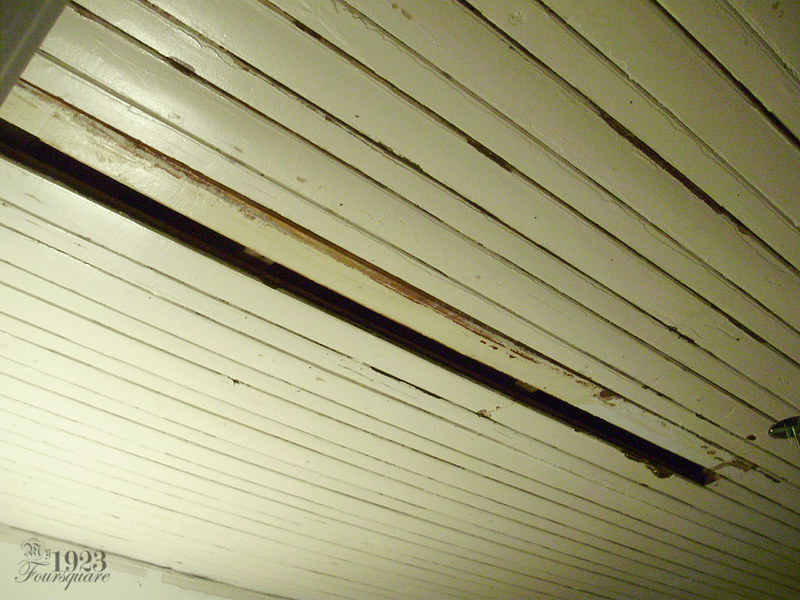
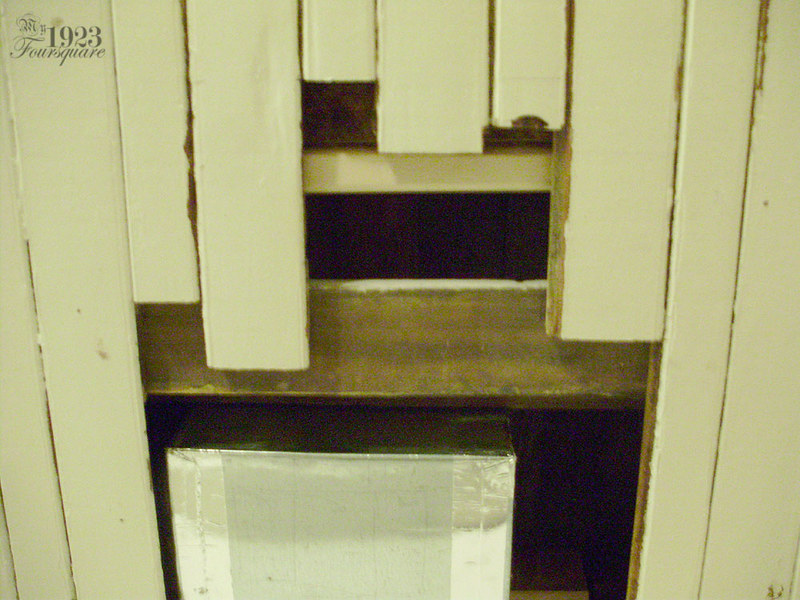
With the old tongue-and-groove removed from the chimney cabinet, I was able to start patching all the damaged/rotten boards in the ceiling. This was the first of the two long centre boards:
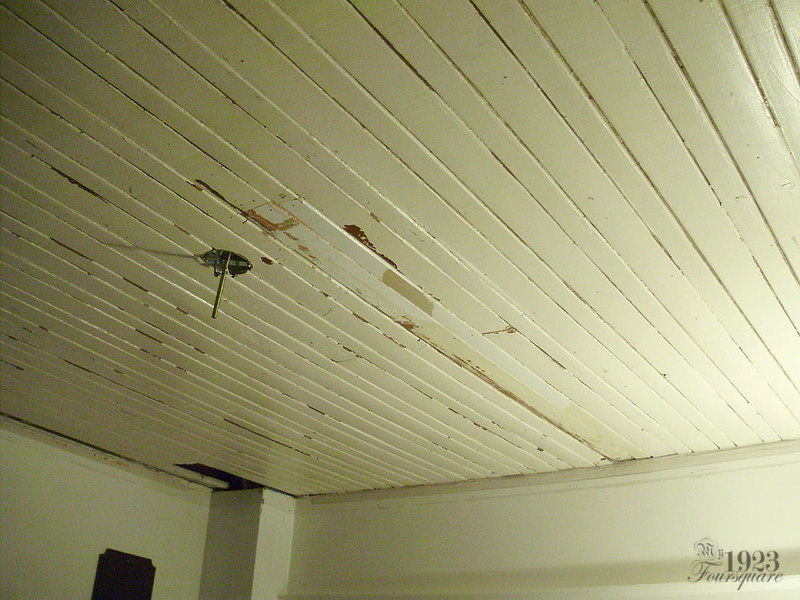
Second board:
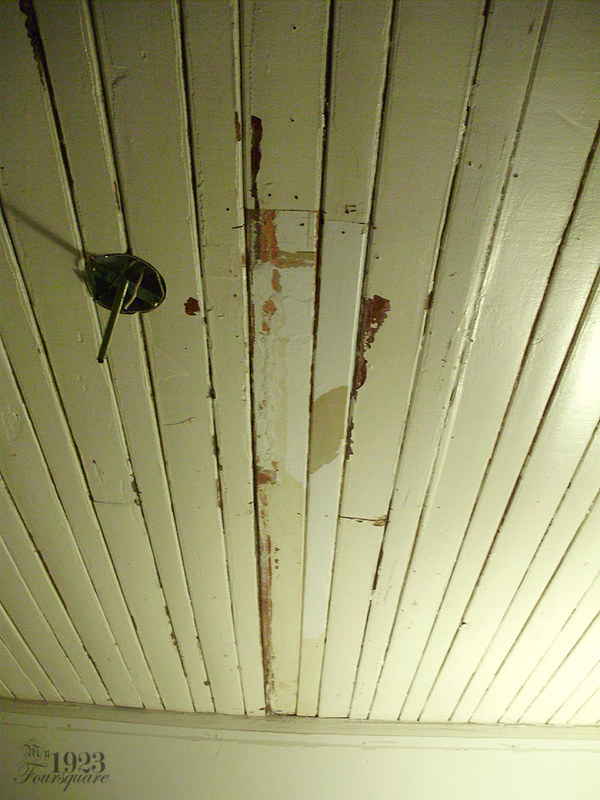
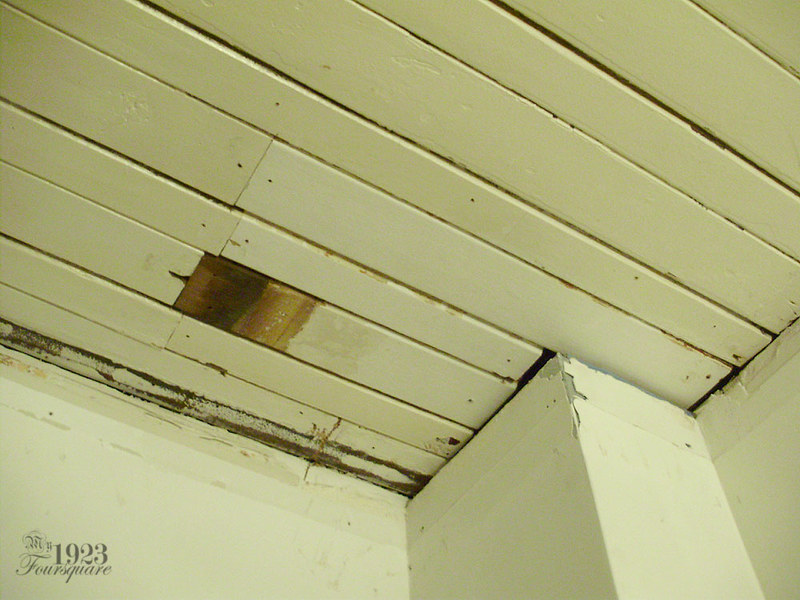
Staggered joints in the middle.
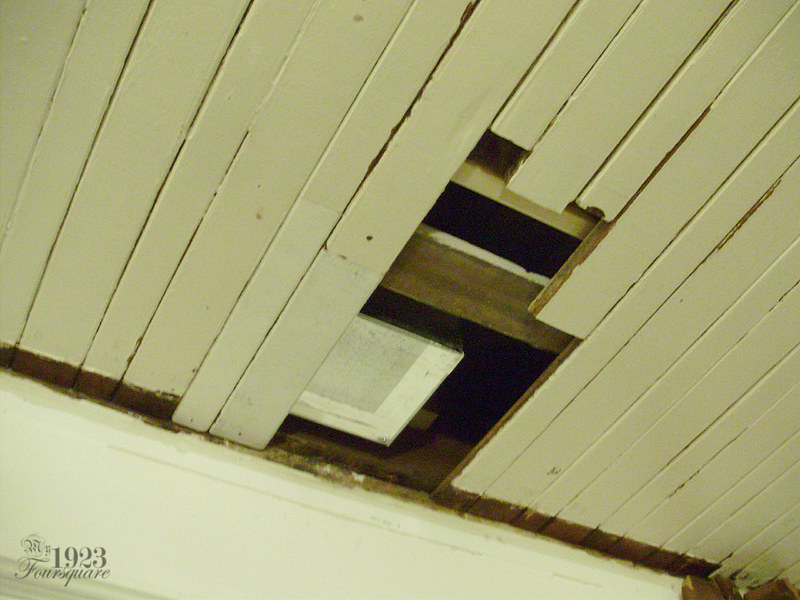
Some of the short boards were attached with this scrap piece of wood which was installed with screws from above. The screws were installed using a small hand-held ratcheting screw driver.
First two boards. Screwed from above, and nailed at the edge of the wall. A small clamp (seen later) helped keep pieces in place while driving the screws.
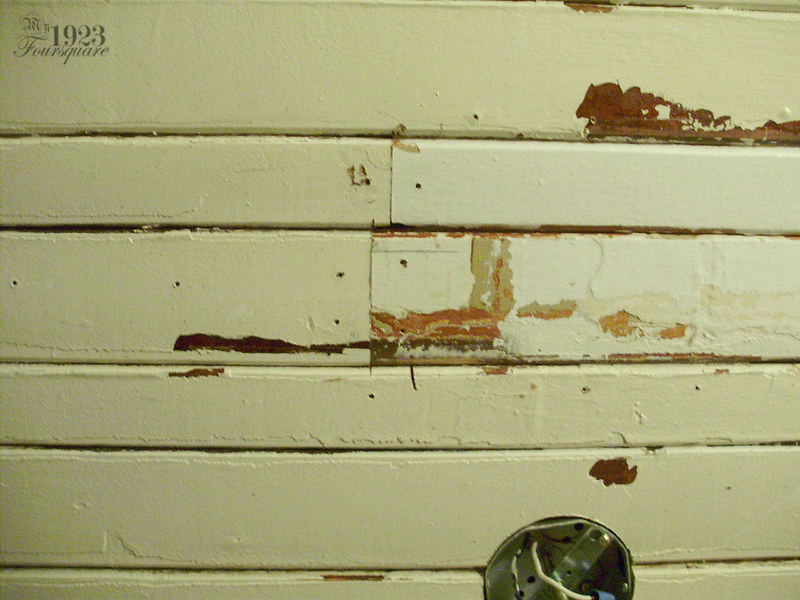
3rd and 4th boards.
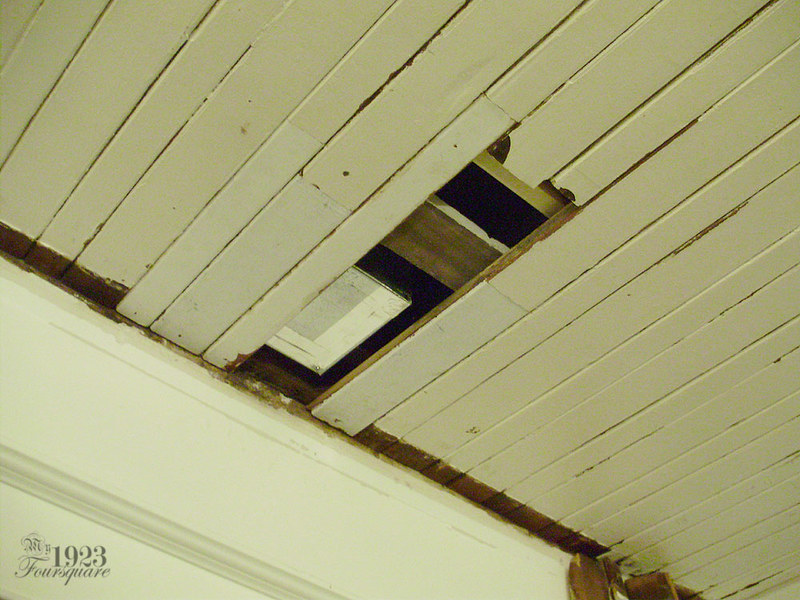
The last few were nailed to the floor joist.

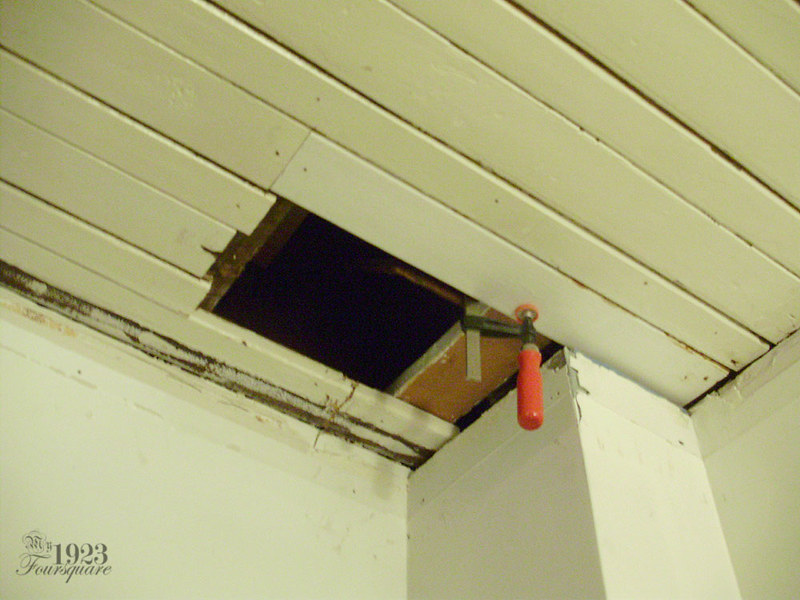
I used the same system near the bath drain and heating duct corner.
More in a few days!
No comments:
Post a Comment