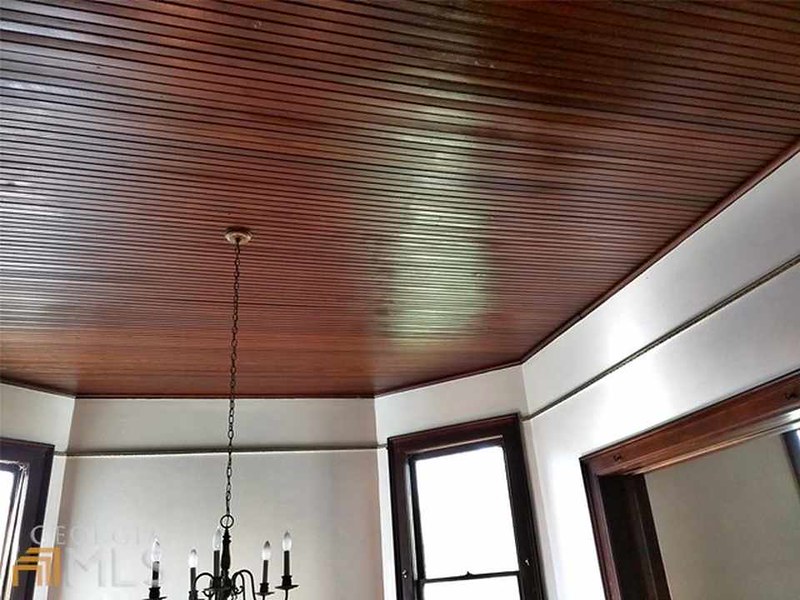
Here is the list of previous posts for this project:
http://my1923foursquare.blogspot.ca/2016/12/destroying-dining-room.html
http://my1923foursquare.blogspot.ca/2017/01/dining-room-ceiling-project-part-2.html
http://my1923foursquare.blogspot.ca/2017/01/dining-room-ceiling-project-part-3.html
http://my1923foursquare.blogspot.ca/2017/01/dining-room-ceiling-project-par-4.html
http://my1923foursquare.blogspot.ca/2017/02/dining-room-ceiling-update.html
The only expense for this project was 1 can of Bin shellac sealer (25$ for a quart), 1 can of white paint (a gallon on sale for 20$), and a 2.50$ tube of acrylic silicone. I should add that the paints were bought with gift cards and points, so the total cost of those was only about 10$.
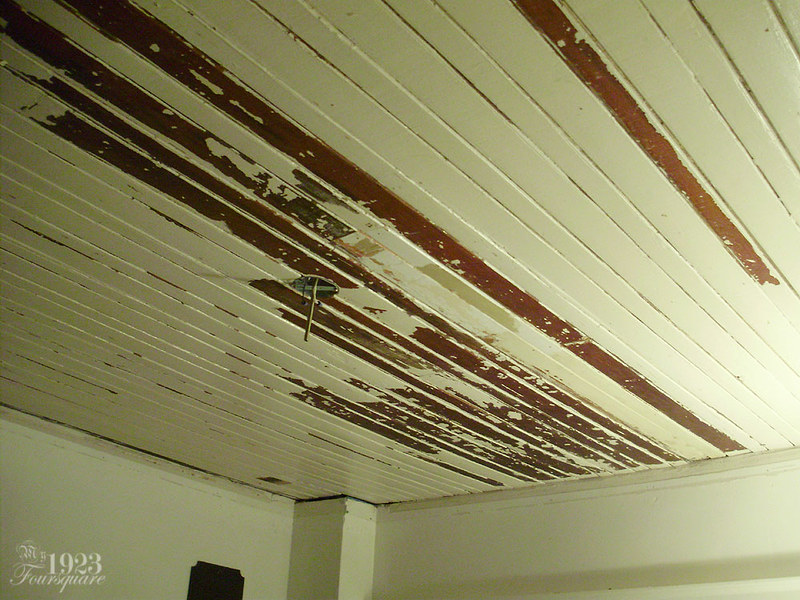
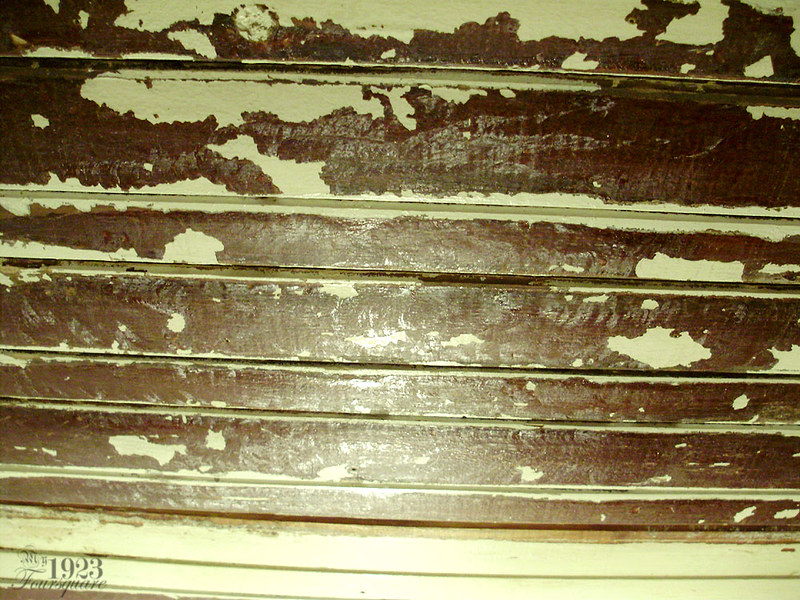
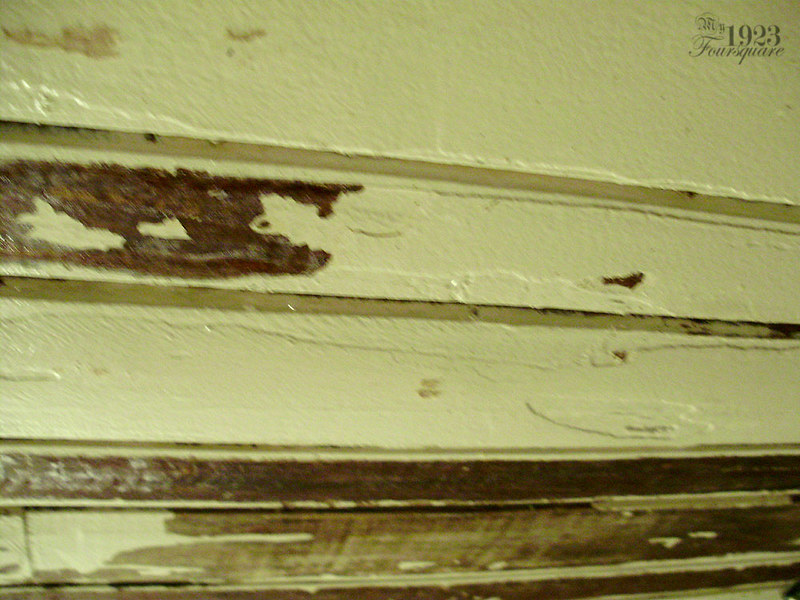
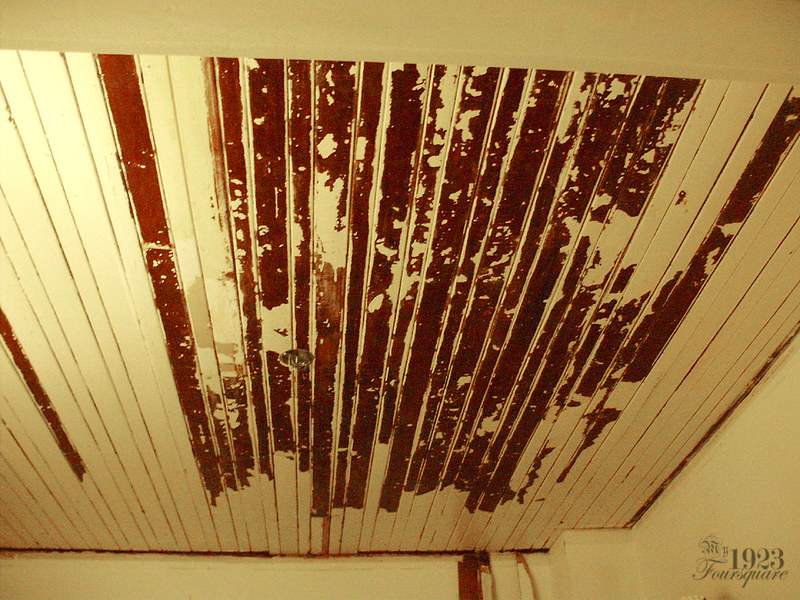
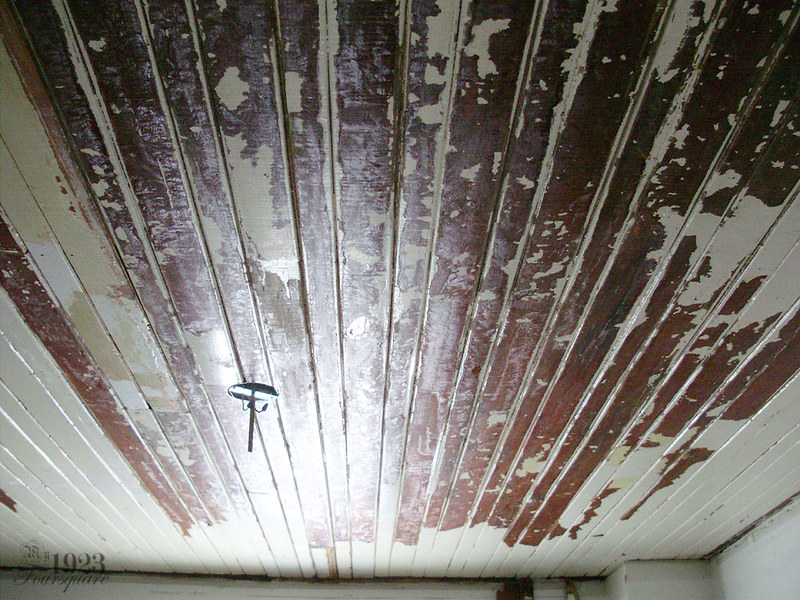
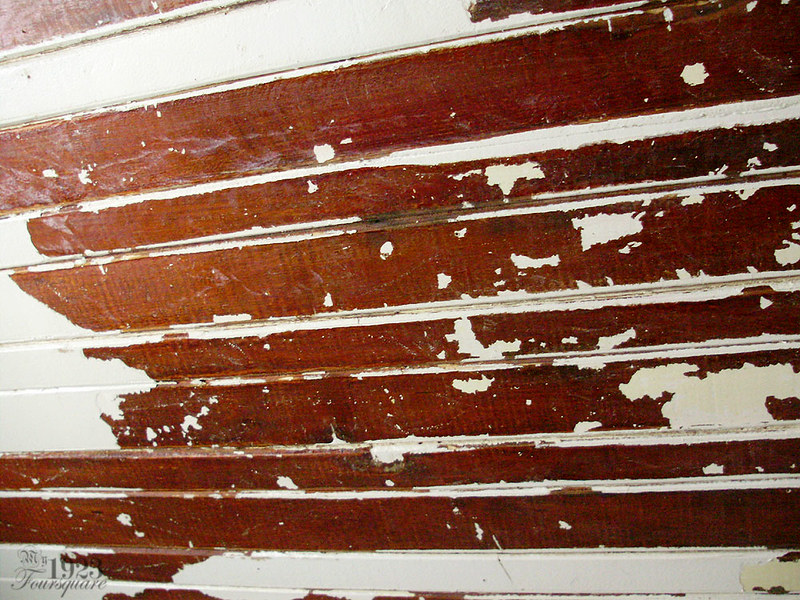
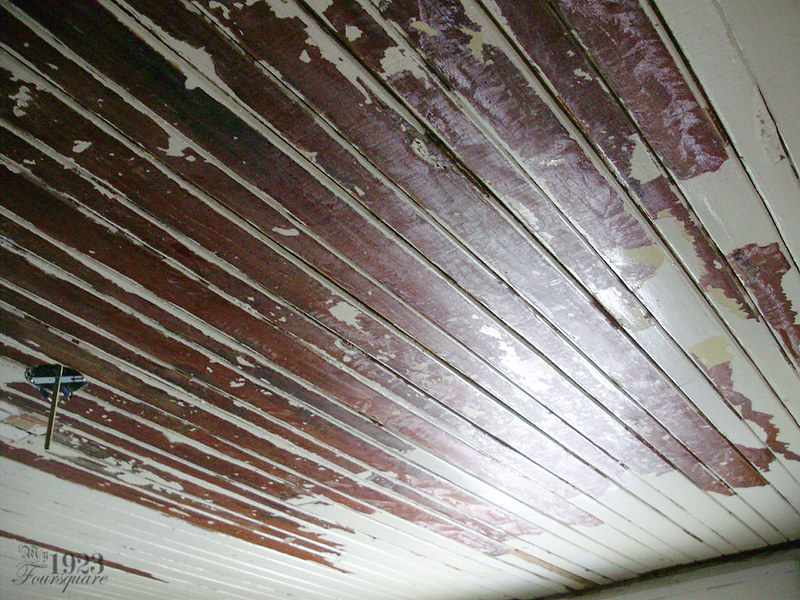
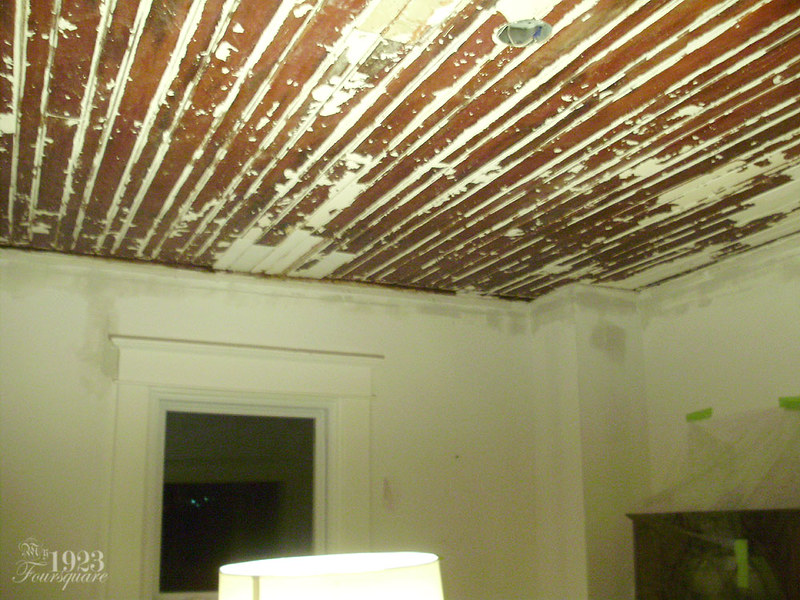
As I said in the last update, I picked at the ceiling for what seems like an eternity until I reached a point where I just had enough. There were a few strips of tongue-and-groove along the back wall that looked fine (no chipping or loose paint) so I left those alone. I also left a few of the stubborn areas alone.
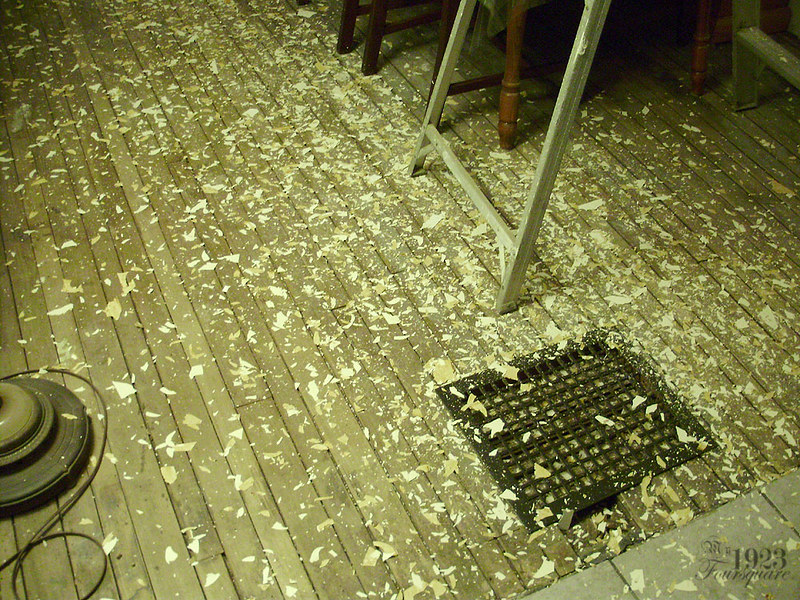
Next step was to move out the sideboard, tarp-off the buffet, and protect the floor.
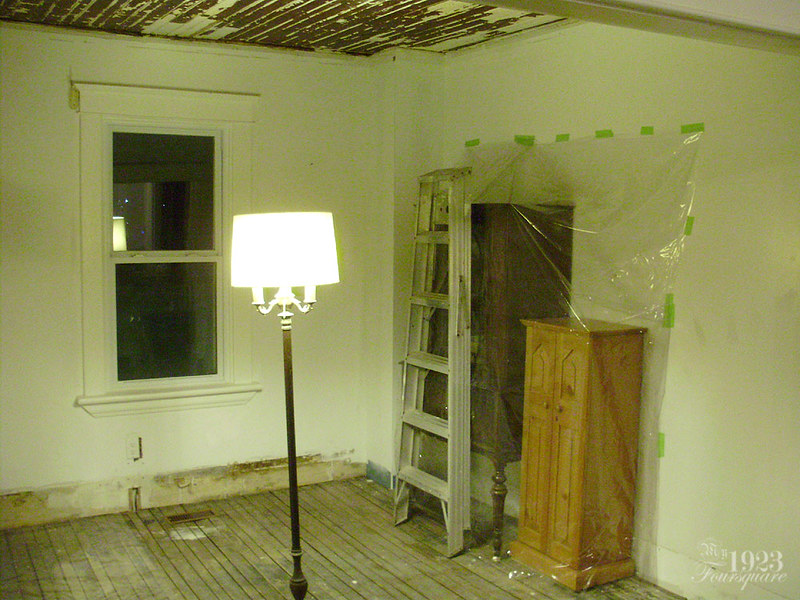
I used a bunch of old cardboard from when I painted upstairs, and plastic table cloth covers.
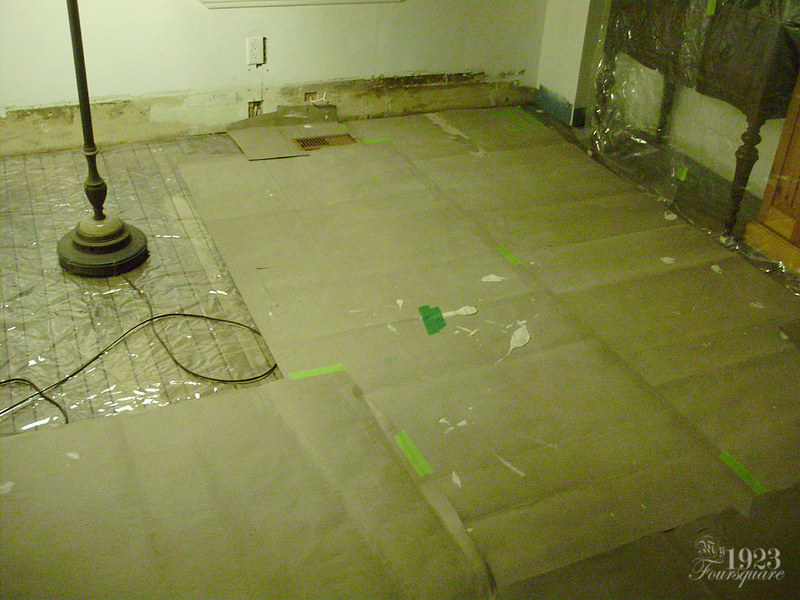
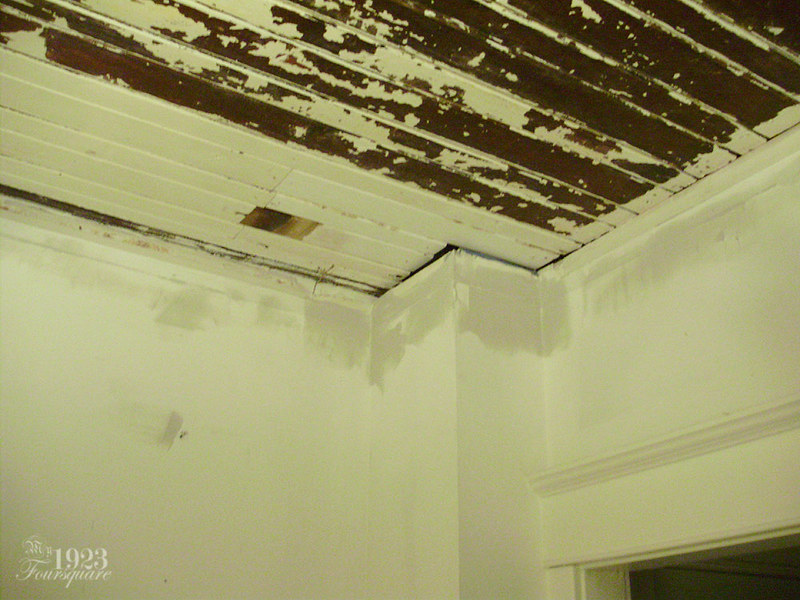
Before installing the crown, I had to patch all the top edge of the walls where the crown was before.
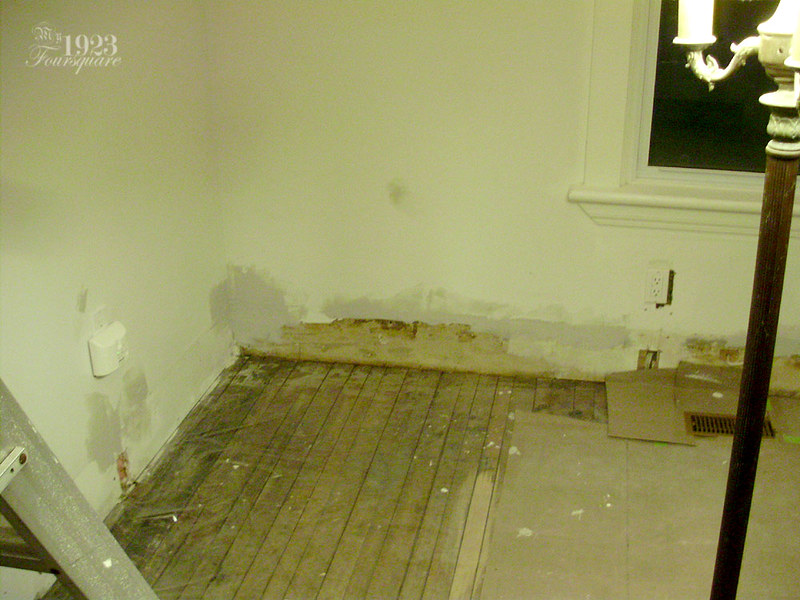
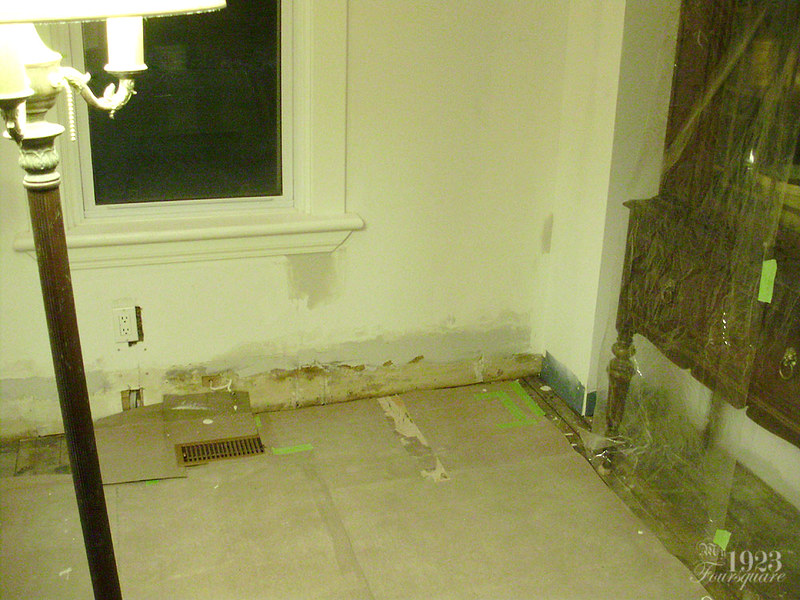
I also did a bit along the line of the baseboard, and later (not shown) I also fixed around all the plugs.
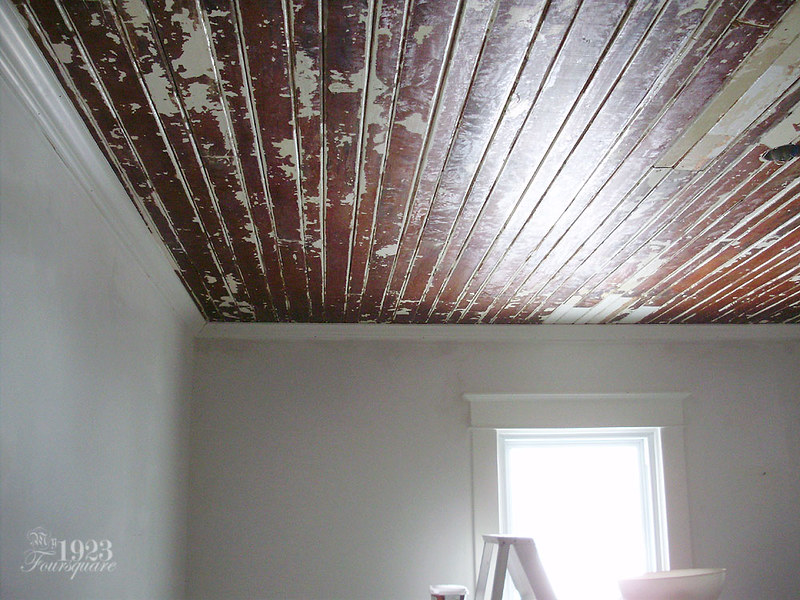
Crown reinstalled. This was easy since all the cuts and joints were already done, haha.
Caulking and nail holes puttied.
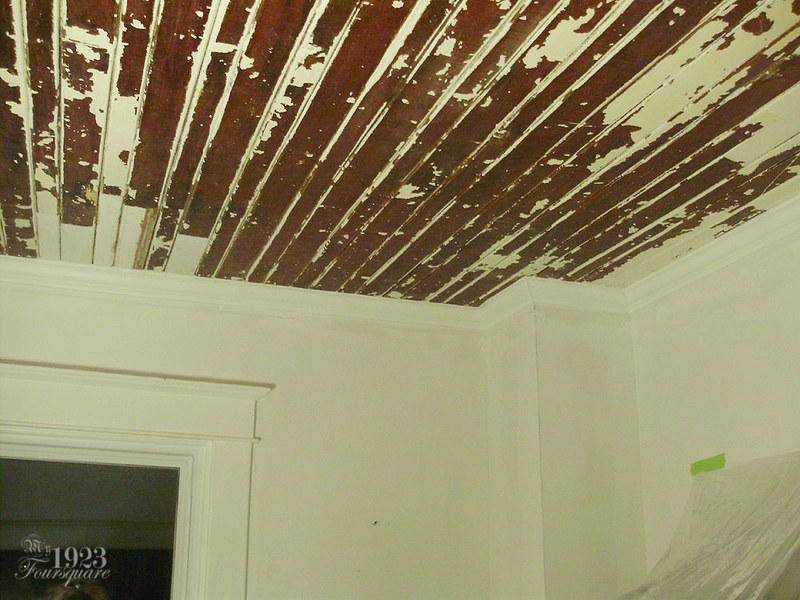
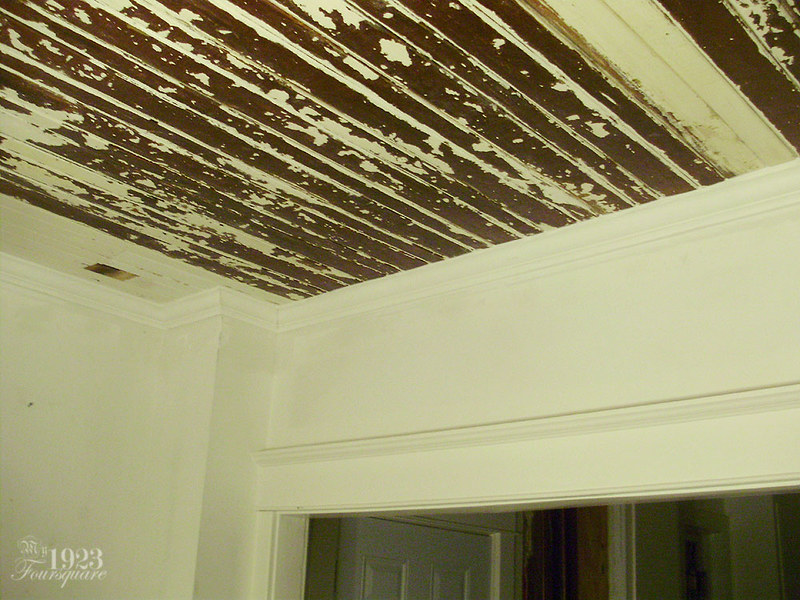
Shellac sealer/primer. This is the most important step, and the likely reason why the previous paint job failed. This is a semi-transparent, and sort of beige sealer coat. It is made with shellac, and because of this, it's VERY messy, and you can only clean it off using alcohol (methyl hydrate in Canada). It is great, however, at blocking stains, oils, odours, varnishes, and it sticks to pretty much anything (including glass, and metal).
I decided to do the shellac primer BEFORE puttying the old screw holes in the ceiling from the drywall. This is because they were just too hard to see against the dark wood.
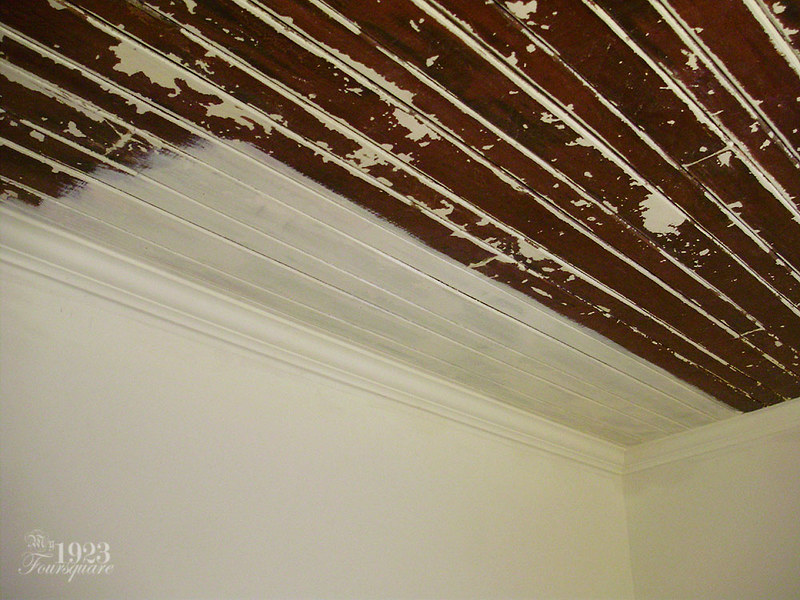
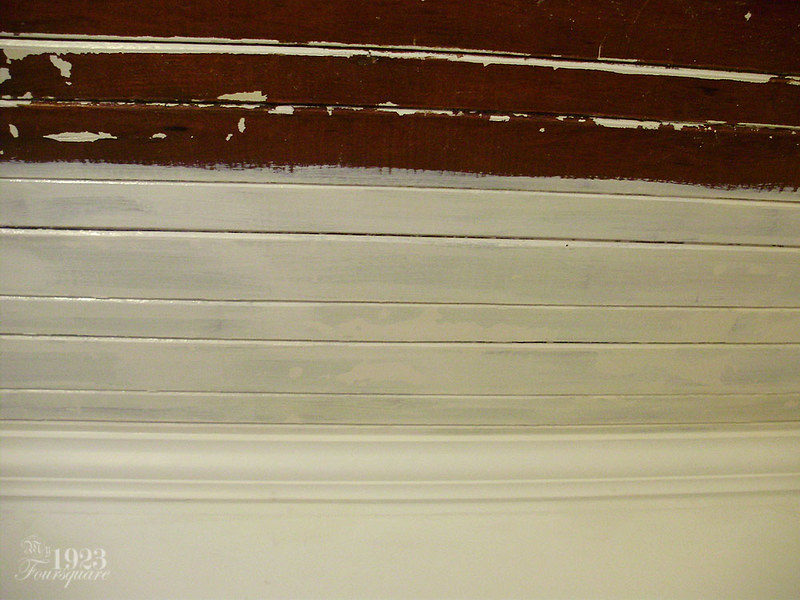
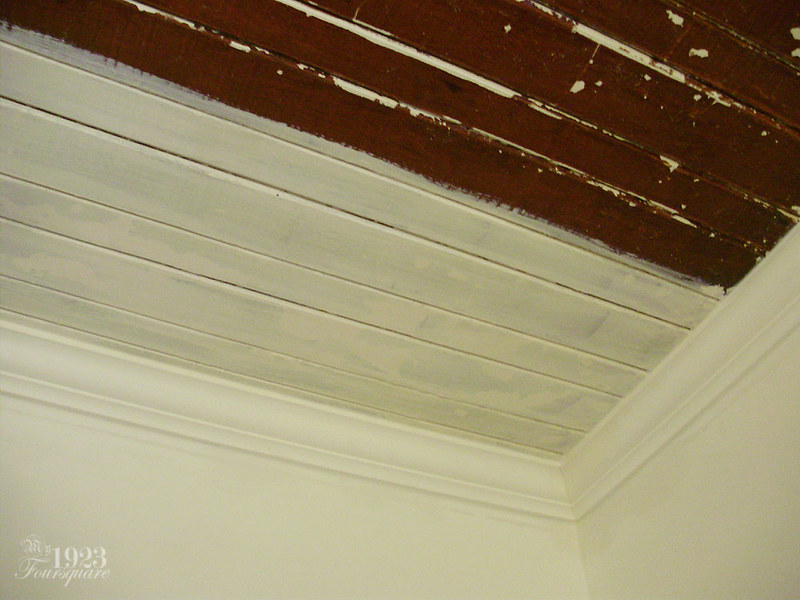
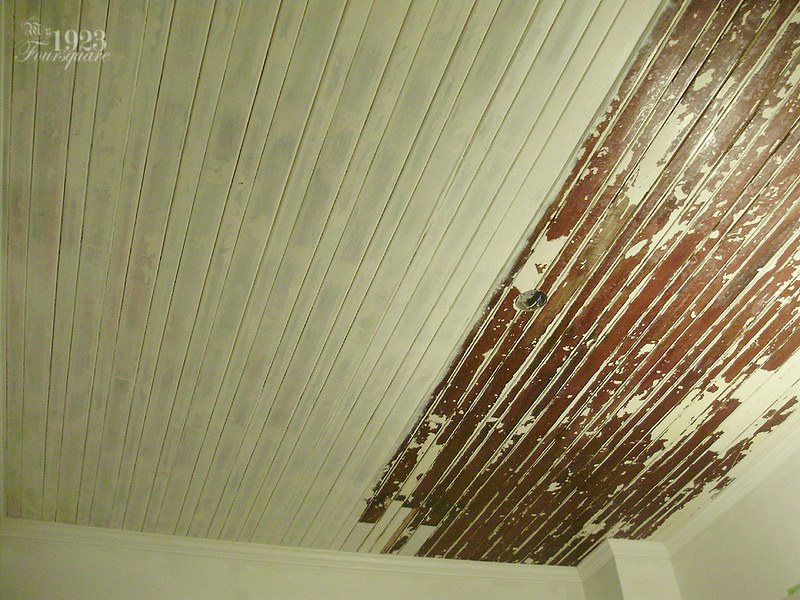
The white shellac also helped get a feel for how the finished ceiling would look, and it highlighted any of the flaws I might want to fix or patch before the final paint coats.
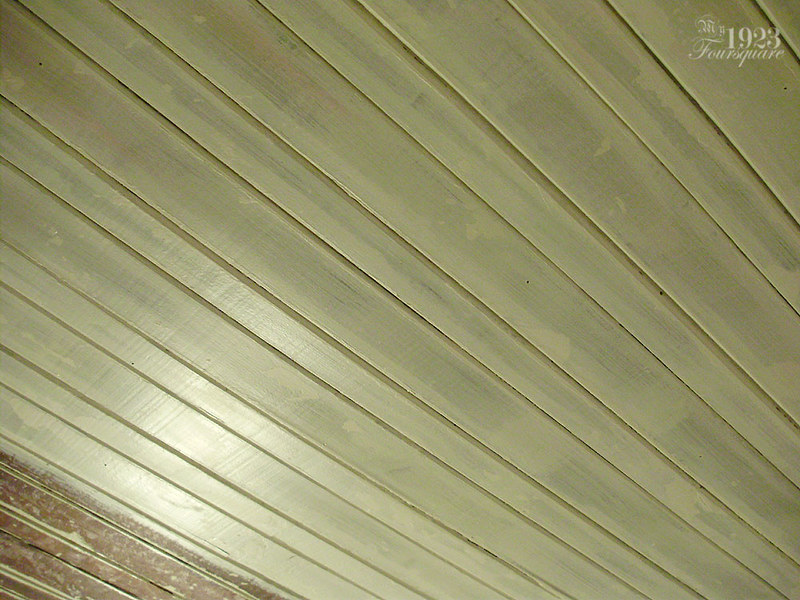
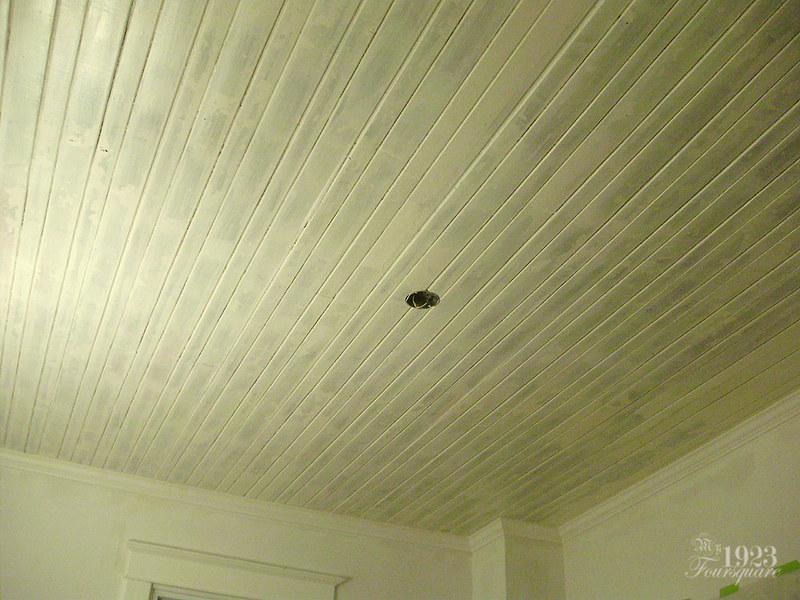
Overall I was pretty happy, but there were still a LOT of places where I went back over and nit-picked at for hours. Some spots were original flaws like cracked knots, but there were also the screw holes, and many little chippy paint bits along the edges of boards. I also had to blend-in some of the patched repairs and I used drywall compound for that (it's the easiest to sand).
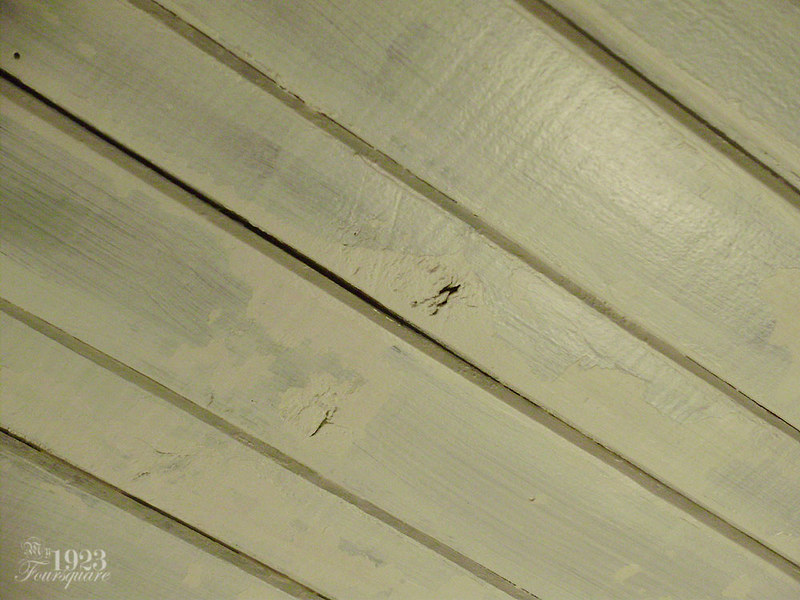
Once I was "happy" with the ceiling (or gave up and said it would be good enough). I started the first of two coats of white semi-gloss paint. This is not the same white trim paint I already have, because I think it's being discontinued. This paint is actually an exterior paint, but that just means it's made to hold up better to extreme weather and temperature changes. Indoor use id fine. It's a bit shinier than the rest of my "semi-gloss" trim paint, but I don't really mind.
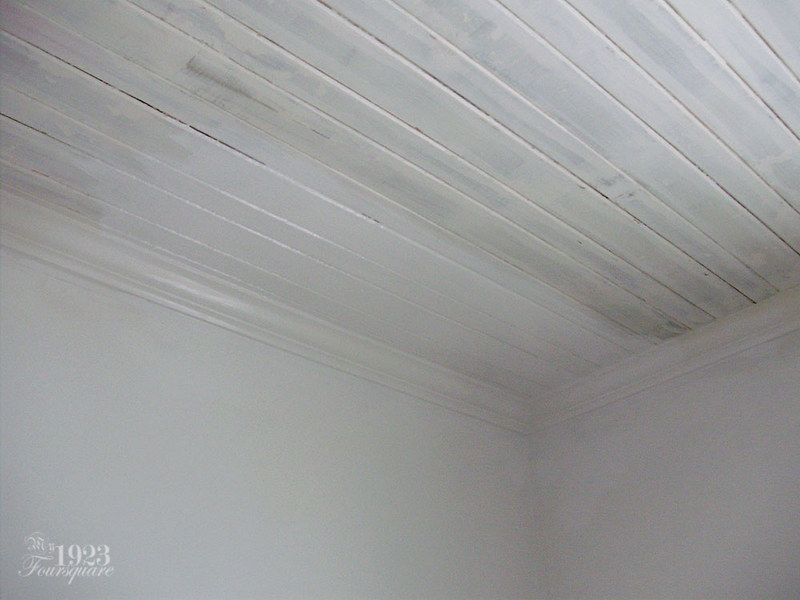
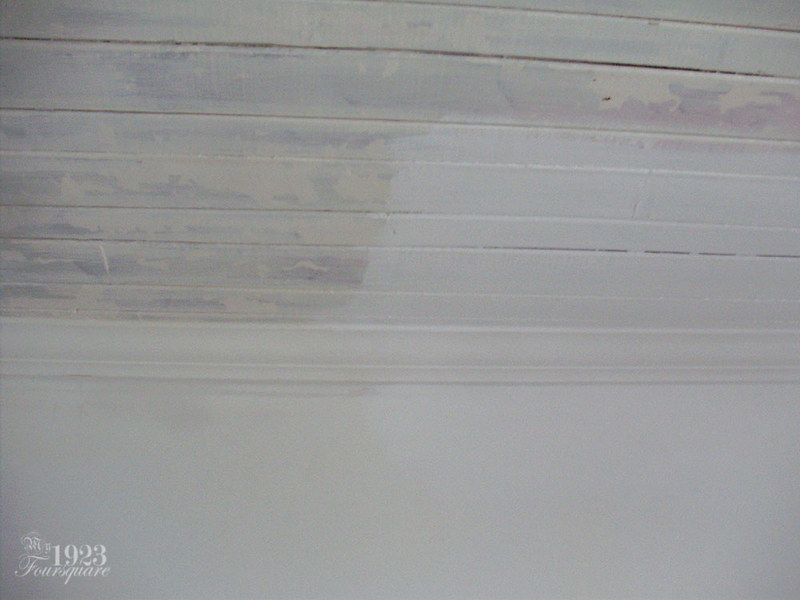
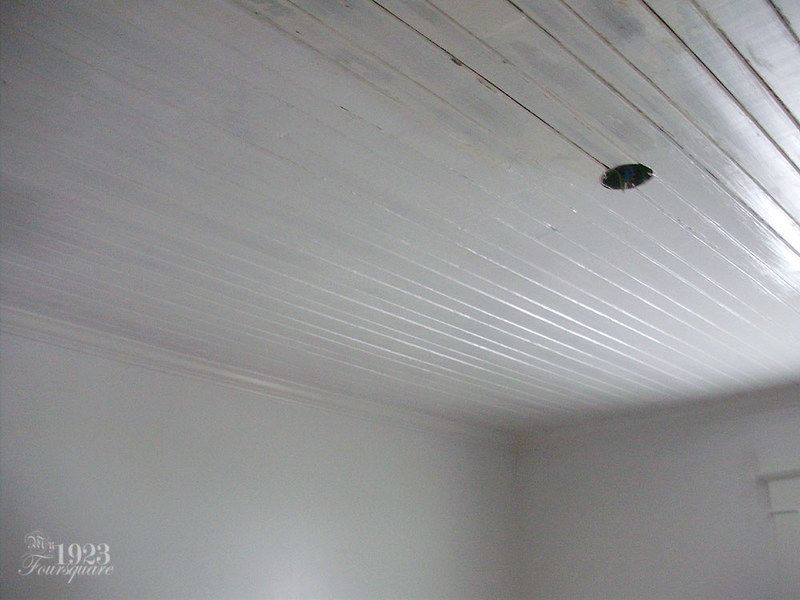
Looking pretty good.
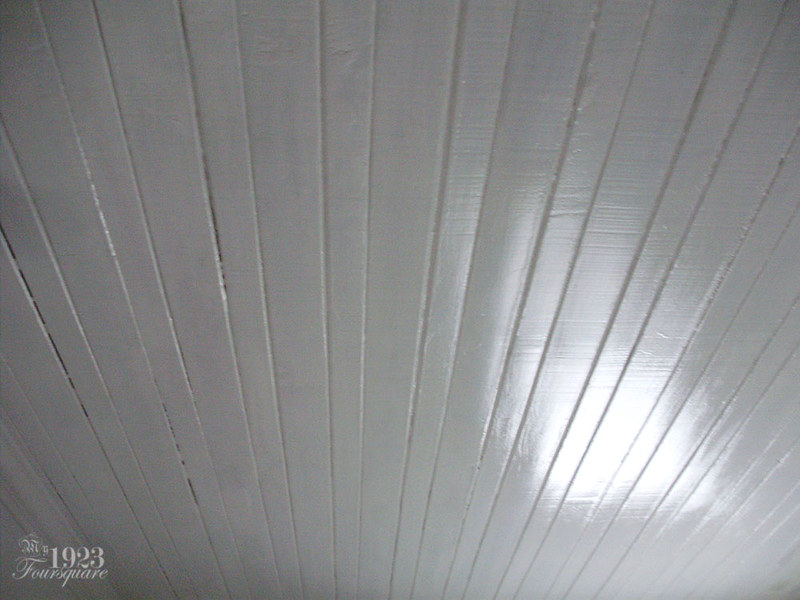
I did not fill any of the cracks or gaps in the ceiling (just to see how it would turn out), but after the first coat was done, I had just a few spots like these where I did go back and fill with acrylic caulking before the second coat of white. There were only about 10 spots that needed gap-filling. I wanted some thin cracks so that it matches the other ceilings on the main floor.
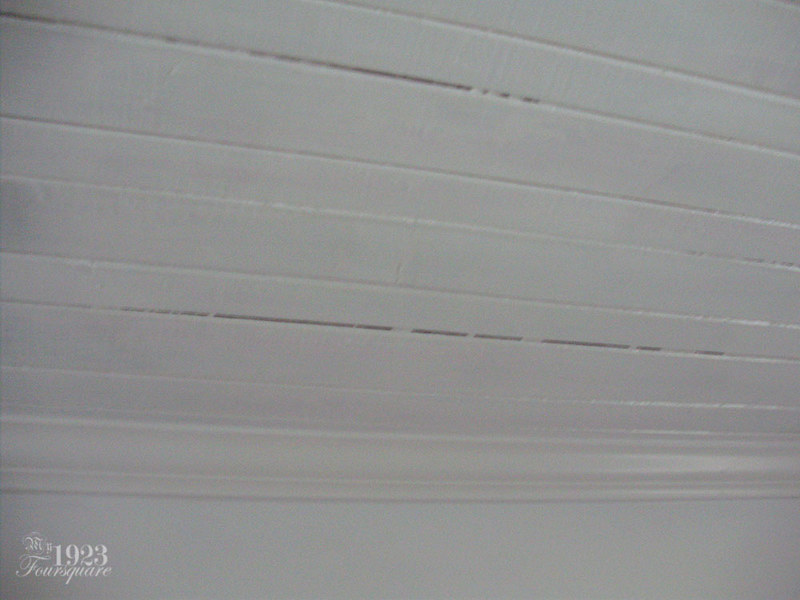
You can really see how much difference there is between the shellac sealer and the white paint. If you wanted to, you could also do a regular acrylic primer over the shellac sealer.
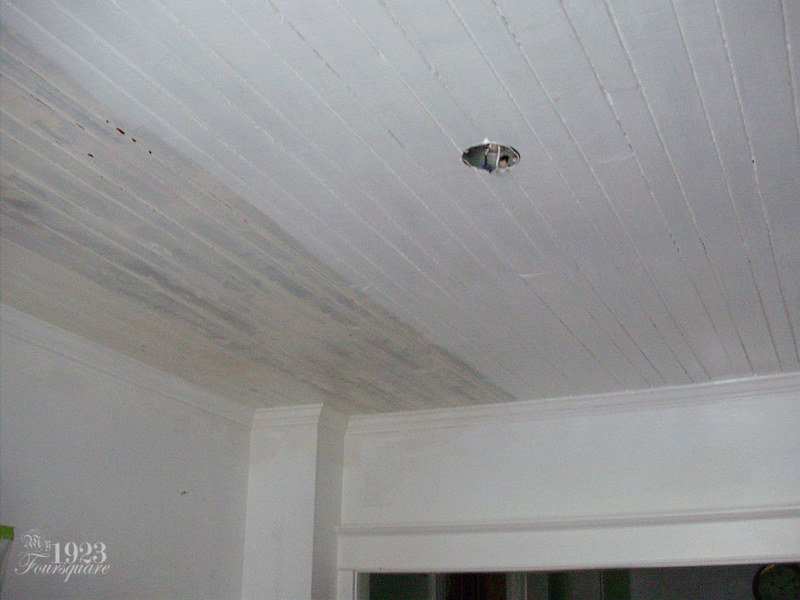
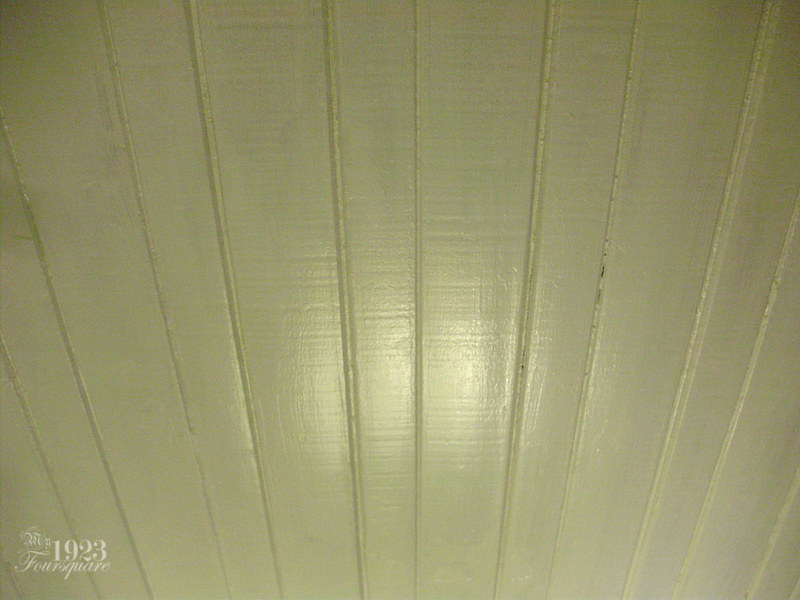
I think this was during the second coat of white. It's hard to tell the difference in the crummy lighting.
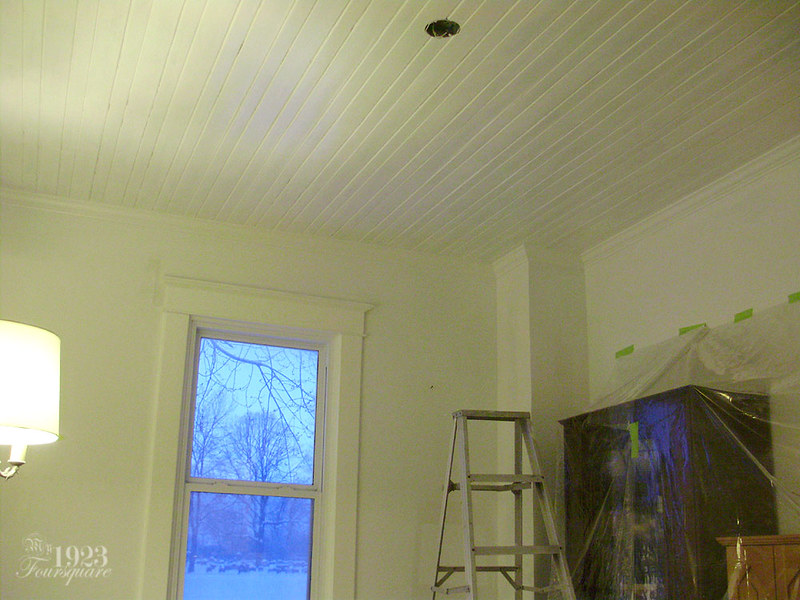
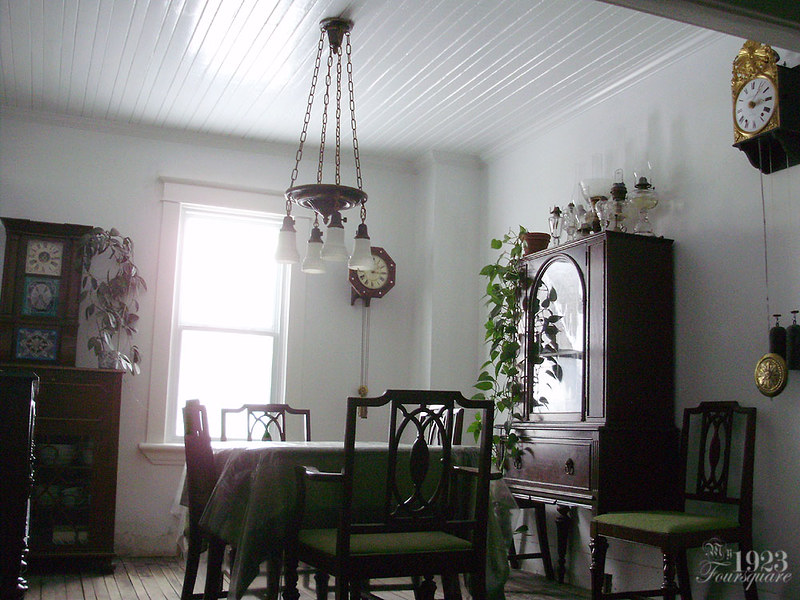
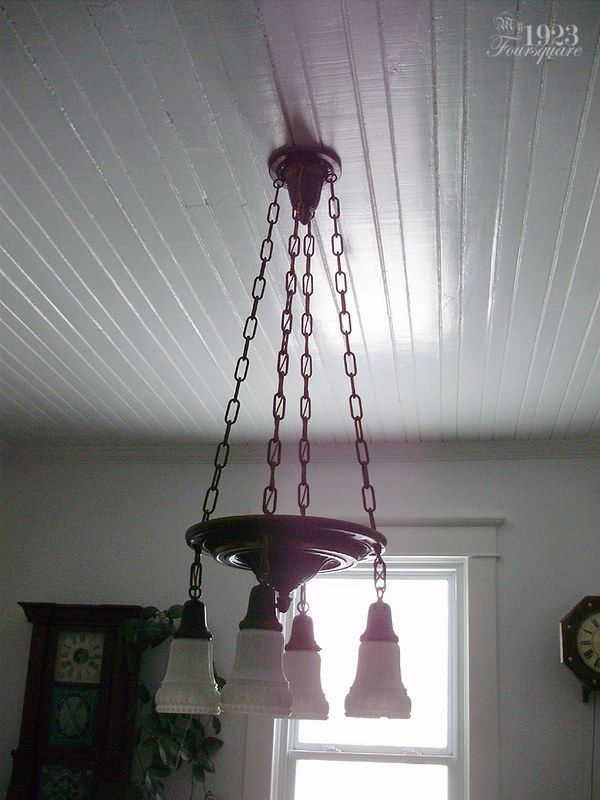
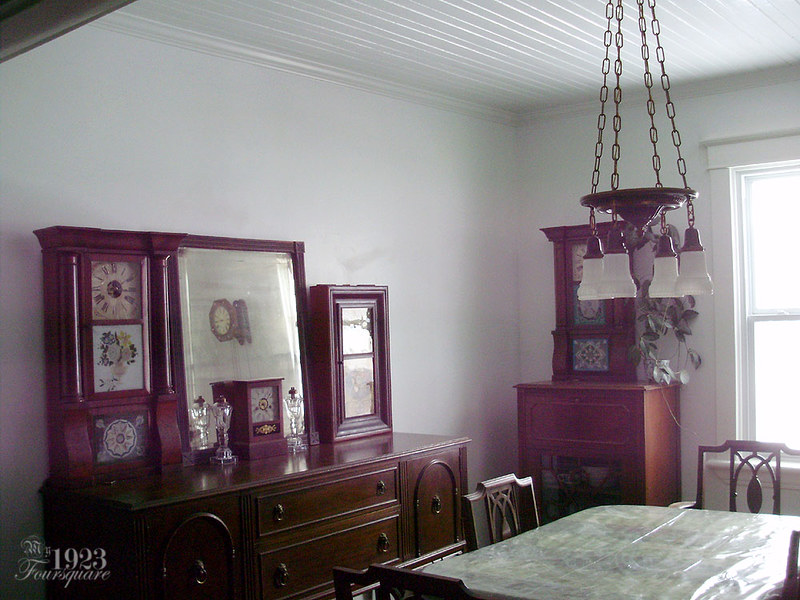
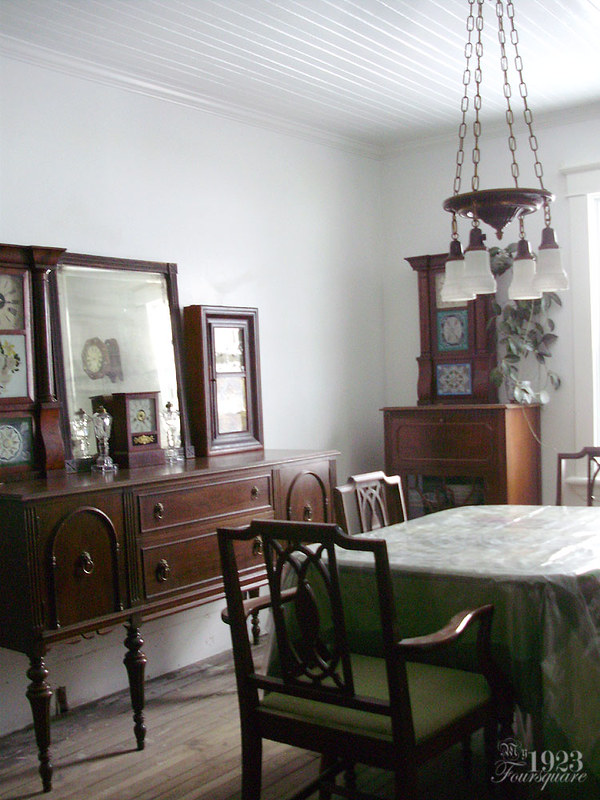
FINISHED CEILING!
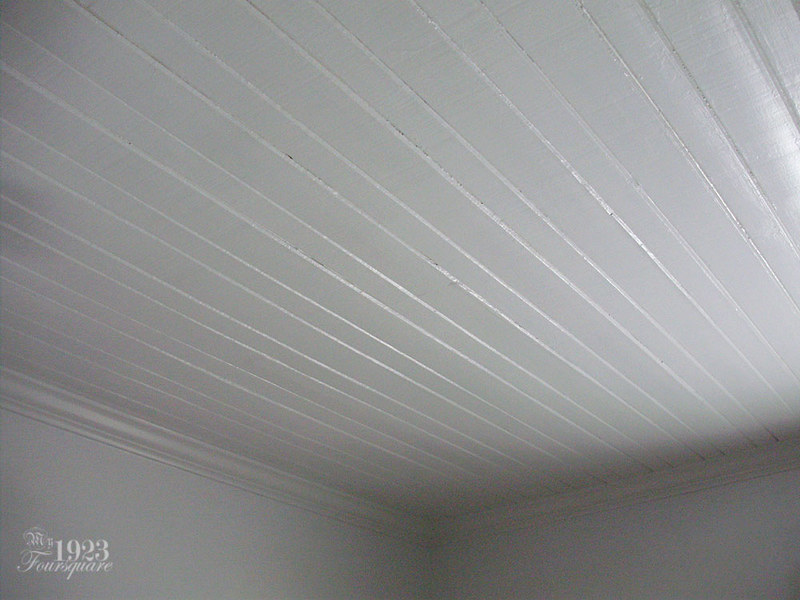
Depending on the light (angles) you can still see all the thin chippy areas, but 90% of the time it doesn't show up.
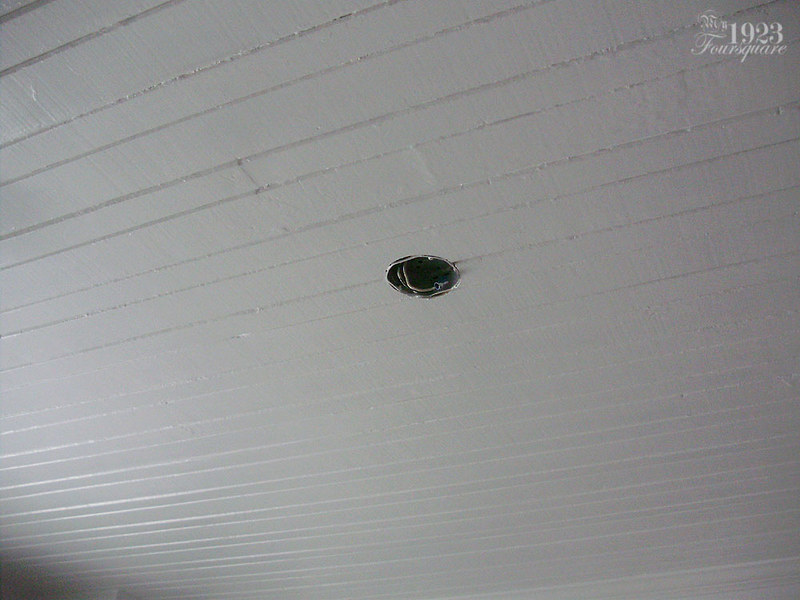
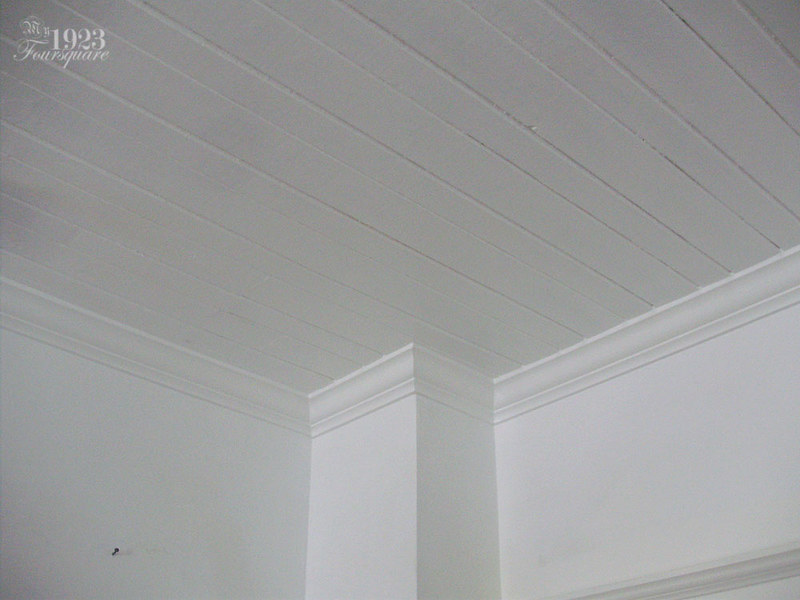
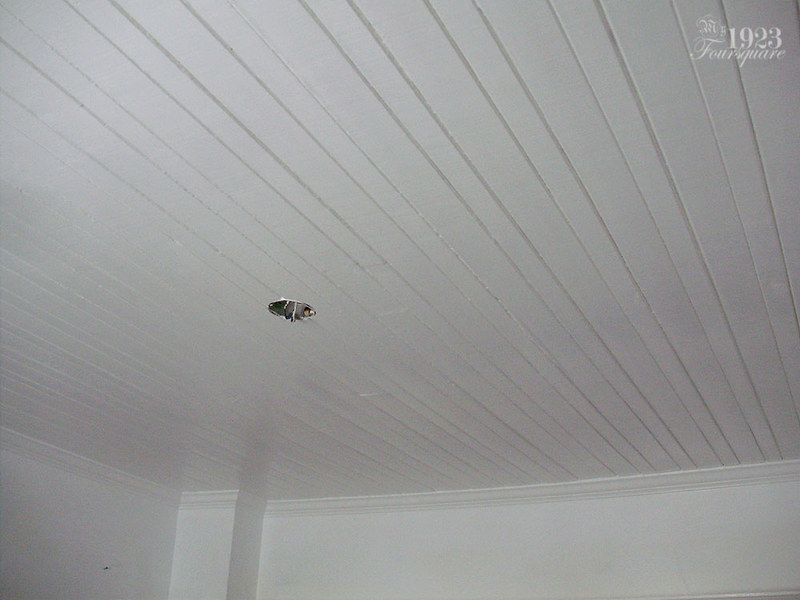
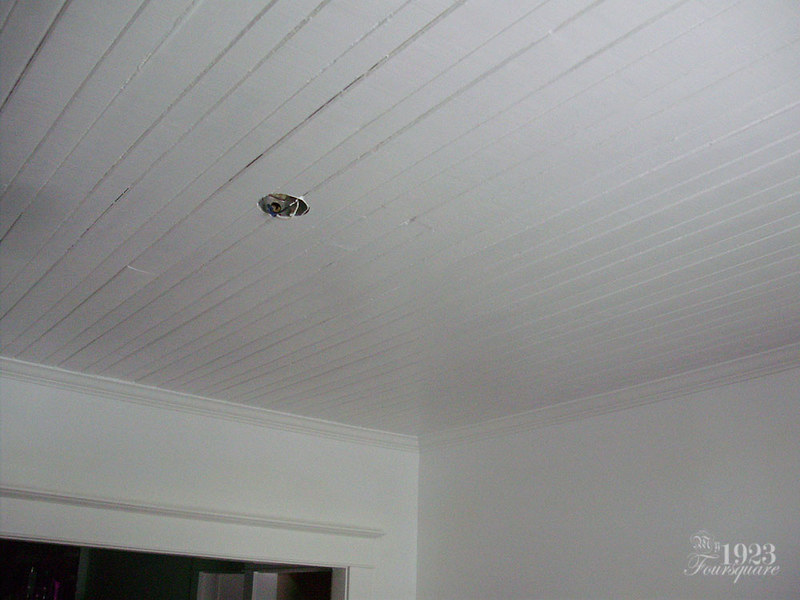
If it's anything like all the rest of the "glossy" paints I've used, it will dull down over time. For now it's nice and shiny, which actually helps reflect the light much better.
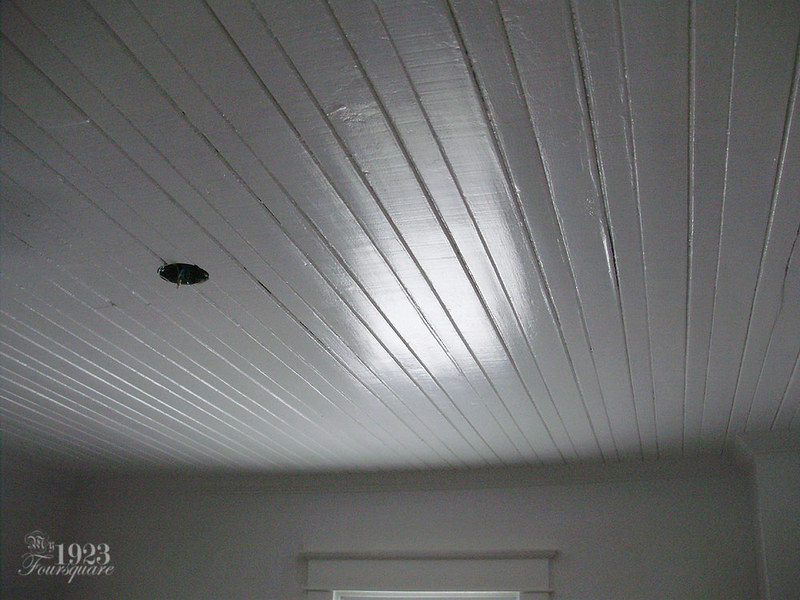
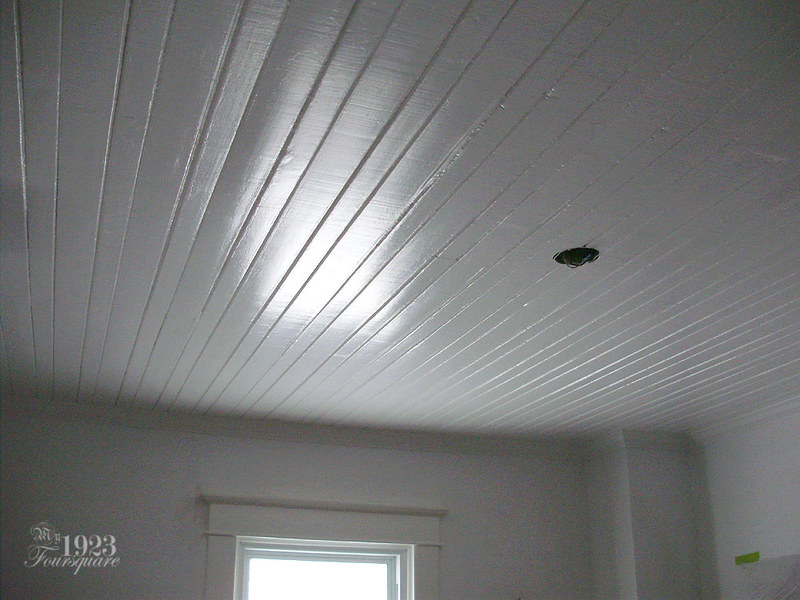
It was SO NICE to finally move everything back into the room. It's been a month and a half that I've had dining room chairs in the living room, and clocks all over the floors in the office and living room. I did move around a few pieces. I shrunk down the table (removed the leaf) and I moved that pine cabinet out of the room. I also got rid of the bench with all the plants in front of the window. The lemon tree was moved to a sunny window upstairs.
I still don't know what colour I want to paint the room. I want a light colour. Green would look good, but I already have 2 green rooms. Same for blue. I wouldn't hate pink, but it's not my favourite colour either. I've toyed around with yellow, but none of the shades I sampled were any good. I'm open to suggestions.