Showing posts with label Mess. Show all posts

Monday, January 16, 2017

Dining Room Ceiling Project Par 4 - Wecome to my Hell

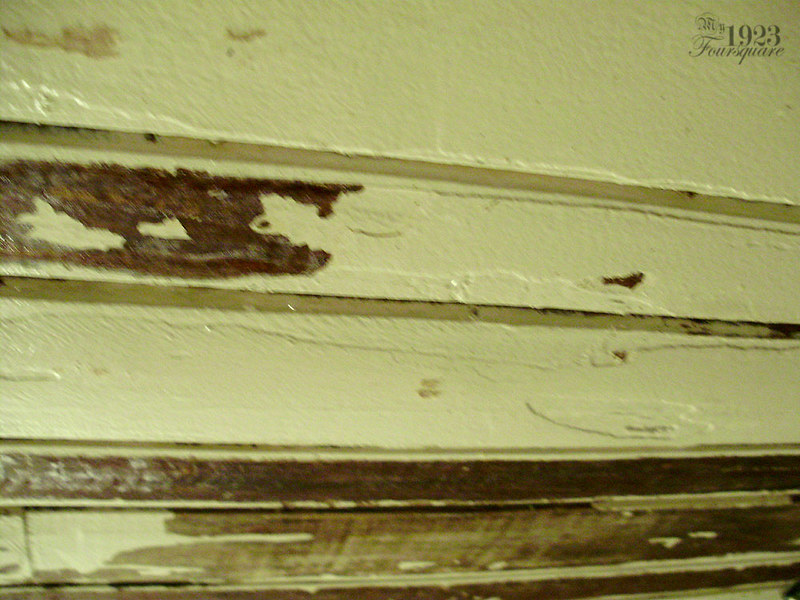
So the dining room ceiling project has kind of gone off the rails and spiraled into "hellish pain in the ass" territory. When working with old painted woodwork or walls, I tend to give the advice "don't pick at it", but sometimes I don't follow my advice. On this particular job, I HAD to at least chip off the unsightly chunks of paint in order to be able to do a quick patch job. I was originally just doing this near edges and in the V grooves. The plan was just to clean up the ceiling and then patch the chippy edges of the boards.

A preview of things to come...
PC240242

Unfortunately (or maybe fortunately? you be the judge) I ended up chipping off a big section of one board and then kept going.
PC230219

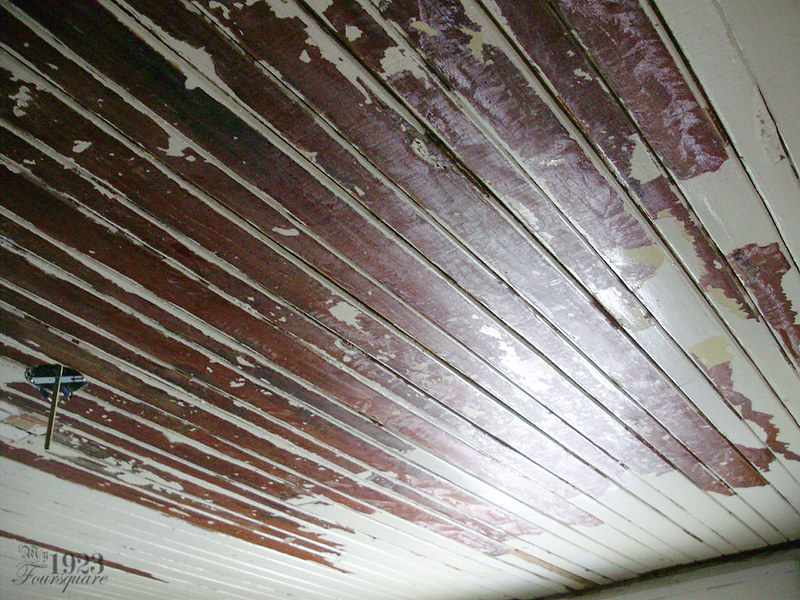
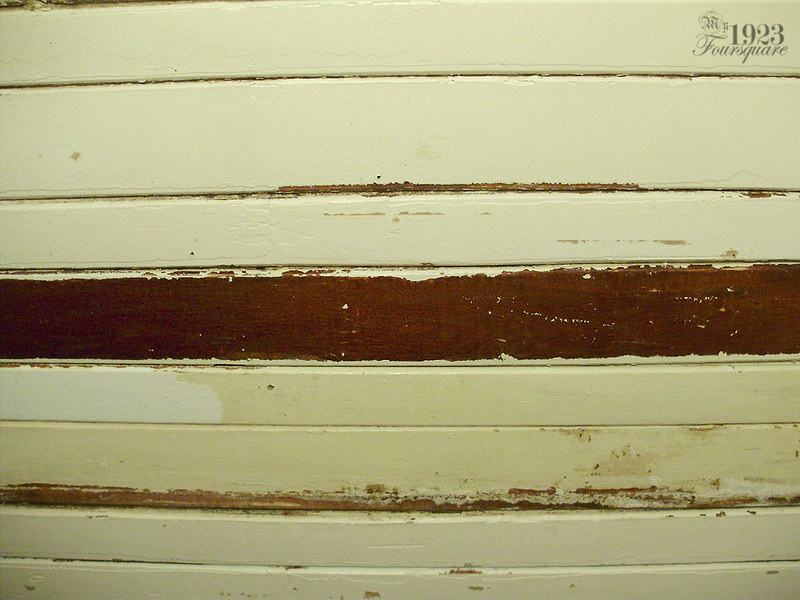
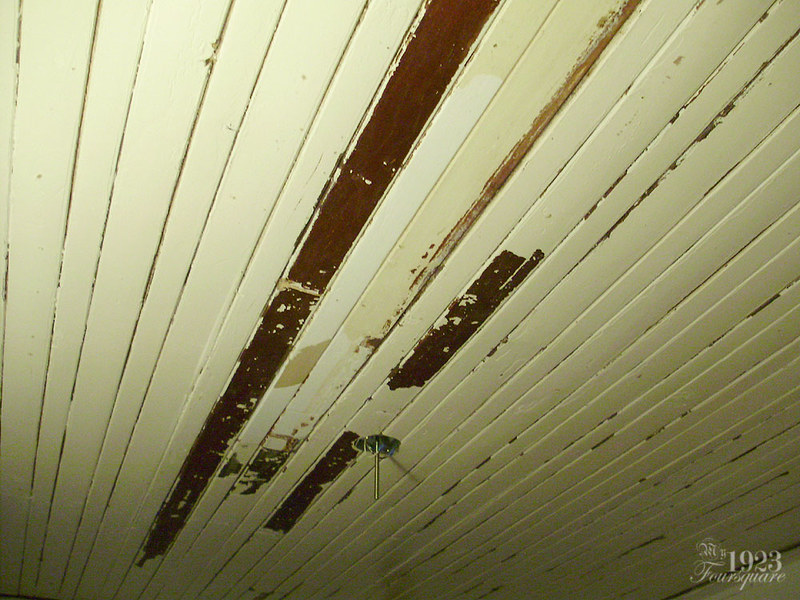
This is the result of just half a minute of work. The thick layers of paint in the centre of the boards came off quite easily. This leaves just a bit of white at the edges where the paint had previously chipped and they had painted over it. The paint film separated right at the layer of shellac over the wood. As it turns out, the entire ceiling is actually stained and shellacked solid birch. In today's world (and today's prices) this would be about a 1000$ ceiling to put in. There's at least 500-600$ in wood, plus the added labour to have it stained and varnished. Back in the 1920s, however, it was probably just a bit more expensive than drywall, or possibly close to the same price, since drywall was still a very new product.
PC230221

PC230222

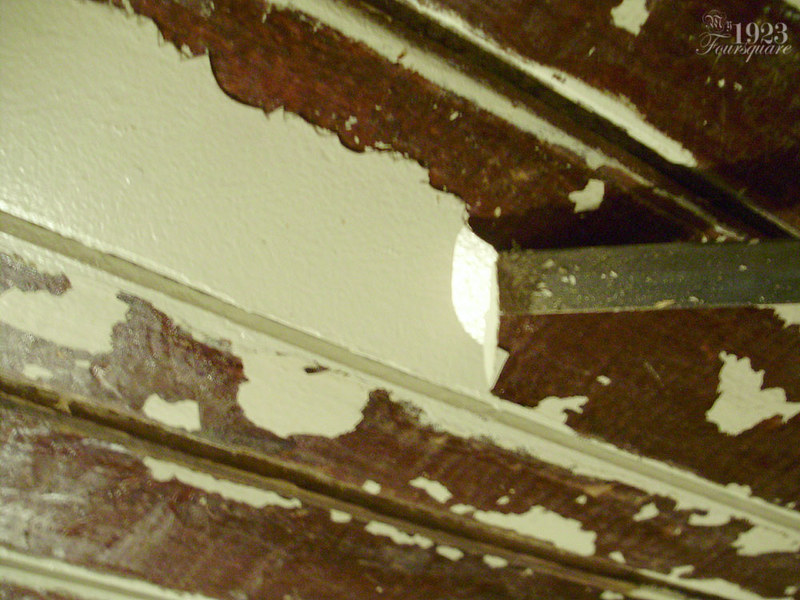
Here you can see a bit of an action shot (which was hard to photograph with my left hand) showing how the paint was coming off the boards.
PC230223

Some of the first layer of oil paint was not coming off as easily, but at least the first 10 coats was chipping off pretty effortlessly.
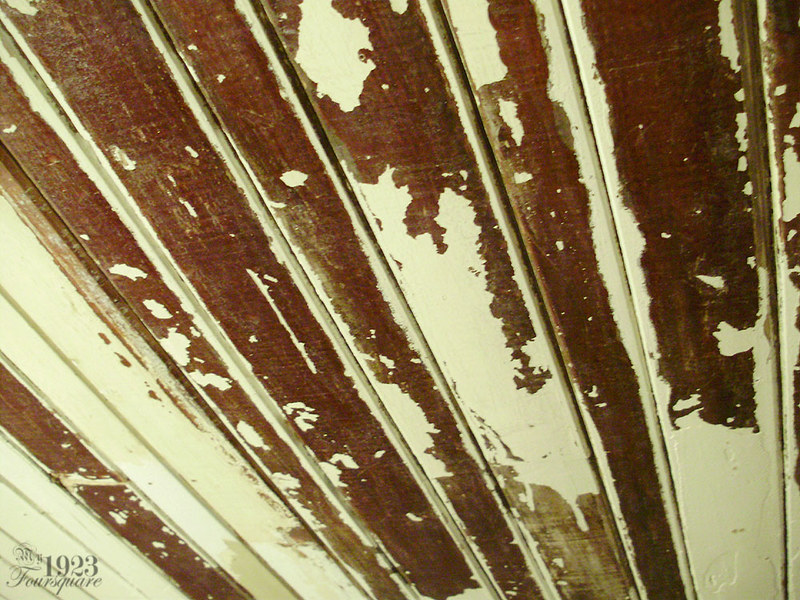
PC230225

This is probably and hour's worth of work. This was not fun, since you're working on a ladder with your neck bent.
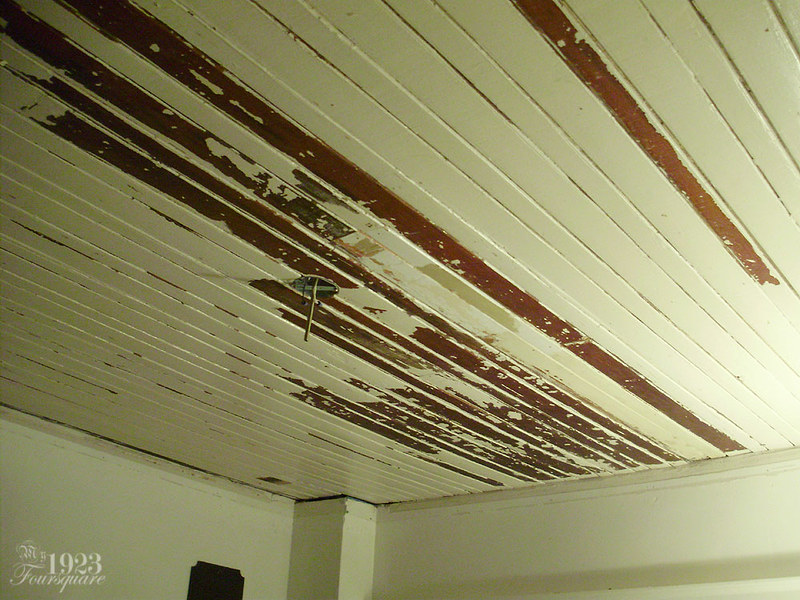
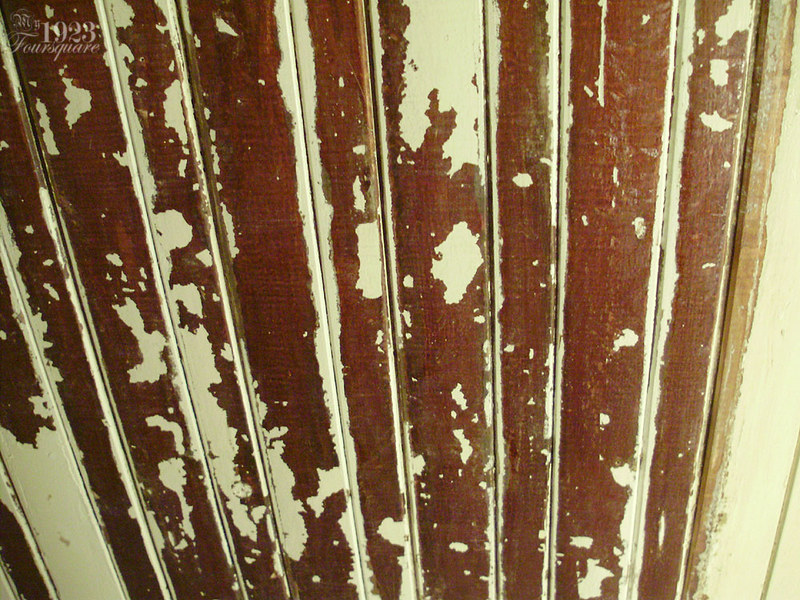
PC230226

PC230227

The original shellac under the paint seems to have had some kind of reaction over the years and it now has sort of a swirly frosted look to it. Reminds me of frost on a window.
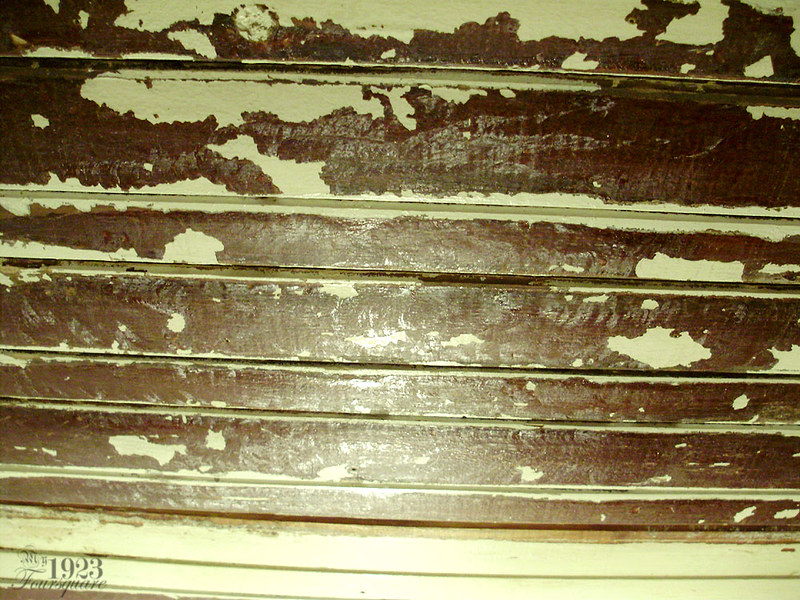
PC230228

Here's a terrible photo.

PC230230

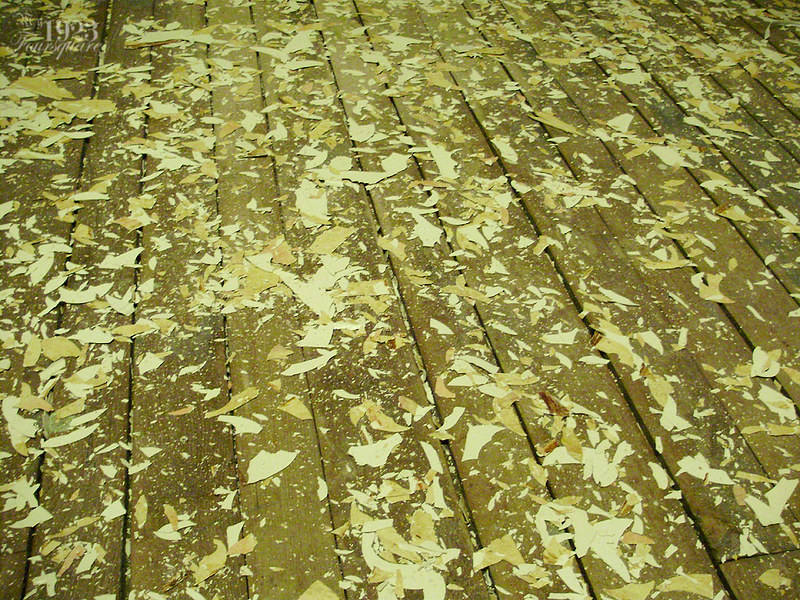
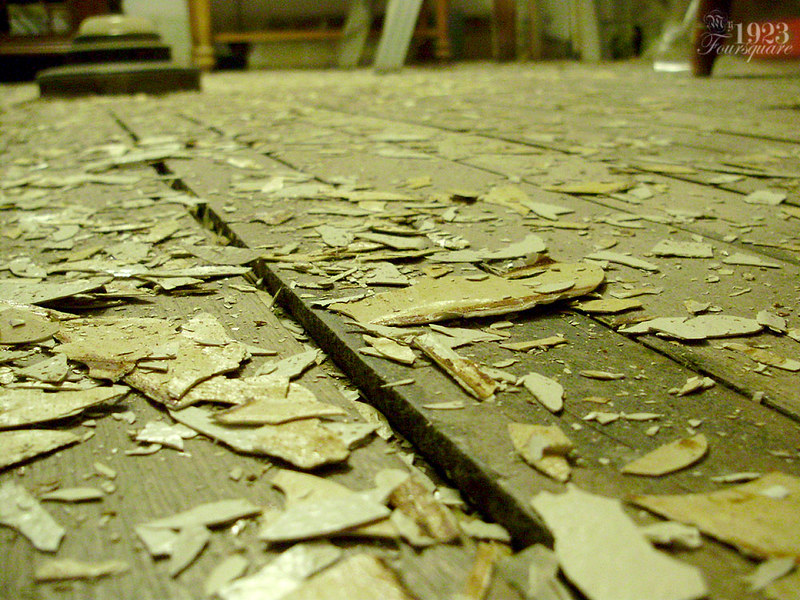
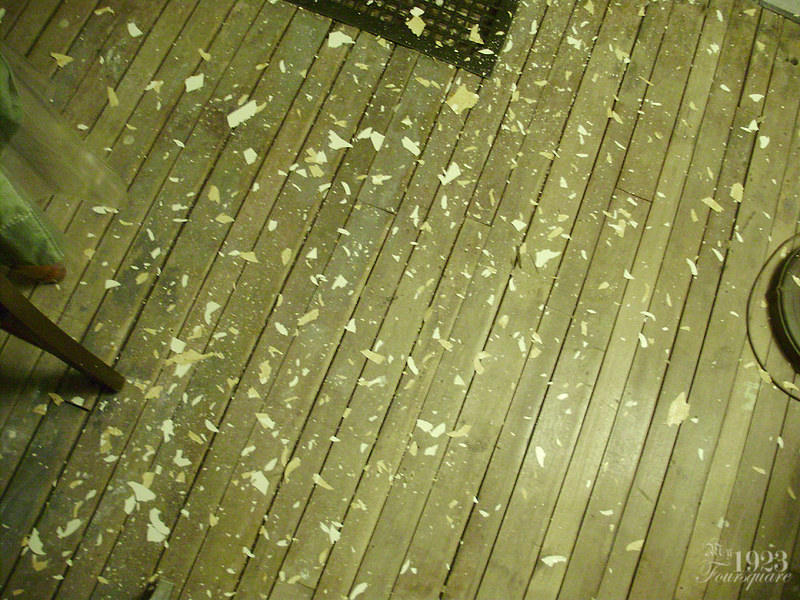
By far the worst part of this whole job is just the paint chip management. I vacuumed the room about 3 or 4 times but it's basically an unending mess.
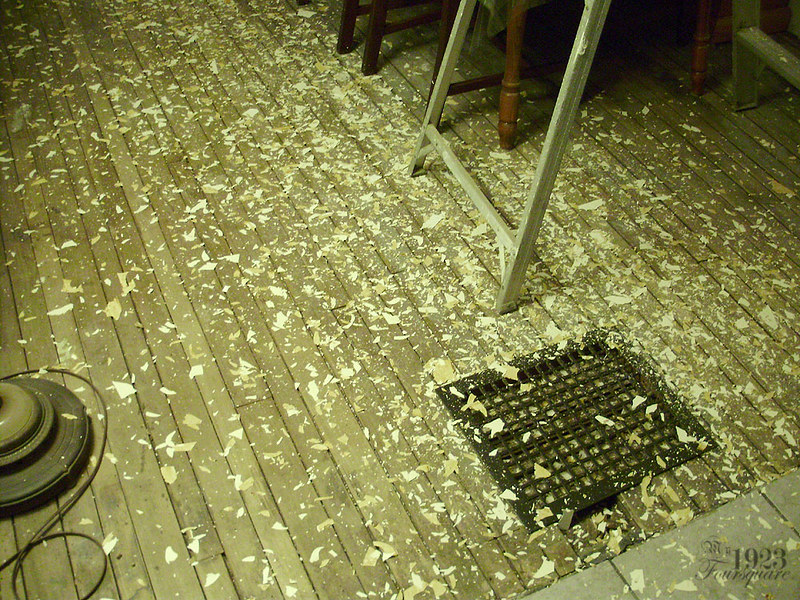
PC230232

I think this is what I managed to scrape in one or two sessions (a few hours).
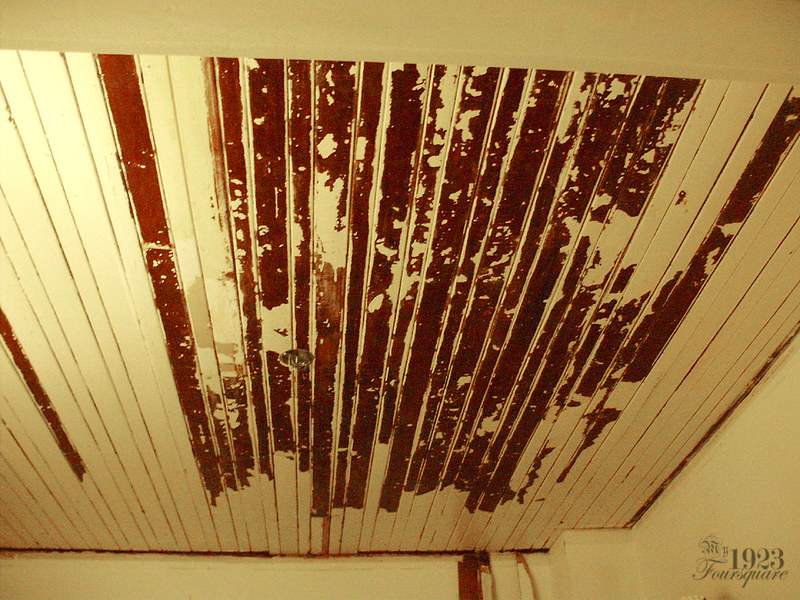
PC230235

Yeah, I think that's what I did on the first night, and this was the next day (the bulk of the ceiling scraping was done between about Jan 2 to 6).
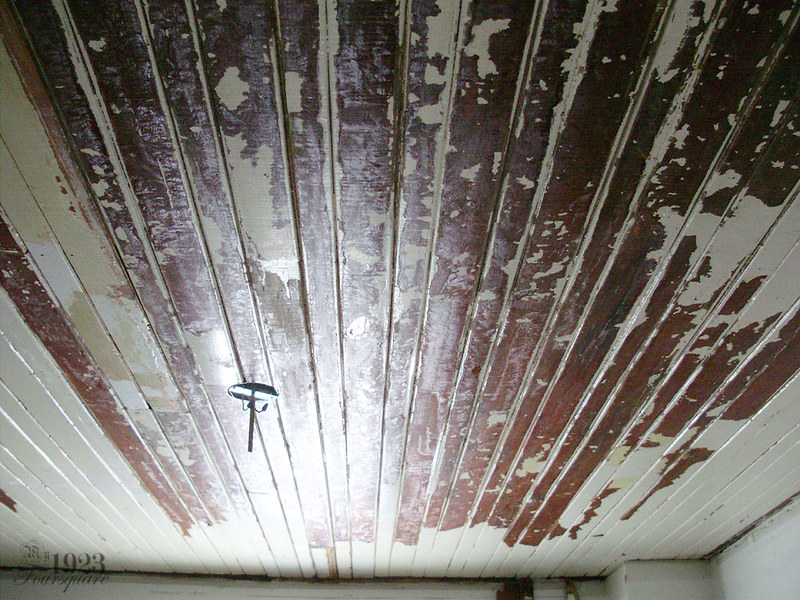
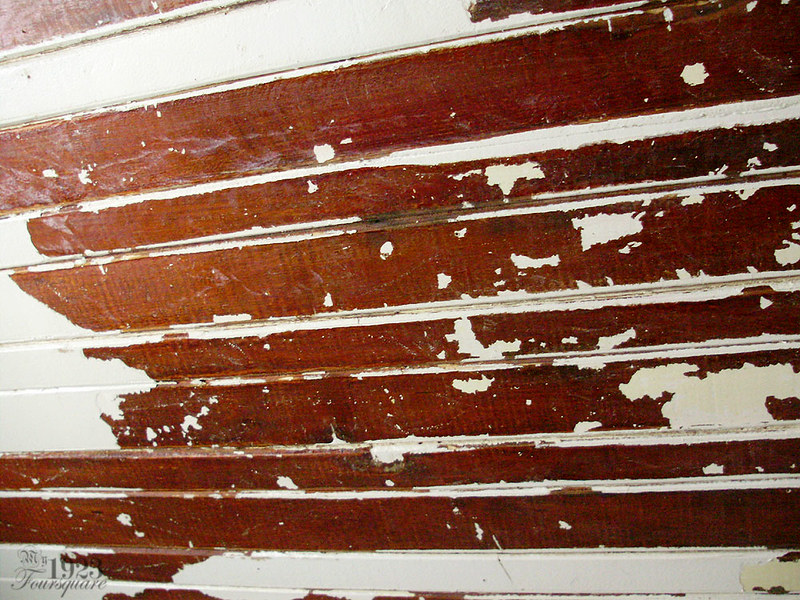
PC240236

PC240237

PC240240

PC240242

PC240243

I also shot this terrible video for you guys. You might want to turn down your volume, as I had loud trance music on in the background as I was working.


As of today, 95% of the ceiling is paint free. I have a few edges left to do, then I can patch and putty the damaged bits. There's one big saw cut to putty, and several nail holes.

Yesterday I went to buy BIN (shellac based) primer and some white paint.

And yes I did briefly consider trying to save and refinish the original wood ceiling, but it would be an insane amount of work. All the cracks are still full of paint, the new patched-in boards don't quite match the original colour, and to actually get everything nice I'd have to chemical-strip, sand, and re-stain the entire ceiling. That's just NOT going to happen. It's too much work, and in the end, it wouldn't match anything else in the house. All the other ceilings and trim have already been painted-over decades ago. I'm just aiming to have a nice white tongue-and-groove ceiling instead of the drywall. I will also fix the ceiling in the kitchen, but not yet. There's no sense in trying to do it now because I need to remove the chimney in order to patch that corner hole. I will also need the cabinets to be out of there because they do sit right against the t-g ceiling and there's probably many extra coats of paint on the inside of the cabinets.

Speaking of the cabinets, I've actually determined that they must be original to the house. They kind of look more like 1940s or 50s cabinets, but the way they are built and how they were installed seems to prove that they were put in at the same time the house was built. They but-up against the ceiling, and they finish on the original tongue-and-groove paneling that went around the kitchen originally (more of the same wood). Additionally, when I removed the plumbing stack, the exposed cabinet side was unfinished white wash, which is the same wood that was used for the casings. Anyhow, more on that later.

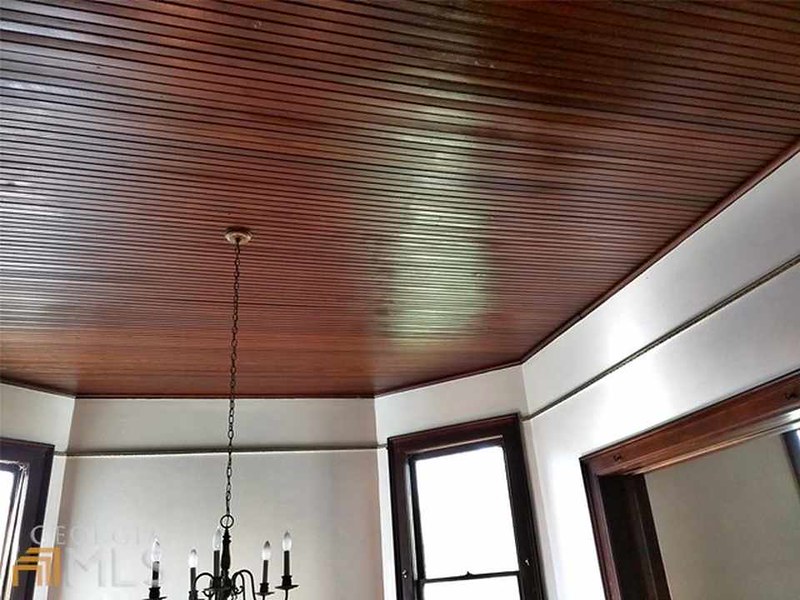
Lastly, I'm including this photo to give you an idea of what a dark wood ceiling would look like. Many houses still have them, but a lot of people don't like the dark wood, so the survival rate for these is getting lower every year. The craze for DIY renos and constantly wanting to stay "on trend" with interior design is also not helping.
344-E-College-St-245

Saturday, June 07, 2014

"L" Room Drywall Update

I figured that a boring update would be better than no update, but at least this one will include a bunch of photos! :D

If you've read my last post, you know that I'm finally pushing to have the "L" Room upstairs DONE and start using it. The last steps are the ceiling and painting (and if you want to get picky, there's still no doors, and I'll work on the closet interior later).

Today I sanded all the ceiling and corners (at the top of the walls). What a mess. Just when I thought I had done a pretty good job, and that there'd be minimal sanding, I end up being totally wrong, and making a huge mess.

Overall, though, the ceiling did turn out nicely, and I had only one spot that needed touch-ups.

Here was the third (touch-up) coat from yesterday (drying):


I mentioned that I got some new drywall trowels and I thought I would show them. Pictured are the two new trowels (the corner trowel and the 10 inch trowel) along with my trusty 6" trowel which I've been using for years. You can see that the blade is spotty (from accidentally leaving it damp which caused rust spots to form).


This was a photo (a "selfie" if you will) of me from this afternoon right after I had finished sanding everything. There was dust EVERYWHERE, including some that was caked-onto my sweaty t-shirt, and it billowed all the way through the hallway upstairs.

Shortly after this, I cleaned up all the dust (shop vac), dusted myself off, and took a shower.

And the reason my mouth is open is because my nose was a bit plugged-up.


Sanded ceiling shots:


I'm really glad that I decided to protect the floor with this cardboard stuff. It's a construction-grade cardboard used both as a floor protector, and as a layer under hardwood (to prevent squeaking). I'll be using some when I redo the hallway on the main floor, but it comes in a huge roll for something like 15$.

One of the main reason for laying that down was for the paint drops (from primer, ceiling and wall paint), but I ended up also dropping several blobs of drywall compound everywhere (which would have been a nightmare to clean out of the gaps in the old floor).


As a last minute decision, I decided to go ahead and install the last panel in the corner (see photo below). If you remember a long time ago, I had loosely fitted this piece, but I didn't attach it because I wanted to be able to have easy access around both sides of the chimney for when I knock it down. Well, I figured I'd have enough room from the other side, and that it would be so much easier to just finish this room completely -all at the same time, and be DONE with it. Otherwise I would have needed to go back later and mud/paint this section maybe a year from now when the chimney is gone.

So this just made more sense. I cut the hole for the outlet, screwed-in the panel, mudded it (first coat only), and once it's good, I'll install that last corner block and length of baseboard, paint those, and then paint the whole room in one shot.


I figure that if things dry fairly quick, I could be done with this room by next weekend.

Thursday, March 14, 2013

Living Room

I started doing some more work/demo in the living room.

I don't know if you guys remember or not, but when I took out the flooring and baseboards in the living room, I partially damaged the bottom part of the old air duct in the interior corner of the room. You can see it in this photo.


This duct used to be part of the old heating system (second system?) before it was re-updated, and it's a stacked rectangular duct that used to feed 2 rooms (Bathroom vent currently under the tub - abandoned, and the front half of the Master Bedroom). They left the old vertical duct in place, and just ran a new round duct into it. Looking back on this, I really should have just torn it out when I reconnected the duct for the Master Bedroom (since I had it in pieces and I would have had easier access).

I wasn't sure if I should just patch it, or redo it, but it was busted in such a weird way that it would have been hard to smooth out (not to mention that I'm not sure how well the compound would hold on bare metal).

The original stack was coated in some type of cloth material (probably fireproof asbestos insulation), and then it had a combination of paint and wallpaper, with lots of caked layers of drywall compound over this. It was cracked in places, and VERY lumpy.

I decided to remove it for 2 main reasons. 1: it was ugly as hell and would be hard to patch/fix, and 2: it would be easier to attach my crown and baseboards to a properly framed drywall corner.

Removing this thing (which was slotted down into the floor, and nailed/attached up into the ceiling) was NOT FUN. It was super messy, aggravating, and dangerous (I got a few small cuts on my hands until I finally got smart and grabbed some work gloves).

I managed to remove the slightly busted-up bottom segment first.


With the bottom part gone, I was then able to loosen and yank-down the top. I didn't want to disconnect/disassemble my new ducts inside, so I had to cut away the rectangular duct, which took forever.


It looks like I'll also be able to shrink this down a bit (maybe 2-3" in width).


I also framed out most of the doorway casings (plinth blocks will go in last - after the floors are refinished). You can see how much the wall/floor slopes on this doorway compared the the square opening of the Office door. I'm pretty much out of my new MDF boards (I need to get more), so these casings are a real mix of pieces. MDF on the right, an original Ash board on the left, scrap painted pine for the header, and new parting bead & crown in silver maple.


I'm also working on that Cherry bookcase some more. I just ordered some hardware for it and if I'm lucky, it might come in tomorrow, if not, Monday.

Sunday, August 26, 2012

Porch Painted (First Coat)

So today I prepped and painted the porch. Most of it, at least.

I spent several hours this morning/afternoon (around 11am - 3:00pm) puttying/gap-filling, and prepping for paint. This included getting up on ladders to caulk around the crown moulding, along the inside gap of the fascia, all kinds of nails holes in the fascia, along the edges that met with the siding, etc.

I did not install or buy the moulding along the bottom yet, and the top one will wait until I replace the sills (maybe next year?)

I started painting after I got back from groceries, and a quick road trip with Mom to grab some salvaged windows, and after a quick supper. So painting started with the BIN primer (white tinted shellac for the knots), around 6pm.

As I was priming, I ended up dropping the can right at the steps (in the doorway), and losing about half the can. I made a HUGE ASS mess in the process.

I was not happy.


Of course I didn't bother to change into some painting clothes (since I had been careful up until that point), and of course it splashed all over me, my glasses, and my shirt (which I'm pretty sure is now ruined).

Mom was over on the computer, and I got her to take the photo.

Luckily, the shorts survived relatively unharmed, as did my black shoes (cheapie shoes, but ones that I like).

I finished painting around 8pm. It was too dark out to take decent photos, so you get nuthin' till tomorrow or later.

I'll make a note to photograph the salvaged windows as well.


EDIT: I should note that I painted all the exterior of the porch EXCEPT FOR the window areas, and the sills. I basically painted the fascia, the portion above the crown, the entire flat surface around the windows/corner posts/around the door, door casings and jamb, and all the t-g.