Showing posts with label Caulking. Show all posts

Friday, September 30, 2016

Victorian Farmhouse - Part 15

So I'm starting to get the hang of Flickr, but it's still not my favourite.

I've sorted through a lot of the photos that I have ready, and I've divided them into certain projects (like the bathroom, the front (side) door, and the upstairs drywall), but basically, we're still jumping around between several projects, so some of the photos will still be a bit random, which I hope is fine.

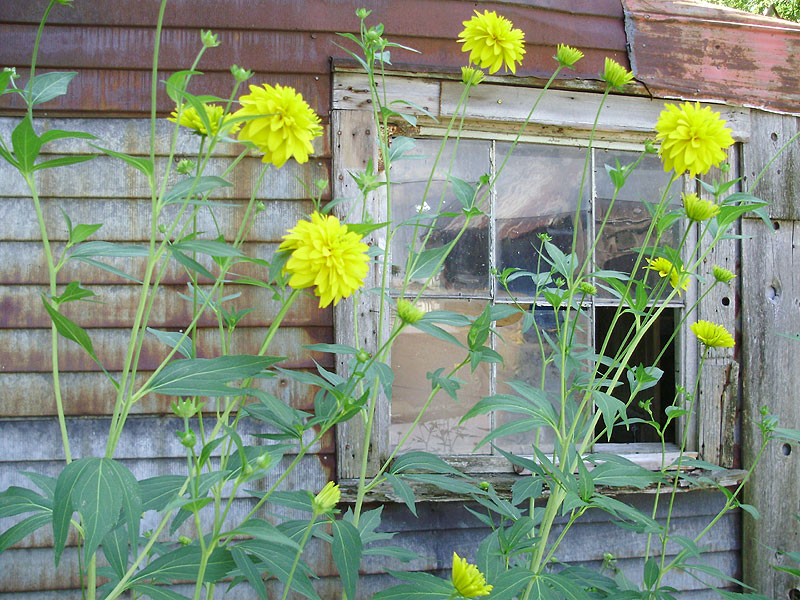
These beautiful flowers are about 6 feet tall, and they are growing in front of the old detached barn. I had trouble identifying them, but I was sure that I've seen some before. Angelina told me that according to her mom, these were an heirloom variety, which turned out to be correct. These are called Golden Glow - Rudbeckia laciniata Hortensia. They are also sometimes called outhouse plan, or outhouse flowers.
P7260029

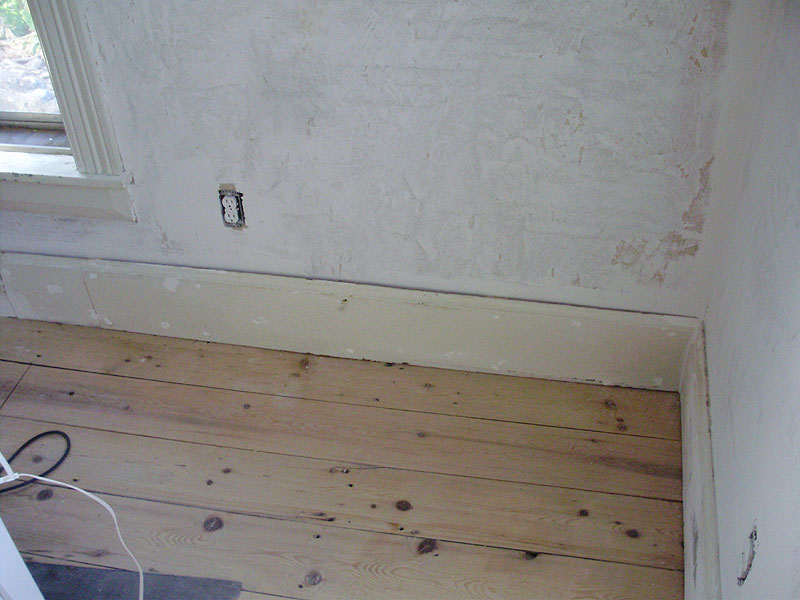
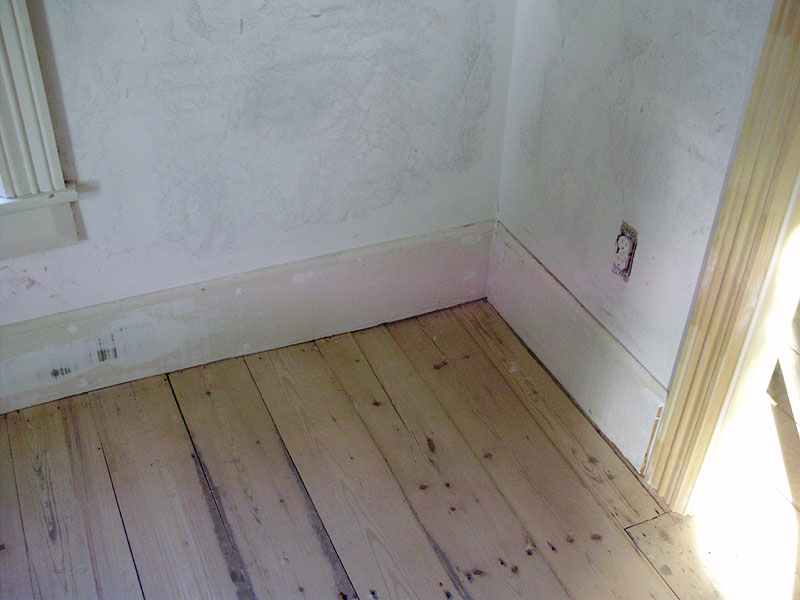
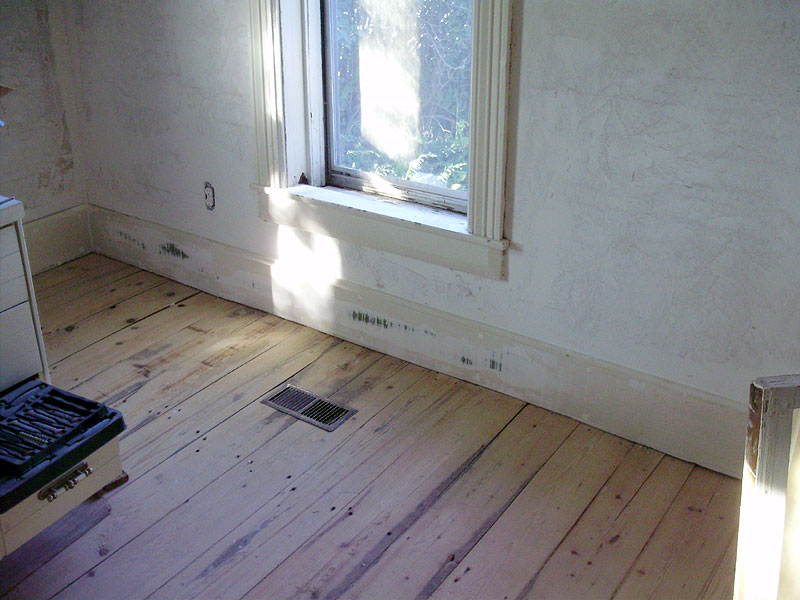
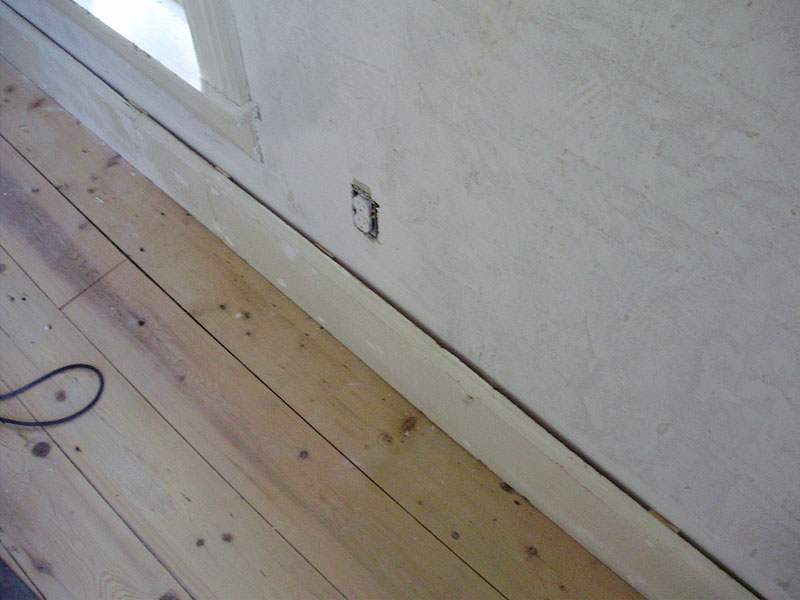
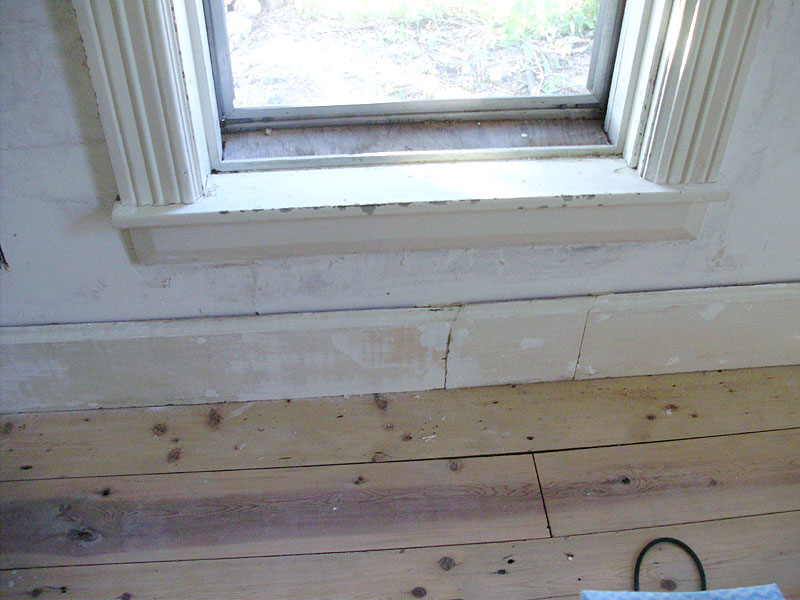
Here are a whole bunch of photos of the baseboards reinstalled in the office, all patched, sanded, caulked, and ready for paint.
P7290061

P7290062

P7290063

The North-facing wall had a big bow at the base due to settling, and it was impossible to install the baseboard properly, so it was shimmed, and we had to go back and feather-in several layers of drywall compound to meet up with the moulding.
P7290064

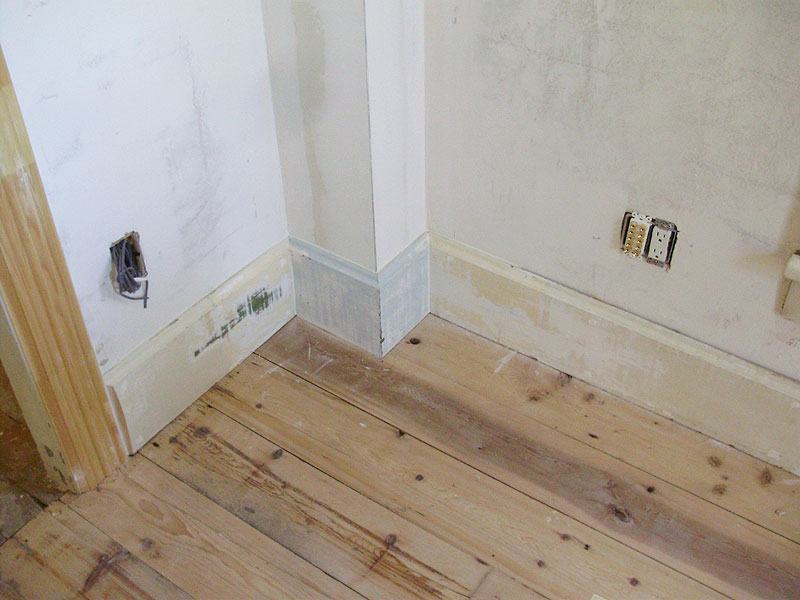
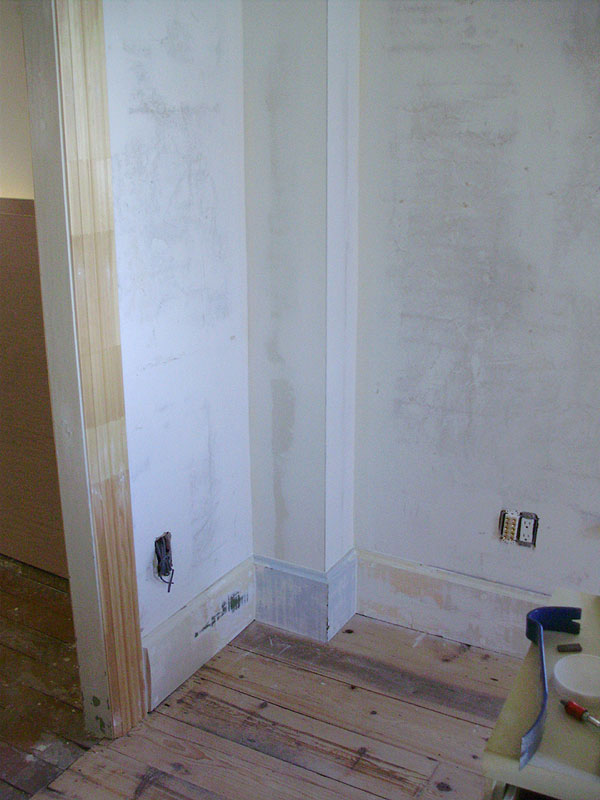
For this corner, you will note that it has blue paint on it, which you MIGHT remember is the colour from the hallway. That's because the piece of baseboard that fit between the short interior wall in the hallway was about an INCH too short to fit. I had to make a new length of pine baseboard to go there, so the old piece was used for this corner so that it would be an exact match with the old.
P7290065

The transition piece looks rather sloppy because 1: it was this way, but even worse, and 2: the baseboards are cupped in different directions. These pieces were feathered together with 45 degree edges, glued together, and nailed diagonally. We added a bunch of drywall compound over the joints and sanded everything, so they should be harder to see when everything is painted.
P7290066

P7290067

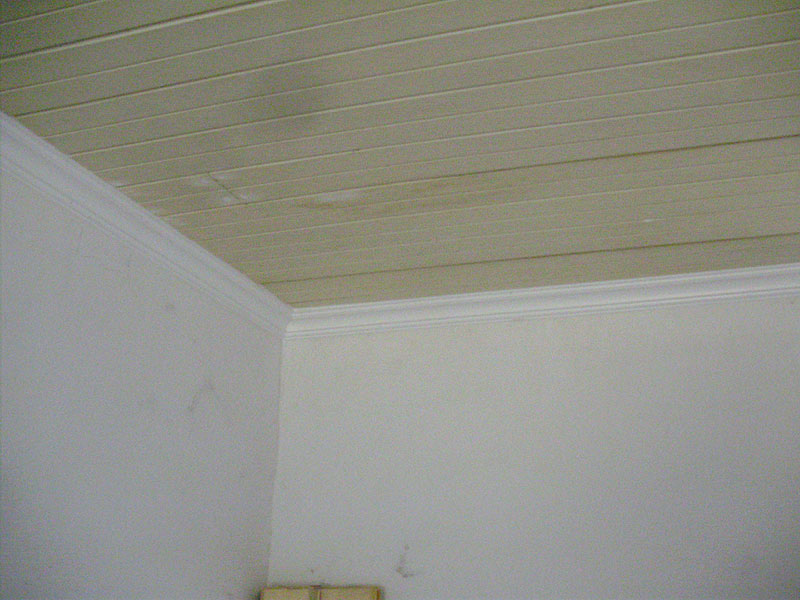
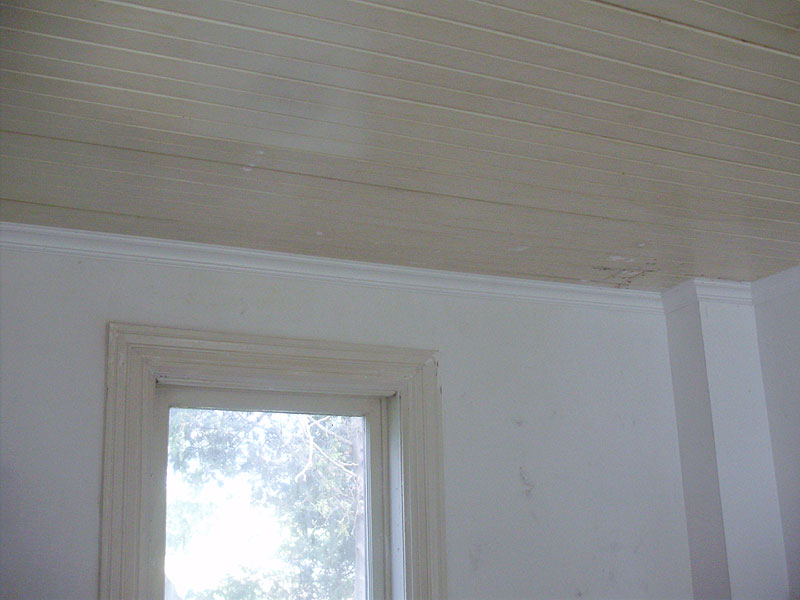
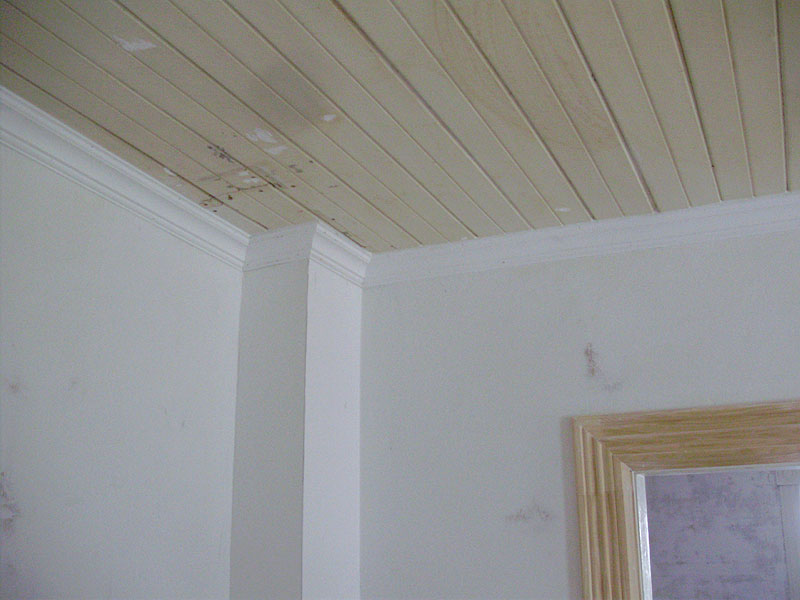
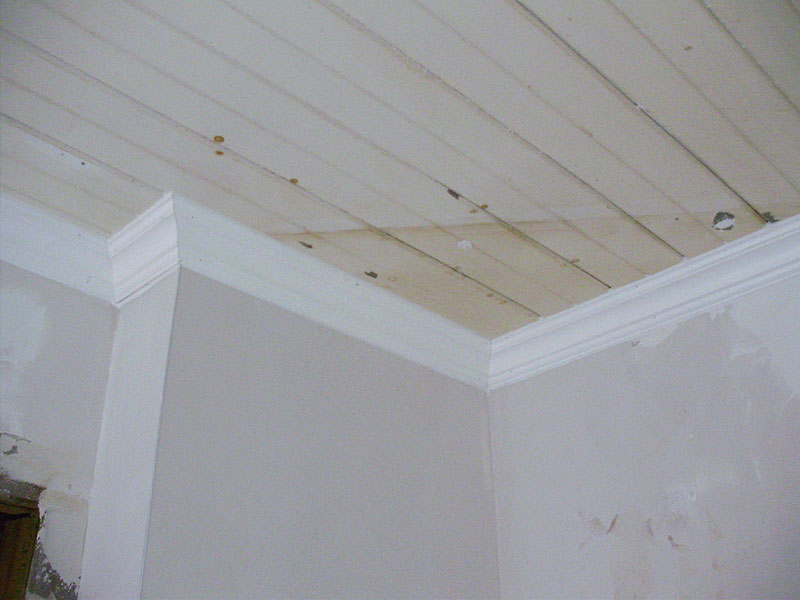
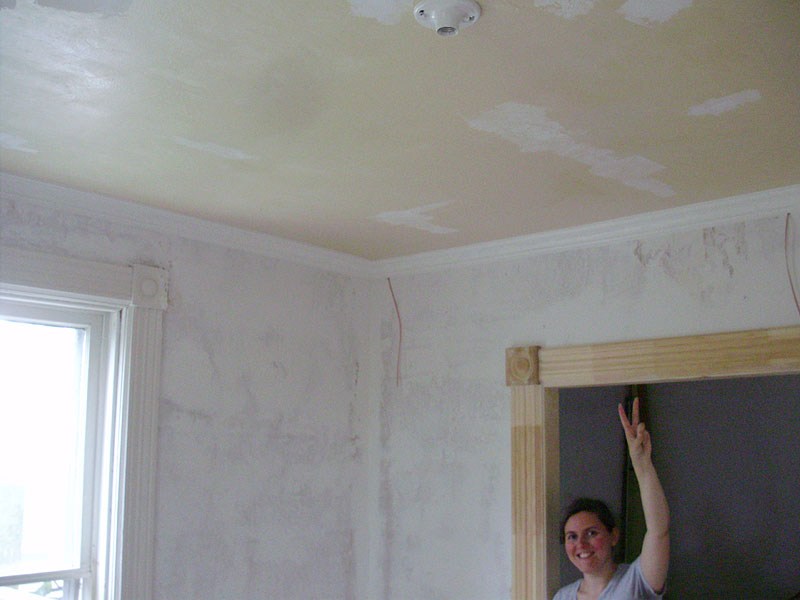
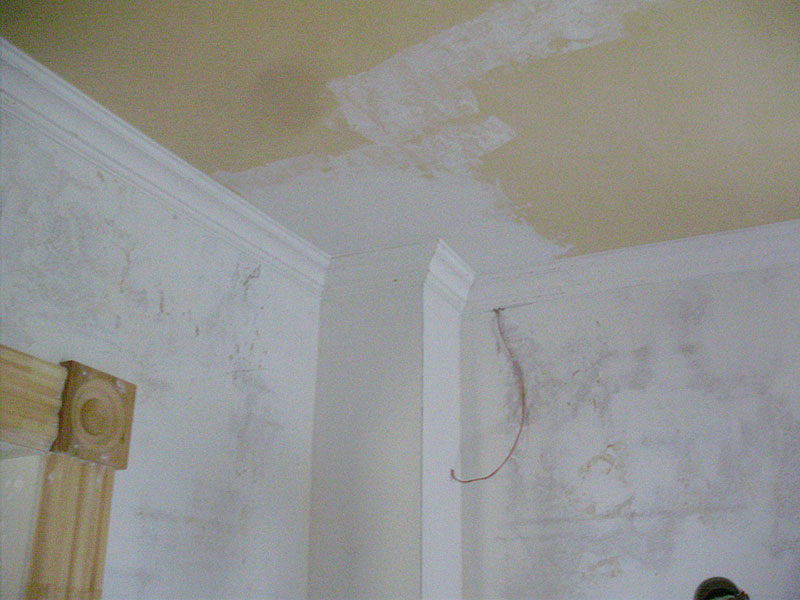
Pierre had been really REALLY itching to install the crown mouldings. They still were not a big rush to install, but we took 2 days to up them up, and they look great. Remember: we got these for 1$ per length (most being 8-16 feet long)! Angie approves!
P8020102

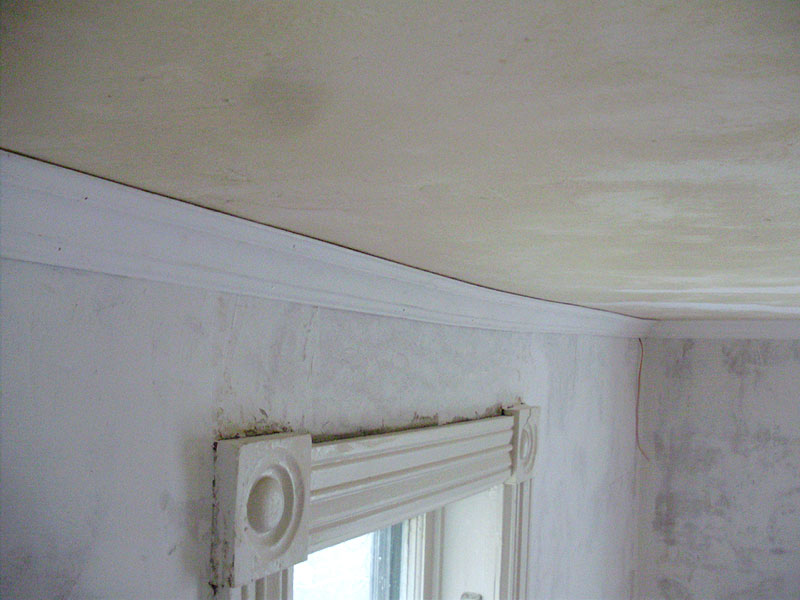
They will show up a lot better when everything is properly painted. Right now everything is uneven shades of white on white, so the photos aren't the best. All of the trim will go grey, and the walls and ceilings will go off-white.

Because these are MDF, they are quite flexible, which is a big bonus when working in a very old house with lath and plaster. You can see how crooked these are, but once all the cracks are filled, it doesn't show at all.
P8020099

P8030105

Living room crown:

P8030107

P8050120

P8050122

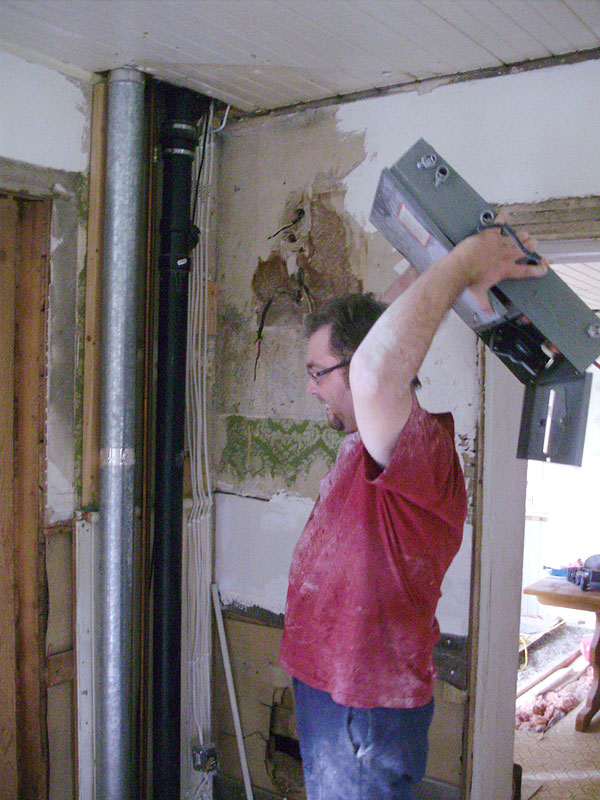
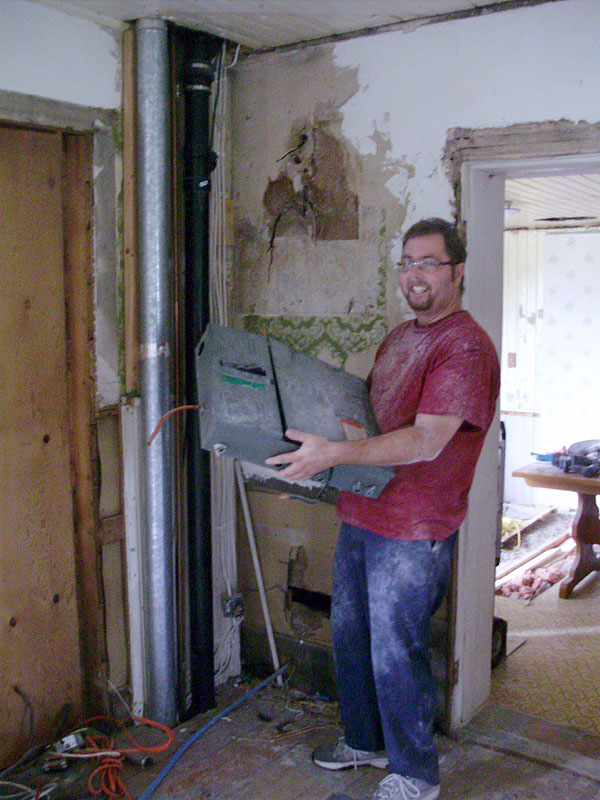
These next two photos show Pierre's enthusiasm after the old electrical panel in the living room was FINALLY FINALLY removed. We've been held up from finishing this corner of the living room for months at this point. This also meant that we had all of the new electrical hooked up and working! No more extension cords everywhere!
P8060158

P8060159

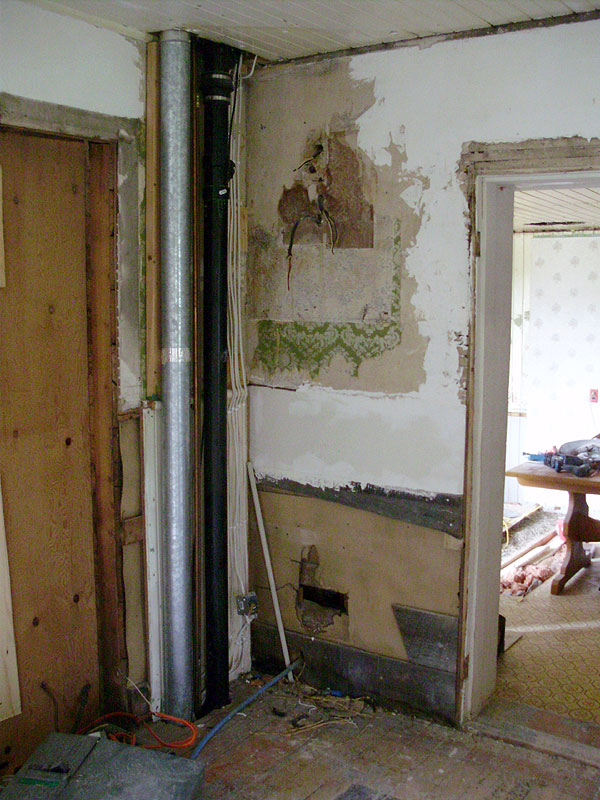
So with all the old junk disconnected, we could finally finish up and repair this mess of a corner.
P8060161

Back to mouldings. This is after everything was patched (nail holes, chips and gouges), and caulked.
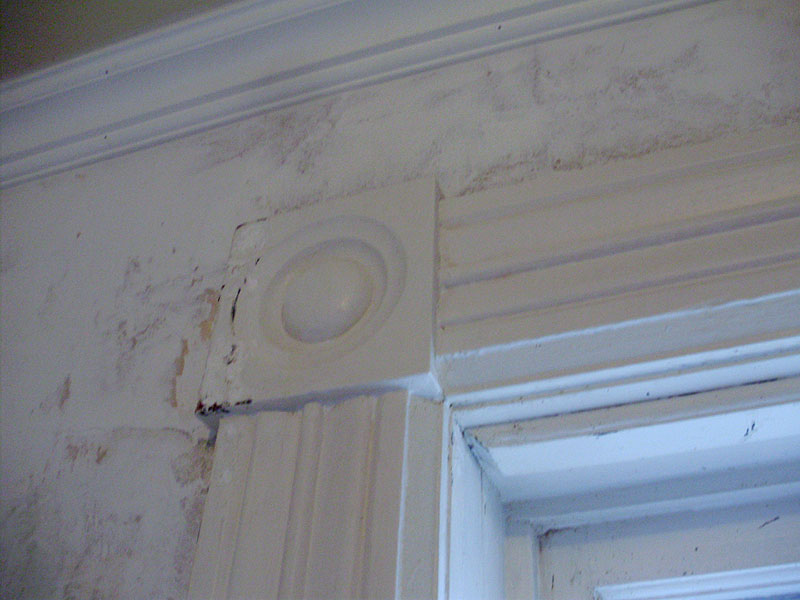
P8060164

You can see the crown a lot better. The nail holes still need to be filled. We were lucky to have a compressor and nail gun to install the crowns.
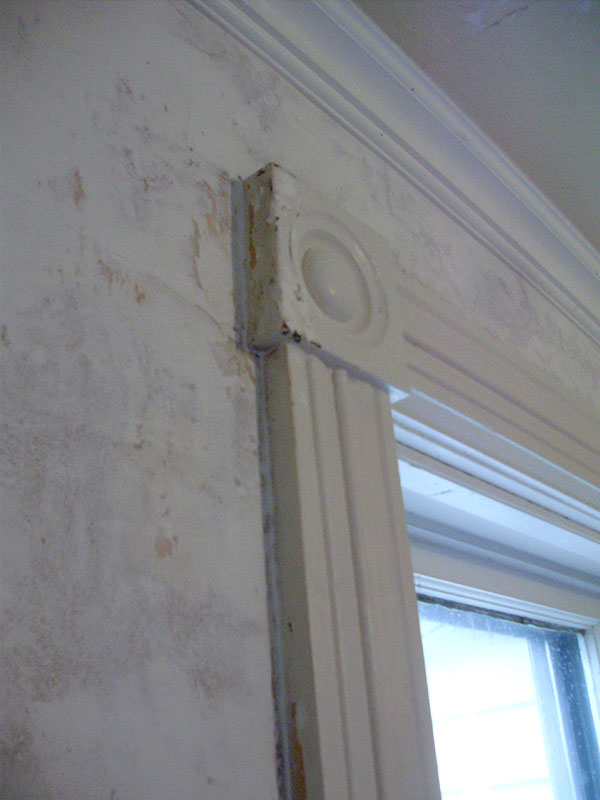
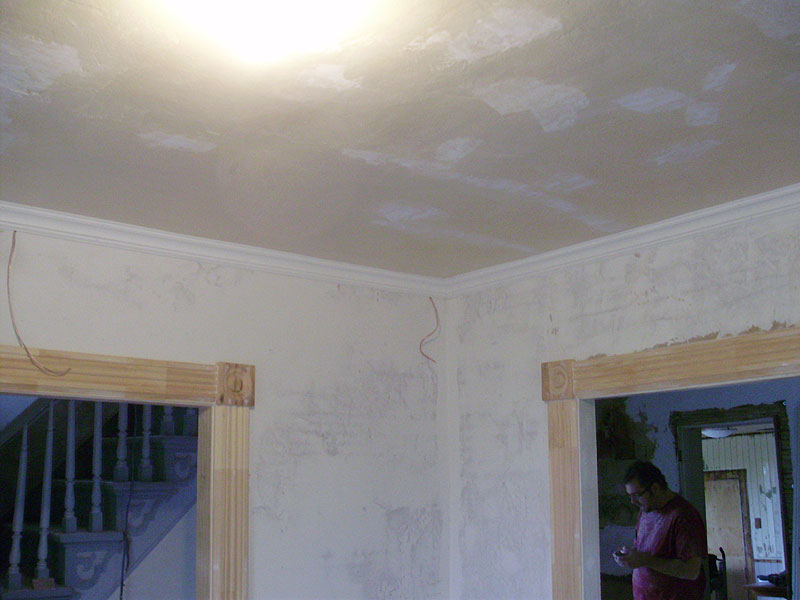
P8060166

P8060167

First layer of compound in the living room corner.
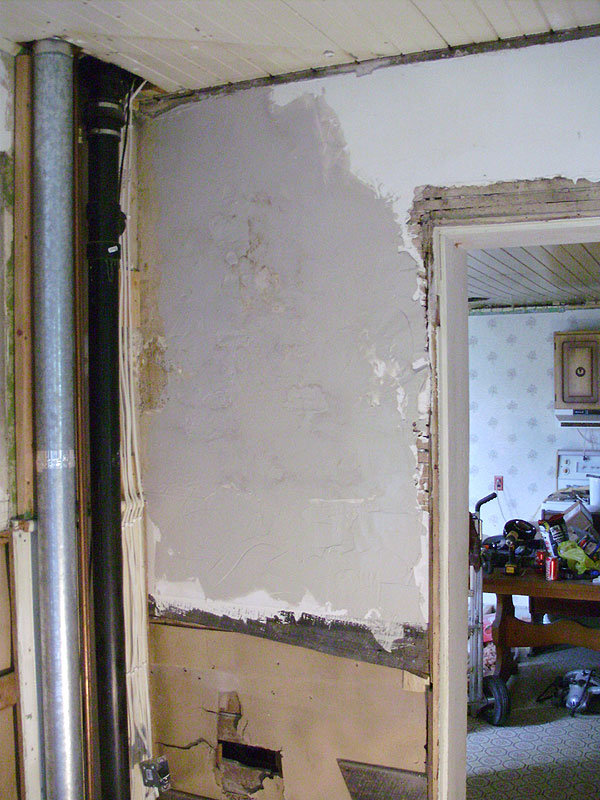
P8070168

P8070169

Most of these pieces were already cut and ready. You will also note the opening for the exterior side door that we had started working on. That will be shown separately.
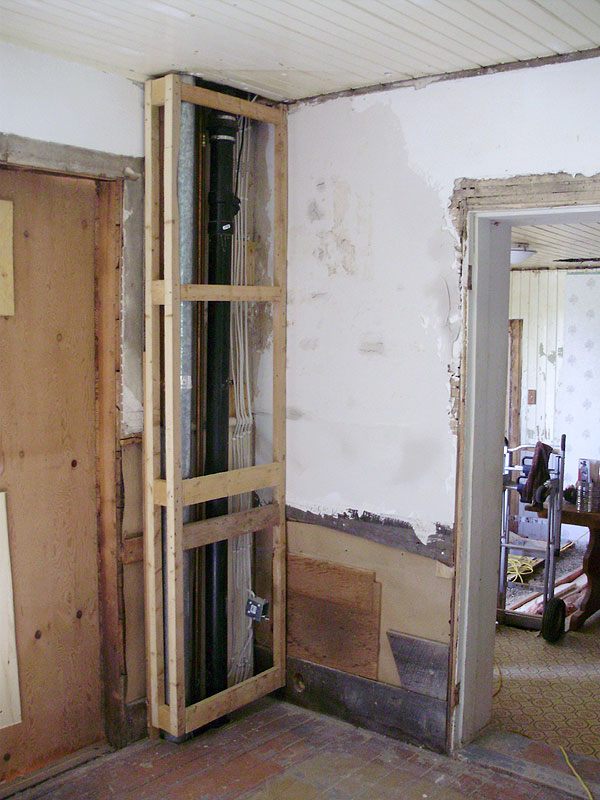
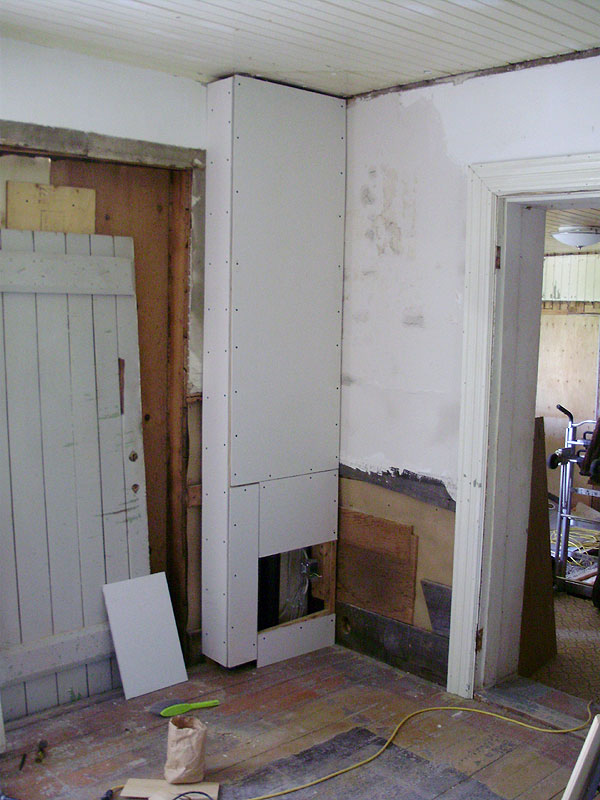
P8070172

P8070173

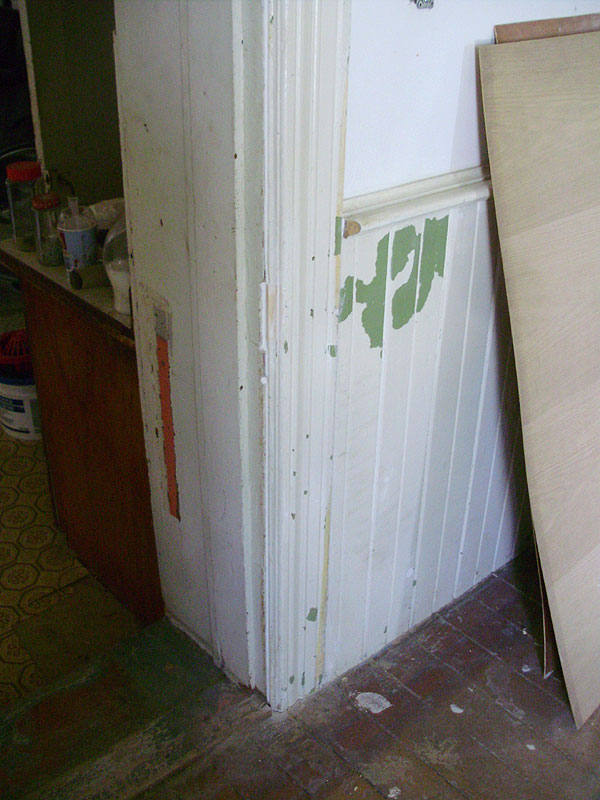
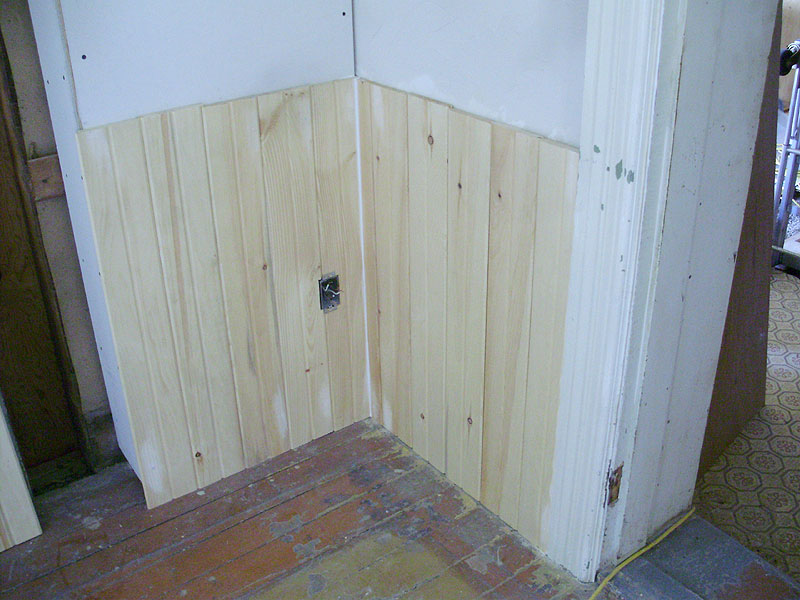
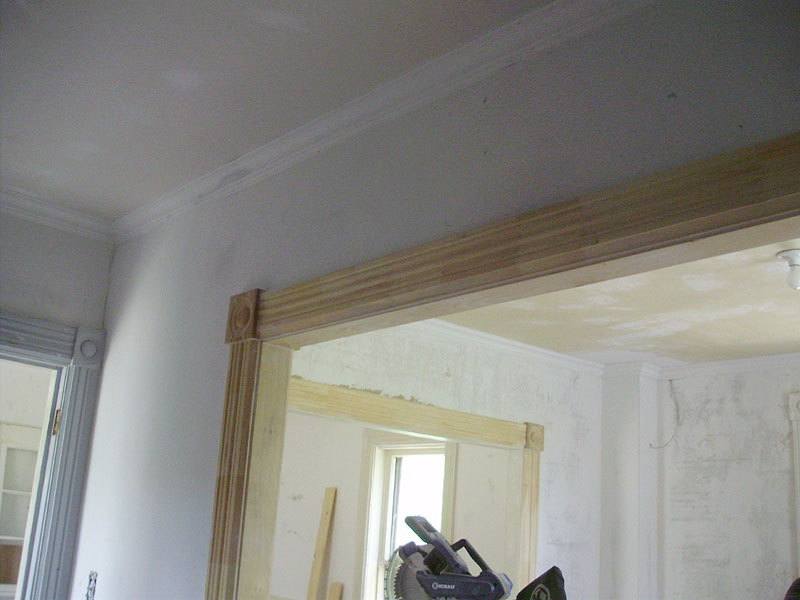
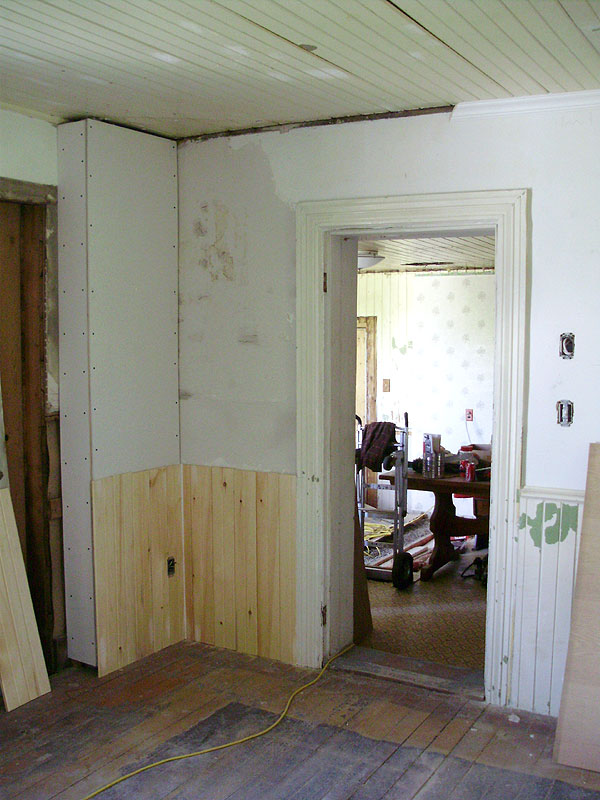
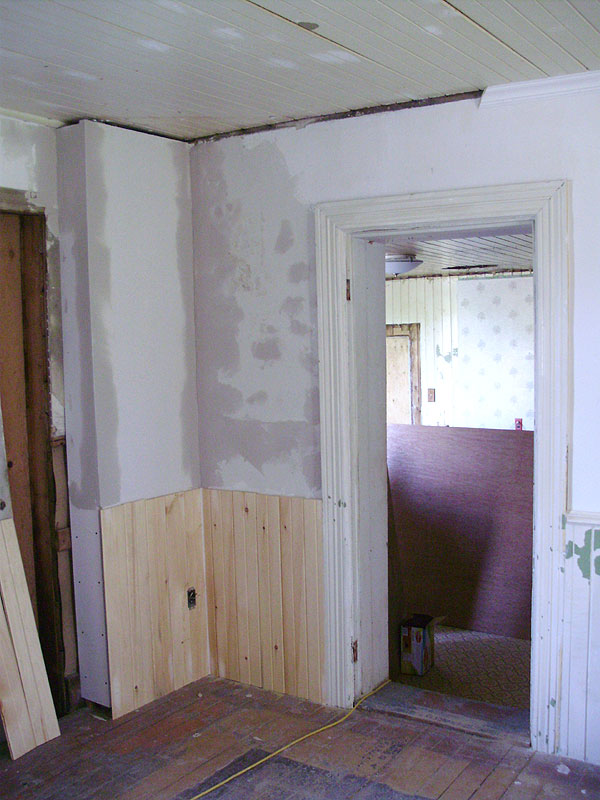
The old mouldings from the side door were going to be about an inch or two "off" so instead of trying to reuse them on the same door, they were installed on the doorway to the kitchen (on the right). The new (matching) tongue and groove was installed at the same height as the rest of the room. For whatever reason the original t-g was about a foot taller ONLY in this corner. That made no sense, so we modified it so everything is the same.
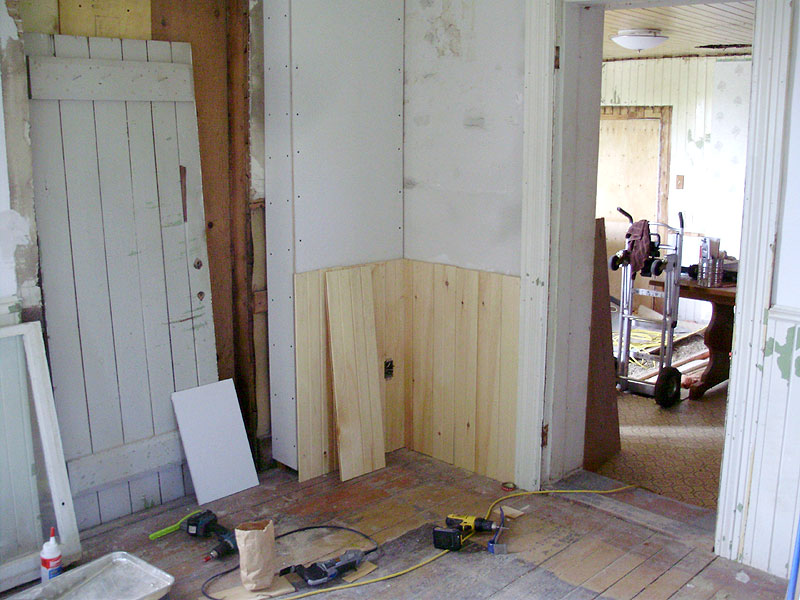
P8070174

P8070175

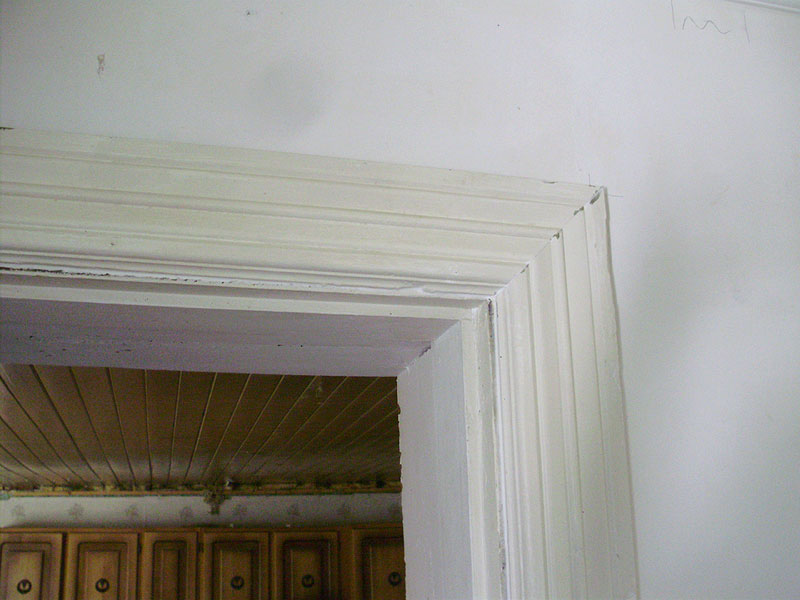
The old casing had a notch in it for an old rim lock, so I fitted patch in there, glued it, and carved it to match.
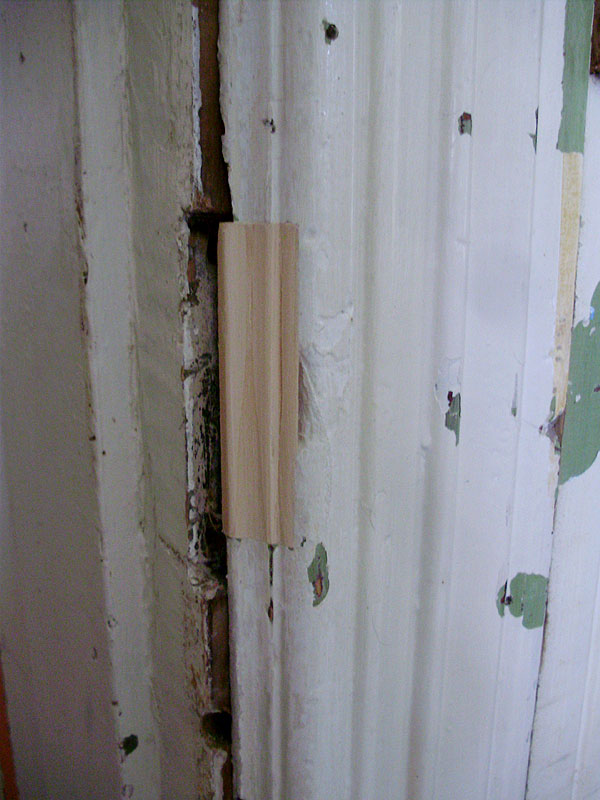
P8070177

P8070178

After caulking:

P8070179

P8070180

P8070182

More drywall compound (and corner seams).
P8080186

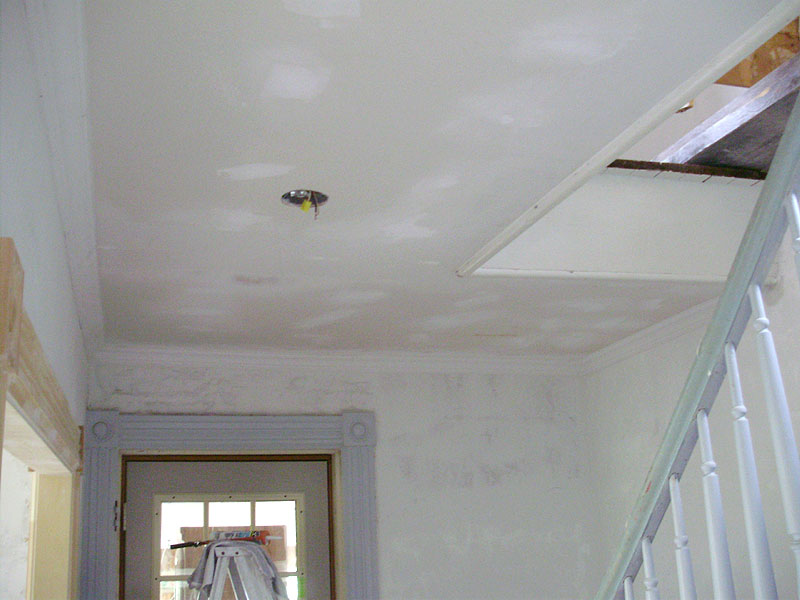
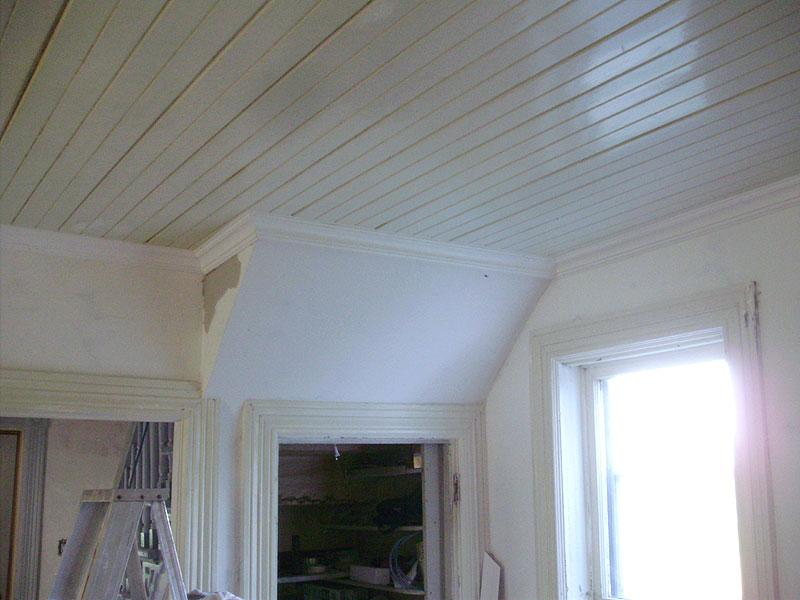
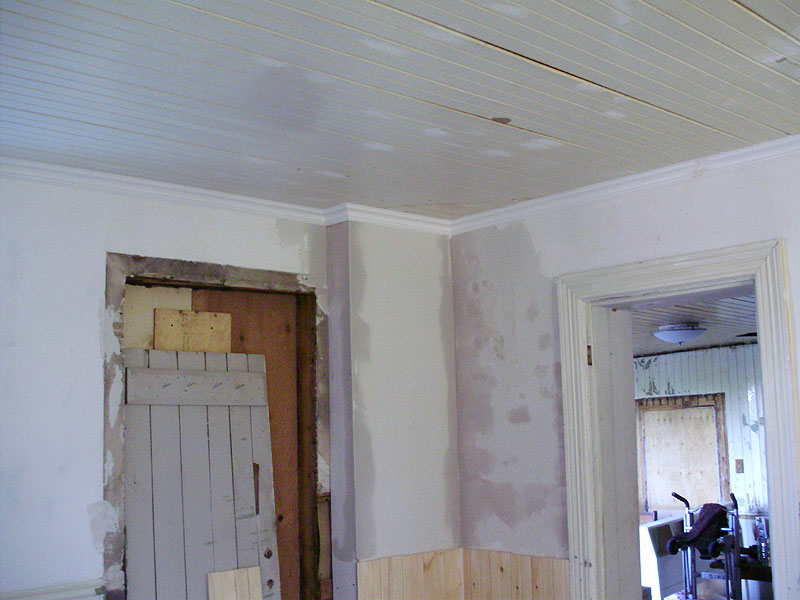
Finishing the crown in the living room. Going around the slope in the stairs was tricky. You can't change the angle of the crown, so normally you either skip crown around slopes or awkward corners, or it hangs funny, and you have to fill it in with a box, like I did here. This is very tricky/advanced woodworking, so if you attempt this, take your time and measure carefully.
P8080187

P8080188

This is the ONLY joint in the living room (not counting corners, obviously). You want to avoid joints as much as possible, because they tend to separate or open up. To avoid this, they need to be lapped (45 degree joint), glued, and held with extra nails in the surrounding foot around the joint. Additionally you need to carefully putty and then sand the joint smooth.
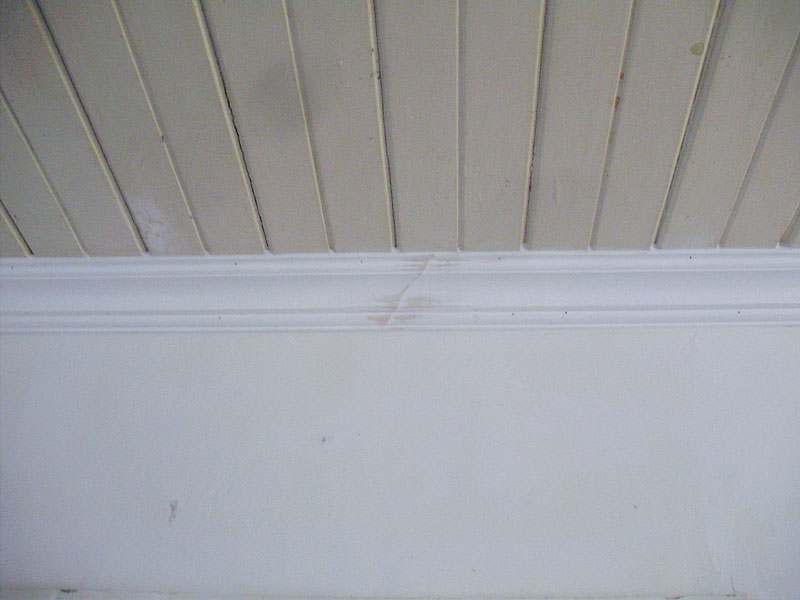
P8080190

You can see the old shadow line on the ceiling from the ugly plywood and wallpaper cabinet that used to be here.
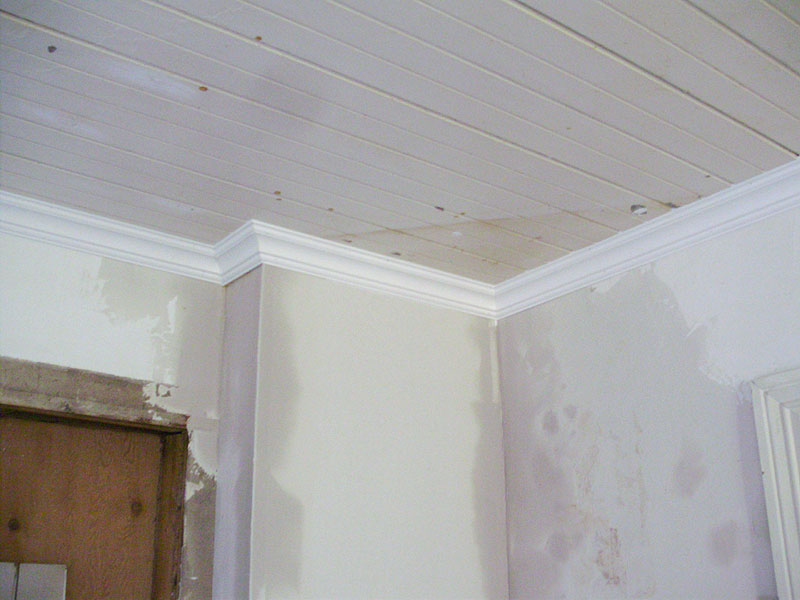
P8080191

This shows the crown filler strip in the sloped portion.
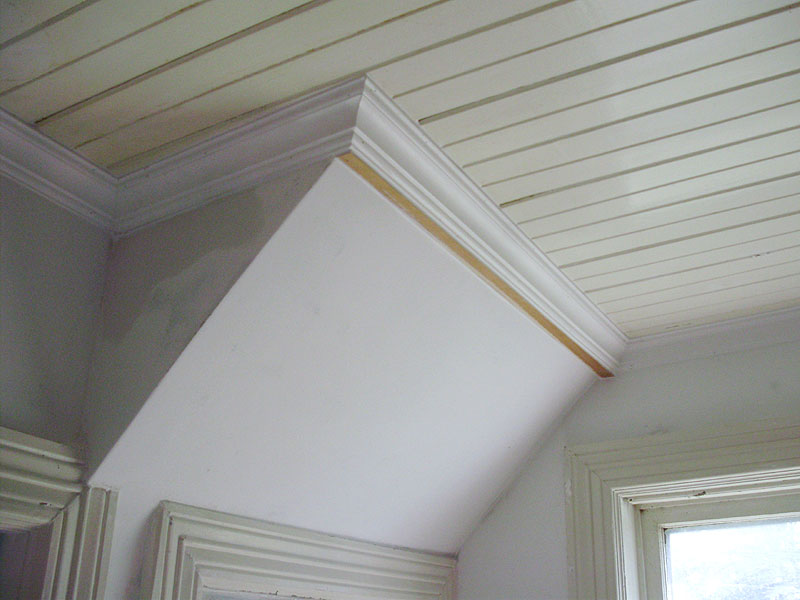
P8100241

P8100243

Crown in the hallway:

P8100244

At both outer corners, the crown does a "return", where the crown basically does a 90 degree turn into the wall.
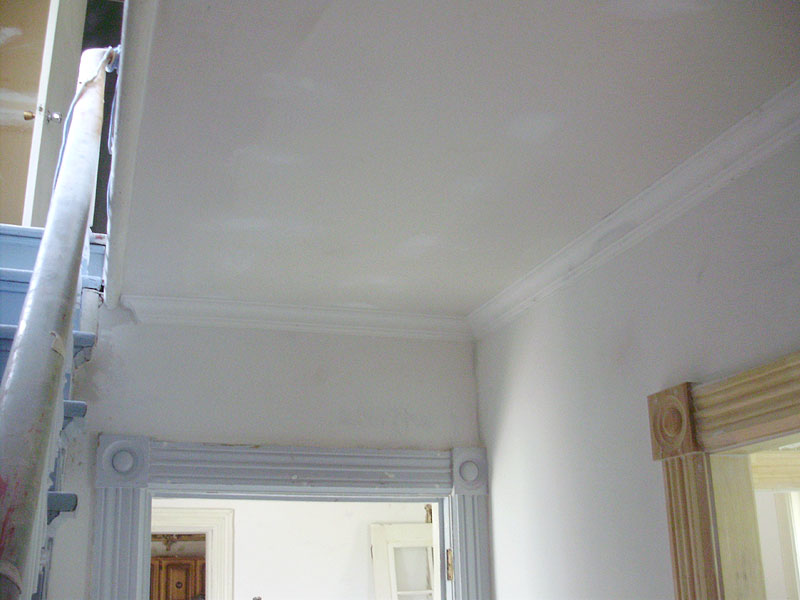
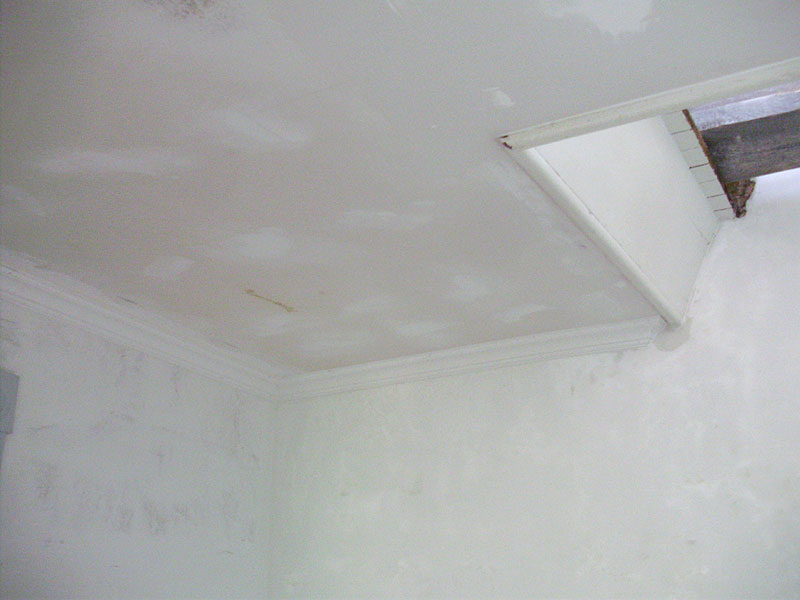
P8100247

P8100245

P8100248

Installing the chair rail (custom made by me) in the living room corner.
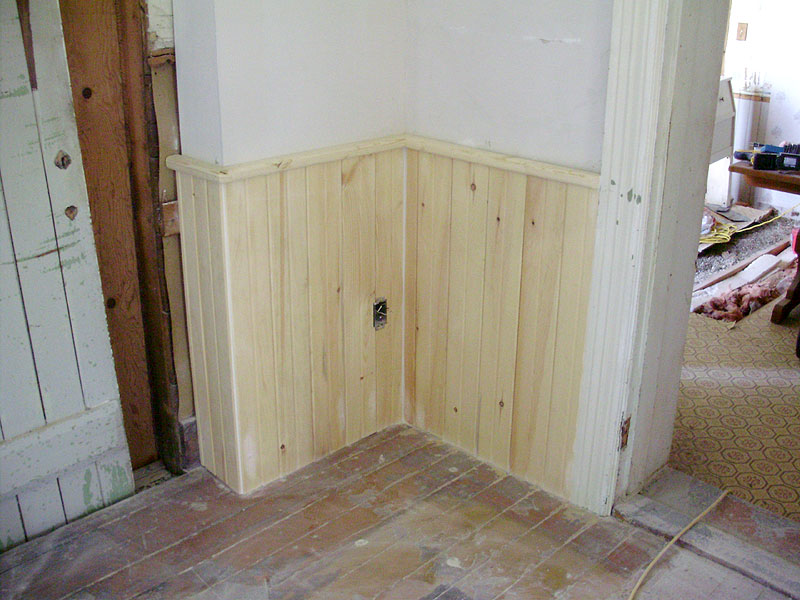
P8100250

These last 6 photos are random. Here we see some of the drywall patching in the master bedroom (upstairs).
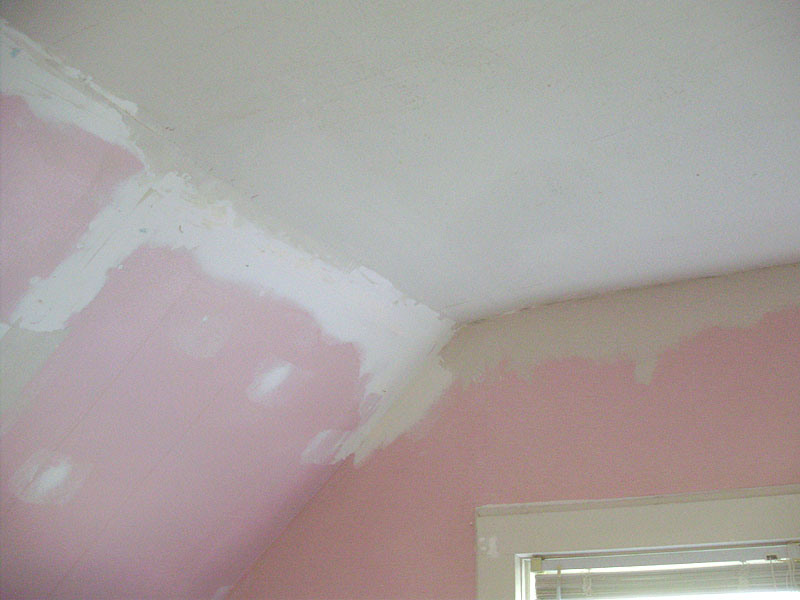
P8110256

Angie could not live with the textured popcorn ceiling, so Pierre did a first coat of compound over it, which I'm sure was a hellish job.
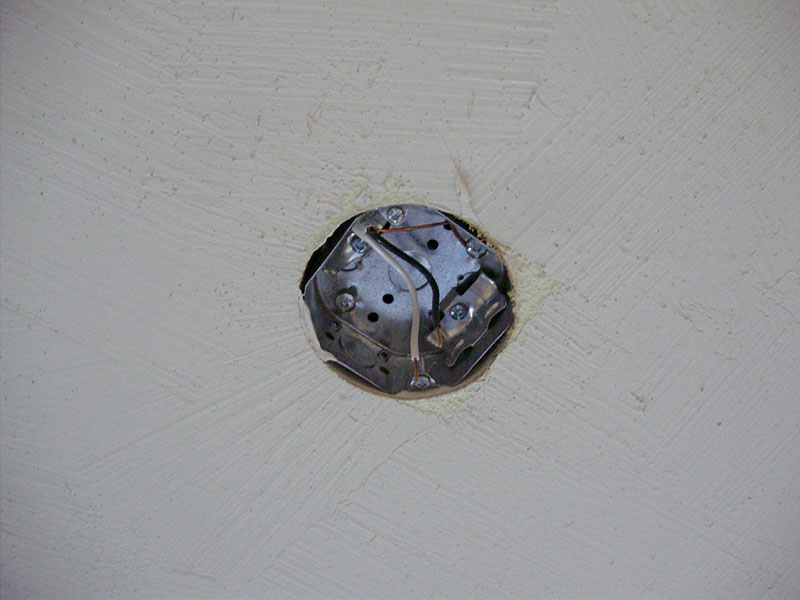
P8110255

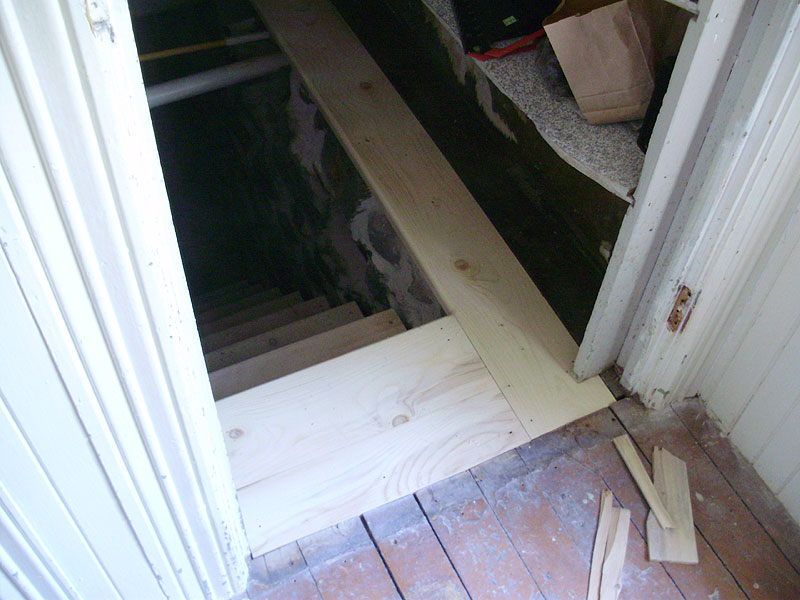
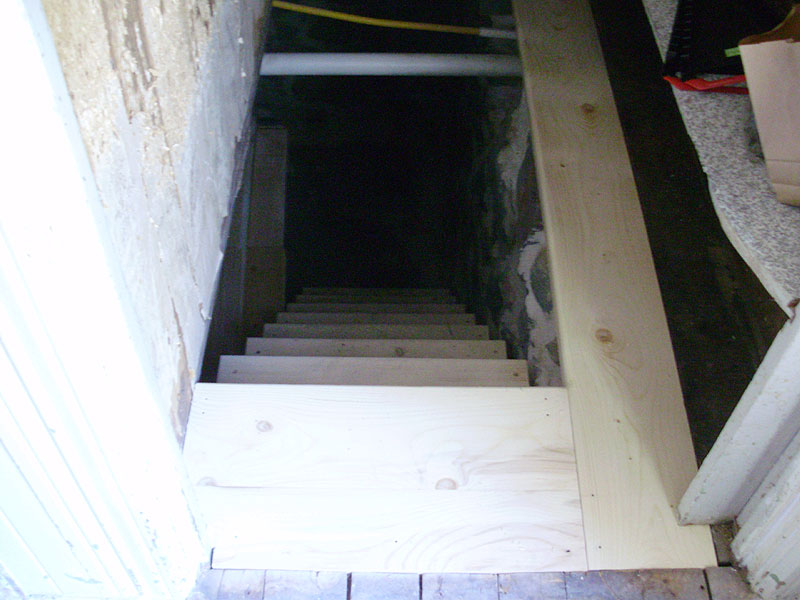
Here's the new patching and finishing around the basements stairs that I did. This will probably all be painted grey to match the basement stones/ceilings, etc.
P8120280

You can see how everything lines up nicely.
P8120283

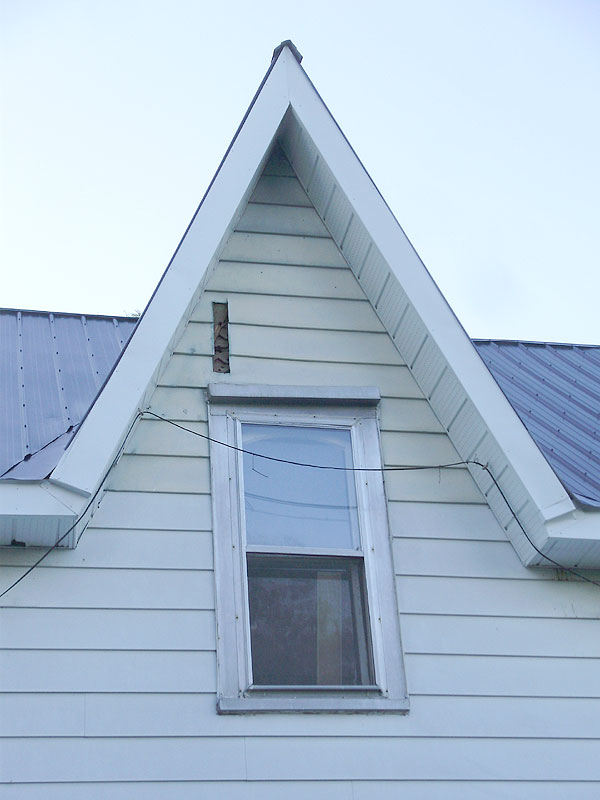
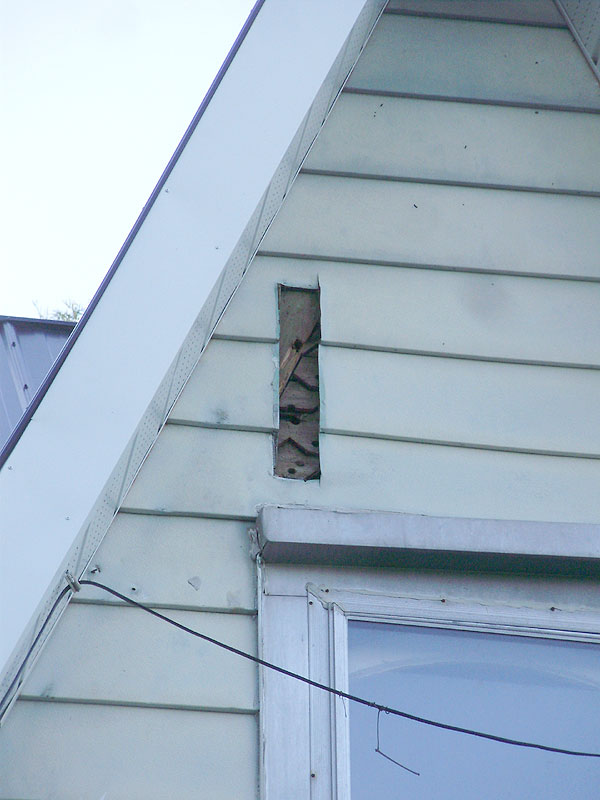
After the electrical was relocated, the old iron plate that was bolted in the peak of the house was removed. I noticed that some decorative cedar shingle work could be seen through the hole in the siding.
P8080192

P8080194

Friday, September 25, 2015

Salvaged Front Door Project Part 6 - Mouldings And Finishing Touches

With the door hung, nailed, and insulated around the edges, it was time for some trim. I wanted to get this done so that I could finish painting the jamb (since it had only one coat of white, and now had puttied nail holes everywhere). The weather is already starting to get cold, so caulking and painting had to happen ASAP!

Before I get into all the details of the trim work, here's a before and after showing the finished product!


Pretty dramatic, right? The white is so clean right now compared to the rest of the porch that a lot of the details are hard to make out. I know this won't last, but the porch will also need complete repainting, and it also needs restoration work to all the windows, which is a big job.

Alright, so for the trim, I wanted something very similar to what I have in the rest of the house, but a bit beefed-up (because of the size), and a bit fancier since it's the front door. I wanted it to make a statement, but still "match". I know for a fact that the original mouldings for the door would NOT have been this fancy, but there's no reason why I can't elevate them just a bit. It's not everyone who has free access to a professional trim carpenter (me), so I'm taking advantage of the situation! Haha.

The design for the trim is largely based off the trim from the "Edgewater Pad", which is a Chicago "2-flat" owned by Tate Gunnerson and his partner (http://www.strangeclosets.com/). I fell in love with their home when I first saw it a few years ago, and it was the inspiration for the paint scheme for my entire house. I posted a few photos of their place in my third post on the blog (2011) called "Inspiration".


This trim is basically the same idea as my regular trim, but instead of a small crown, the moulding is made up of a few pieces. This is a very classical design, and it dates back to ancient Roman architecture:


For the vertical side pieces, I needed a fairly wide moulding, and I looked through my stash of salvaged trim. I had one long length of trim from the hallway door casing (I talked about this in Update No.5), and then I bought an additional length for the other side.

The top's main section is simply a rectangular board with a bead moulding for a bottom division. Above this is a large cove moulding. They used to sell a nice 1" deep cove, but apparently they don't carry this anymore, and these days you're lucky if you can find close to 3/4". Seems like everything is getting smaller, crappier, and more expensive. I had to make this cove on the table saw from scratch. I just used scrap MDF (it's very messy co cut, but it was free). The crown portion is simply a 3/4" flat board with a 1/4" thick flat face piece nailed in place. The ogee moulding was just routed with a standard router bit, and this was nailed over the 1/4" strip. It's important that the 1/4" strip overhangs the bottom by a bit. Mine drops down 1/4" but it can be less. It depends how large your mouldings are. The overhang helps to make a dramatic silhouette when the light hits it. If you look at the architectural drawing (above), they use a beaded groove instead, but I prefer the overhang.


One thing that I forgot to photograph were the filler boards. If you go back to the previous post, you might be able to see that the new door jamb lands flush with the original cedar siding (meaning that there was a 3/4" deep and 2-3" wide gap in between the jamb and the edge of the siding). I added sections of 3/4" thick scrap pine boards to fill this gap (all the way around) to make everything flush before installing the plinth blocks, side pieces, and crown. For ease of installation, the entire crown assembly was nailed together and caulked before installing it. If I hadn't done this, it would have been a nightmare to try and caulk in all the gaps, especially under the 1/4" top reveal.

I designed the top to fit in place around the existing tin sheeting that was originally over the door (both to hide it, and to preserve it without needing to remove it).

For those who are curious about dimensions, the plinth blocks are 11" tall, 1" thick and 5 1/2" wide, the side columns are 5 1/4" wide (5/8" thick MDF), and the total height of the crown is around 6 1/2" with the crown protruding 3" from the edges of the flat top board. By comparison, the interior door casings in the house have 10" high plinth blocks, 4 1/4" wide side casings, and the full height of the tops are 6" with 1 1/4" projecting crowns. So the proportions are very close to the same, just a bit larger.


After sanding, primer, and lots of caulking between all the siding gaps along the sides (use acrylic/painter's caulking), and after 3 coats of white:


The threshold and small moulding in the centre base will eventually be painted grey to match with the porch floor (and because white will be too hard to keep clean). For now, it will stay white until I redo the porch floor/interior.


Again, since everything is so clean and bright it's hard to see all the moulding details. I like how the side casings match the look of the window trim from the door.


I couldn't get the whole door in one shot (The first photo at the top of this post was stitched together).


It was nice to finally install the doorbell nice and neatly. It was fully functional before, but I had just hacked away at the moulding to make it fit since I knew I'd be scrapping it and redoing it later. The original installation also used big ugly screws (the ones provided), and this time I found two smaller slot-head screws in brass to match.

I love the old wavy glass in the door!


This photo shows off the mouldings the best.