Posted June 5th:
If all goes well, I should have the floors all sanded by end of day (minus the edges). It's been a grueling 4 days so far. I took this week off to refinish the floors. I ripped-up the hideous grey tile in my front hall, and laid down some birch to match the original flooring in the other rooms. I also installed the transition boards in the door frames to tie-in the old and new. I have one board left to install, then I can start sanding.
So what I did with the floors is that I decided that since I was going to be making a GIANT mess of epic proportions, I'd redo the front hallway at the same time. I had planned to just do the 3 rooms and do the hallway later, but that made no sense if I'd want the front rooms to flow nicely and be sanded evenly with the hallway. I went with 2 friends to source some birch hardwood, and they had some on sale at Home Depot, but in a dark brown pre-finished. No big deal as it would get sanded down. I rented the tools from a rental place not far, and picked up the sanding equipment with a friend.
Posted later on June 5th:
OMG I'm already sick of sanding. There is dust EVERYWHERE. Thank goodness I had the upstairs doors installed last year, and I can shut them. The dust is actually traveling up to the second floor (which isn't that surprising). Floors look so-so. I'm still trying to finish that first pass. I may leave it more or less as-is, and hopefully the rest of the small defects will sand out with the 40 grit and 80 grit. It looks good so far. Not super amazing, but a huge improvement. I fear that the floors were kept in such bad condition for so long (without a varnish or wax) that some of the stains and discolourations won't sand out. I don't mind, but it will just make the new flooring in the hallway match even less. I really might do that border/stencil on it. I will also have to play around with stains to see if I can match it.
I ended up not doing the stencil border.
Posted June 7th:
Alright, so sanding is all done as of about 4pm. Now I just need to clean/vacuum the ENTIRE FREAKIN' HOUSE, and I can figure out a stain for the new floor (to match the old) and varnish.
Posted June 8th:
Found my camera USB cable, so here are some highlights of this week's floor refinishing extravaganza. Next step will be to make/tint a custom wood stain to make the brand new floor match the antique floor. Click through the images to read the tags.

Front hallway during demo. I've hated this grey tile since I toured the house before buying it.
Side note: The kitchen still has the hideous grey tile, but that will get ripped out when I gut the kitchen. The kitchen will get a different flooring material. Either Linoleum, Vinyl Composite Tile, or less likely some kind of painted pine. I haven't decided, but it won't be any kind of matching hardwood.

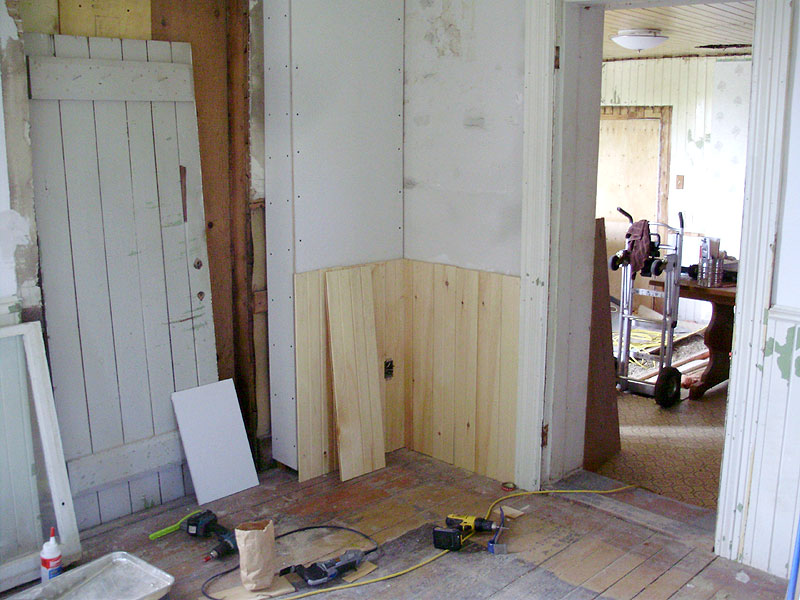
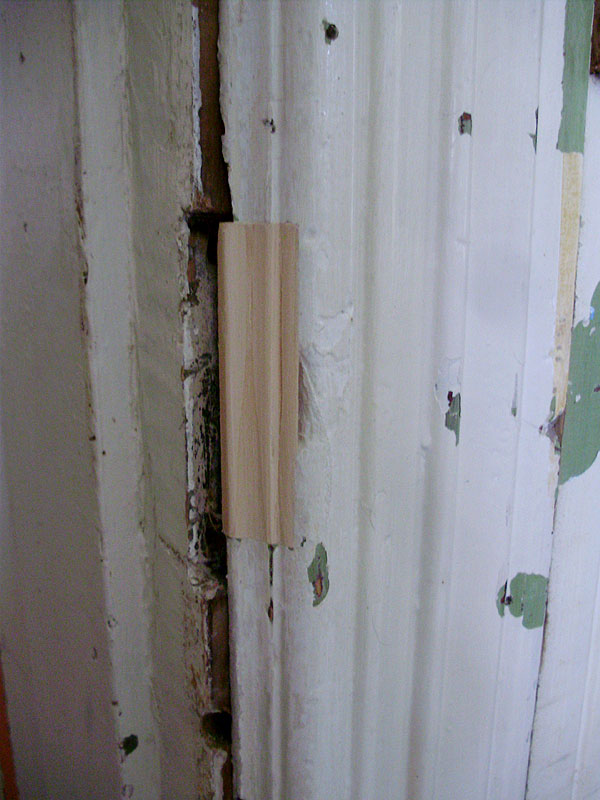
Trimming the rough-sawn edges of the doorways for the transition boards (ordered over 2 years ago).
Not shown is how I actually trimmed the floor in the doorways. I used a scrap piece of thin plywood as a straight-edge, and nailed this to the floor with 2 small nails. This allowed me to run a router along the floor boards to cut 90% of the opening into a nice straight line. The rest was just trimmed by hand with a multi-tool.

Installing the new flooring in the front hall. You will note that there are a few pinkish boards mixed in, which came from Habitat For Humanity. It's all the same wood (birch) and it's all going to be sanded. The darker boards are birch that was on sale this week at Home Depot.
Note: while installing new flooring here I was able to resize (slightly shrink) the floor grate hole in order to use one slightly smaller grate I had from the house (it was in the basement, and I have no idea where it was originally). I needed the slightly larger one for the large original hole already in the living room floor.
Also, the entire hallway was installed BY HAND with nails. I decided to do this hallway kind of as an after thought, and didn't have time to go rent a nailer/compressor.

New flooring and transition boards all installed (this took 2 days). Note another row of pinkish on the right. I was originally just going to do the 3 main rooms (living room, front office, and dining room) but I figured that if I was renting the tools and making the mess, might as well do it ALL.

Trimming the edge of the dining room floor. That saw mark was by a previous owner. They did not care about this floor. It had plywood and cheap laminate over it.
I ended up puttying this saw mark. There was another one in the floor of the office room, and the filler I used was such a perfect colour match to the natural old birch colour that I can't find the saw mark unless I spend a few minutes looking for it. The one in the dining room needed a bit of colour matching and touch-up. Also not mentioned anywhere is that I spent some time going through all 3 rooms and puttying all the nail and screw holes in the floor. Some were missed, some needed paint touch ups to hide, but it makes a big difference in the finial look, and didn't take that long. When you have floor refinishers do your floors, they don't do this step.

A "before" image of the living room floor "as is" (this is how it's been looking for the past few years after I had ripped up the laminate and plywood.
Oh! Also not mentioned: that old electrical box hole in the floor was left alone and I made a custom birch wooden cover for it and stained it with the colour-match stain, and varnished it.

Before photo of the front office.

Before photo of the dining room.

This gives you an idea of the amount of dust that this made. The dust traveled all the way upstairs, even into rooms with the doors closed.

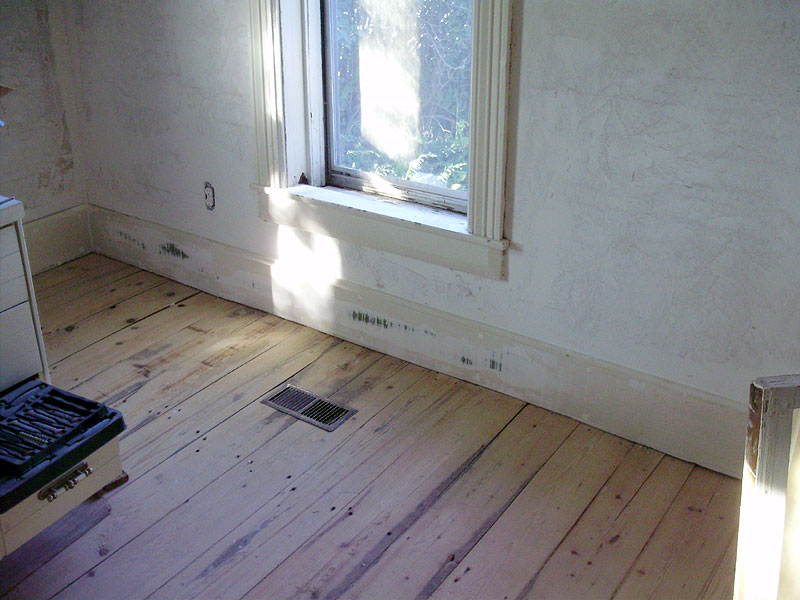
Living room after sanding and vacuuming. It's not 100% perfect. There are definitely some stains and blemishes that won't come out. This doesn't bother me.

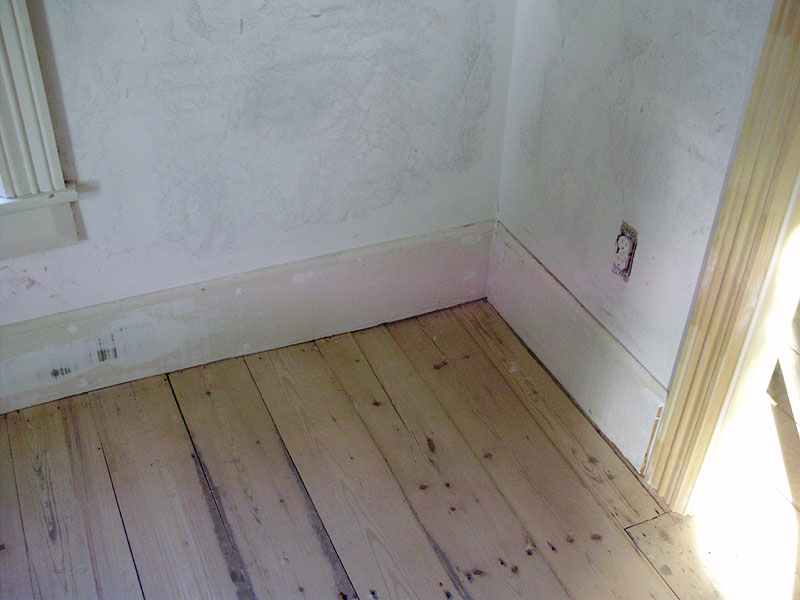
Hallway (new hardwood) sanded all flat and level with the old.

Front hallway after sanding and refitting the grate (hole was recut).
There's that slightly smaller floor grate I mentioned earlier. I still need to strip, clean, and repair/repaint all the main floor grates. I have one that doesn't match (different style) and the others are just filthy and gross. They need to get the same treatment I did for the ones upstairs: paint stripper and wire wool. They're actually a sort of copper/bronze finish under all the grime. I do realize that they just look like cast iron at the moment. See this post: https://my1923foursquare.blogspot.com/2015/07/master-bedroom-grates.html

Front office after sanding/vacuuming.
Note: there are some cigarette or candle burn marks in 3 spots on the floor. A fun part of the house's history. They're pretty small so they don't detract from the floor.

Front office after sanding/vacuuming. Again, there are some stains (pets, neglect, damage) that won't come out. It's fine.

Dining room after sanding/vacuuming.
Posted June 14th:
4 coats of varnish on the 3 main rooms are DONE. Now I need to very carefully colour-match the new birch, which won't be easy since there's such a wide mix of colours.
Posted June 15th:
Tentatively tried a colour match along the dining room transition board to see how it will look. It's NOT a perfect match, but since the floor has about 20 different colours in it, I'm hoping it will be "close enough" that I can use it for the hallway and staircase.
And BTW: If all goes to plan, I will be able to install and paint the baseboards in the office, living room, dining room, and hallway, finish the touch-ups (paint the bottom of the walls) in the office and living room, paint the hallway (blue), paint the dining room (light grey), and also hopefully stain, lacquer, and install the staircase parts, which means that the ENTIRE house interior will be done except for TWO ROOMS! (The kitchen and the upstairs spare room). There are still some side projects though, like the closet in the upstairs green bedroom, staining/varnishing the other 4 interior doors, removing the chimney, etc. So still far from "done" with the house.
Posted later on June 15th:
Did I not post these???
So these were like the first or second coat of varnish. Notice the jaw-dropping colour difference between the light blonde sanded floor, and the first CLEAR COAT of varnish. I used no stain on these floors! It took FOUR coats of varnish to get a nice even coverage. The three main rooms (all of the old floor) are done now, and I've mixed a colour match as close as I can get for the new flooring.
I'm glad I decided to varnish the old floor separate from the new, since colour matching would have been nearly impossible to do. The finial colour is a mix of 3 colours, I think 2 brands, and one is Gel stain while the others are oil/liquid. The colour is about a 95% match.

First coat of clear varnish. Huuuuuge difference in colour.

Coat 1 or 2 in the front office.

Coat 1 or 2 in the living room. You can really see it getting sucked into the boards.
Note: That bright white looking strip of wood in the hole for the floor grate is part of the new wooden duct/box I built a few years ago. I ended up staining these (living room and dining room) to darken them. The rest of the box is all sheet metal, just the sides/edges around the floor are wood.

Coat 1 or 2 in the dining room.
Posted June 16th:
Finished floor in the front office, dining room, and living room. (4 photos posted but I won't repost those since they just show the finished floors minus the baseboards, and I have nicer photos to post of everything all done).
Posted June 23rd:
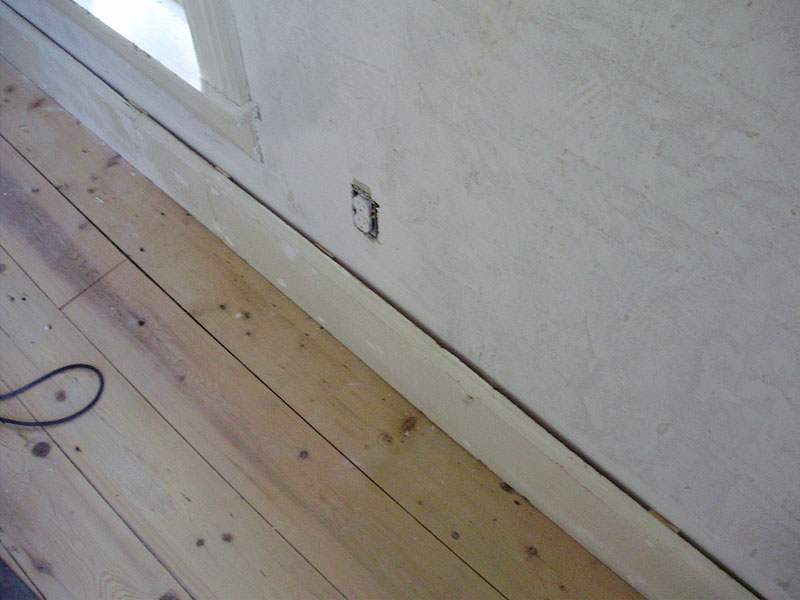
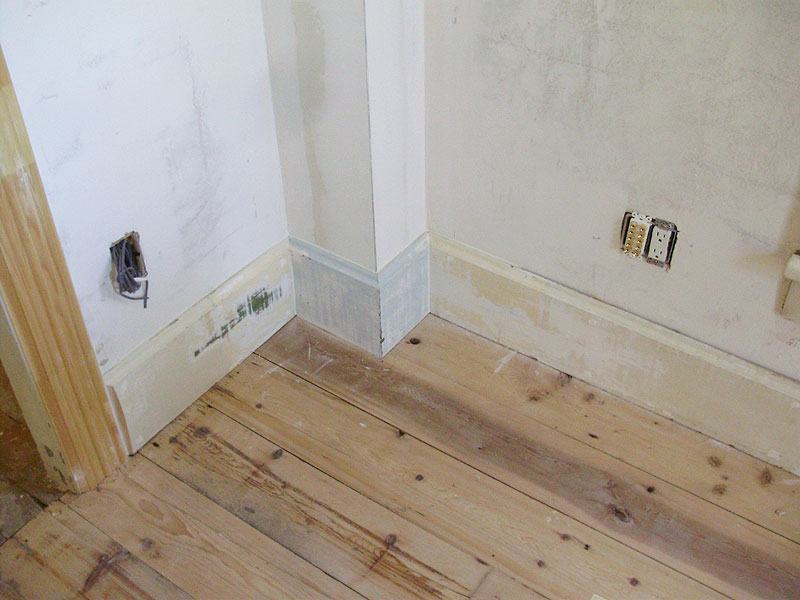
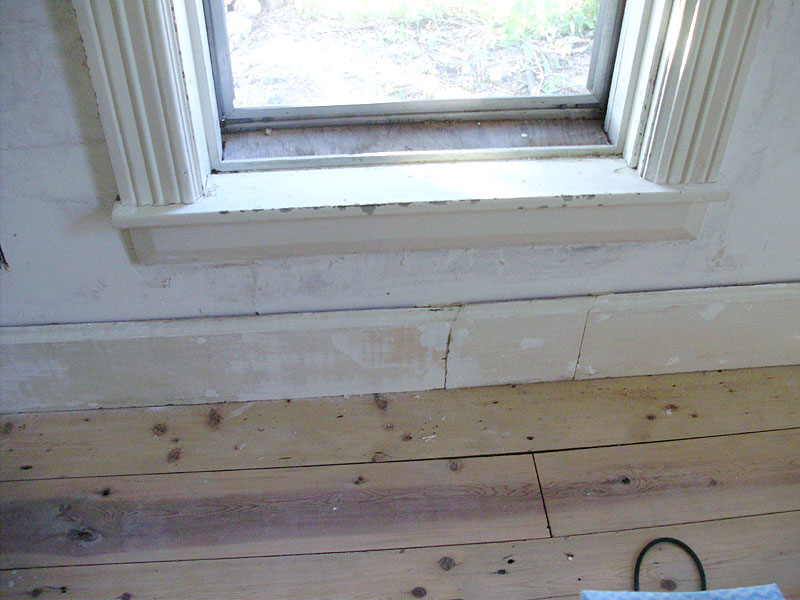
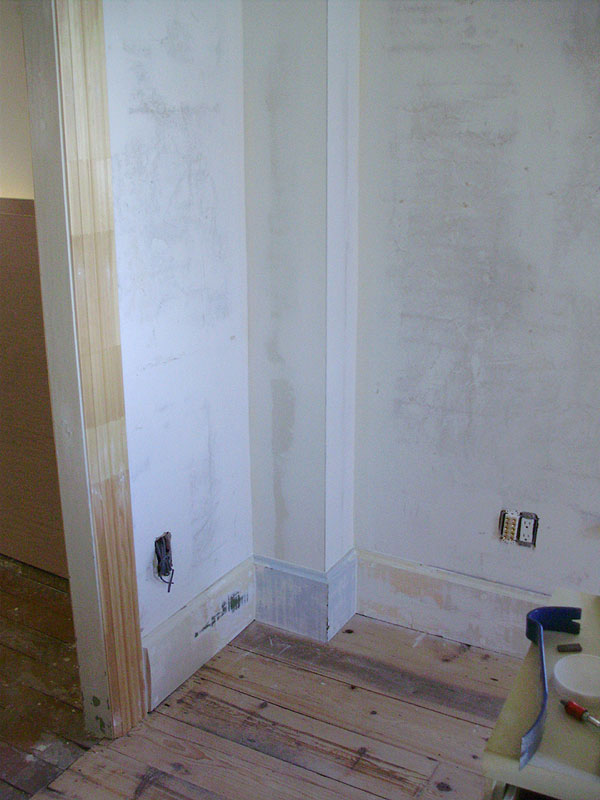
Meant to post this yesterday: Got a lot done today. I installed a LOT of the mouldings (baseboards, plinth blocks), but there's still quite a bit left to do.
As of tonight, I finishing installing all the mouldings in the office, living room, and half of the main hallway. I have a tiny portion of the dining room done, but I'm out of mouldings at the moment.
Posted June 30th:
Baseboards (all the ones I was able to install) are now painted (4-5 coats depending), so I just have the touch-up paint to do now for the green and the grey.
Posted July 2nd:
Baseboards are now touched up (above them in wall colour) and the Living Room and Office are DONE. Front hallway is 3/4 done.
I'm amazed how seamlessly the paint of the light grey and the green blended into the older paint. These two rooms were painted several years ago. I was worried it might show a slight difference, but it's invisible.
(photos which I'll repost farther down)
Posted July 7th:
I'm finally getting stuff moved back into the office and living room this week. But now I'm being picky about what goes back, and I'm trying to decide which clocks will go where.
Posted July 20th:
After a long wait, I now have the rest of the baseboards delivered, as well as the risers for the staircase. Woo!
Posted later on July 20th:
Even though the temperature is miserable today, I'm installing baseboards.
And again later on July 20th:
Baseboards are all installed. It was hell, but I wore a bandana for the first time, and it helped a LOT. I wasn't constantly sweating into my eyes and dripping all over my work.
Posted July 21st:
The baseboards are nearly ready for painting. The caulking needs to dry at least an hour before I can start priming.
Posted later on July 21st:
Pre-primer (shellac on the pine/knots) and first coat of primer are done.
Posted July 25th:
Dining room is all done. I just have a few touch-ups to do. Hopefully I can move the furniture back in in the next few days.
"All done" meaning that the baseboards are all installed, painted, and the walls have also been painted. I decided to use the same light grey as what's in the stairwell going upstairs. It's a very light colour, but enough to make the mouldings stand out.
Posted July 27th:
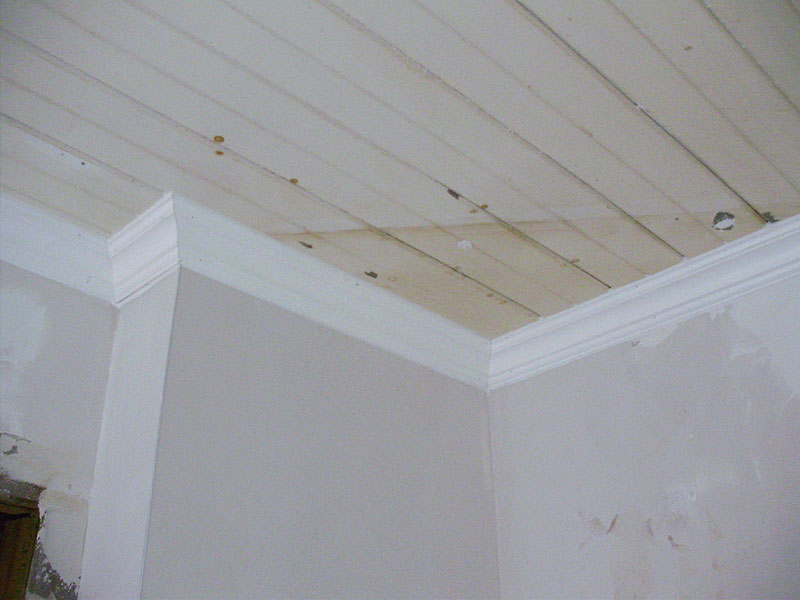
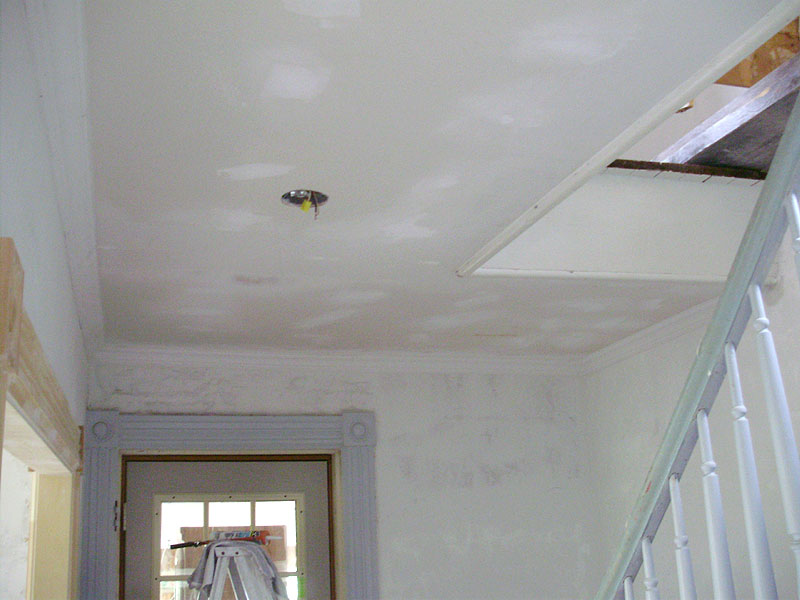
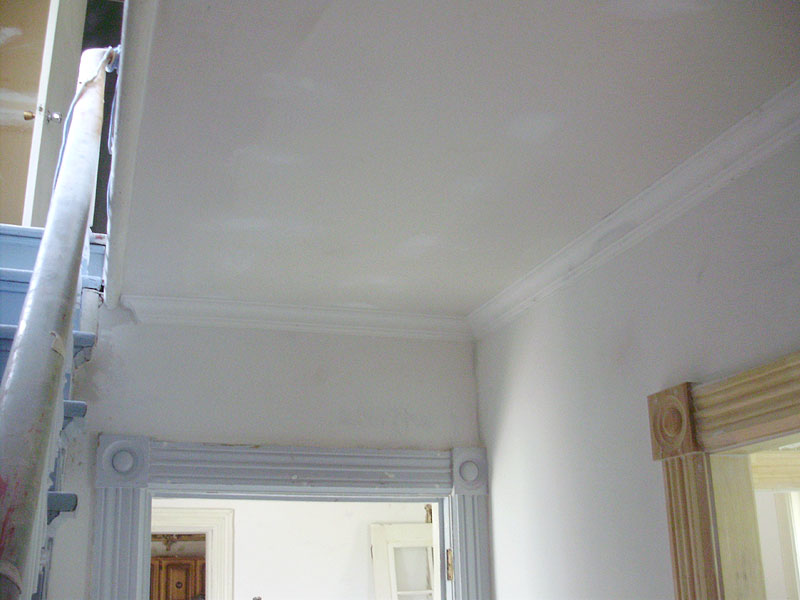
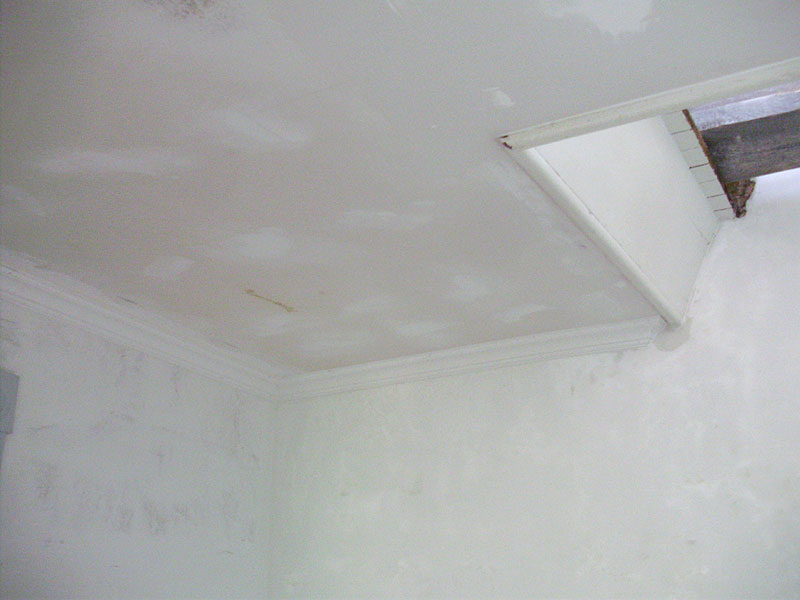
Dining Room finished. There isn't a single square inch in this room that didn't get attention. The ceiling was restored, the floor was refinished, the mouldings repaired (reinstalled/replaced), lighting replaced/rewired, duct work repaired, and walls patched/repainted. (photos of finished dining room).
Finally here are the finished photos with floors all done, original and replacement baseboards reinstalled and painted, and all rooms completely touched up and painted (except the blue for the hallway):

This is taken from the office (the medium grey room) looking across the main hallway and into the living room (mint green).

You can kind of see that custom wood outlet cover on the floor in this pic.


Some of the discolourations in the floor (pet stains) are more apparent in this photo.

The living room and dining room have the most obvious and visible stains left in the floor, but it's not too bad. I wouldn't trade the original floors for anything, no matter how rustic they may look.


This section of the office floor is the nicest of all the rooms. This is close to what it would have looked like originally, except that they would have used a shellac so slightly more orange tinted. I suspect that there was a sofa or large piece of furniture always in this corner.

It's really wonderful to finally see all the mouldings/baseboards finally installed in this room. I am just as happy to see those installed as I am to see the floors done.

I'm really happy I decided to patch the hole from the floor grate and move it into the wall with that wall grate (which matches the original one in the living room).

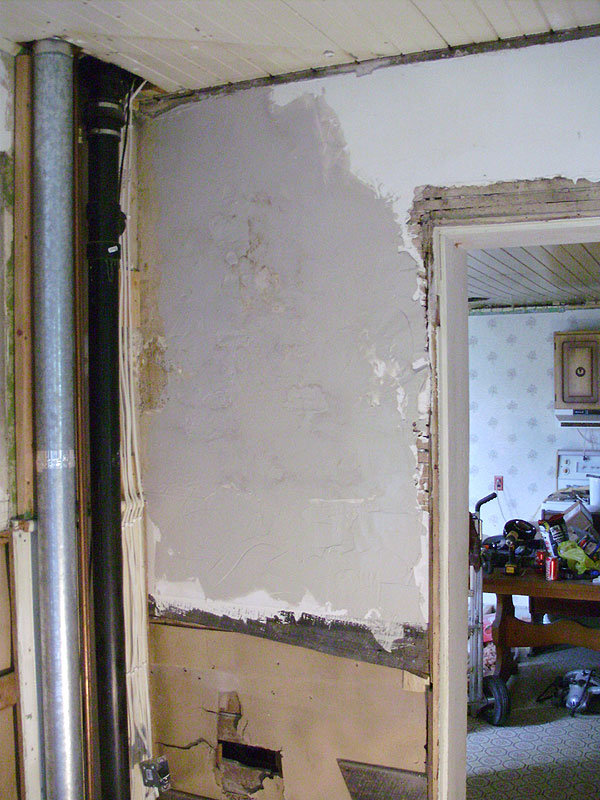
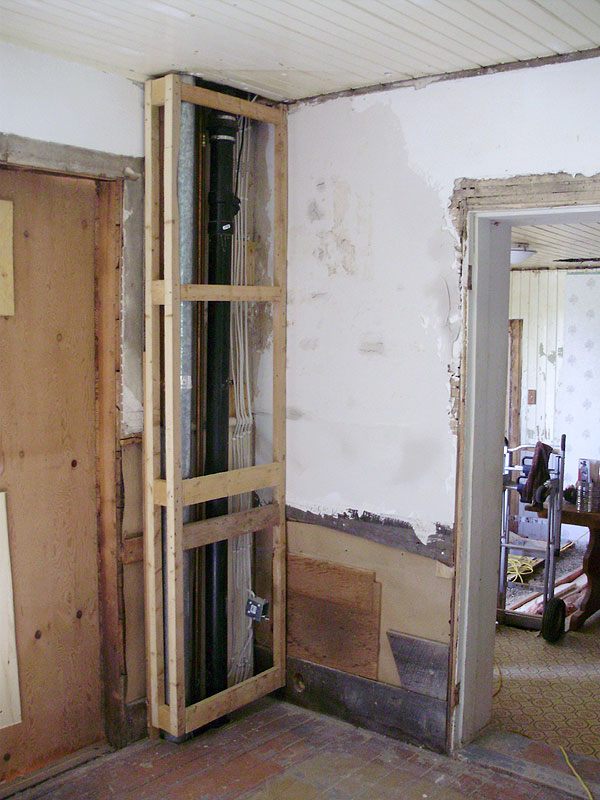
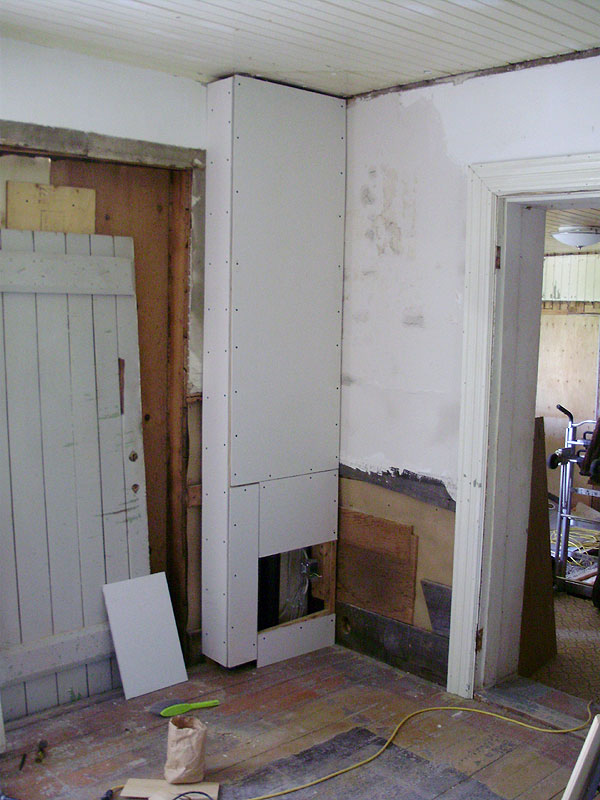
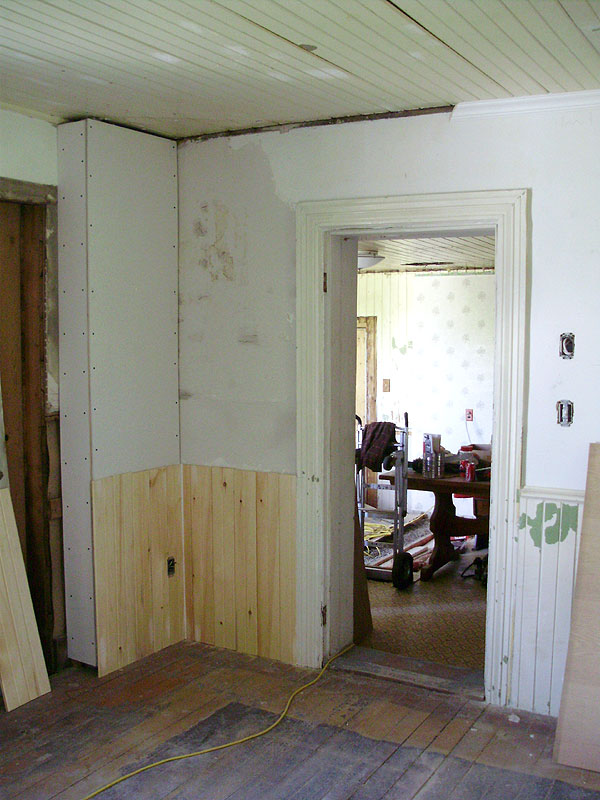
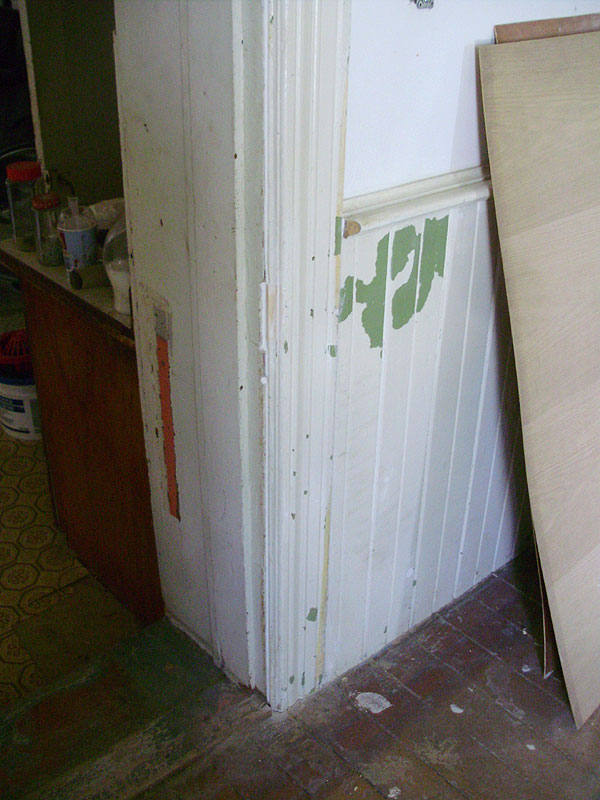
When I had planned out that little mini access door (for wiring/cable) I had made sure to leave enough width and height for the corner stake and tall baseboards. It all worked out nicely. You can also see a bit of the patch I had to put in when I rebuilt the corner drywall column. All of these were set really far into the rooms for nothing.

You can see those burns a bit better in this pic.


Here you can get an idea of the colour match. It's painfully close, but it will never be 100% because of the wide variety of colours in the original. The new wood is practically white without the stain. The main staircase will all be stained this same colour.

An awkward angle of the hallway (the baseboard on the right had not been installed). There are some obvious sanding screw-ups in the hallway, but it was very hard to sand in such a narrow space.

I wanted to run a second cable line in the living room to give two different options for a TV location. Previously I installed one on the interior wall touching the staircase, but I will likely be putting the TV on the opposite wall with the window, so I had run this extra line in the basement and never finished installing it. Because of some complications with the centre beam location of the house, I decided to make a hole in the dining room side of the wall and drill the wire hole diagonally into the basement, which worked out wonderfully. This hole will just be covered with the baseboard (which is 7 1/2" tall). I measured the hole just below the height of the baseboard to make things easy. And no, this isn't an exterior wall. This is a centre wall in the house. The previous owner/renovator put pink insulation in between almost all the walls, presumably for soundproofing? I haven't got the foggiest clue why he put in a vapor barrier, though. That makes zero sense.

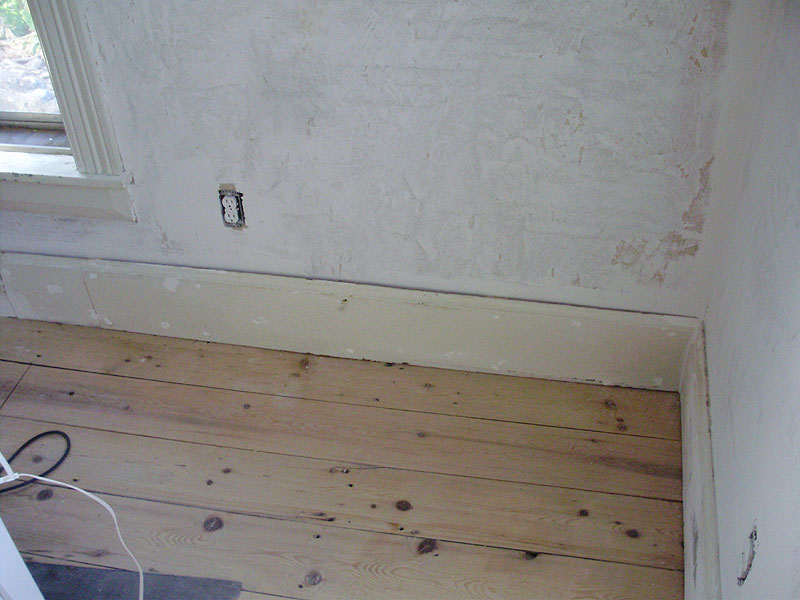
I am not a fan of putting the cable outlet in the baseboard, but the stud locations didn't work for where I wanted to put it. There is already an electrical box installed on the right hand side of the outlet you see in this photo (on the dining room side), so the next location would have needed to be somewhere behind the snake plant, which starts to be too far into the room (3 feet away from the corner) so I put it in the basebooard. I installed this with only a small 5/8" hole in the baseboard so it would always be removed, patched, and painted.

All the rooms needed baseboards longer than 8 feet, so I had to install a bunch with joints in them. These were cut on the bias, glued on the joint, and nailed. Then they were spackled and sanded smooth. Once painted you need to look for the joints to really see them. I had saved all the original baseboards when I had removed them years ago (to expose the original wood floors), but many were damaged (large cracks, chunks missing, or holes cut into them), and some were missing (as I remember they had screwed some 1x6 pine boards in some spots). I was able to do 90% of the office with all original baseboard pieces. About half the living room is original baseboards, with 2 walls new. And most of the dining room is all new.

The dining room floor has a lot of 'near-black' stains in it, but luckily they are fairly evenly spread out through the whole floor, so it ends up just looking much more rustic than other parts of the floor. The colour match for the transition board actually matches really well here. Sadly the photos don't show it off all that well.

PLEASE IGNORE THE HIDEOUS GREY TILE! I simply can't wait to get rid of it. It's just so hideous. Notice there's a big chunk missing along the edge.


***
DOORS
Posted August 12th:
So I was a tiny bit productive this weekend and I stained one of the doors. I sanded all 4 of them that are left last weekend, but I've been procrastinating since then.
Posted Sept 2nd:
Okay so after messing around for weeks I finally figured out what's wrong with the varnish for my doors. Basically the quick rundown is that last year I bought an 80$ can of gloss varnish to finish all the doors for the house. I had bought the same varnish for the front door, and used if for the bathroom door and the basement door, but then I ran out. I had trouble getting a nice final coat with this new 80$ can, and as a result the closet door for the master bedroom, and the closet door for the spare room turned out like crap. I tried thinning the varnish, I tried using a new brush. I tried it straight from the can, all garbage results. I decided to cave and try buying another small quart. NO PROBLEMS. I guess the 80$ can was a bad batch.
Posted Sept 21st:
Doors are ALL DONE!
Posted Sept 23rd:
Finished Doors. The lighting seems to mess up both the shade of reddish brown of the doors as well as the wall colour. First two photos are Master Bedroom (main door and closet) and the third photo is front room (walls are medium green but look light grey).
I am incredibly happy to have all the doors done. I was also really glad to have figured out what was causing the varnish to apply so horribly. It was leaving streaks in the finish no matter how thick or thin it was applied, or regardless of how much I diluted it with thinner. In the end it was just a bad batch, so I used it as the base coats, gave them a good sanding, and finished with the new stuff for the finial coat.


I don't remember exactly when, but at some time this summer I also milled and installed all the stop-mouldings for all the doors. This is the small thin moulding where the door bumps-up against. All of them will be mostly hidden in closets, or with doors always closed (like the basement) so I made them all really plain, with one exception: the bathroom door. That one I made a fancy cut edge on the router since it's very visible. I nailed them all, caulked the joints, but I haven't painted them yet.
I also have the front hallway all ready to paint (and I bought the paint like a year ago) and hopefully I will do that in the next few weeks (before Christmas). As I mentioned several times in older posts, it will be a sort of peacock blue. I saw it in a local house and got the paint name to copy it.
***
Just FYI I've been writing, tweaking, editing, and working on this post since probably 11pm-ish, and it's currently 2:30am. Just to give you an idea how time consuming these posts are.