
I've sorted through a lot of the photos that I have ready, and I've divided them into certain projects (like the bathroom, the front (side) door, and the upstairs drywall), but basically, we're still jumping around between several projects, so some of the photos will still be a bit random, which I hope is fine.
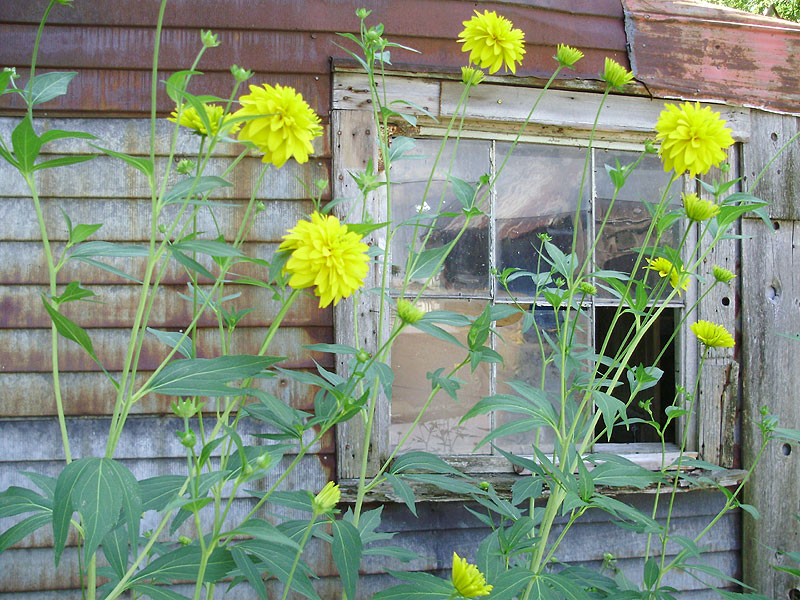
These beautiful flowers are about 6 feet tall, and they are growing in front of the old detached barn. I had trouble identifying them, but I was sure that I've seen some before. Angelina told me that according to her mom, these were an heirloom variety, which turned out to be correct. These are called Golden Glow - Rudbeckia laciniata Hortensia. They are also sometimes called outhouse plan, or outhouse flowers.
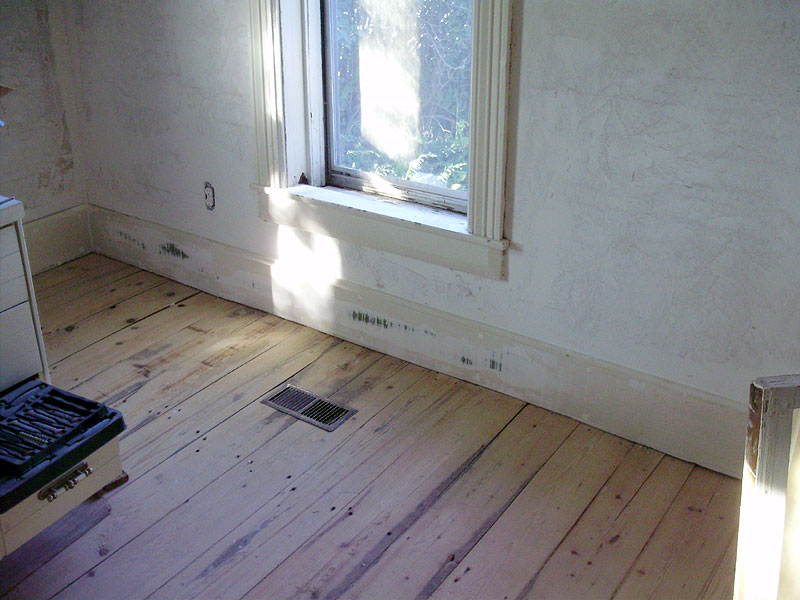
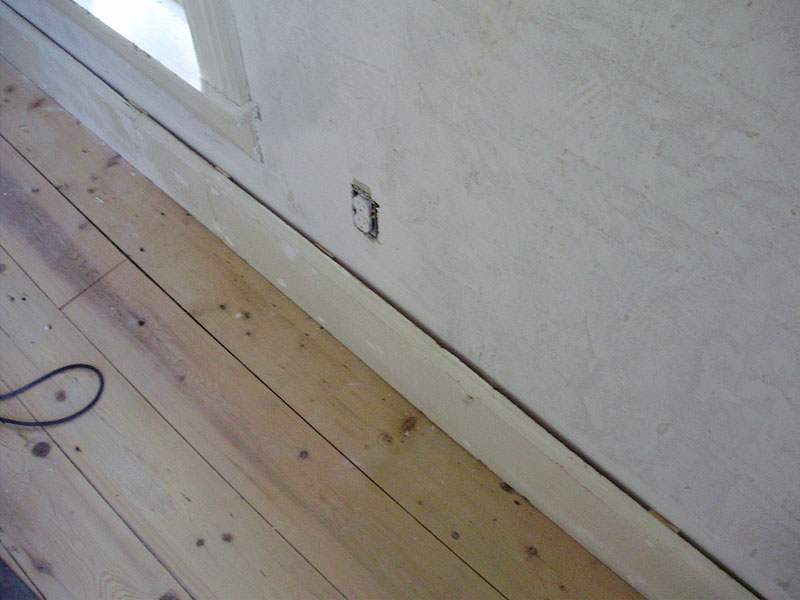
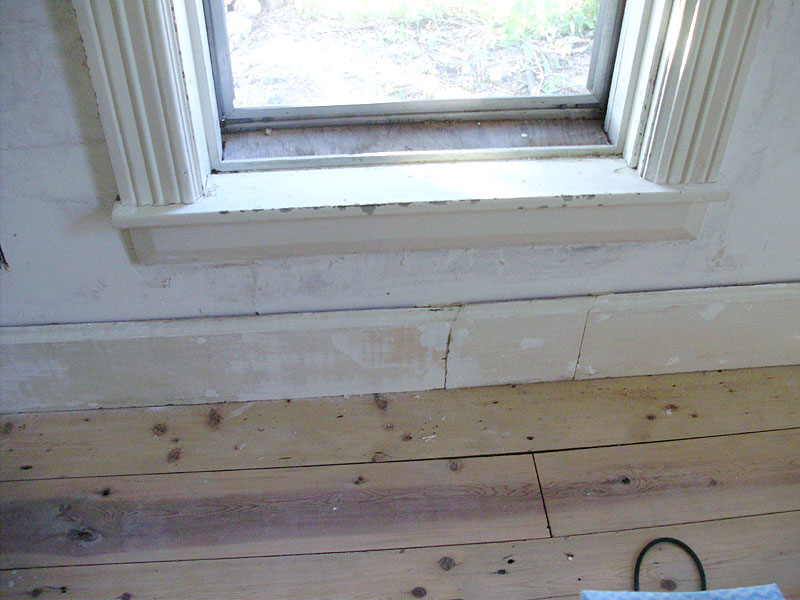
Here are a whole bunch of photos of the baseboards reinstalled in the office, all patched, sanded, caulked, and ready for paint.
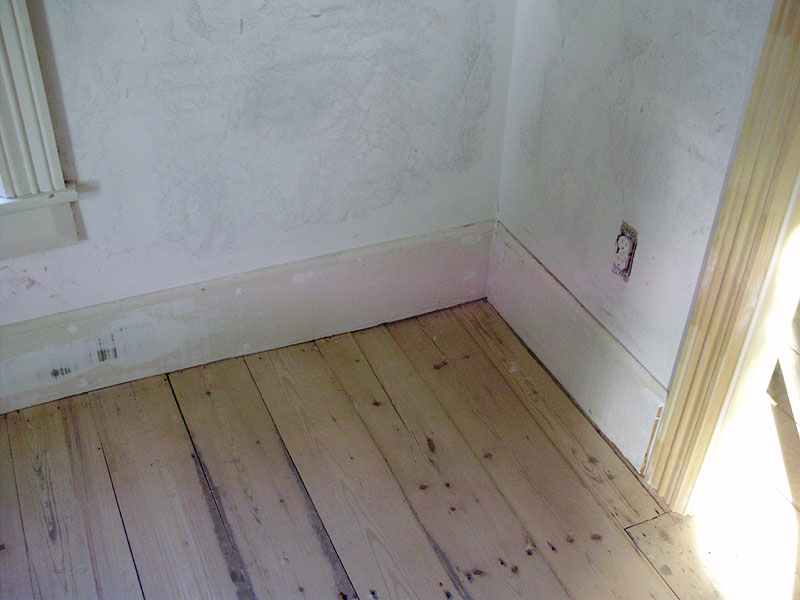
The North-facing wall had a big bow at the base due to settling, and it was impossible to install the baseboard properly, so it was shimmed, and we had to go back and feather-in several layers of drywall compound to meet up with the moulding.
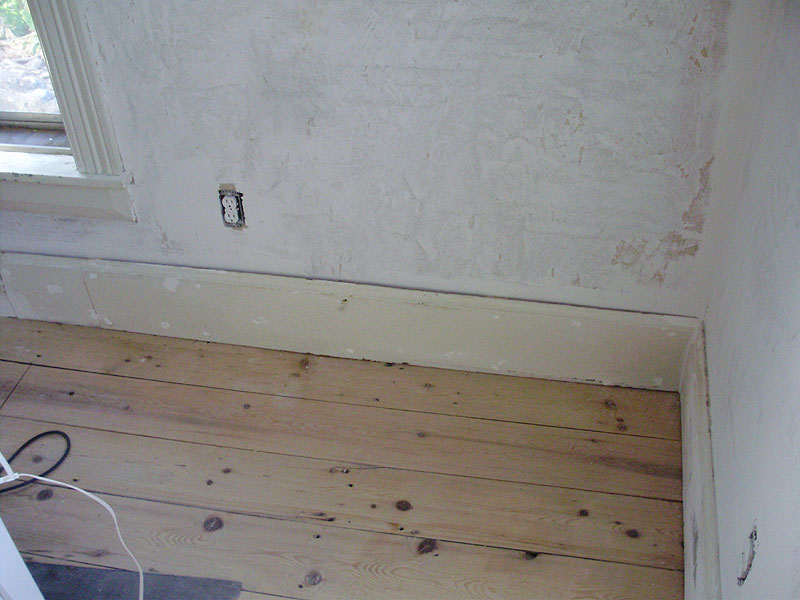
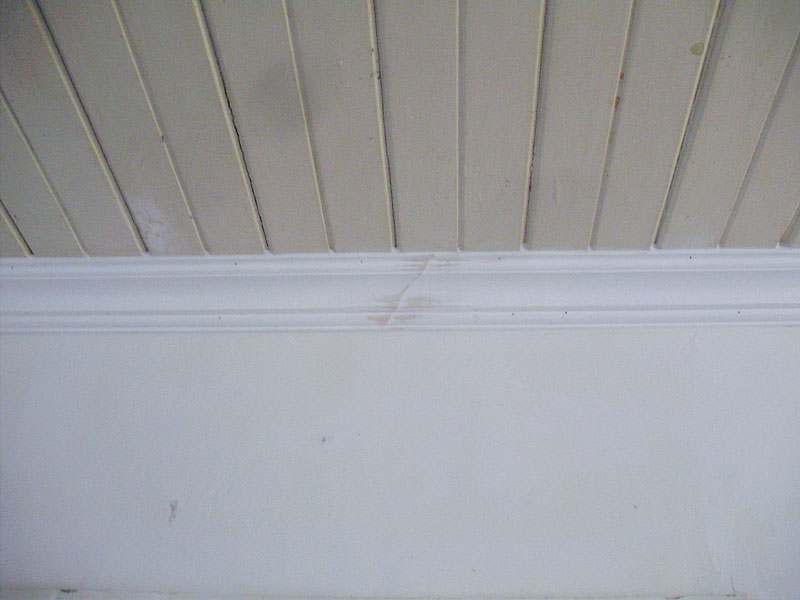
For this corner, you will note that it has blue paint on it, which you MIGHT remember is the colour from the hallway. That's because the piece of baseboard that fit between the short interior wall in the hallway was about an INCH too short to fit. I had to make a new length of pine baseboard to go there, so the old piece was used for this corner so that it would be an exact match with the old.
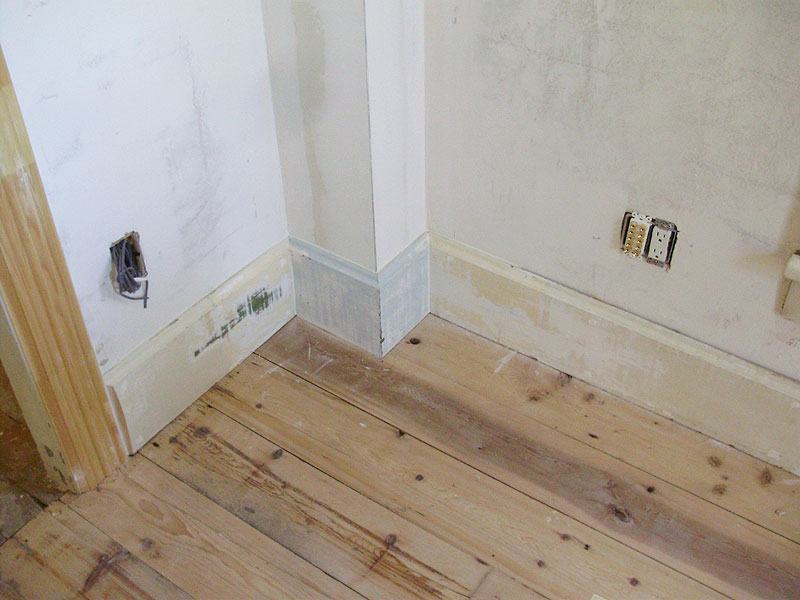
The transition piece looks rather sloppy because 1: it was this way, but even worse, and 2: the baseboards are cupped in different directions. These pieces were feathered together with 45 degree edges, glued together, and nailed diagonally. We added a bunch of drywall compound over the joints and sanded everything, so they should be harder to see when everything is painted.

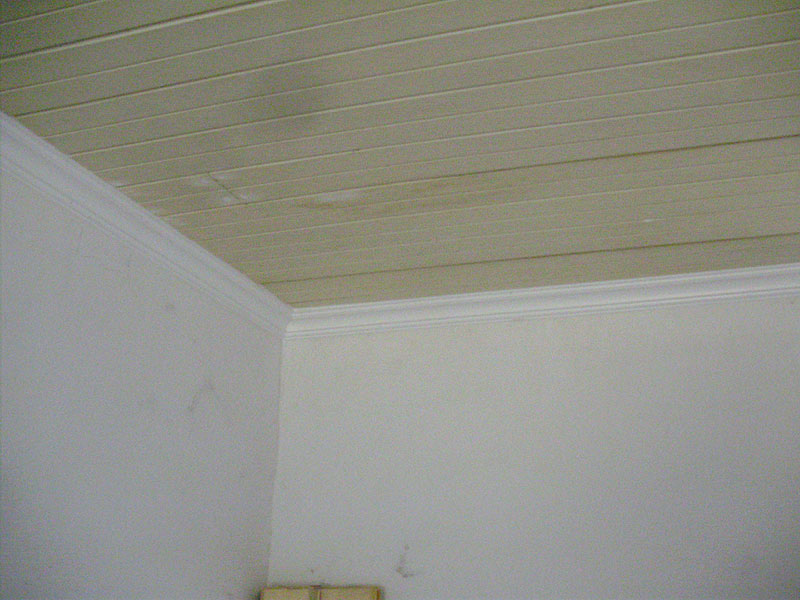
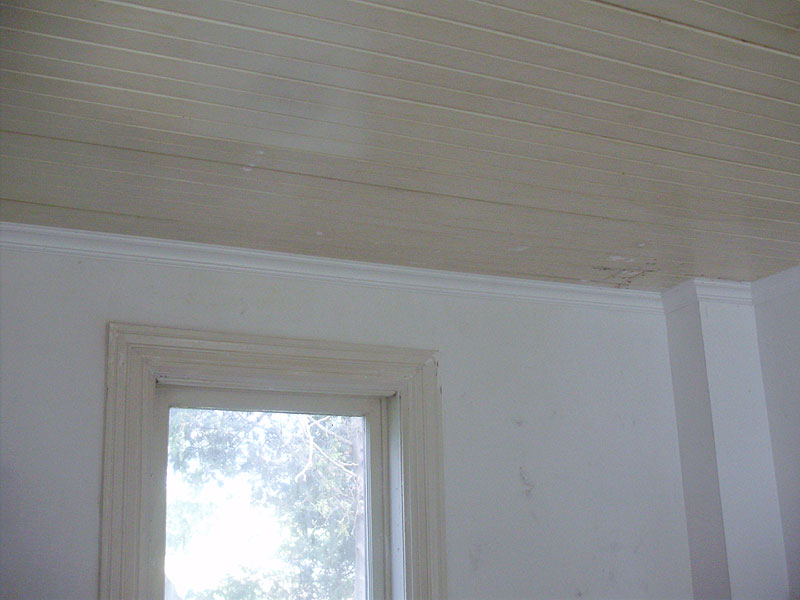
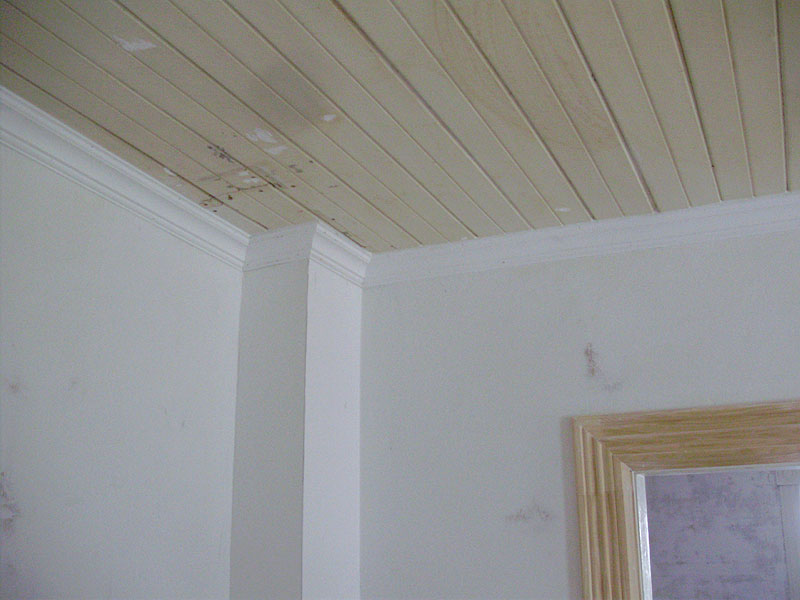
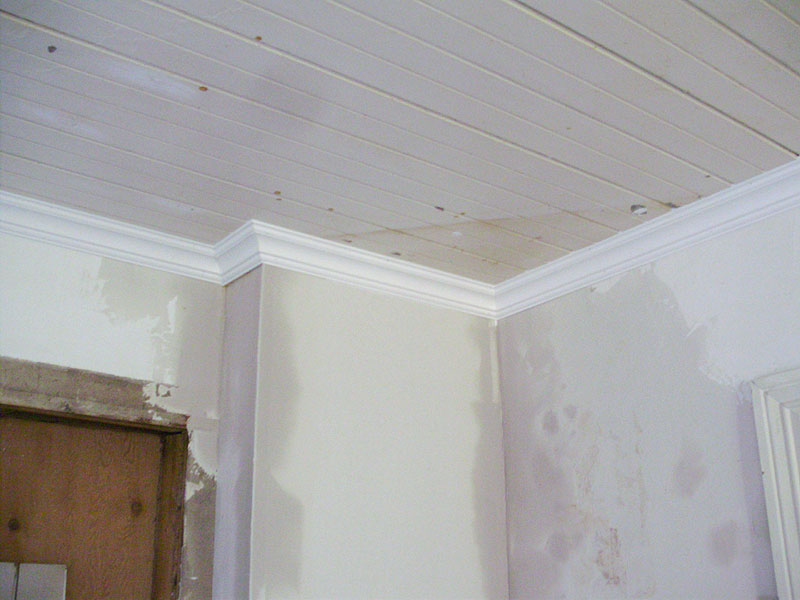
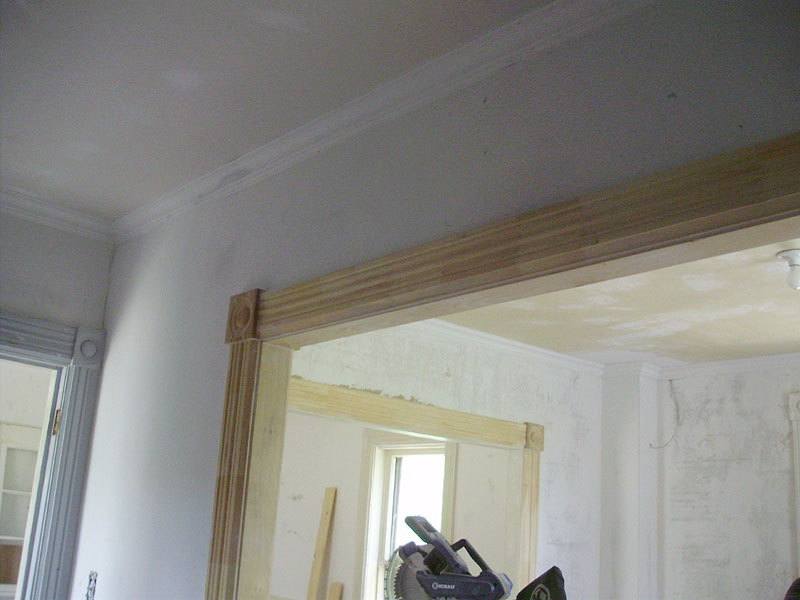
Pierre had been really REALLY itching to install the crown mouldings. They still were not a big rush to install, but we took 2 days to up them up, and they look great. Remember: we got these for 1$ per length (most being 8-16 feet long)! Angie approves!
They will show up a lot better when everything is properly painted. Right now everything is uneven shades of white on white, so the photos aren't the best. All of the trim will go grey, and the walls and ceilings will go off-white.
Because these are MDF, they are quite flexible, which is a big bonus when working in a very old house with lath and plaster. You can see how crooked these are, but once all the cracks are filled, it doesn't show at all.
Living room crown:
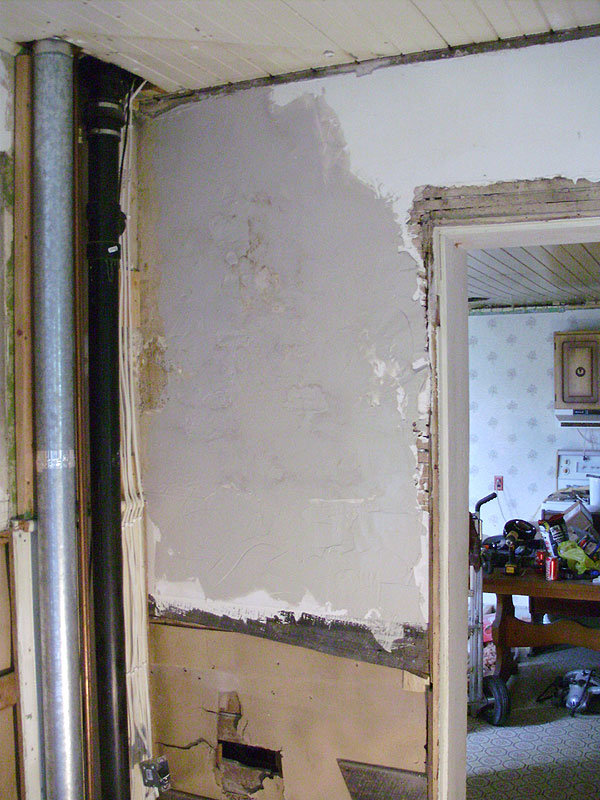
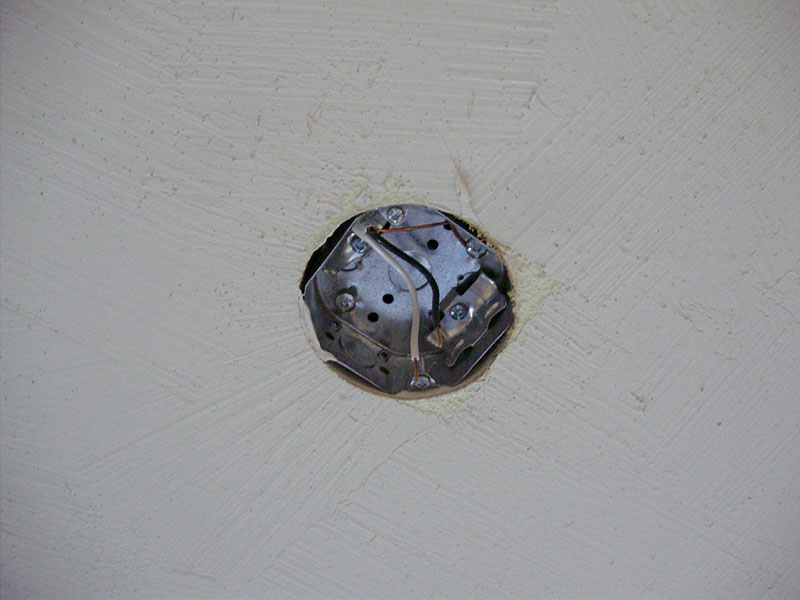
These next two photos show Pierre's enthusiasm after the old electrical panel in the living room was FINALLY FINALLY removed. We've been held up from finishing this corner of the living room for months at this point. This also meant that we had all of the new electrical hooked up and working! No more extension cords everywhere!
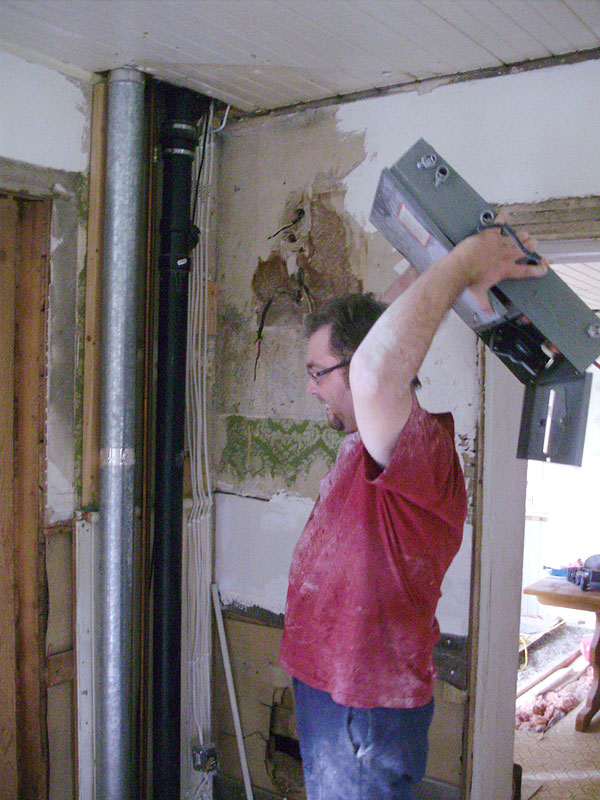
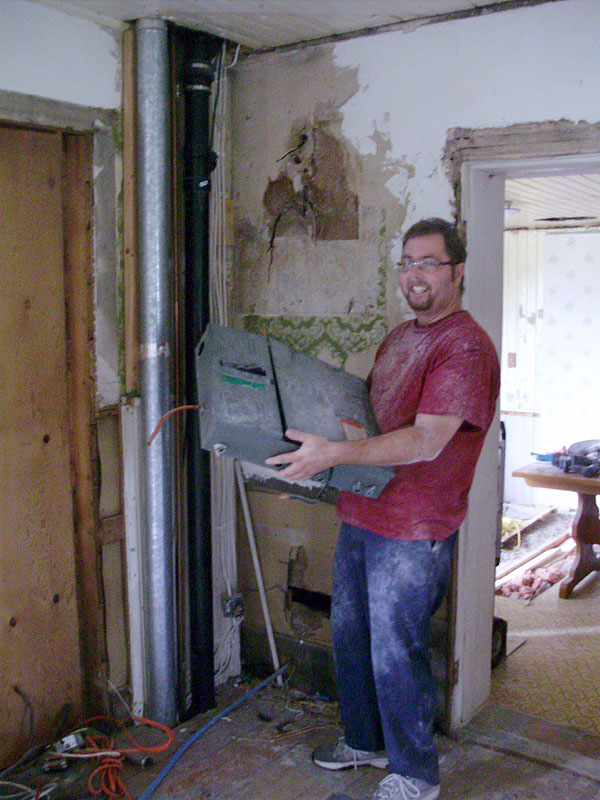
So with all the old junk disconnected, we could finally finish up and repair this mess of a corner.

Back to mouldings. This is after everything was patched (nail holes, chips and gouges), and caulked.
You can see the crown a lot better. The nail holes still need to be filled. We were lucky to have a compressor and nail gun to install the crowns.

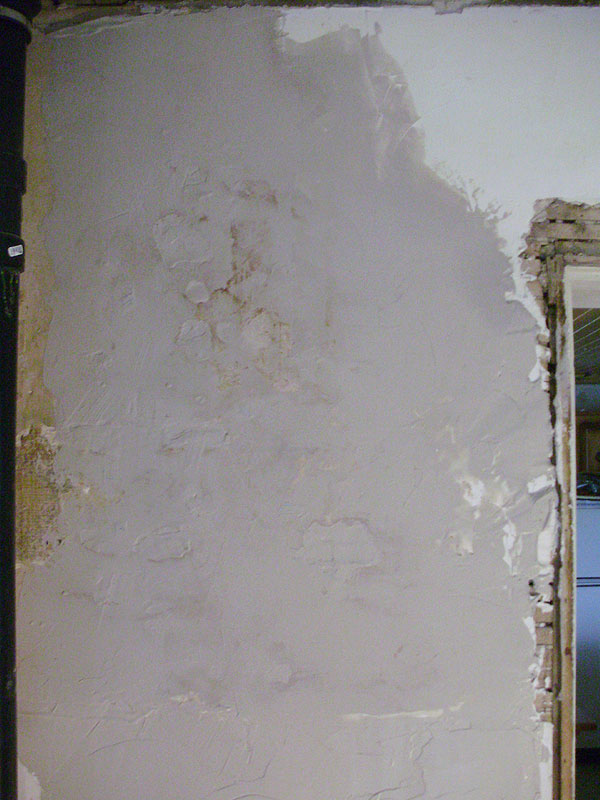
First layer of compound in the living room corner.
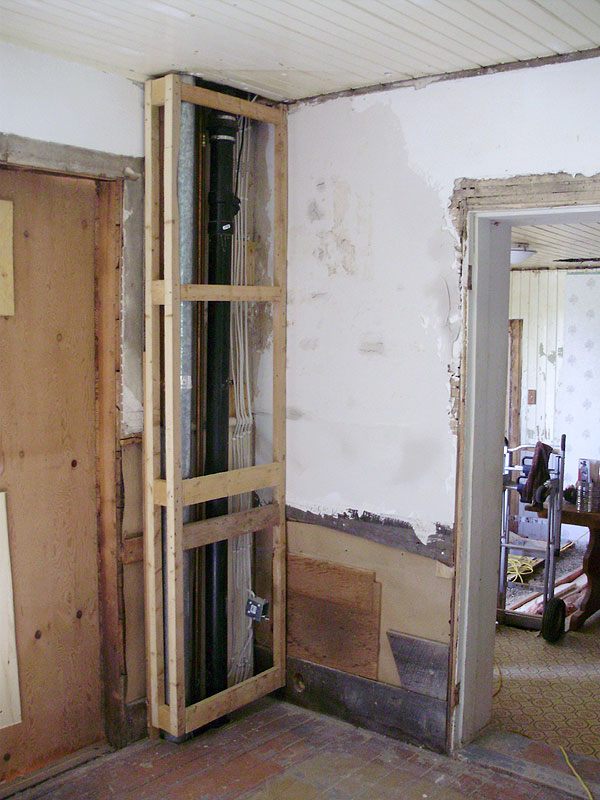
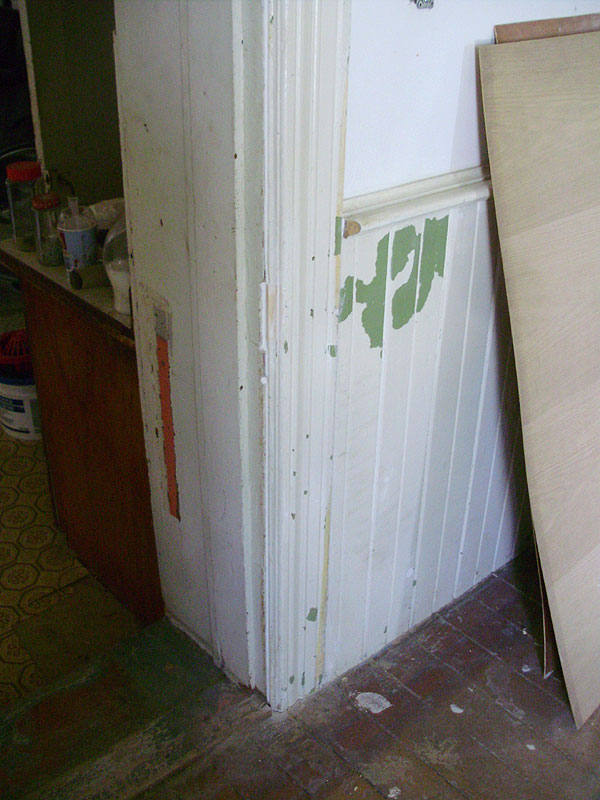
Most of these pieces were already cut and ready. You will also note the opening for the exterior side door that we had started working on. That will be shown separately.
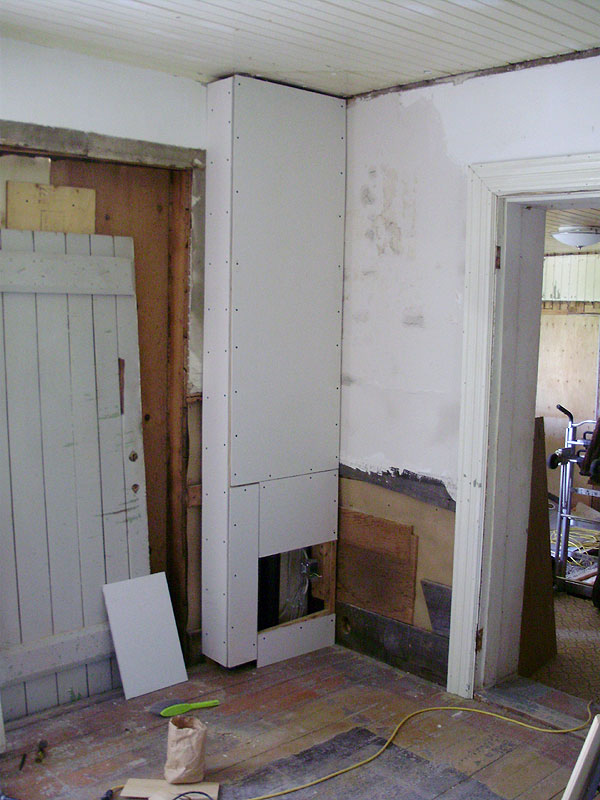
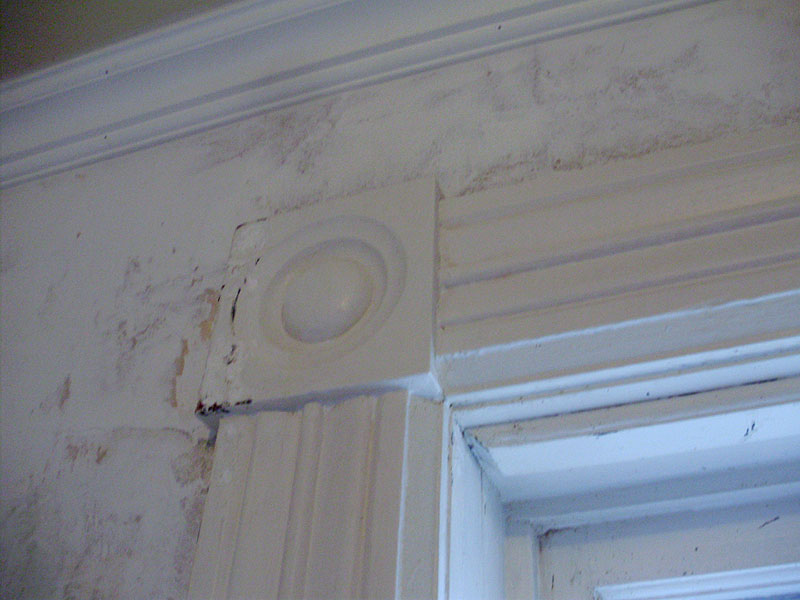
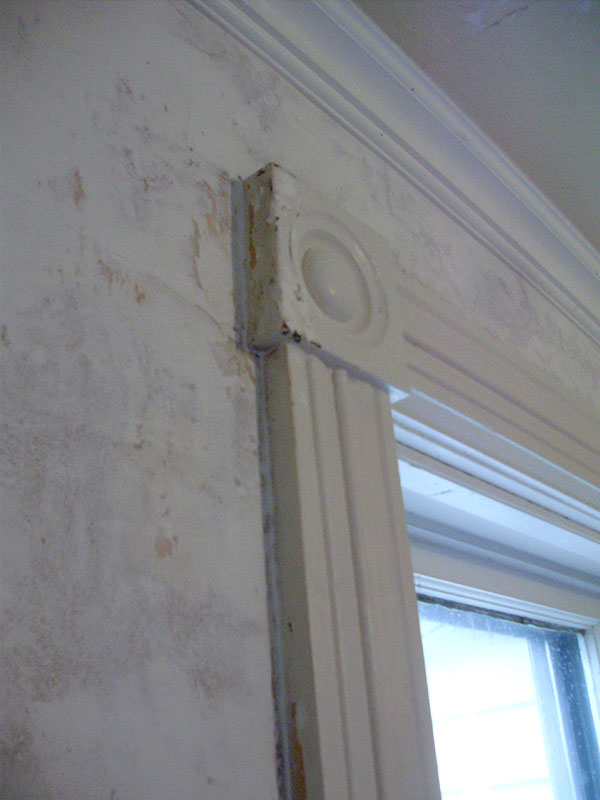
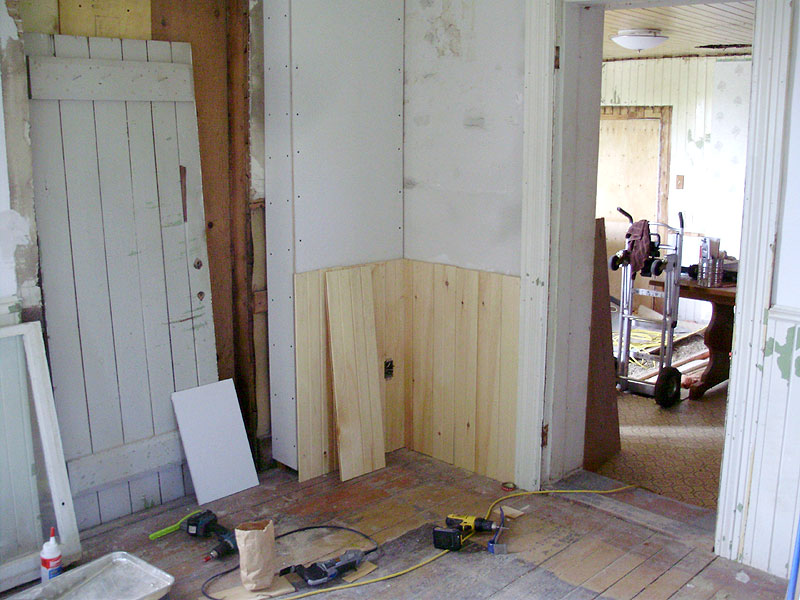
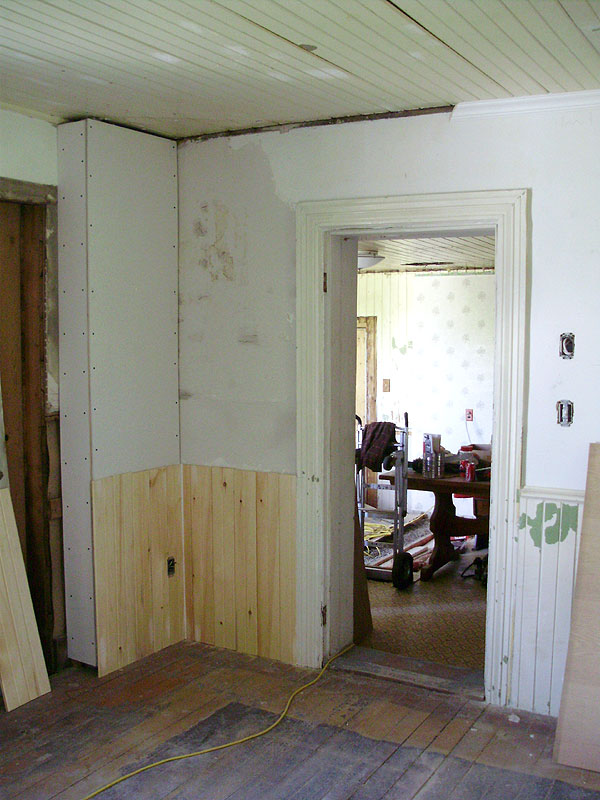
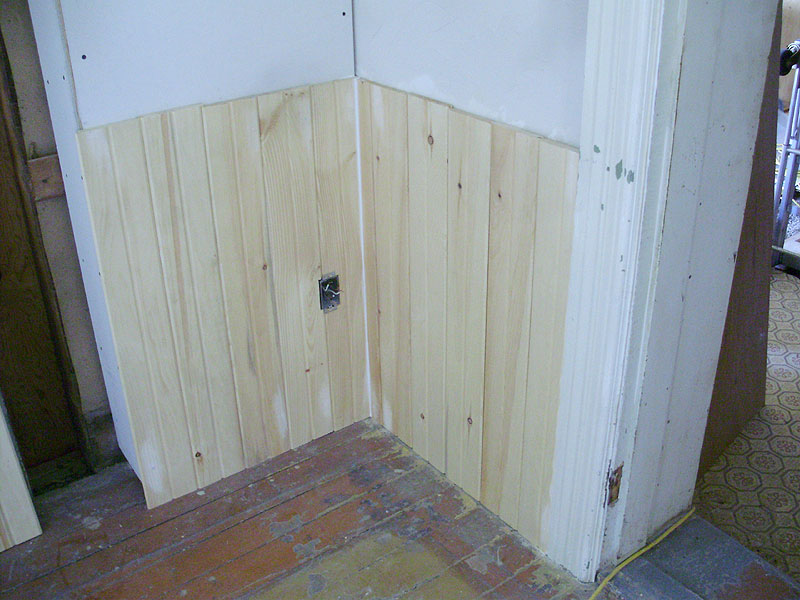
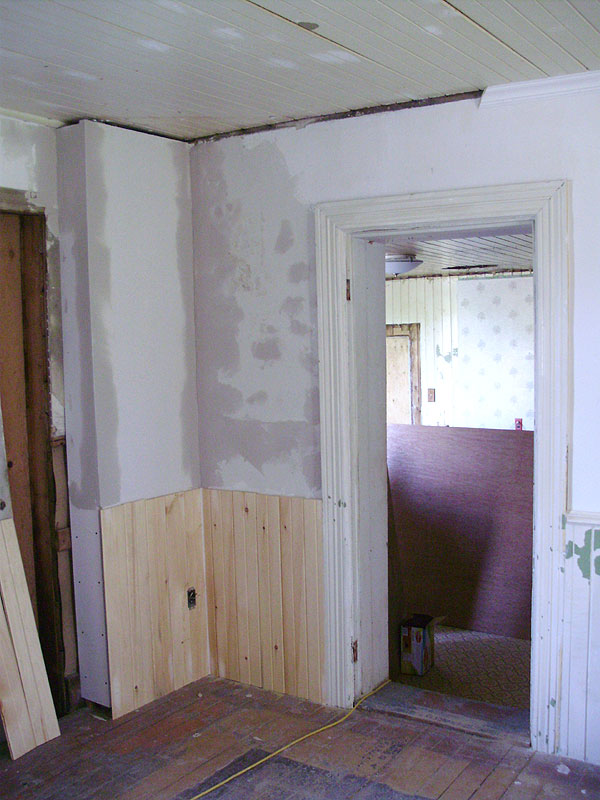
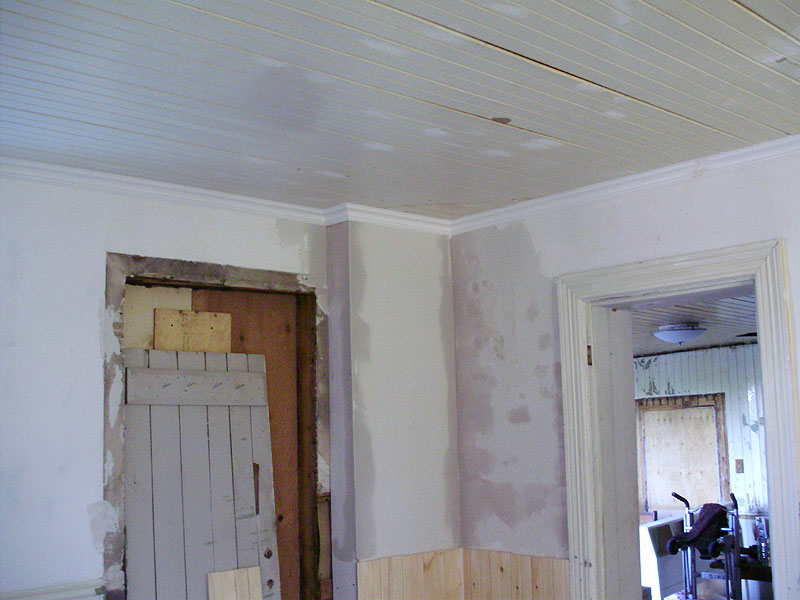
The old mouldings from the side door were going to be about an inch or two "off" so instead of trying to reuse them on the same door, they were installed on the doorway to the kitchen (on the right). The new (matching) tongue and groove was installed at the same height as the rest of the room. For whatever reason the original t-g was about a foot taller ONLY in this corner. That made no sense, so we modified it so everything is the same.

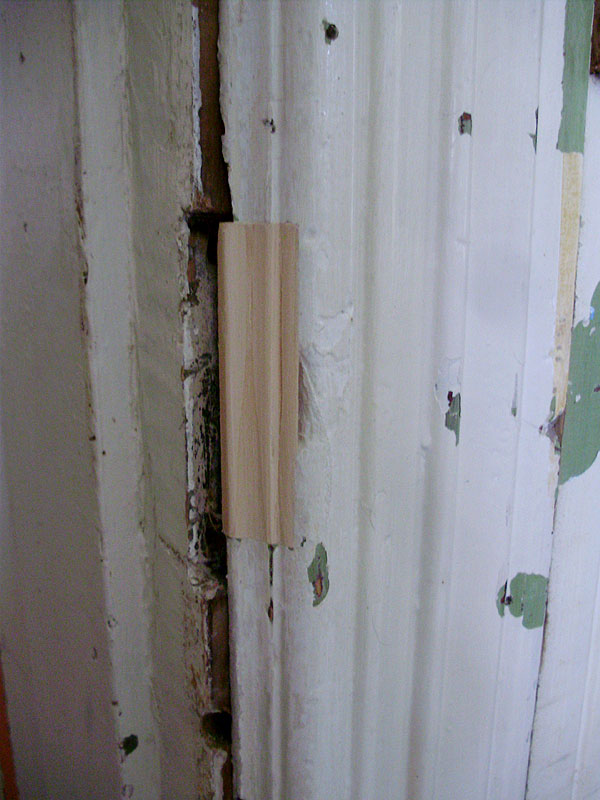
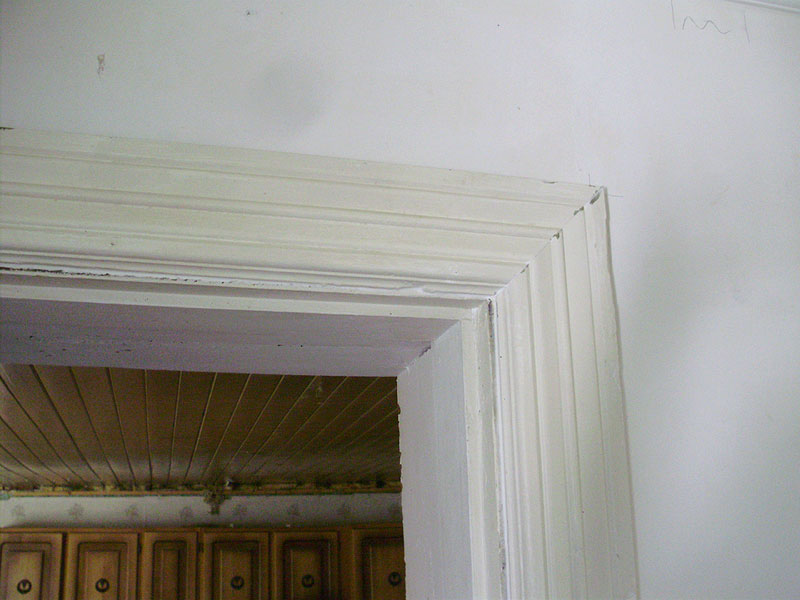
The old casing had a notch in it for an old rim lock, so I fitted patch in there, glued it, and carved it to match.
After caulking:
More drywall compound (and corner seams).
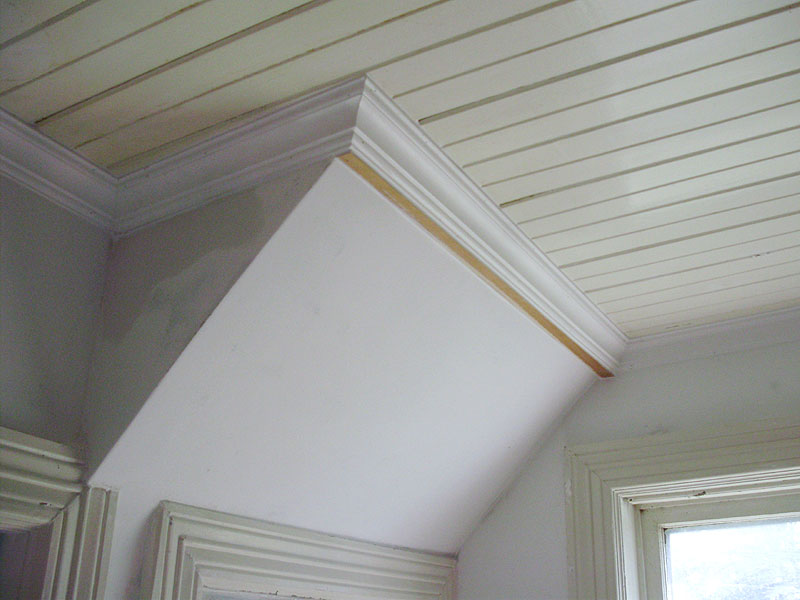
Finishing the crown in the living room. Going around the slope in the stairs was tricky. You can't change the angle of the crown, so normally you either skip crown around slopes or awkward corners, or it hangs funny, and you have to fill it in with a box, like I did here. This is very tricky/advanced woodworking, so if you attempt this, take your time and measure carefully.
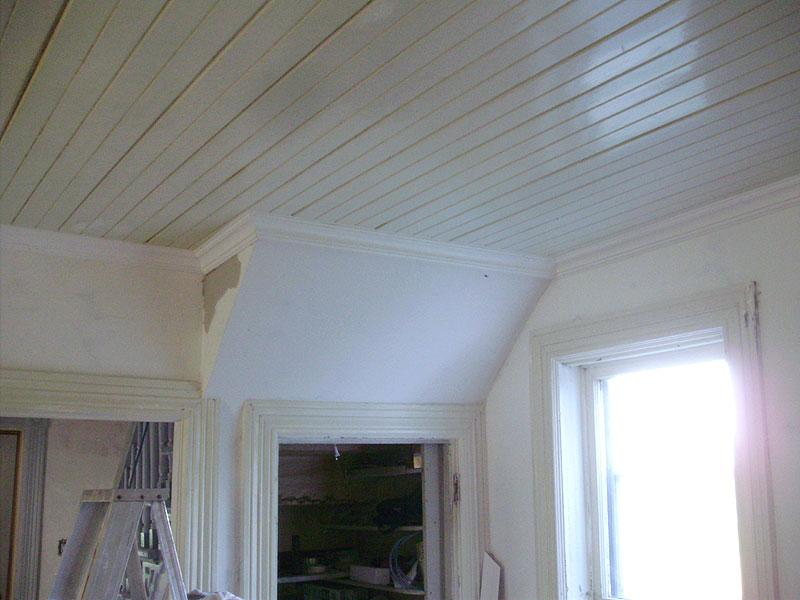
This is the ONLY joint in the living room (not counting corners, obviously). You want to avoid joints as much as possible, because they tend to separate or open up. To avoid this, they need to be lapped (45 degree joint), glued, and held with extra nails in the surrounding foot around the joint. Additionally you need to carefully putty and then sand the joint smooth.
You can see the old shadow line on the ceiling from the ugly plywood and wallpaper cabinet that used to be here.
This shows the crown filler strip in the sloped portion.
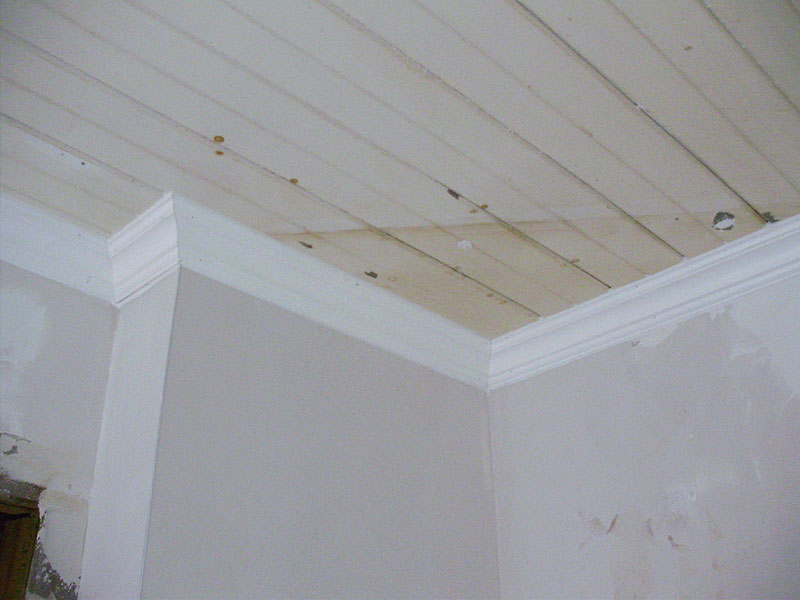
Crown in the hallway:
At both outer corners, the crown does a "return", where the crown basically does a 90 degree turn into the wall.

Installing the chair rail (custom made by me) in the living room corner.

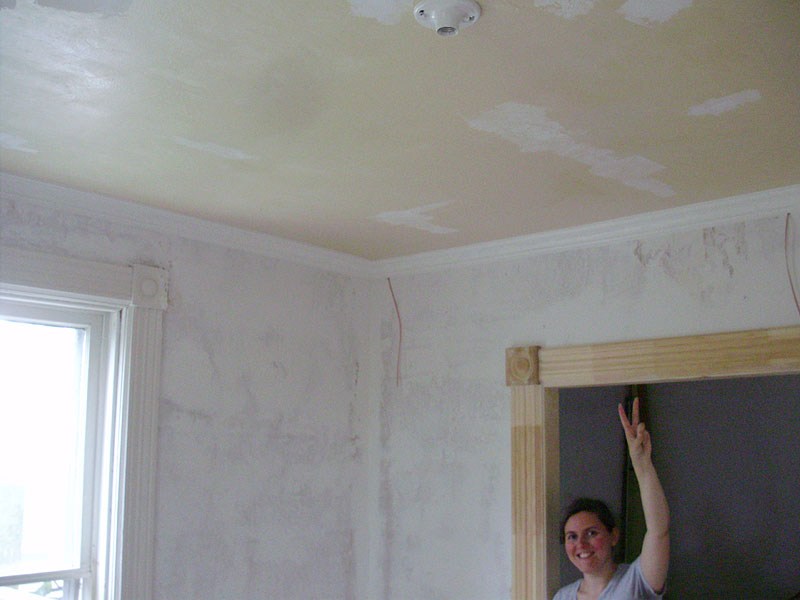
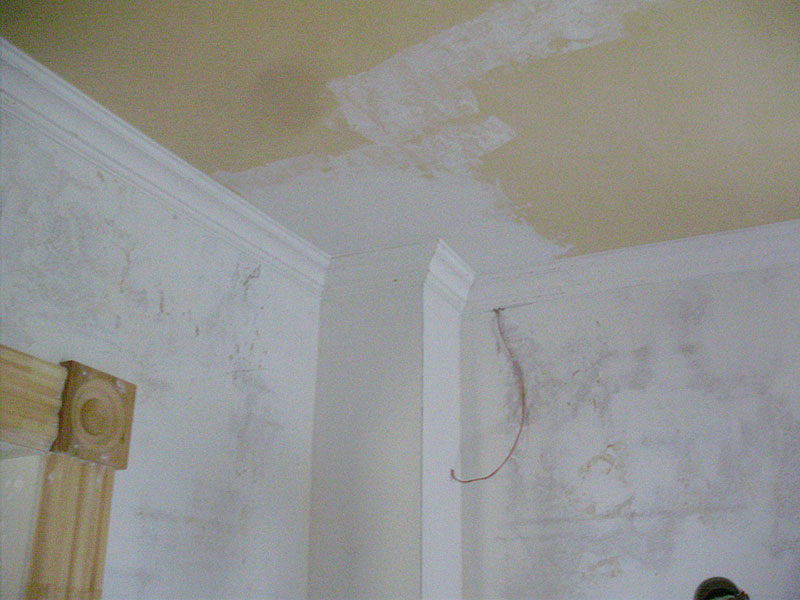
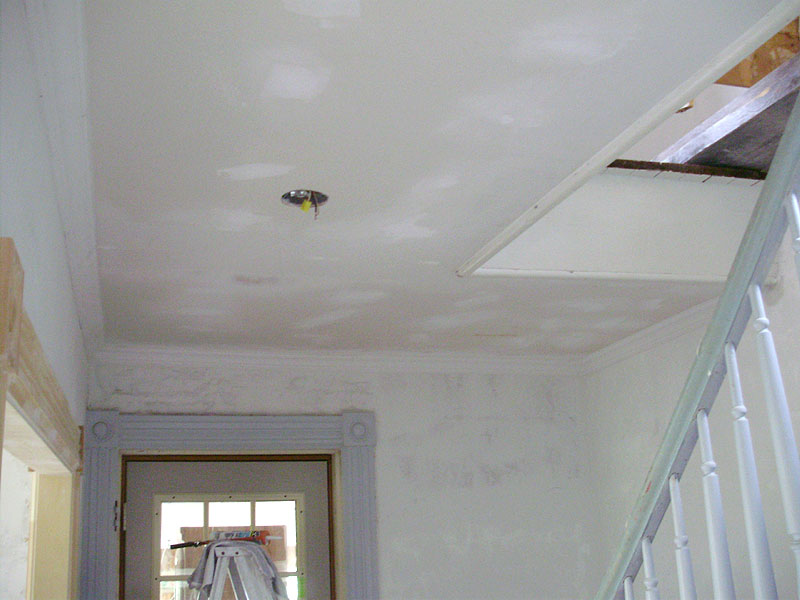
These last 6 photos are random. Here we see some of the drywall patching in the master bedroom (upstairs).
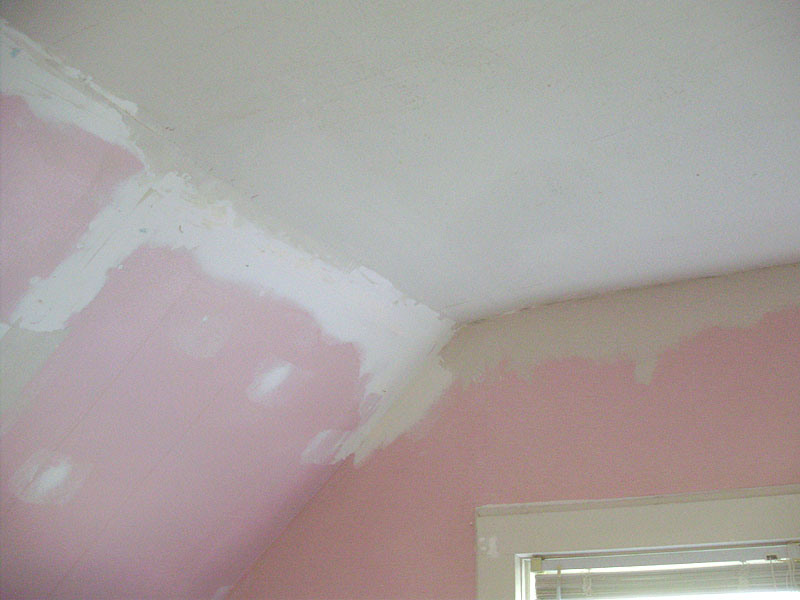
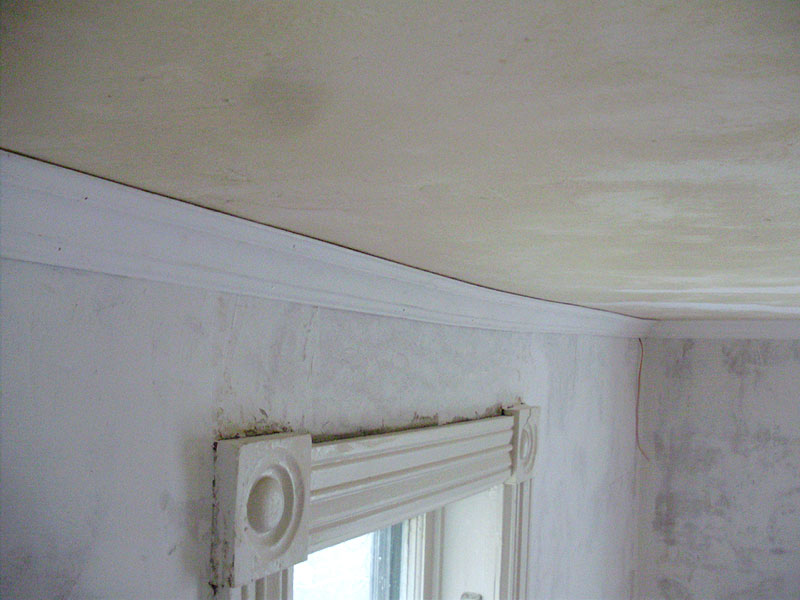
Angie could not live with the textured popcorn ceiling, so Pierre did a first coat of compound over it, which I'm sure was a hellish job.
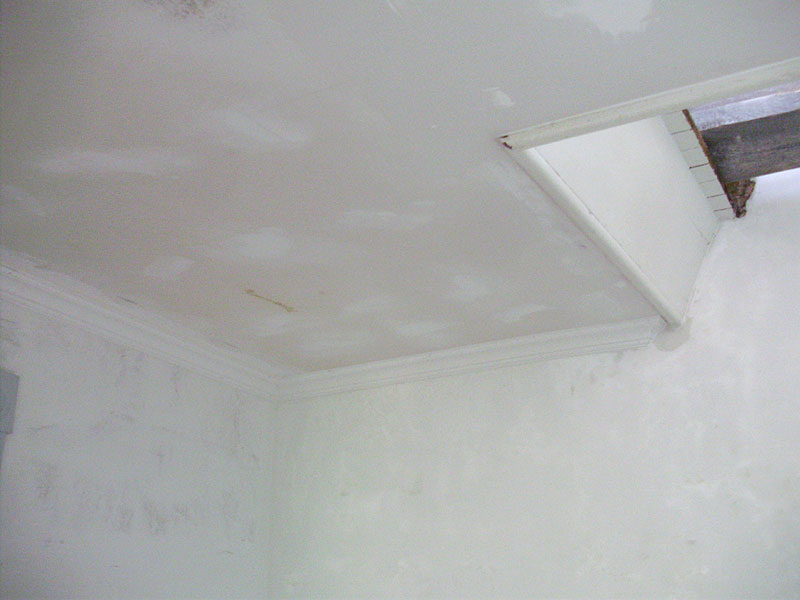
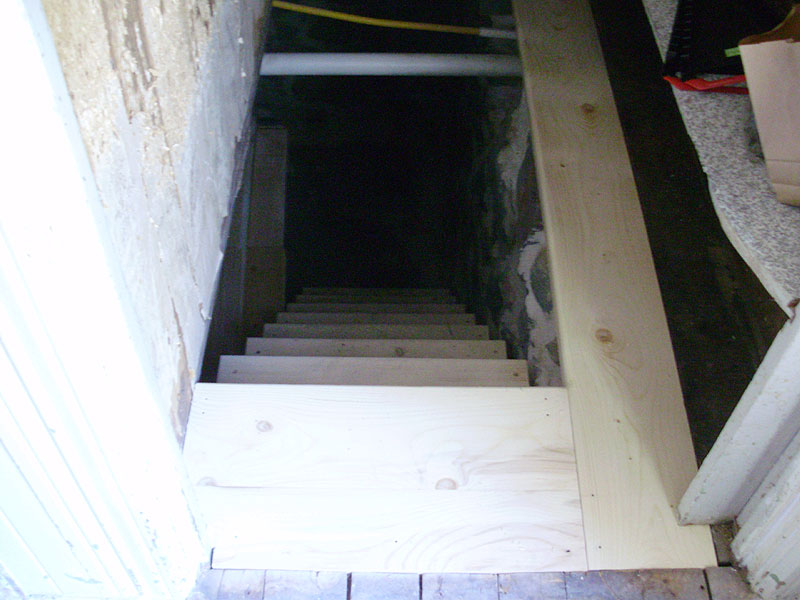
Here's the new patching and finishing around the basements stairs that I did. This will probably all be painted grey to match the basement stones/ceilings, etc.
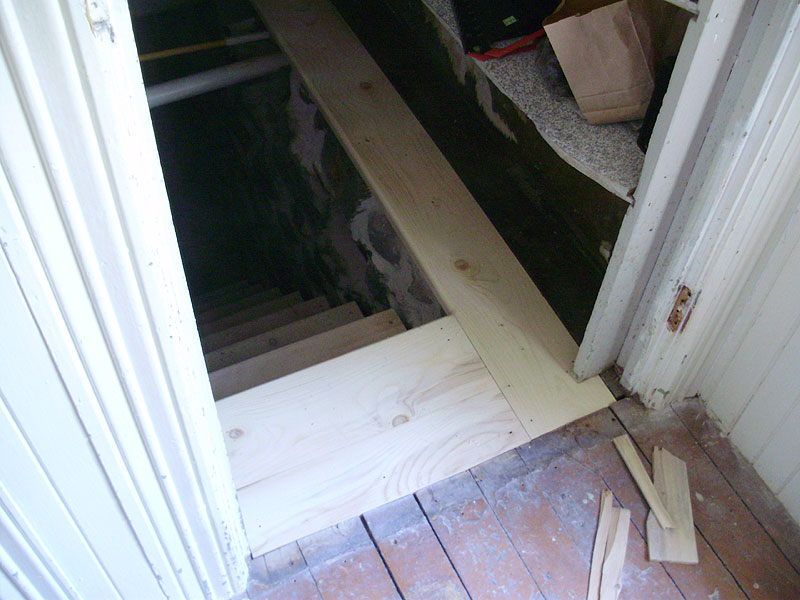
You can see how everything lines up nicely.
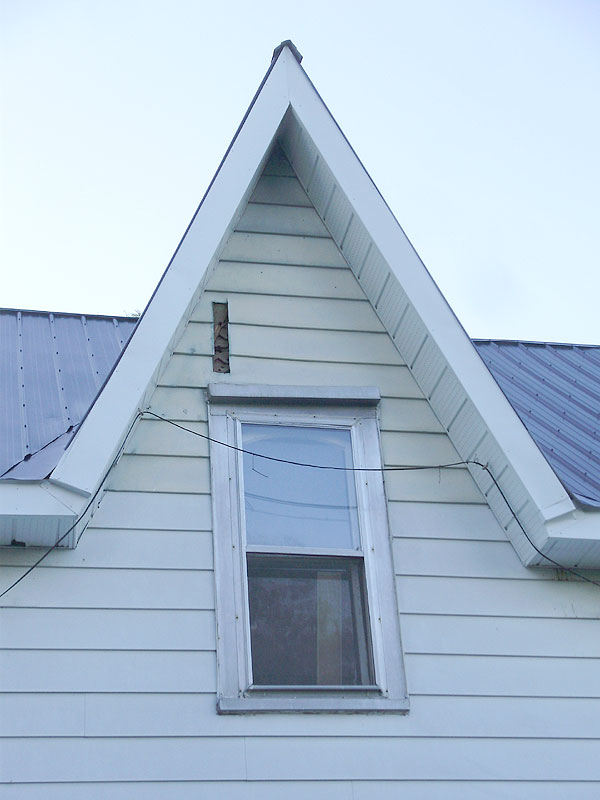
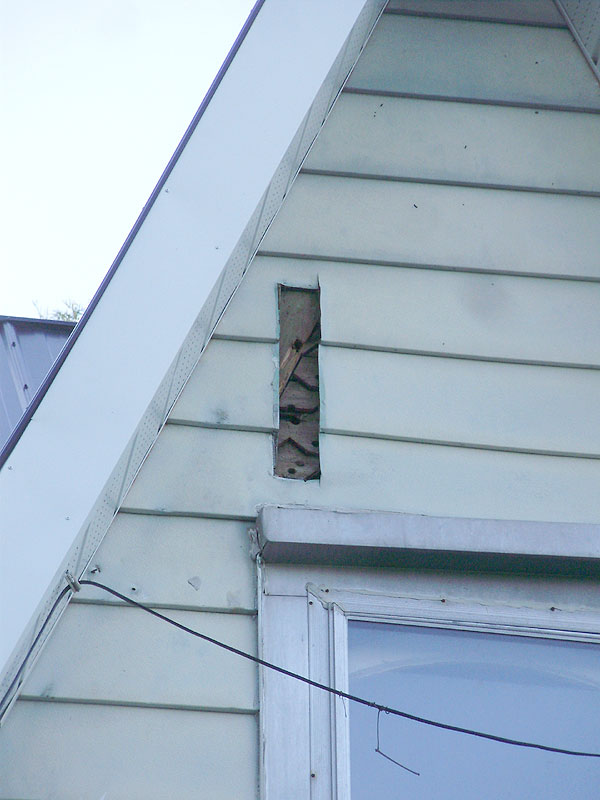
After the electrical was relocated, the old iron plate that was bolted in the peak of the house was removed. I noticed that some decorative cedar shingle work could be seen through the hole in the siding.
Progress is looking good!
ReplyDeleteThe fancy siding you uncovered on the gable almost looks like sawn from horizontal clapboards, rather than fancy-butt shingles. Have you looked at it any closer?
Hi Seth, we don't currently have any plans to remove the current siding (it's aluminum, which lasts forever), and we will actually have to patch that to keep the water and insects out. Plus, it's about 20 feet up in the air.
DeleteI don't know if you edited the comment, or if I had just read it wrong, but my initial reply doesn't seem to make sense.
DeleteNo we haven't been able to get a closer look at it. We would need scaffolding to get up there. It's very possible that it is cut (notched) clapboard siding rather than shingles, but it's very hard to tell. The rest of the farmhouse is fairly narrow (maybe 3" wide) cedar siding, but the original roof was cedar shingle, so it could be either one.
Very cool, in any case. Our house (1912 Foursquare) is sided with 4" nominal bevel clapboards, installed with about 3 1/4" exposure. It was covered with cement-asbestos-fiber shingles in the 50s or 60s, but I'm removing that and restoring the wood. The original clapboards were fir (I've found a mill stamp from Bellingham, Washington on the back of some damaged pieces). The new pieces I'm using to repair damaged and missing areas are cedar, though. I'd bet that a lot of original clapboard siding on pre-WW2 homes are species other than cedar, since it was destined to be painted, and most of the old-growth conifers had good decay resistance.
DeleteLooking forward to your next blog posts, both on the farmhouse, and your own.