Showing posts with label Custom. Show all posts

Thursday, August 03, 2017

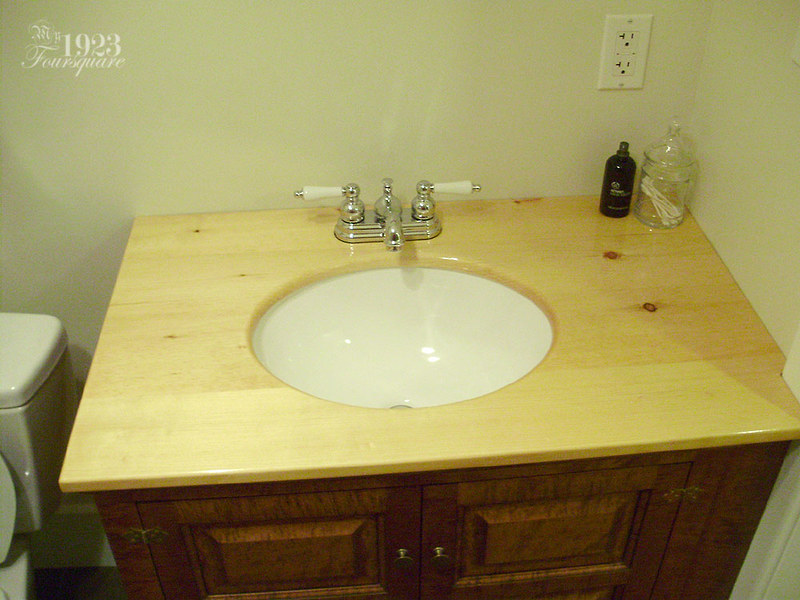
The Bathroom Vanity Has A Sink!

I am having a fairly-important guest over in a few days (a long-time clock collector friend of mine, along with another collector friend of his), and in anticipation for his visit, I've decided to tackle several small projects around the house. One of these was finishing the built-in (the previous post), and one of the others was installing the sink in the bathroom. The third big project (a surprise) is nearly finished, but I don't think it will be ready in time for this weekend.

P7230008

Now, if you're an avid reader, or a close friend, you might be asking yourself: "Wait... didn't you want marble for the vanity?" and the answer is YES! This was a compromise for now. This pine counter top cost about 30$ (10$ of pine, 20$ for the varnish). Let's call it a "temporary" top. I don't know when I'll have the cash to get a custom marble top (it could be another few years) so for now, this is a decent alternative. From what I gather, the marble top would be in the range of 300$ - 400$ installed. I still have loads of other large expenses, so in the meantime I want to use my sink/vanity (especially for guests).

Alright, so for those who were wondering about the spoiler image in the last post, it was the vanity top underneath the drawer fronts.
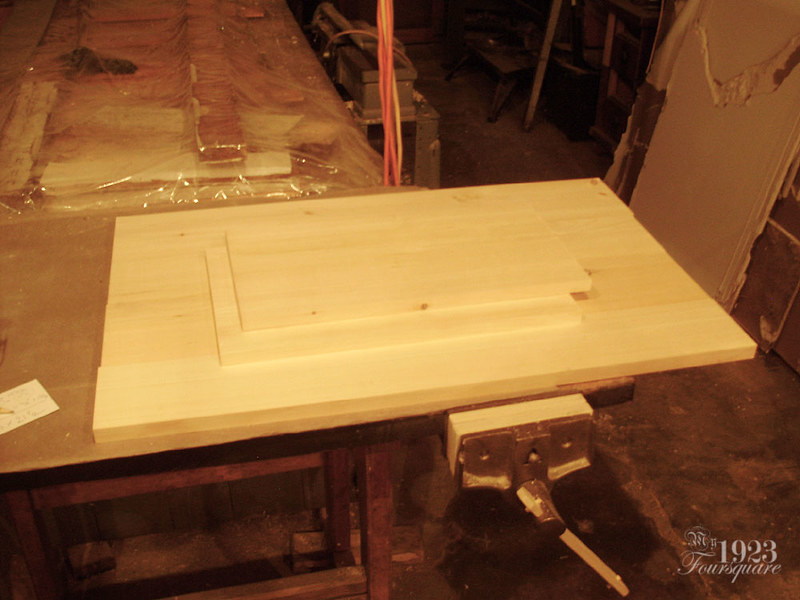
P7020011

I used some pretty nice clear-ish pine (with very few knots) and glued up the slab. I had to make it in two sections, plane them, and then glue them in the centre with one glue joint (to sand). This is fairly typical for gluing large panels that need to be planed (my planer is only 12", and most large ones are only 20"). I buy my pine from "the big orange box" as rough boards 12" x 1" thick. These are dirt cheap because they are not planed or prepped in any way. The majority of the boards have large knots (because pine trees have lots of branches - which is something people don't seem to understand when they want "no knots") and other defects like cracks, broken edges, or bad knots (dark ones that are likely to fall out). HOWEVER, if you have the patience to sort through the boards, you can find some REALLY nice ones. These boards are about 1.20$/sq.ft. or less which is pretty good. In addition, this is kiln dried, and perfect for furniture.

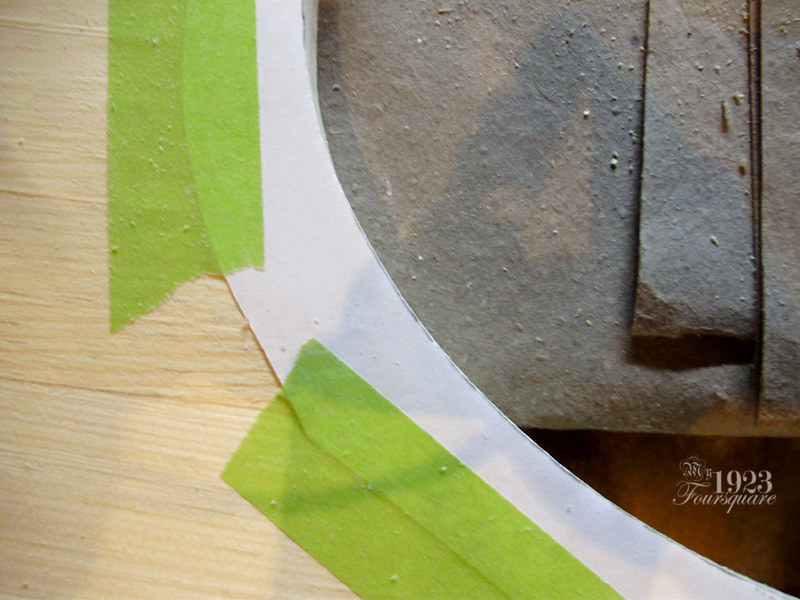
So. Since I plan to eventually reuse this sink for the marble top (whenever that might be), I wanted to keep the original paper template for the stone company. I traced a copy, and used that for my pattern.
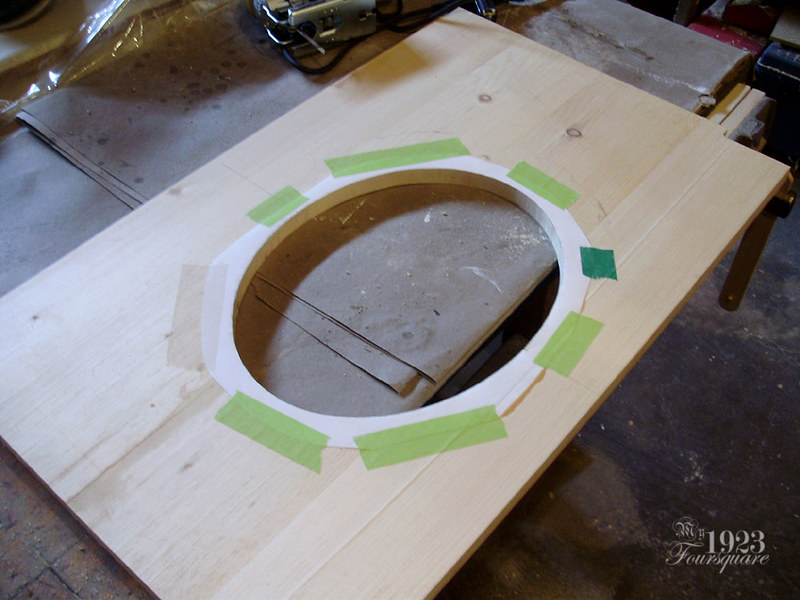
P7120061

It's important to try to cut this oval as accurately as possible. This is HARD, and any screw-ups end up being very obvious. As a side note, I bought a brand new jig saw to cut this, so I guess TECHNICALLY the top cost 30$ + 160$. I bought the saw on sale/discount as well (120$), but then I got stuck also buying 20$ of blades plus the taxes. It's not a waste, however, because I've wanted to buy a decent jig saw for several years now. It will come in handy for a multitude of projects.
P7120063

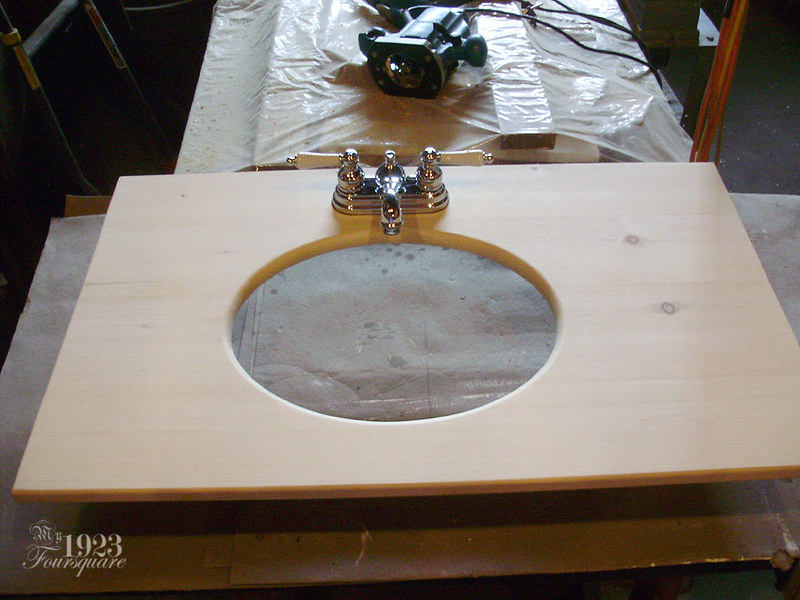
This is after sanding, and routing the profiles on the edges. A large round over on the sink lip, with smaller round overs on the other edges. I couldn't wait for a bit of a preview, so that's why the faucet is sitting in place.
P7120067

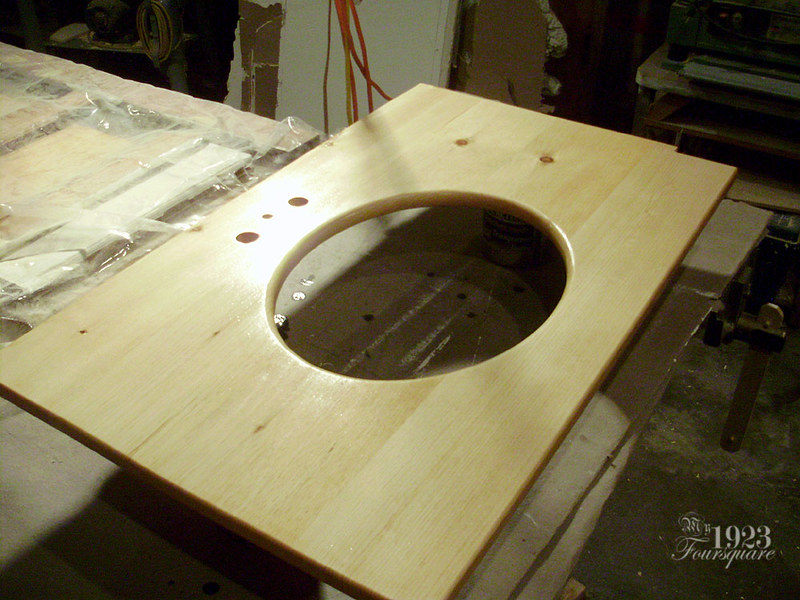
I wanted this to be WATERPROOF, so this vanity top got FOUR coats of spar (marine) varnish in a high gloss. This was taken on the second or third coat.
P7140093

Since the sink is under-mount, I had to make custom clips for it. When stone is used, they also have a few special clips that fit into slots cut in the stone, plus they also use adhesive. My brackets were made from hard maple. The sink edge is uneven in thickness, so I had to make some of these slightly different sizes.
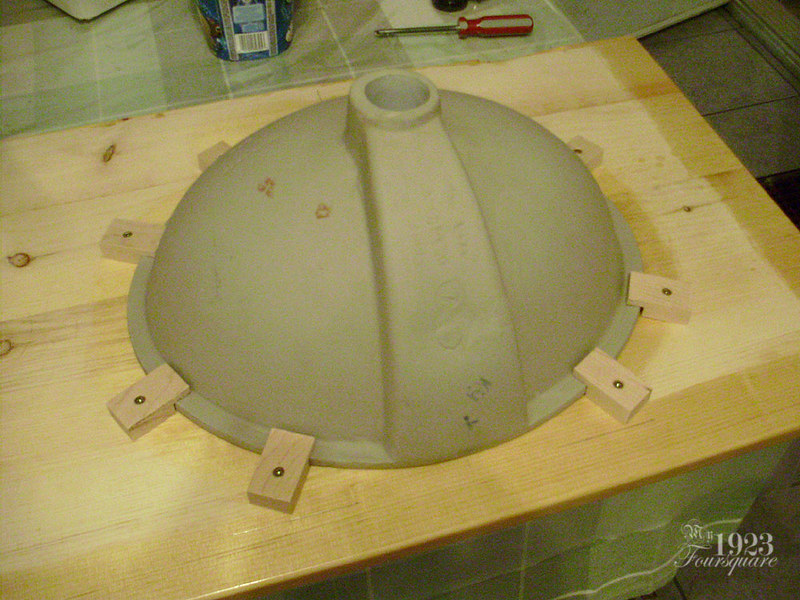
P7190039

Note the pencil lines at the front edge. These were to show how close I could get to the front edge of the cabinet.
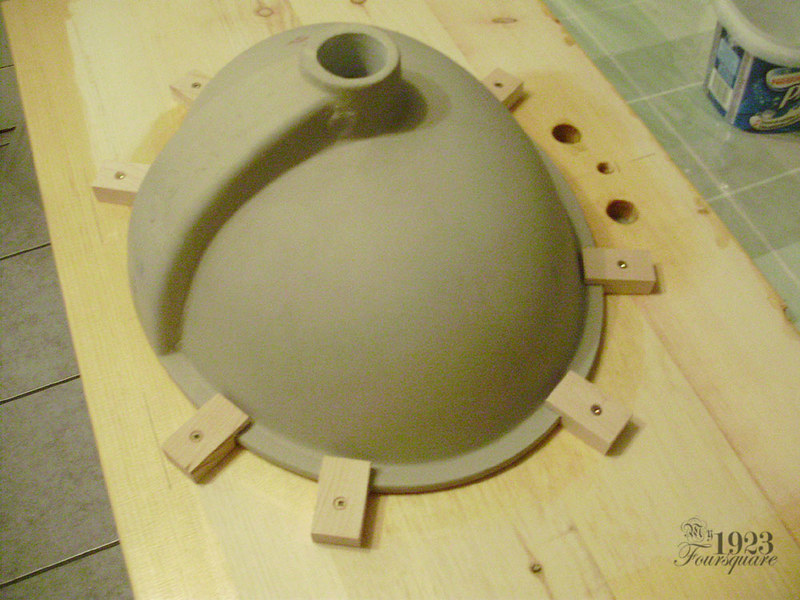
P7190040

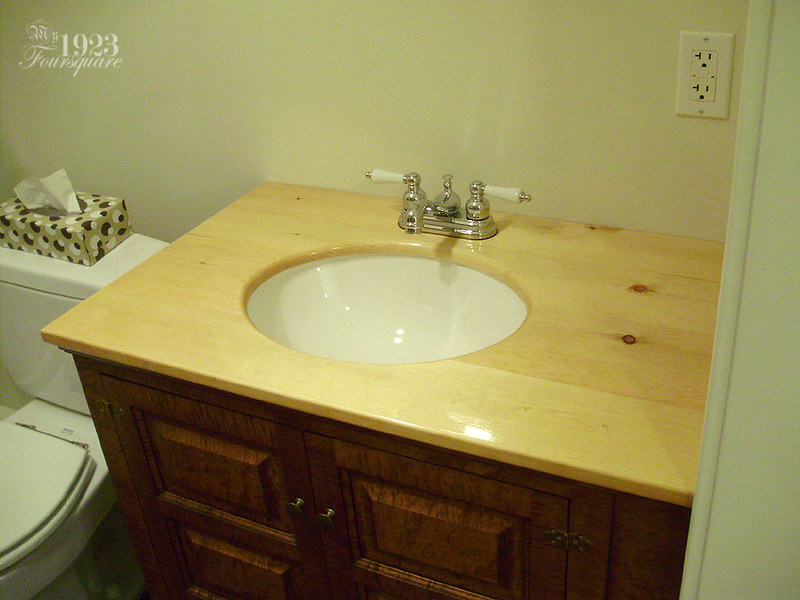
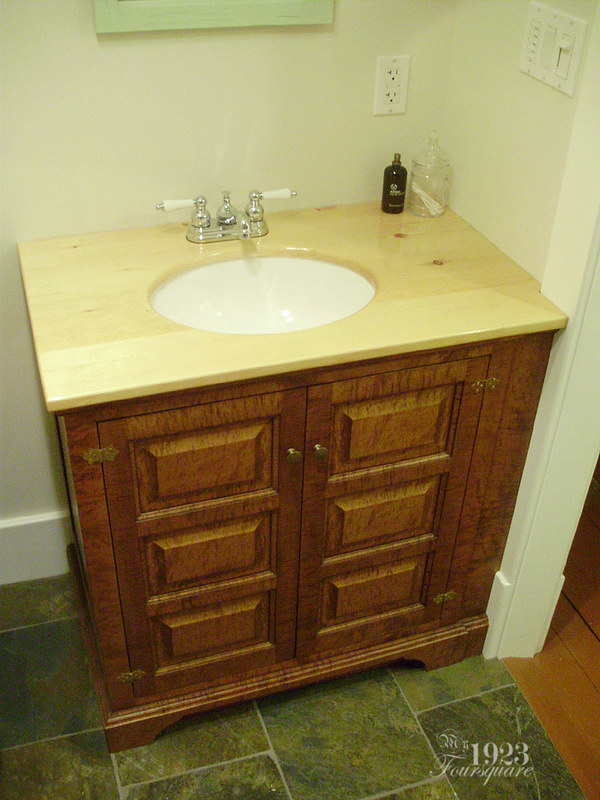
I haven't decided if I should install a backsplash or leave it like this. I wanted a backsplash with the marble, but since this is temporary, I don't know if I should bother. You can see that I had even planned out the height of the wall outlet for the backsplash.
P7190041

P7230007

P7230008

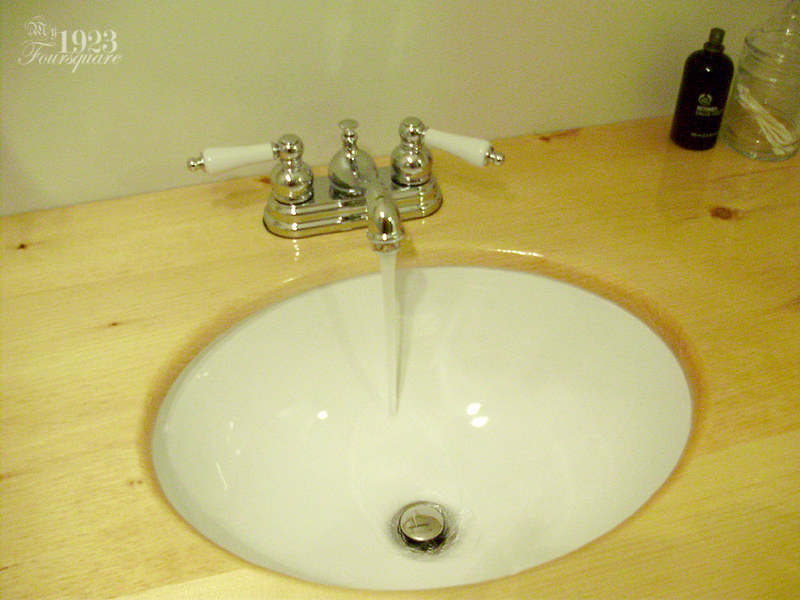
It took 7 years to get to this point. I still remember the sink that used to be here. Side note: There is white caulking along the inside top edge to seal the gap, but otherwise I fit the sink in place only with those brackets (which are quite tight, but not waterproof).
P7230009

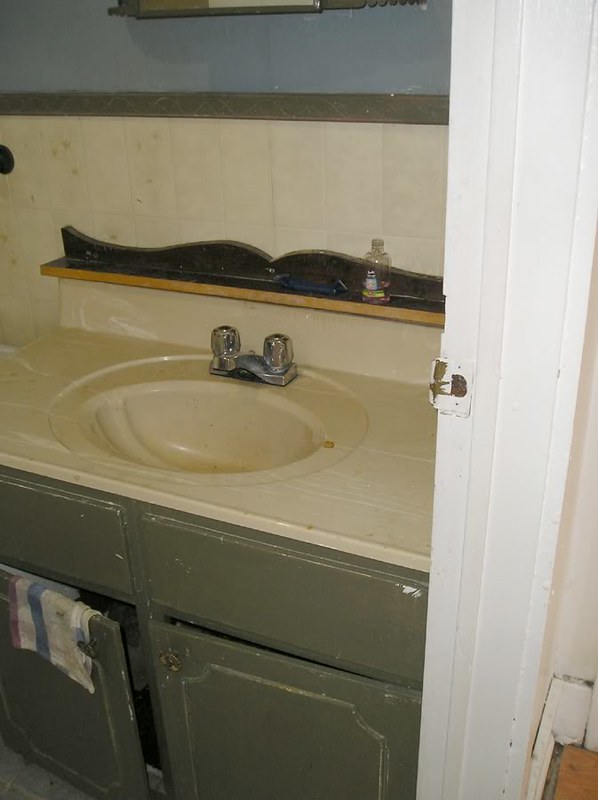
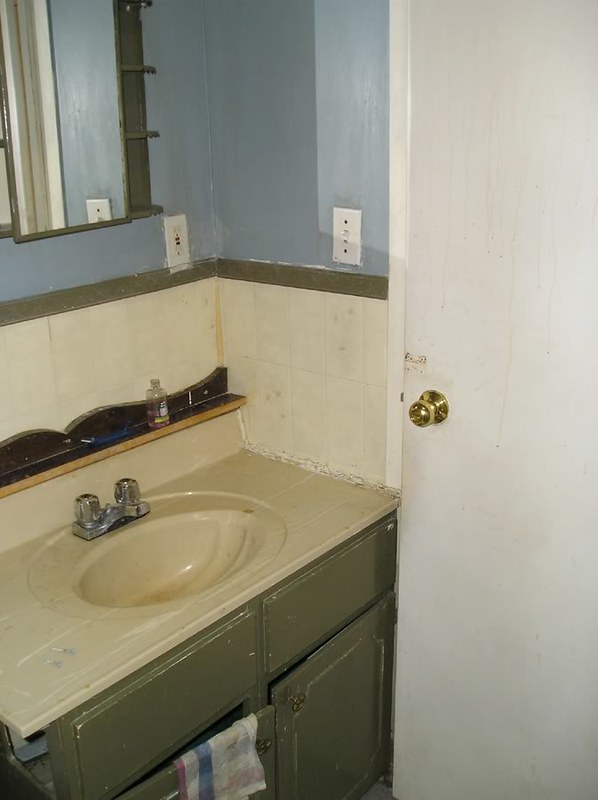
BEFORE:

P4306838

P4306845

I'd say even if the top stays just pine, it's a slight improvement over what was there before, yes? I still cringe at some of the old photos. The house is nearly unrecognizable in many places, but in a good way.

Wednesday, November 23, 2016

Victorian Farmhouse - Part 18 Salvaged Front Door

So for me, the two most rewarding projects so far on this house (and depending who you ask this might be different) have been the opening of the archway in the living room, and the re-installation of the side door (front door).

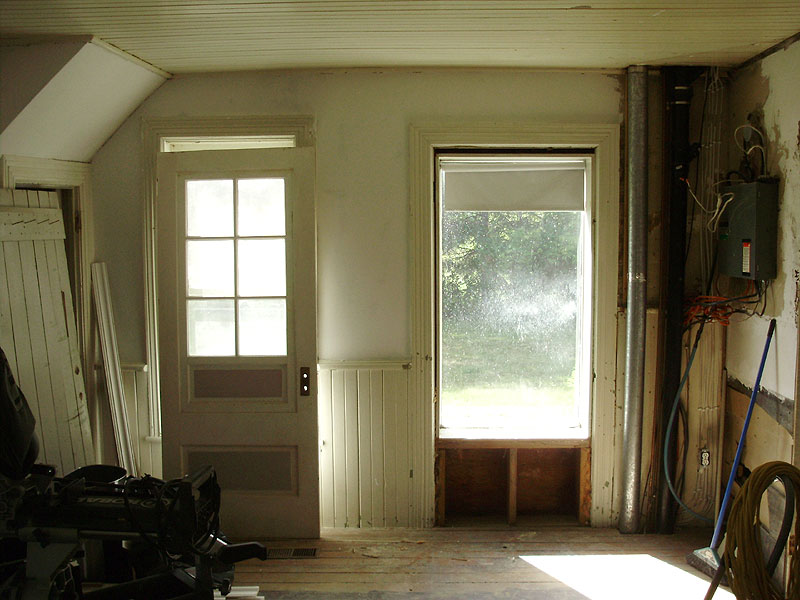
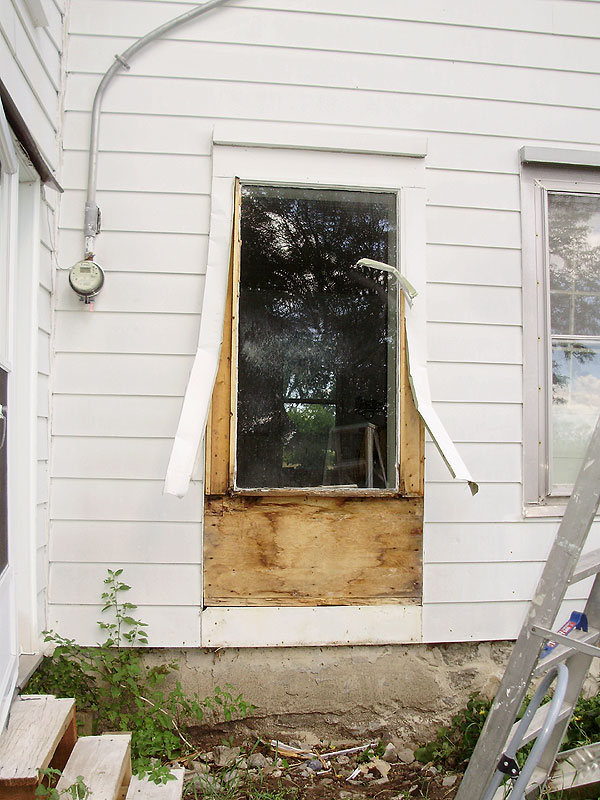
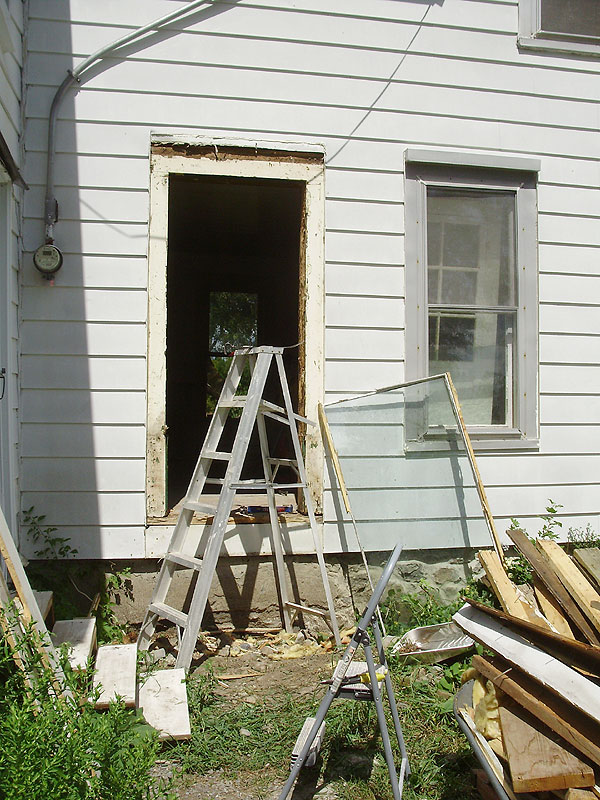
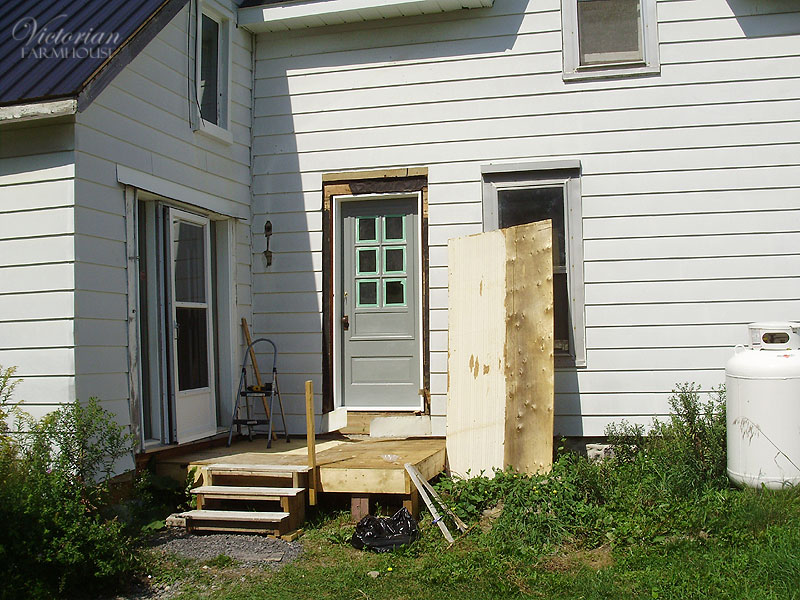
As a memory jogger, you may remember that there was once a door here, but it had been converted (very poorly) to a window with shelves in it.

P8050129

I offered Pierre and Angie one of my antique doors (I have several that I will never use). This particular door is around 1920-1930 or so, and it came from a neighbour's house two or three doors down. The window panel was removable, but it has been sealed and painted shut.

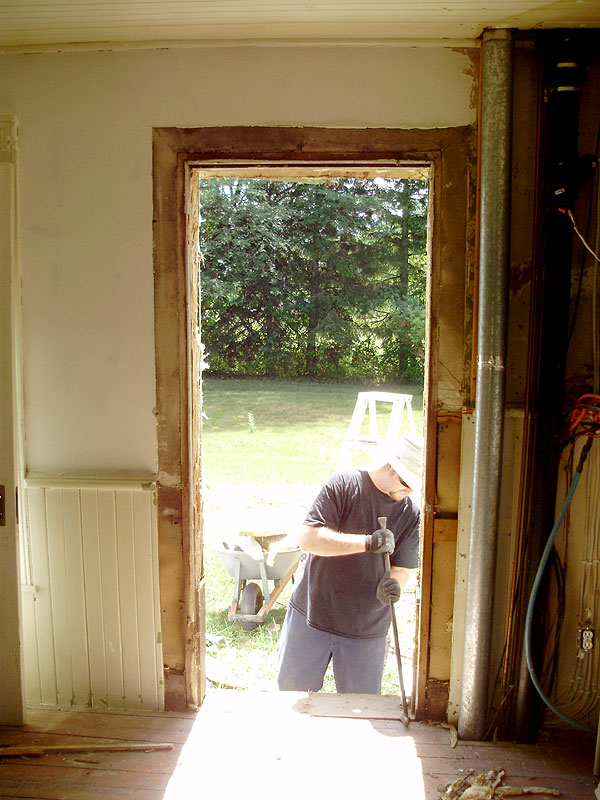
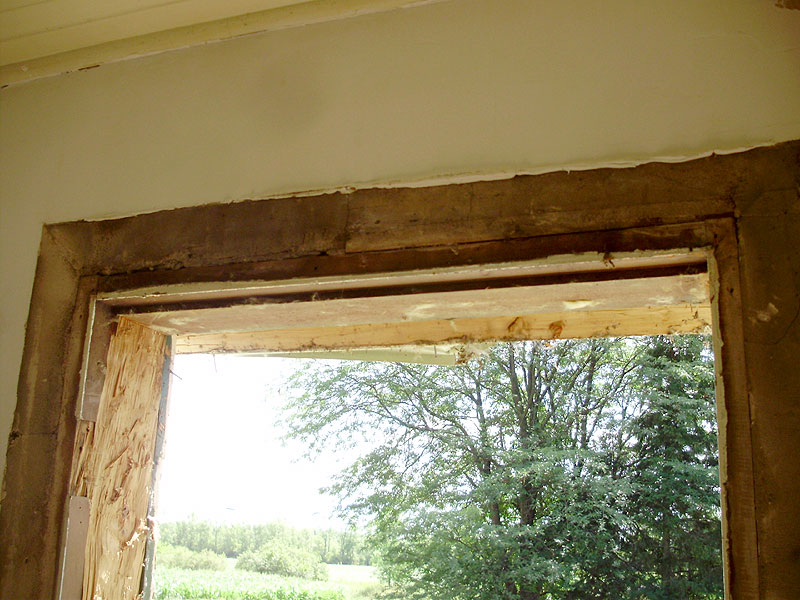
Removing the awful old thermopane window and cobbled together bookcase was a huge pain.

P8050130

P8050131

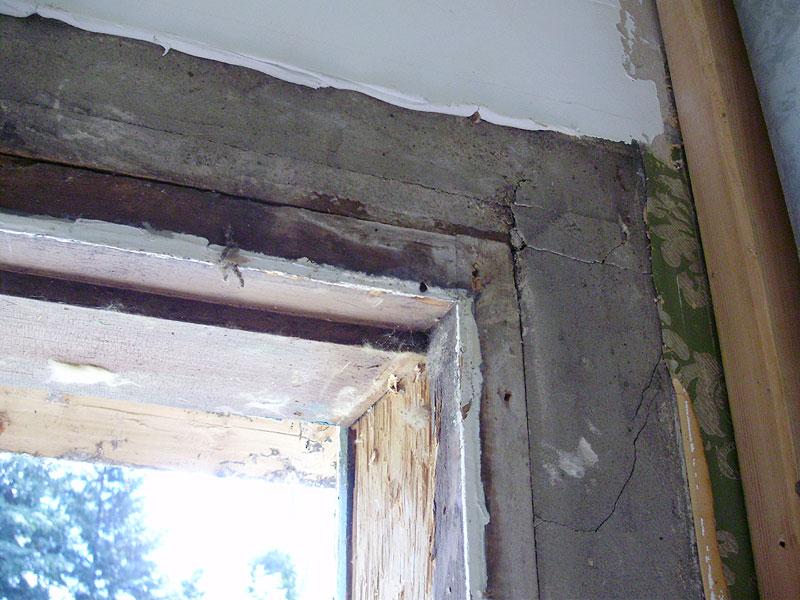
It's too bad that the original door jamb was completely butchered, because it was nearly 2 inches thick, and extremely well made. I spent several days custom making a new one. No photos of that were taken, but the jamb was built from 2x10s that had to be cut down, trimmed, routed and grooved, and the door had to be fitted with the hinges in the frame before installing it in the opening, etc. If you want more details on that, see the posts about my own front door: http://my1923foursquare.blogspot.ca/2015/09/salvaged-front-door-project-part-4.html

P8050132

P8050134

P8050135

P8050137

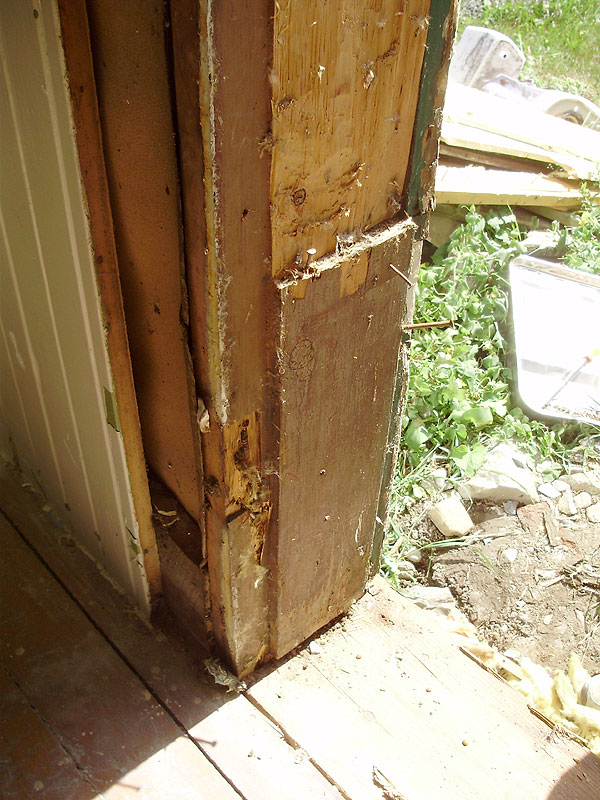
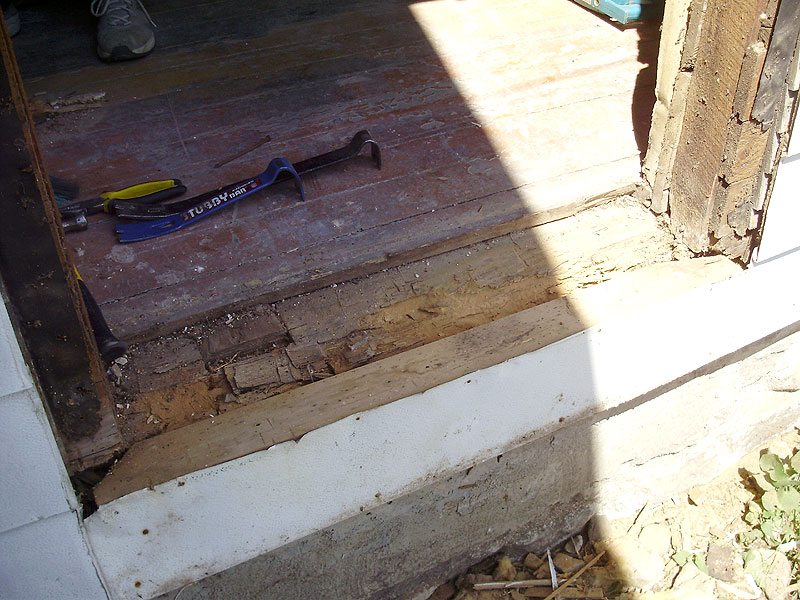
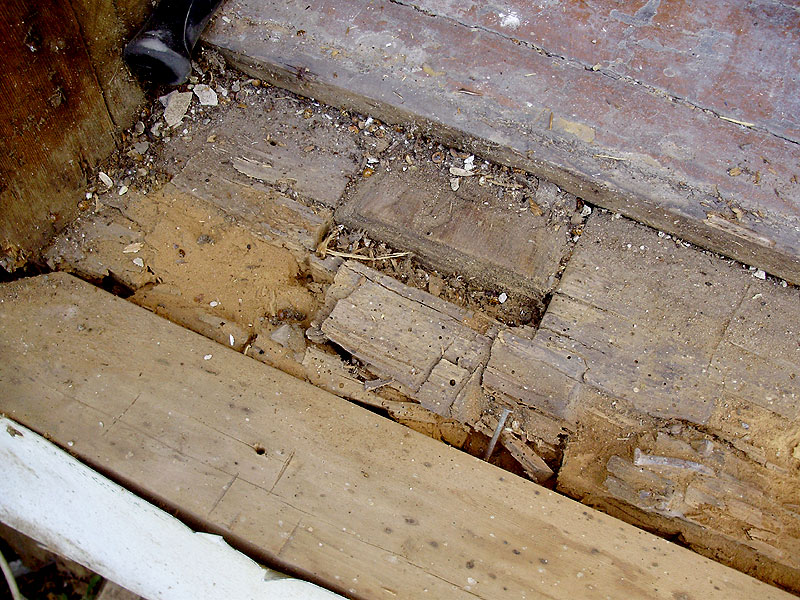
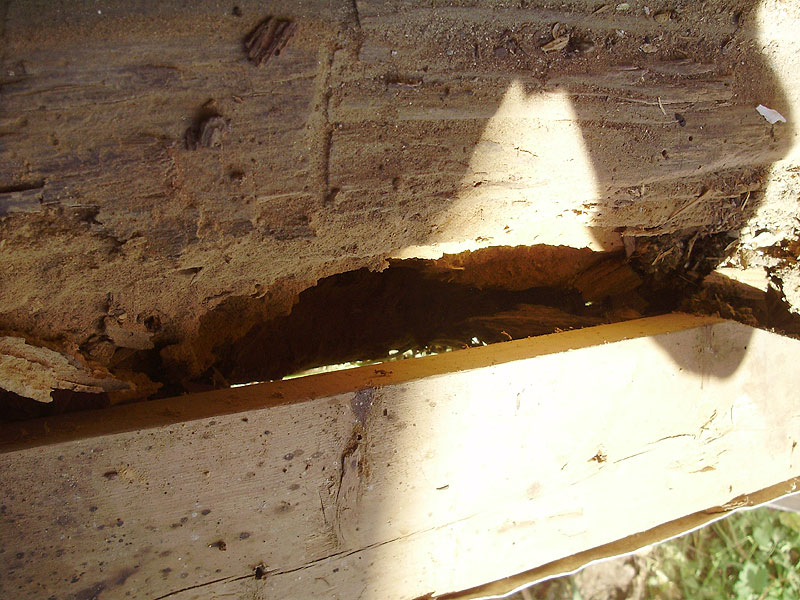
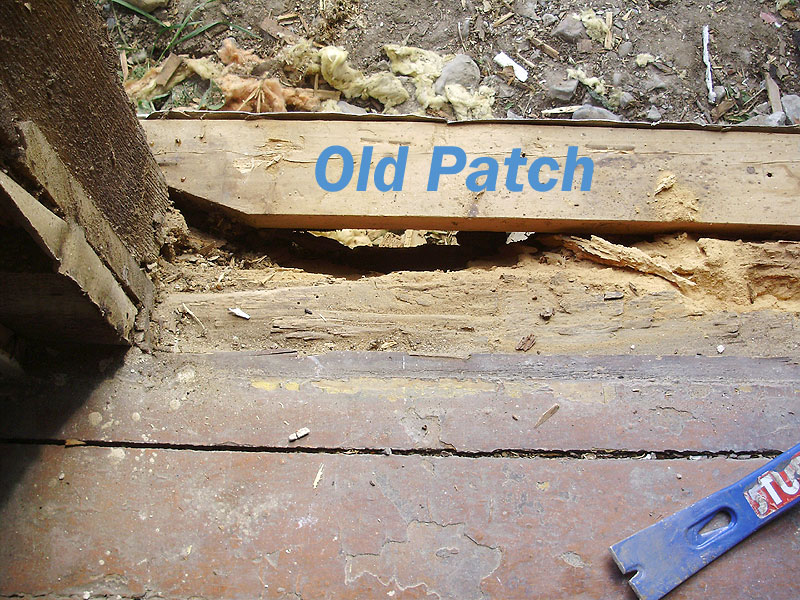
After removing the old door jamb, and the exterior casings, we found that the bottom exterior beam of the house was badly rotted.

P8050144

P8050146

P8050147

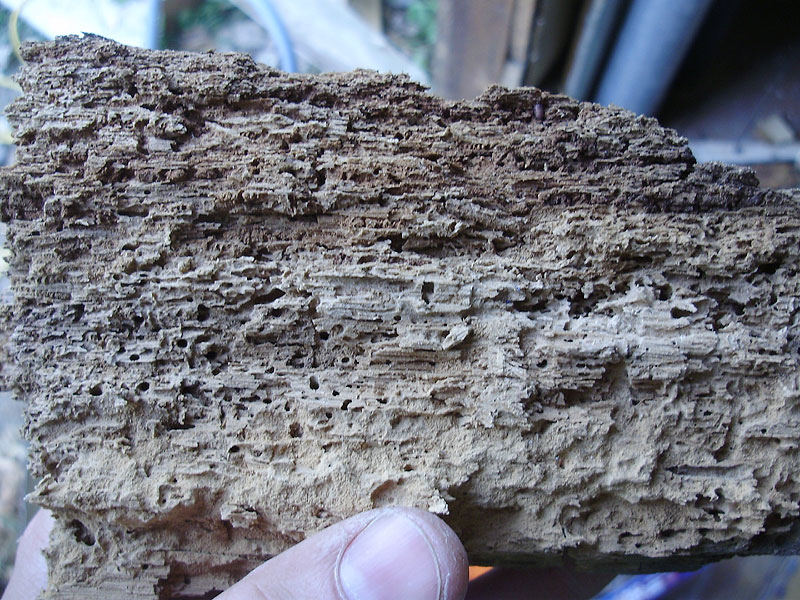
The inside half was still fairly solid, but the outer half was practically dust.

P8050149

Part of the damage was due to poor corner joints and leaks in the window frame, along with leaks in the original jamb, and insect damage over the years. I suspect that half the house may be like this around the perimeter. Since we can't rebuild all this, we fixed it as best as we could.

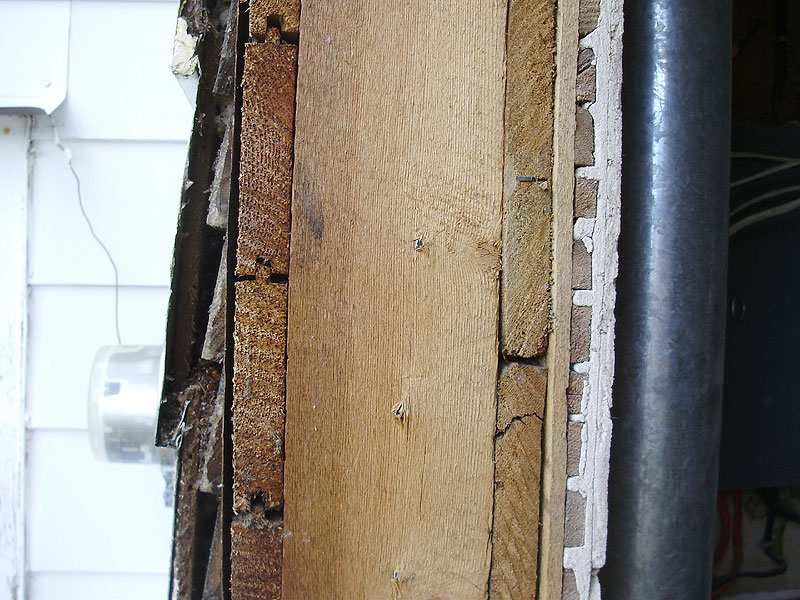
Here we can see the original construction. Small (narrow) cedar siding, tar paper, 3/4" tongue and groove, wall studs (4" side), interior tongue and groove or barn boards, cardboard (not easily visible), lath spacers, lath and plaster.

P8050150

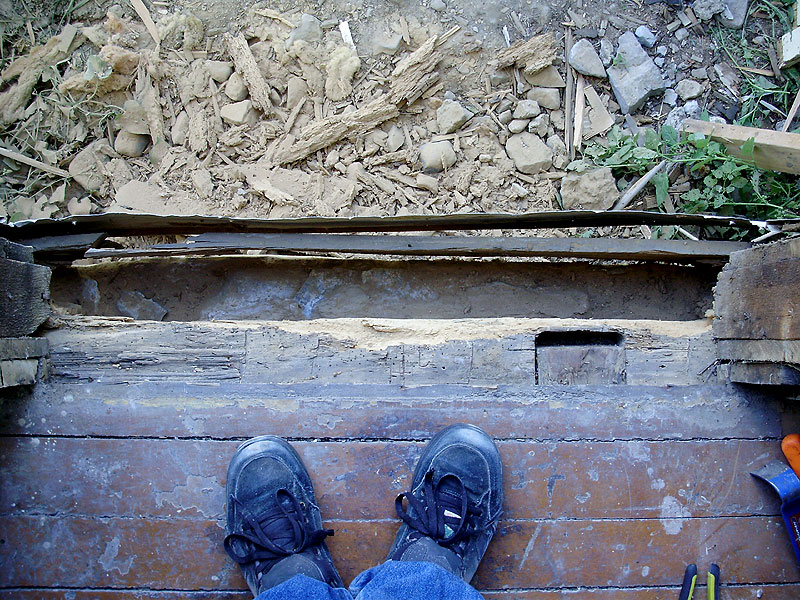
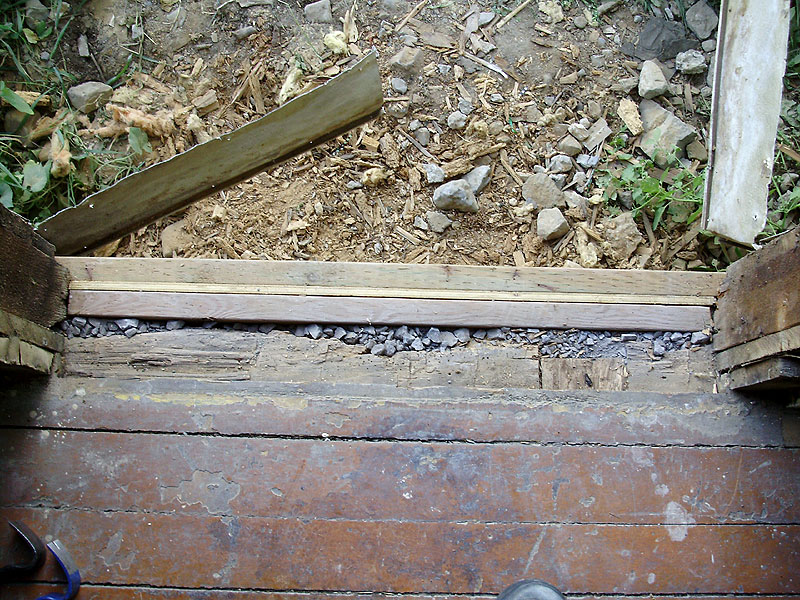
The outer rotted half was cut away.

P8050151

P8050152

Completely toast.

P8060153

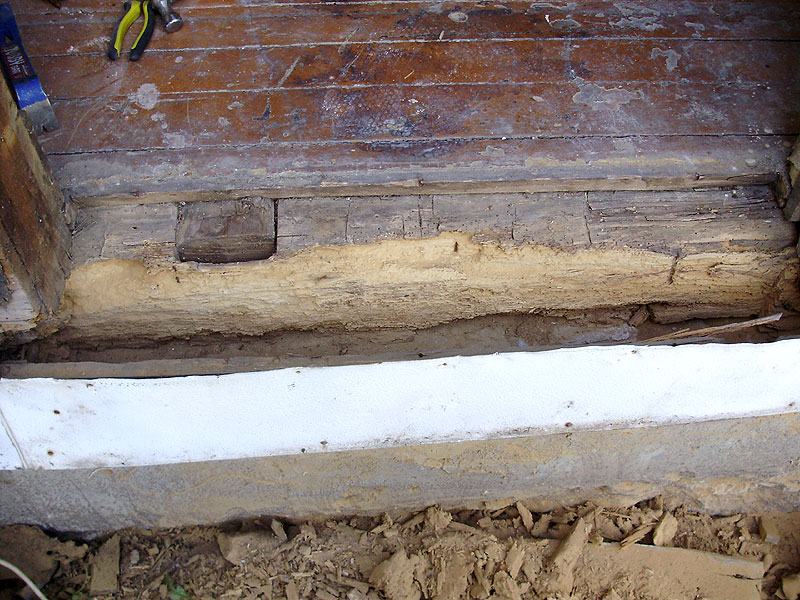
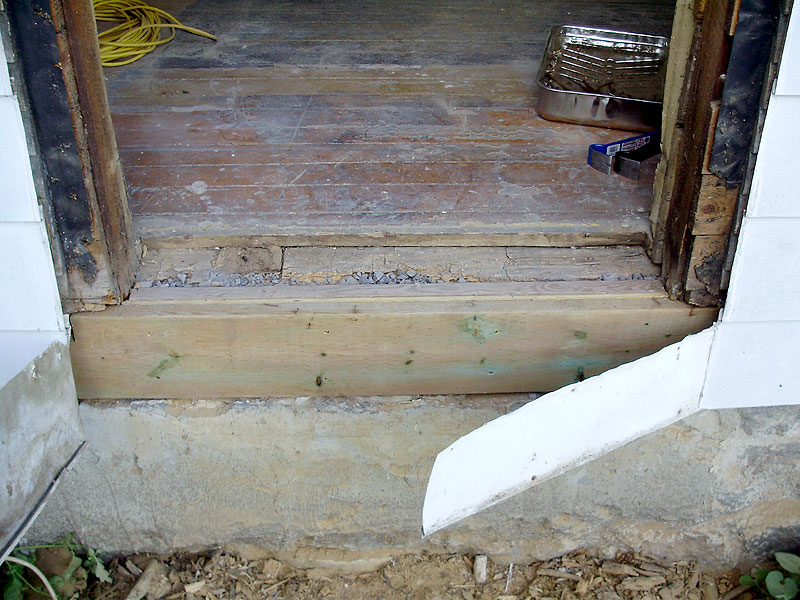
The cavity was filled with treated lumber, and small gaps were filled with sand and gravel (like the rest of the stone foundation).

P8060156

P8060157

There will eventually be a covered porch here, so rot will not be an issue.

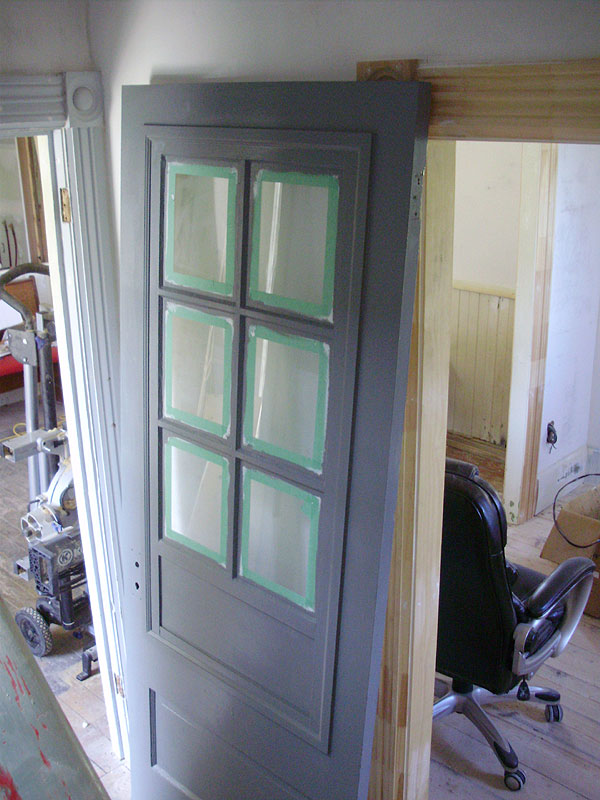
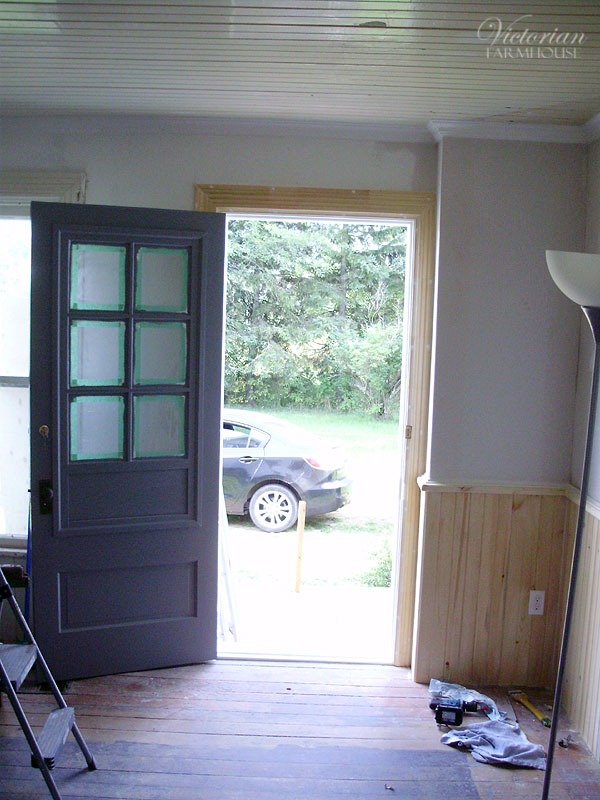
I added a cap moulding on the door to make the window portion more solid and permanent. Pierre then painted it (dark grey).

P8240358

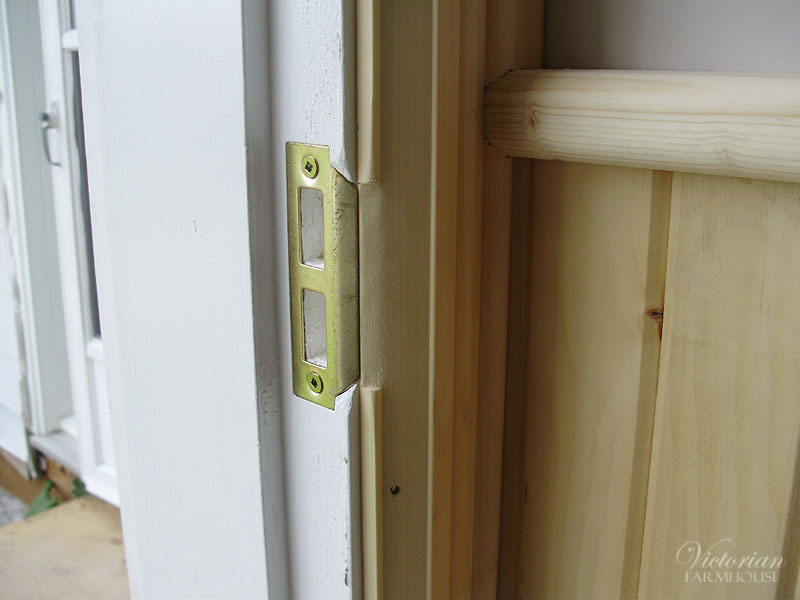
Jamb, door, and lock installed.

P8250005

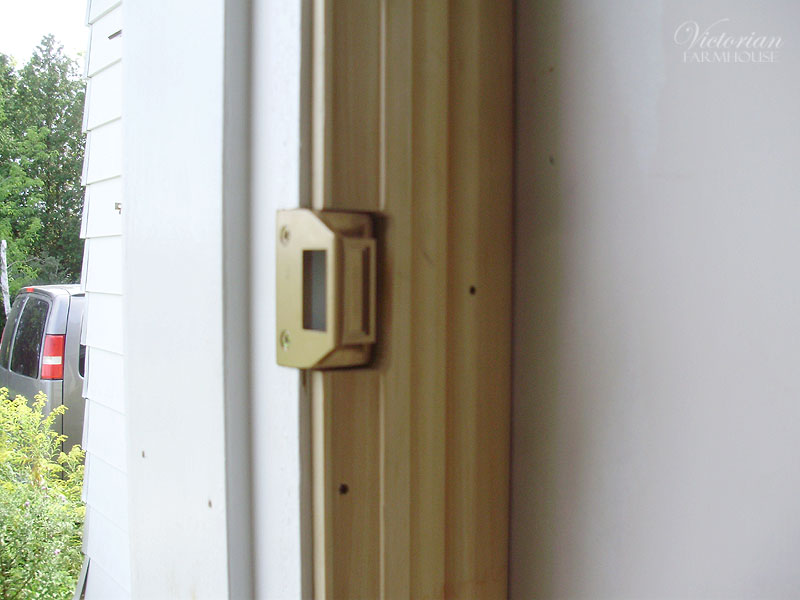
Some of the details. Because of how the plate was made, I also had to tweak the door casing edge.

P8250008

P8250009

P8260012

To protect the door from the weather, and add a layer of insulation, a new aluminum door was installed on the outside. Photos of that will be posted later.

For those keeping track, this was not too bad as far as time. I had all these photos already prepared, so it's now only 12:24am.

Sunday, October 25, 2015

Salvaged Front Door Project Part 7 (Finale) - Interior Casings

I had decided a few weeks ago that it was getting too cold outside, and that I had no money to buy the wood to finish the interior casings, so I was going to wait until spring.

This past week, however (especially Wed, Thu, and Fri), the weather was very mild. I decided that instead of buying a full sheet of MDF and having it specially cut + delivered (which is what I'll eventually need to do for the rest of the casings I need), I could simply make them from 6" pine tongue and groove (which sell locally for under 4$ for a 6 foot length).

I had the time off from work, so I took most of Thursday to build and install the trim. The old plinth blocks were reused, new side columns were made (using the t-g pine with the groove on the back), and I had to build the parting bead from scratch as usual. I actually used a variety of scrap wood (anything that was on hand). The parting bead is actually Fir, and the header block is a rather nice piece of Poplar that I had hoped to use for something nicer.


Now, the reason I needed mild weather, is because with the hinges installed (and the door hung) it's impossible to caulk the edges of the casing, or paint. There is a tiny gap between the casing and the hinge, but it's not enough to paint in between there properly. I don't like to do anything half-assed, so the easiest solution was to completely remove the door, and all the hardware.


With everything off, I had complete access to caulk and paint everything.


I had only partially installed the bronze weatherstripping, so I removed the strike plate and lock, and the weatherstripping was masked-off with painter's tape.


Since I was using pine, as well as a mix of other woods, I decided to seal everything with some of the leftover BIN shellac primer (while it's still good). I don't have much else to paint, so more than likely the rest of it will have to be tossed. All the caulking, and multiple coats of paint were done on Friday, and by Friday the weather was starting to dip again (I think it was around 10C?) so I installed a sheet of plastic on the exterior to try to keep the heat inside.


I ended up doing 2 coats of BIN, followed by 2 coats of white semi-gloss trim paint. The door was off from around 11am to 7:30pm. Here's a nighttime photo just after I had hung the door back in the opening. Not the best photo, but as you'll see later, the lighting situation makes this door difficult to photograph in any lighting situation (too bright during the day, and poorly lit with yellow light at night).


I decided to take a nice photo of one of the salvaged hinges. This particular one is the centre hinge, which was graciously donated by a blogger friend Tracy from Bennington Colonial! Without the hinge, this project might still be on hold! Thanks again Tracy!

I also wanted to show how I made the best of a tricky situation with these large hinges. These are the 4" hinges (most old doors tend to use just 3 1/2" hinges, and often only two of them). Since they are larger the screws that I had on hand did not fit. Most hinges are set up with #8 size screws (your average deck or wood screw), but these were drilled and counter-sunk for #10 screws, which are the next largest size. I originally really wanted slot head screws, but I decided that I would just use Robertson screws (square drive), and I was able to find some in bright shiny steel. Obviously steel with antique flashed copper would look terrible, so the screw heads were spray painted with a flat brown spray paint, and I think they match pretty well!

As a side note, the cheap modern screws off my old door were only about 5/8" long, and some of the antique ones I have (from other hinges) were around 1", but these babies are 1 1/2". This might be a bit overkill, but the door is VERY heavy (75 Lbs), and I wanted to make sure it wasn't going anywhere! 3 hinges with 8 screws means a total of 24 screws.


Here's the finished door, with the hardware and doorbell reinstalled.


The side casing was carefully cut to fit tightly around the lock strike.


View from the living room:


This door is much taller than all the other interior doors, but I was pleasantly surprised to see that the height lines up perfectly with the window casings (accurate to less than 1/4" difference).


View from the office:


The rest of the door casings photographed fairly poorly due to the strong light, and the fact that everything is currently white-on-white.


Finally the last thing to install to finish the door was the last strip of bronze weatherstripping, and you can read all about this in my previous post: Bronze Weatherstripping For Antique Doors.