As a memory jogger, you may remember that there was once a door here, but it had been converted (very poorly) to a window with shelves in it.
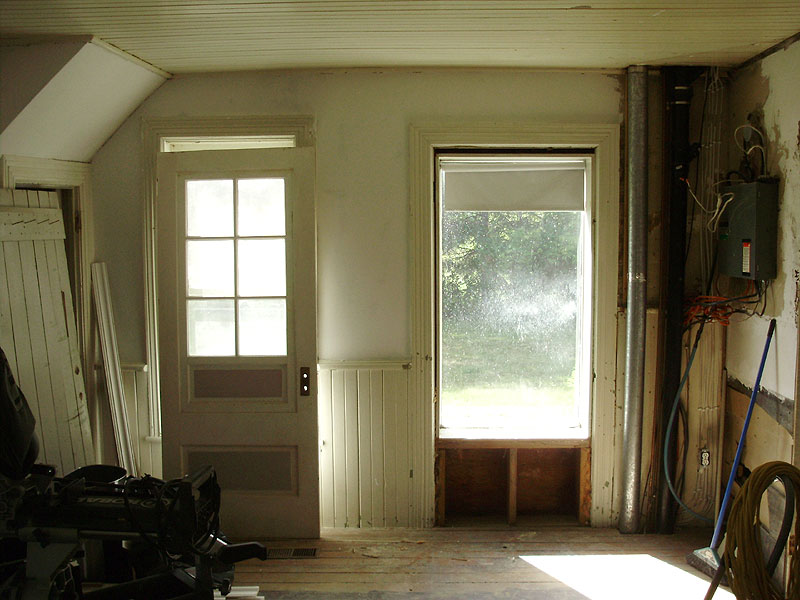
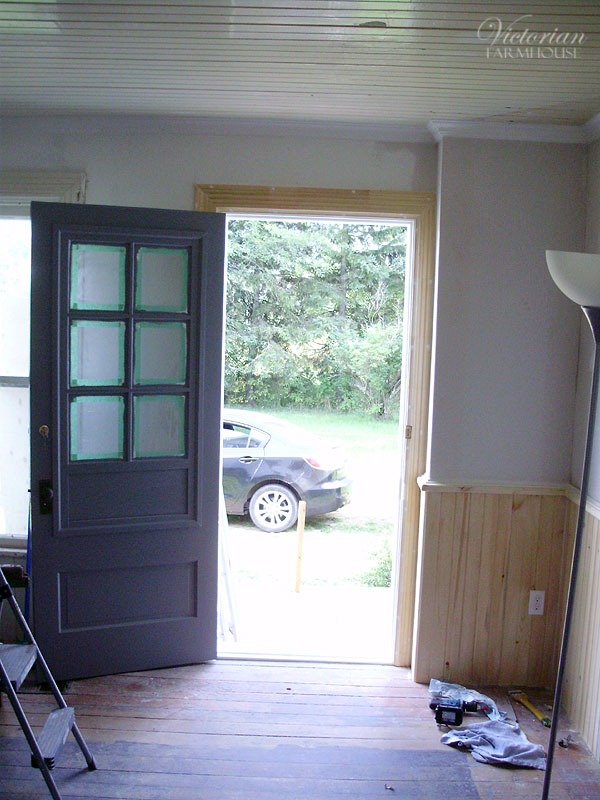
I offered Pierre and Angie one of my antique doors (I have several that I will never use). This particular door is around 1920-1930 or so, and it came from a neighbour's house two or three doors down. The window panel was removable, but it has been sealed and painted shut.
Removing the awful old thermopane window and cobbled together bookcase was a huge pain.
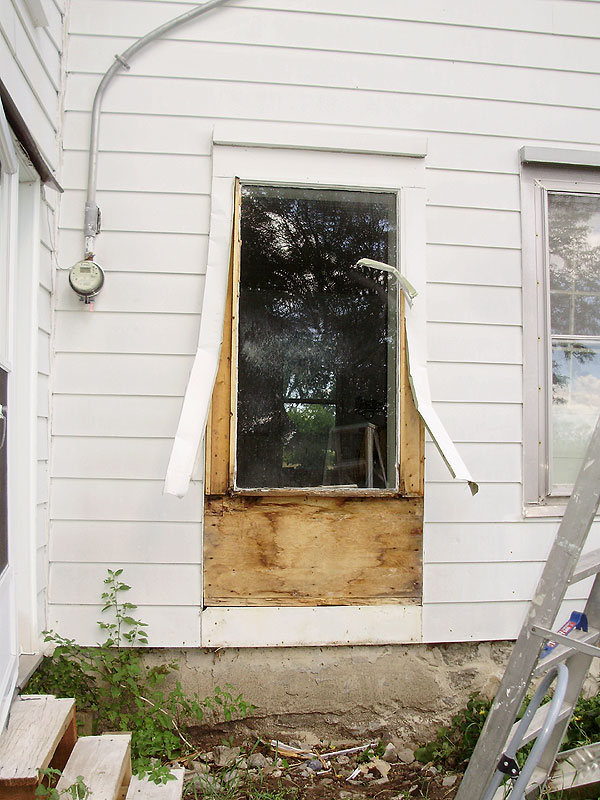
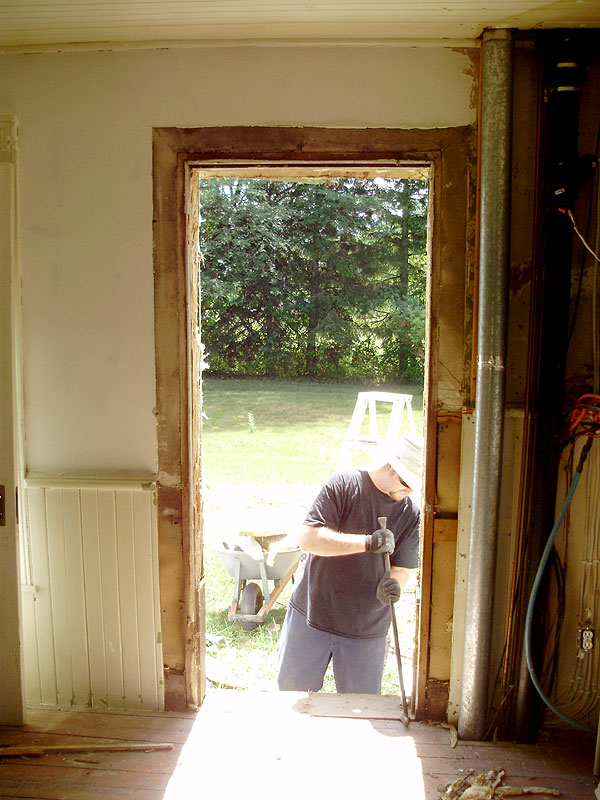
It's too bad that the original door jamb was completely butchered, because it was nearly 2 inches thick, and extremely well made. I spent several days custom making a new one. No photos of that were taken, but the jamb was built from 2x10s that had to be cut down, trimmed, routed and grooved, and the door had to be fitted with the hinges in the frame before installing it in the opening, etc. If you want more details on that, see the posts about my own front door: http://my1923foursquare.blogspot.ca/2015/09/salvaged-front-door-project-part-4.html
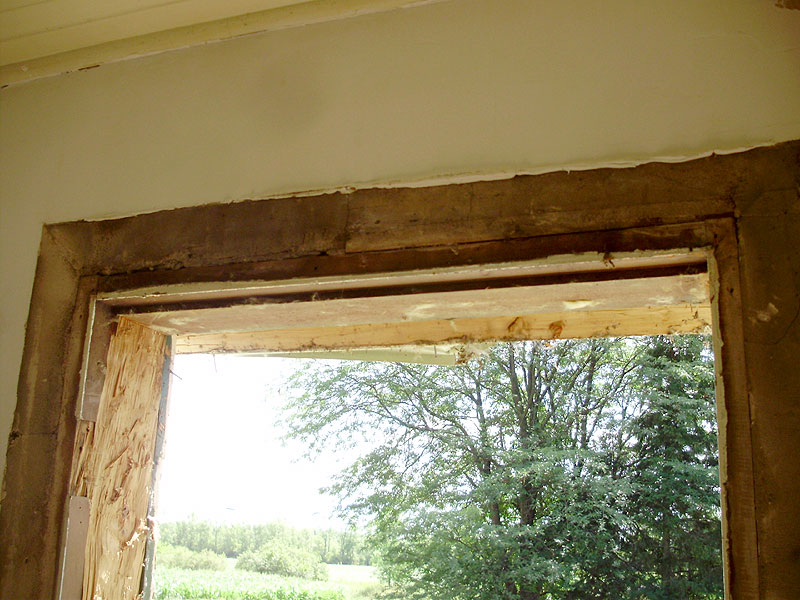
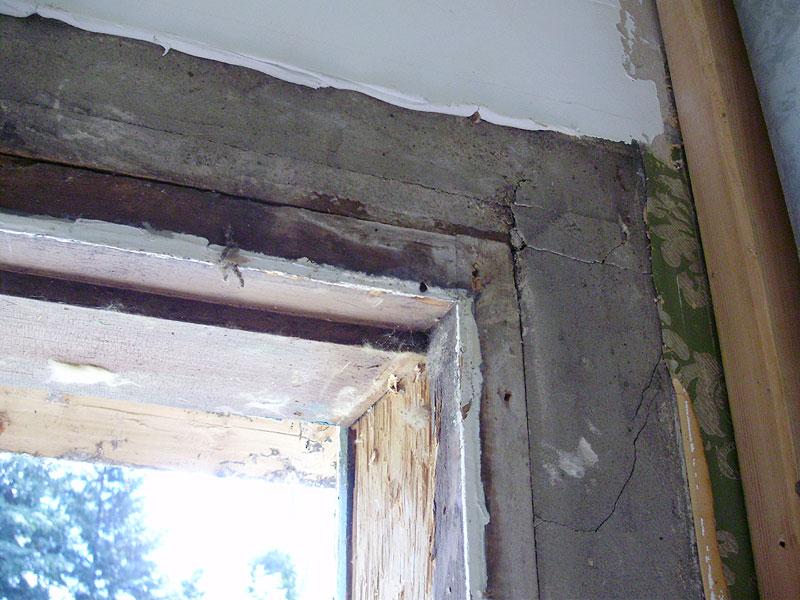
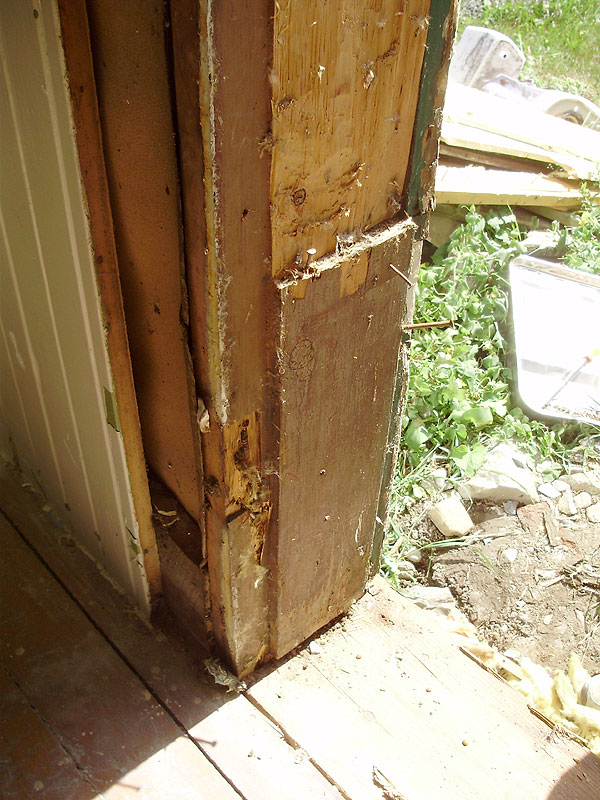
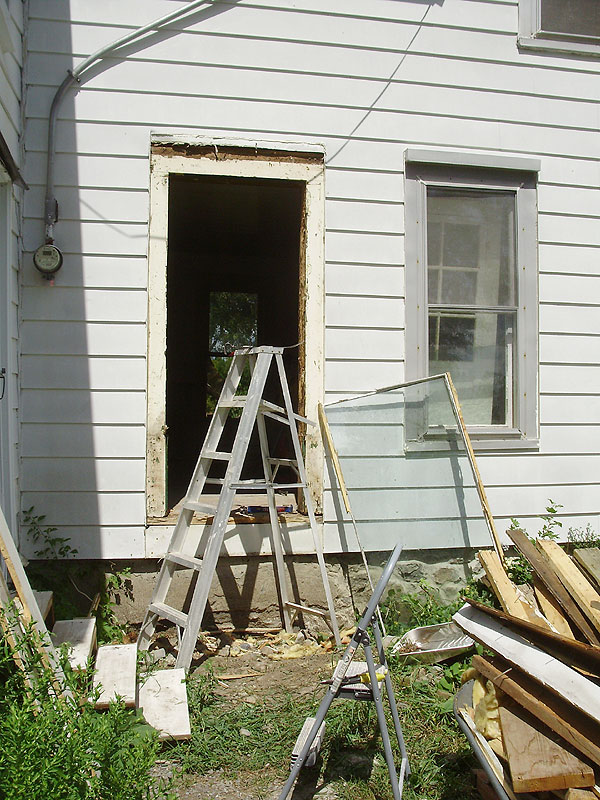
After removing the old door jamb, and the exterior casings, we found that the bottom exterior beam of the house was badly rotted.
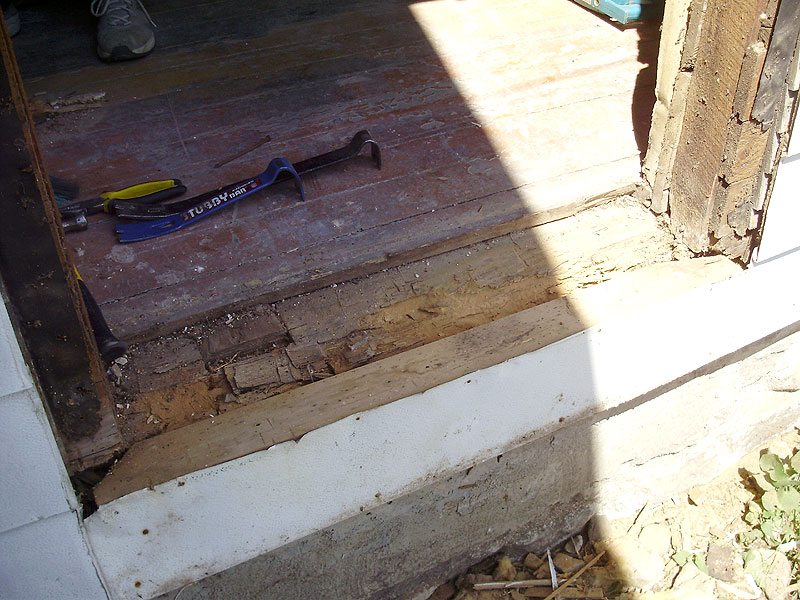
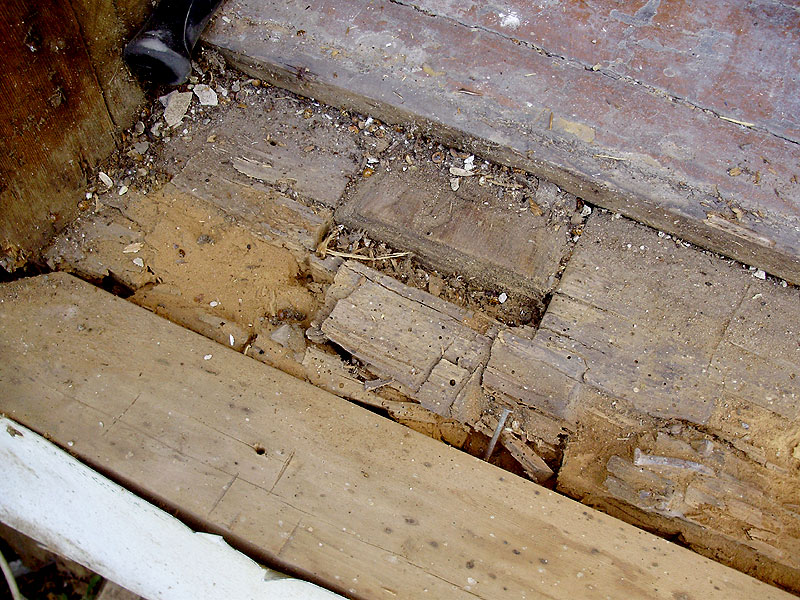
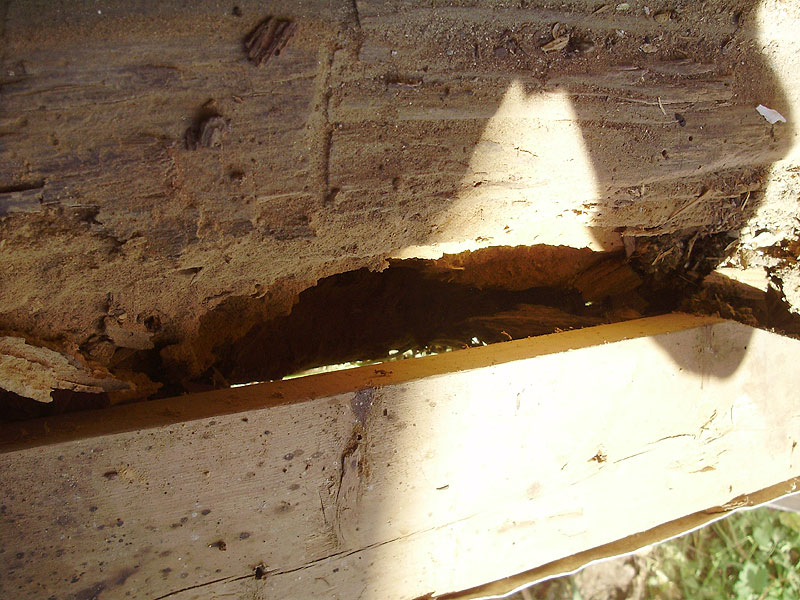
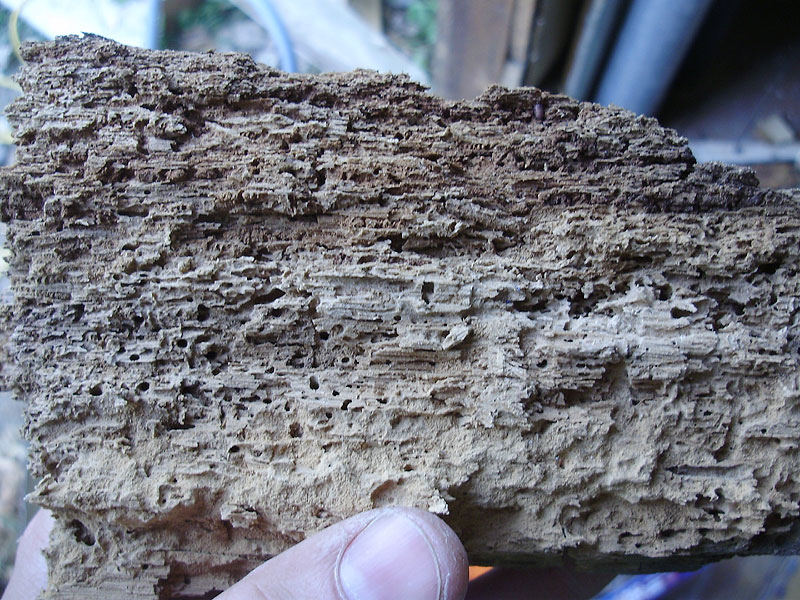
The inside half was still fairly solid, but the outer half was practically dust.
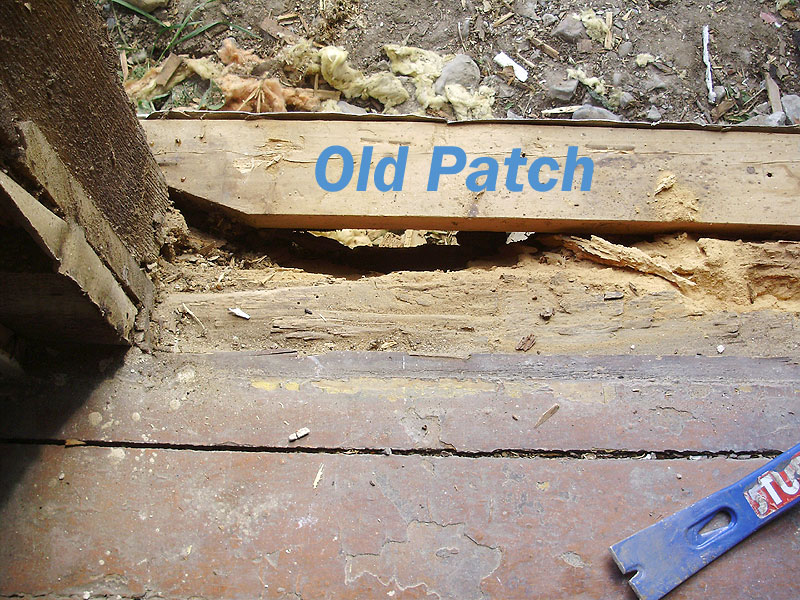
Part of the damage was due to poor corner joints and leaks in the window frame, along with leaks in the original jamb, and insect damage over the years. I suspect that half the house may be like this around the perimeter. Since we can't rebuild all this, we fixed it as best as we could.
Here we can see the original construction. Small (narrow) cedar siding, tar paper, 3/4" tongue and groove, wall studs (4" side), interior tongue and groove or barn boards, cardboard (not easily visible), lath spacers, lath and plaster.
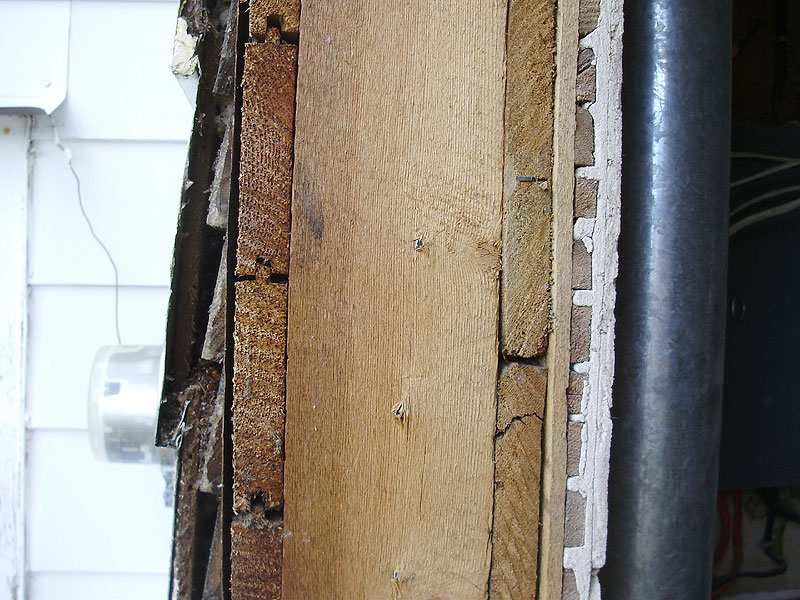
The outer rotted half was cut away.
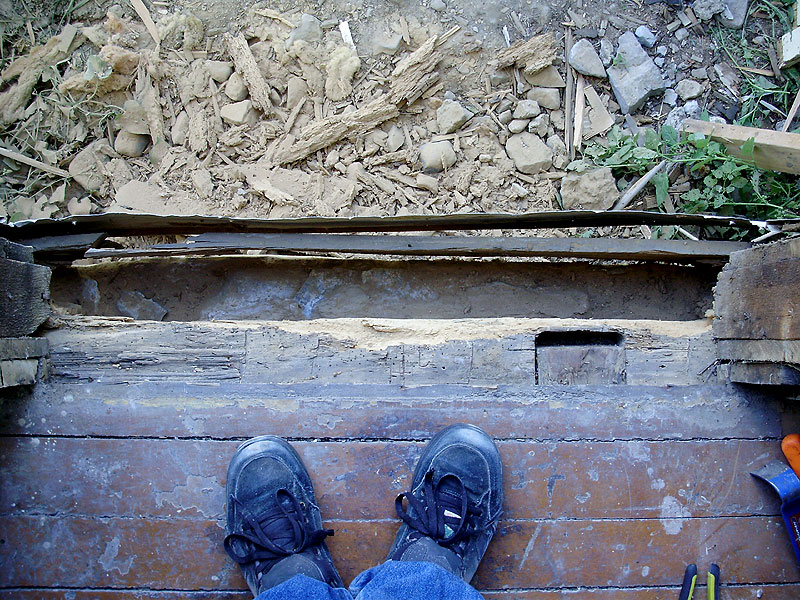
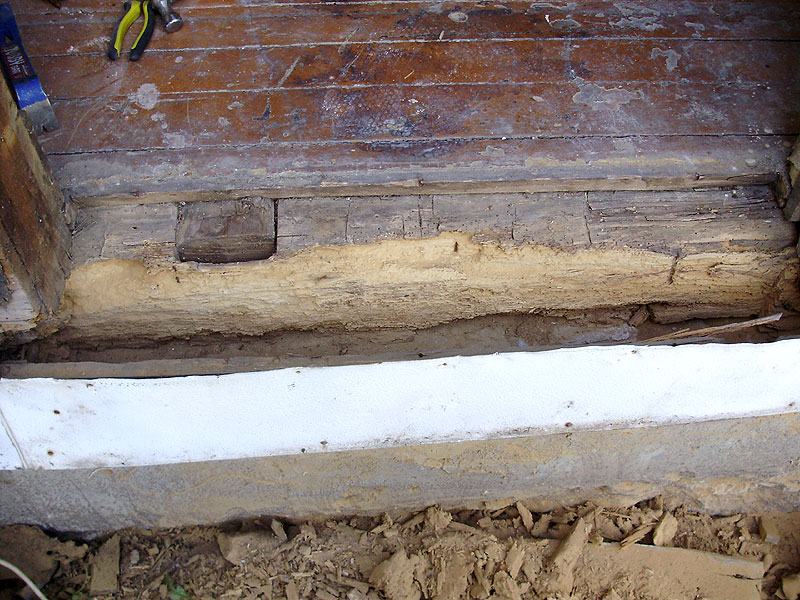
Completely toast.
The cavity was filled with treated lumber, and small gaps were filled with sand and gravel (like the rest of the stone foundation).
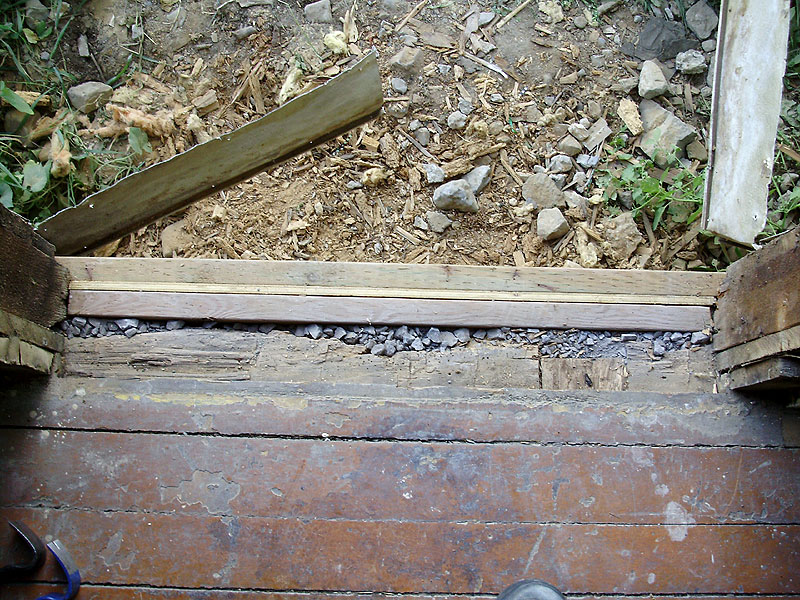
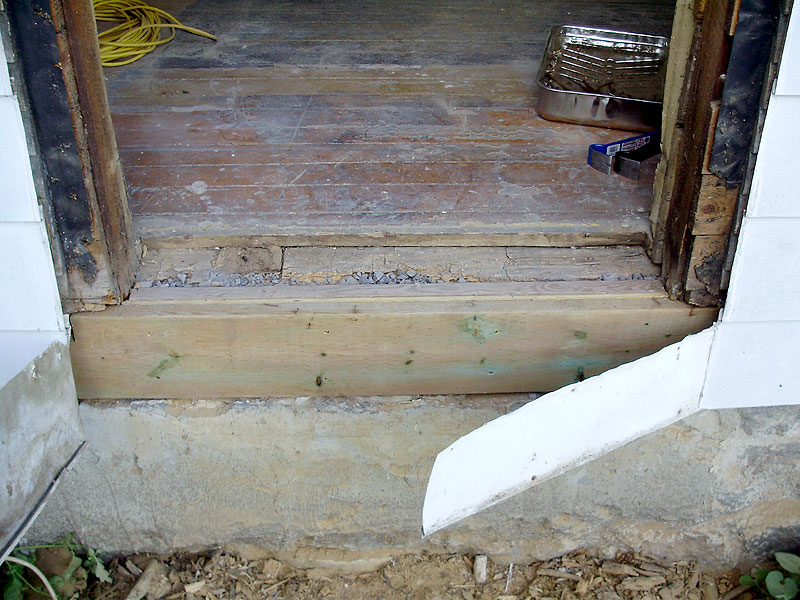
There will eventually be a covered porch here, so rot will not be an issue.
I added a cap moulding on the door to make the window portion more solid and permanent. Pierre then painted it (dark grey).
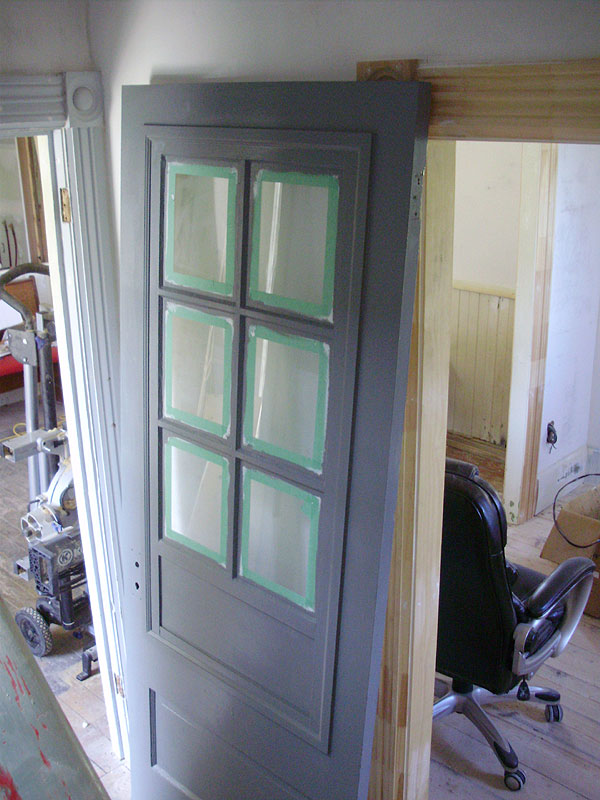
Jamb, door, and lock installed.
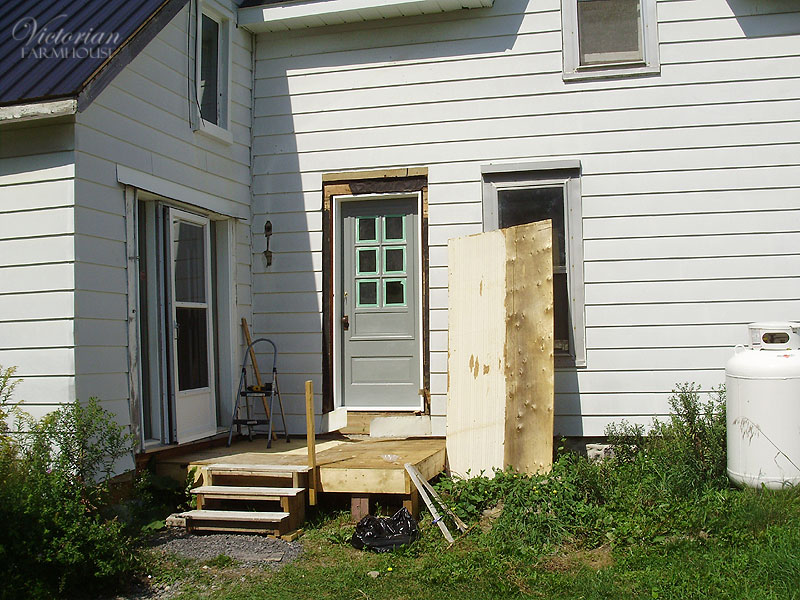
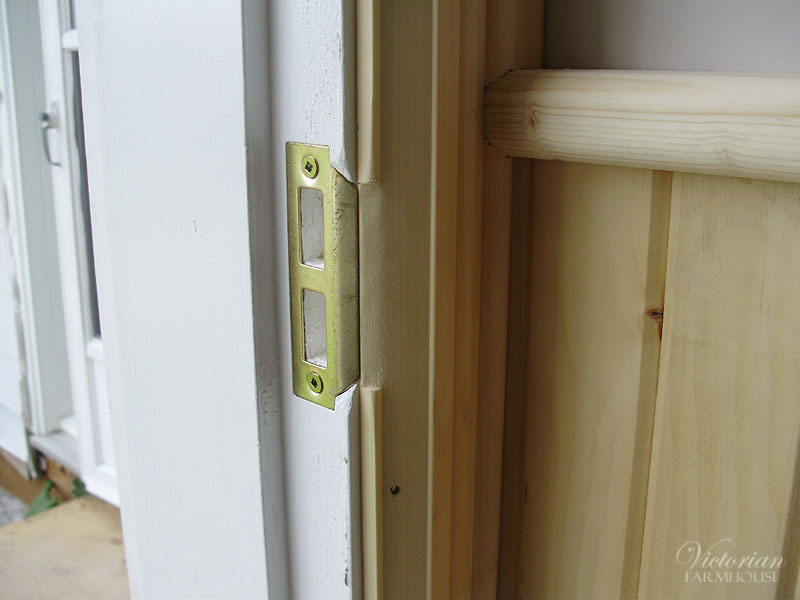
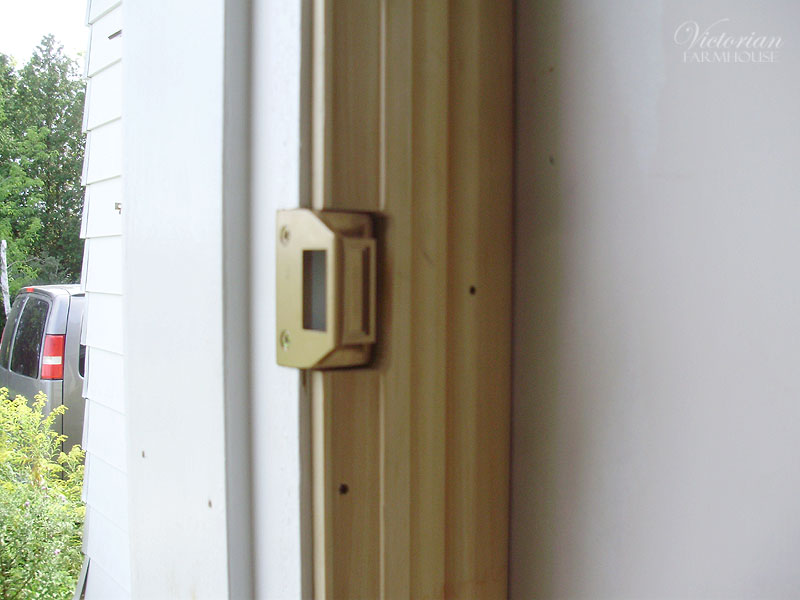
Some of the details. Because of how the plate was made, I also had to tweak the door casing edge.
To protect the door from the weather, and add a layer of insulation, a new aluminum door was installed on the outside. Photos of that will be posted later.
For those keeping track, this was not too bad as far as time. I had all these photos already prepared, so it's now only 12:24am.

Once again, I am awestruck by your many talents.
ReplyDeleteI hope your clients appreciate you!
Oh yeah!
DeleteWow! What a beautiful building. This project looks complex but you really know what you’re doing. Your skills must save you plenty of money. I’m sure you’ll be able to repair any damage the original installers might have caused. The door you chose is really cool, too. I like the color and the shape of its windows.
ReplyDeletePretty good post. I just stumbled upon your blog and wanted to say that I have really enjoyed reading your blog posts.
ReplyDelete