Anyways, in this particular house, the plaster was largely in the entry hall with the staircase, and in the living room (now the office). The plaster goes up the staircase wall, but it ENDS right at the window in the peak. All of the walls upstairs are wood. Just wide wooden planks of barn board. Originally it was all just covered in wallpaper. Layers upon layers upon layers of wallpaper. We counted close to 15-20 layers of wallpaper in the different rooms upstairs.
Later down the line, part of the rooms had paneling or drywall added on top. The master bedroom (the pink room) has drywall, and part of the hallway (bedroom and bath side).
Now that we're trying to fix up the house, we're aiming for an updated "drywall or plaster everywhere" look. This means that we need a smooth surface on the wall that is half plaster and half barn boards.
We could NOT slap drywall on top, because it would end half way into the window, and if we did new drywall on the entire wall (down the stair wall) we would be burying most of the edge of the stairs (the wood trim), and messing up the window mouldings.
The solution that I came up with was to cover just the barn board wall with VERY THIN plywood. 1/8". This was HARD to find, but we eventually found a place that sold some. It was oak veneer on one side, and cheap mahogany on the back. The mahogany was better for what we wanted.
Before we installed the plywood, we had to square-up the ceiling slopes. They were INSANELY crooked, but easy to fix. The new wood in this photo was partly because this corner was rotted, and partly for when we fished some wires.
Note the huge curved dip in here. This side needed just this filler piece.
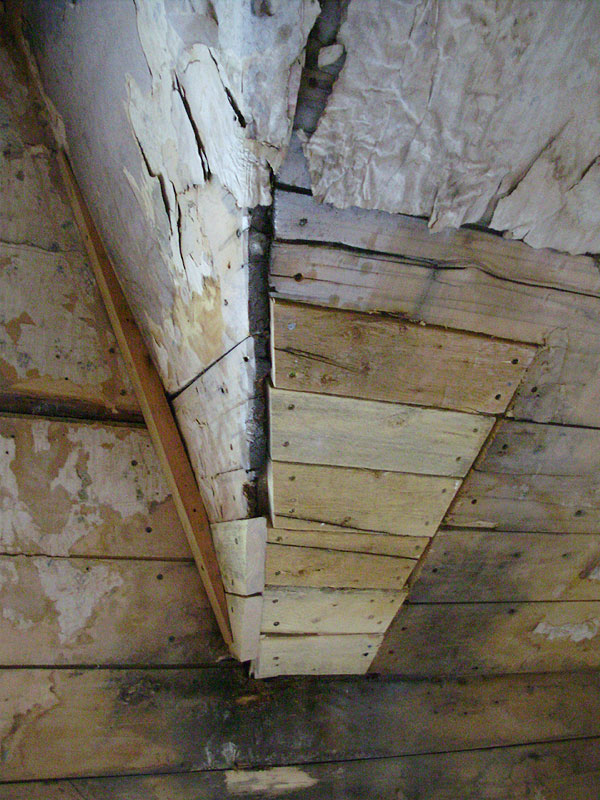
Compare it corner to corner with a ruler.
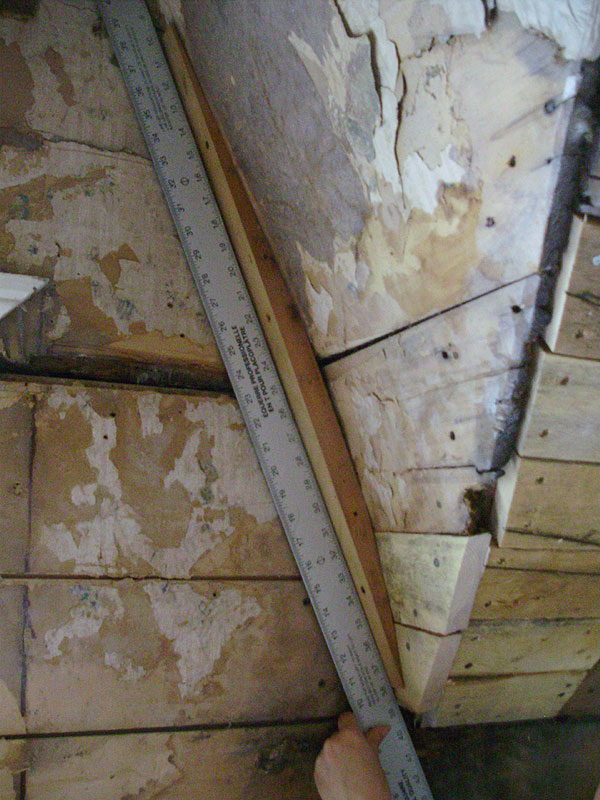
The other corner had the top corner too far inwards, so I had to make a vertical spacer, and a new piece at the top. It doesn't look that bad in the photos, but it was very very crooked in person.
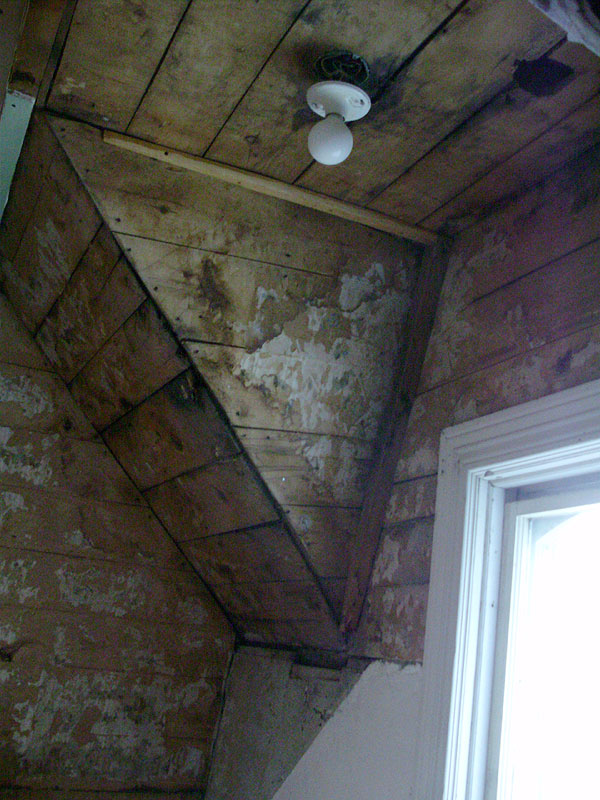
The only place we needed the special thin plywood was the window wall. Everywhere else we installed regular 1/2" drywall.
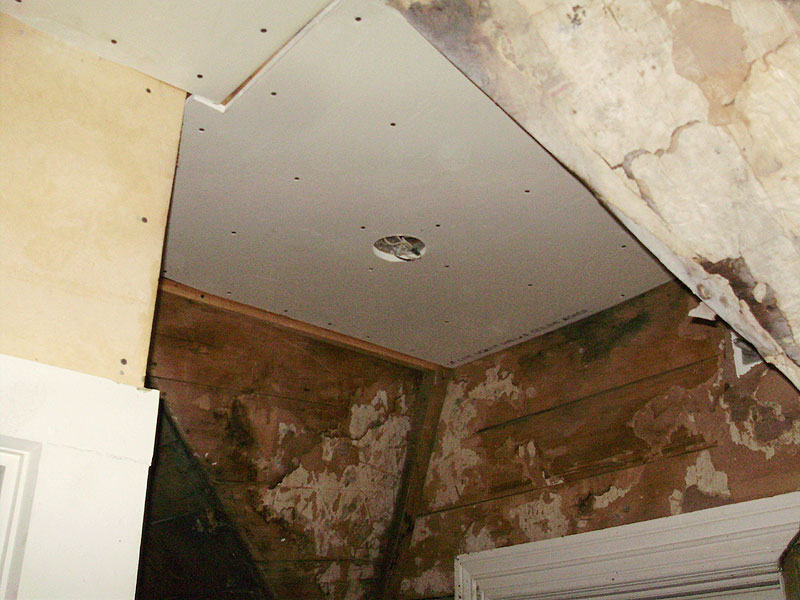
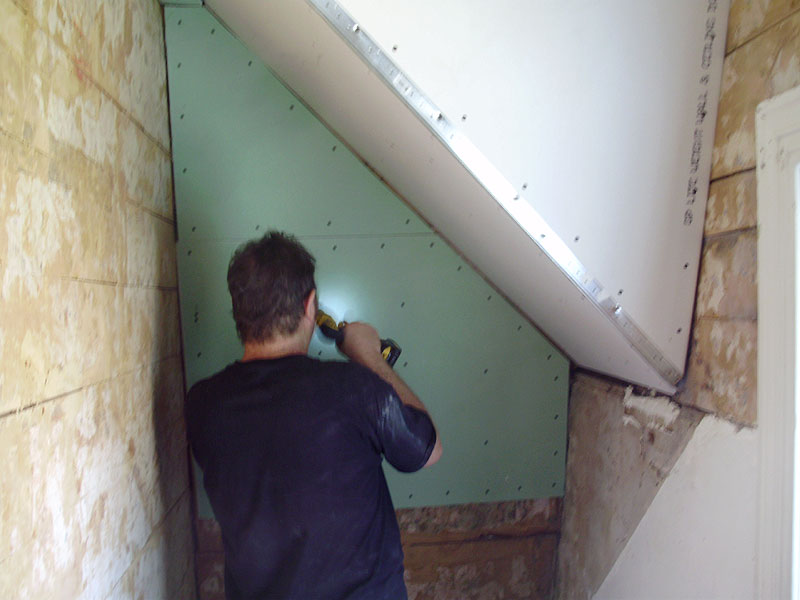
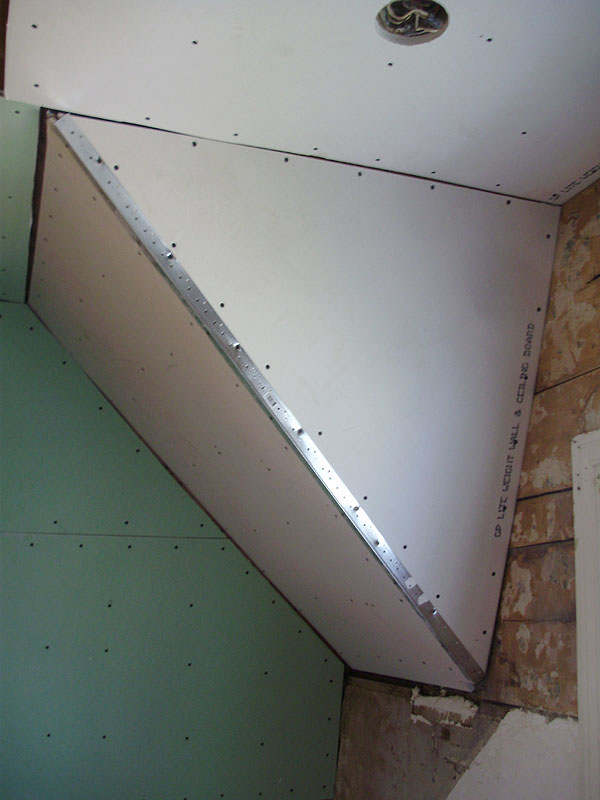
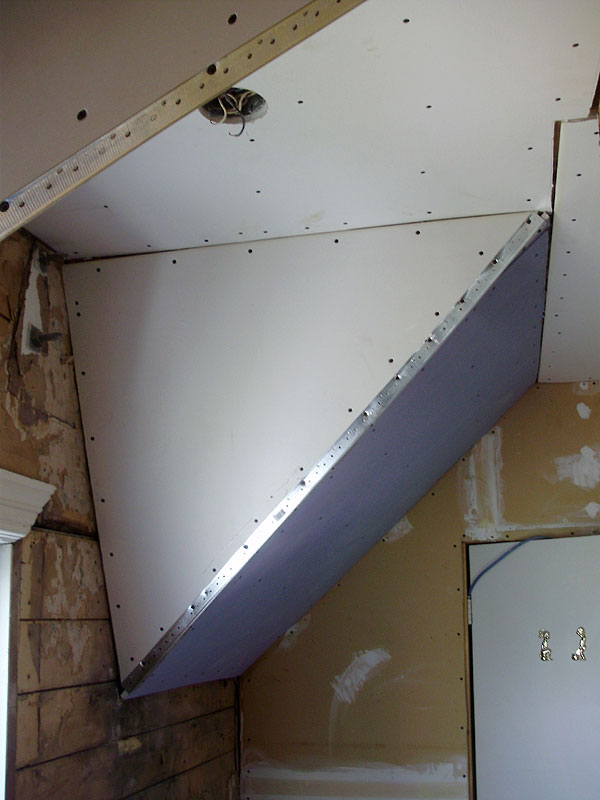
Finally here is the 1/8" plywood being installed. We used a LOT of small #4 3/4" long screws to attach this. The plan is to tape this and seam it just as it it were drywall. You can see where the plaster finishes just below the window (at the edge of the plywood).
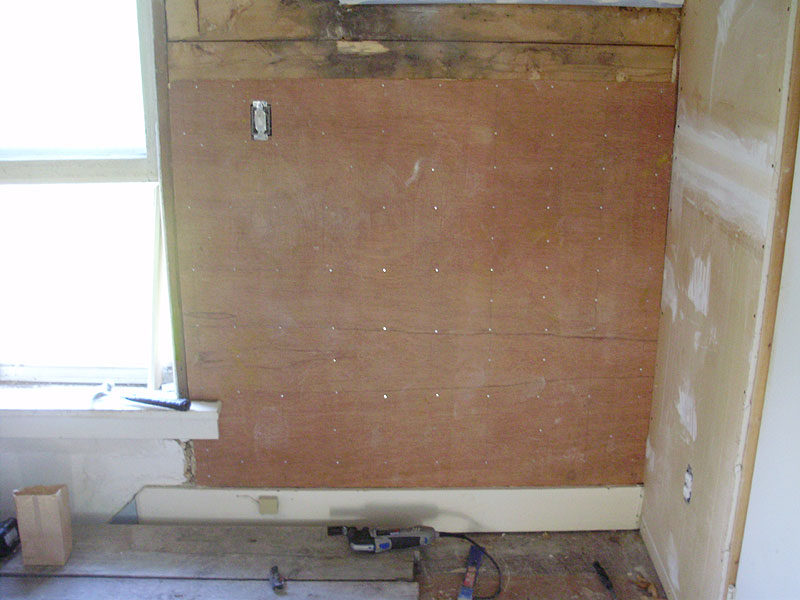
We had a similar problem on the master bedroom wall, but here we used 1/4" plywood, which will give a smoother surface (and it was cheaper). You can see the board walls above the plywood, with some of the wallpaper removed.
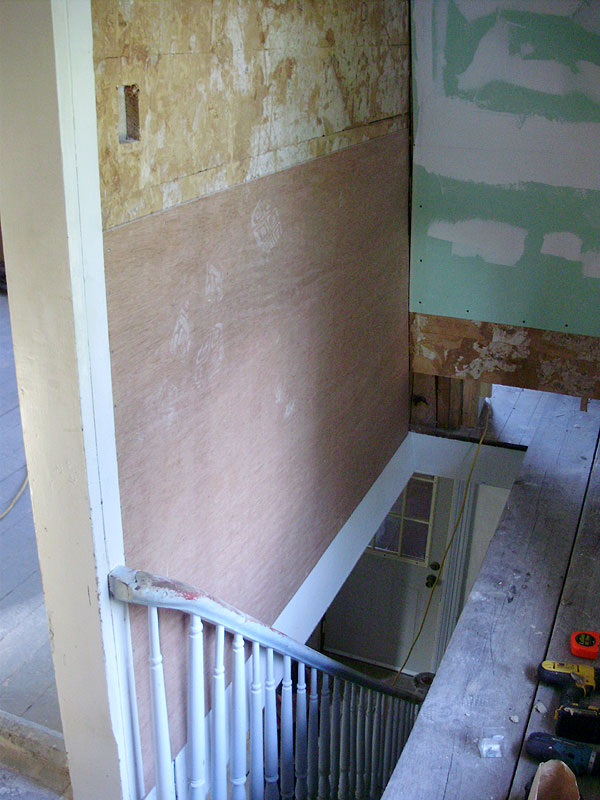
The rest of the 1/8" thick plywood on the window wall. The plaster ends about a foot down from the window top on the left. See next photo. This lines up with the bottom of the ceiling slope.
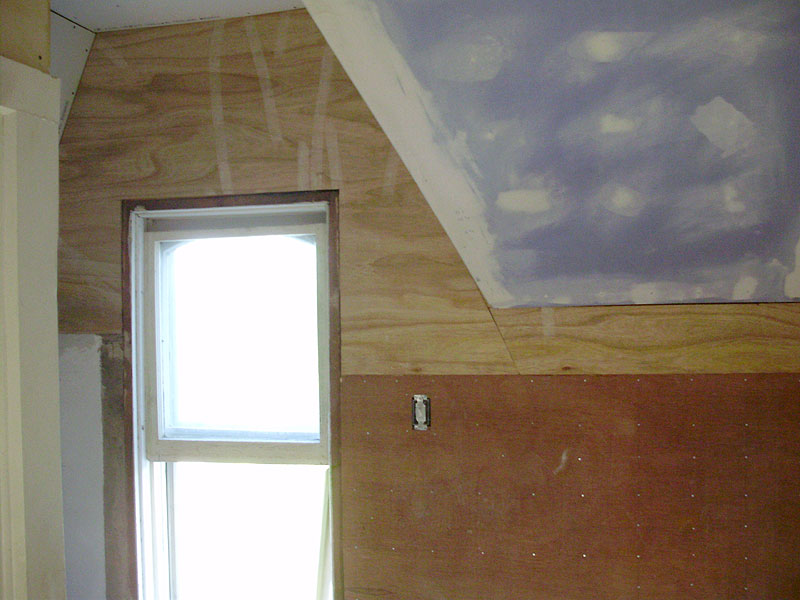
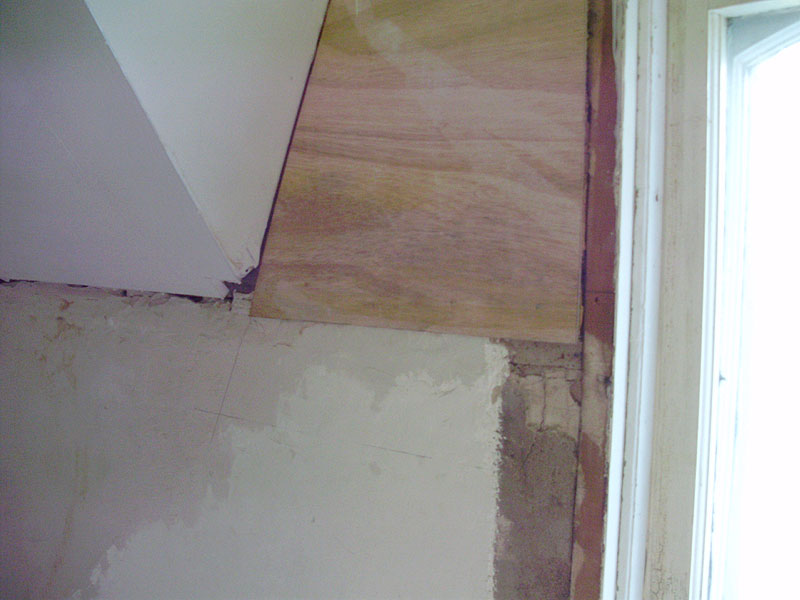
With seams taped and first layers of drywall compound added.
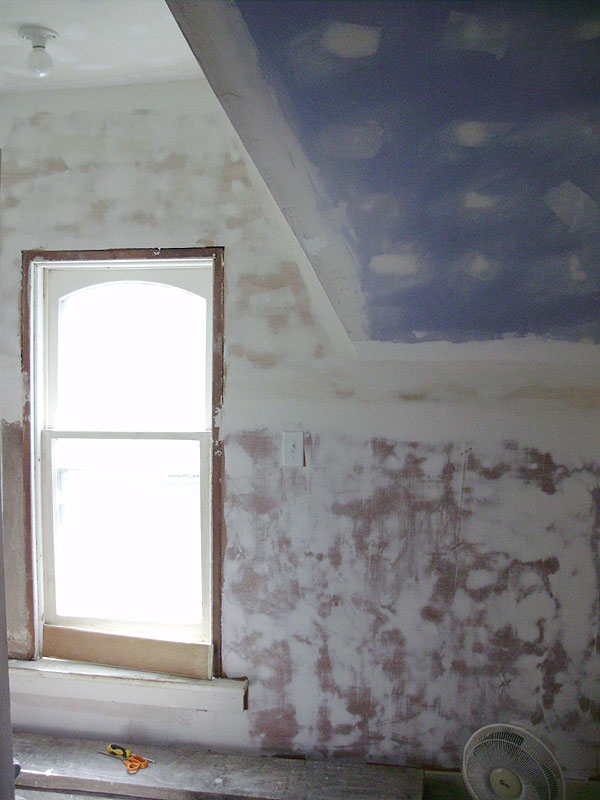
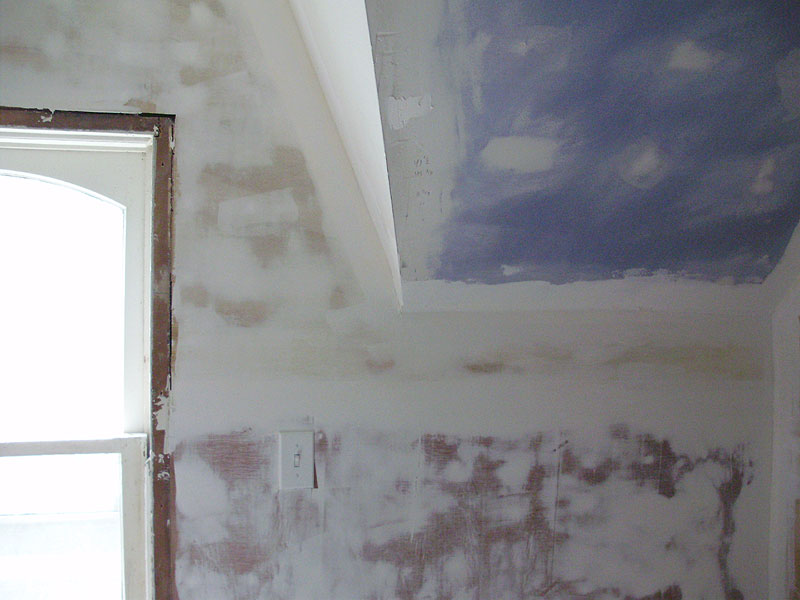
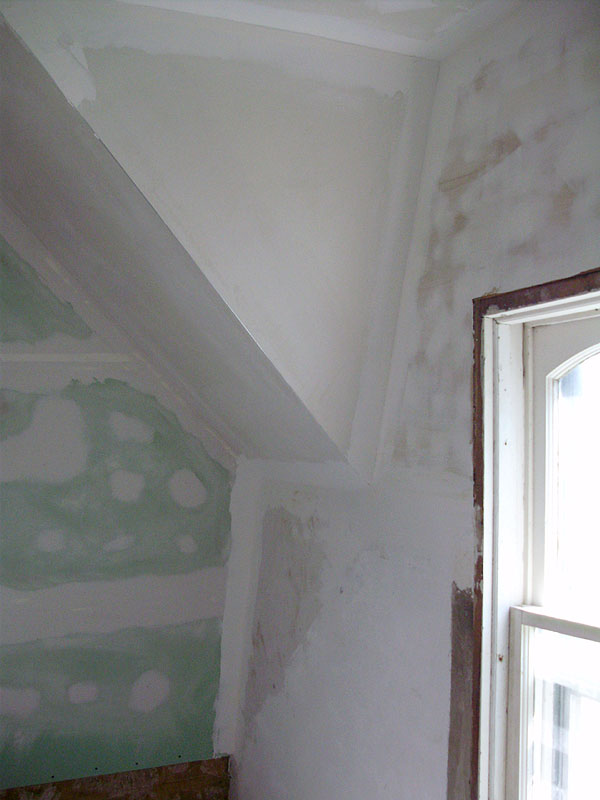
There are still touch-ups to do on the corner seams, but this is going to look really awesome once it's freshly painted!

Wow, that's a very clever idea to use think plywood. As long as it doesn't expand and contract with changes in temperature and humidity too much, I would expect it to perform well.
ReplyDeleteOptions were very limited, and I'm sure it will be better than wallpaper! :D
DeleteVERY few people would deal with the endless nonsense the farmhouse has thrown at you.
ReplyDeleteCongrats on your dedication and perseverance. I stand in awe.