Showing posts with label Hardware. Show all posts

Saturday, July 22, 2017

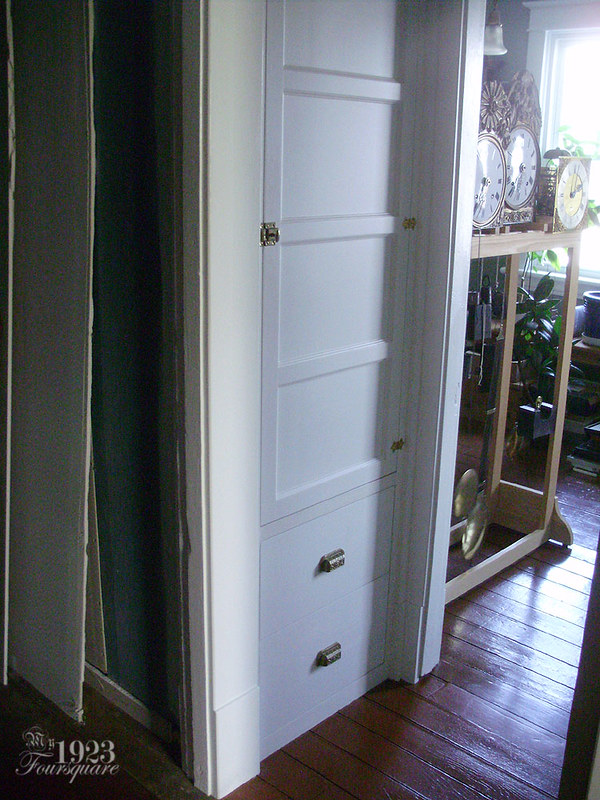
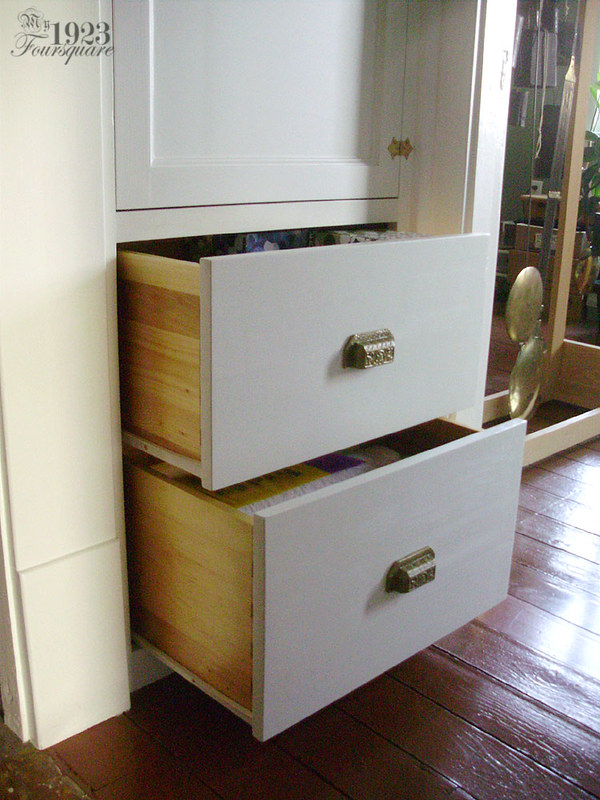
Upstairs Built-In Is ***DONE***

Yes you read that correctly.

P7110059

This has been a looooooong ongoing project that got started years ago when I demolished and rebuilt the upstairs closets. I started this in 2011!

The main box/cabinet is here:
http://my1923foursquare.blogspot.ca/2011/11/lazy-blogger.html
Then the door got built and installed in Oct 2012:
http://my1923foursquare.blogspot.ca/2012/10/front-hallway-and-living-room-floor.html
Then in Nov 2012, I got the door painted, and the hardware installed:
http://my1923foursquare.blogspot.ca/2012/11/soooooo-excited.html
Then in 2015 I made the shelves... yeah, slow and steady progress here, folks!
http://my1923foursquare.blogspot.ca/2015/10/small-side-projects-2.html

Also, before I continue, I'm aware of the "3rd Party Hosting" issues with my old Photobucket account. I don't have an easy solution at the moment (other than forking over money). I don't know if they no longer support 3rd party hosting AT ALL, or if the monthly usage is spent and it will eventually reset. I currently have 868 photos in that "problem album", and to manually save all of these, then transfer them to another photo hosting site, and then re-edit each photo in each post one by one would be a HUUUUUGGGGGE undertaking. It already takes me hours to write, edit, check, and publish regular posts, so that would take me days/weeks/months of work. I'm not sure what to do about it yet. This blog is completely free (and largely for fun) and I have no sponsors or any kind of ads on it, so I'm not really motivated to spend a huge amount of my free time to fix the problem right now, which is really unfortunate for my readers.

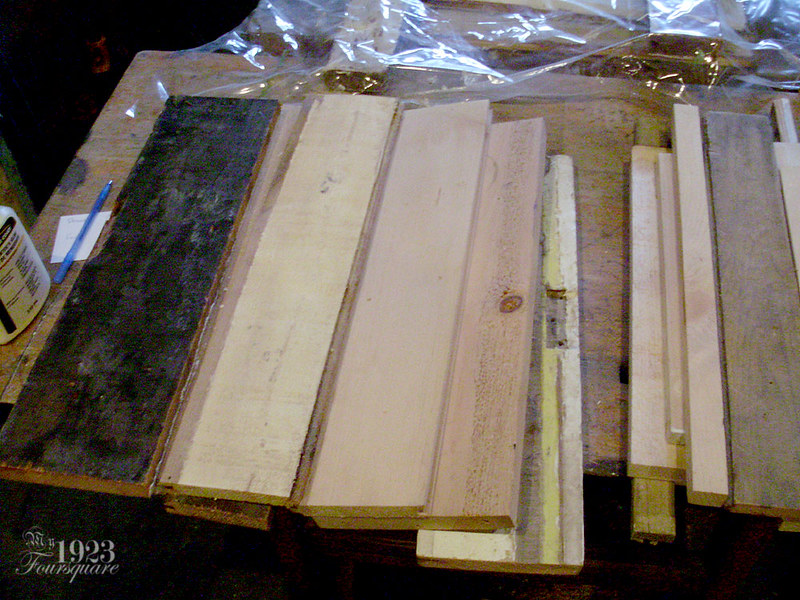
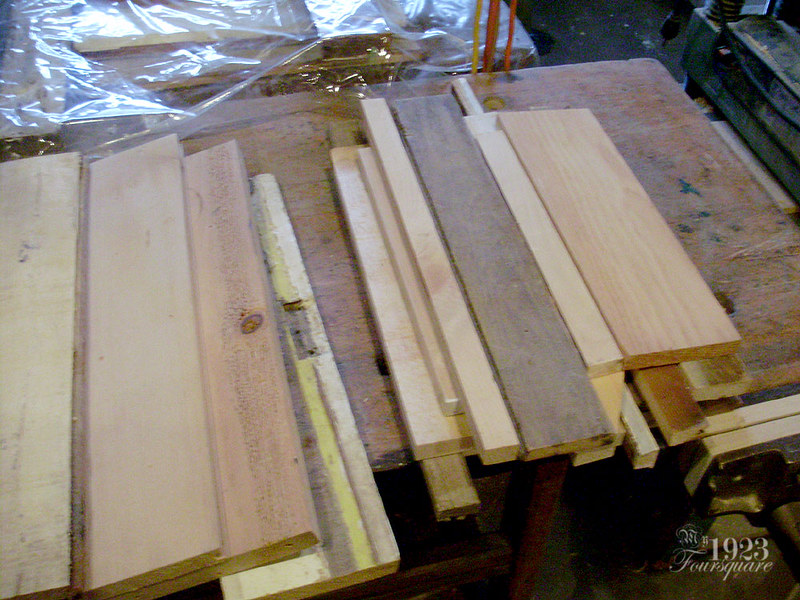
Anyhow, the drawers were the last part of the built-in to finish. Two drawer boxes, a pair of metal slides, and some drawer faces. I decided to use all kinds of short pieces of scrap wood for the drawer boxes. Not only is this a perfect place to use them, but the lovely mix of old and new wood will look great with the clear varnish. I used scrap wood on the back tongue-and-groove of my cherry bookcase, and it's one of the nicest details of the entire cabinet (which you don't even get to see when it's filled with books!)

Here's what I dug out of my stock. It is all entirely random bits of wood. Large, small, thick, thin, and a mix of pine, spruce, cedar, and fir. Some was painted, some was stained and varnished, some was water damaged, and many of these boards had nail holes from previous use as something else. You can see one of the pieces is a chunk of a pine door jamb.
P6140001

P6140002

All these were squared-up, given a pass in the joiner, and then glued into panels. Once dry, those panels were planed down until everything was smooth on both sides. I didn't really care what the thickness would end up as (because I was using so many odd sizes and thicknesses), but it ended up close to 5/8".

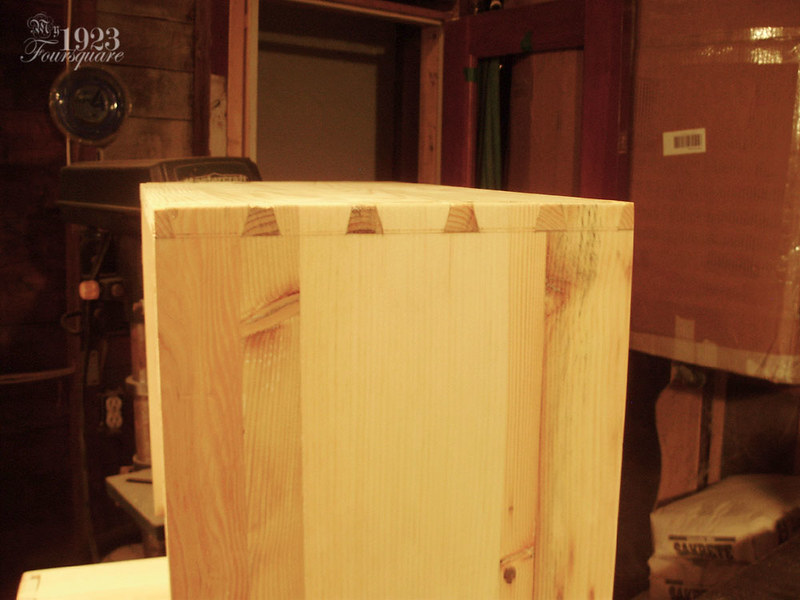
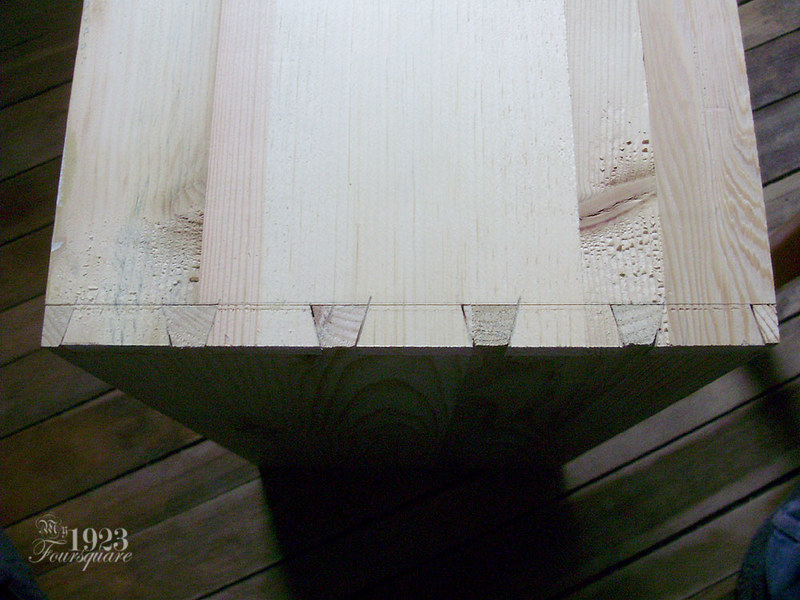
I decided that I wanted to have dovetails on these. I have a router dovetail jig that I never used, so I played around with it and even made a special base plate for my router, but I wasn't able to get good enough results with the setup I have (I need another size collar) so I decided to do HAND CUT dovetails instead. This is only the second or third time that I do hand cut dovetails, but they turned out pretty good! I used a combination of a Japanese hand saw, a scroll saw (to cut out the bulk) and a sharp chisel. You can also see some of the various wood grains in the drawer box sides.
P6200054

Boxes done. The bottoms are 1/4" thick Fir plywood, which was a leftover, and which will match the interior of the built-in cabinet.
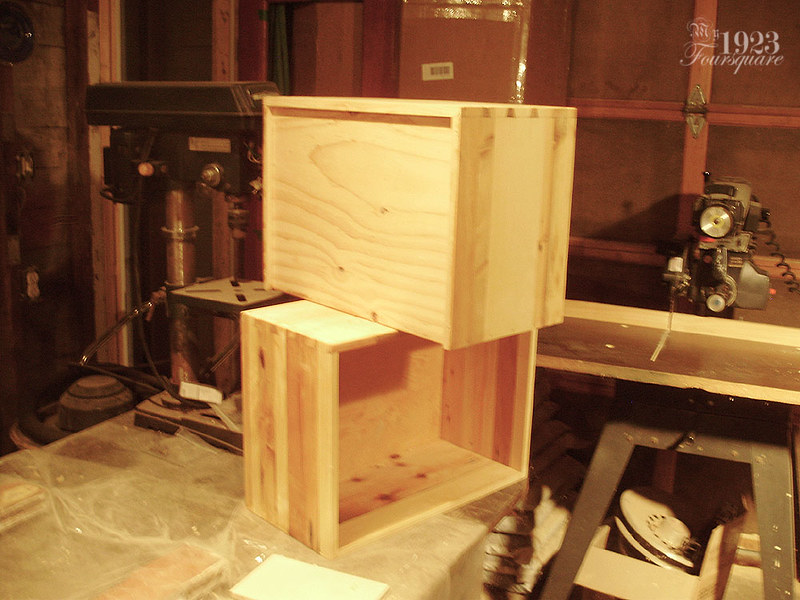
P7020012

Dovetails puttied and sanded:

P7020013

The two drawer faces are here (made from clear pine), and the other large panel is SPOILERS! Ignore it! Don't look at it! Shhhhh...
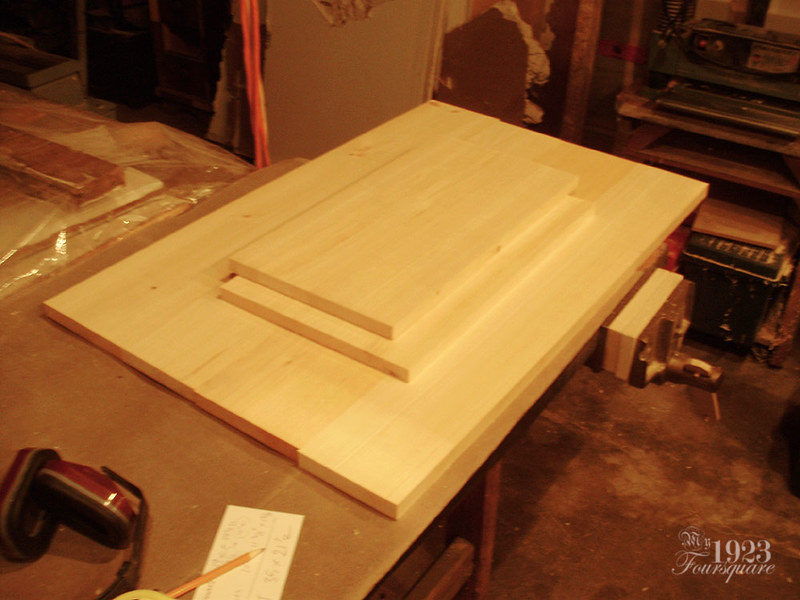
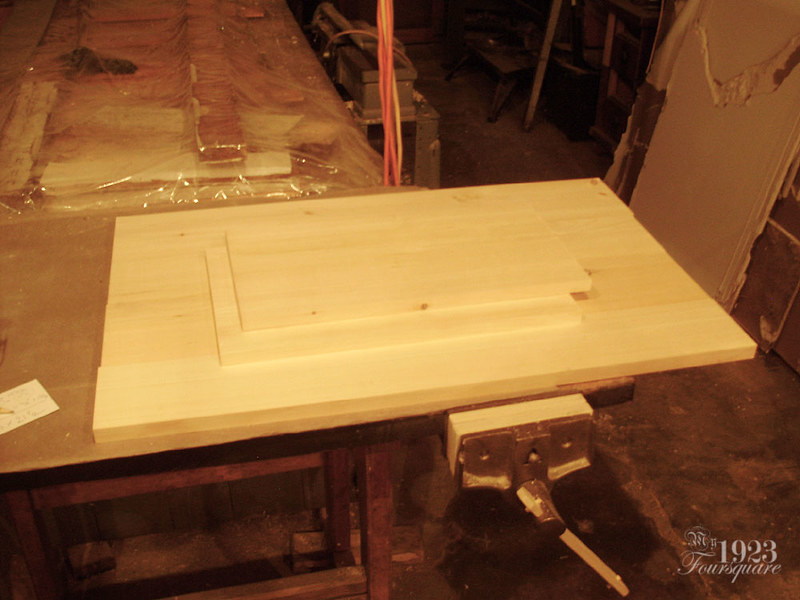
P7020010

P7020011

A bit of varnish, and some paint, and VOILA!
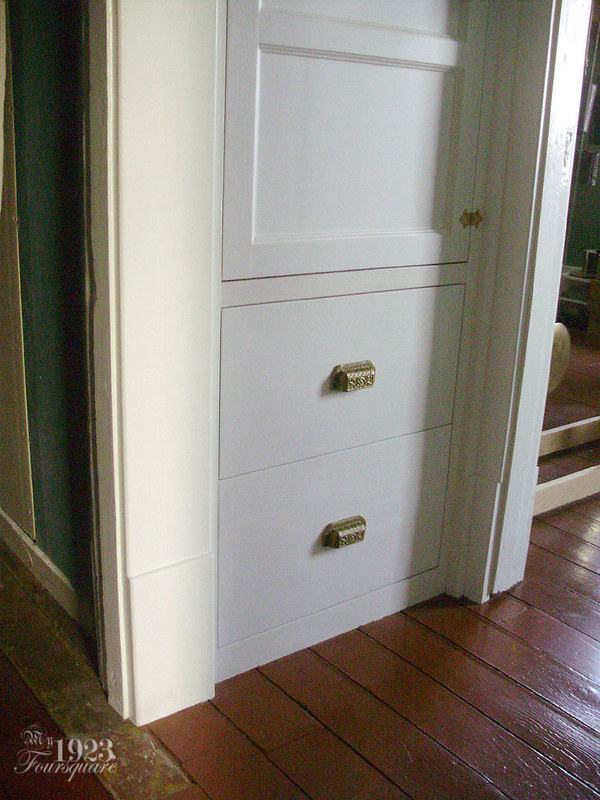
P7110055

P7110057

P7110059

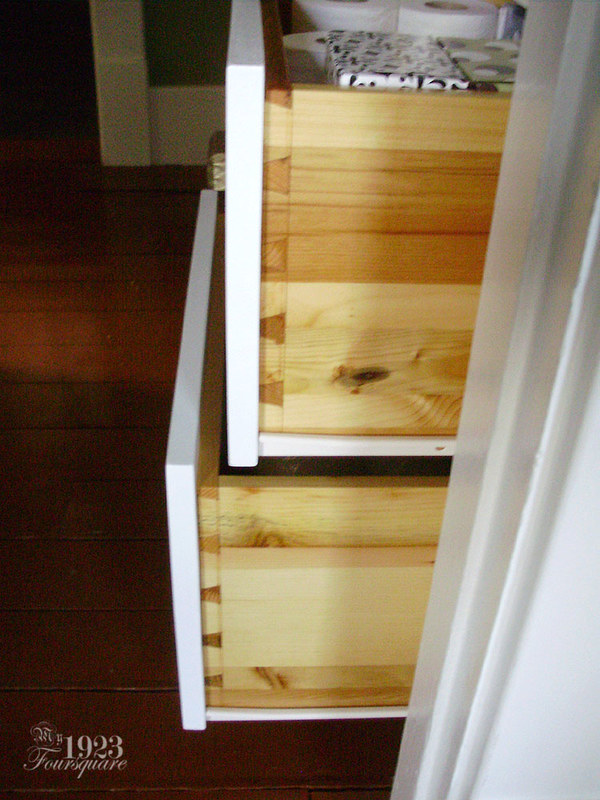
A quick side note to mention that the two drawer boxes are not the same size (neither are the faces). They are meant to look pretty much the same, but because of perspective (where you are always looking downwards), the bottom one is made larger to compensate. The bottom drawer box is about 10 1/2", and the top one is about 9". Because I wanted the same number of dovetails, they both had to be measured to different sizes using a divider/compass (using the traditional method). It's not a big deal, and it's a detail no one will ever notice, but I wanted to point it out. Also note the beautiful wood grain on the boxes!
P7110058

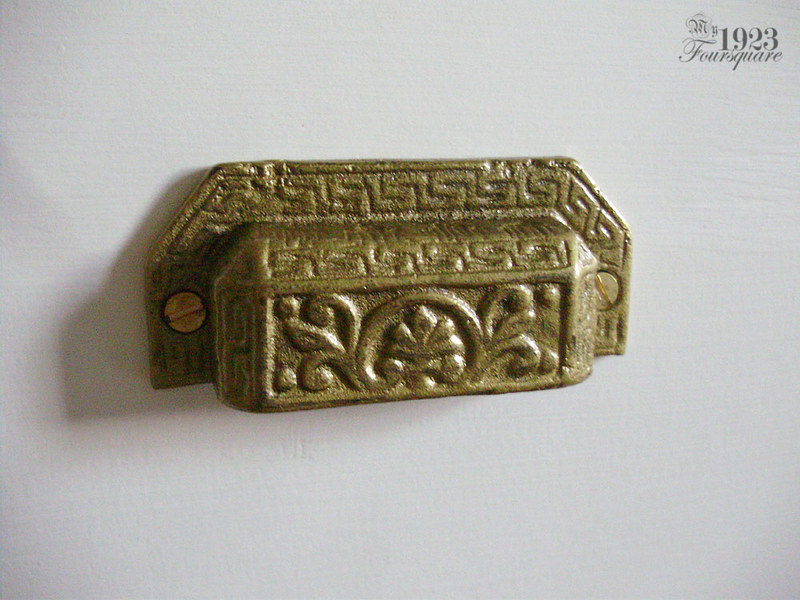
I agonized just a little bit over the hardware. Originally I was thinking of using two small wood knobs (two per drawer), but the drawers are not wide enough, so it would have looked dumb. Then I also had some XL wood knobs (one per drawer), but nixed those too. I had 2 or three other types of knobs and handles, but I ended up picking these cast iron cup pulls. I have 5 of them, and I kind of wanted to keep them together as a set, but since I will have similar Victorian style plates on my house doors (eventually), I thought these would match well with the rest of the overall house hardware. They were just raw grey, so I spray painted them gold, and I installed them with SLOT screws: a very important detail. If you are the kind of person who installs beautiful antique hardware with new modern Phillips screws, you make me want to cry!
P7110054

So there we go. 6 years, piece by piece, but it's DONE now.

Sunday, February 19, 2017

Finished Shop Hutch

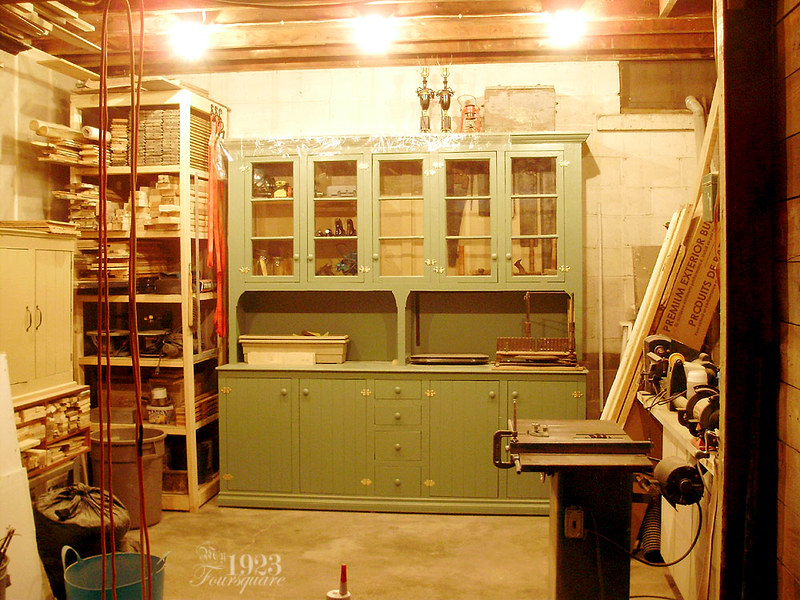
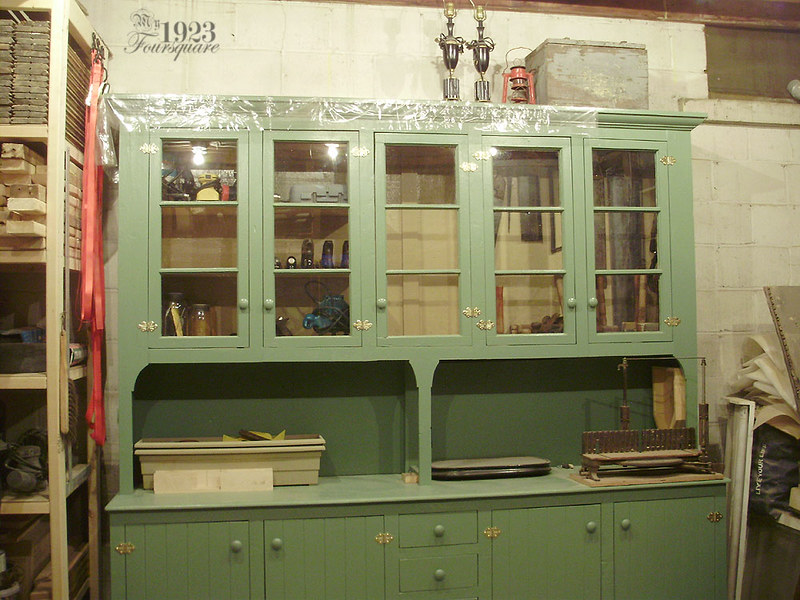
This post is almost a year late by now, mostly because I wasn't happy with how the photos turned out (poor lighting and many with a yellow hue), but I decided not to retake the photos and just post what I have.

The hutch has been an on-and-off project since I started building it some time in 2012. Here are the relevant posts I was able to find about it.

http://my1923foursquare.blogspot.ca/2012/08/shop-storage-hutch.html
http://my1923foursquare.blogspot.ca/2012/11/alright.html
http://my1923foursquare.blogspot.ca/2013/04/shop-hutch-update.html
http://my1923foursquare.blogspot.ca/2014/12/end-of-year-wrap-up.html
http://my1923foursquare.blogspot.ca/2016/07/summertime-update.html

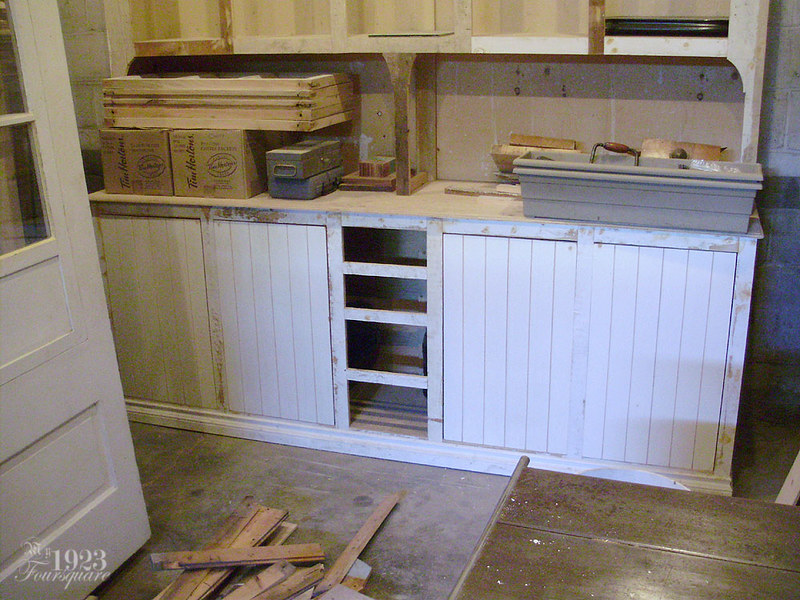
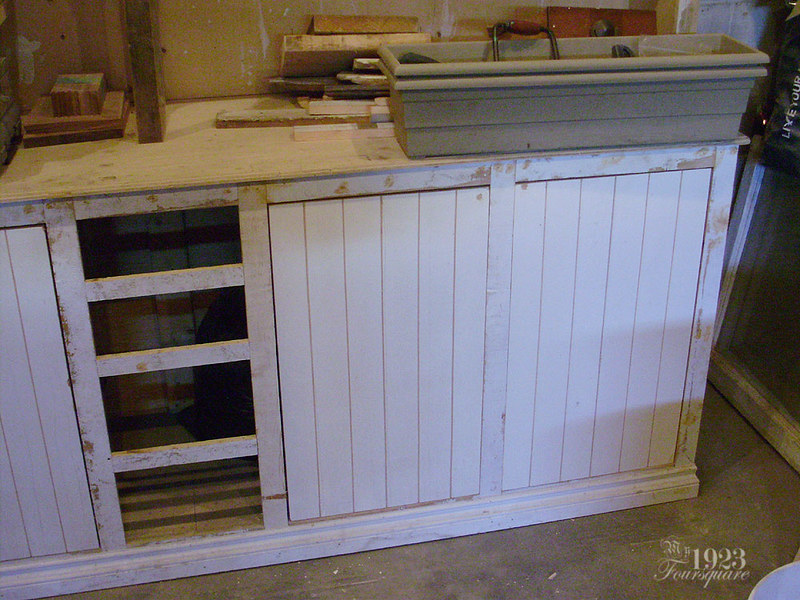
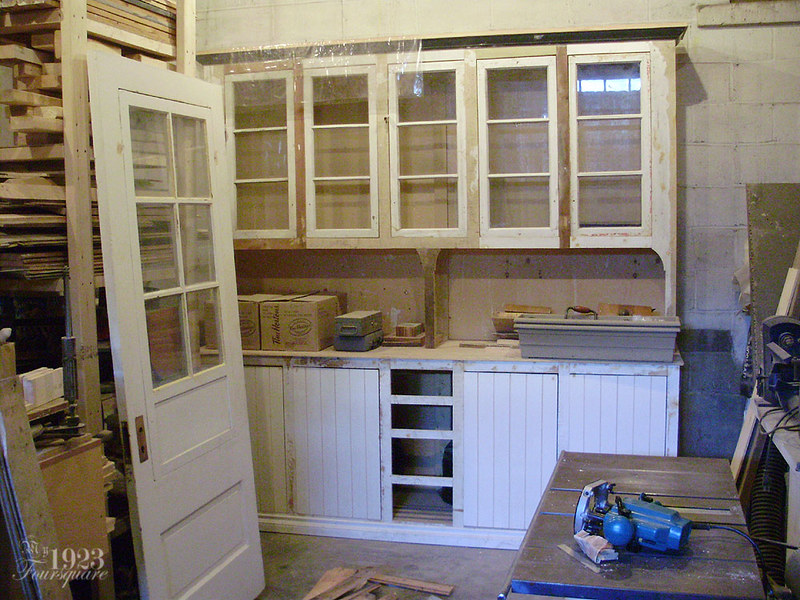
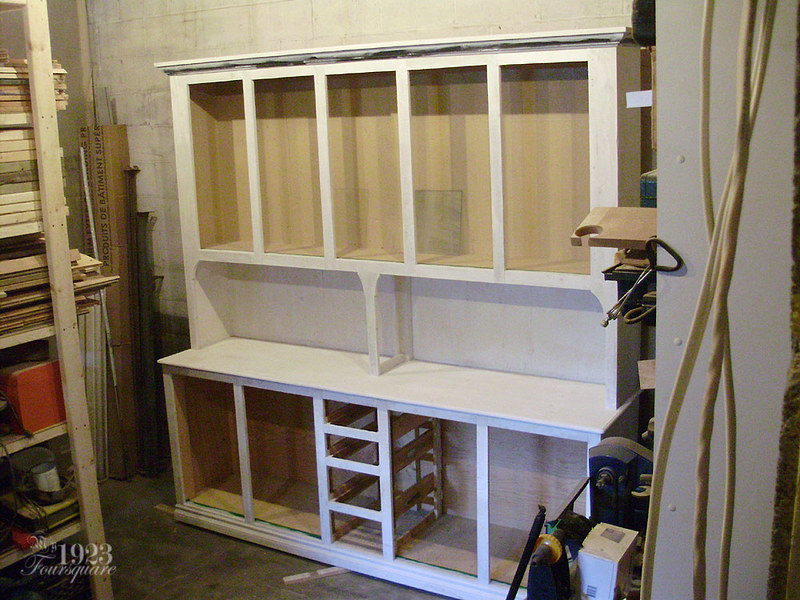
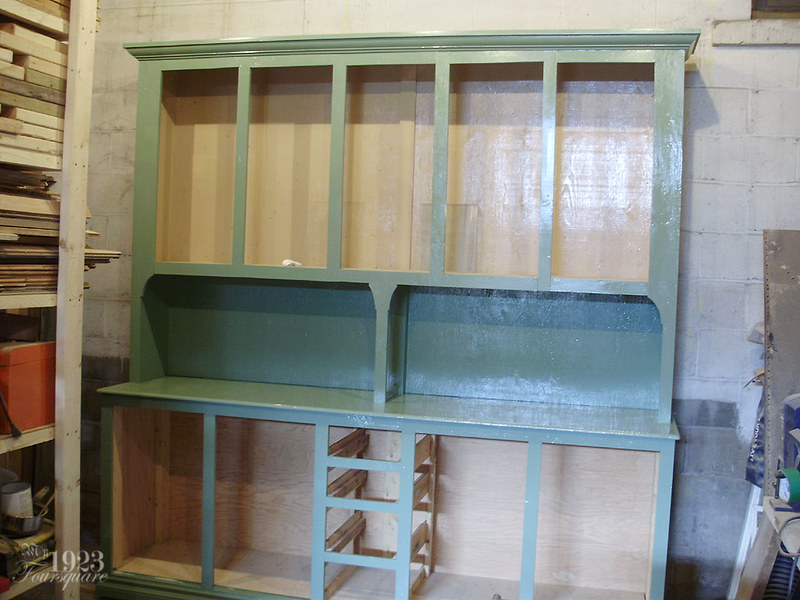
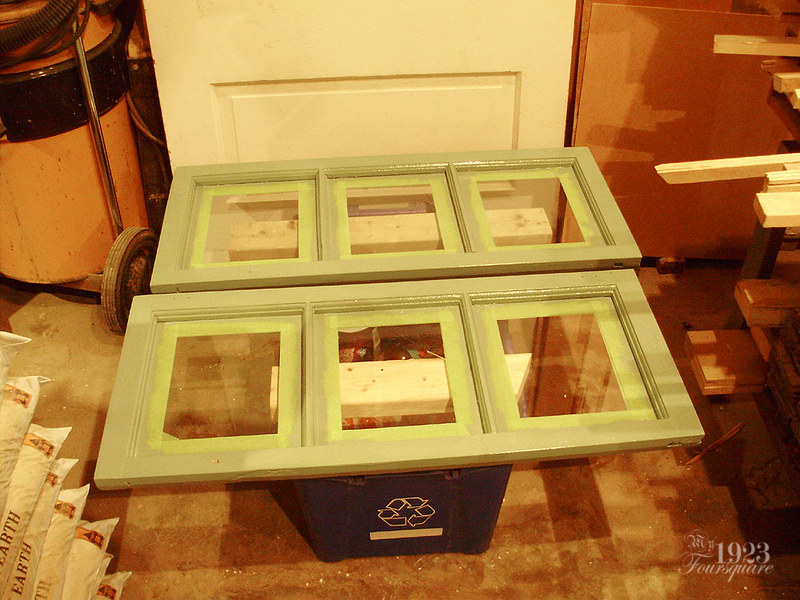
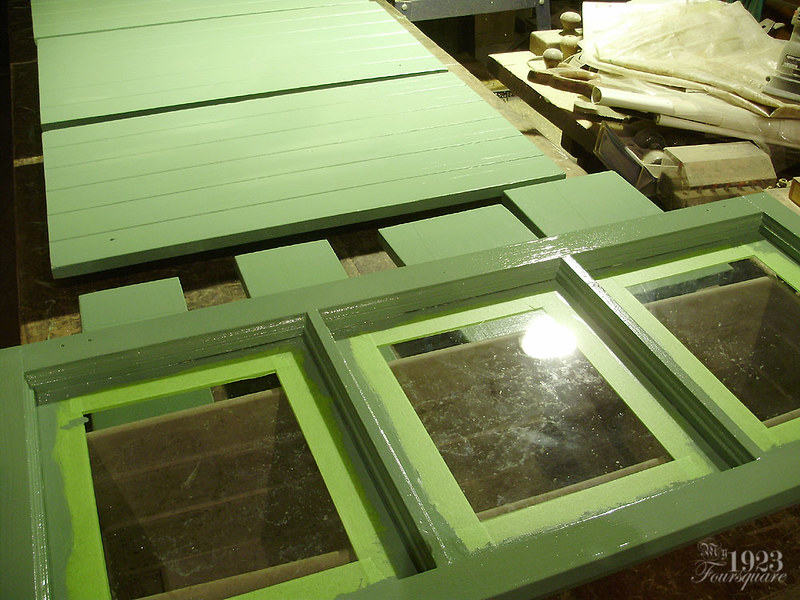
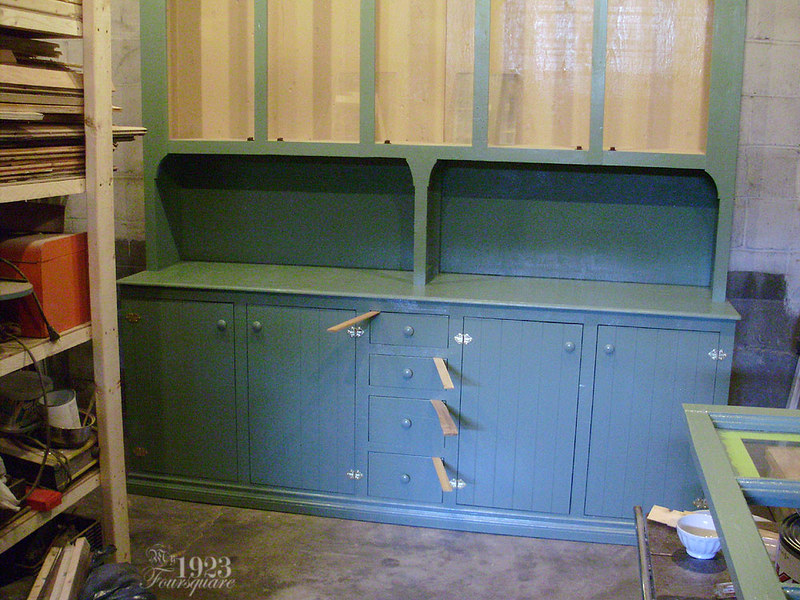
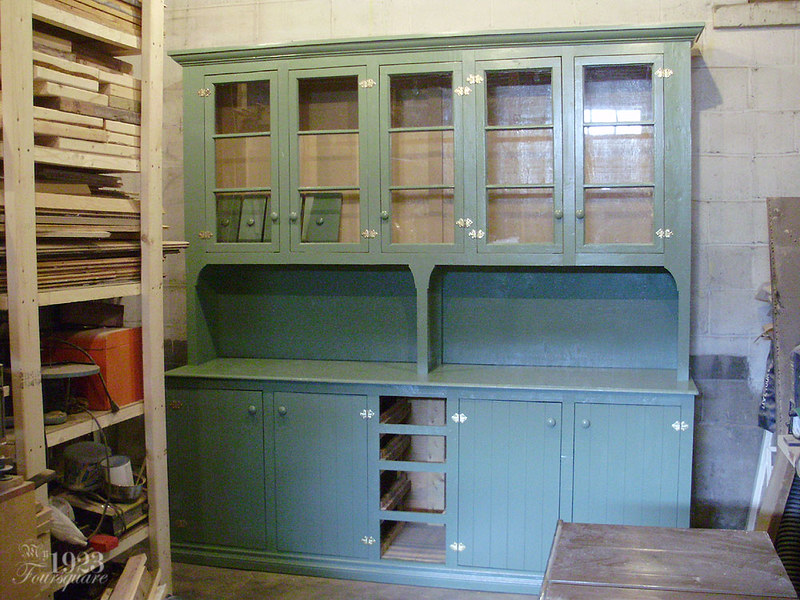
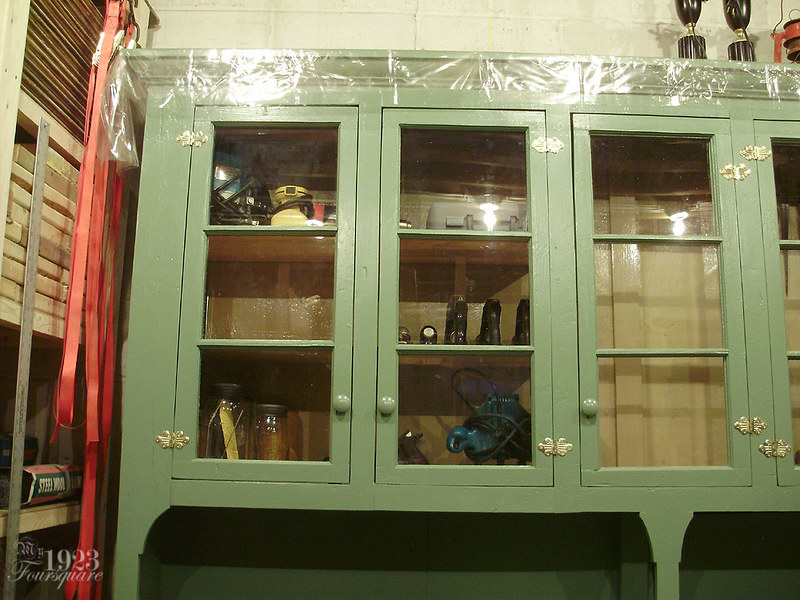
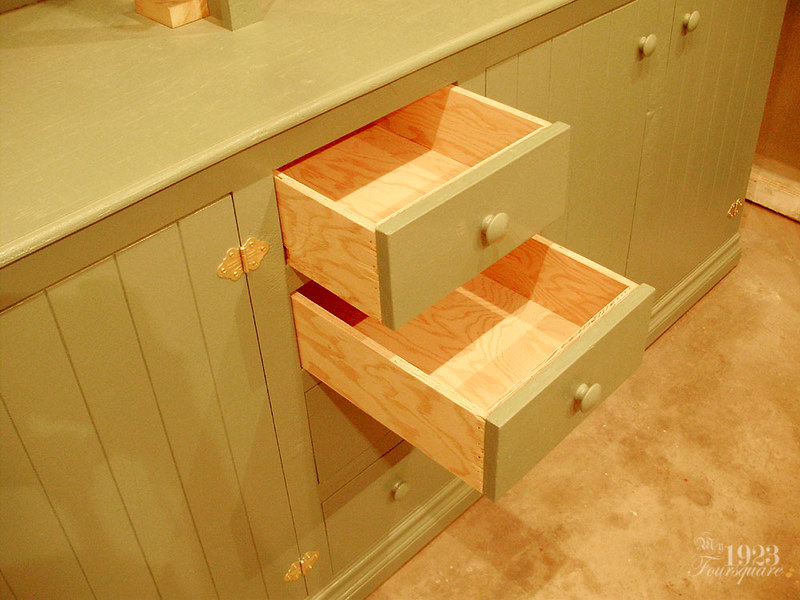
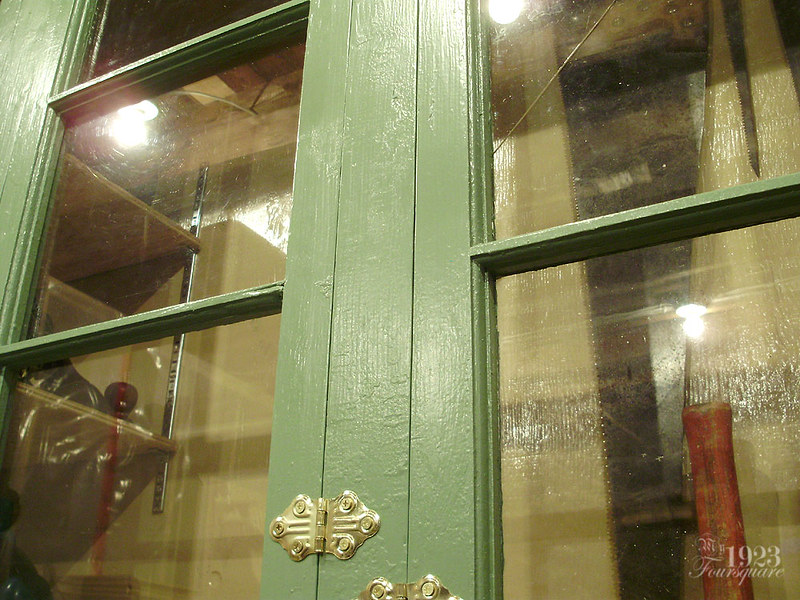
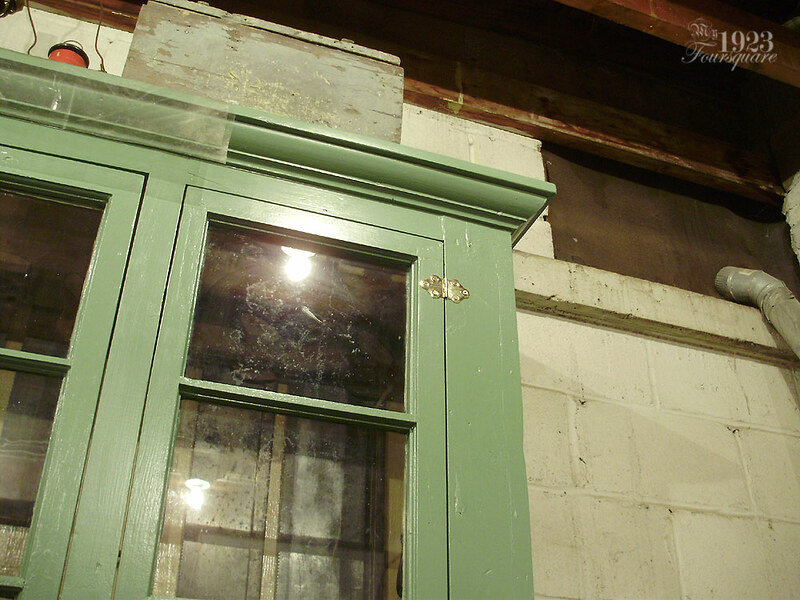
To recap the project just quickly and generally: this is a large cabinet I decided to build entirely out of scrap materials. I spent almost no money on this build. The only expenses were hardware (13 wood knobs at about 20 cents a piece, plus several inexpensive brass hinges), and paint. A lot of it was built from scrap 2x4s, scrap 3/4" thick pine (lots of which was already coated in old paint and full of nail holes), and scrap plywood removed from the house (sub-floor and other bad repairs). The upper doors were made from salvaged basement windows (found frequently in the trash). As mentioned in the last post above, the hutch was finished last summer.

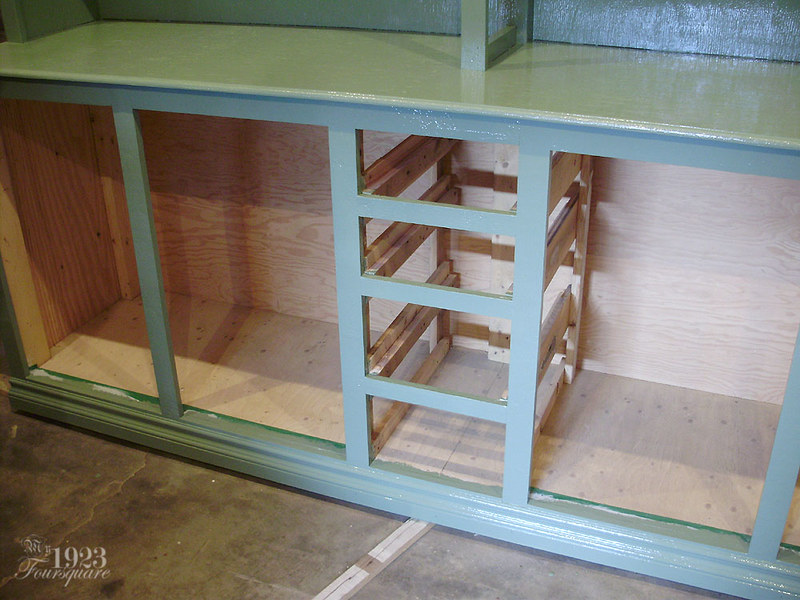
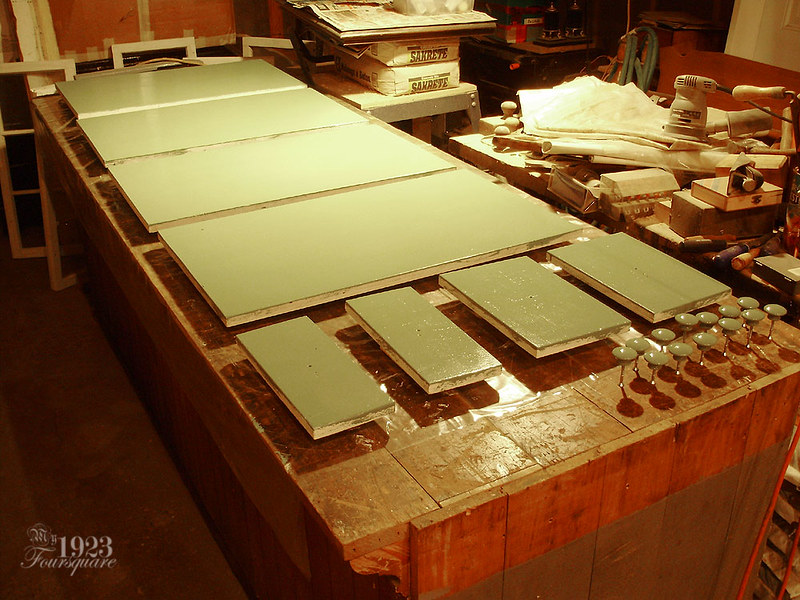
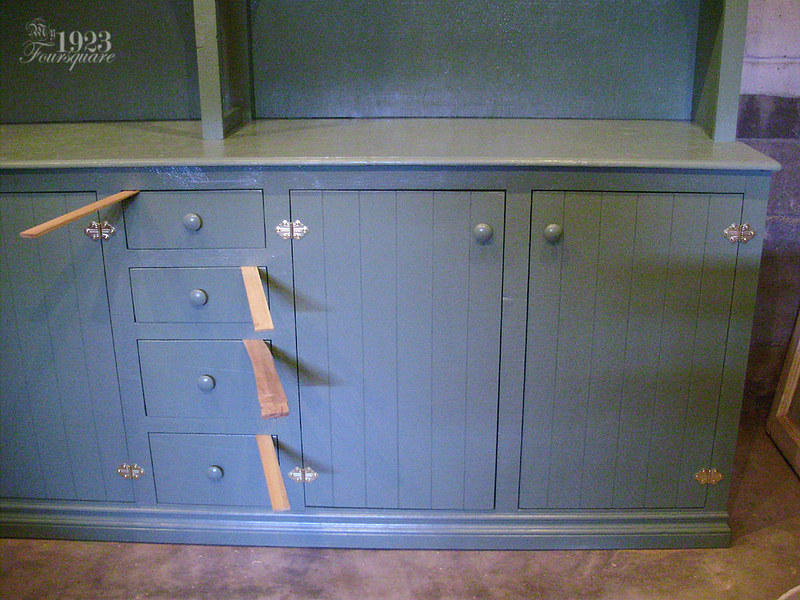
For the longest time, the part of the hutch I was avoiding finishing was building the drawers, and fitting the lower doors. The lower doors were made from the painted plywood doors from the old laundry room cabinets upstairs (demo'd sometime in 2010 or 2011). I decided that fake tongue-and-groove doors would look a lot nicer than flat doors, since I was going for a 1920s look, so I routed grooves into them. The drawer runners and spacers were also finally installed (all junk wood), and I cut the drawer faces to size (also from the old plywood doors). Once these elements were done, all the exterior parts were ready for paint. They look painted already, but it's all old existing white paint.

P6040349

P6040350

P6040351

I decided to prime all the raw plywood, since I knew it would suck up too much paint if I skipped that step. I also puttied most of the holes, and put acrylic caulking along the crown and in any wide gaps or holes.

P6050354

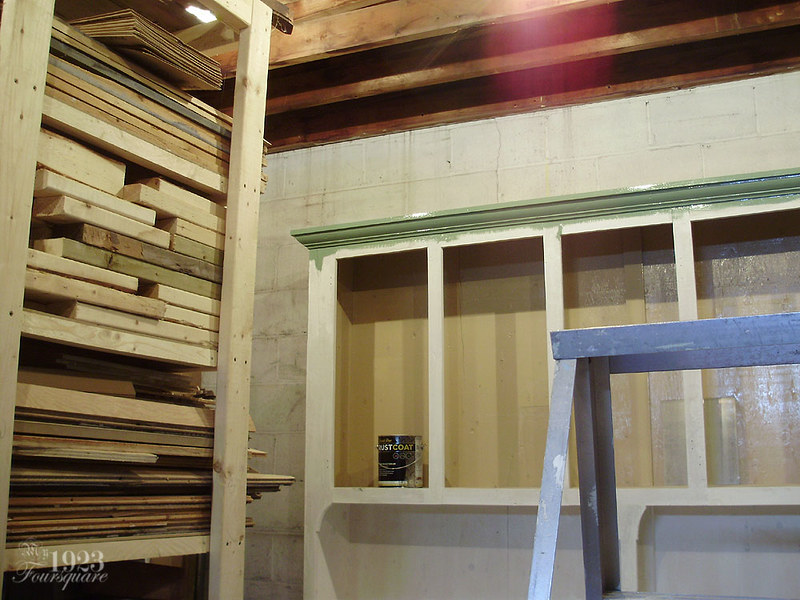
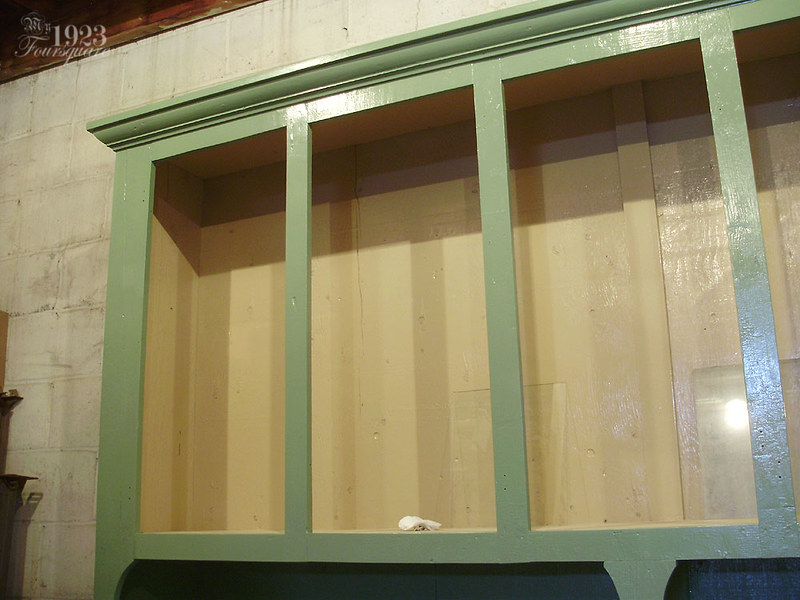
Note that the interior (top part) had already been painted with "sand" colour oil paint (a few years back). There's also some of the replacement pieces of glass in there for the doors.

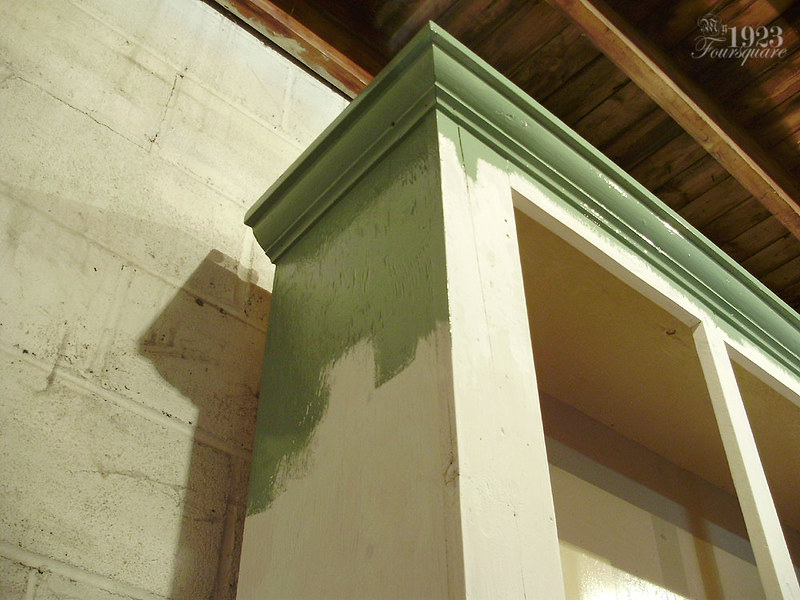
It took me a while to pick a shade of green, but I ended up picking something very close to the green in the room upstairs "Olivine". This was custom tinted oil paint. Why green? No specific reason, but some woodworking tools tend to be painted a similar green, and green tends to look nice next to raw wood and white (walls will eventually be just white).

P6050355

P6050356

P6060357

I think I only did one good coat of the green oil paint.

P6060359

P6060360

The doors and drawer faces had to be done one side at a time, because it's just too sticky and awkward otherwise.

P6060361

P6080419

Doors were painted on both sides. It's always better to start on the backs, and finish with the fronts.

P6080421

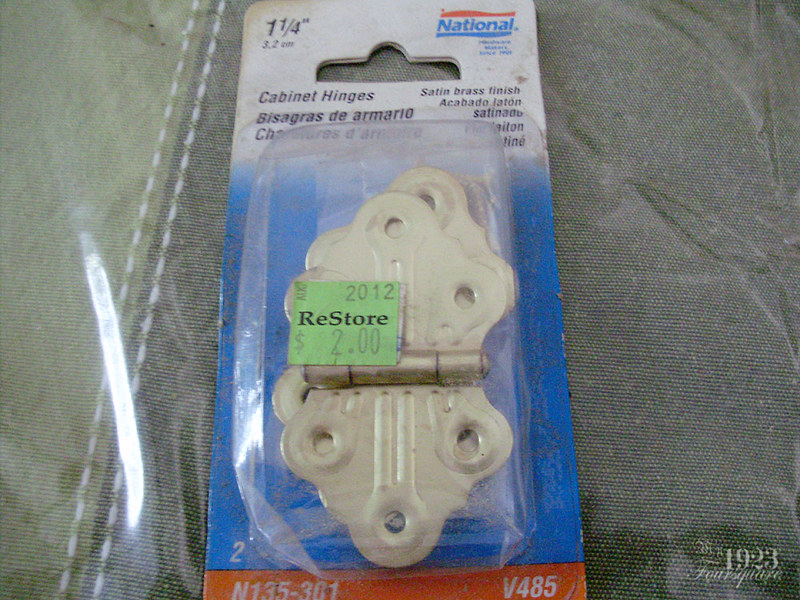
A bunch of the brass butterfly hinges were bought on sale, but I also found some at the Re-Store (Habitat for Humanity).

P6080426

At this point, I hadn't built the actual drawer boxes yet, so these were just mocked-up for show.
P6080427

I really like wooden knobs on furniture. They seem to have largely fallen out of style though. Most people prefer metal ones.
P6080429

P6090431

Fast-forward a few weeks, and I had built the drawer boxes, and also installed some shelves in the upper left. You might get a vague idea of the size from this photo also. The hutch is just shy of 98" tall (just a hair over 8 feet), and the countertop area is 8 feet wide exactly (I made it so that the top could be made from a sheet of plywood). Countertop is about 3 feet high, and 23" deep.

P6160032

P6160035

The shelves hold tools like my router, hand planes, and some sanding items.

P6160038

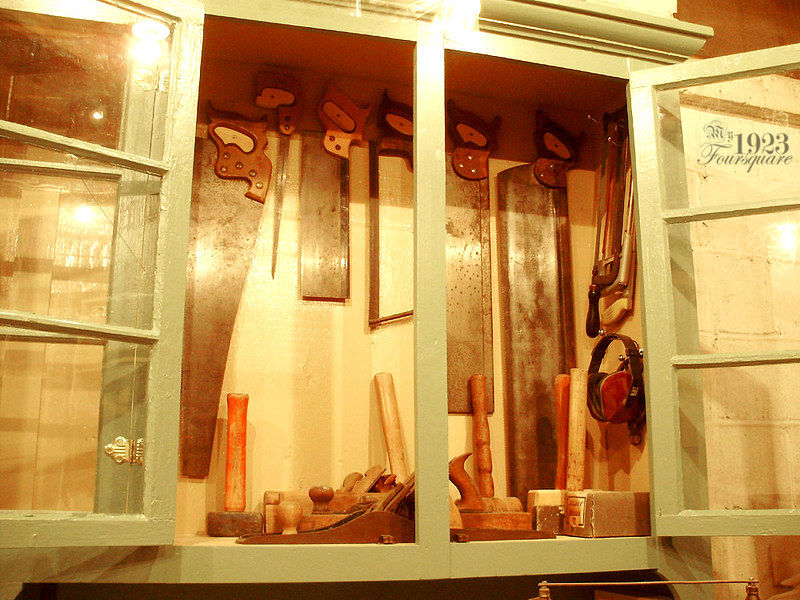
The other half holds a lot of my larger hand tools like my saws. I have a few hooks on the right for ear protection and more saws.

P6160040

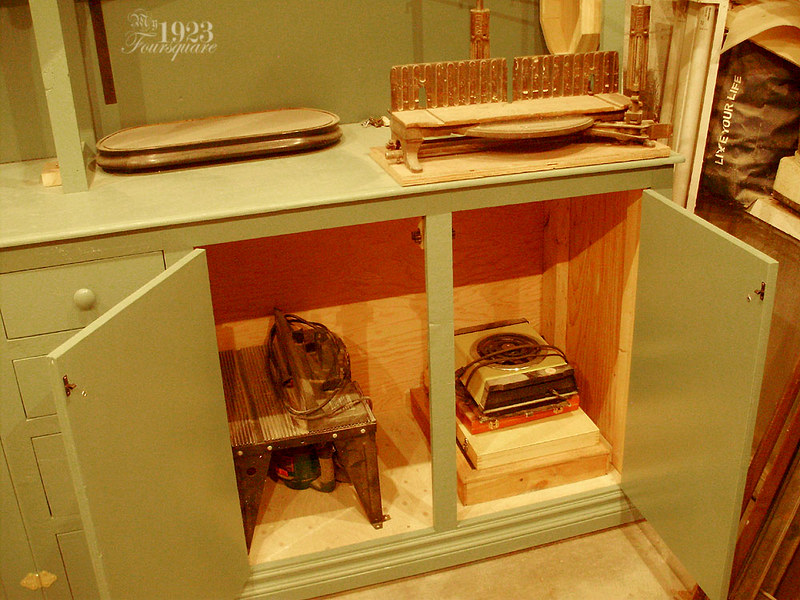
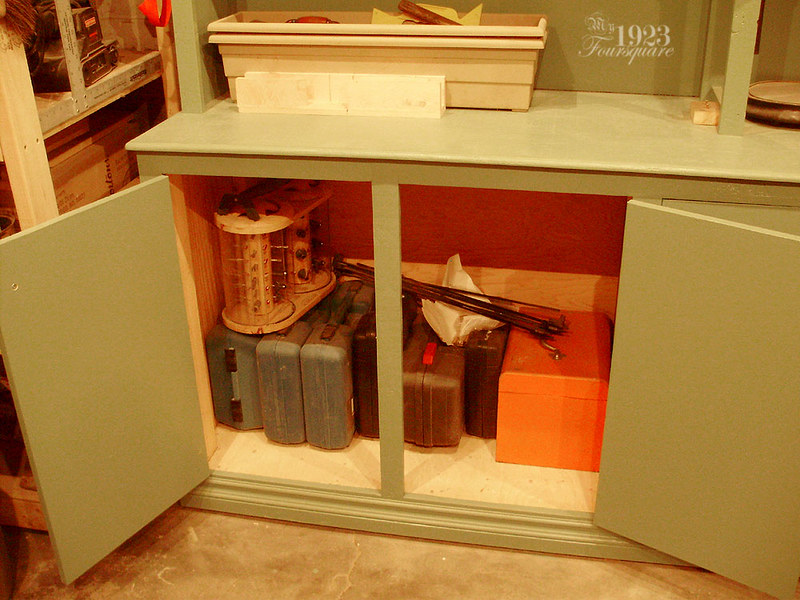
I still want to add a shelf on each side of the base.

P6160041

P6160042

The drawers are just simple plywood boxes. They currently hold things like chisels, router bits, and a few other odds and ends.

P6160043

I want to stress that while the cabinet looks great, and I'm super happy with it, it's really nothing fancy. I can do precision master carpentry, but this is just a very rough piece that is 90% nailed together. There are a lot of crappy saw cuts, several crooked lines, and rough parts. Some pieces are thicker than others, some have cracks, dents, and broken bits. There are also two cracked panes of old glass that I left alone (the missing ones were replaced).

P6160046

The crown was a donation from a guy down the street who saved them for me (a few different lengths). They were going to the garbage. You could easily just make a 45 degree crown or a cove crown cut on the table saw instead. There's also always places like the Re-Store that sell all sorts of crown for a few dollars per piece.

P6160047

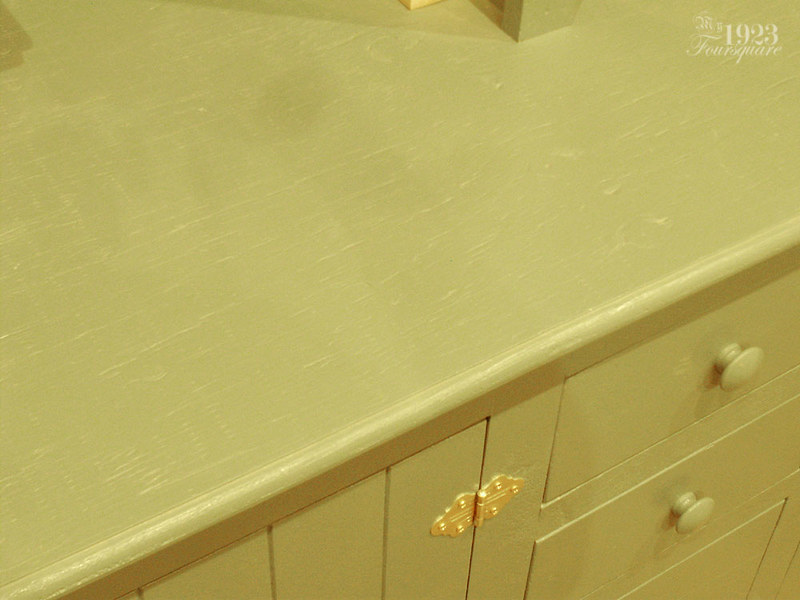
A lot of it is also cheap plywood, so you can see all the rough texture of it. If you had more money for better plywood (or MDF, or solid wood), a hutch like this could be made much nicer.

P6160052

All that said, I have maybe 50-60$ in this, but obviously LOTS of time. I am really happy with it. Eventually I will also restore that giant Victorian countertop cabinet (with the 15 drawers) and a bunch more of my tools will go in there too.

Wednesday, November 23, 2016

Victorian Farmhouse - Part 18 Salvaged Front Door

So for me, the two most rewarding projects so far on this house (and depending who you ask this might be different) have been the opening of the archway in the living room, and the re-installation of the side door (front door).

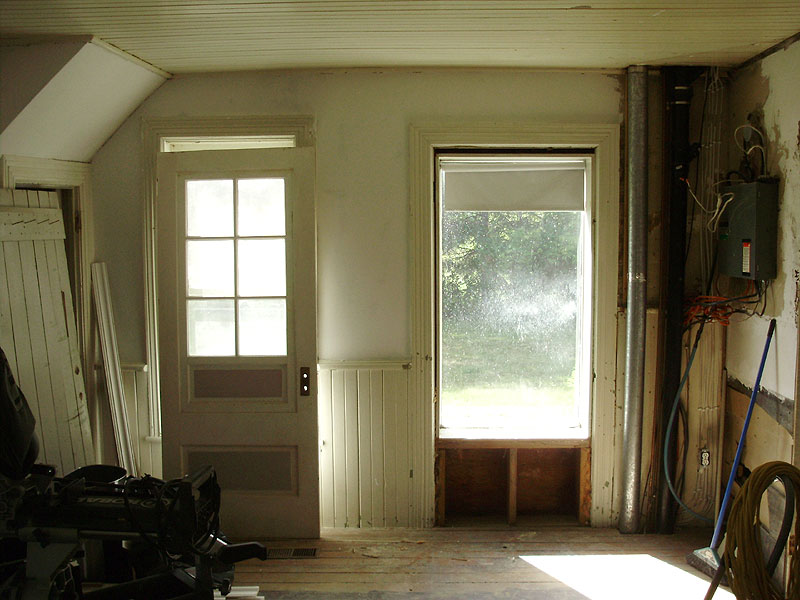
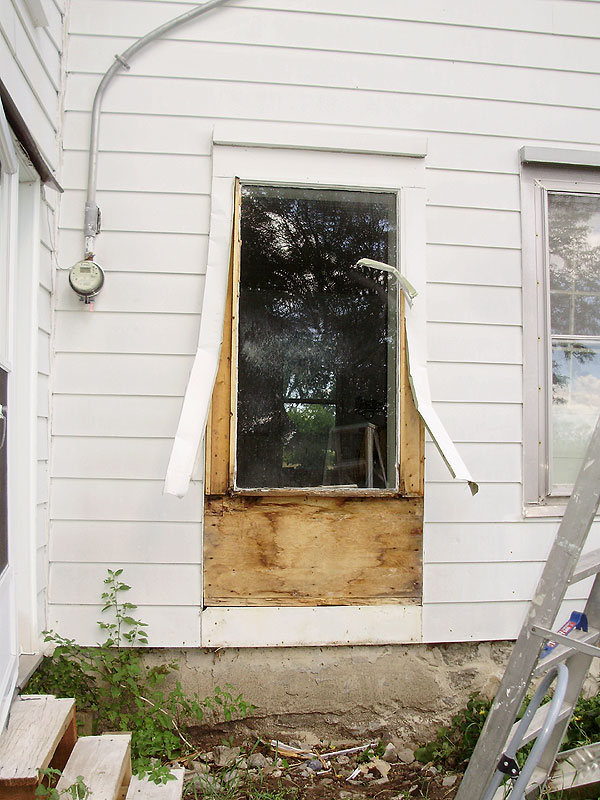
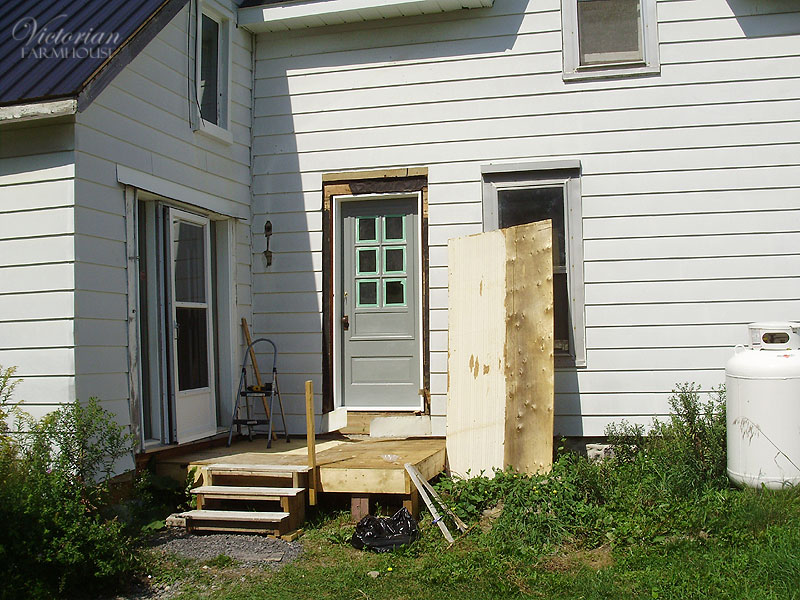
As a memory jogger, you may remember that there was once a door here, but it had been converted (very poorly) to a window with shelves in it.

P8050129

I offered Pierre and Angie one of my antique doors (I have several that I will never use). This particular door is around 1920-1930 or so, and it came from a neighbour's house two or three doors down. The window panel was removable, but it has been sealed and painted shut.

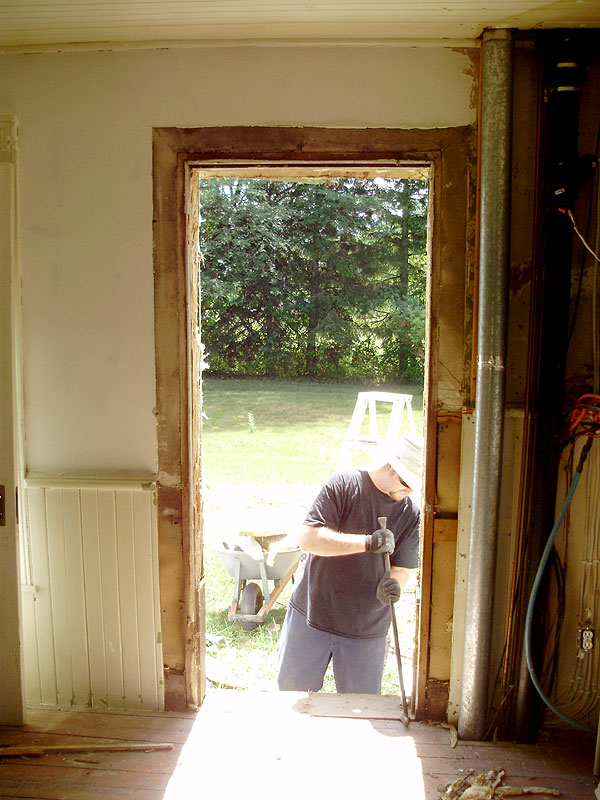
Removing the awful old thermopane window and cobbled together bookcase was a huge pain.

P8050130

P8050131

It's too bad that the original door jamb was completely butchered, because it was nearly 2 inches thick, and extremely well made. I spent several days custom making a new one. No photos of that were taken, but the jamb was built from 2x10s that had to be cut down, trimmed, routed and grooved, and the door had to be fitted with the hinges in the frame before installing it in the opening, etc. If you want more details on that, see the posts about my own front door: http://my1923foursquare.blogspot.ca/2015/09/salvaged-front-door-project-part-4.html

P8050132

P8050134

P8050135

P8050137

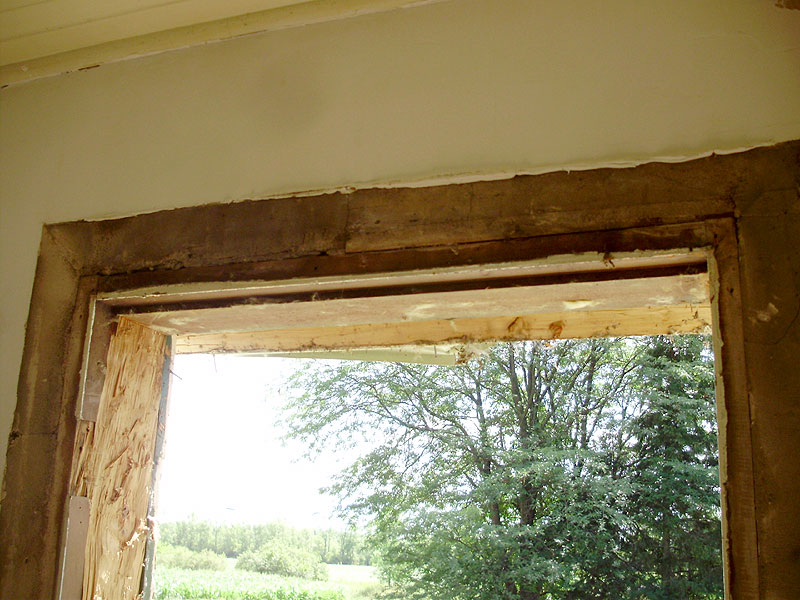
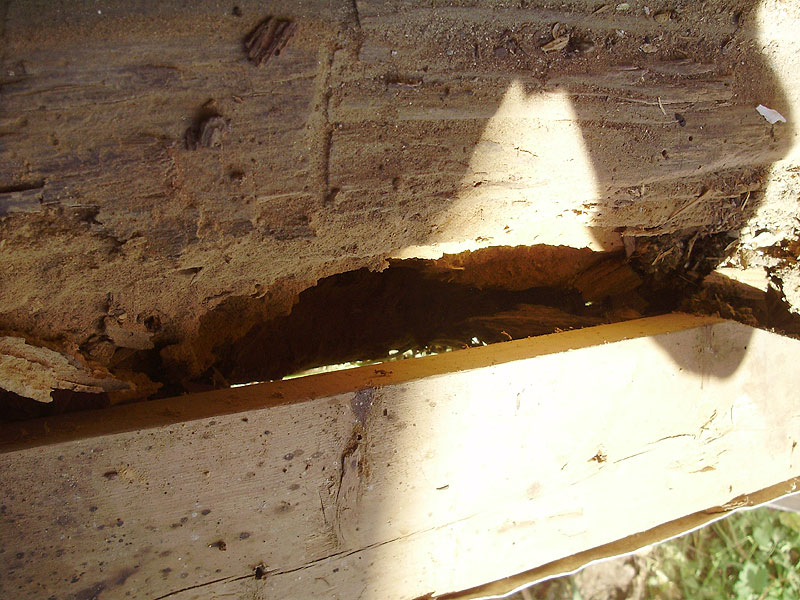
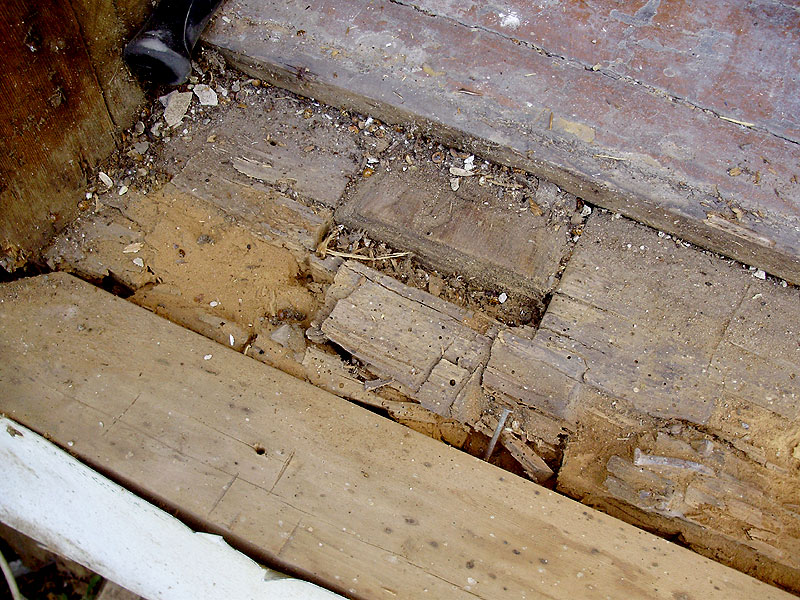
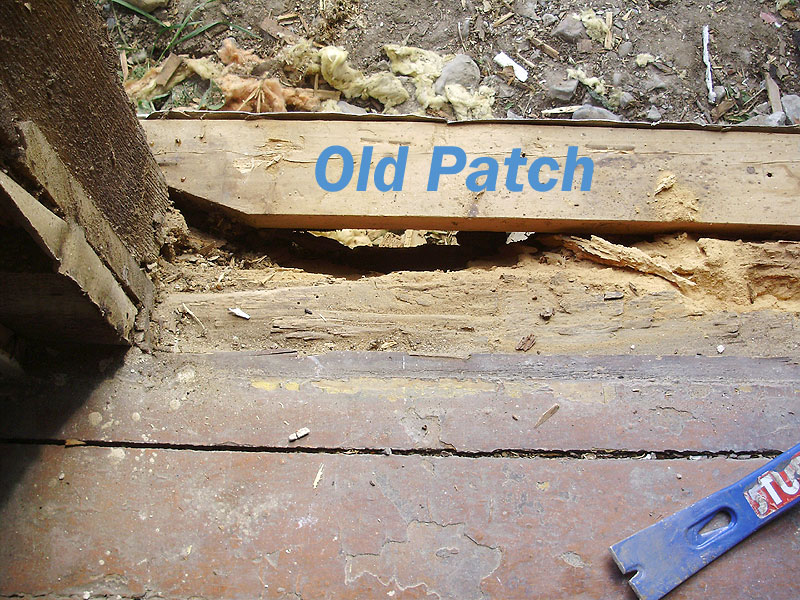
After removing the old door jamb, and the exterior casings, we found that the bottom exterior beam of the house was badly rotted.

P8050144

P8050146

P8050147

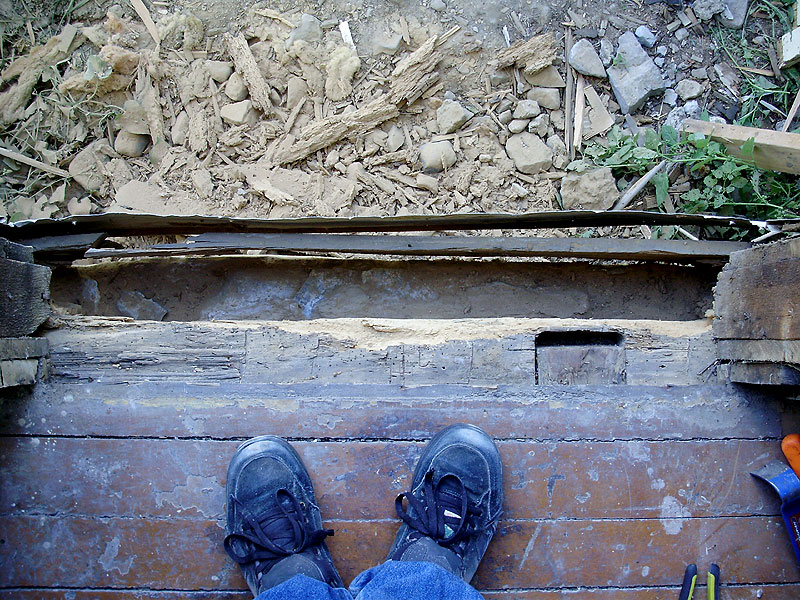
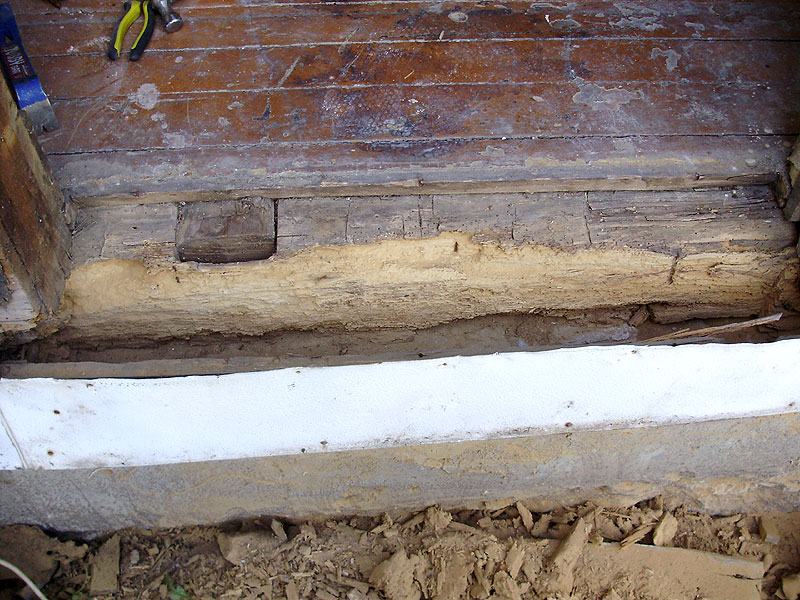
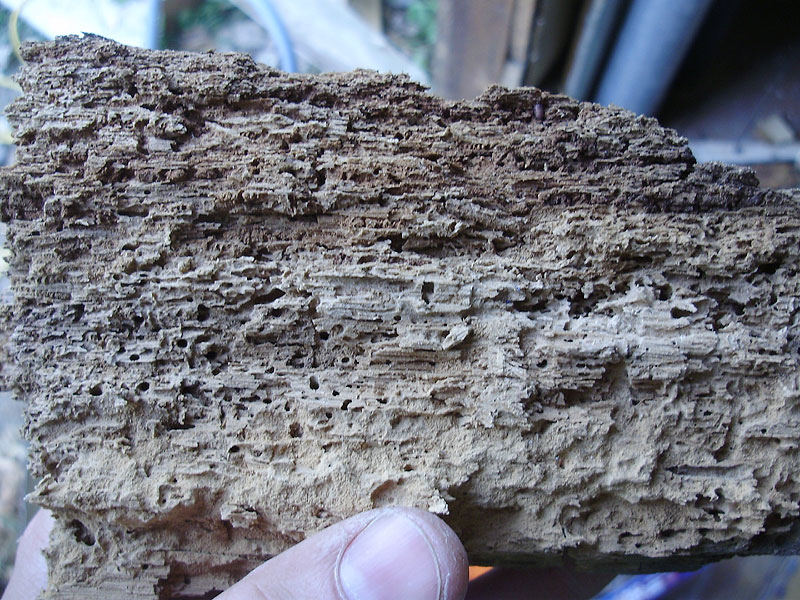
The inside half was still fairly solid, but the outer half was practically dust.

P8050149

Part of the damage was due to poor corner joints and leaks in the window frame, along with leaks in the original jamb, and insect damage over the years. I suspect that half the house may be like this around the perimeter. Since we can't rebuild all this, we fixed it as best as we could.

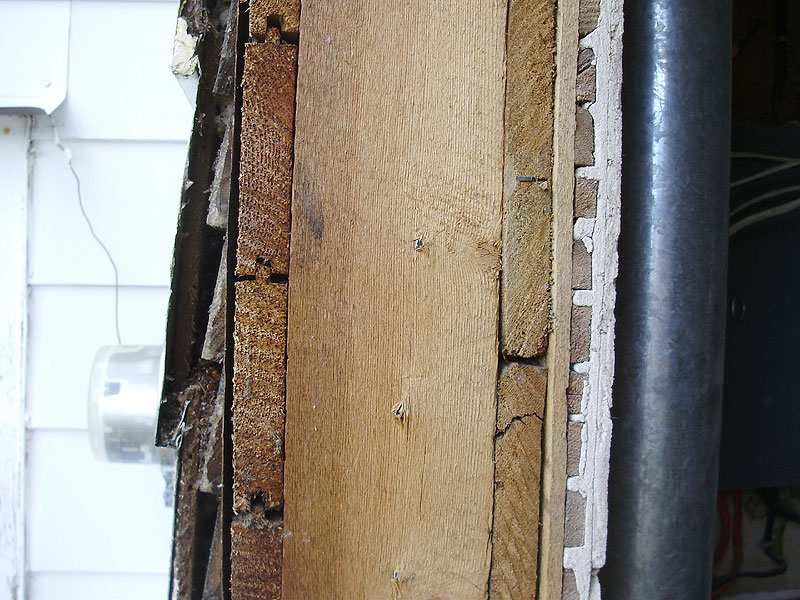
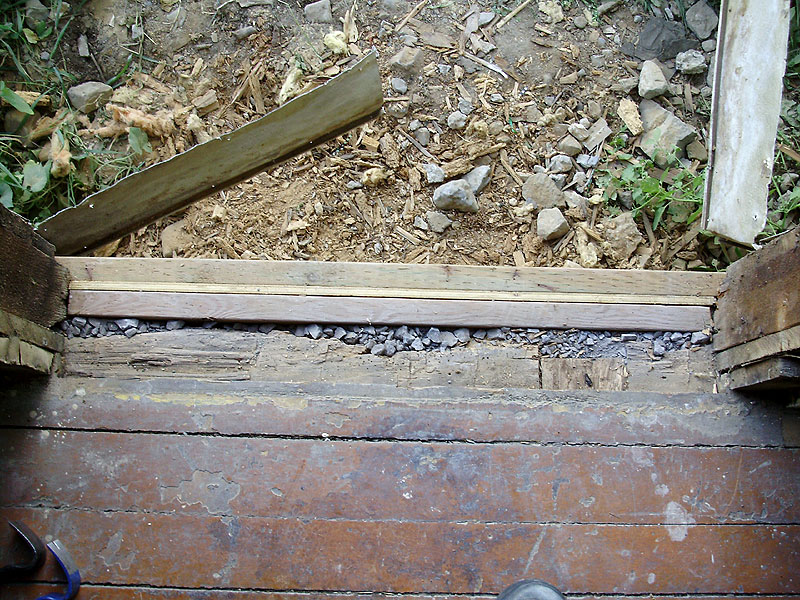
Here we can see the original construction. Small (narrow) cedar siding, tar paper, 3/4" tongue and groove, wall studs (4" side), interior tongue and groove or barn boards, cardboard (not easily visible), lath spacers, lath and plaster.

P8050150

The outer rotted half was cut away.

P8050151

P8050152

Completely toast.

P8060153

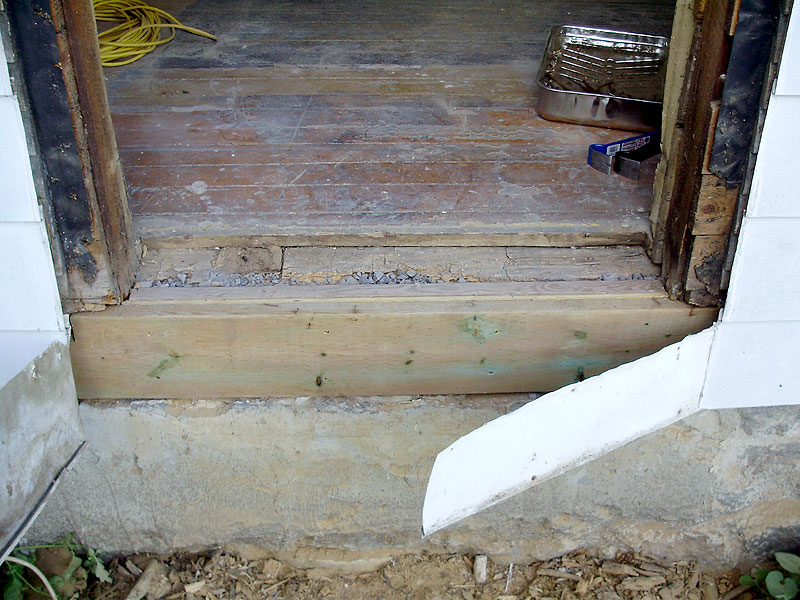
The cavity was filled with treated lumber, and small gaps were filled with sand and gravel (like the rest of the stone foundation).

P8060156

P8060157

There will eventually be a covered porch here, so rot will not be an issue.

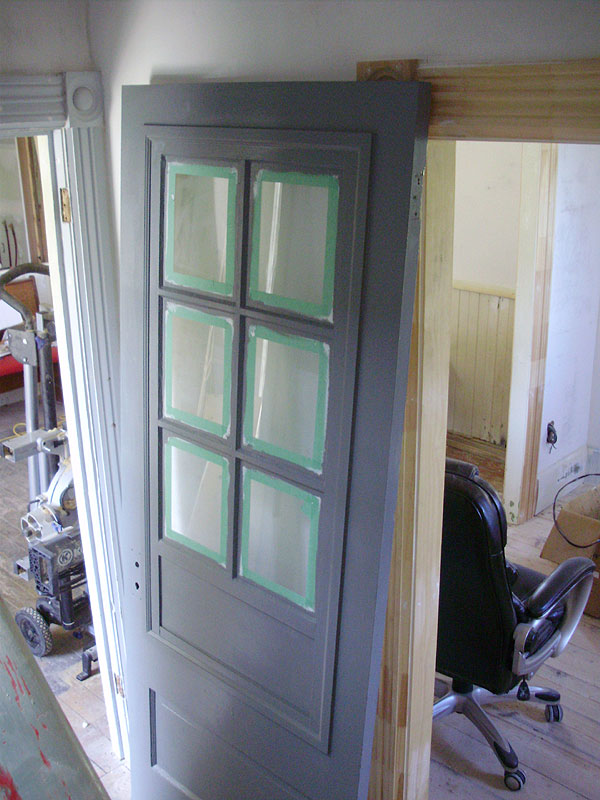
I added a cap moulding on the door to make the window portion more solid and permanent. Pierre then painted it (dark grey).

P8240358

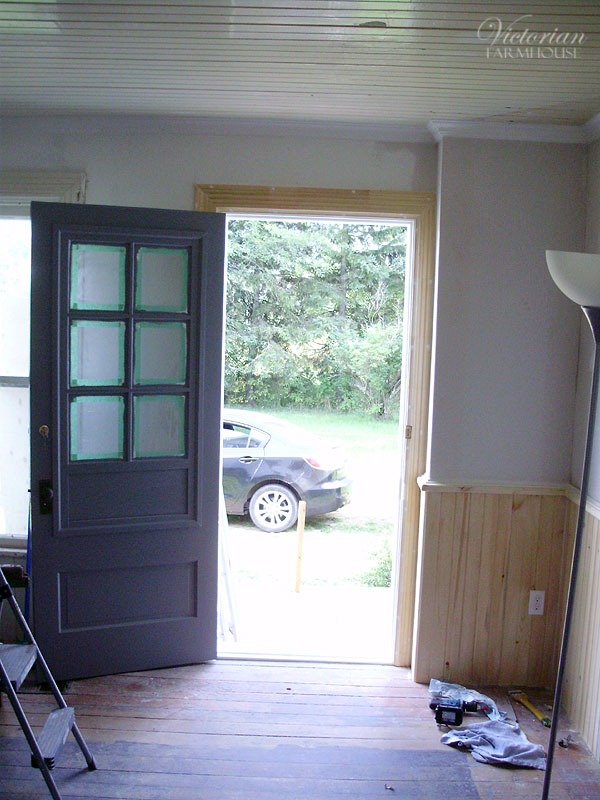
Jamb, door, and lock installed.

P8250005

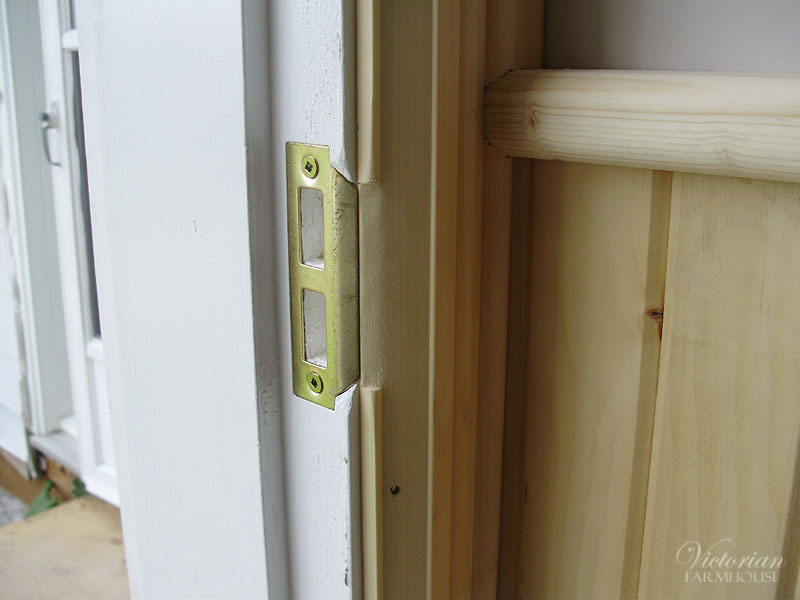
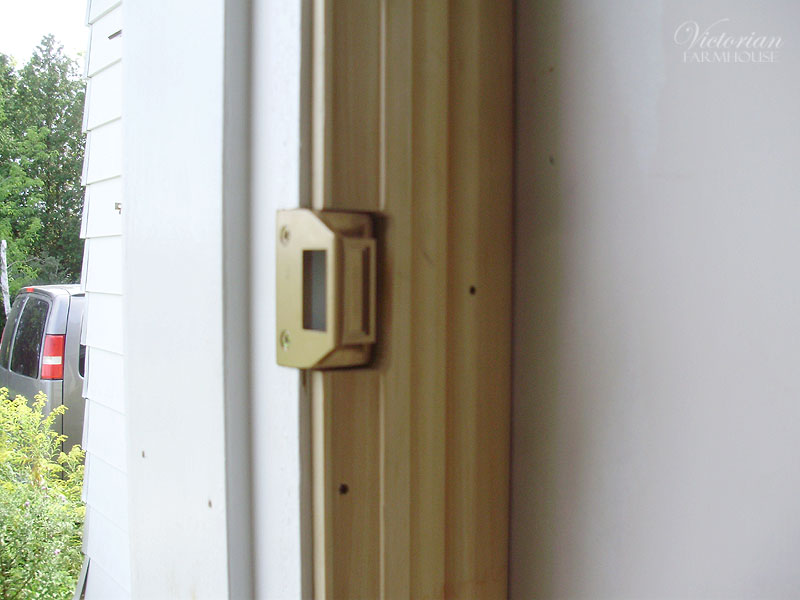
Some of the details. Because of how the plate was made, I also had to tweak the door casing edge.

P8250008

P8250009

P8260012

To protect the door from the weather, and add a layer of insulation, a new aluminum door was installed on the outside. Photos of that will be posted later.

For those keeping track, this was not too bad as far as time. I had all these photos already prepared, so it's now only 12:24am.