Showing posts with label Counter Top. Show all posts

Thursday, August 03, 2017

The Bathroom Vanity Has A Sink!

I am having a fairly-important guest over in a few days (a long-time clock collector friend of mine, along with another collector friend of his), and in anticipation for his visit, I've decided to tackle several small projects around the house. One of these was finishing the built-in (the previous post), and one of the others was installing the sink in the bathroom. The third big project (a surprise) is nearly finished, but I don't think it will be ready in time for this weekend.

P7230008

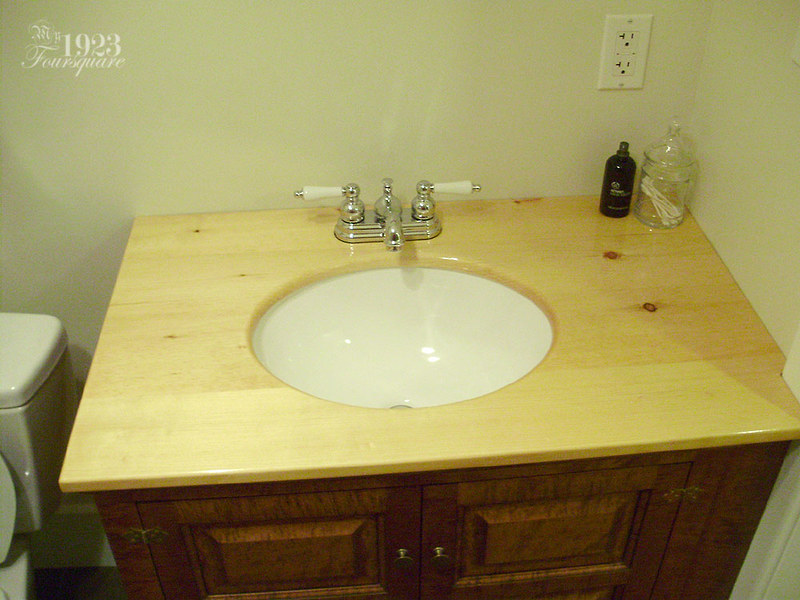
Now, if you're an avid reader, or a close friend, you might be asking yourself: "Wait... didn't you want marble for the vanity?" and the answer is YES! This was a compromise for now. This pine counter top cost about 30$ (10$ of pine, 20$ for the varnish). Let's call it a "temporary" top. I don't know when I'll have the cash to get a custom marble top (it could be another few years) so for now, this is a decent alternative. From what I gather, the marble top would be in the range of 300$ - 400$ installed. I still have loads of other large expenses, so in the meantime I want to use my sink/vanity (especially for guests).

Alright, so for those who were wondering about the spoiler image in the last post, it was the vanity top underneath the drawer fronts.
P7020011

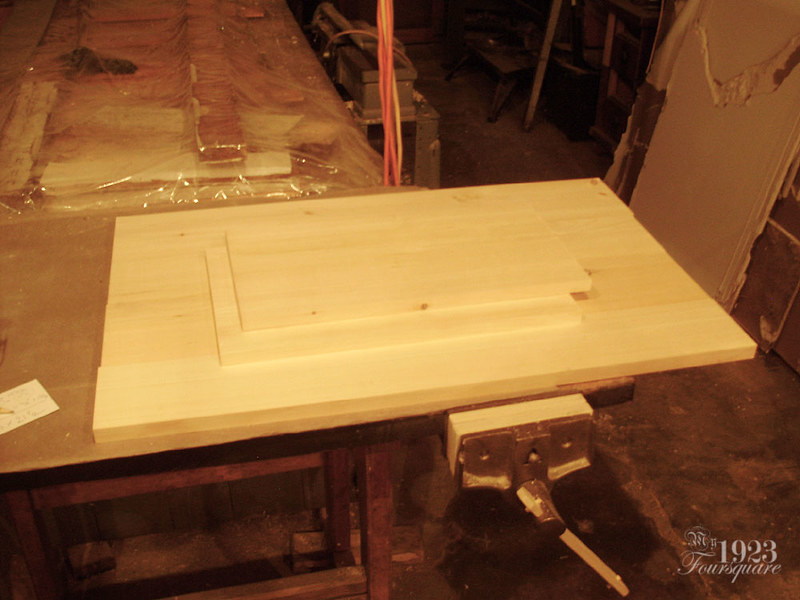
I used some pretty nice clear-ish pine (with very few knots) and glued up the slab. I had to make it in two sections, plane them, and then glue them in the centre with one glue joint (to sand). This is fairly typical for gluing large panels that need to be planed (my planer is only 12", and most large ones are only 20"). I buy my pine from "the big orange box" as rough boards 12" x 1" thick. These are dirt cheap because they are not planed or prepped in any way. The majority of the boards have large knots (because pine trees have lots of branches - which is something people don't seem to understand when they want "no knots") and other defects like cracks, broken edges, or bad knots (dark ones that are likely to fall out). HOWEVER, if you have the patience to sort through the boards, you can find some REALLY nice ones. These boards are about 1.20$/sq.ft. or less which is pretty good. In addition, this is kiln dried, and perfect for furniture.

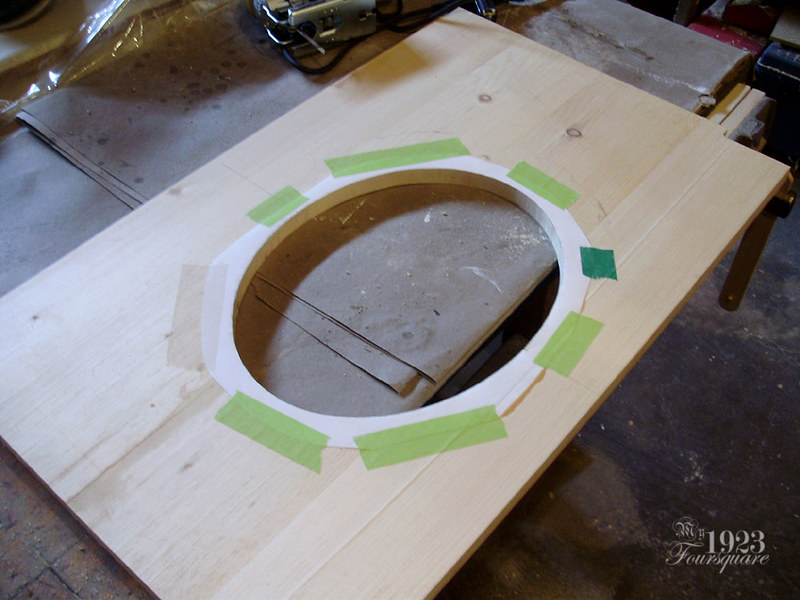
So. Since I plan to eventually reuse this sink for the marble top (whenever that might be), I wanted to keep the original paper template for the stone company. I traced a copy, and used that for my pattern.
P7120061

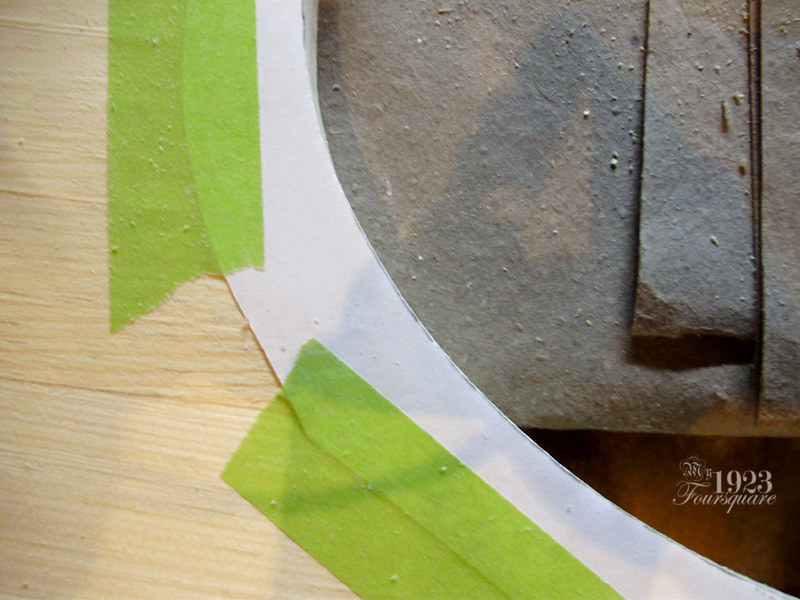
It's important to try to cut this oval as accurately as possible. This is HARD, and any screw-ups end up being very obvious. As a side note, I bought a brand new jig saw to cut this, so I guess TECHNICALLY the top cost 30$ + 160$. I bought the saw on sale/discount as well (120$), but then I got stuck also buying 20$ of blades plus the taxes. It's not a waste, however, because I've wanted to buy a decent jig saw for several years now. It will come in handy for a multitude of projects.
P7120063

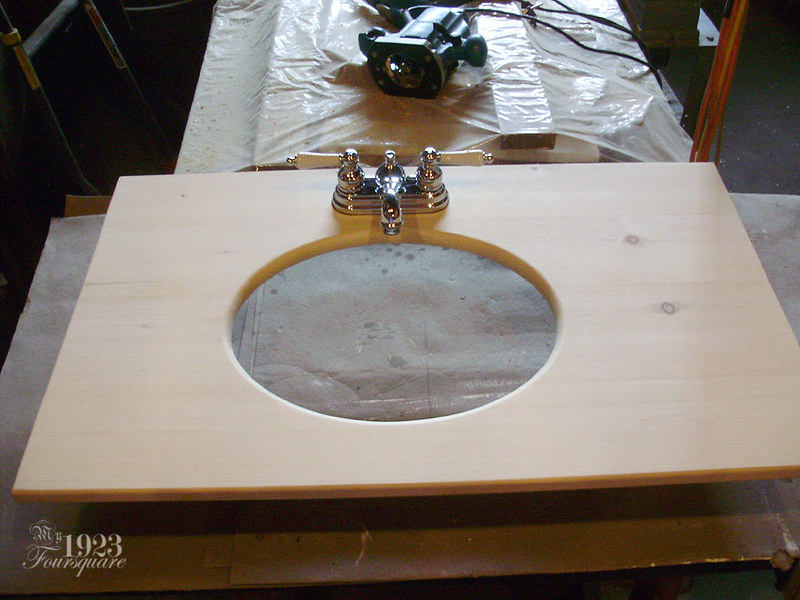
This is after sanding, and routing the profiles on the edges. A large round over on the sink lip, with smaller round overs on the other edges. I couldn't wait for a bit of a preview, so that's why the faucet is sitting in place.
P7120067

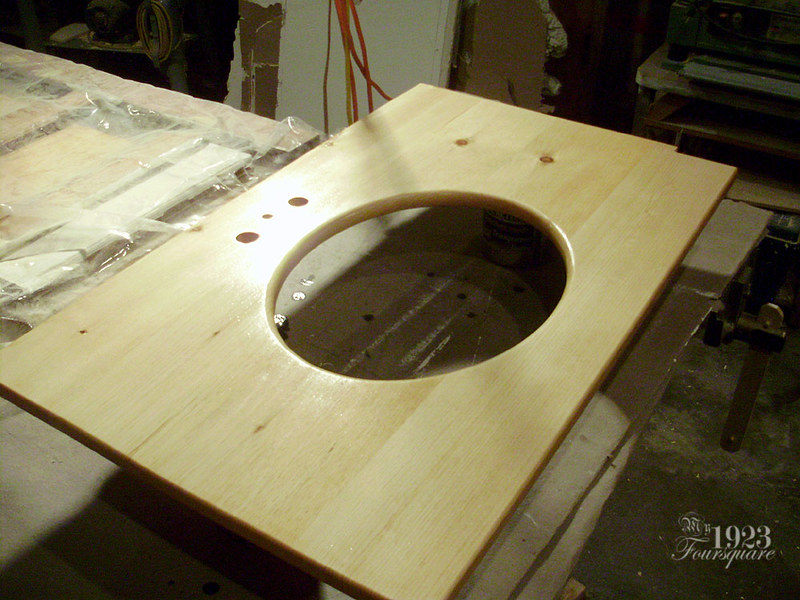
I wanted this to be WATERPROOF, so this vanity top got FOUR coats of spar (marine) varnish in a high gloss. This was taken on the second or third coat.
P7140093

Since the sink is under-mount, I had to make custom clips for it. When stone is used, they also have a few special clips that fit into slots cut in the stone, plus they also use adhesive. My brackets were made from hard maple. The sink edge is uneven in thickness, so I had to make some of these slightly different sizes.
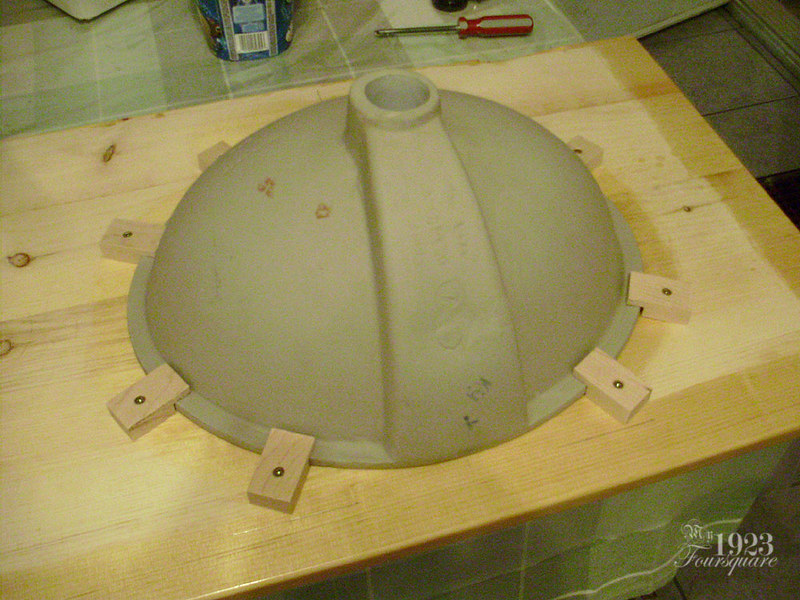
P7190039

Note the pencil lines at the front edge. These were to show how close I could get to the front edge of the cabinet.
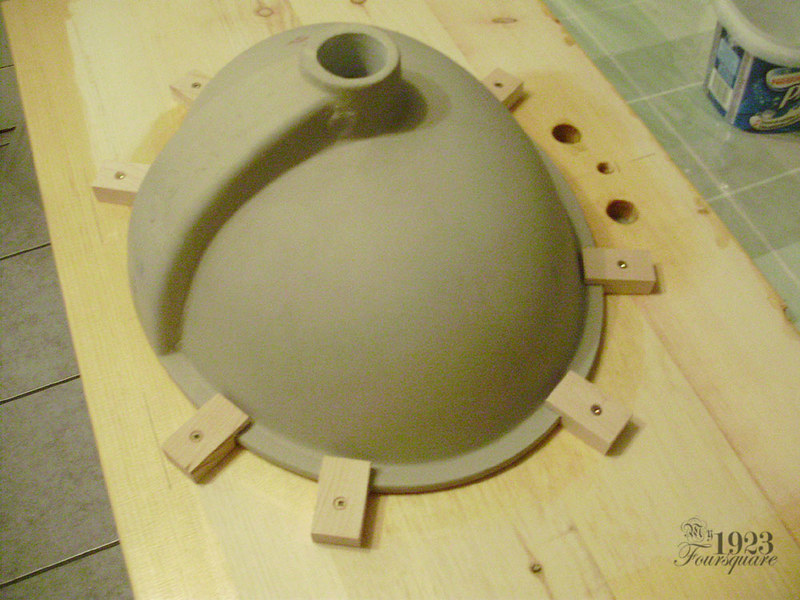
P7190040

I haven't decided if I should install a backsplash or leave it like this. I wanted a backsplash with the marble, but since this is temporary, I don't know if I should bother. You can see that I had even planned out the height of the wall outlet for the backsplash.
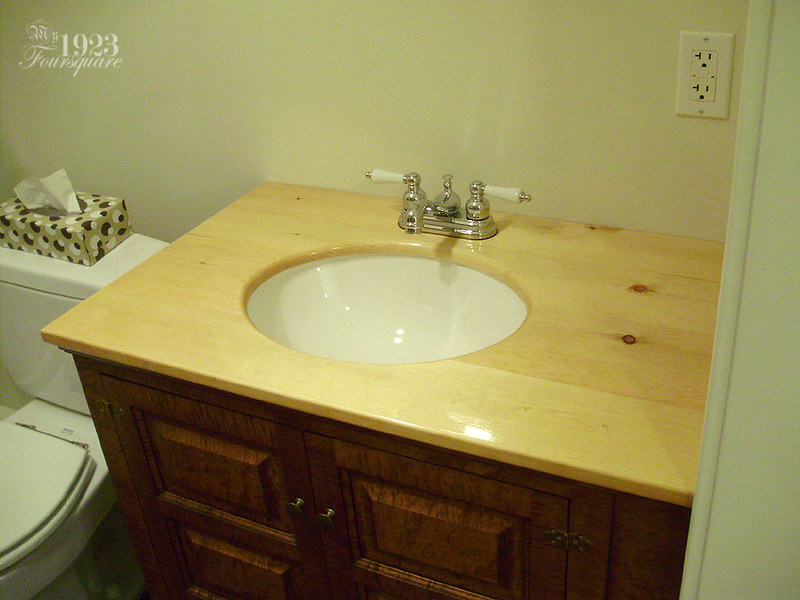
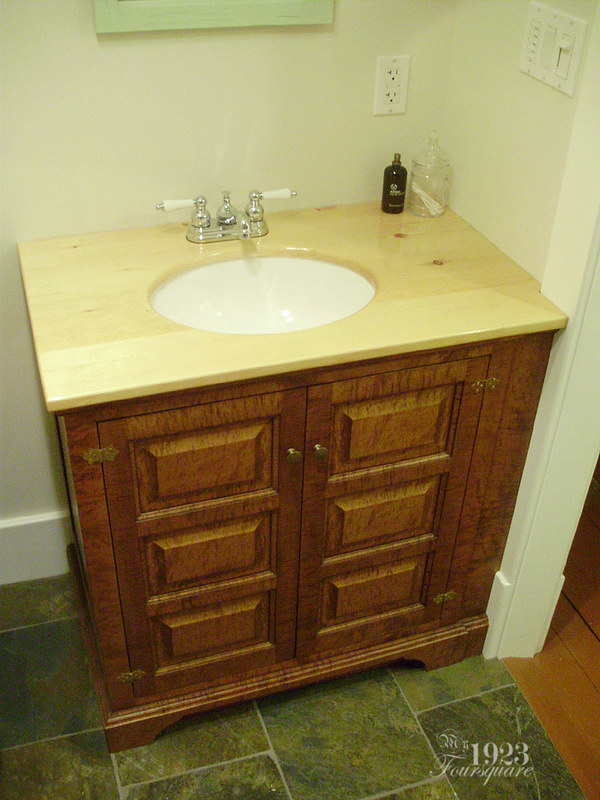
P7190041

P7230007

P7230008

It took 7 years to get to this point. I still remember the sink that used to be here. Side note: There is white caulking along the inside top edge to seal the gap, but otherwise I fit the sink in place only with those brackets (which are quite tight, but not waterproof).
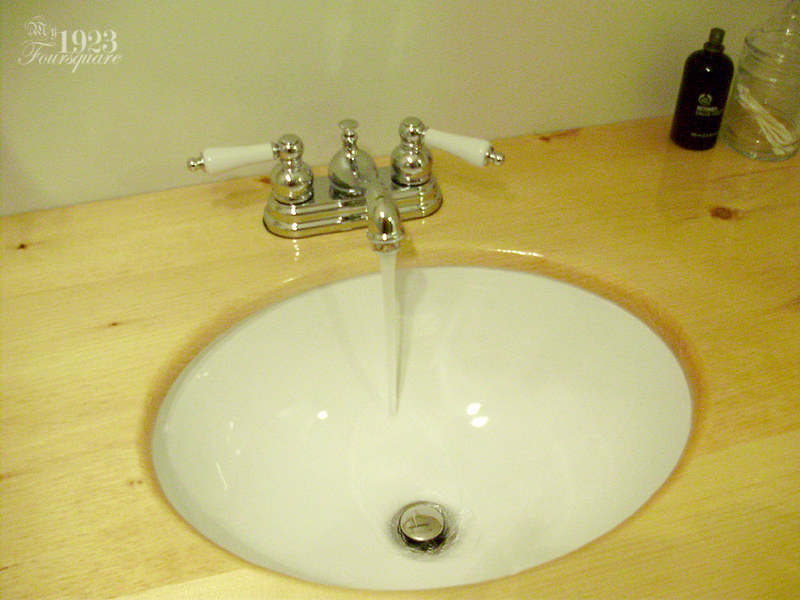
P7230009

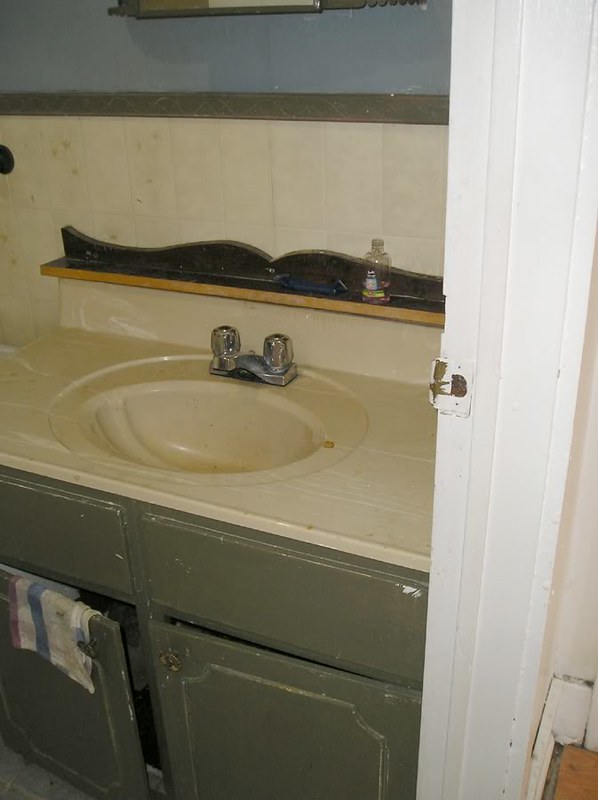
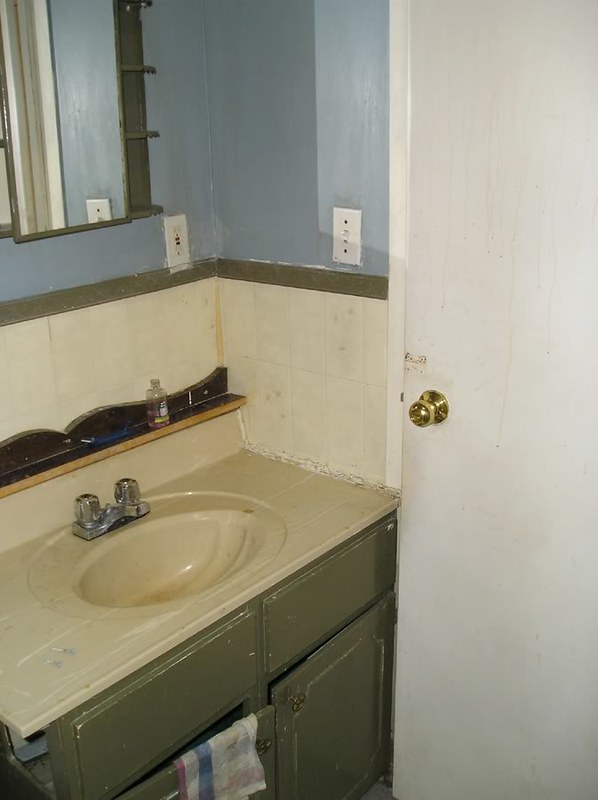
BEFORE:

P4306838

P4306845

I'd say even if the top stays just pine, it's a slight improvement over what was there before, yes? I still cringe at some of the old photos. The house is nearly unrecognizable in many places, but in a good way.

Saturday, December 08, 2012

Vanity!

Before going into the vanity install, I'll show off the finished living room ceiling repair.

The white primer shows up a lot more in the living room, and I'm going to go ahead and guess that one of the POs (who smoked) used to spend more time in this room. That, and I think a little bit of the old shellac is also bleeding through the white.

The ceiling repair in this room was made much more complicated because of where I had to cut-back the old ceiling (last year). It was also made more complicated because the boards I had on hand were only JUST long enough to reach the nearest stud before the light fixture. Luckily I had enough other bits from the Office to do the short ends.

Before (as in, how it's looked for the past year):


Quick side note: look at that wonderful wood peeking through! The ceiling was originally done in shellac over choice lumber. It would have looked wonderful several decades ago. Wood ceiling, wood crown, window and door casings, and old wooden windows. And if you remember correctly, the living room used to be a bright peacock blue originally.

Here are the "short ends" in place. The one contouring the electrical box was fun to cut. My jigsaw is kinda "dead" so I cut that BY HAND with a coping saw. Not only did I cut it by hand, but I cut it TWICE, since I mis-measured the first piece.


You can just barely tell which are the two new lengths (and it wasn't even puttied or patched at this point), but near the wall, you can see a wider gap where the two new boards were fitted (much like the office ones).


Lots of putty, sanding, and silicone later, and with a quick coat or primer, you can barely tell it was repaired. Note: the entire ceiling will get repainted later on.


Now for the vanity. This was a pain, and I knew it WAS going to be one, but it's over and done now.

Why a pain? Well, just because of all the detailed fitting and installation.

First I shut off the water, drained the pipes and de-soldered the shut-off valves. Then I did a small modification to the hot water pipe's location. I decided I didn't want them using up almost all of the back portion of the cabinet. This gives me the space to make/install a custom storage rack on the left side (if I want).


Then there was the actual fitting of the vanity into place. The following photo had terrible yellow lighting (mainly from the bright CFLs in the sconces), but you can see several important details in it. I knew I was going to need to lift and replace the vanity in it's spot (over the two pipes) several times to make sure all my scribing and fitting was good, so I chose to protect the walls and door casing with a double layer of large paper sheets from a big roll that I have. Alternatively, thin cereal box cardboard would also work well. It's not the end of the world to have to do a paint-touch-up, but it's much easier to just avoid it completely.

I chose to drill the drain hole last, to get the most precise location possible, which is why you won't see the hole in the first photo(s).


In the above photo, you can see that I have the baseboard cut, and the vanity slid down to he floor. It has also been raised up off the floor slightly and levelled using shims. Everywhere on the vanity edges where you can see green painter's tape, is a spot that needed scribing.

Because the house has a lot of settling towards the centre (as is usual with older homes), the side near the toilet had to be cut-down by about 3/4". It also had to be scribed along the relatively uneven edge of the tile floor. My tiling job was fairly good, but the tiles themselves still have quite a bit of texture and bumps. The best way to mark your scribing is to have the cabinet level, and then, starting at the highest spot off the floor, make yourself a block of that height, with which to trace along the bottom of the cabinet all the way around. At the high spot, you will barely make a line, but as you go around the cabinet, the height of the scribe line will get higher up where more material needs to be removed.

In ideal cases, the scribing is minimal, and you can sometimes just use shims (especially if your toe-kick gets attached separately). At work, all our cabinet boxes use adjustable plastic legs (which you can nail into and cut-down if needed).

Part of the "huge pain" was to remove that 3/4" section off the left side of the cabinet. Remember, this is solid rock maple. I have no working jig saw. I ended up cutting 90% of it with a circular saw*, a bit of it with a router (using a straight bit), some of the corner chunk with a hand saw, and then up to the line with my (crappy) belt sander with a coarse 80 grit paper.

*Tips: when running any tool over a pre-finished surface, always mask it with tape, paper, or some other thin protective film. This will keep the surface scratch-free. You will be surprised how easily just sliding a router over a varnished surface can leave fine scratches.

Other areas that needed scribing were minimal (along the door casing, and a bit along the back wall).

Additional side note: The piece of twine that you can see under the vanity toe-kick was a loop used to go around the hot water pipe (and then around my foot). The pipe had just a HAIR of a lean towards the back wall, which made it impossible to slide the cabinet down onto the pipe without a second pair of hands. Since I'm doing this job solo, this worked out just fine.

Once all the fitting and trimming was done, and I had a sturdy, level cabinet; I re-soldered my shut off valves.

Safety first. This is a wooden cabinet, and a blow torch could very easily scorch the varnish, or make the wood catch fire, so I used a piece of metal flashing as a guard against the back.


Checking for leaks is always a bit scary for me since I have to run up and down two flights of stairs (from the second floor all the way down to the basement). Luckily all my pipe joints were good, and I had a leak free installation. Just in case, though, I had bunched-up a large bath towel around the base of the pipes in the cabinet.

The only thing left now, is to attach the hardware (I need 4 extra hinges), and screw it to the back wall. I'm waiting to screw the cabinet to the wall because I want to use some special screws from work with beige-painted washer-head tips.

These next few photos turned out really well, and the colours are quite accurate.


You can just make out the recessed toe-kick in this last photo.


So what do you guys think? White marble for the top? Granite? Soapstone? I would definitely prefer a solid counter top (stone or Corian) with and under-mount sink (which I already bought). But I'm still not 100% sure what to go with. White marble would definitely look classic/elegant/historic, but would it go well with the slate floor? Am I just second guessing myself? I don't necessarily like things that are too "matchy-matchy" but I'd be really interested in your thoughts and suggestions (as a fresh set of eyes).