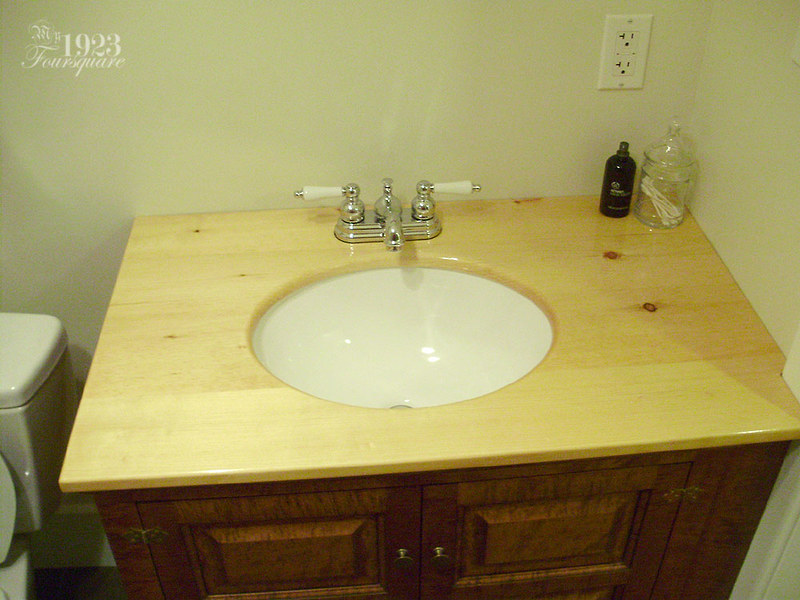
Now, if you're an avid reader, or a close friend, you might be asking yourself: "Wait... didn't you want marble for the vanity?" and the answer is YES! This was a compromise for now. This pine counter top cost about 30$ (10$ of pine, 20$ for the varnish). Let's call it a "temporary" top. I don't know when I'll have the cash to get a custom marble top (it could be another few years) so for now, this is a decent alternative. From what I gather, the marble top would be in the range of 300$ - 400$ installed. I still have loads of other large expenses, so in the meantime I want to use my sink/vanity (especially for guests).
Alright, so for those who were wondering about the spoiler image in the last post, it was the vanity top underneath the drawer fronts.
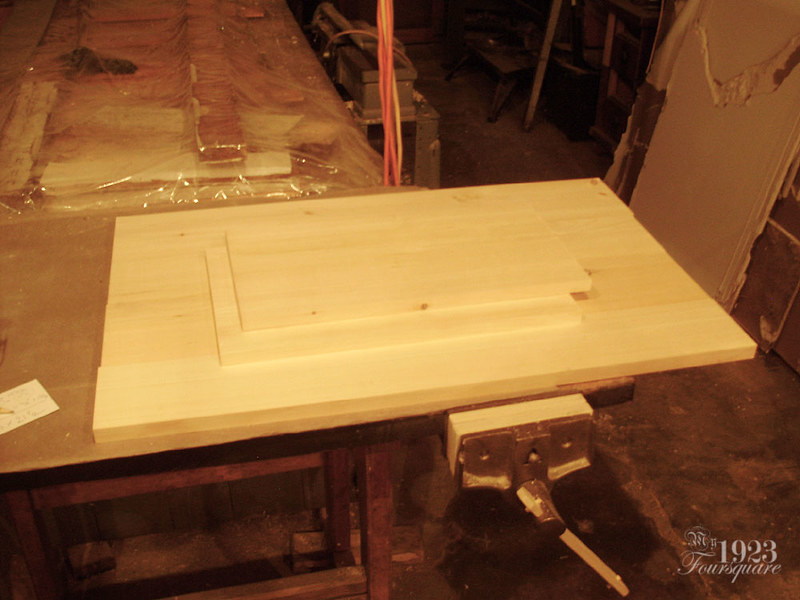
I used some pretty nice clear-ish pine (with very few knots) and glued up the slab. I had to make it in two sections, plane them, and then glue them in the centre with one glue joint (to sand). This is fairly typical for gluing large panels that need to be planed (my planer is only 12", and most large ones are only 20"). I buy my pine from "the big orange box" as rough boards 12" x 1" thick. These are dirt cheap because they are not planed or prepped in any way. The majority of the boards have large knots (because pine trees have lots of branches - which is something people don't seem to understand when they want "no knots") and other defects like cracks, broken edges, or bad knots (dark ones that are likely to fall out). HOWEVER, if you have the patience to sort through the boards, you can find some REALLY nice ones. These boards are about 1.20$/sq.ft. or less which is pretty good. In addition, this is kiln dried, and perfect for furniture.
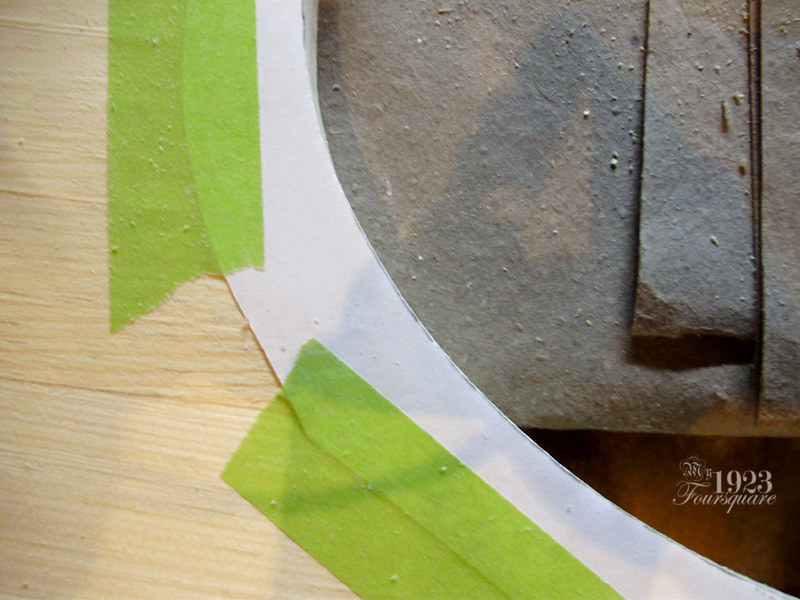
So. Since I plan to eventually reuse this sink for the marble top (whenever that might be), I wanted to keep the original paper template for the stone company. I traced a copy, and used that for my pattern.
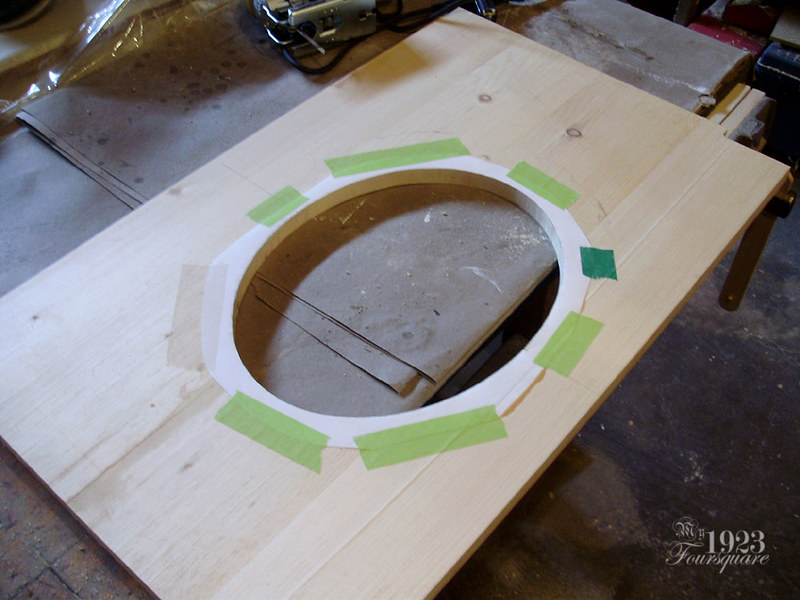
It's important to try to cut this oval as accurately as possible. This is HARD, and any screw-ups end up being very obvious. As a side note, I bought a brand new jig saw to cut this, so I guess TECHNICALLY the top cost 30$ + 160$. I bought the saw on sale/discount as well (120$), but then I got stuck also buying 20$ of blades plus the taxes. It's not a waste, however, because I've wanted to buy a decent jig saw for several years now. It will come in handy for a multitude of projects.
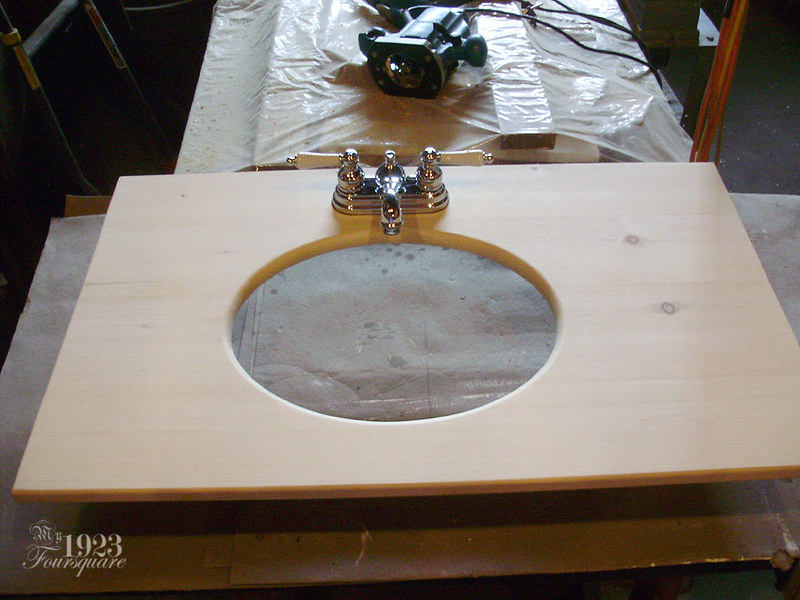
This is after sanding, and routing the profiles on the edges. A large round over on the sink lip, with smaller round overs on the other edges. I couldn't wait for a bit of a preview, so that's why the faucet is sitting in place.
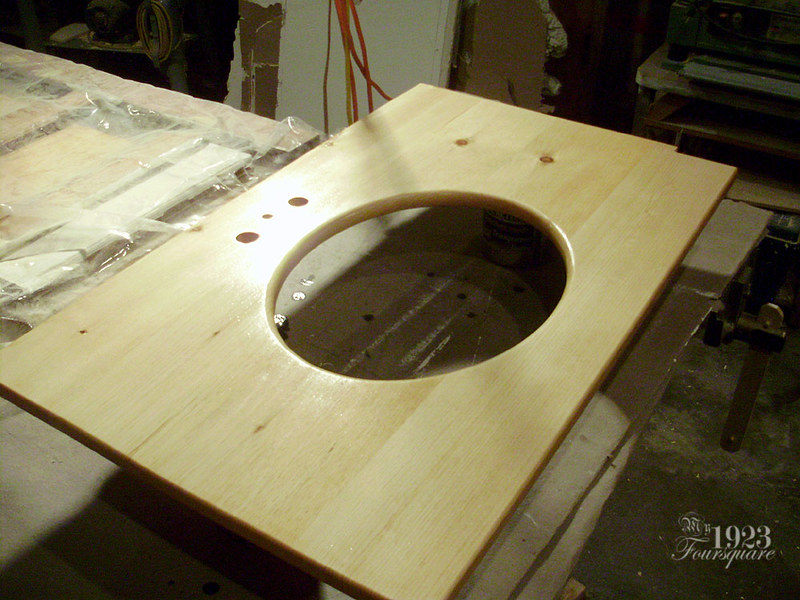
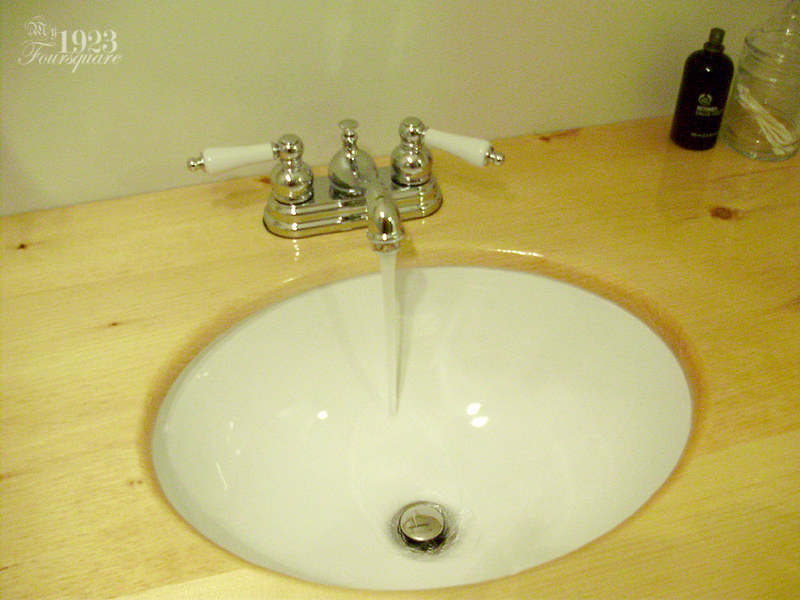
I wanted this to be WATERPROOF, so this vanity top got FOUR coats of spar (marine) varnish in a high gloss. This was taken on the second or third coat.
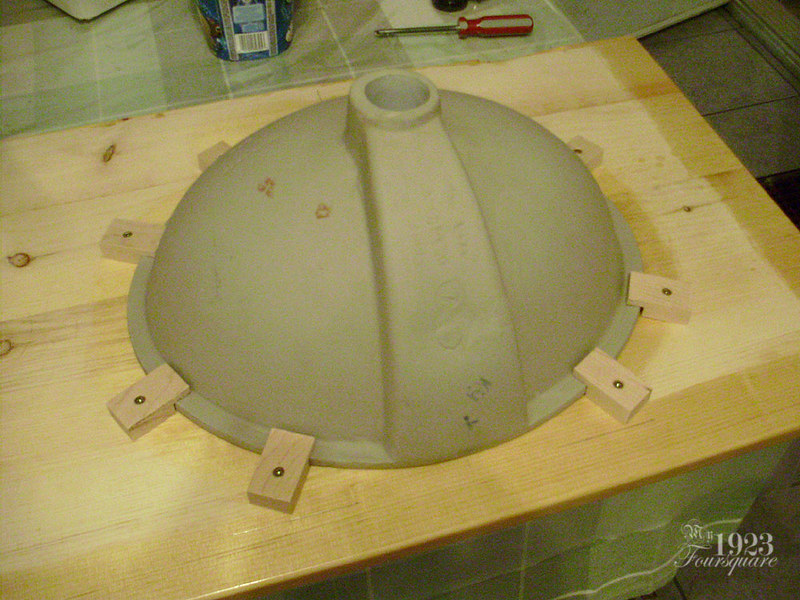
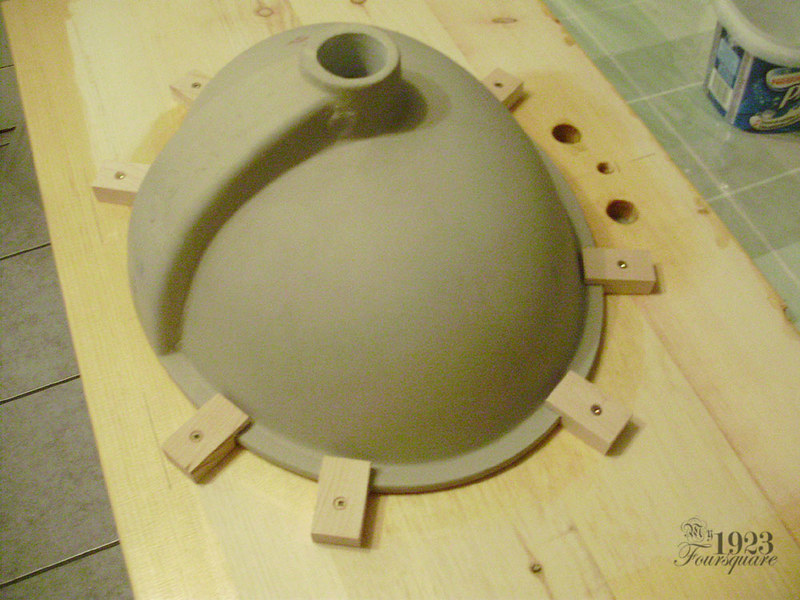
Since the sink is under-mount, I had to make custom clips for it. When stone is used, they also have a few special clips that fit into slots cut in the stone, plus they also use adhesive. My brackets were made from hard maple. The sink edge is uneven in thickness, so I had to make some of these slightly different sizes.
Note the pencil lines at the front edge. These were to show how close I could get to the front edge of the cabinet.
I haven't decided if I should install a backsplash or leave it like this. I wanted a backsplash with the marble, but since this is temporary, I don't know if I should bother. You can see that I had even planned out the height of the wall outlet for the backsplash.
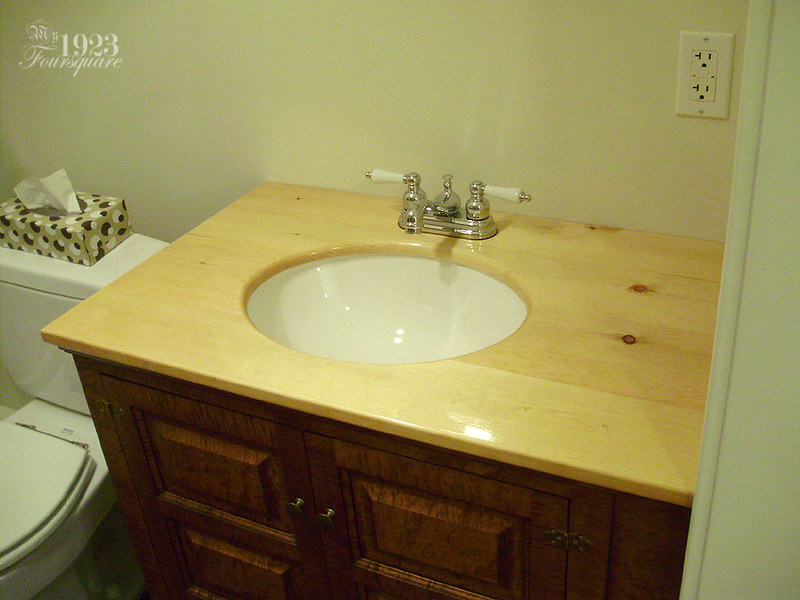
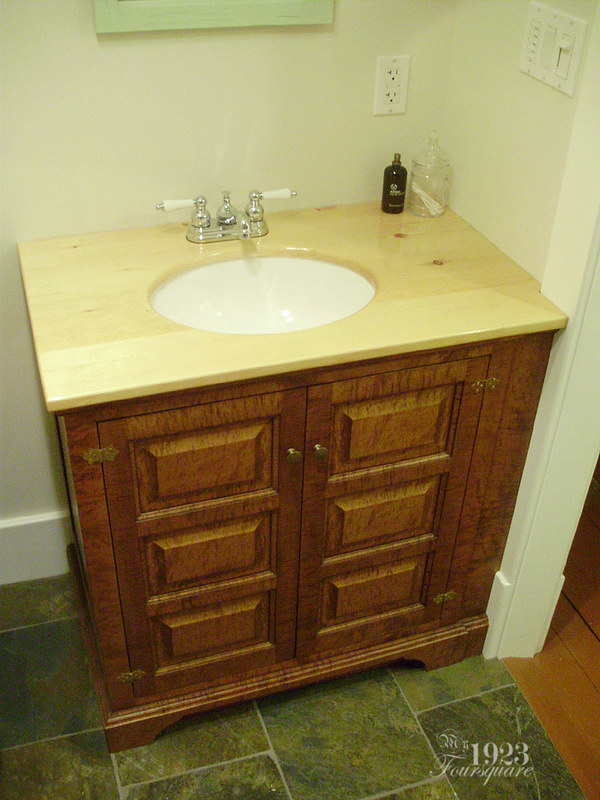

It took 7 years to get to this point. I still remember the sink that used to be here. Side note: There is white caulking along the inside top edge to seal the gap, but otherwise I fit the sink in place only with those brackets (which are quite tight, but not waterproof).
BEFORE:
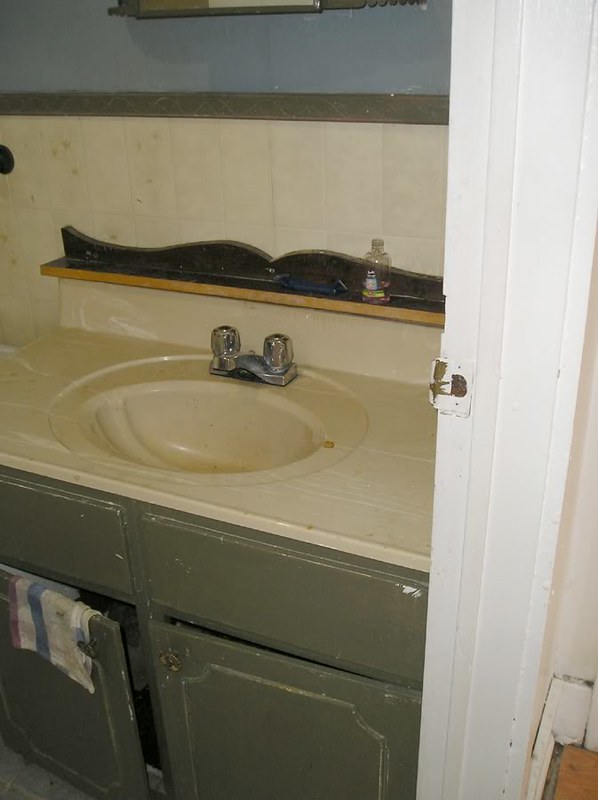
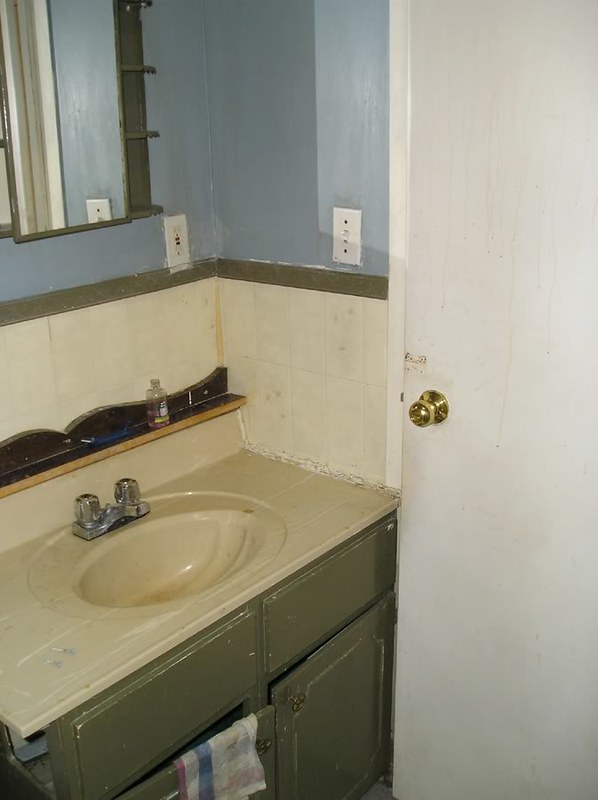
I'd say even if the top stays just pine, it's a slight improvement over what was there before, yes? I still cringe at some of the old photos. The house is nearly unrecognizable in many places, but in a good way.
