
Let's start with a few "before" photos. I have some from 2010 when I bought the house, as well as how terrible the roof was looking last year before I redid it.
Here was the roof when I bought the house in 2010:


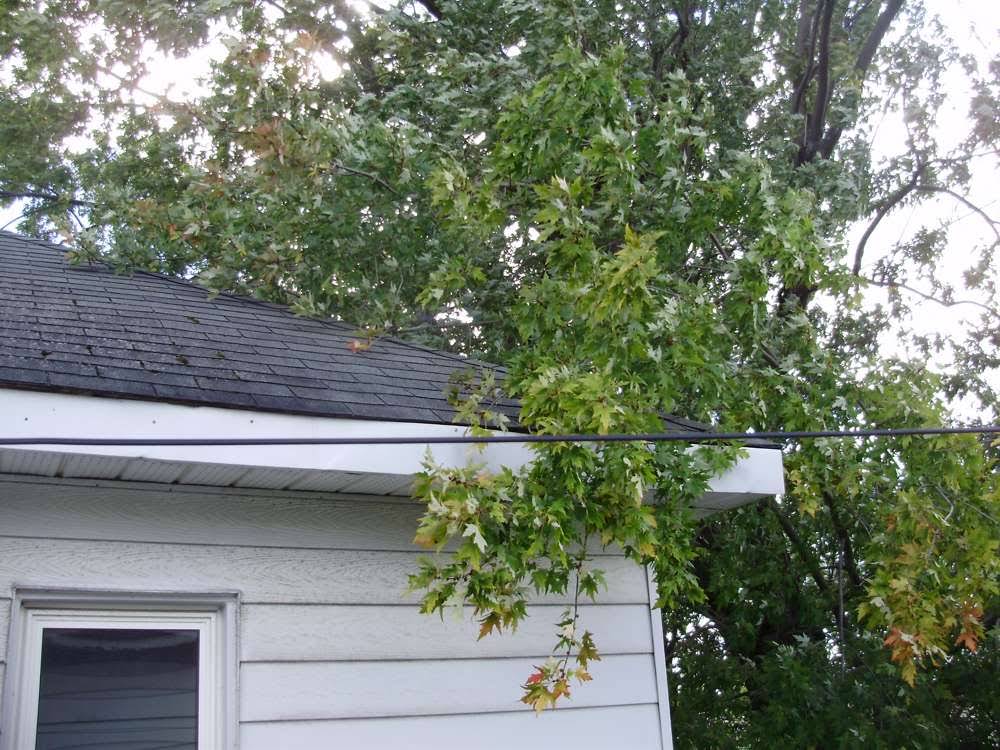
Then this was in mid-2018:


Yeah. It was looking HORRIBLE. Despite how completely ruined the roof looked, it still wasn't really leaking yet. I've had ONE spot with a leak, but it's in a corner, not anywhere in the middle.
The removal of the old shingle material was somewhat easy across most of the roof, but some spots were really stuck down.


The work was very dirty, tiring, and long. The bulk of the roof was laid over a sort of tar paper, which is permanently glued to a plywood, which is screwed over the tongue-and-groove roof decking. I decided to remove all the roofing nails, which may or may not have been the best idea (I'll explain in a moment).

I had a coworker who did help me on one day to pull off a lot of the old material, but most of the roof work was done by myself. I had a week off in the summer, but everyone else was working.
The hardest part was trying to remove lumpy areas that has stayed glued down. This was all hacked-off using a 2" wide chisel, and/or a prybar and hammer. As I said... painstaking.
I did wear heavy work gloves, but the rough work (shingles aren't really smooth) just made holes in them and I was looking filthy by the end of the day.


Once everything was actually prepared, the actual installation of the rolled roofing was quite fast and easy. I had several things that needed to be fixed before I could start. First, the entire outer edge of the roof was crooked as heck, and looked like it was cut by a drunk person. I also had to install drip-edge, and I also added a 45 degree inner corner on the front part of the roof. It would have been nice to add this all the way around, but too difficult without also redoing all the bottom edges of the siding.

This was after trimming the roof edge, installing the metal drip edge, laying the first "half" sheet backwards as the starter strip, and laying the first row. The way these work is that each sheet is about 3 feet wide, and they have a centre "sticky" strip, and the entire underside of the front half "rocky single part" also has a sticky back. Both these have a protective cling film. Once you have the first row installed, you lay the next row on top (overlaps more than half the first sheet), and you nail down the top part only above the centre glue strip. Then you flip it over, pull off the underside cling film, and the centre strip on the previous row. Flip it back over and press down to glue.
Each roll is something like 3 feet x 30-34 feet? And the boxes weigh 100lbs. It works out to 100 sq/ft per roll and it weighs 1lb/sqft. Some systems use an additional system of base layer first, where you basically do the entire roof twice. First with a thinner un-gravelled base sheet, then a rolled shingle on top, but it was twice the price, twice the work, and same durability.

Something else that will need to be fixed soon is the fascia (edge of the roof) which is very badly installed. There's also no drip-edge on the roof, and the shingles are going to need to be changed soon (it was last done in 2001 apparently). Oh, and the tree needs to be trimmed away from the house.
Anyways, after a lot of work, over a week of time, and fighting off rain: I nearly forgot this part. Some of the days I couldn't work due to the rain. Remember all those nail holes? Yeah. Even though I had placed tarps over the roof, the rain was practically showering into the interior of the garage everywhere. I had to just throw more pastic tarps and covers over everything in the garage to keep the water off all my tools. An absolute nightmare.
So yes, the finished roof:


Again, will never ever do this again as long as I live. Even if I have to take out a loan, it's not gonna happen. These roofs only tend to last 10-15 years, so it WILL need to be done again, but not by me. The roof did turn out rather well, but I completely underestimated how much work it would be. It would have looked a lot nicer if the previous roofers hadn't slopped tar all over the siding. This isn't something that can be cleaned off, and it's also nearly impossible to paint over. Luckily no one really sees up here except the neighbours from their upstairs windows.
I do still need to buy and install a small square window where that plywood patch is over the stair slope. I decided to use regular shingles here that matched my roof instead of the black rolled roof (and also because I ran out). It looks better from the street with the grey shingles.
It looks much nicer.
ReplyDeleteIt would look even more awesome if all those awful smear marks weren't there, but not much I can do about it other than replace the siding, and that won't happen. Hopefully it lasts 10-15 years.
DeleteNice work on an unglamorous but necessary job. Keeping a good roof is probably the most important priority in maintaining a building.
ReplyDeleteWe have a flat roof on the back of our place that's covered in a built-up asphalt roof at the end of its life. I need to replace it (most likely with rubber), but I am not looking forward to it.
The installation was EASY but the removal and prep work was absolute HELL. Surprisingly as horrifying as the roof was looking, it still wasn't really leaking other than in one corner.
Delete