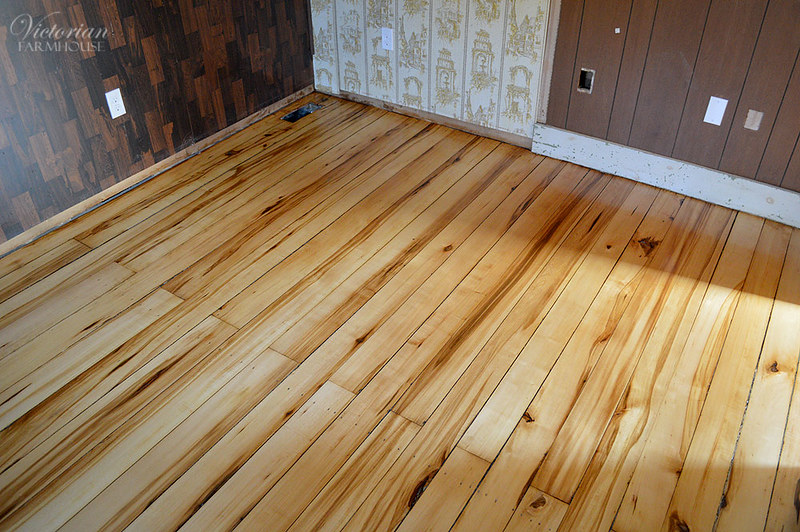
For the most part this will just be a photo post without much dialogue. I may just indicate a few notes as to which rooms are shown, or where large patches were made in the floor, but it's mostly just for the photos.
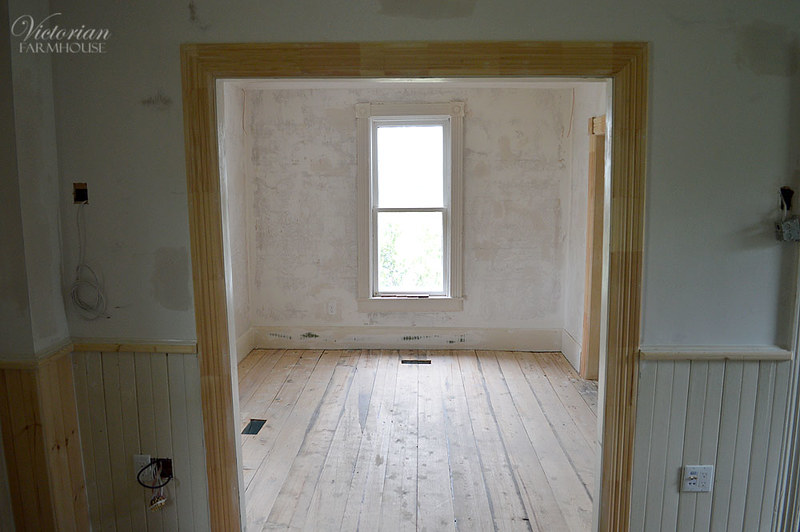
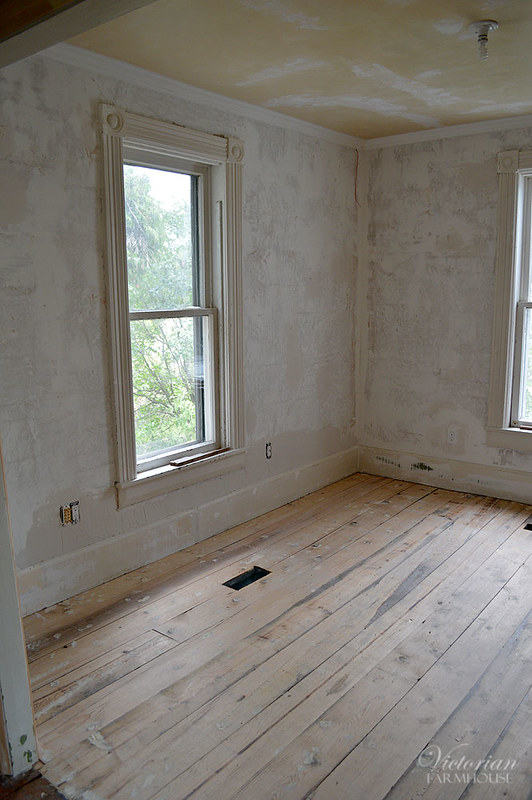
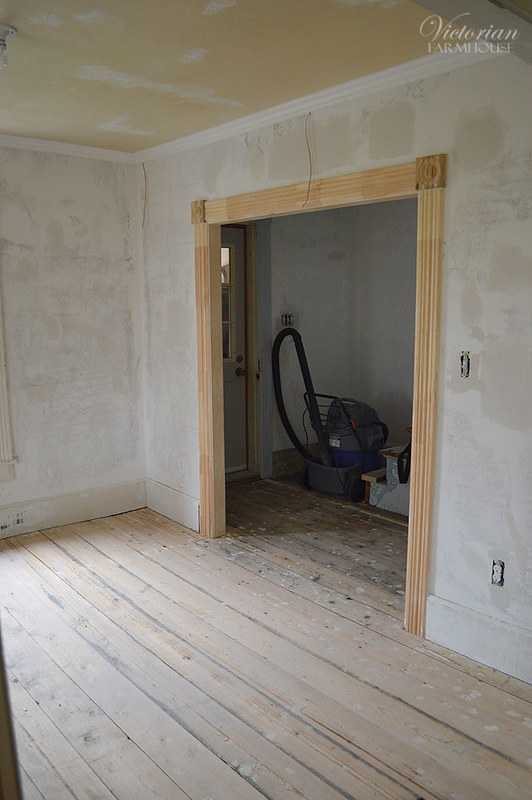
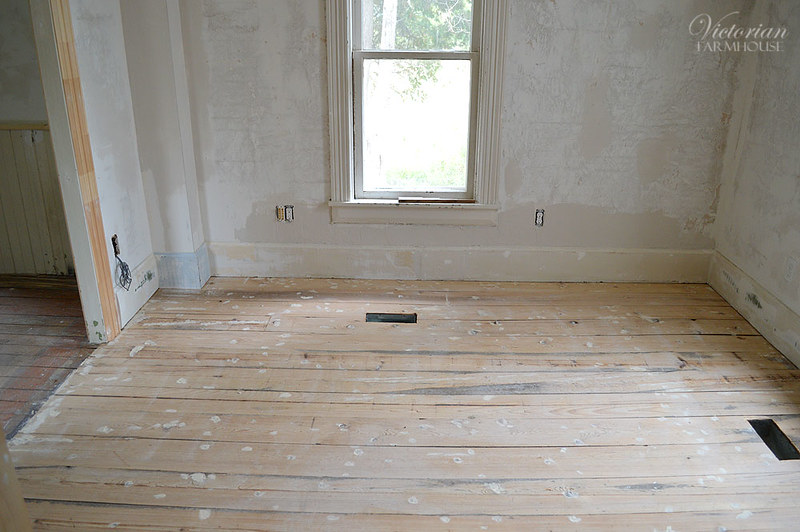
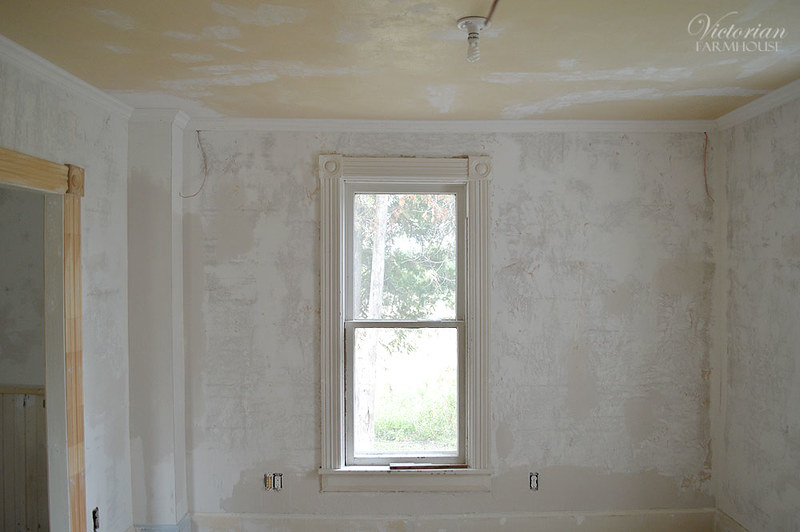
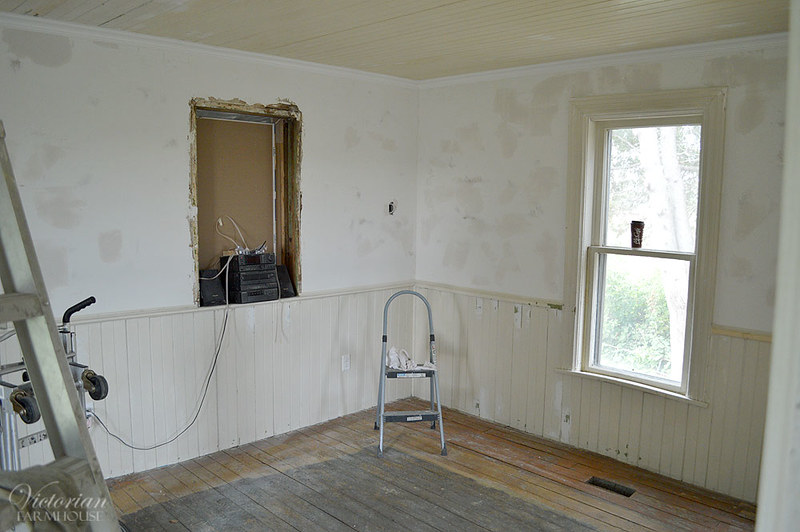
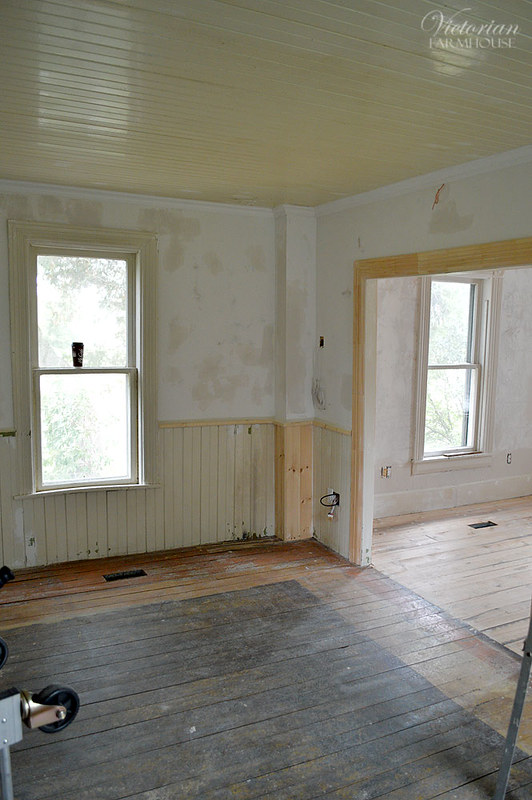
Not really discussed or photographed earlier, you can see that in the living room only the edges of the floor were painted. There was originally some sort of rug in the centre (for a while at least). This floor had been painted a few times. Yellow, orange, and brown at least.
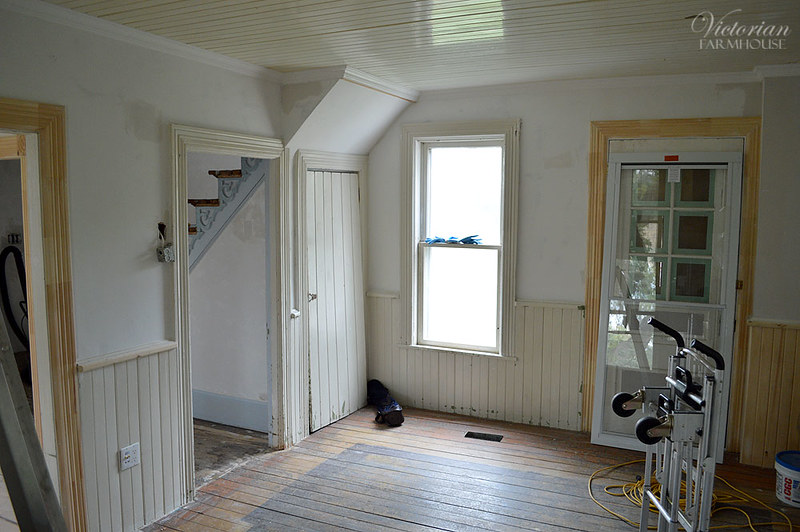
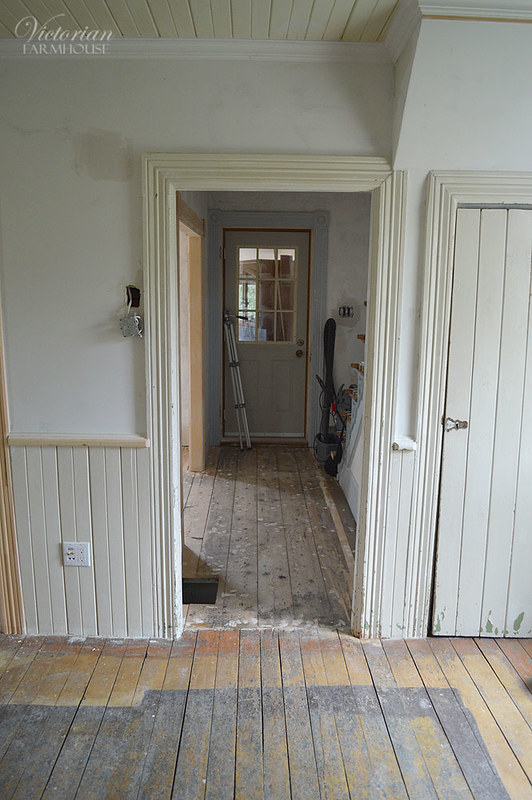
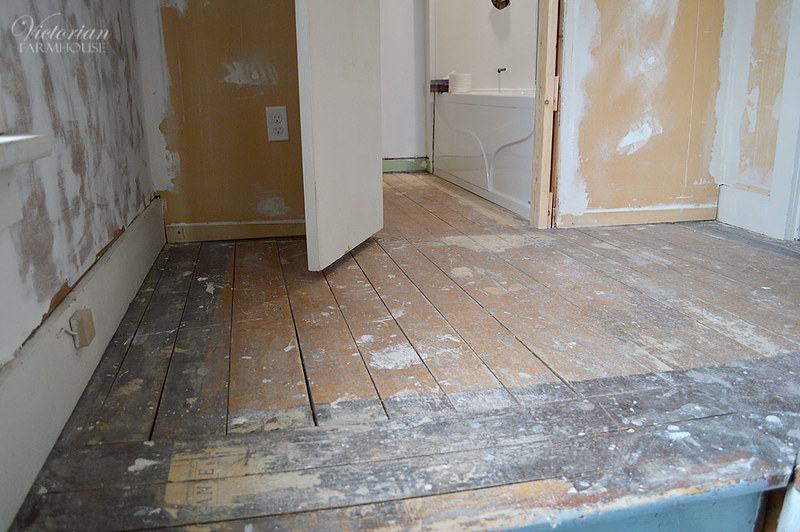
Upstairs landing and bathroom.
Spare room.
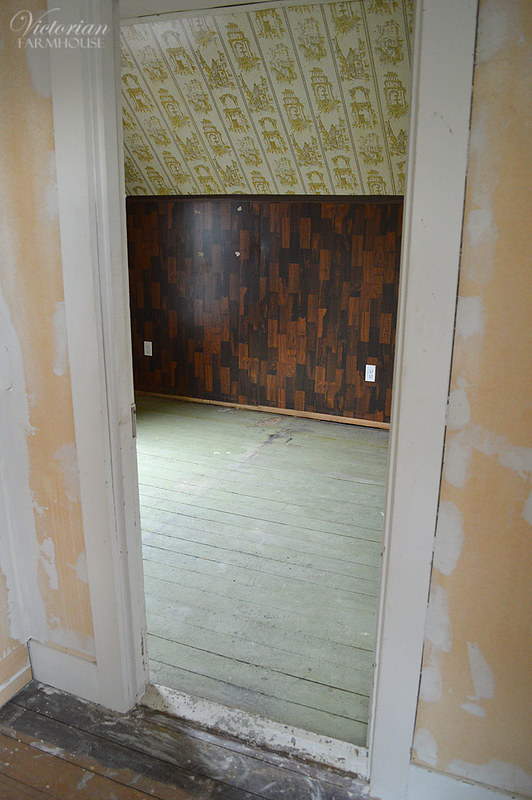
Note floor patch.
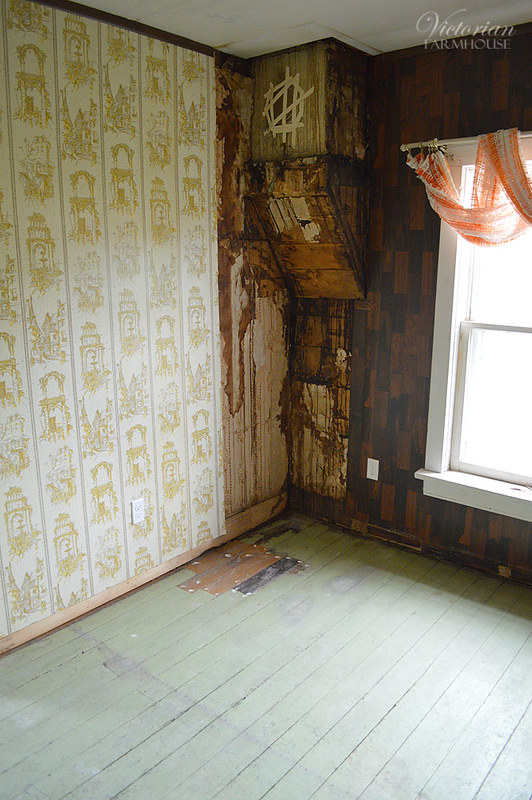
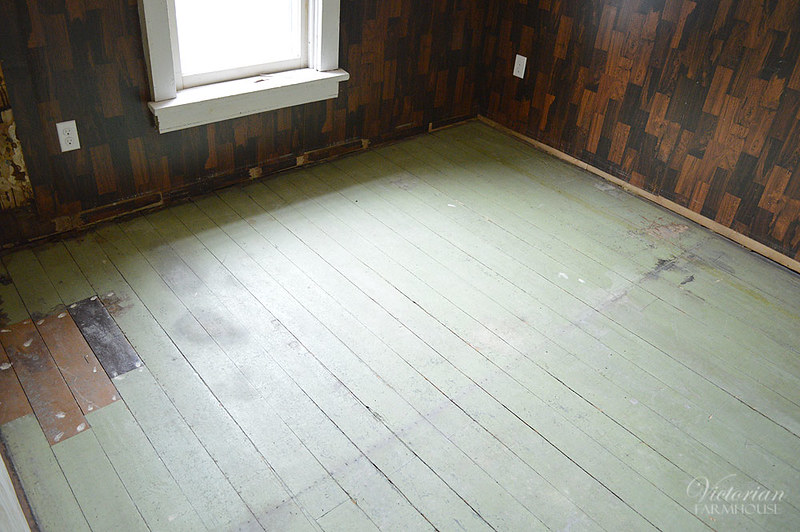
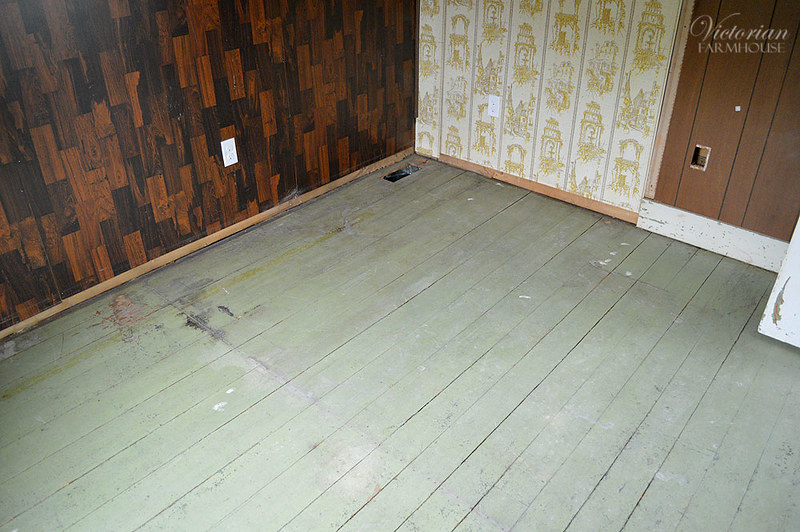
Note that the closet was removed.
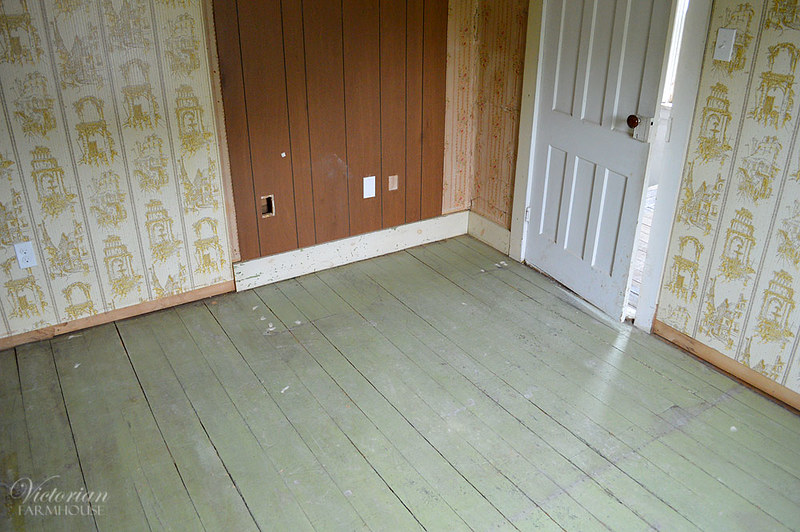
Master bedroom.
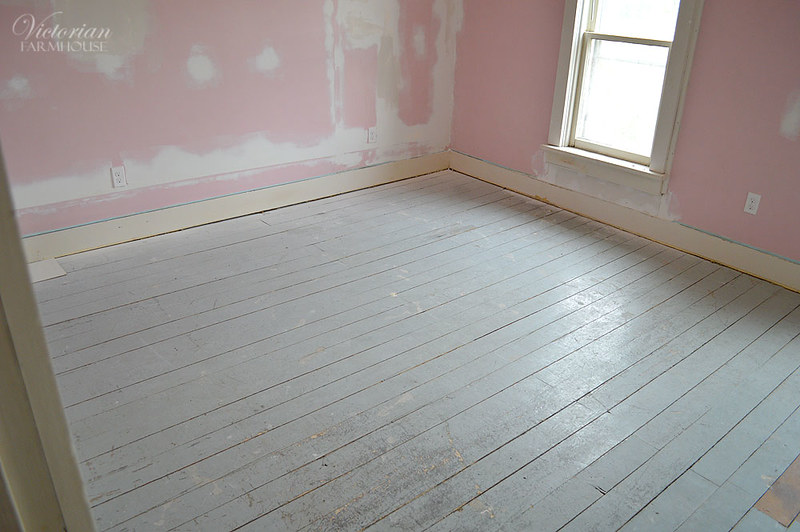
Note floor patch.
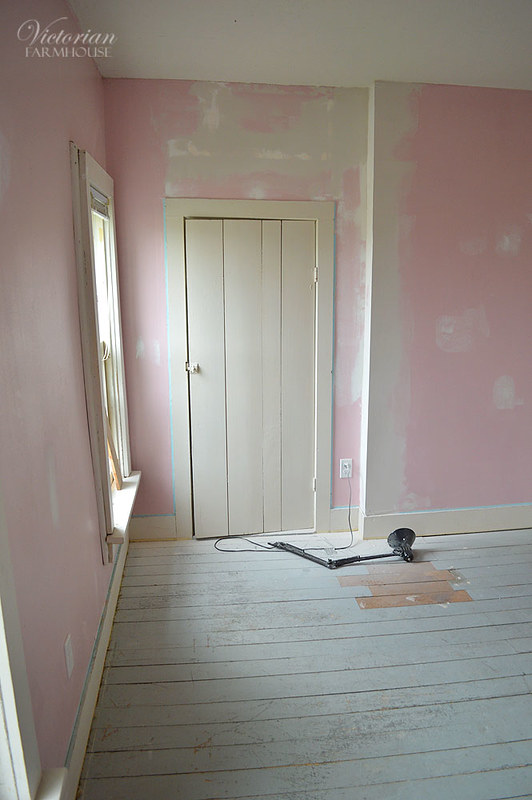
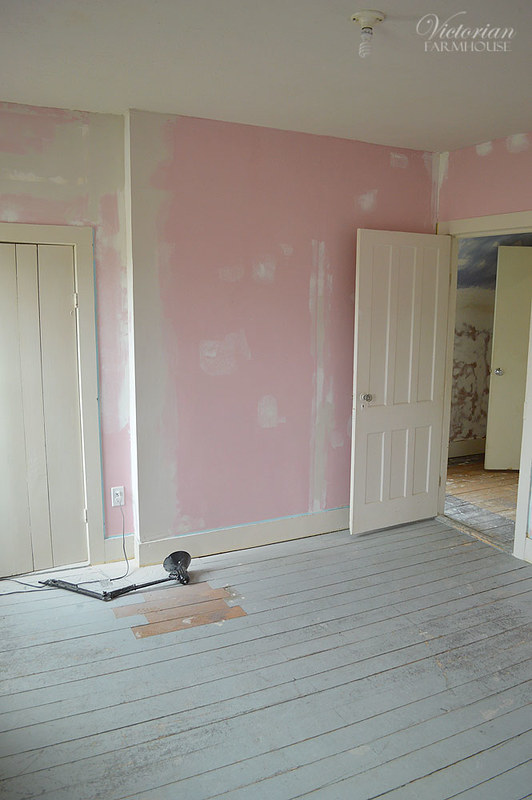
I told Pierre to get a few photos of the floor while they were sanding it. I may have taken one or two of these, since I was there that one day when they started. The guy was only there for a few hours since they were working on a few flooring jobs, apparently. How cool is that old vintage floor sander?!?! It took 2 people to lift it. Edit: apparently the company (Galaxy) still sells this exact same sander, and according to the stats, it weighs about 237 lbs (107.5 KG)!
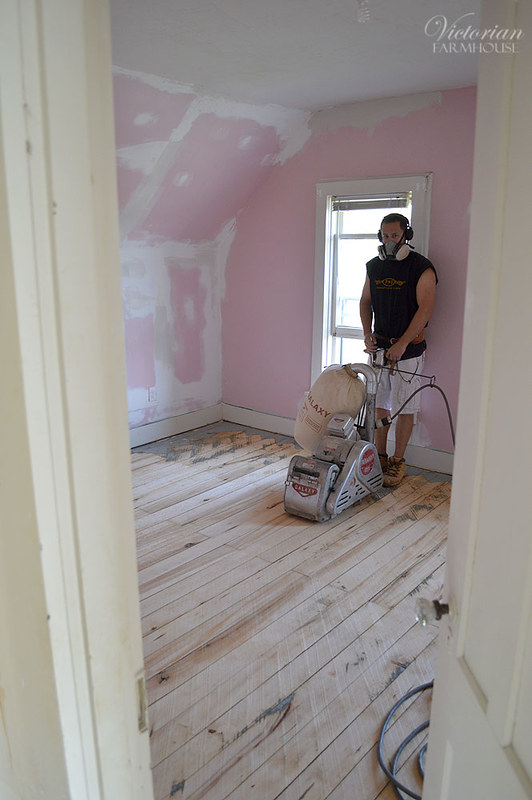
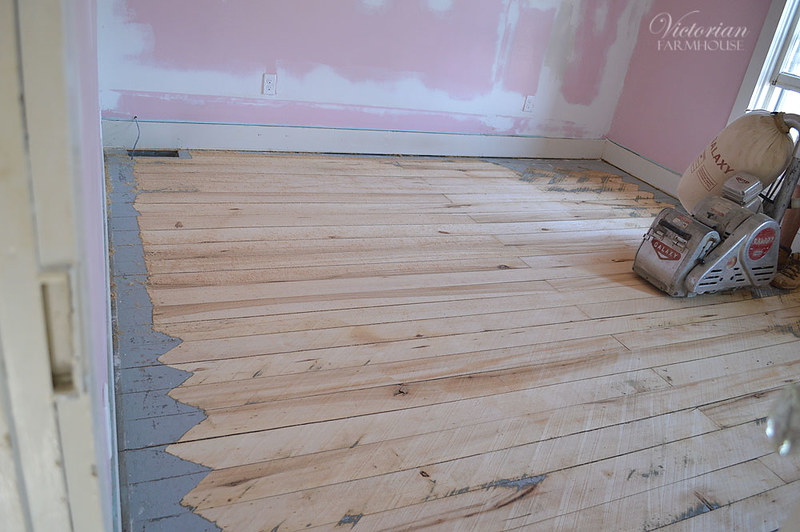
Rough sanding done.
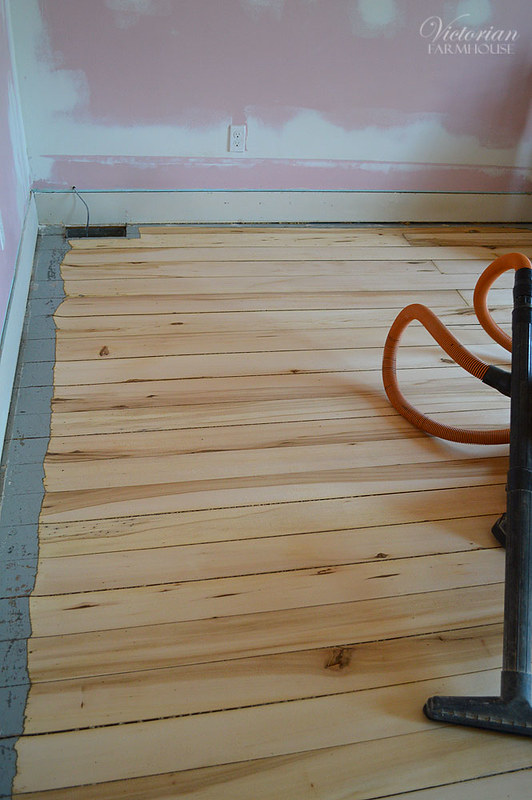
This is where the patch was installed where there was a huge floor grate hole. How awesome is that! Blends in seamlessly! As it turns out, this floor (upstairs) is Basswood (aka Linden).
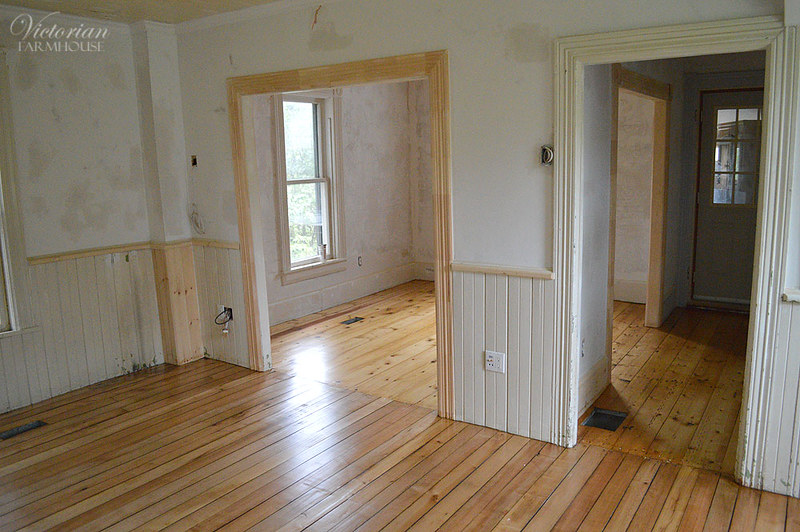
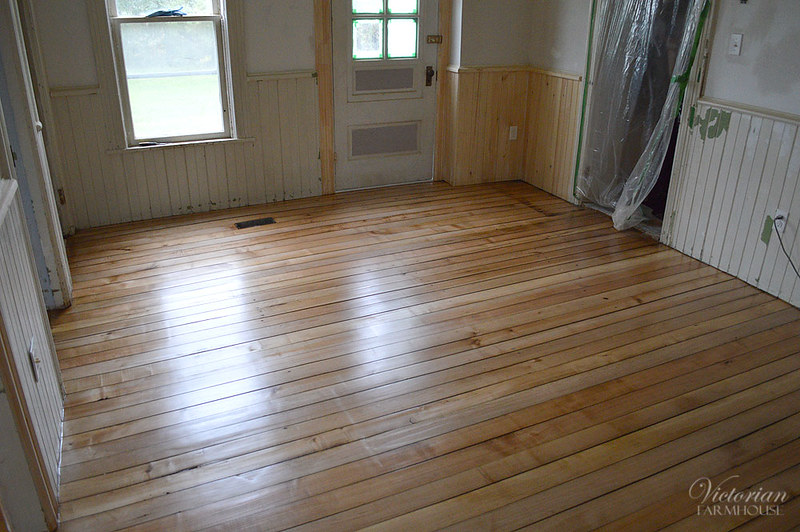
Are you ready??? Here are the finished floors! On the main floor is what looks like Silver Maple (aka Soft Maple - which is not at all "soft" as the name suggests) in a slightly pinkish hue, and cedar on the other half in a slightly more mellw yellow tone (the half we had to rip up and carefully reinstall). Upstairs, as mentioned, is all Basswood.
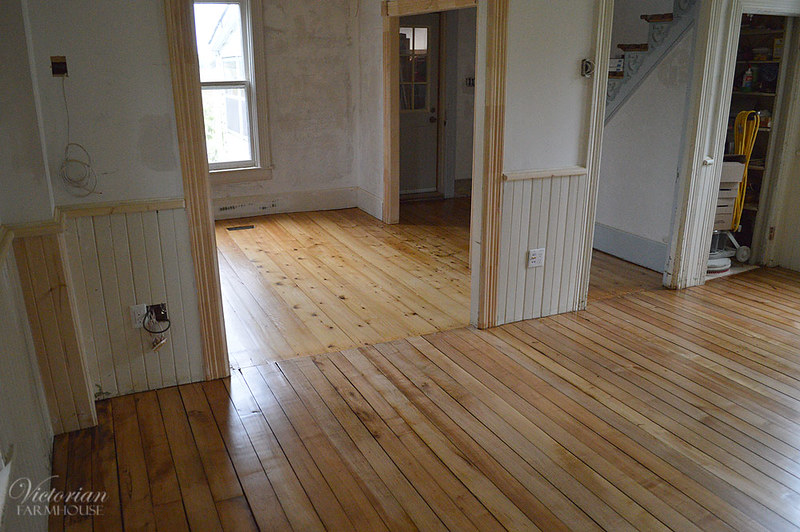
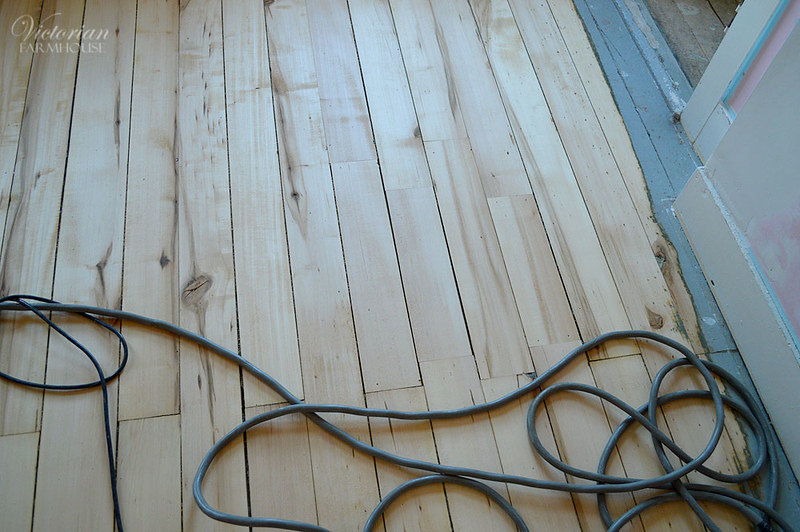
Something you will no longer find in new homes, or at any DIY store are FULL LENGTH floor boards. Most of all these are single boards with no joints (aside from a few rare spots and where we made repairs). This is something I really love about old floors. They don't look like hundreds of little brickwork tiles, which is all you can find these days. All the hardwood floors now only come in lengths of about 4 feet long or shorter. Why? Because they can use crappier wood and cut around all the knots instead of giving you nice long clear boards. It also means that the boards are less likely to warp or twist (which isn't a problem if the wood is seasoned properly).
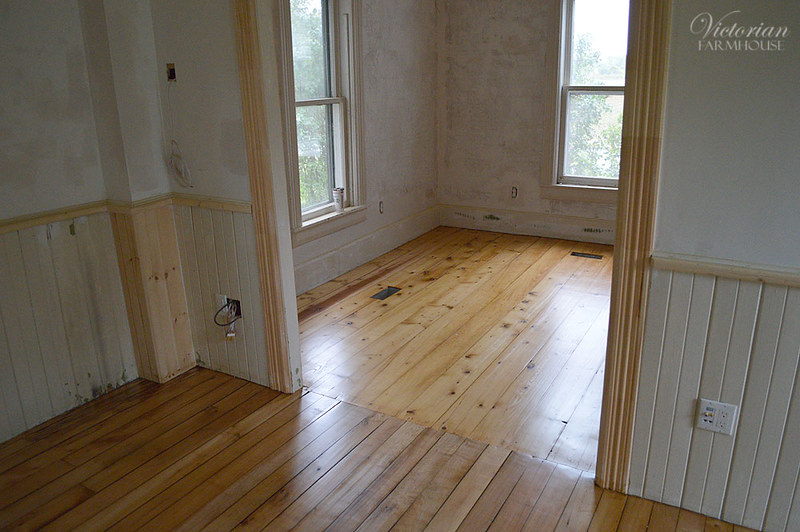
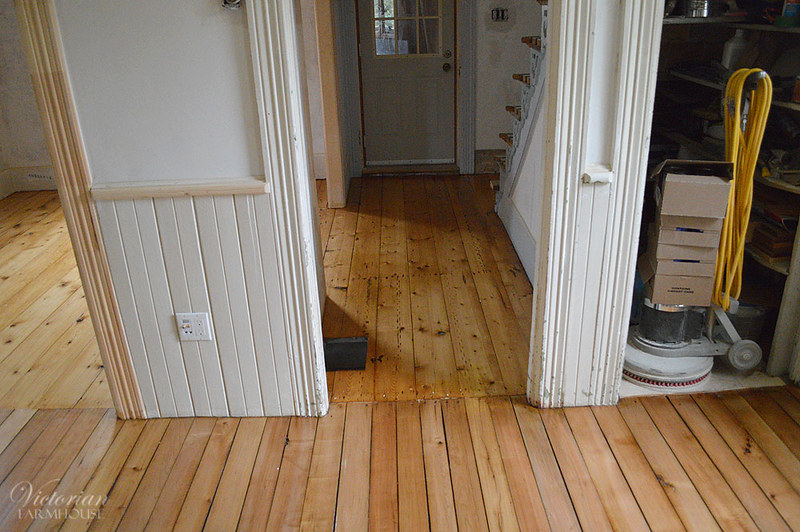
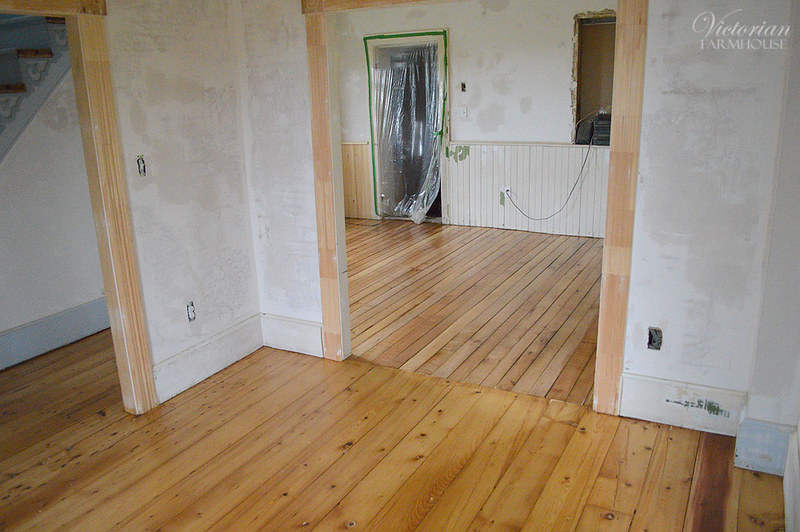
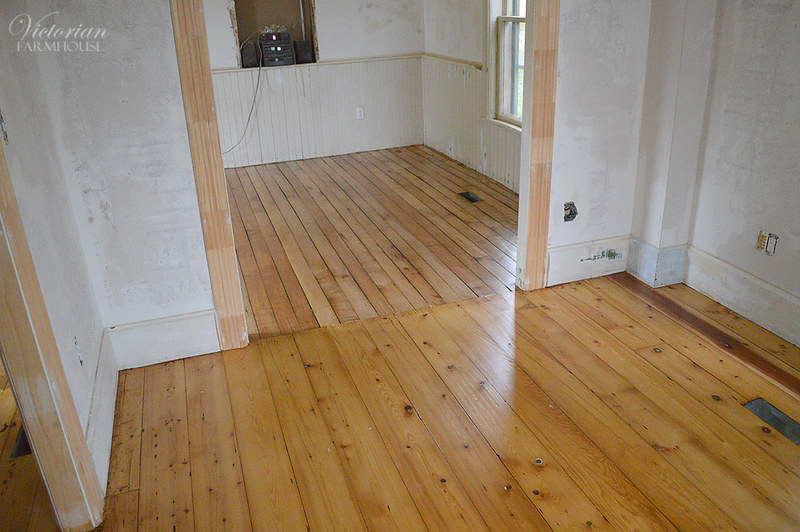
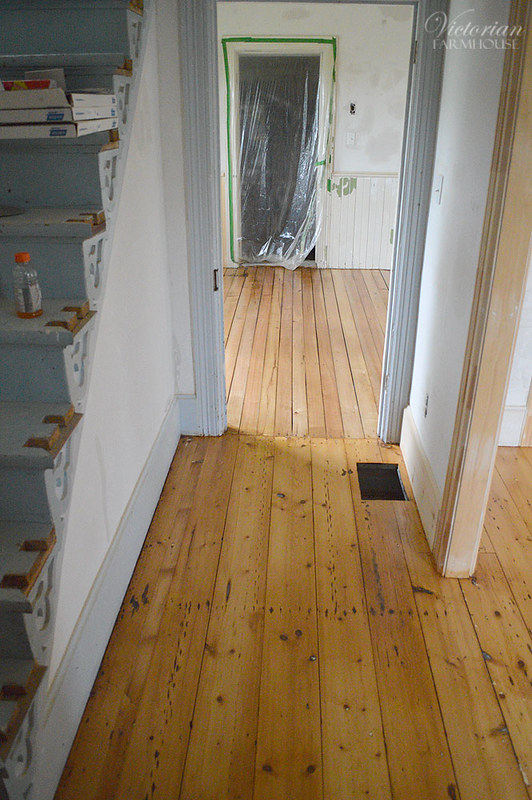
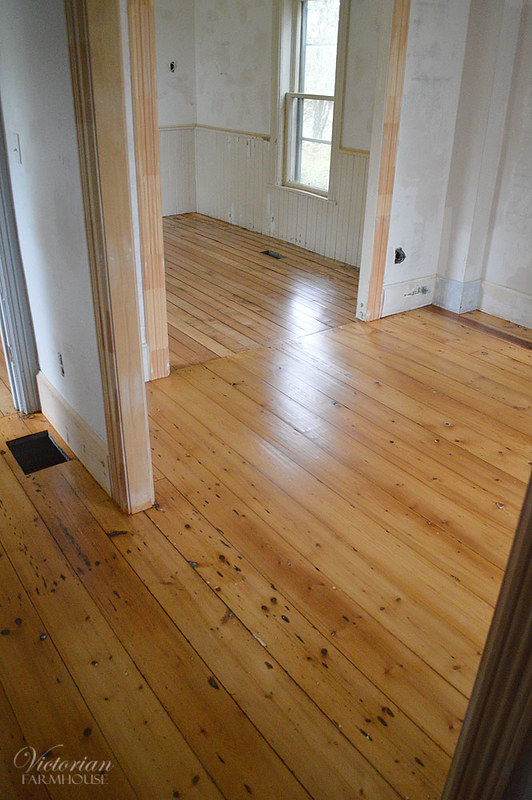
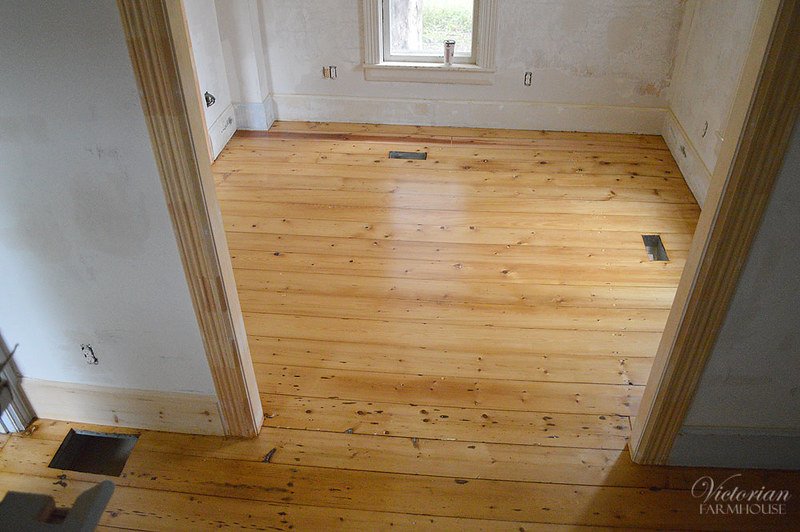
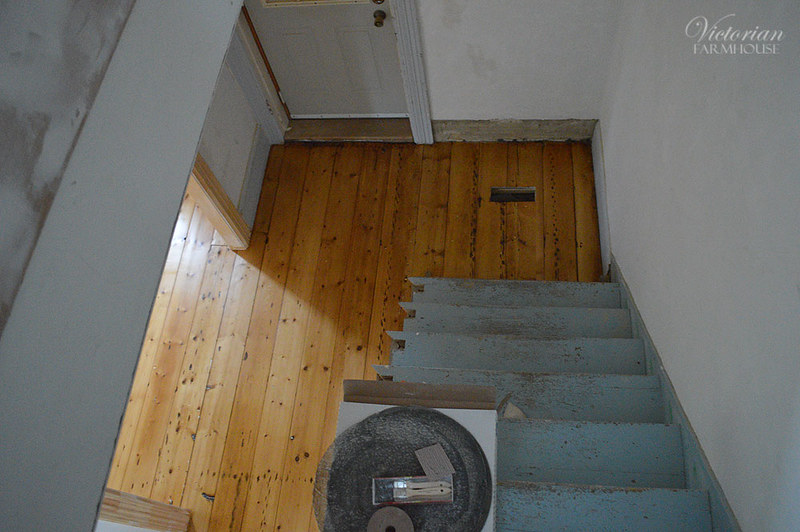
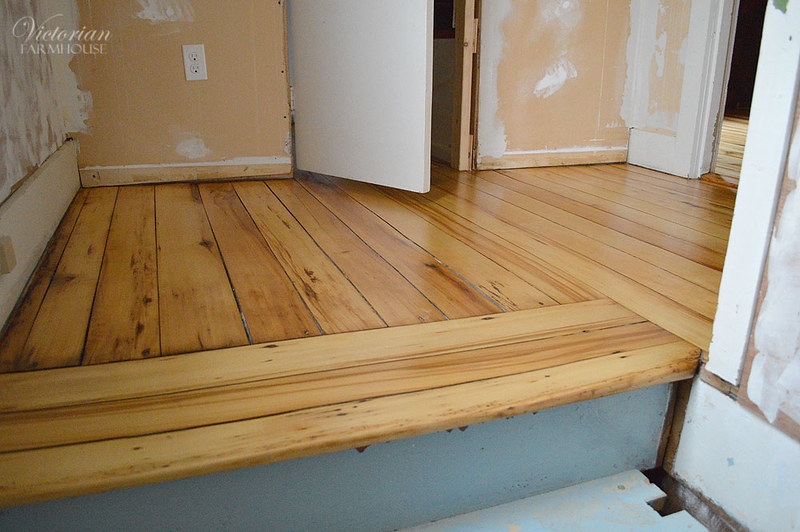
I was pleasantly surprised to see that the old paint within the floor gaps doesn't really show up very much. I had seen other refinishing jobs where it was very obvious that the floor "used to be blue, or pink, or whatever".
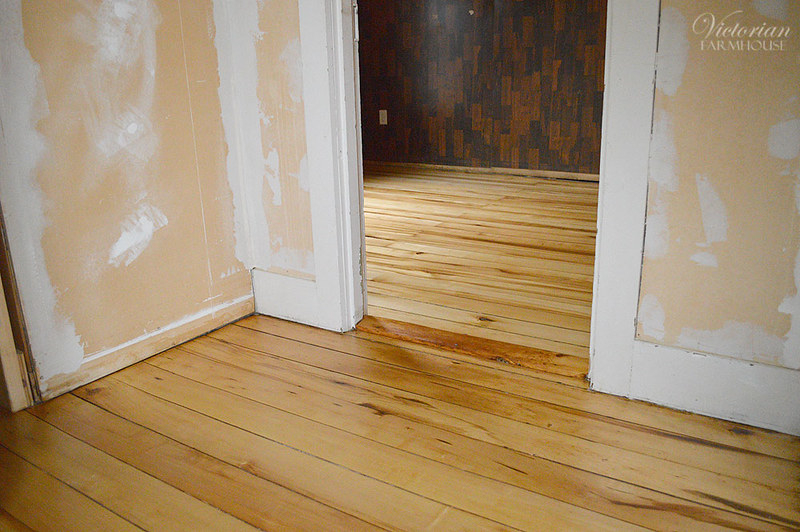
Master bedroom.
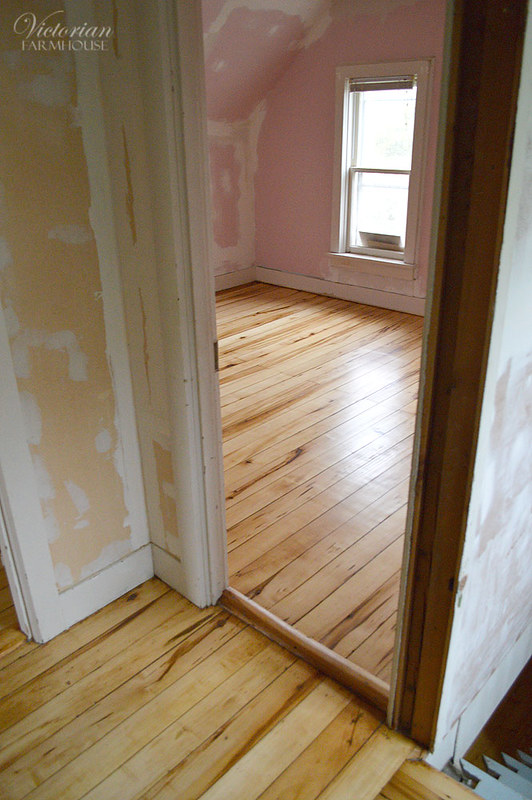
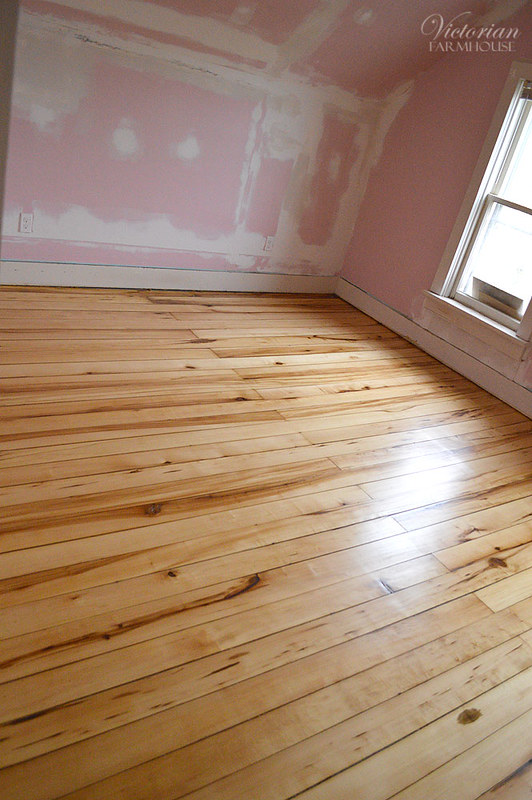
I find it a bit strange how they chose to lay out the floor upstairs. Still long length boards, but they put all the joints along the same stud, which gives the same effect into both main rooms.
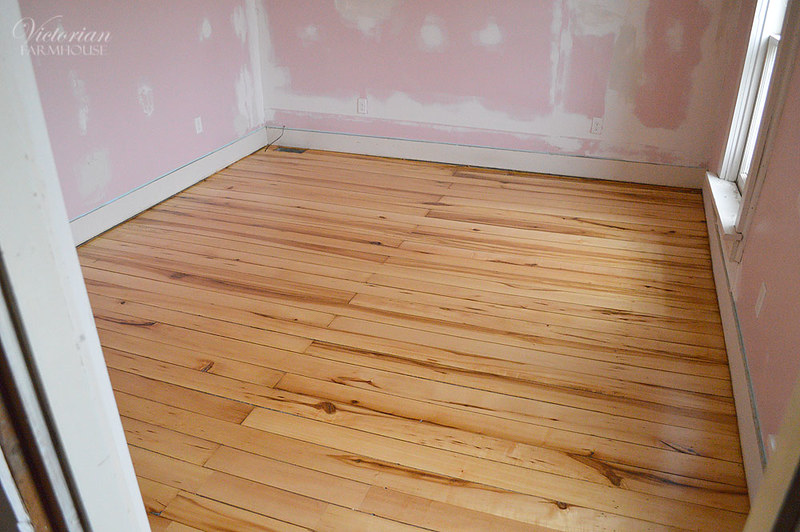
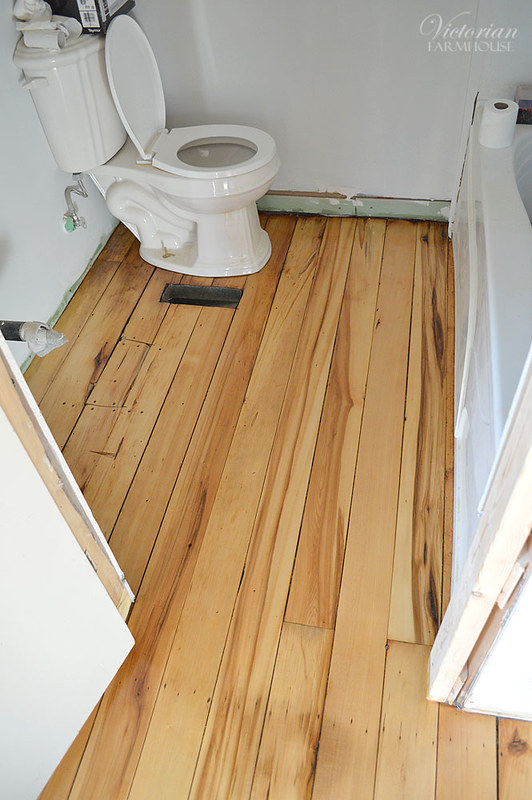
You can just barely tell where the patch was installed. This is why it's so important to use the same wood (same species, same age, everything). We used pieces from under the tub for the floor repairs.
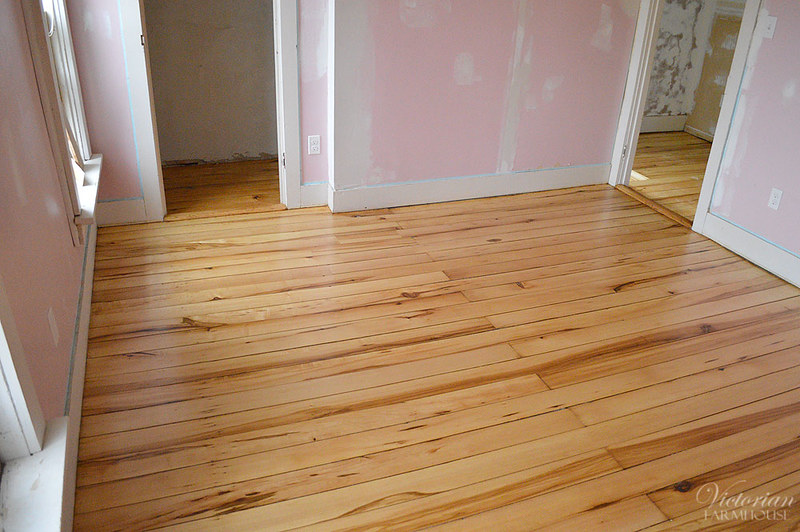
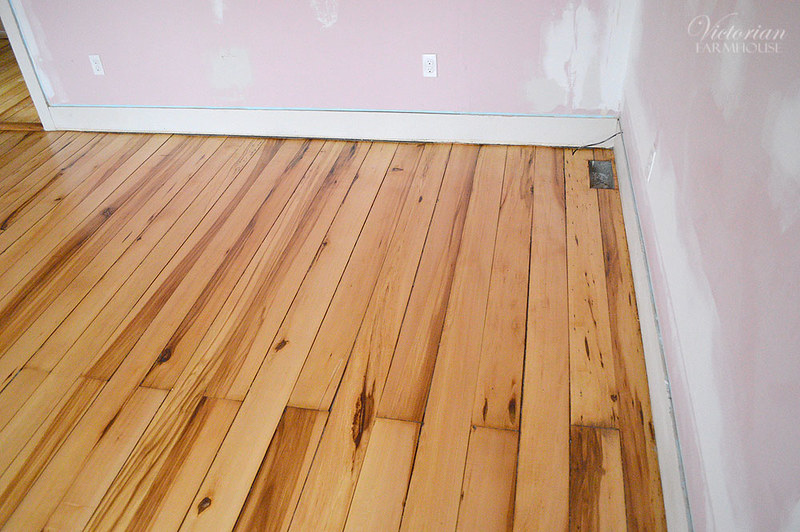
Spare room (note patch location).
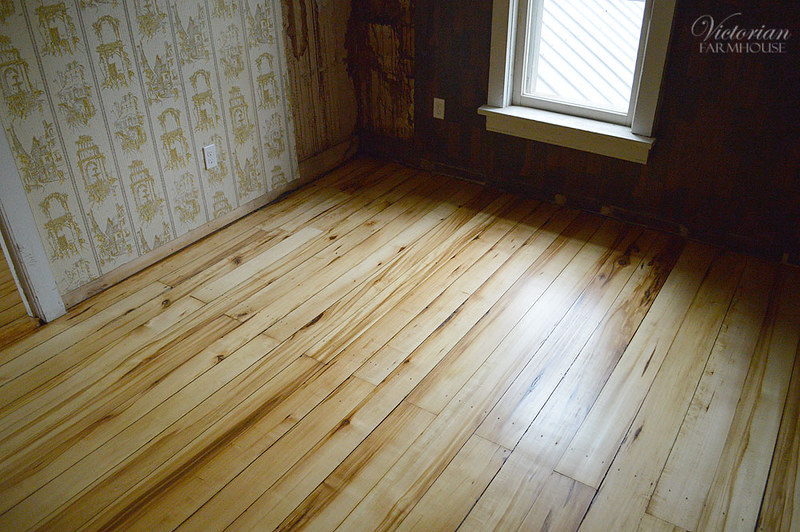
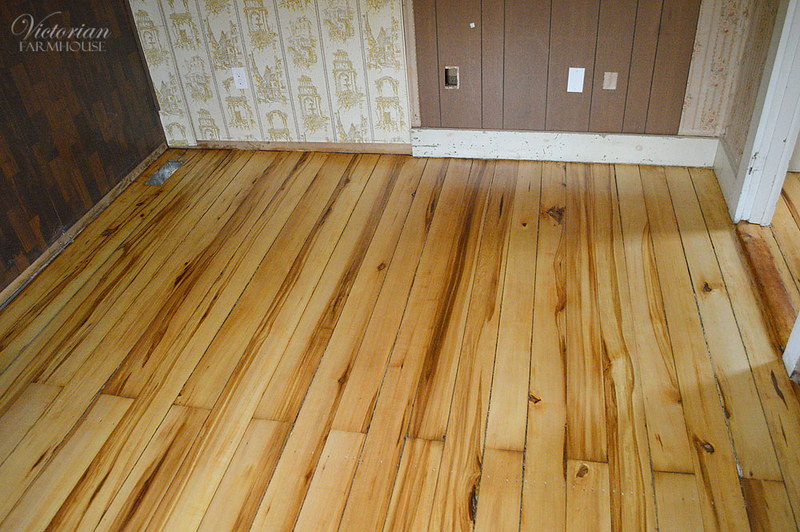
The next few photos are a few glamour and ambiance photos taken the next day with some beautiful sunshine gleaming across the floors. You might also spot a few paint samples and swatches on the walls. This post contains the last of the "before paint" photos.
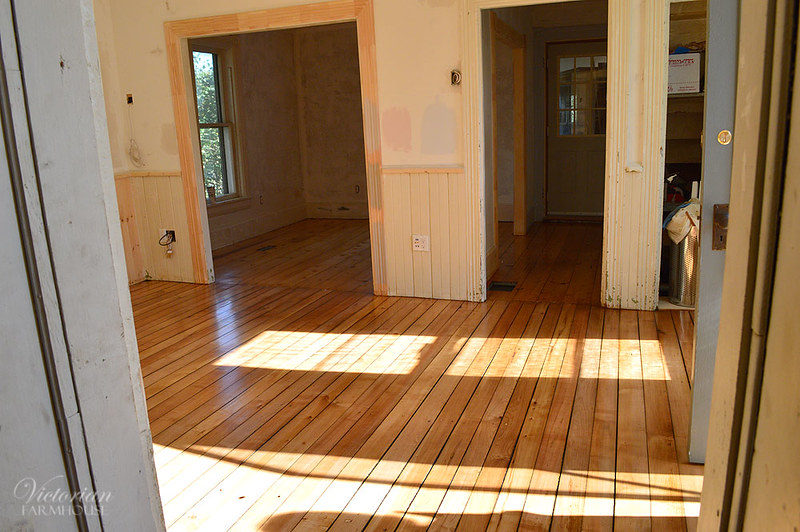
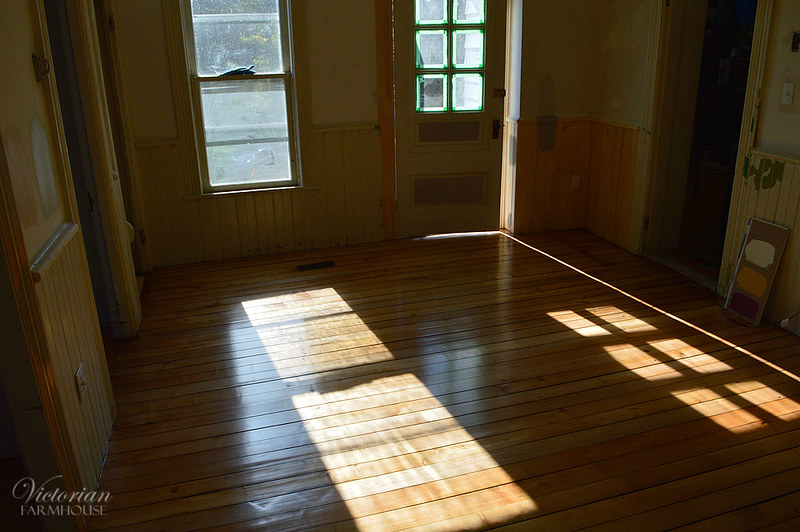
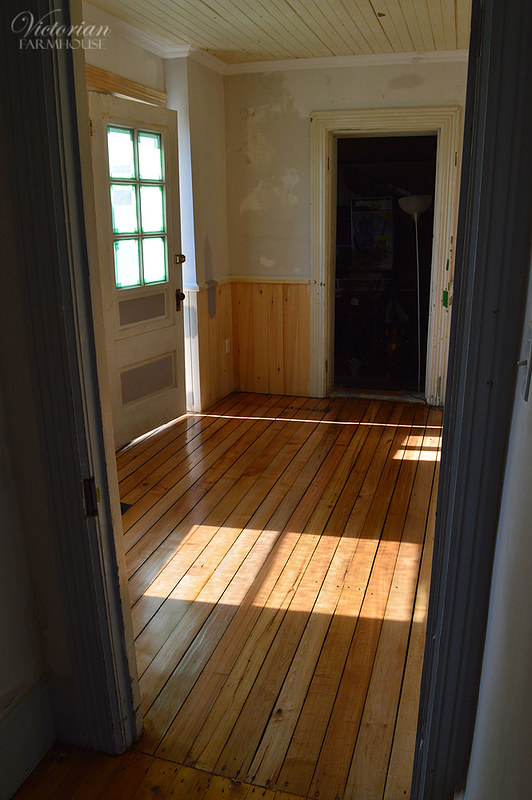
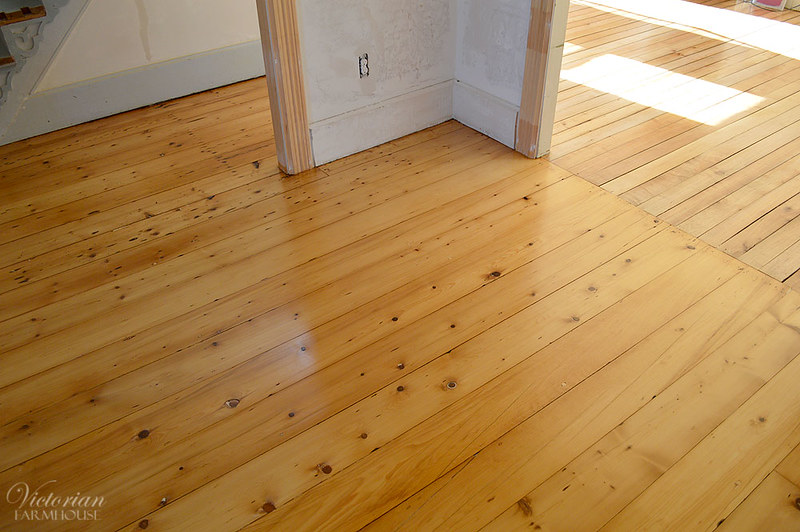
Is that not a gorgeous floor? Can you remember how awful it looked (with the paint). And remember that over the paint were two layers of linoleum, and then shag carpeting.
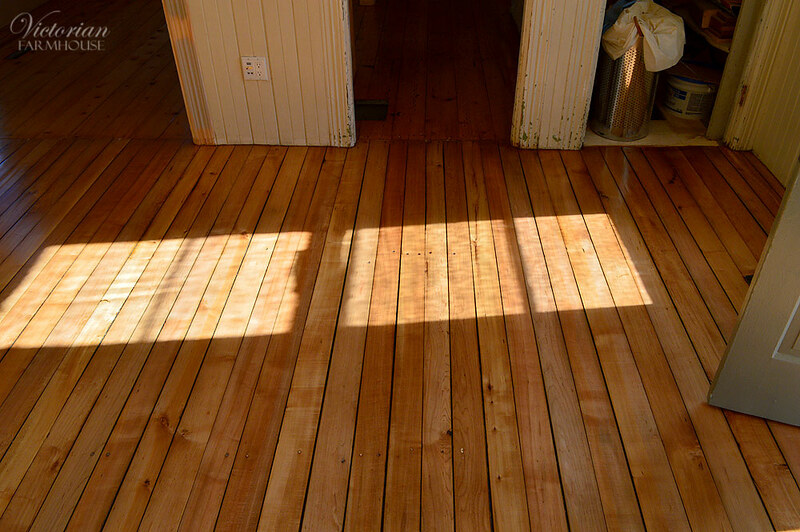
Some of the putty stayed rather pale yellow, so I may go over all the light spots with touch-up pens.
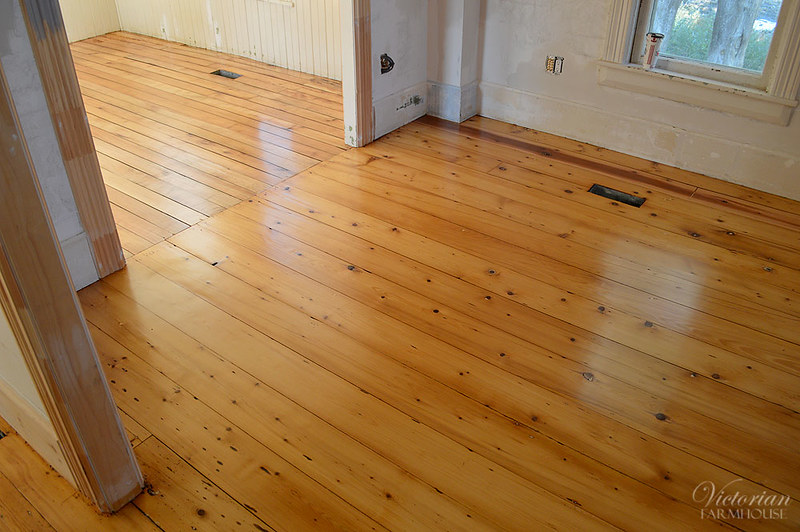
The bathroom.
And a last shot of the spare room (in better lighting). I really love the Basswood as a flooring wood. It's not a wood I see often. It's generally used as "white wood" for paint-grade applications (similar to Poplar).