Showing posts with label 1870s. Show all posts

Tuesday, February 14, 2017

Victorian Farmhouse Part 27 - Kitchen Demolition

So the kitchen from the Farmhouse is a disaster. I've put off posting this last part because I'm just not too sure what to write.

Pierre continued to demo the kitchen so that we could see the condition of the floor beams, the foundation and add insulation. We would also need access under the floor to redo the plumbing and fix some of the heating ducts. Pierre removed all the tongue-and-groove from the walls (carefully and he set them aside for reuse), and he removed all the solid hardwood flooring. He numbered everything so that it could be reinstalled the same. Those were also set aside.

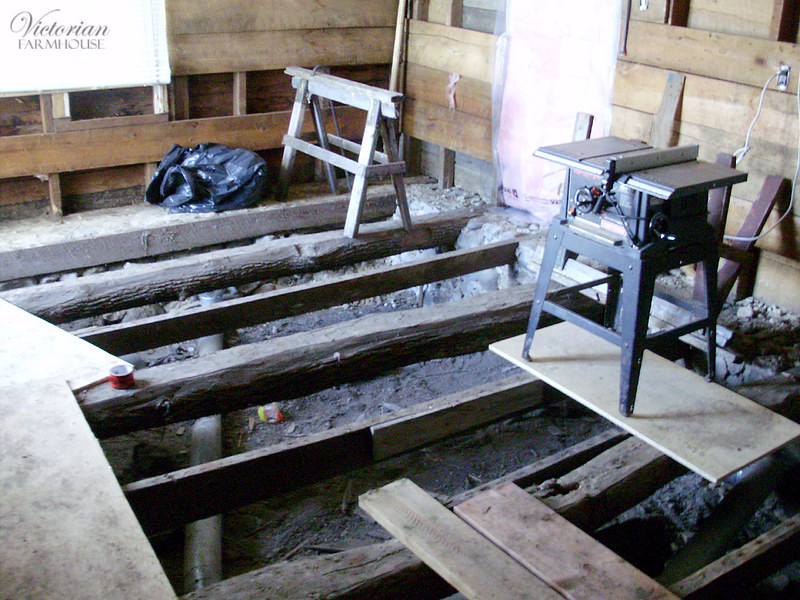
Here's what the aftermath looked like.
PB260006

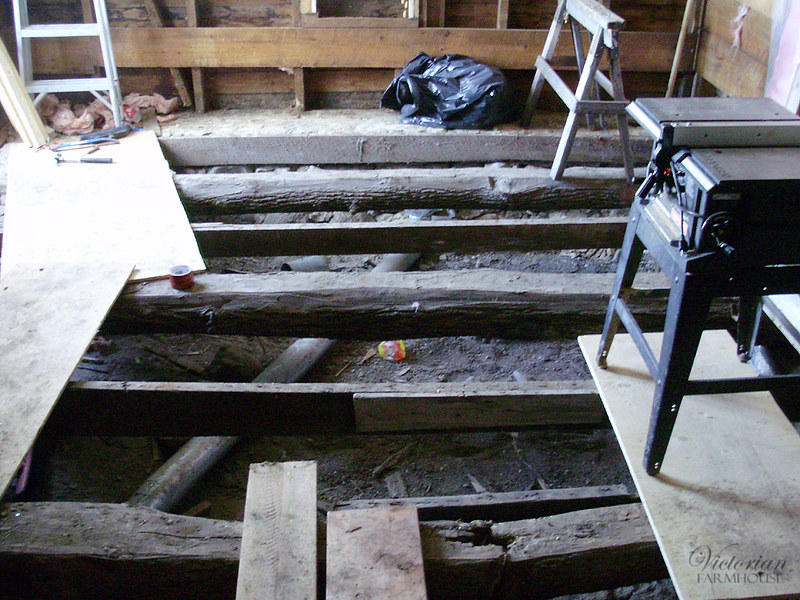
Most of the beams are in good shape, and it looks like some intermediate beams (the 2x4s) were added later. The foundation isn't very deep (as far as we can tell), and it may not have been dug deep enough to keep it stable. This might be the reason why one corner has dropped down about 6 inches.

One of the beams is rotted right in the centre (lower part of this photo). I have no idea how the beam could have rotted in the centre of the room, but this was then propped-up with random boards and log pieces.
PB260008

The entire construction of this addition is a complete puzzle. It looks as though the foundation supports part of the barn addition (built later ???) but it's not clear what was built first, and what was added onto.
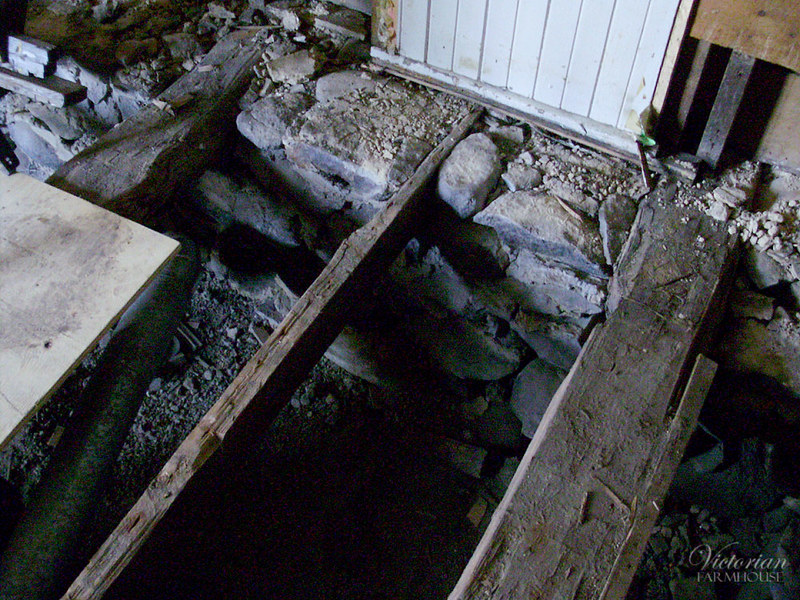
PB260009

There were a few old items tossed under the floor. Old shoes and a rusty old pan.
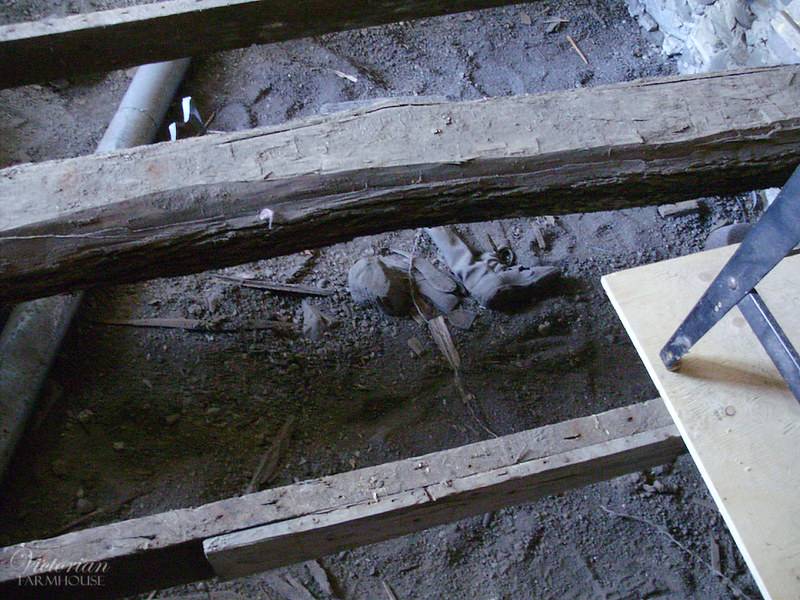
PB260011

This seems to be the same type of construction as the main house, but built on a slightly crappier foundation.
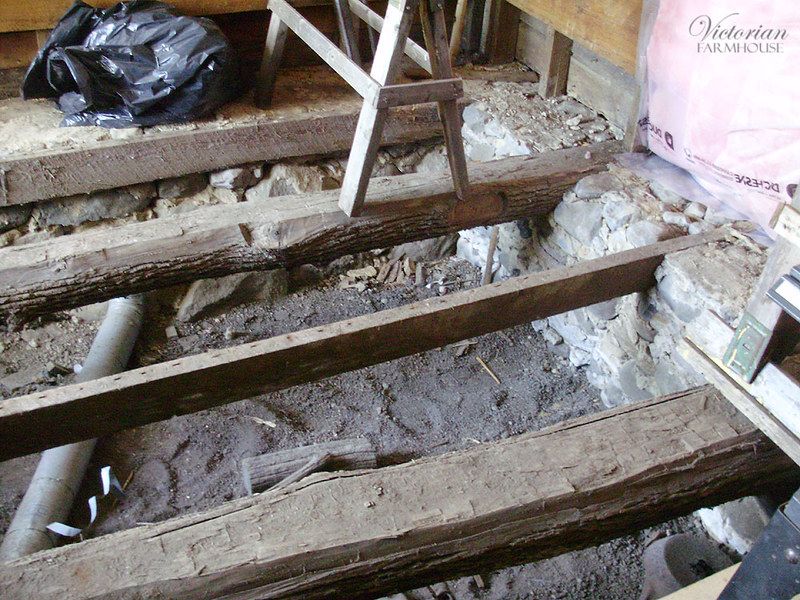
PB260012

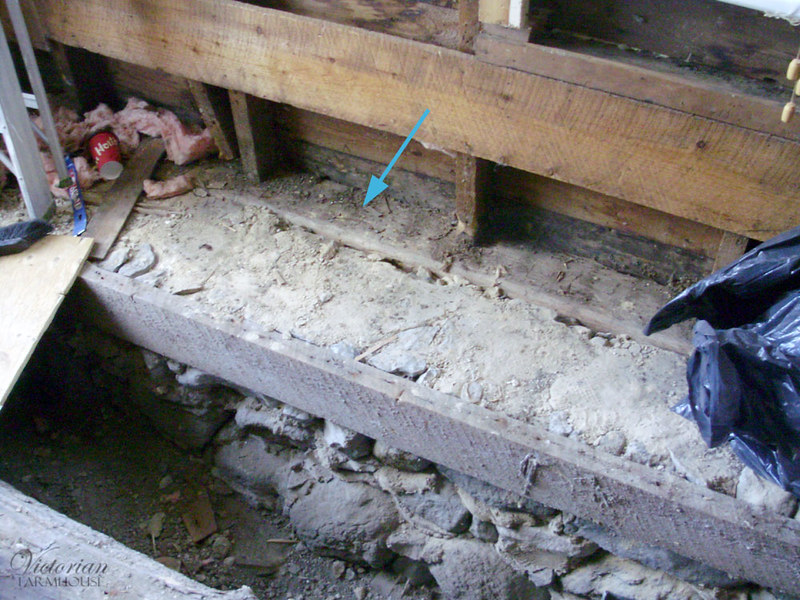
Here's the propped-up beam in the centre.
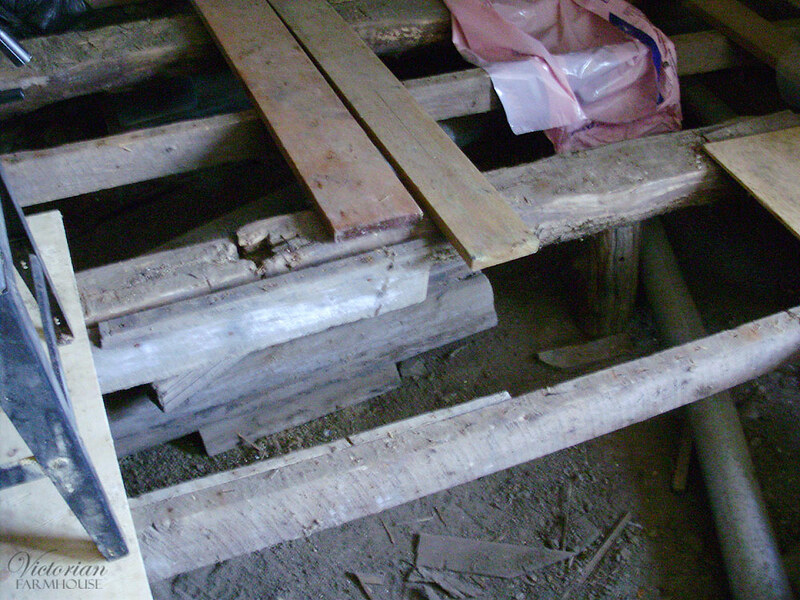
PB260014

You can see the outer squared log, which is "hugged" on two sides by the stone (same as the main farmhouse).
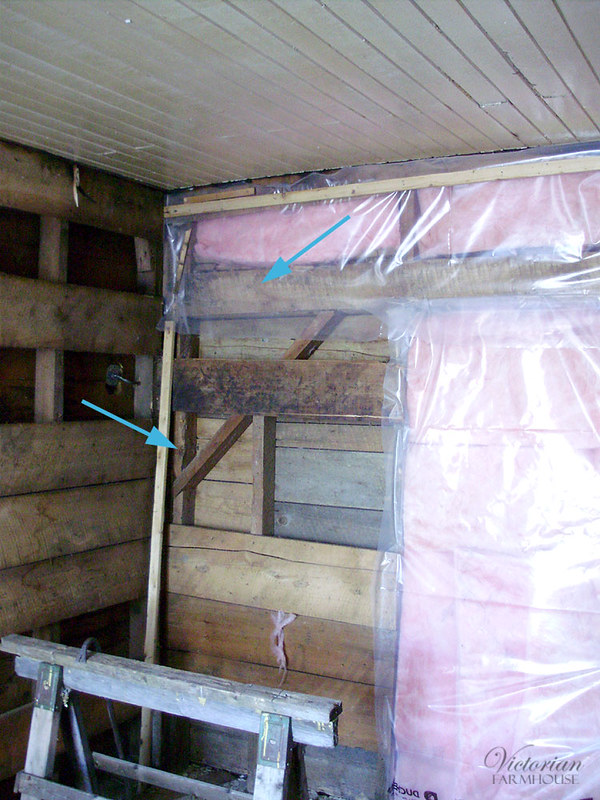
PB260015

This is the back wall, which has the barn construction (completely different as the side/driveway wall above). The barn construction has the diagonal braces, and a low-ish horizontal beam that spans the building. This beam (arrow above) is pegged to the outer walls, and it keeps the roof from collapsing downwards. It can't be removed, but it could potentially be relocated higher. As it is now, it's the reason why the two doors on this wall (both had been closed-up) are so low. All the other wood on this wall isn't load bearing or structural. It's basically a giant H with the roof beams siting on top.
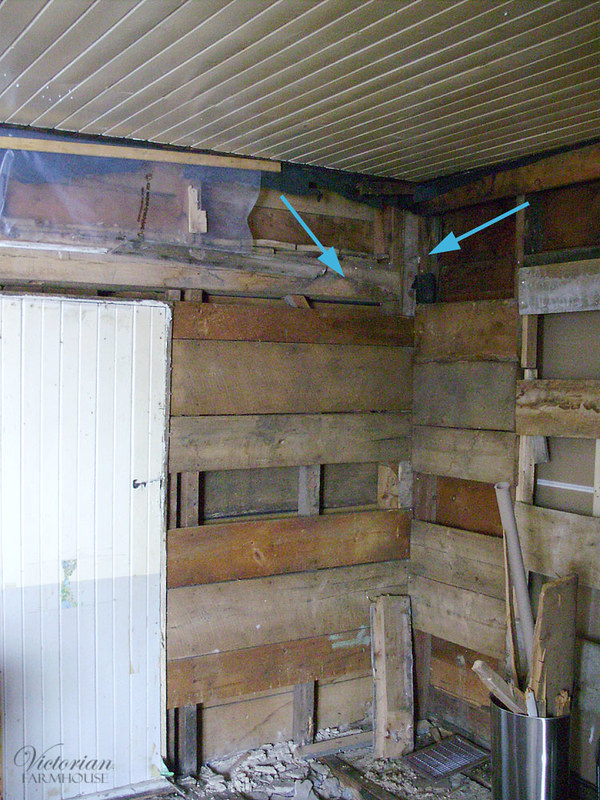
PB260019

Here's the other corner against the laundry room. You can see the corner beam of the barn and the diagonal brace, as well as the horizontal beam. It's almost as if the barn was about a dozen feet away from the house, and they just filled-in the space between the two buildings for this addition.
PB260020

Laundry room wall, and doors. Santa door leads into the living room.
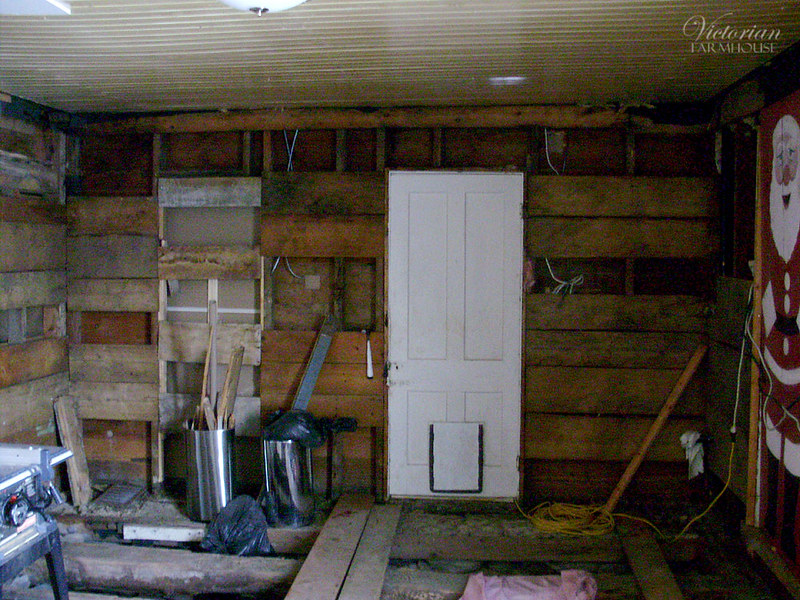
PB260021

This hand painted Santa decoration on plywood was made into a temporary door for the living room.
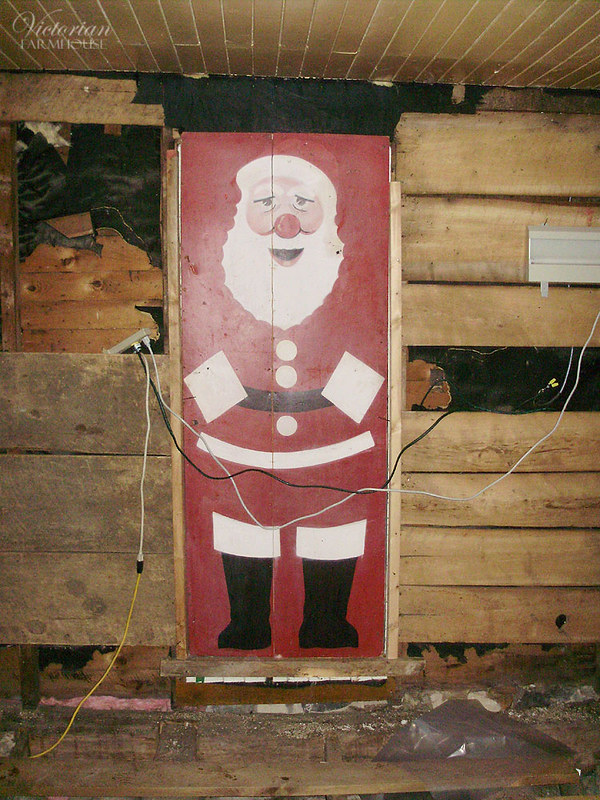
PB260023

So yeah. Now we were looking for fixes and solutions. Right now we have one low corner and wall (a good 6 inches or so), a possibly unstable stone foundation (we don't know if it's just the two feet sitting on the ground, or if it was dug deeper below the frost line), and then the barn. Angie has mentioned that she would like to eventually (or potentially) demo the barn later, so if we rebuild this room, the back wall would need to be detached from the barn.

If we just level the floor, the ceiling will then slope by 6" towards one side, and the kitchen cabinets will look awful.

Angie and Pierre are strongly considering demolishing the entire thing (the whole addition, barn, and newly renovated laundry room/bath and starting over completely. New foundation, new framing, plumbing, wiring, etc. This was kind of my suggestion from the very start, because I could see some of these problems ahead of time. One of the biggest issues for Angie is that she wants easy access to the loft above for another bedroom (without having to go all the way around, or from the exterior stairs at the back. With the current layout, it's not really possible. The easiest way to get what she wants would be to have the addition not be offset from the farmhouse, and turn the window upstairs in the spare bedroom into a door to the upstairs of the addition. The spare room could then be a sitting room or hallway room between the old and new parts of the house. They'd also be able to have their laundry room upstairs with this new addition , as well as extra bedrooms, etc.

But there's also a budget issue. For now all of the renovations dealing with the addition are at a standstill. I helped install a laundry room sink and some cabinets into the laundry room so that they could have a temporary kitchen in there. Angie and Pierre are currently living in the house.

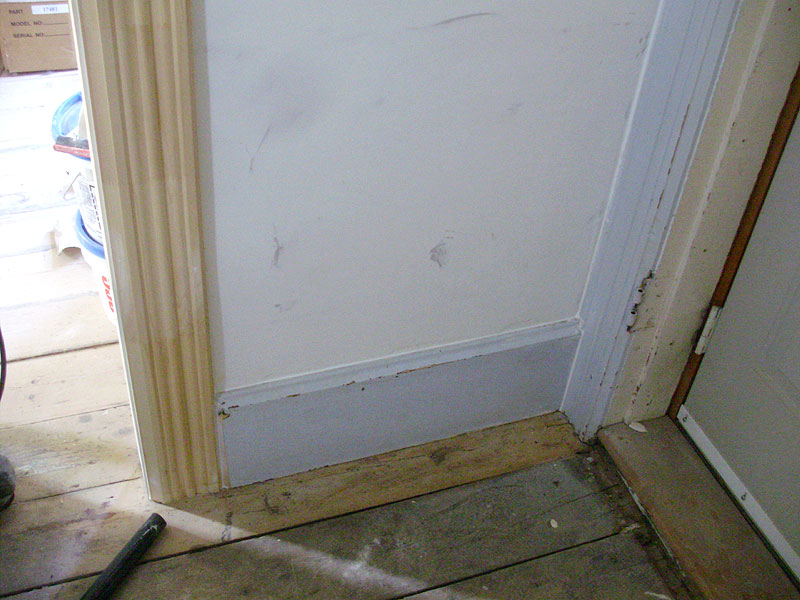
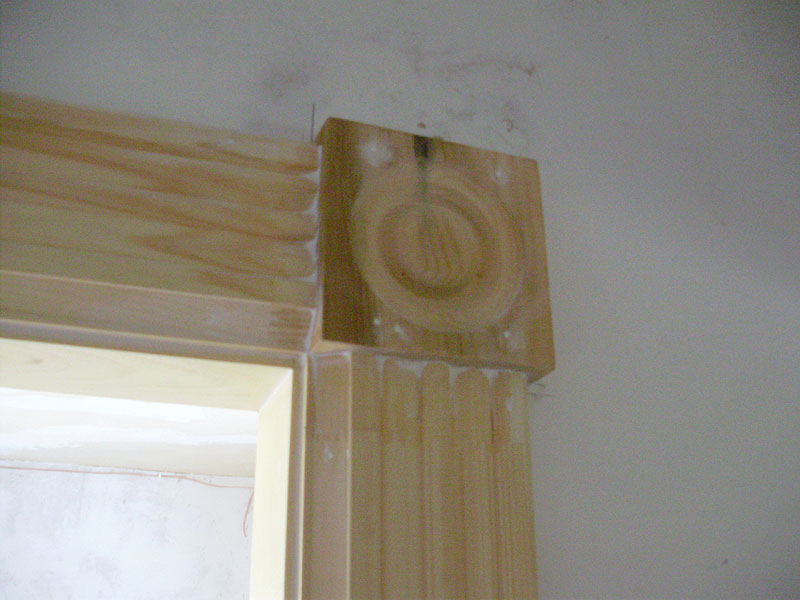
I just recently finished the new reproduction (simple) mouldings for the bathroom door, so that will probably be the next post.

Thursday, February 02, 2017

Victorian Farmhouse Part 25 - Odds and Ends

These are various small projects on the farmhouse that didn't really need their own separate posts. There are some that are continuations of projects I've already posted about, while others are new.

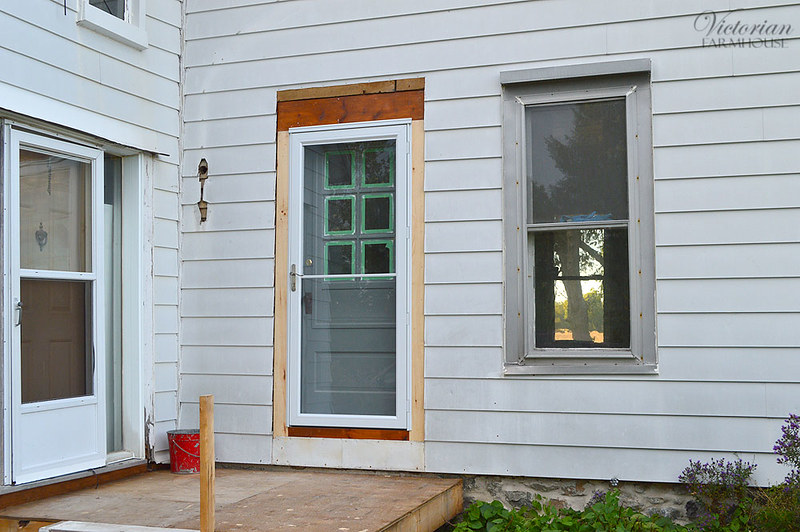
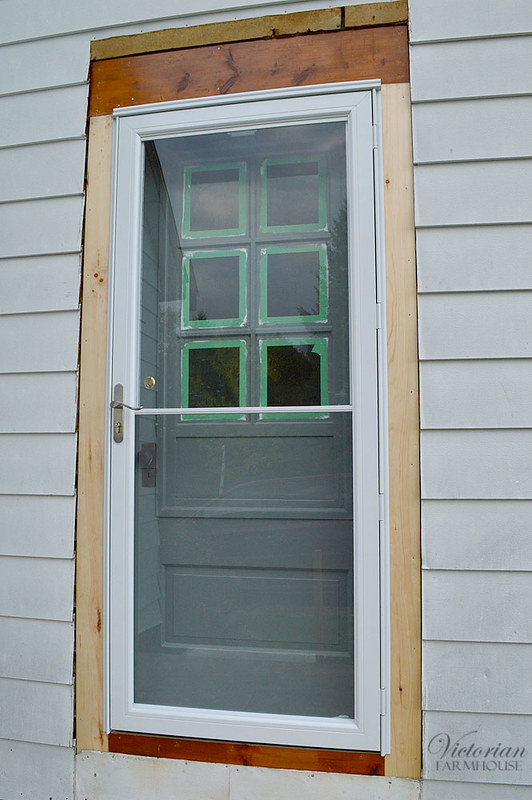
Exterior screen door. This was mentioned a while back, and I hadn't posted about it. The new door is about 2" shorter than the antique door, so the top of the door had a filler board installed to make things work. We still need to finish-up the mouldings and flashing around the door, but for now it will protect the old door from water and snow.
DSC_3543

DSC_3544

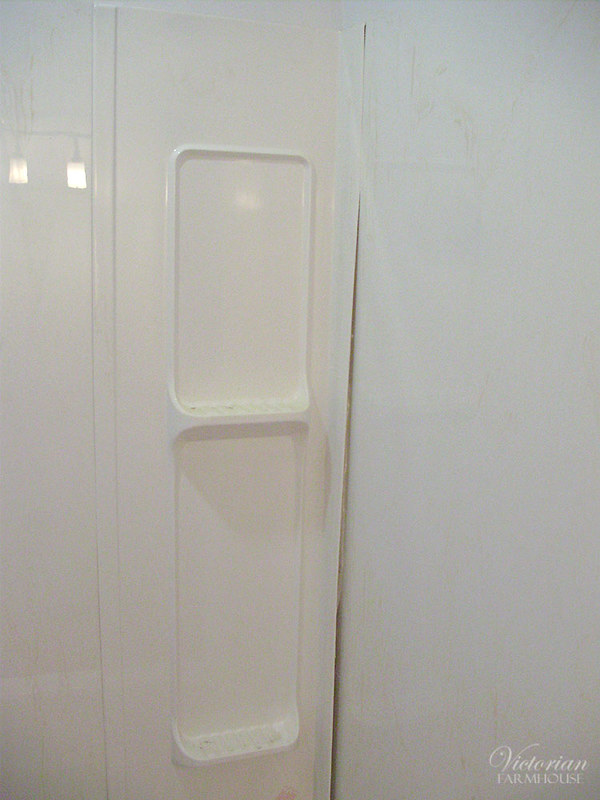
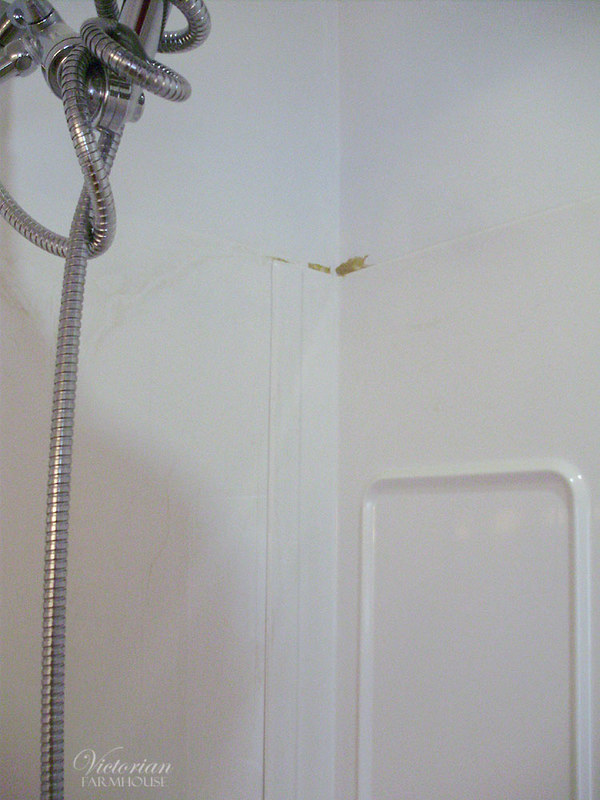
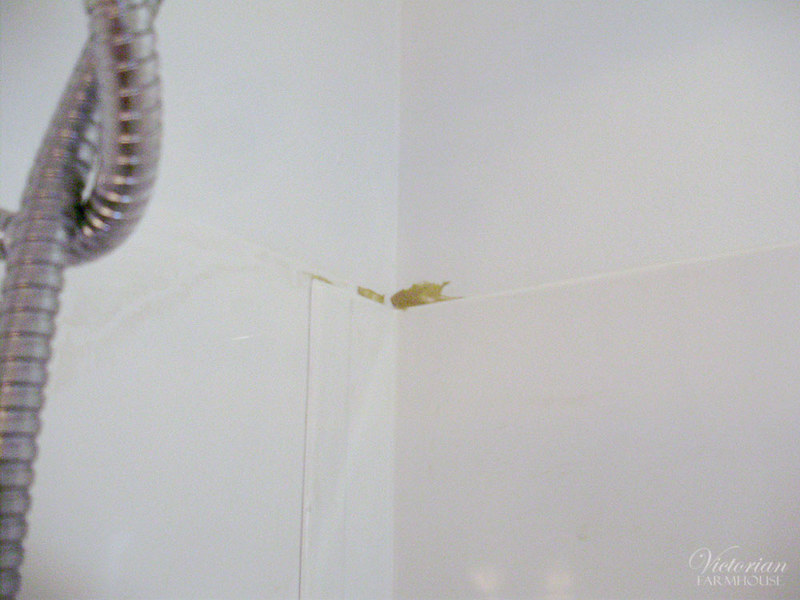
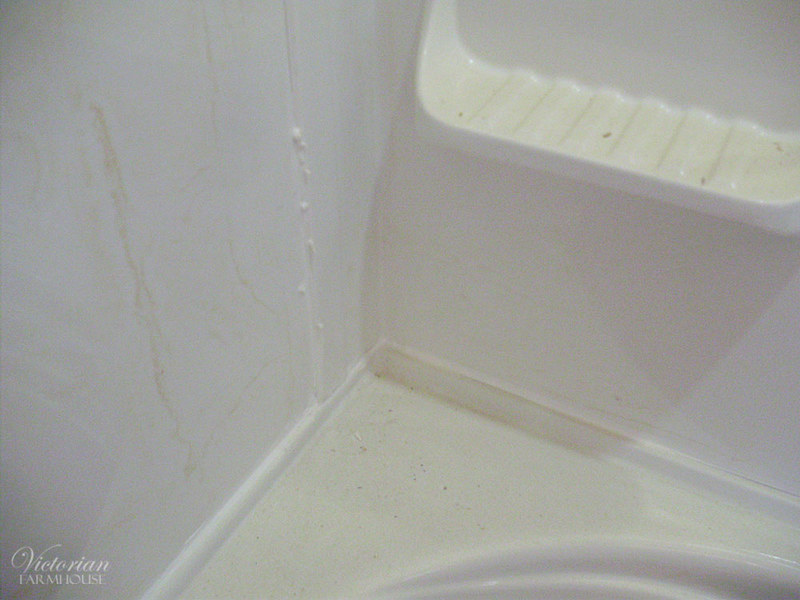
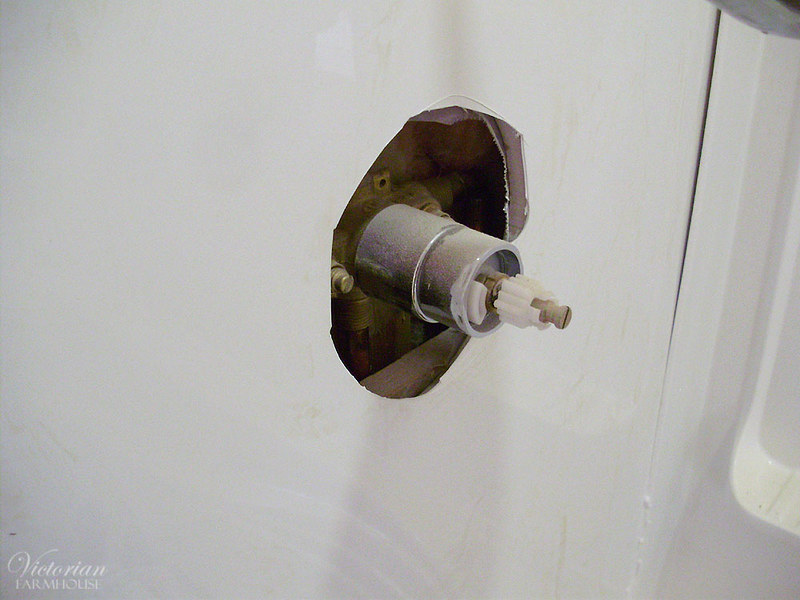
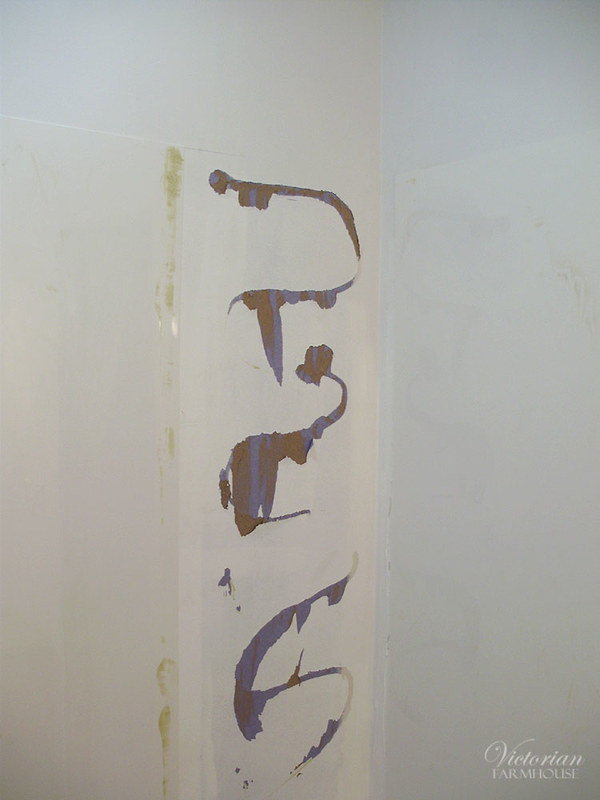
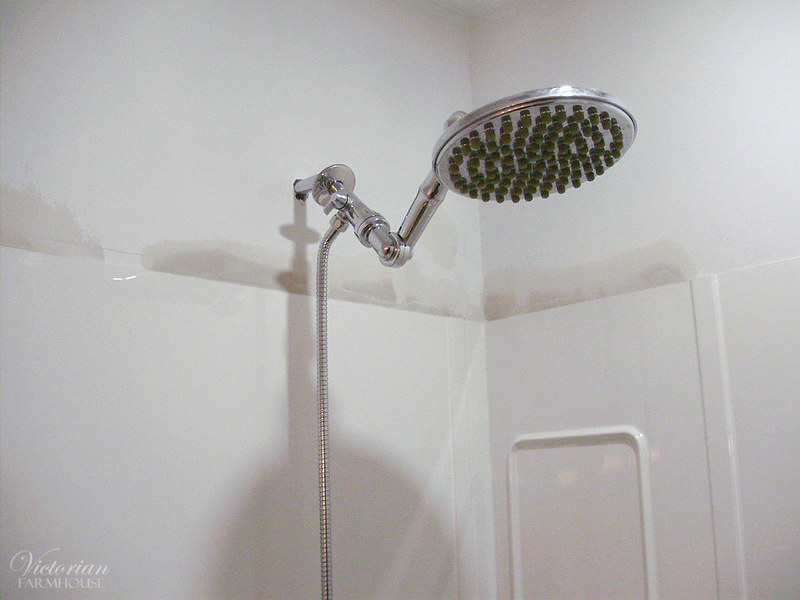
The next little problem was fixing the shower surround. In typical fashion, while we were gone, someone decided to install this for us. While I'm sure they meant well, they did a very poor job of it, and some of the joints were not glued in place properly, with impossible-to-fill 1/2" gaps. In addition, the panels were not cut properly so the entire top was staggered like steps.

PA130373

Adhesive smeared on the painted wall.

PA130374

PA130375

They had started some of the silicone, which looked pretty bad, too.

PA130376

Not exactly elegant, but at least this doesn't show.

PA130377

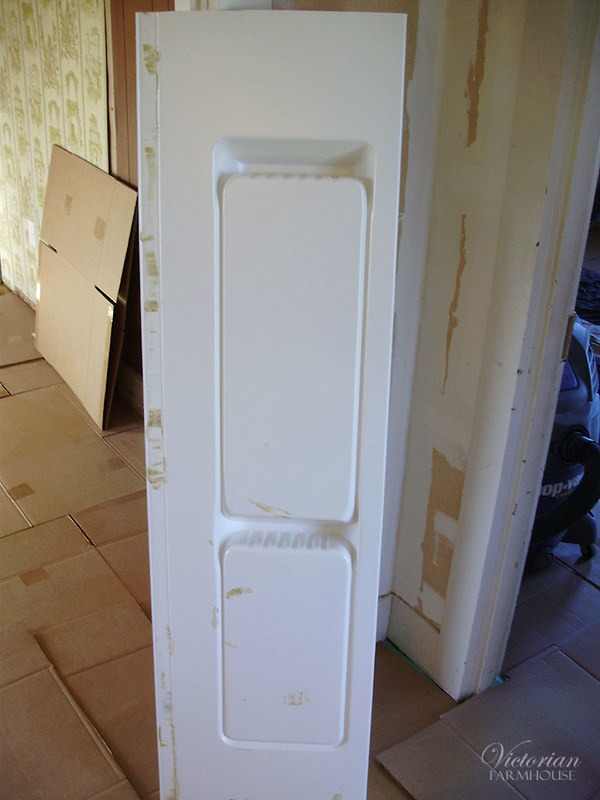
I had to completely pull-off the right side corner piece and scrape off the adhesive.

PA130387

PA130388

With the panel removed, Pierre and I were able to use a heat gun to soften the corner joint and open it up slightly. This made the entire section fit into the corner much better. We then reinstalled it. The tops of the panels were then trimmed slightly to make them look square and level. This was a lot of work that could have been avoided.

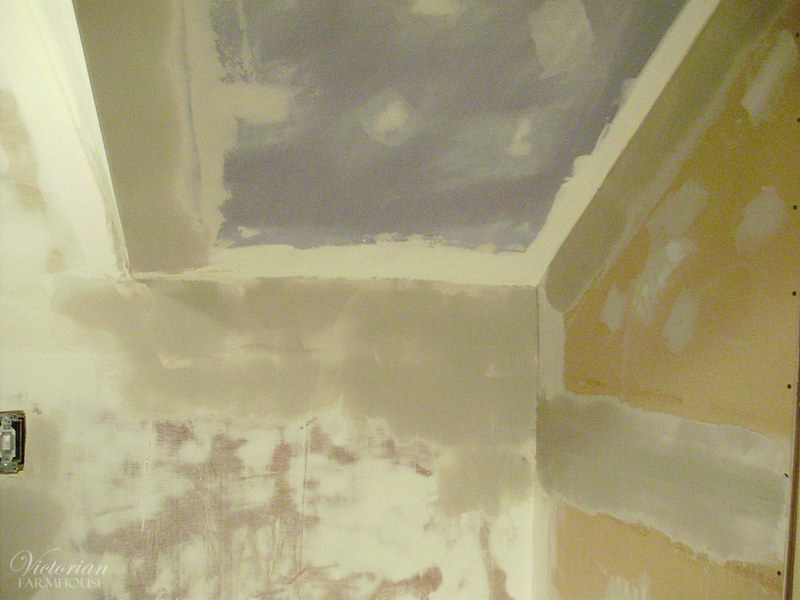
Lastly the glue was scraped and the drywall got patched.

PB290043

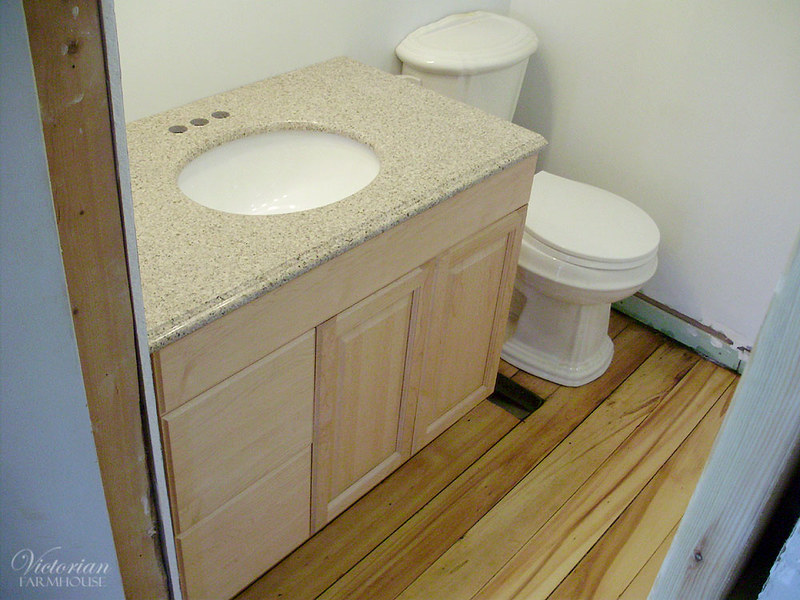
Another project was installing the vanity. This was supposed to be a quick and easy job, but it took most of a day. I worked on this largely by myself.

PA130383

Originally the drawers were on the left (like in the photo above), but later, I decided that they really should be on the right, so as to avoid any possible clearance issues with the door. Parts of the vanity had also been installed upside down, so that the door hinges didn't line up properly. I basically had to take it apart twice. I also had to take one of the doors home and trim it down because they were nearly touching in the centre (and they could not be adjusted farther apart).

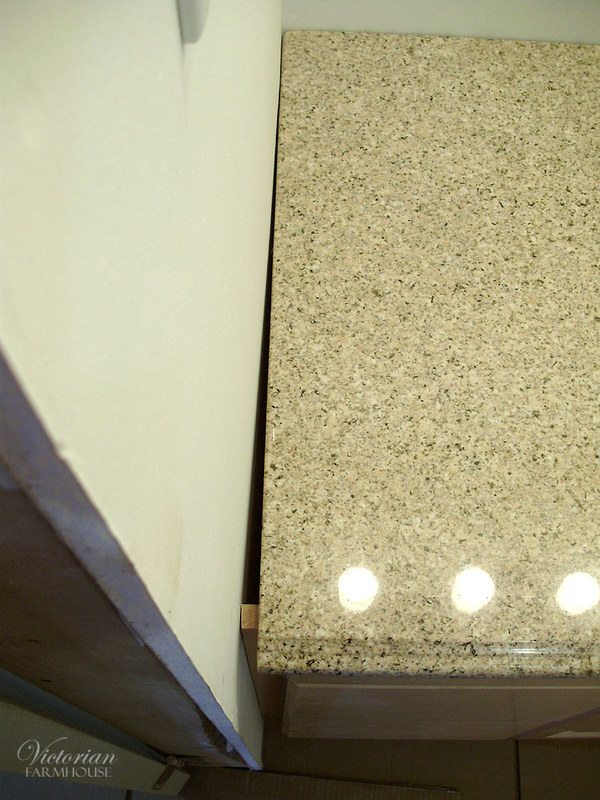
We also have a small issue with the short wall being crooked. Pierre wants to try to get another piece of granite backsplash to cover this (which would look great). The vanity only came with a back piece of backsplash. The door moulding will hide the worst of it near the bottom of the photo. Normally if you had granite installed, or if you had a particle board counter, you could just cut it to fit, but this is a pre-cut granite slab, and there's only barely 1/4" overhang on the other side (toilet side) so it's not wide enough to trim down.

PA130389

Here's a photo of the floor repair in the spare bedroom. This originally had a large circular hole for the wood stove pipe.

PA130386

Here's the salvaged door now painted the same grey trim colour. This was a quick one day project that Pierre did while I worked on other things. We actually took down the door and removed the hardware to paint it.

PA150402

PA150403

PA150404

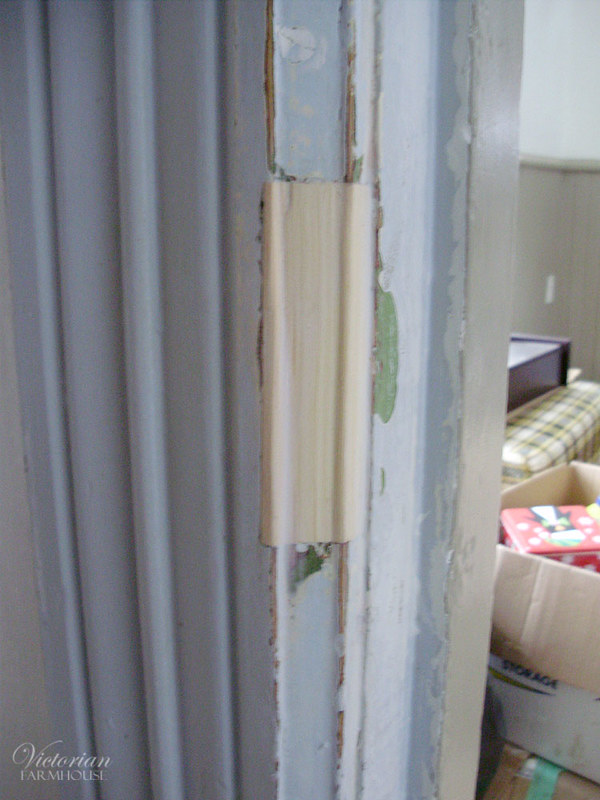
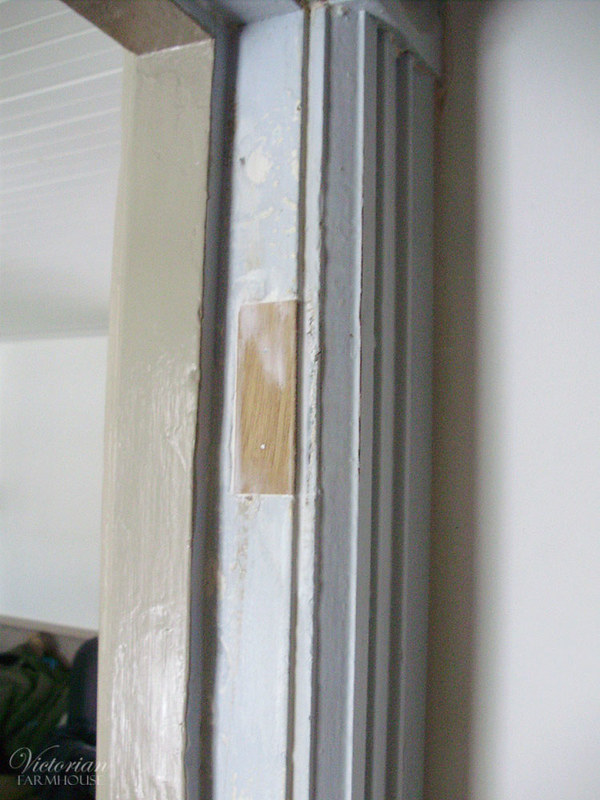
I was asked to fix some old hardware notches in the doorway into the main hallway. There used to be a door here, with door hardware like the doors upstairs. It makes no sense to ever put a door here again, so we wanted the holes covered up before painting. This is just a block of pine, chiseled and lightly glued in place, followed by Dap to fill the cracks.

PB280032

PB280033

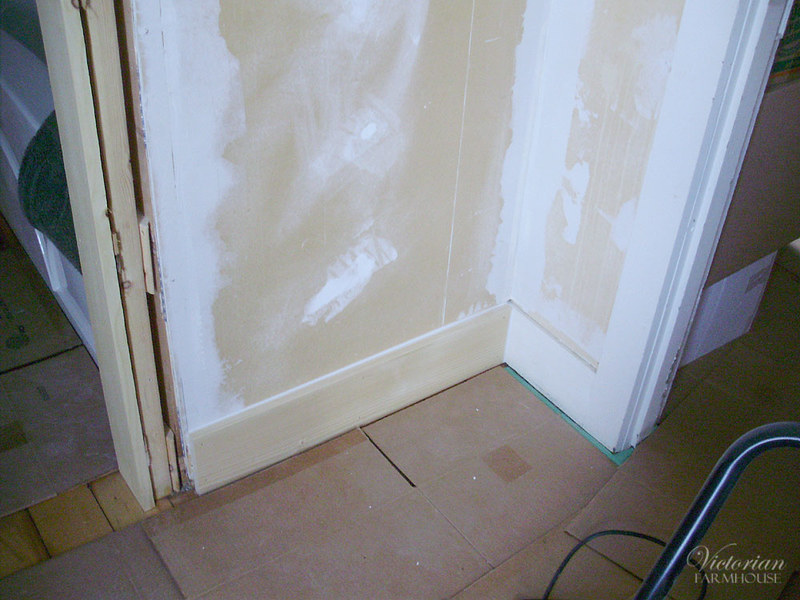
Mouldings in the upstairs hallway and bathroom.

PB280034

PB280035

PB280036

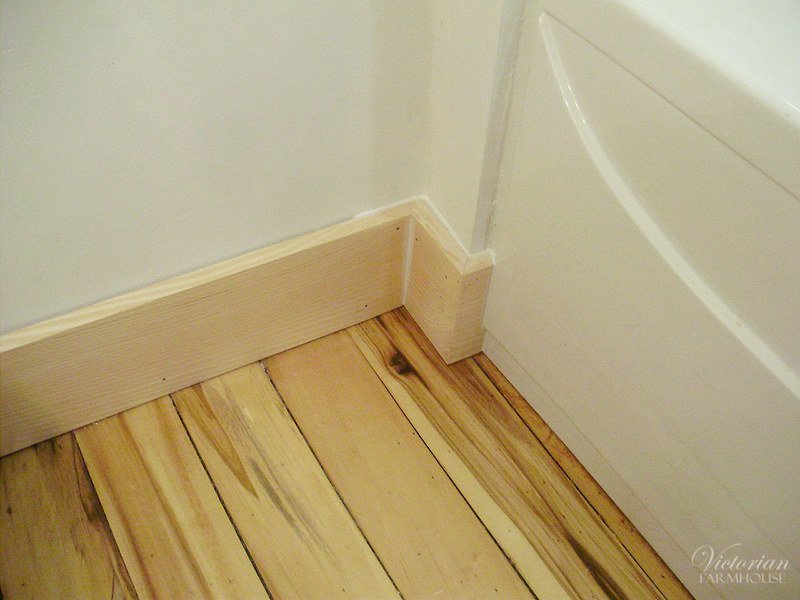
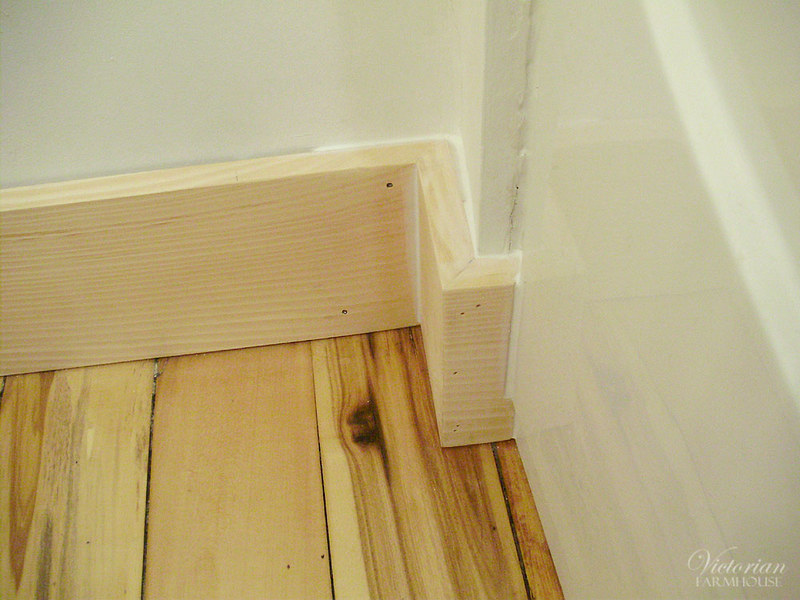
This corner was quite crooked, so I had to get a little creative (lots of Dap). I also had to partially cut the front edge of the moulding to fit the raised design on the front of the tub.

PB280038

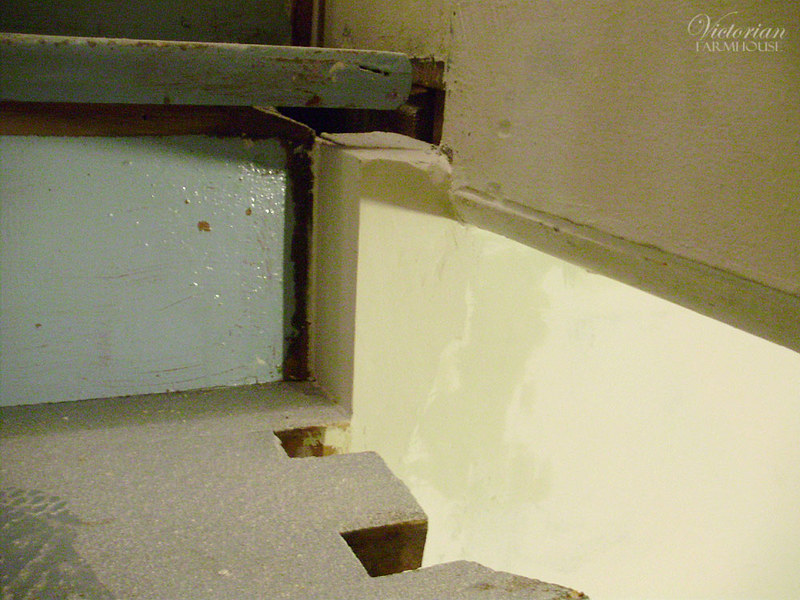
Here's the corner at the top of the stairs that was previously all broken up and covered with various bits of wood and mouldings.

PB290040

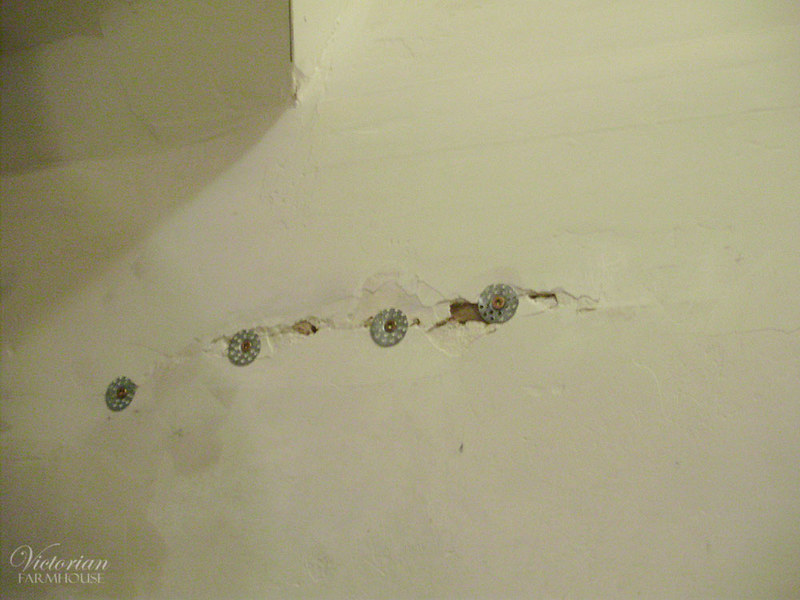
Some more plaster repairs in the stairwell wall.

PB290041

And yay! More drywall (upstairs hallway).

PB290042

Monday, September 26, 2016

Victorian Farmhouse - Part 14

Alright, I'm DONE with trying to navigate and figure out Google Photos. No one deserves that much stress. I've decided to try Flickr, because it's linked through Yahoo! and I already have an account there. So far I don't like it either (it uses a stupid "group photo pool" timeline style same as Google Photos), but it seems much faster and easier to navigate and organize.

Okay, so here we go. We're like a month or two behind, and I don't even know exactly where we left off. These are some of the flowers growing in front of the kitchen addition. They are being smothered by goldenrods which are invading the whole flowerbed.

P7130360

P7130362

OMG yes this is so much simpler with Flickr! It automatically loads the embed link the same as the previous photo. So much less clicking! Moving along...

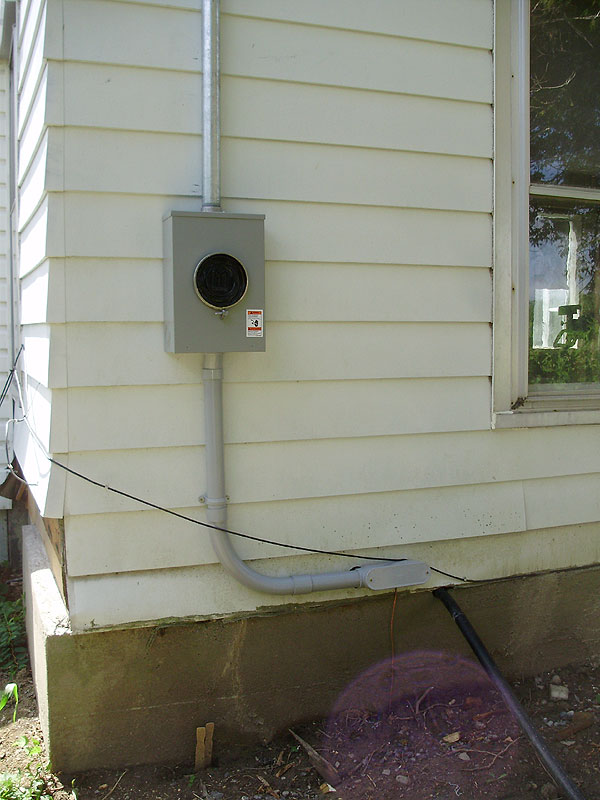
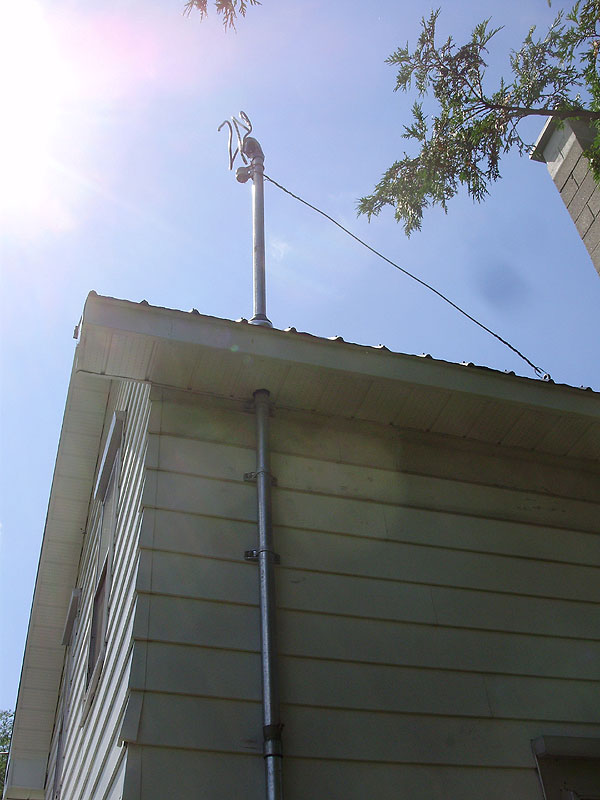
This was after a bunch of the electrical had been done, but before the power had been hooked up yet. We can see the new location of the meter, and panel in the basement (farther down).

P7130352

P7130353

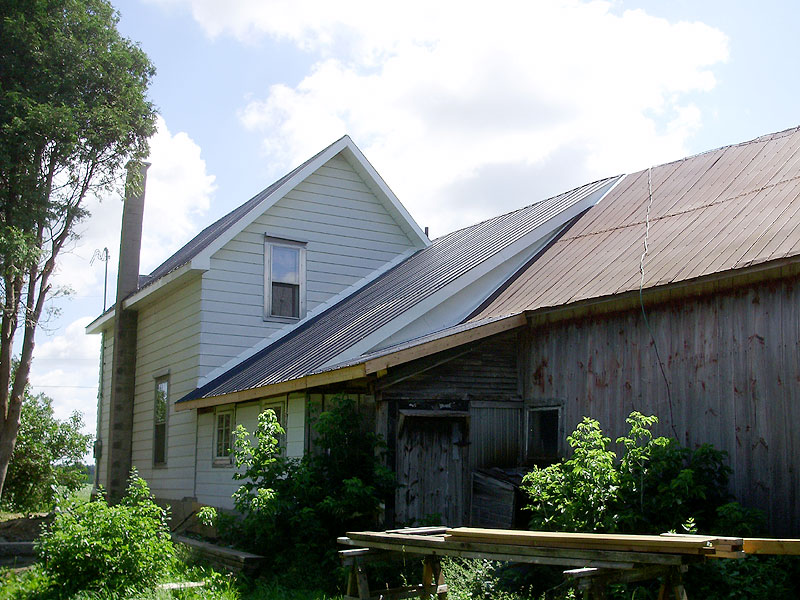
The flashing on the new roof is done.

P7130354

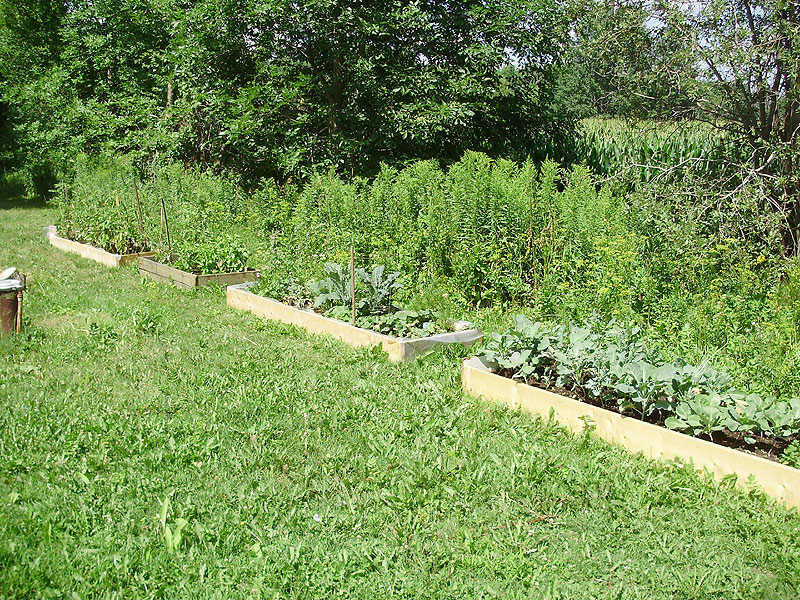
These are the 4 garden beds that were setup this year in the side yard. Angie's sister randomly bought a whole bunch of plants, and a bunch of them got planted throughout these beds. The farthest one is tomatoes, the second one is part tomatoes, basil, and eggplant, and the other two beds have an odd mix. We think there's broccoli, cabbage, kale, and some random flowers and herbs.

P7130358

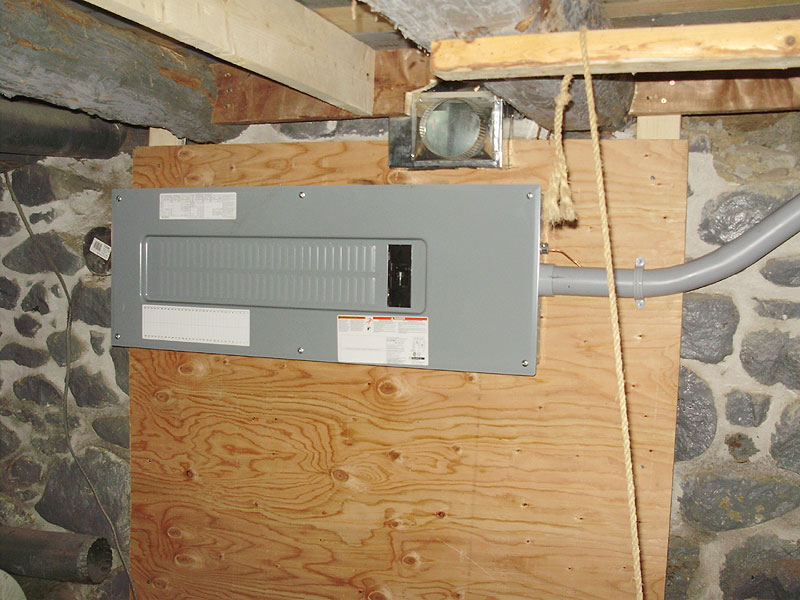
The new electric panel.

P7130349

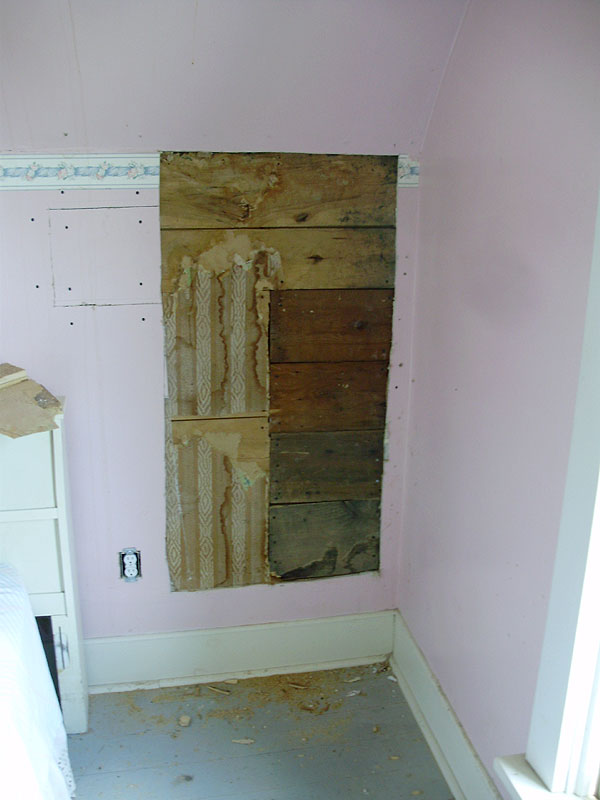
Upstairs in the master bedroom, the electrician had to install bolts through the exterior wall, so we had to open up this corner of the wall. The drywall was carefully removed so we could easily patch it back in.

P7130347

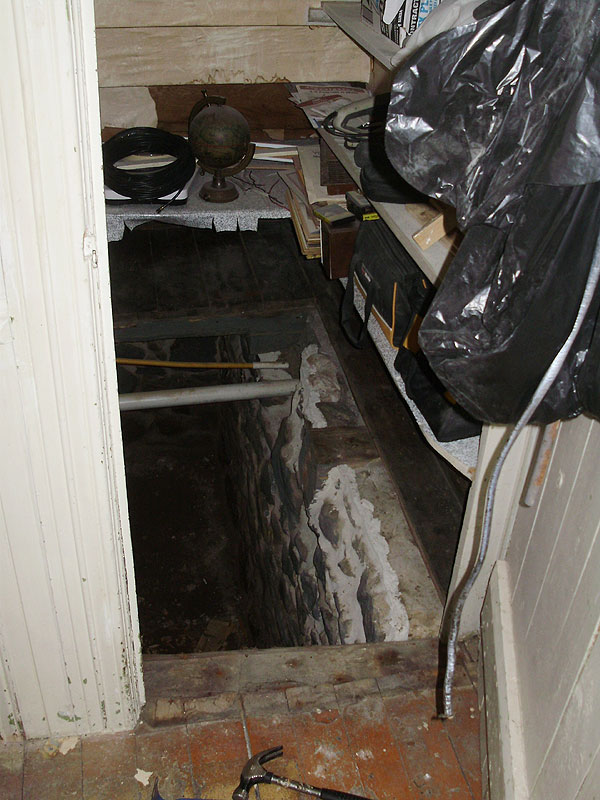
Due to some of the renovations, the existing stairs on the back/side of the house (the cement ones) would be getting blocked off, so we decided to reopen the original location of the stairs under the Victorian staircase. This had been VERY poorly patched, and it was very messy taking this out. It's very clear that the stairs were here because of the way that the logs were cut to form an opening here. The white vent pipe and gas line for the furnace will eventually be moved to the other side of the house.

P7130366

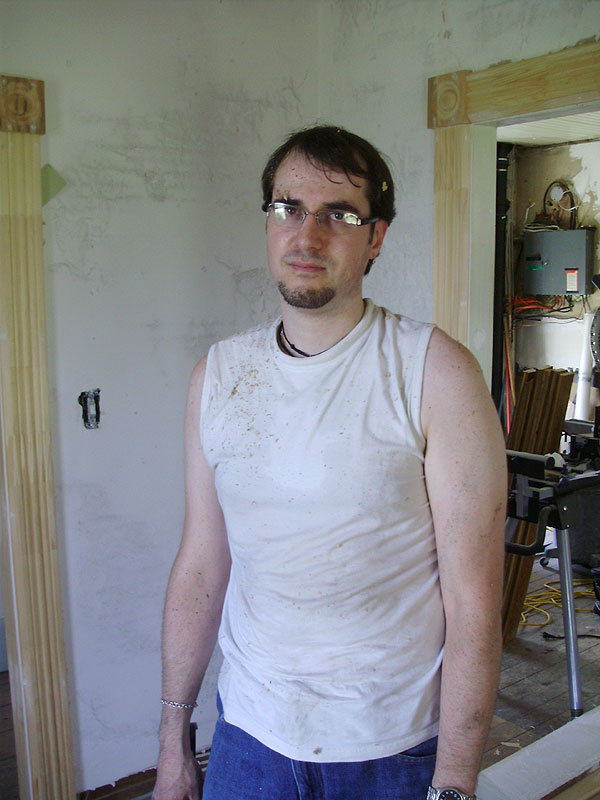
Here's a totally flattering photo of yours truly. This is pretty much how I tend to look during these renos. I know, totally hot, right?

P7130364

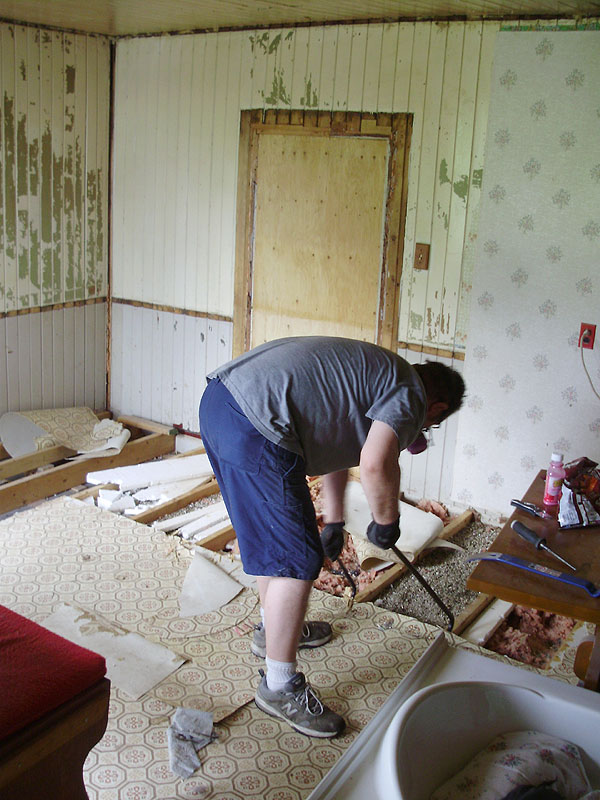
While I worked on patching the floor in the living room, Pierre decided to start demolishing the kitchen floor.

P7140367

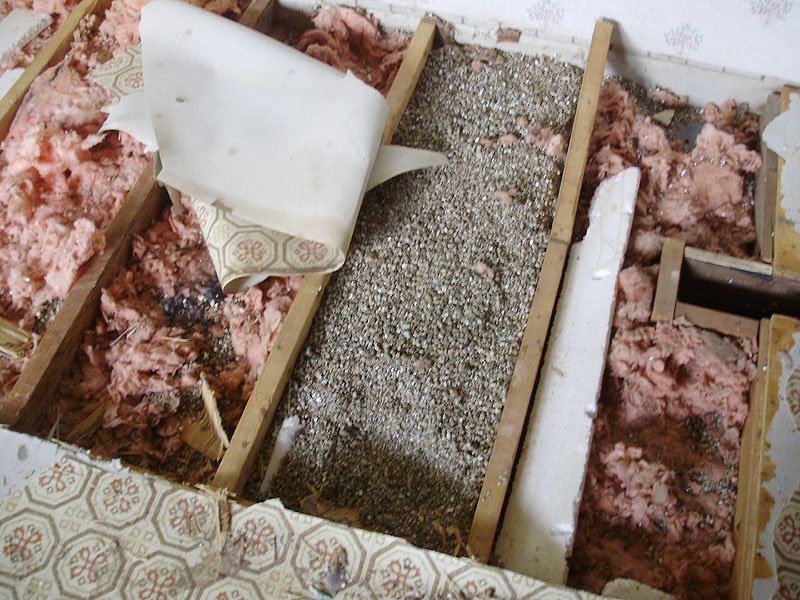
A nasty surprise, which halted the work, was this old vermiculite insulation. No one seemed sure how long it's been there, but there was a possibility of asbestos, so we decided not to work in there until we made a plan to carefully and safely remove it.

P7140368

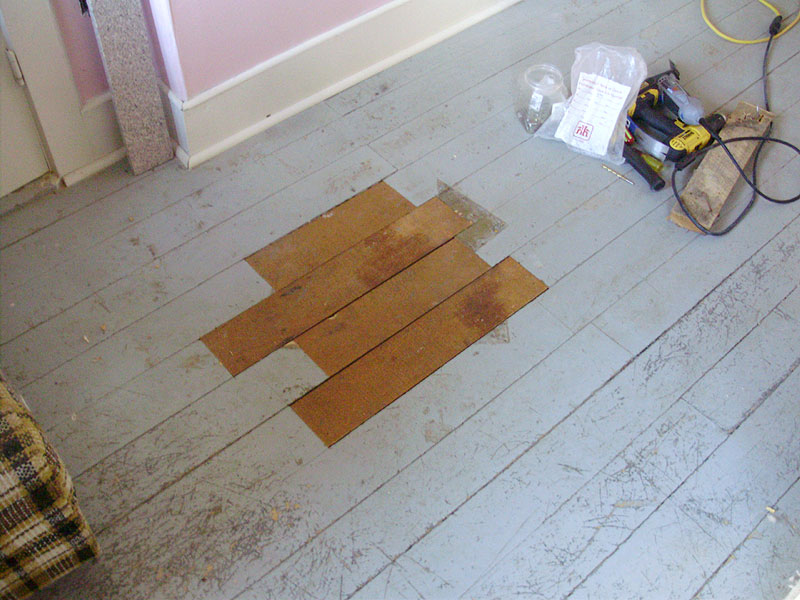
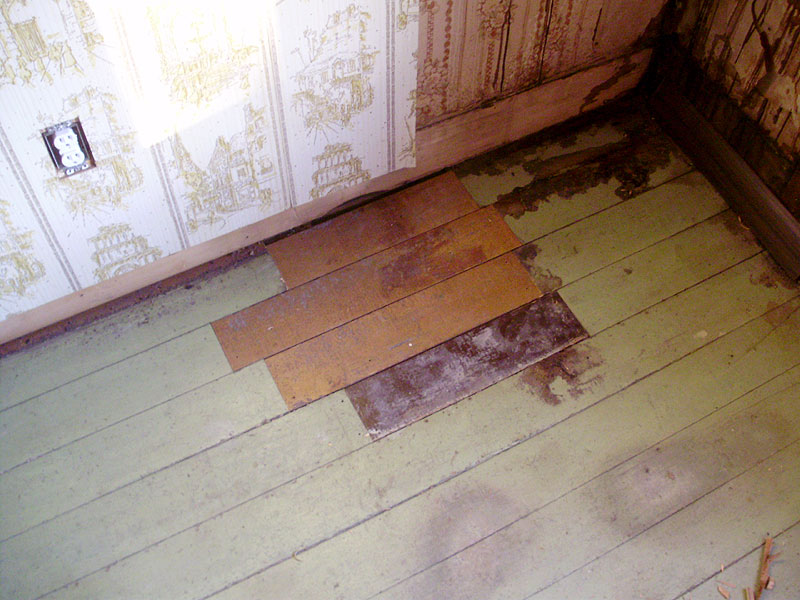
Here's the repaired floor in the corner of the living room. This was the most tricky (and least solid) repair, because there wasn't really anywhere that I could solidly anchor the floor. No one will be walking here, so it should be fine. The floor is nailed on the wall edge, and held with screws along the short corner wall. The front (longest) board is the most solid one, because it rests on the logs at both ends.

P7140381

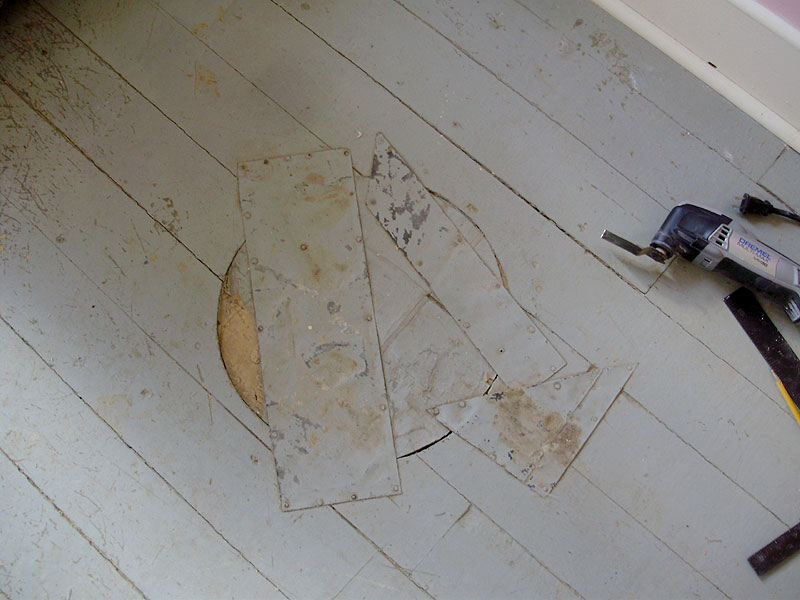
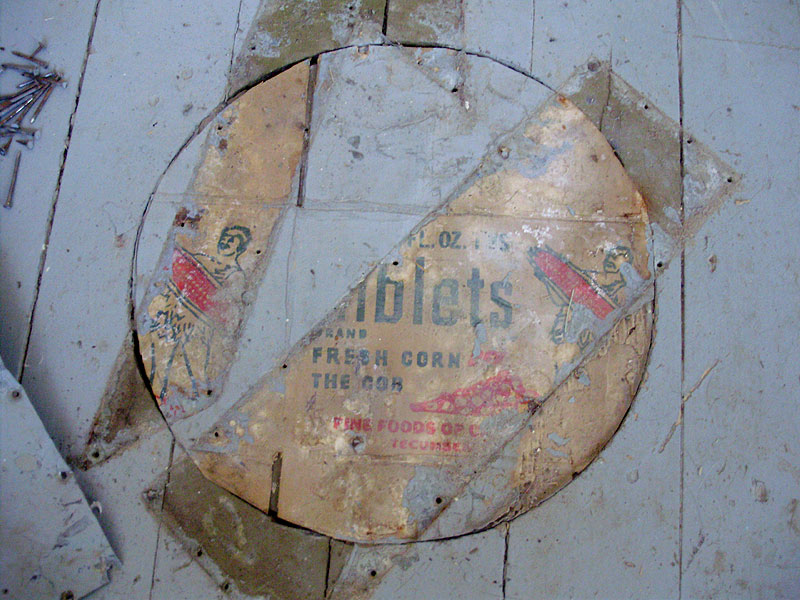
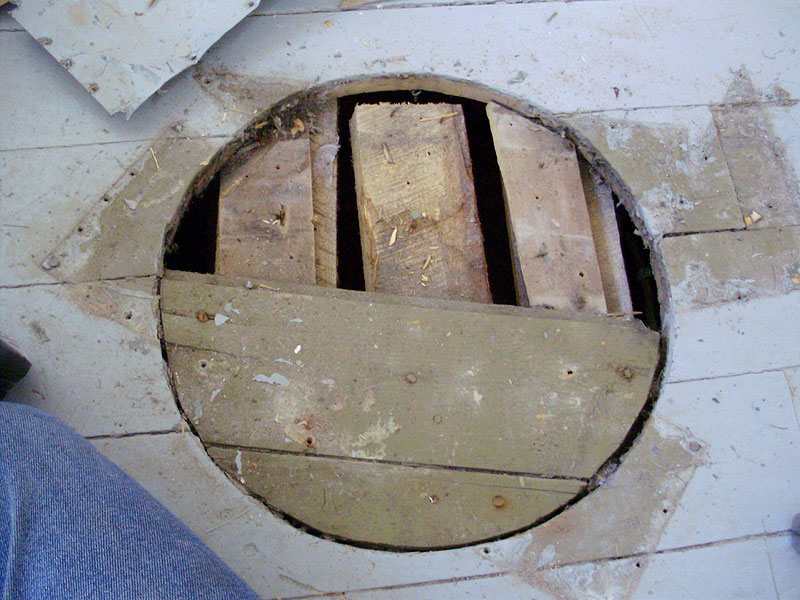
The next two floor patches were in the upstairs floor. I'm STILL not sure exactly what species of wood it is, but it seems like a hardwood, and it's 1 1/4" thick (very good quality). This was an old stovepipe style vent hole that passed through the hallway ceiling on the main floor, and through the master bedroom floor. It had been very sloppily patched with random bits of tin, wood, and cardboard. It looked really wonderful (sarcasm).

P7140369

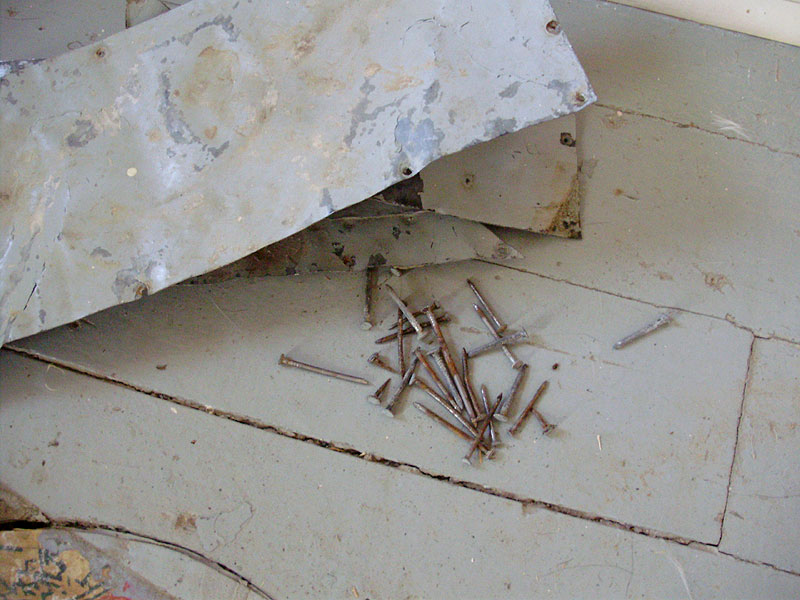
Not only were the pieces of tin random, so were all the nails. Long, short, and even short upholstery tacks.

P7140372

There was a cardboard cut from an old Green Giant Giblets box!

P7140373

Garbage. It was very poorly nailed, too.

P7140374

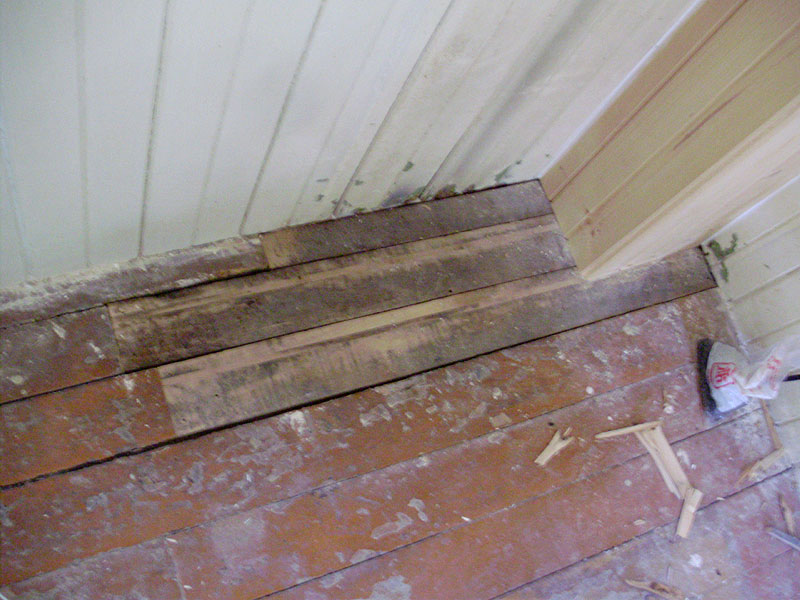
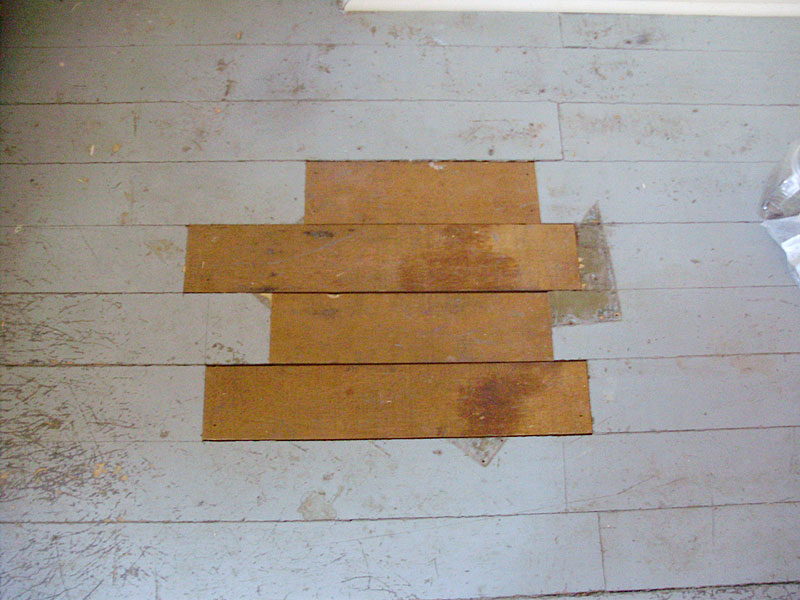
Always stagger the joints when patching a floor. Not shown is the 2x4 screwed to the left side beam, and the diagonal brace screwed in place to support the second and third boards.

P7140375

So much better! The floor is salvaged from under the bathtub.

P7140376

P7140377

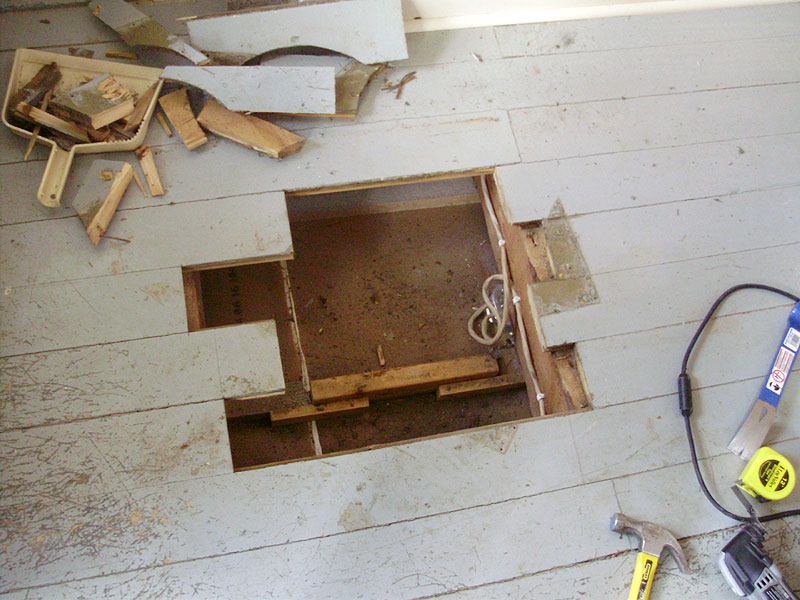
The same process was followed for the hole in the spare room (the one that was in the ceiling of the living room).

P7140378

Here's the finished woodwork around the rebuilt corner in the living room.

P7140379

P7150402

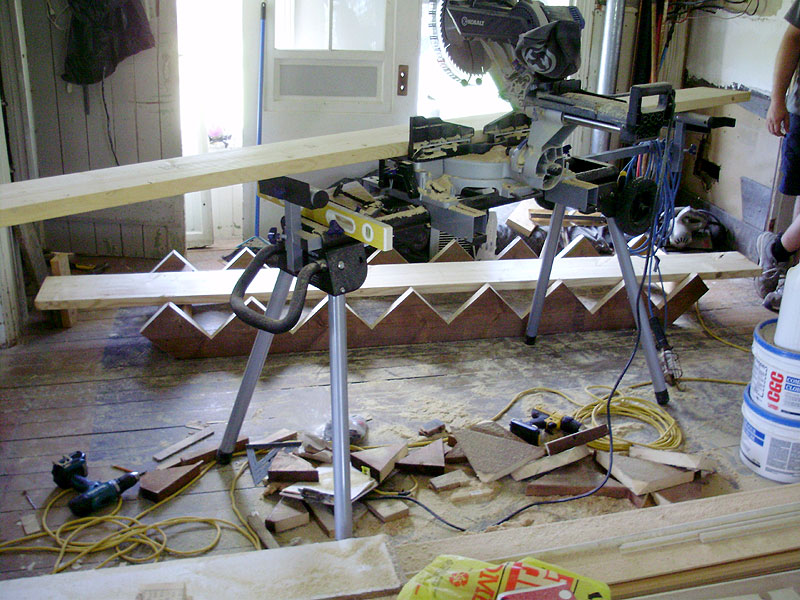
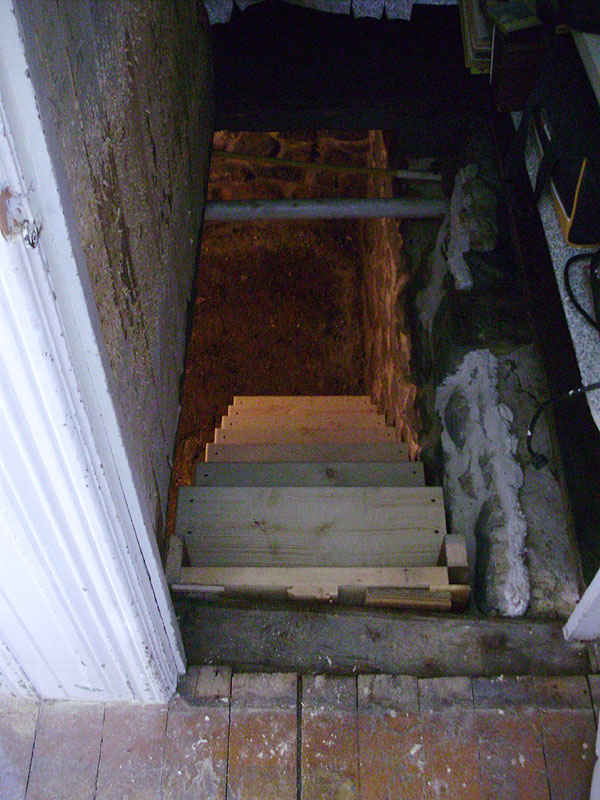
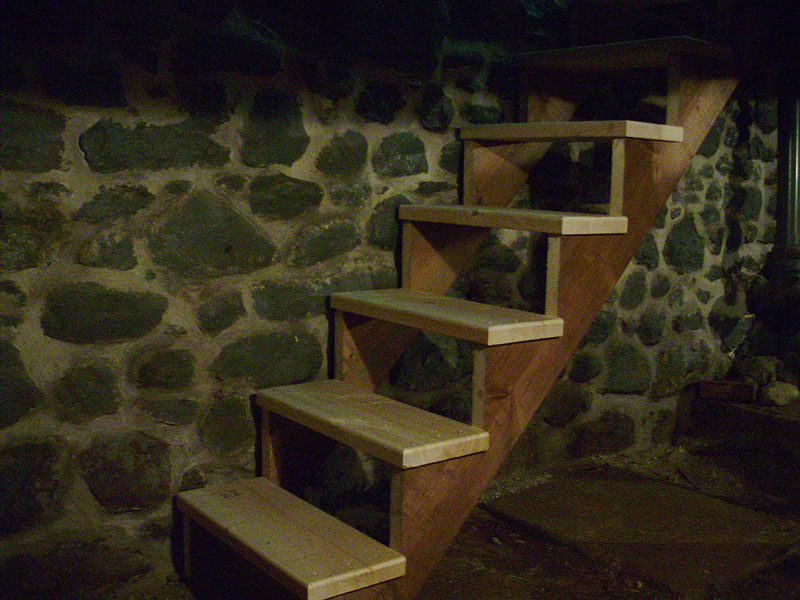
Our next project was rebuilding a set of stairs to the basement. Because of the odd size, I was barely able to fit the stairs to a good size. It would have been nice to have deeper steps, but this would have made the stairs too wide, which means your head would end up in the floor beam at the end of the opening. The height is around 8 1/2" which isn't too bad (same height as the old cement stairs on the other side).

P7140382

The stairs look crooked in relation to the floor because they roughly follow the side of the foundation, and the beams are largely eyeballed. If you look at the wood tree trunk beam in the threshold, you can see it's curved, so once the floor is patched-in, everything will look fine.

P7140384

P7140385

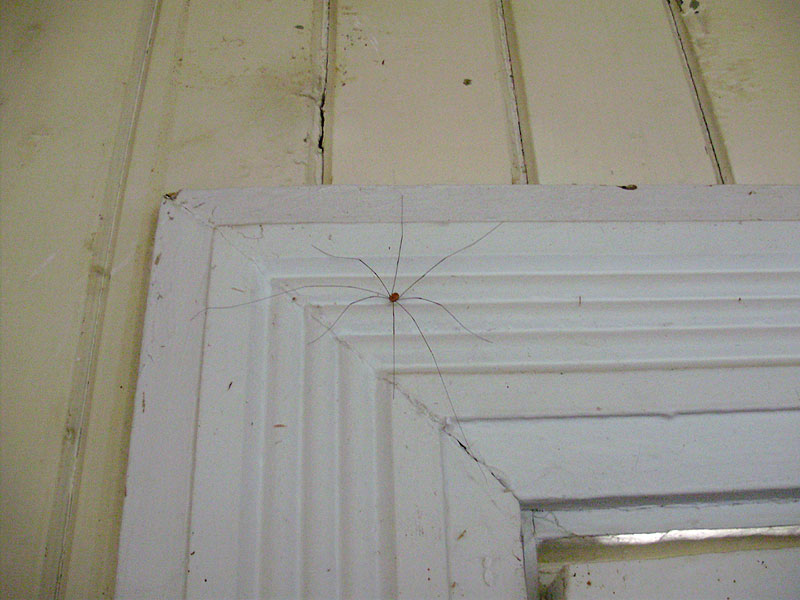
This is one of the largest daddy longlegs I've ever seen. The leg span was about the width of the entire casing (which is about 5"), yet the body was still half the size of a ladybug.

P7150387

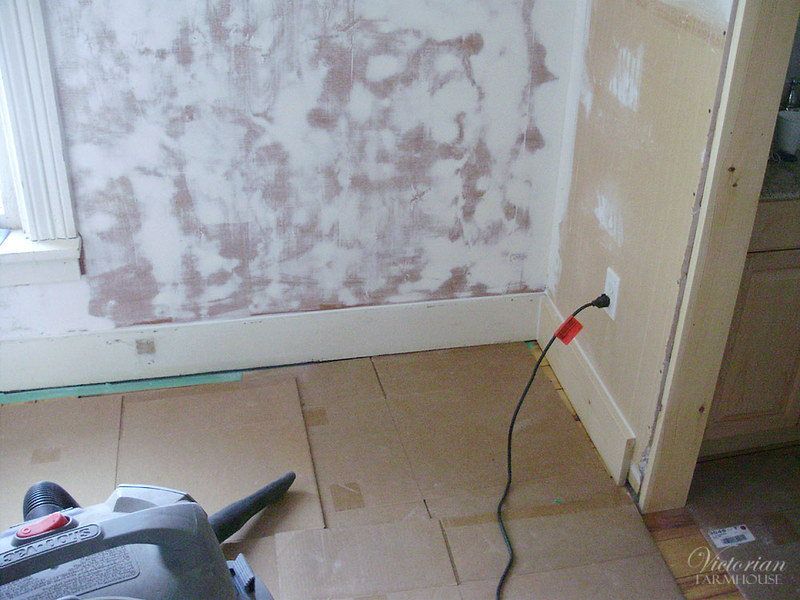
With most of the electricity finally inspected and passed, I was able to start reinstalling the baseboards in the hallway and living room. We were going to wait to have the floors sanded FIRST, but instead we decided to sand the floors around the edges of the room instead, and just install and finish the trim.

P7150393

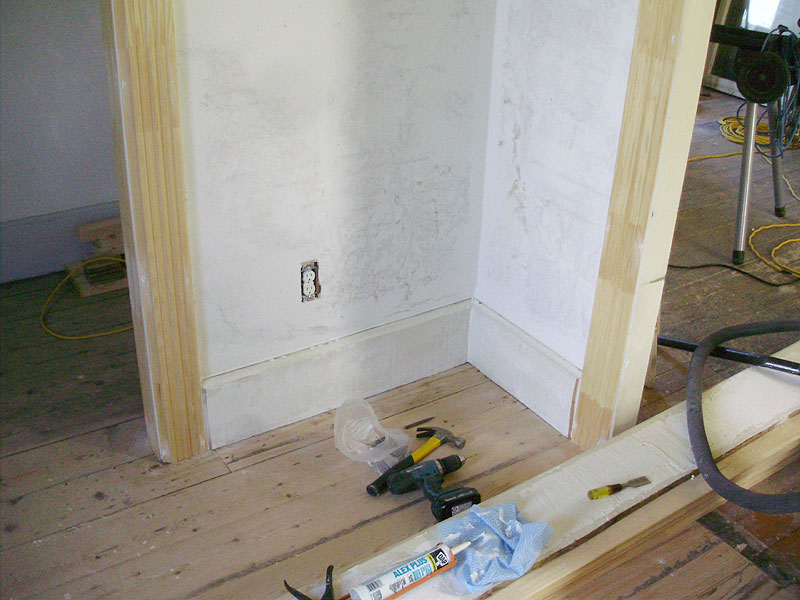
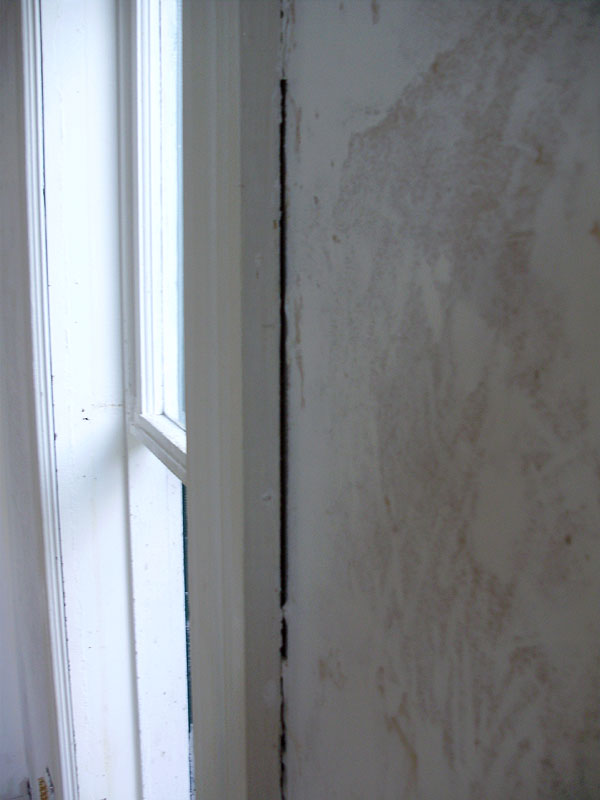
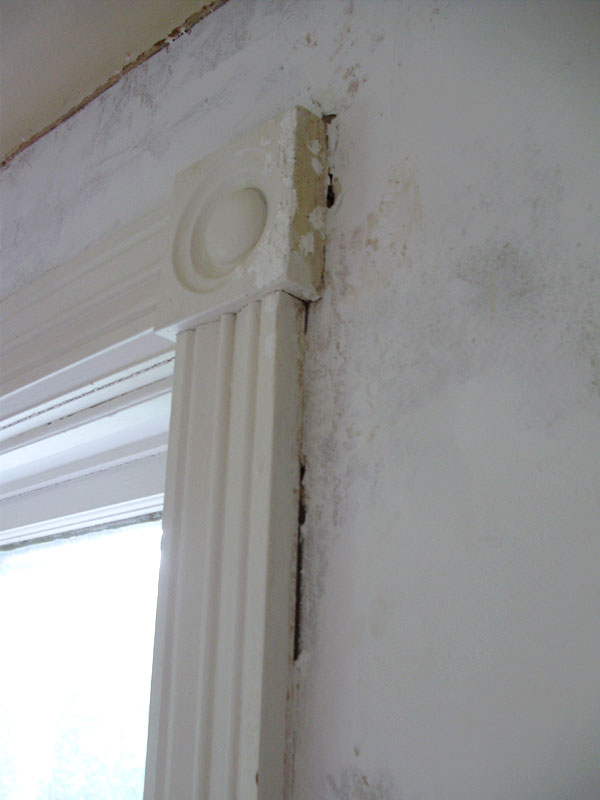
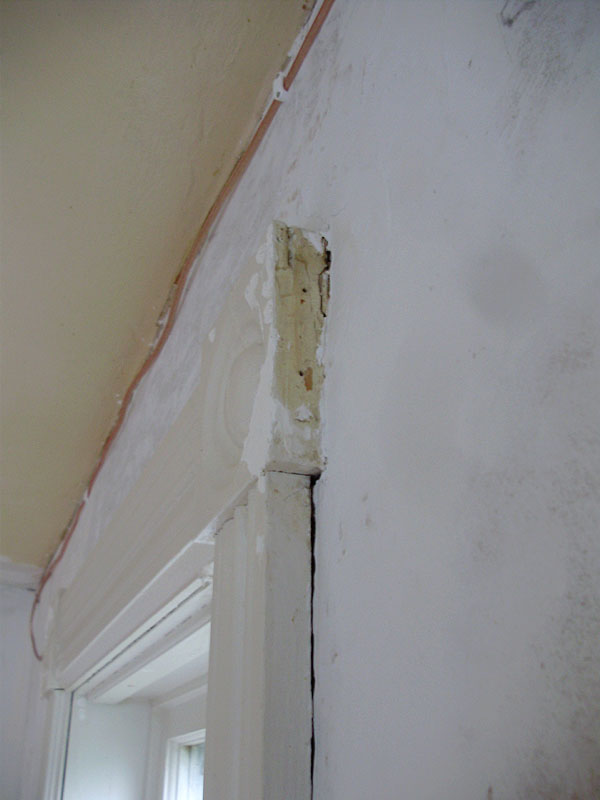
Along with the installation of mouldings, I did a LOT of crack-filling around all the old mouldings. These few photos give you an idea of all the gaps that were around the doors and windows.

P6300237

P6300235

P6300238

This gives a good idea of "before and after" crack filling to show just how much difference this makes.

P7150395

P7150396

P7150398

P7150399

P7150400

P7150401

More soon.