Showing posts with label Projects. Show all posts

Thursday, February 02, 2017

Victorian Farmhouse Part 25 - Odds and Ends

These are various small projects on the farmhouse that didn't really need their own separate posts. There are some that are continuations of projects I've already posted about, while others are new.

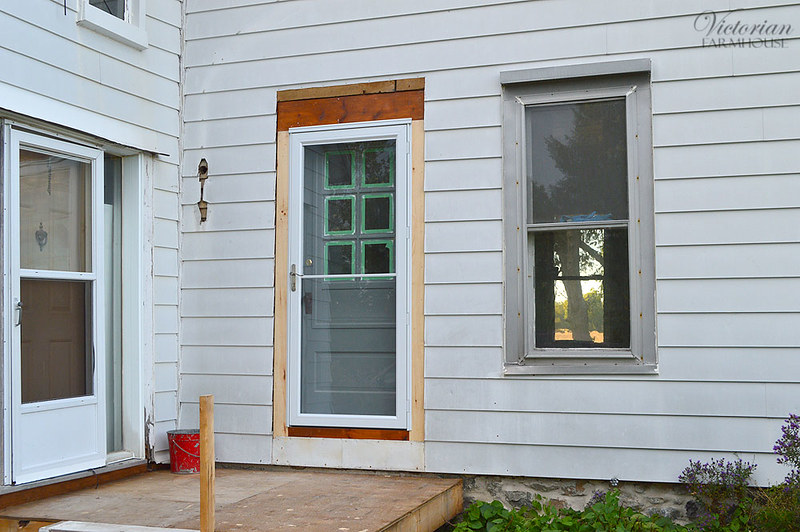
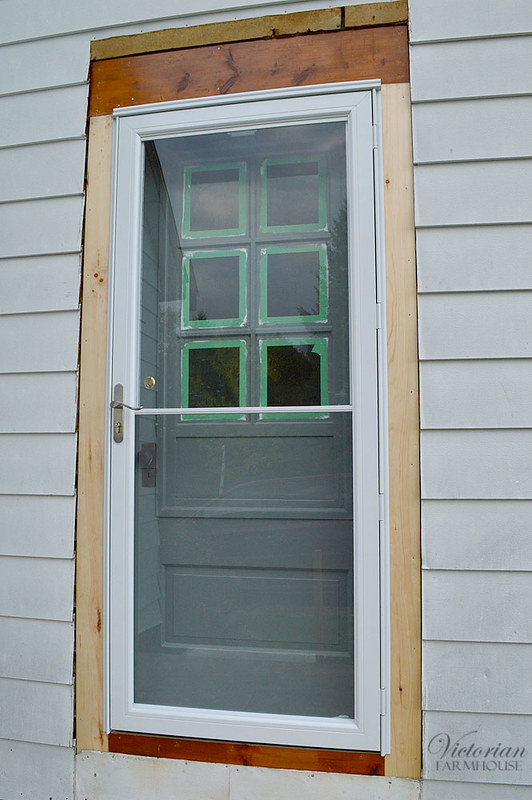
Exterior screen door. This was mentioned a while back, and I hadn't posted about it. The new door is about 2" shorter than the antique door, so the top of the door had a filler board installed to make things work. We still need to finish-up the mouldings and flashing around the door, but for now it will protect the old door from water and snow.
DSC_3543

DSC_3544

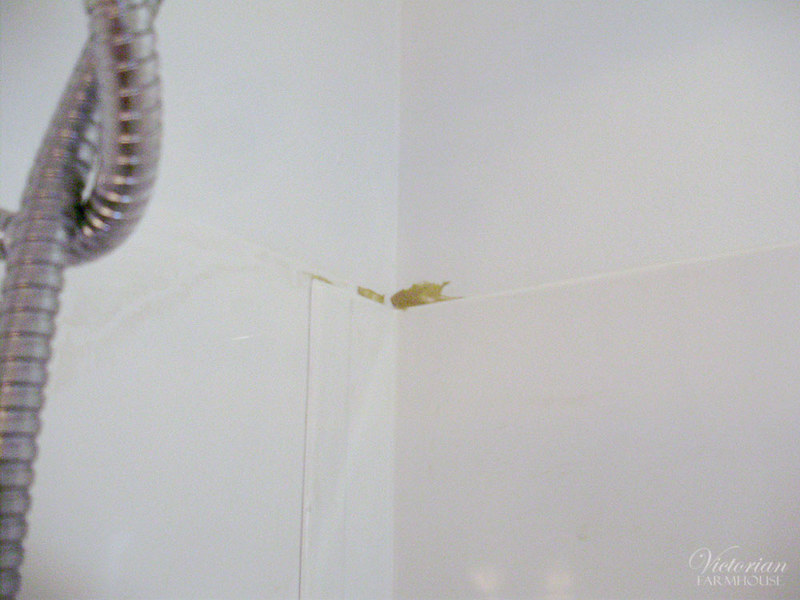
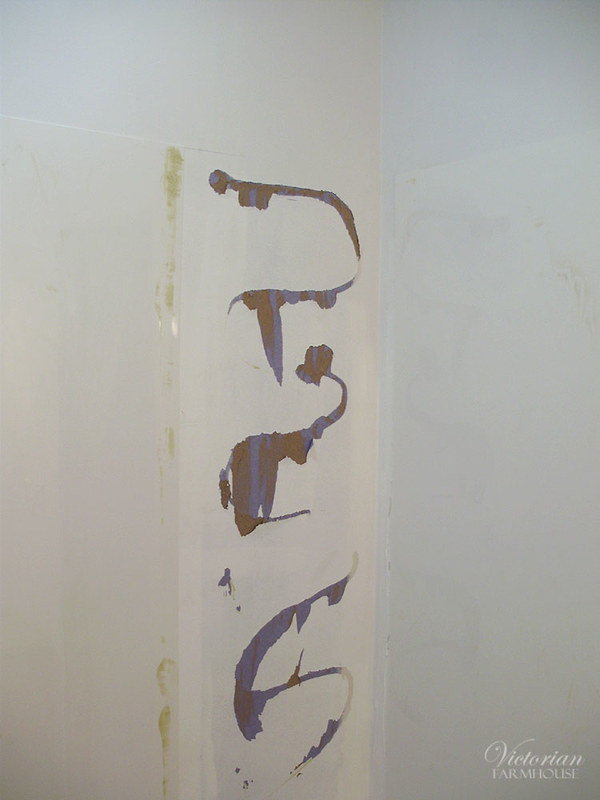
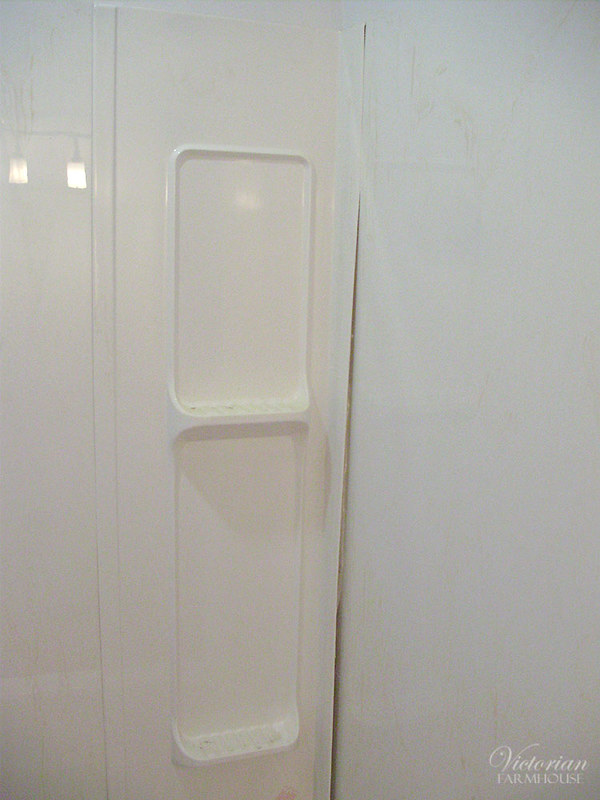
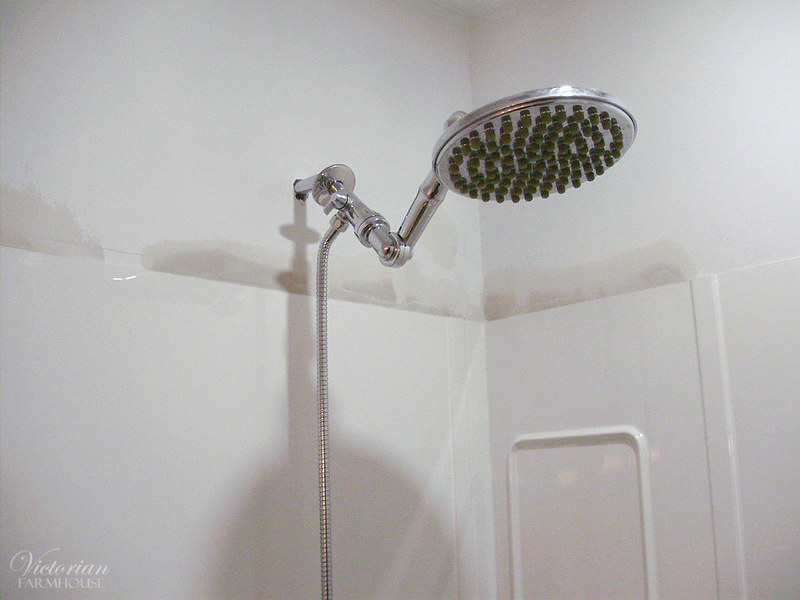
The next little problem was fixing the shower surround. In typical fashion, while we were gone, someone decided to install this for us. While I'm sure they meant well, they did a very poor job of it, and some of the joints were not glued in place properly, with impossible-to-fill 1/2" gaps. In addition, the panels were not cut properly so the entire top was staggered like steps.
PA130373

Adhesive smeared on the painted wall.
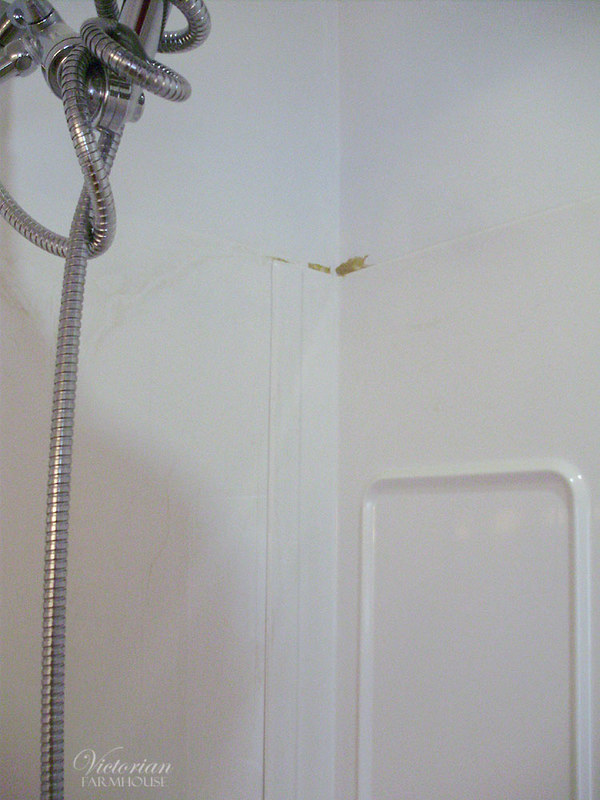
PA130374

PA130375

They had started some of the silicone, which looked pretty bad, too.
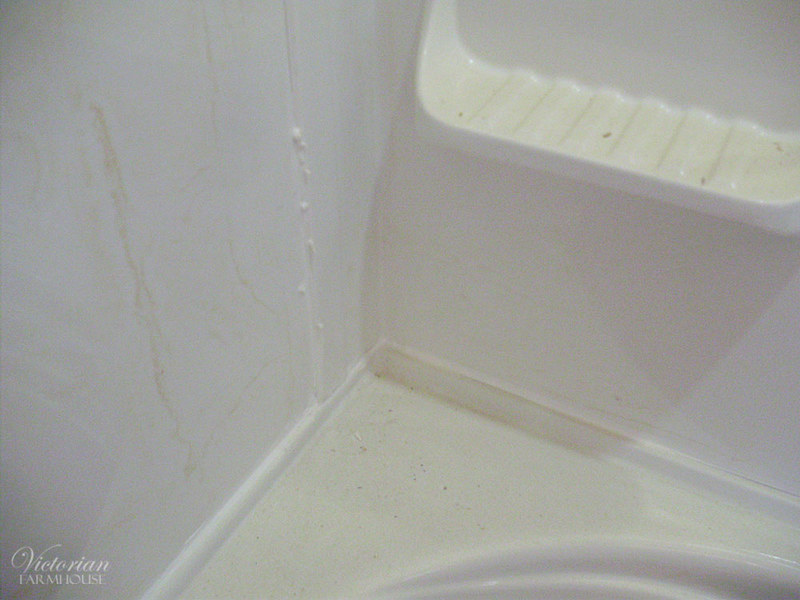
PA130376

Not exactly elegant, but at least this doesn't show.
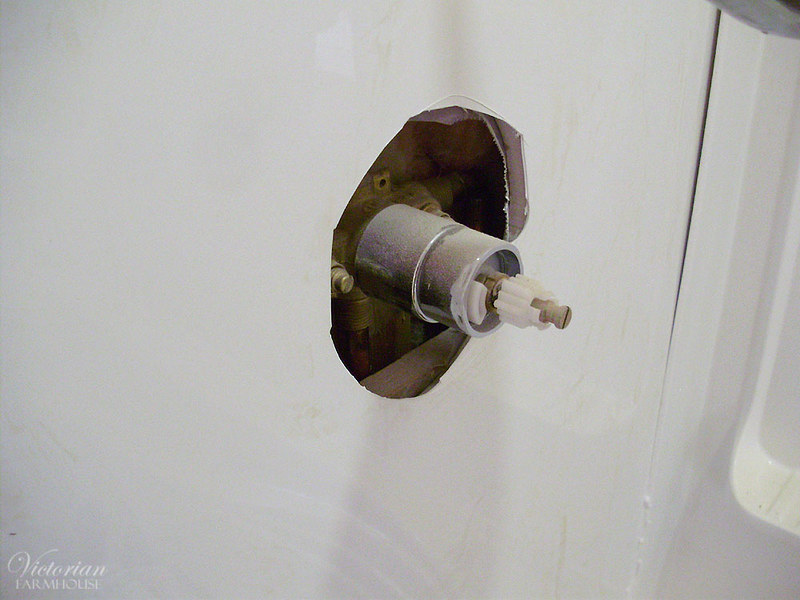
PA130377

I had to completely pull-off the right side corner piece and scrape off the adhesive.
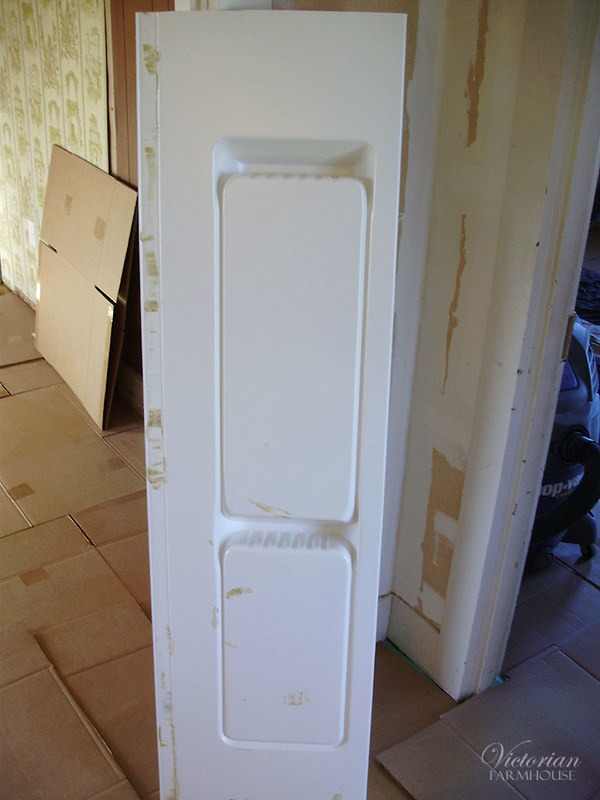
PA130387

PA130388

With the panel removed, Pierre and I were able to use a heat gun to soften the corner joint and open it up slightly. This made the entire section fit into the corner much better. We then reinstalled it. The tops of the panels were then trimmed slightly to make them look square and level. This was a lot of work that could have been avoided.

Lastly the glue was scraped and the drywall got patched.
PB290043

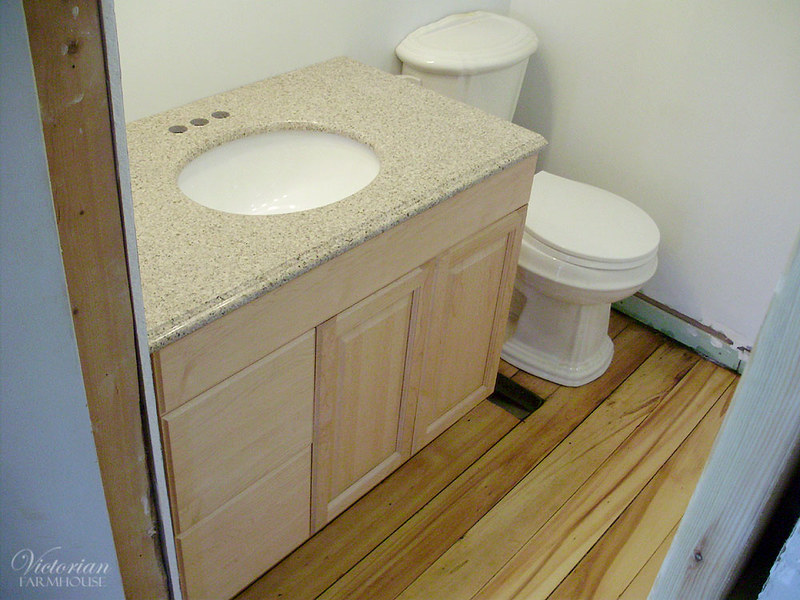
Another project was installing the vanity. This was supposed to be a quick and easy job, but it took most of a day. I worked on this largely by myself.
PA130383

Originally the drawers were on the left (like in the photo above), but later, I decided that they really should be on the right, so as to avoid any possible clearance issues with the door. Parts of the vanity had also been installed upside down, so that the door hinges didn't line up properly. I basically had to take it apart twice. I also had to take one of the doors home and trim it down because they were nearly touching in the centre (and they could not be adjusted farther apart).

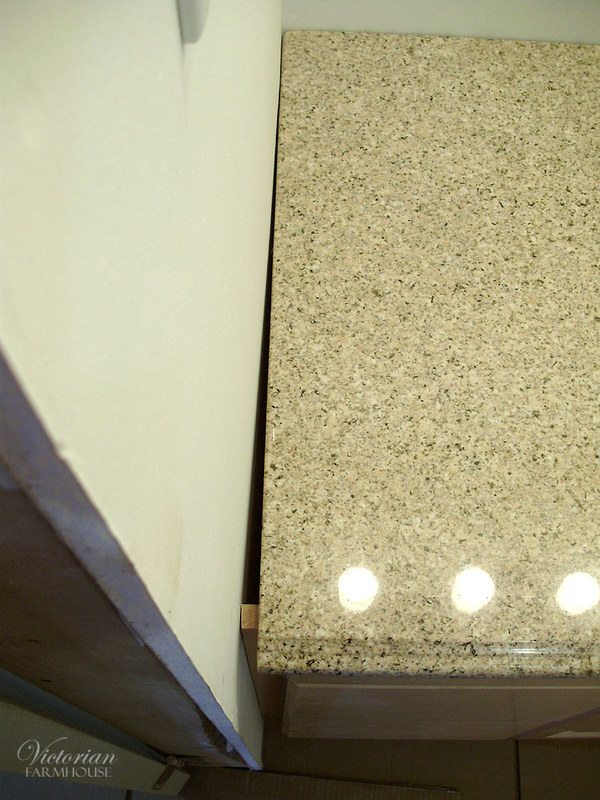
We also have a small issue with the short wall being crooked. Pierre wants to try to get another piece of granite backsplash to cover this (which would look great). The vanity only came with a back piece of backsplash. The door moulding will hide the worst of it near the bottom of the photo. Normally if you had granite installed, or if you had a particle board counter, you could just cut it to fit, but this is a pre-cut granite slab, and there's only barely 1/4" overhang on the other side (toilet side) so it's not wide enough to trim down.
PA130389

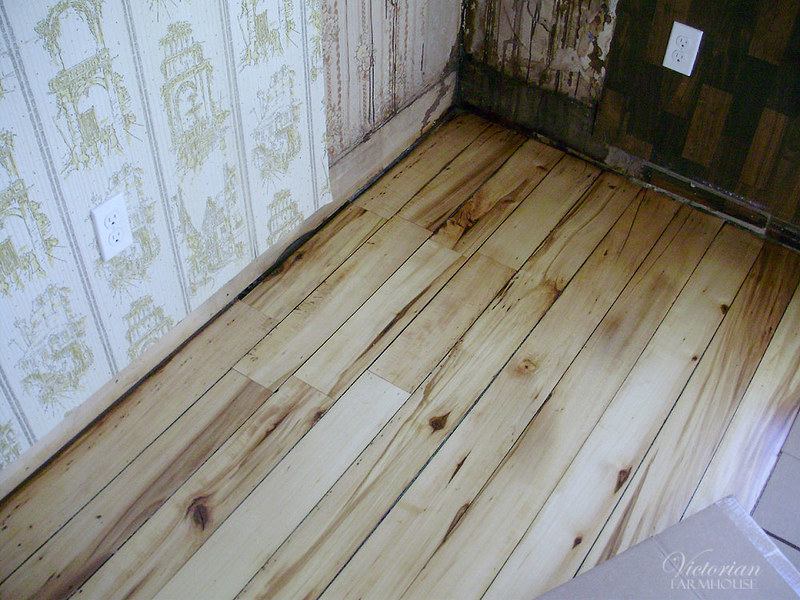
Here's a photo of the floor repair in the spare bedroom. This originally had a large circular hole for the wood stove pipe.
PA130386

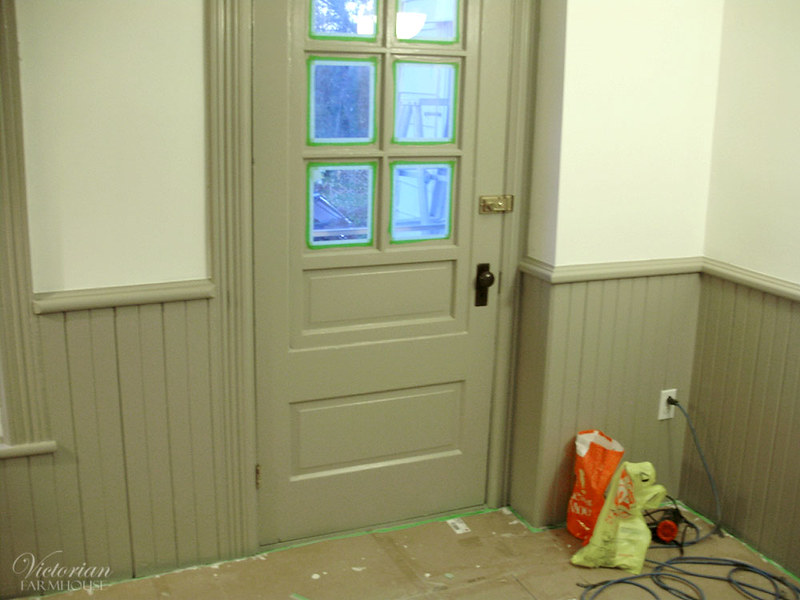
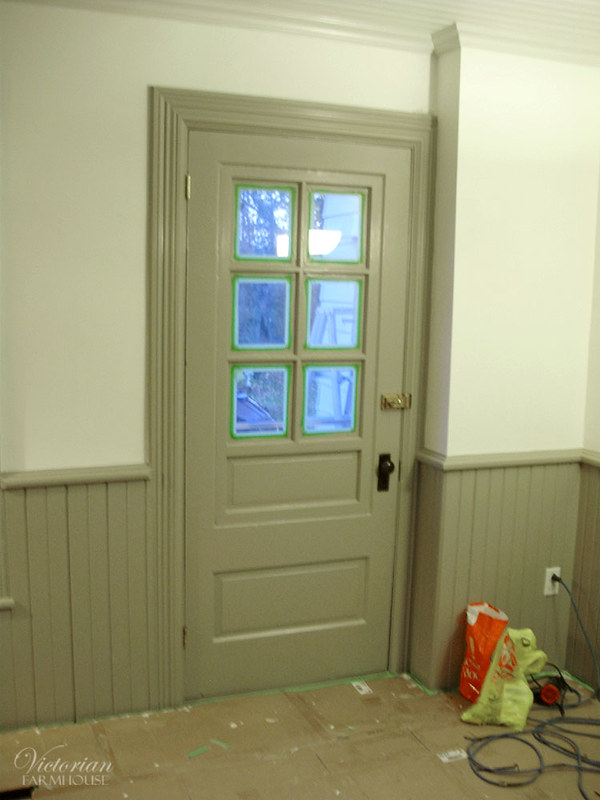
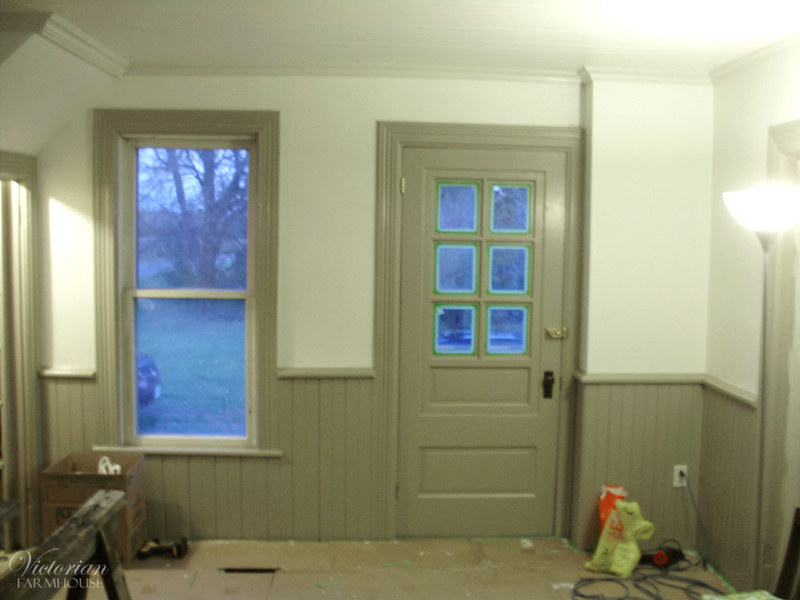
Here's the salvaged door now painted the same grey trim colour. This was a quick one day project that Pierre did while I worked on other things. We actually took down the door and removed the hardware to paint it.
PA150402

PA150403

PA150404

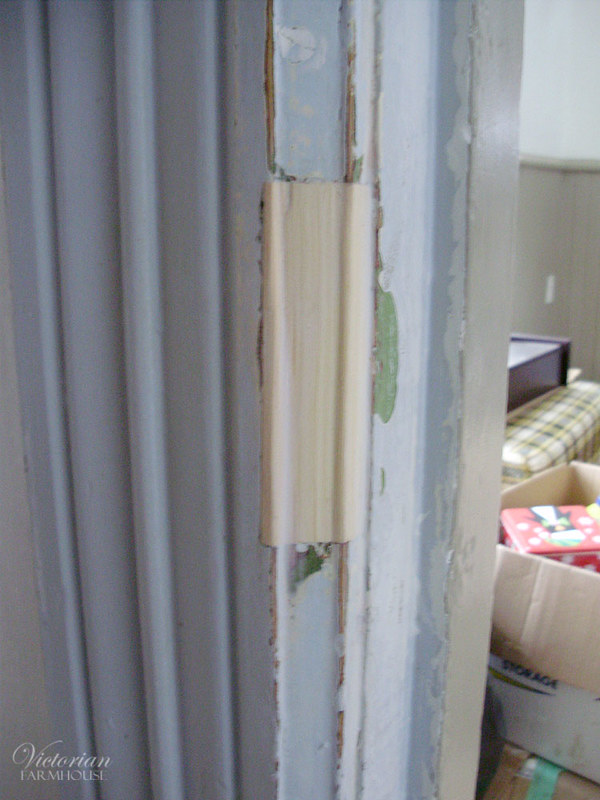
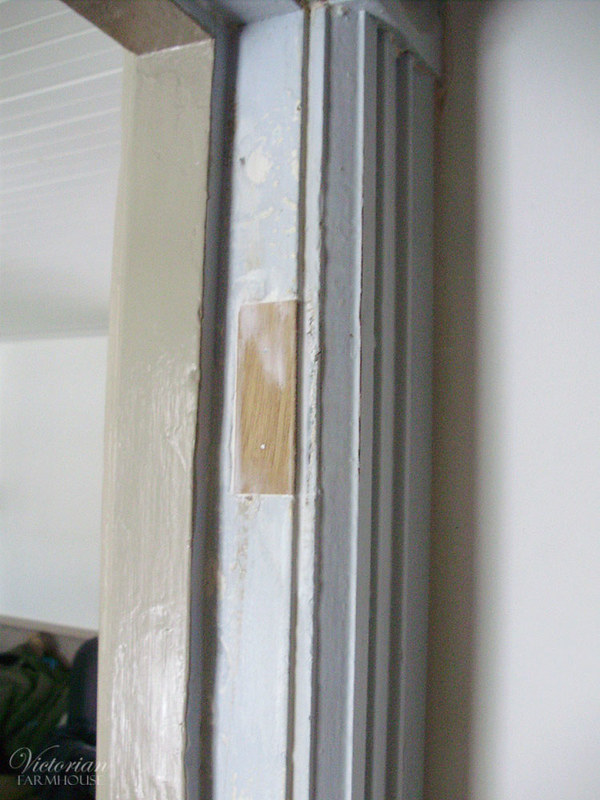
I was asked to fix some old hardware notches in the doorway into the main hallway. There used to be a door here, with door hardware like the doors upstairs. It makes no sense to ever put a door here again, so we wanted the holes covered up before painting. This is just a block of pine, chiseled and lightly glued in place, followed by Dap to fill the cracks.
PB280032

PB280033

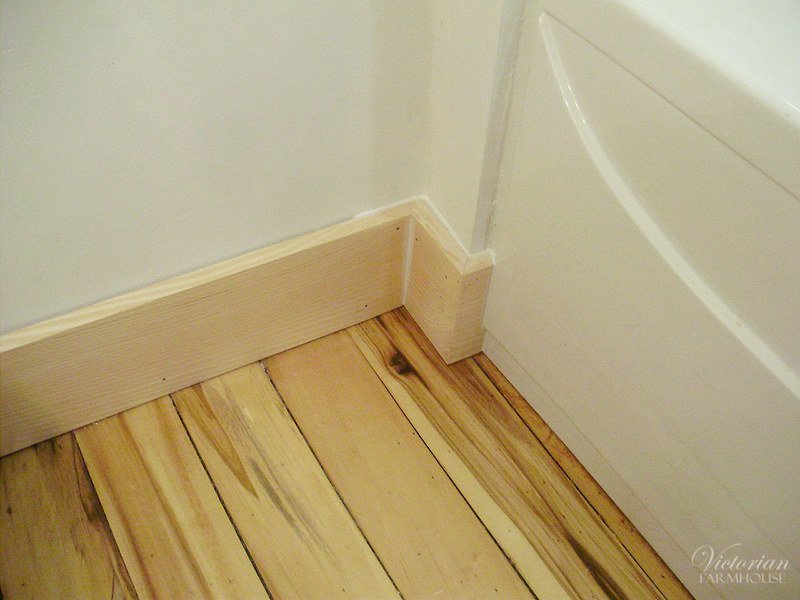
Mouldings in the upstairs hallway and bathroom.
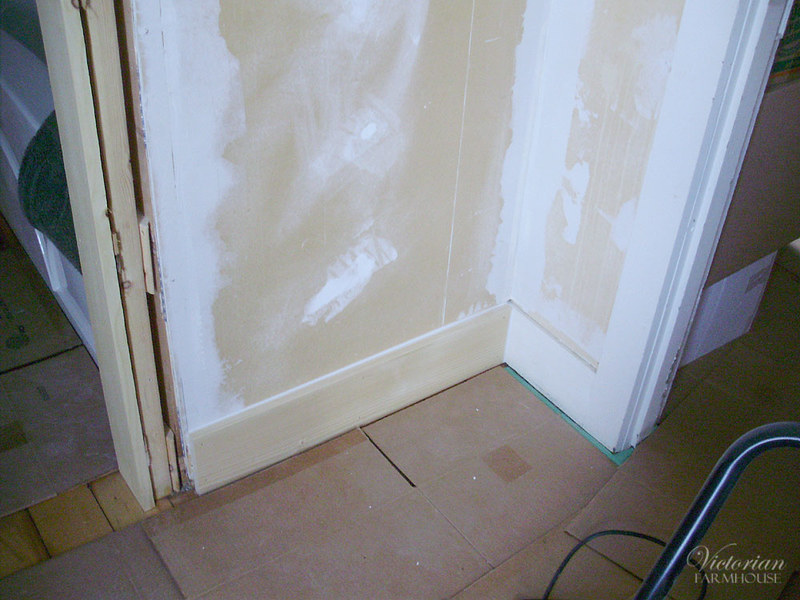
PB280034

PB280035

PB280036

This corner was quite crooked, so I had to get a little creative (lots of Dap). I also had to partially cut the front edge of the moulding to fit the raised design on the front of the tub.
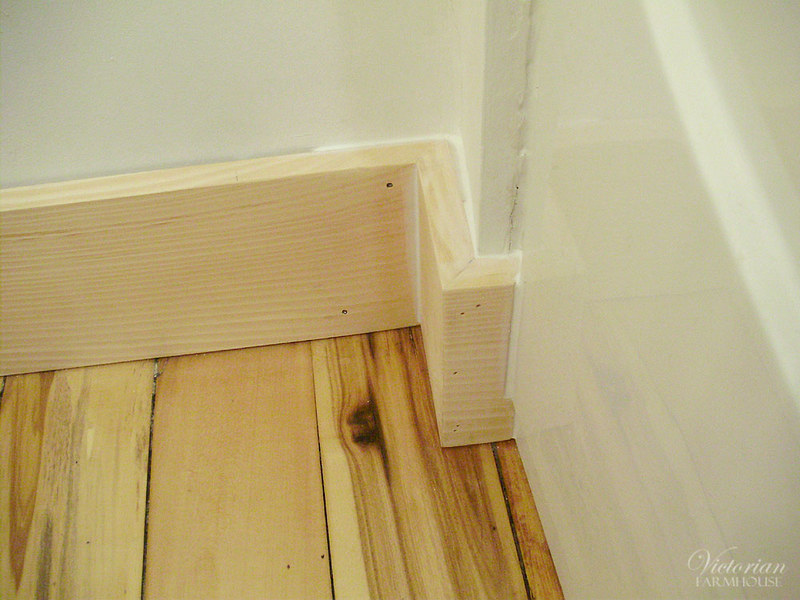
PB280038

Here's the corner at the top of the stairs that was previously all broken up and covered with various bits of wood and mouldings.
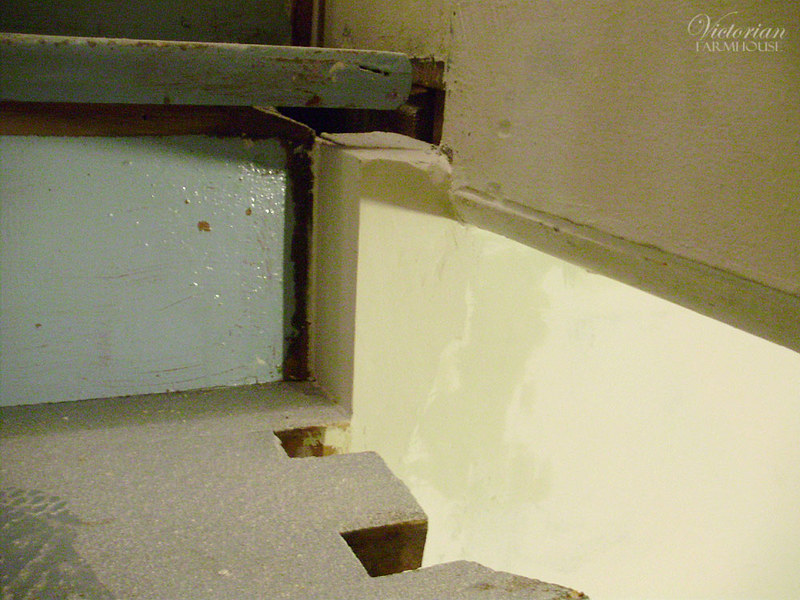
PB290040

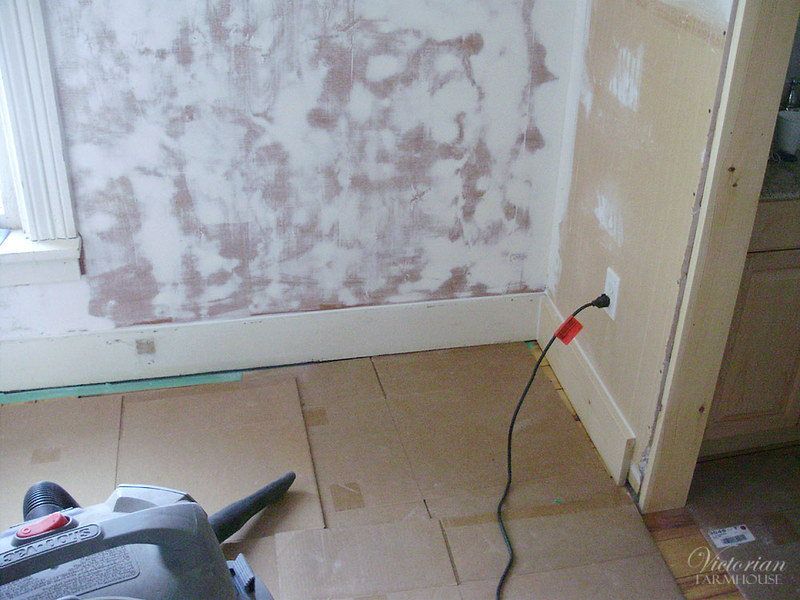
Some more plaster repairs in the stairwell wall.
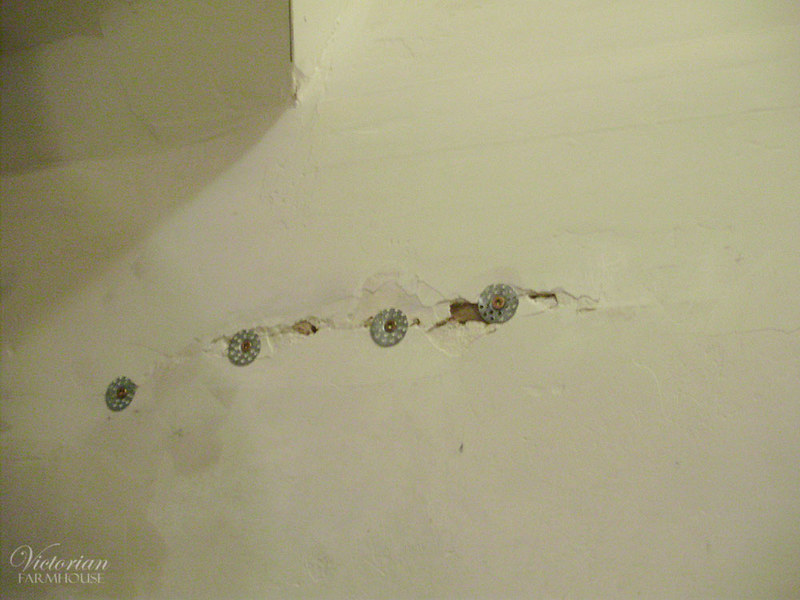
PB290041

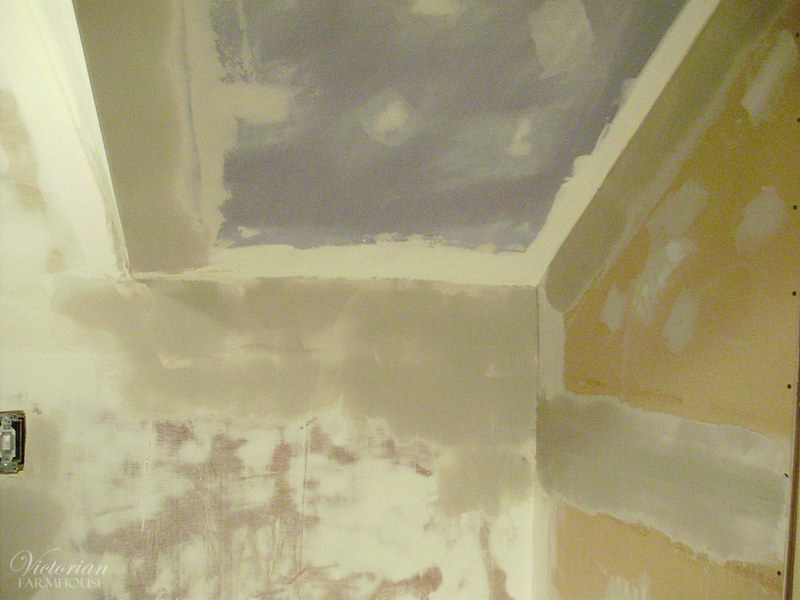
And yay! More drywall (upstairs hallway).
PB290042

Monday, December 14, 2015

DIY Scrap Leather Magnolia Wreath

I've had this idea in my head for over a year now. I really love the look of fresh magnolia leaves in Christmas decorations. They just have a wonderful contrast of rust brown, and a fresh glossy green. I thought that this wreath idea would be a great way to use some of my large quantities of scrap leather (all off-cuts from upholstery projects given to me - literally a large black garbage bag full).


The wreath was quite easy to make, and there are a lot of ways you could customize the look. I chose to make all the leaves the same size (roughly) using a pattern. The leaves are made up of 3 pieces each. A leather front (shades of greens, browns, and a few flat black ones), a brown backing paper (cardstock), and a length of floral wire. They are glued together with contact cement, then trimmed into leaf shapes. I tried spray adhesive, but it wasn't strong enough of a glue bond.

I had a look at a number of real magnolia wreaths as inspiration. Here are two simple ones:


You can make the wreath with a lot more leaves, smaller leaves, or with a mix of different sizes. You can also keep them all the same colour, or use only green and brown. I've also seen wreaths with lots of different bows, with flowers (real or silk), and with a mix of other decorations (red berries for more of a Christmas look). Mine is pretty plain, so it can work as a Fall/Winter wreath as well.


The leather scraps that I used were in a pretty wide variety of shades, glosses, and textures.


I custom made the wreath frame (heavy wire, thin wire wrap on the joints, solder, and then black spray paint), but you can use a commercially available one, or even a foam one. The leaves are individually wrapped onto the frame, and then bent into gentle curves.

Sunday, October 18, 2015

Small Side Projects 2

Here's a bit of a follow-up post to the last one. I mentioned a while ago the new step that I made for my Mom's place, and here's a photo of it in place.


She absolutely loves it, and I think it turned out pretty good. It looks like it still could have been a touch higher in the back right corner, but considering that each corner is a different height, and that I had to approximate a level line using only a 2 ft level, it came out pretty good.

Another small project that I finished just this week is that I FINALLY made some shelves for the built-in upstairs. It's been years already, and I just didn't feel like doing them, but this past week they got done, varnished, and installed.

The shelves are made from matching 3/4" thick fir plywood, and the front edges are capped with about a 1" wide strip of 1/4" thick solid fir taken from an old door casing.


That's about it for now. I will be working soon on my wing chair that's currently at the shop, so it should be fun to bring that home in a week or so. This was a cheap wing chair that I found, and I've modified the frame to make it look older. I have some old plain grey upholstery fabric that I bought years ago and never used, so basically, aside from spending a lot of time on it, this chair will largely have been free.

Saturday, October 03, 2015

Small Side Projects

I recently finished painting the area under the stairs on the main floor. The underside of the stairs will stay raw wood (I had put all the nicer sides facing inwards) and I trimmed-out the edges with some spare lengths of 1/4 round. As mentioned previously, the door was also trimmed-out in plain casings on the interior side (the same as the other closet interiors).

For the walls, I used the expensive "oops" paint that I had originally bought to use in the bathroom, back in 2010. It's a shade of beige, but I found it was slightly pinkish, and a bit too dark for the bathroom, so I picked a different paint colour. So here are the results. I actually think it looks pretty good. I might use the same paint for the back stairway/entrance at the back of the house on the second floor (since I only used a fraction of the can).


There was no space on the left side wall for a baseboard or any kind of trim along the bottom because the drywall ends up flush with the edge of the floor, and flush with the edge of the log beam on this side. Because of this, I left both sides without any kind of baseboard or bottom trim, and I just finished the drywall and painted right down to the floor.


The 1/4 rounds were painted the same colour as the walls. I figured that it might look weird if they were white (like the rest of the mouldings/trim) because they're so small.


This is a small job I did for my mother as her birthday gift. She needed the height of her landing (a cement stair) raised because it has sunk over the years to the point where the step to get into the house is close to a foot high. She has trouble with her joints, so this was starting to be a pain for her and she asked if I could make a step for her.

This step is CRAZY because all 4 corners are different heights (ranging from around 5" to 7 1/2") to accommodate for the uneven slant/sinking of the existing cement step. This new step was designed so that it sits over the top of the slab, creating a third (or fourth?) small step, while also ending up nice and level. It was a bit tricky because of all the odd measurements, but I got it made entirely from scrap wood (she didn't even care if it was painted or not), and I filled all the holes, primed it, and gave it 2 coats of light grey oil paint (already had this on hand). I installed it just a few hours ago, and it looks great!


I might go take a photo of the step in daylight for a better "after" photo, and so you guys can see the setup.

Other than these, I've also been working on completing the modifications of a cheapo wing chair that I'm redoing (for myself), and just today I started building an antique (repro/salvage) bookcase, using a pait of old doors out of the salvaged "firewood" (the first pair shown).

Thursday, June 11, 2015

Summer Already

Times have been a bit tough lately, and I haven't had much spare cash to get any projects done. I have one project I could be working on (stripping and refinishing the salvaged front door) but I need to set aside some time to work on that since it will be a gross messy job.

I also want to do a few "Cornwall Homes" updates, but there's really nothing overly exciting to report.

Currently I'm building some kitchen cabinets and doors for a client, and I've been keeping busy with small projects (clocks, paintings, and other odd bits). I've actually made a bit more progress on the Cherry Bookcase, and the bulk of the ornamental top is now done. Next will be a few structural braces on the back, and some turned finials.


I'm currently enjoying the last day or so left in some beautiful peonies, and enjoying the weather before summer really sets in.


Friday, May 09, 2014

Garage Wall Progress

Although I haven't posted much about it yet, the rebuilding of the garage wall is progressing nicely. So far I have:

- Jacked-up the roof for temporary support.
- Jacked-up the wall.
- Cut away the bottom of the wall.
- Cleaned-out about 200 lbs of rotted wood and dirt at the base of the wall.
- Made custom concrete forms for the new footings.
- Hand-mixed and filled the forms (26 1/2 bags of concrete, which was pure hell).
- Installed the bottom plate (pressure treated wood).
- Temporarily re-supported the wall at each 2x4 to remove the braces.
- Cut away the top of the wall.
- Installed the top plates (2 layers of 2x4s).

Now I'm at the point where I can install the vertical 2x4s (the easy part). I need to go pick up some more nails, and mark all the crowns in my 2x4s (the crowns are the cupped or curved edges).

I've been working at the "wall project" several hours a day, and I'm quite happy with the pace I've been managing to keep. The garage will be so nice and solid once this job is done. It will also mean that I can finally have the roof (safely) replaced. The roof should have been redone right after I bought the house, but after I discovered the condition of the wall I was afraid to have any workers up there.

I also plan to add electrical (probably with a small sub-panel) new lights, and drywall + paint.

I only plan to show a recap (photos) once the whole project is done (the wall - not the entire garage).

***

I've been keeping quite busy here. Aside from the "wall project" I've also redone the framing for the sloped ceiling in the back stairwell (which was quite tricky to figure out). That's now pretty much ready for insulation and wall covering (either drywall or beadboard).

I also started to do the taping and mudding in the "L" Room upstairs. I've been procrastinating about doing it for almost a year, and I was going to hire someone else to do it, but in the end, I'll do it myself. My imperfections (I'm only so-so at drywall) will just match the rest of the house.

Saturday, March 29, 2014

Upcoming Projects - Inlaid Maple Desk & Antique Walnut Secretary

Those of you who've been following the blog for a while will remember that I've been tolerating using a rickety old card table as a temporary computer desk since I moved here in 2010. I hate this setup, but I've been looking for a nicer table for a while, and nothing had turned up until recently (a month or two ago).

This little table, probably from the 50s or 60s was in the nearby Salvation Army Thrift Store, and was priced at 30$, so I couldn't resist buying it. It wasn't exactly what I had in mind, but was good enough for now.


What attracted me to this particular table was the inlay on the top, as well as the size (which is exactly the size I wanted for the room).

The large centre panel of veneer appears to be 1/4 sawn maple or beech, with a beautiful band of ebony, walnut and maple around it.


As-is, the table has two leaves on the ends that pop out on an unusual spring loaded mechanism. Although the leaves could be handy to have, I really hate how sloppily they sit when not in use, and how incredibly bulky they make the top of the table look.


I'm planning to remove the leaves and mechanism, keeping just the plain top, but this will leave me with two holes on each end board (photo above). I'm not sure if I want to just patch them with "removable plugs", or completely eliminate them by sawing off the top halves of the end boards and adding new maple boards there (and sanding/finish to blend it). I kind of hate to permanently modify the table. I may just end up keeping this table temporarily (I still want a fancy mahogany one with 2 drawers).

Here's how the table looks without the leaves (everything just unscrews):


The table will obviously need to be refinished, and the little drawer also needs new runners (one is broken, and the other is questionable).

***

I also have a small update on the beautiful old walnut desk/secretary. I was able to find some reproduction handles in a very similar pattern to the originals. These come in very limited patterns and styles (Eastlake/Victorian ring pulls) and they generally sell for around 6-12$ per handle. I did some extensive internet sleuthing and although these same handles are sold by dozens of hardware companies, some did not sell to Canada, and some had overly inflated shipping charges. In the end, I was very fortunate to come across one company that had them on clearance, and they were around 2$ each, with very reasonable shipping to Canada. All told, the set of 9 (they had only 9 in stock, and I may or may not need one for the drop down lid) cost me something around 40$ total!

The back plates are the same size as the originals, but the rings are larger. They also happen to be solid brass, which is even better than the brass-plated originals (but the originals are definitely staying). Once they darken, they will look great!