Thursday, February 02, 2017

Cornwall Homes

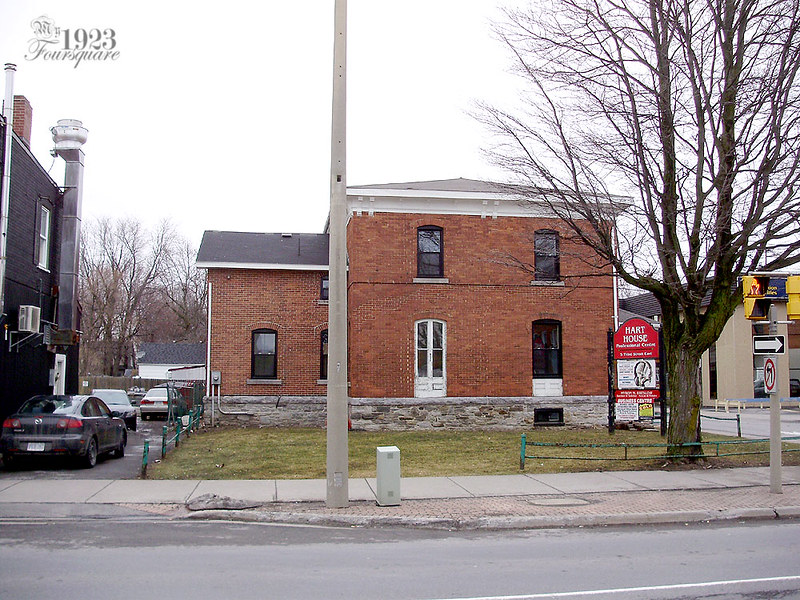
In this installment of Cornwall Homes, I have mainly 2 homes to discuss. The first is Hart House. This is a large historic house near downtown. I don't know the build date, but I would guess around 1870-1880. It has been converted to commercial use, and I believe it is currently in use by lawyers' offices. To the back and right of the building is a large addition that is very much in the style of the 1930s or 40s.

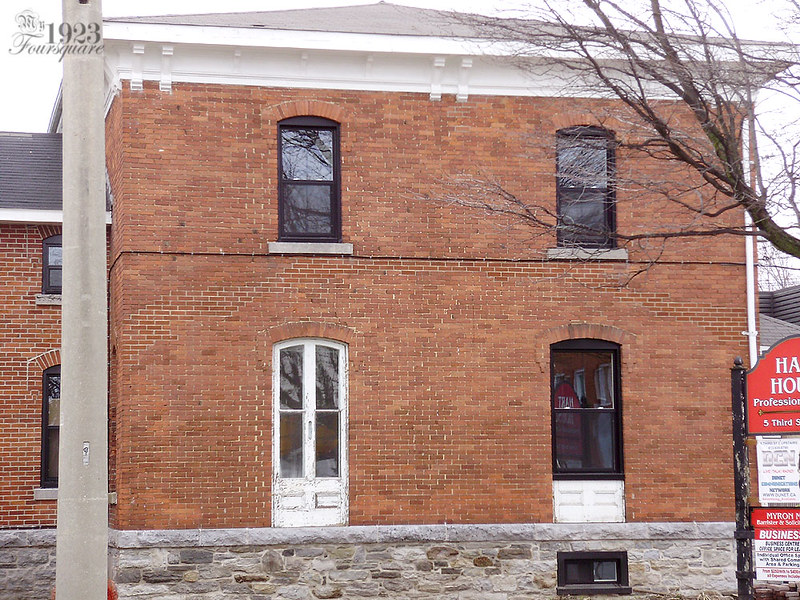
Recently (over the past 2 years or so), the building has been undergoing many renovations and upgrades. Some good, some not so good. Overall I'm happy that the building is being well maintained, but some of the changes have drastically altered some of the historic details and charm of the building. The first major change was the replacing of all the original wooden windows.

I noticed this when there was only ONE original window left in place. I don't really have any additional photos of the building before the changes. I might, but it would mean hours of searching through old files on my other computer or on CD backups.
P3070040

P3070041

You can see that the large bottom windows had a rather unique design which was not at all copied in the replacements. By far the most annoying change for me is the loss of the curved tops. Seeing squared tops in arched openings is always a sad sight. They did keep the original wooden panels in the bottom windows.

At the same time, the cornices and mouldings were freshly painted in white (which was badly needed). You can tell in the bricks that there might have been a porch on this side long ago.

This was taken a bit later. Note the painted panels on the left windows.
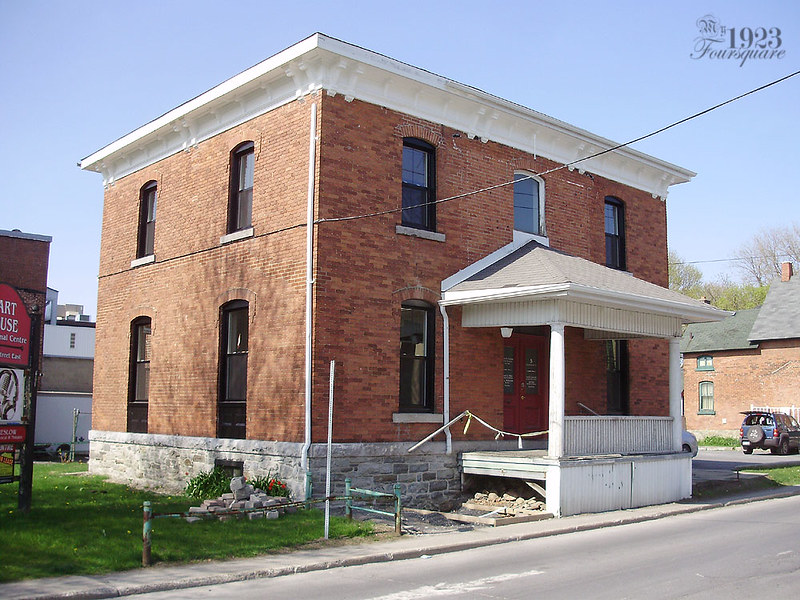
P5010116

This is the addition. It has a really beautiful little porch (unfortunately with a brand new door slapped in there).
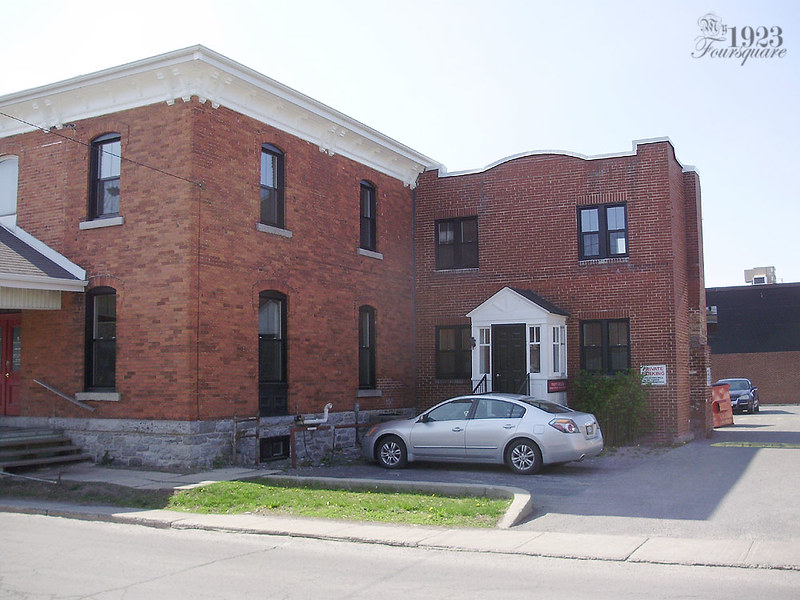
P5010117

More recently however, this happened, and I'm really NOT happy about it. While the old porch was not in the best shape, and it may not have been original to the house either (you can see outlines of a two-storey porch in the brickwork), I hate the look of this porch. Too square, too bulky, and what are those awful angled corner beams. This looks like it belongs on a log house. There is absolutely nothing elegant about this porch.
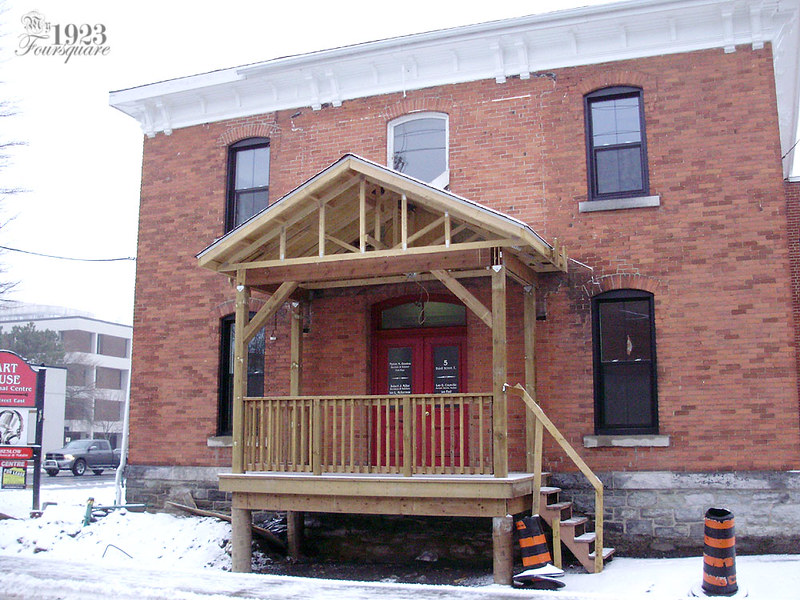
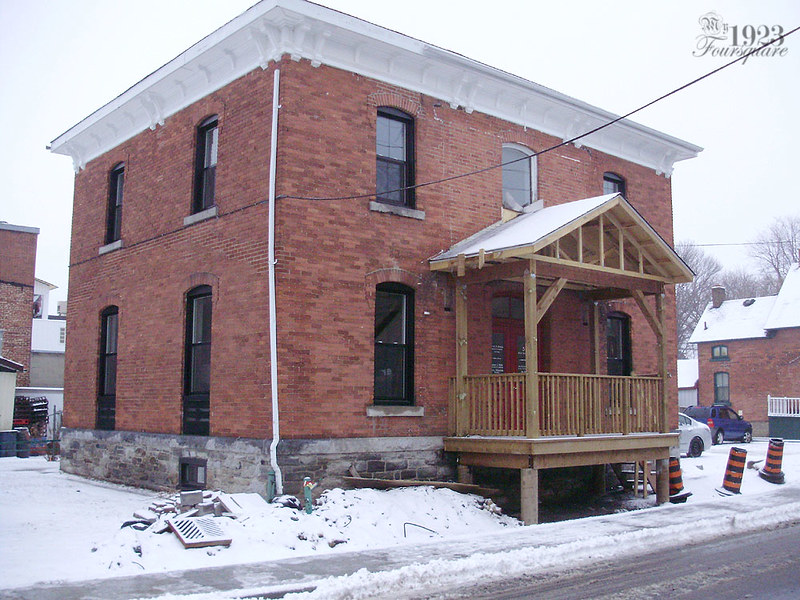
P1080262

P1080263

Next is a large duplex down the street from me on Cumberland. This place is a bit interesting because it was bought by someone I kind of know. For years it was a florist, and I can't remember what it was before that. The person who had bought it a few years ago is a lady who knows my boss, and her husband. The husband is a doctor (physiotherapist I think) and they wanted to fix up the place to live above, and have his practice and office on the main floor. When she said she was hoping to have the place ready in about 2-3 months I knew that was not going to work out.

They started working on it, and eventually it needed too many renovations and they sold it. Grant Marion (a local construction firm) bought it and flipped it. They did a fairly good job as far as I could see from the exterior, and it now has new owners.

Here was the house after the florist business closed down and the place went for sale. The random shutters and cement porch replacement were by far the most offensive changes to the building.
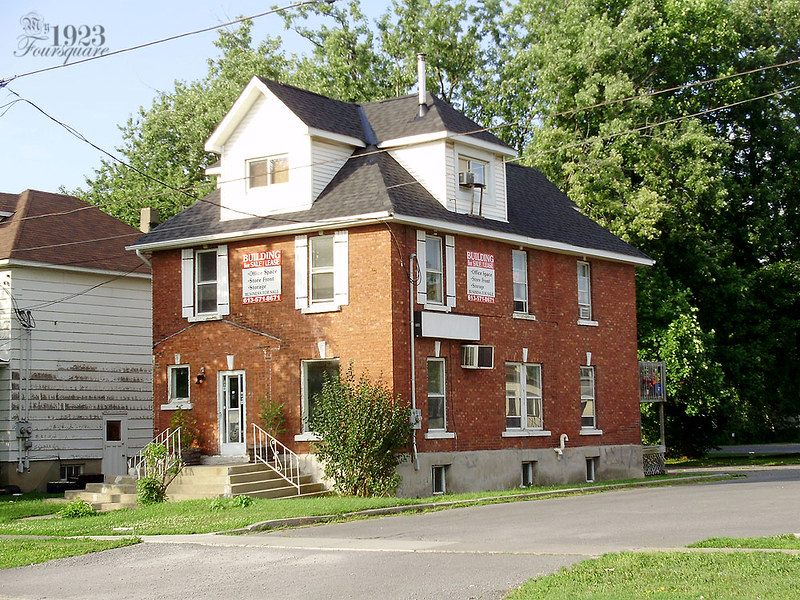
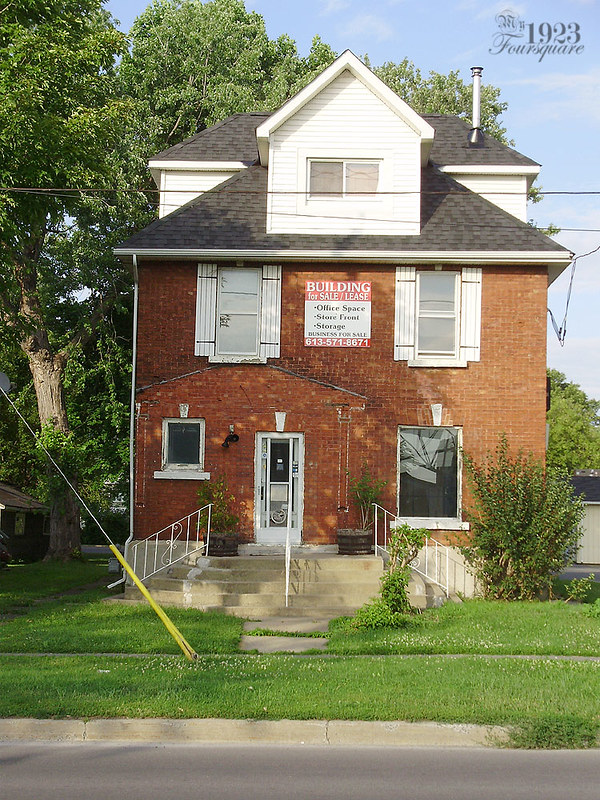
P7170481

P7170482

This was months lather after the lady and her husband had worked on it for a while. The cement landing was removed, and several of the old and previously replaced windows were changed.
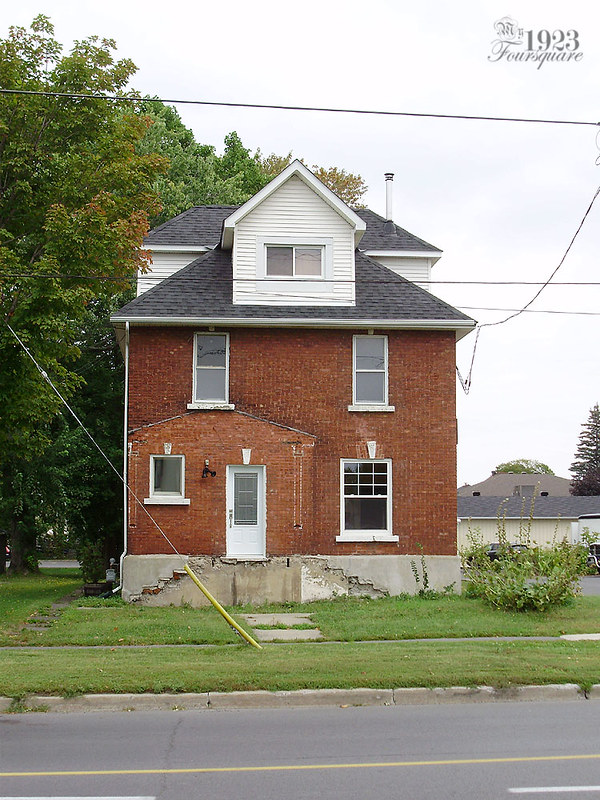
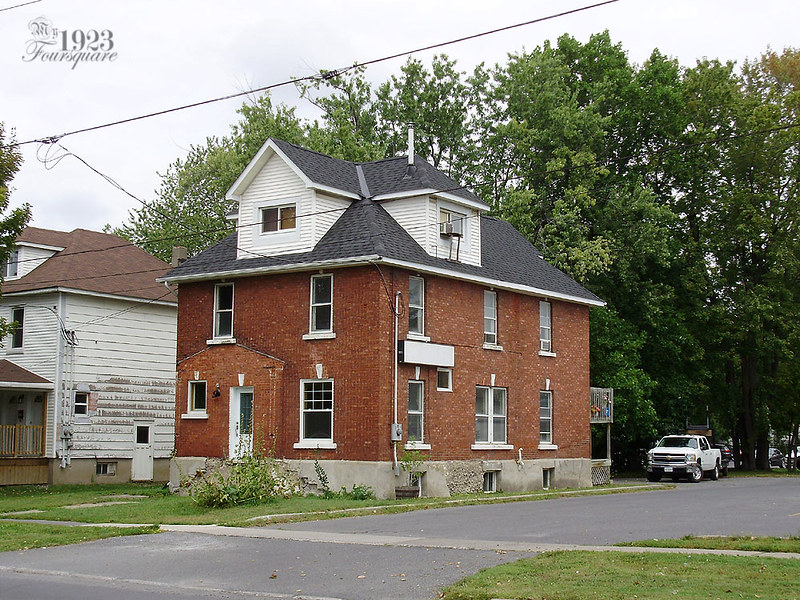
P8290097

P8290098

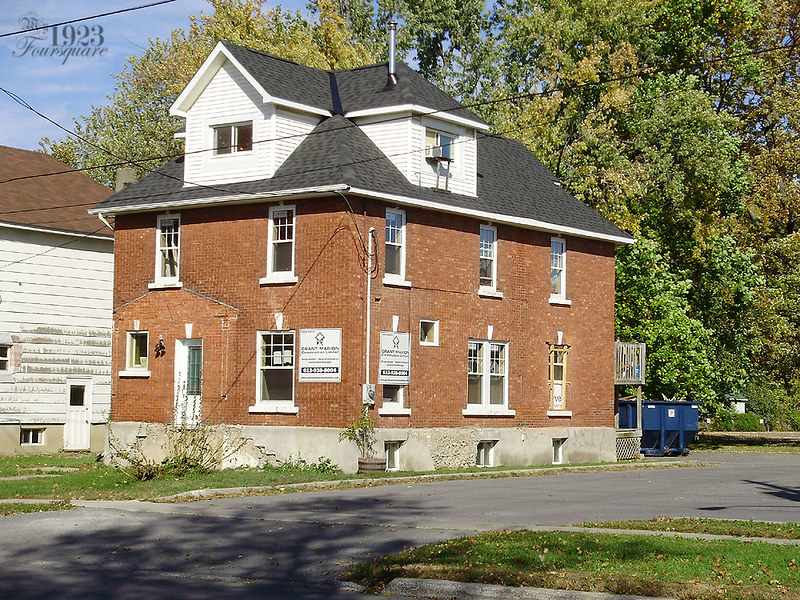
This was after Marion took over the project.
PA020304

Most of the windows (not all of them) were upgraded to this 6 over 1 pattern. I don't think it's historic, but I actually prefer these. They help to add a bit of detail to an otherwise plain brick building. Note the rear window.

PA020304

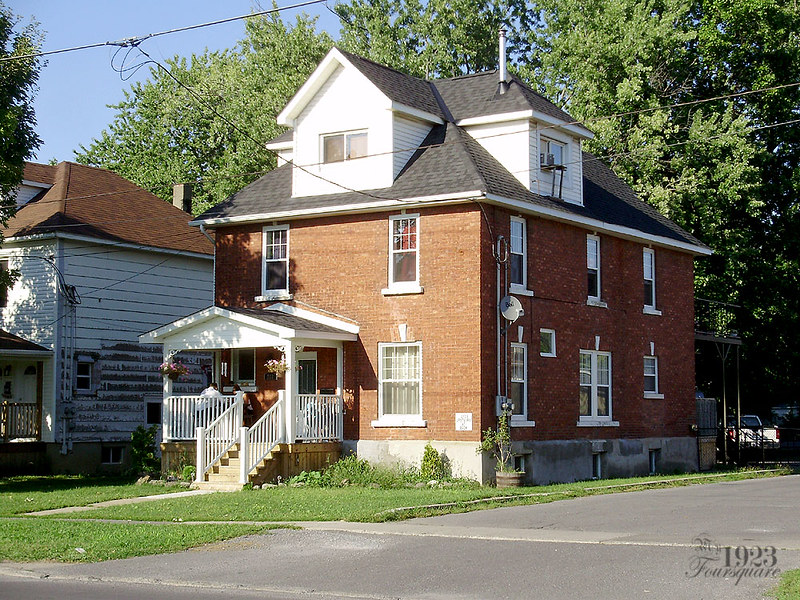
Lastly, here's the finished house with new owners. You can see that they shortened that back window (presumably for the kitchen), they rebuilt a plain new porch following close to the original outlines in the brick, and they installed a large black metal deck at the rear, which I should photograph at some point. Overall a pretty nice job. I think the only thing I'd like to see changed is to brick-up that air conditioner hole that was turned into a small window.
P8100232

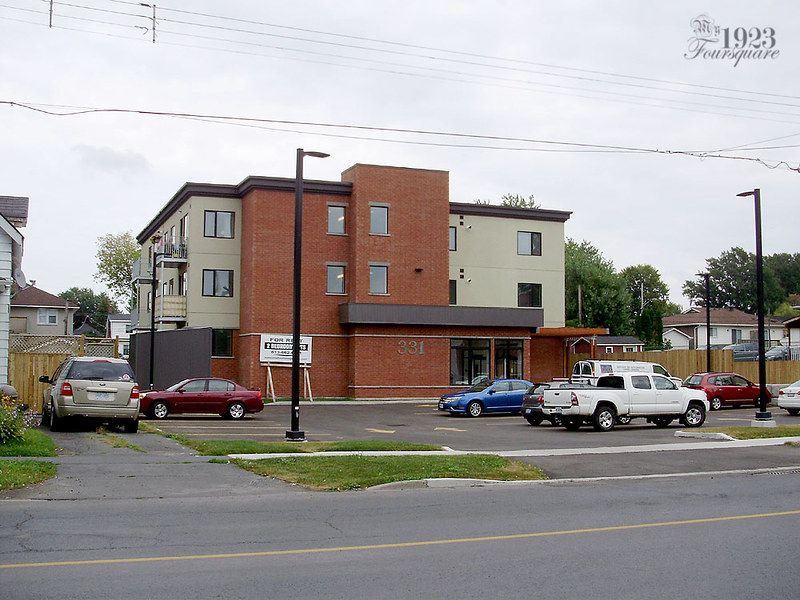
The last little bonus I wanted to post is to show the new apartment building that replaced the Rosemirlea apartments that burned down a few years ago. I consider this building to be a complete eye sore. I can't understand why they chose to have the parking lot right at the front like this.

You can read about the tragic Rosemirlea fire here: http://my1923foursquare.blogspot.ca/2013/06/tragic-fire-at-rosemirlea-apartments.html
P8290095

Victorian Farmhouse Part 25 - Odds and Ends

These are various small projects on the farmhouse that didn't really need their own separate posts. There are some that are continuations of projects I've already posted about, while others are new.
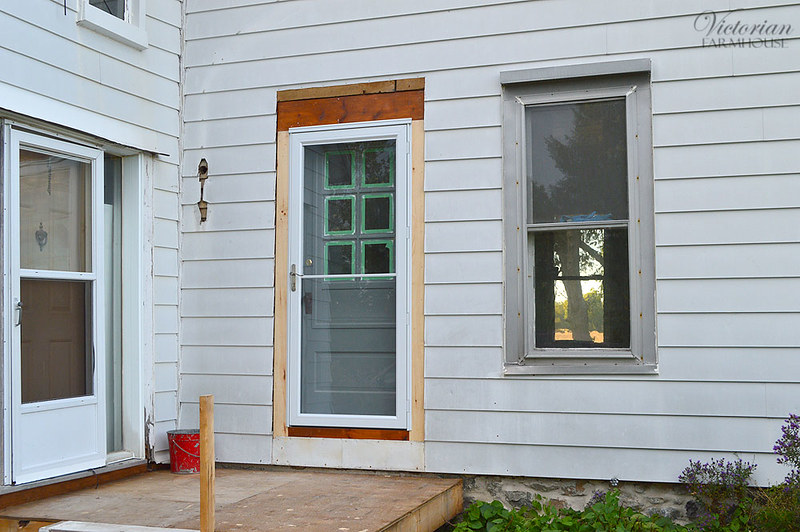
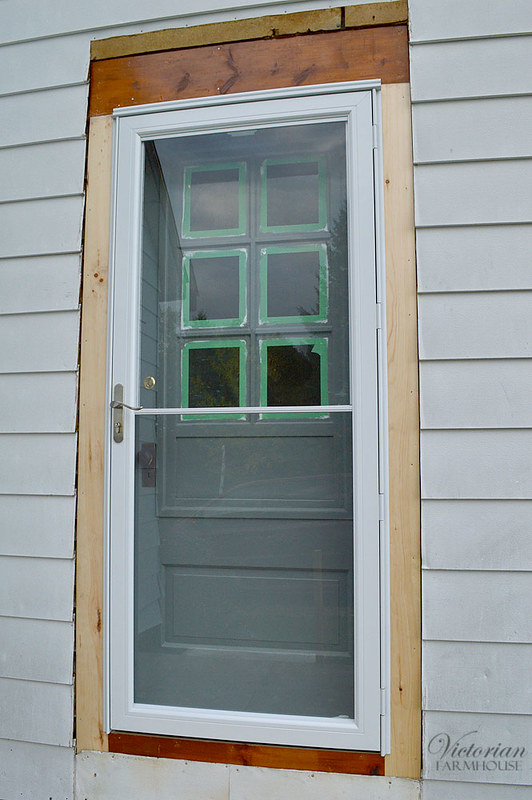
Exterior screen door. This was mentioned a while back, and I hadn't posted about it. The new door is about 2" shorter than the antique door, so the top of the door had a filler board installed to make things work. We still need to finish-up the mouldings and flashing around the door, but for now it will protect the old door from water and snow.

DSC_3543

DSC_3544

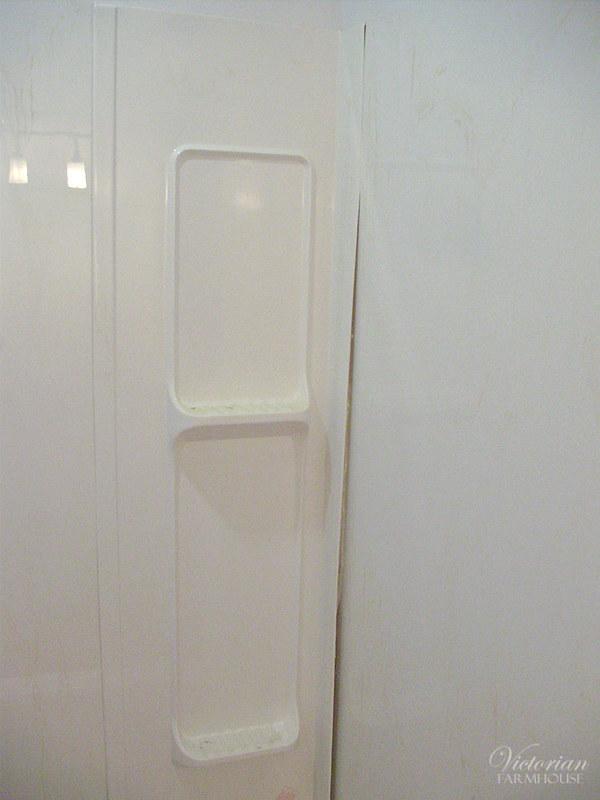
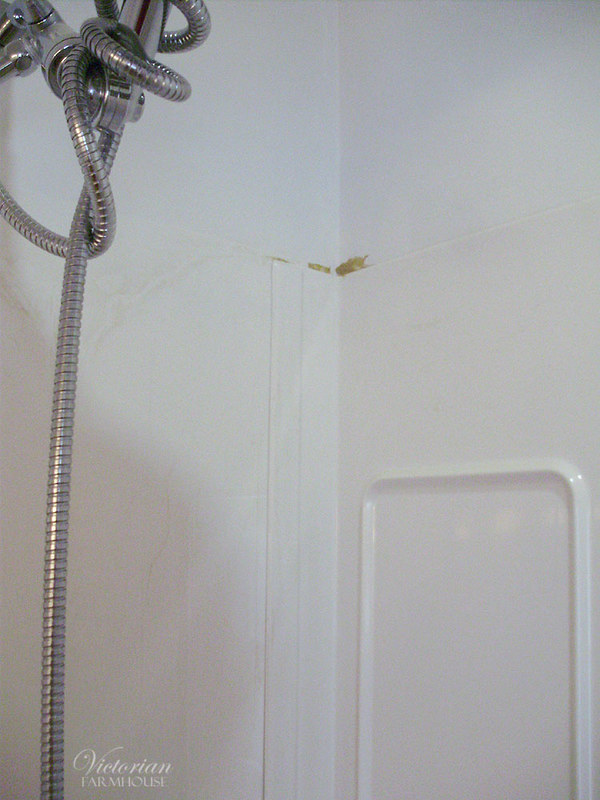
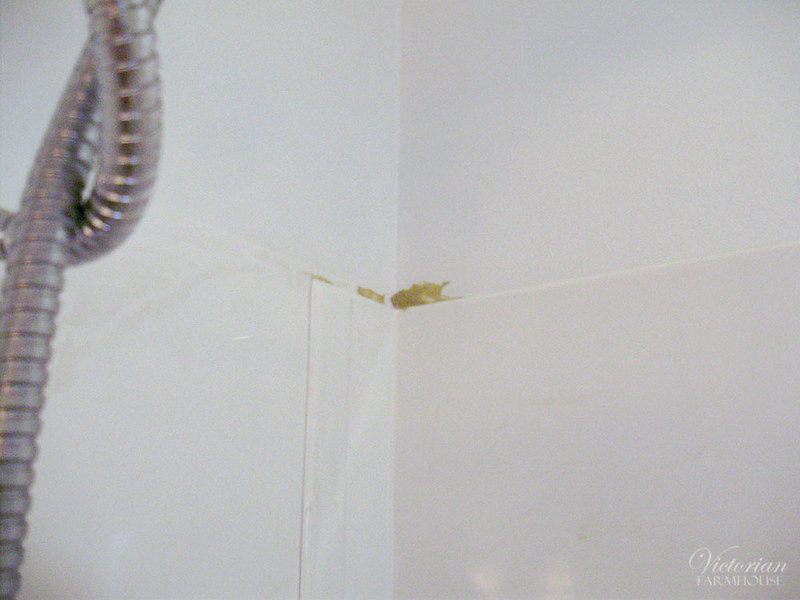
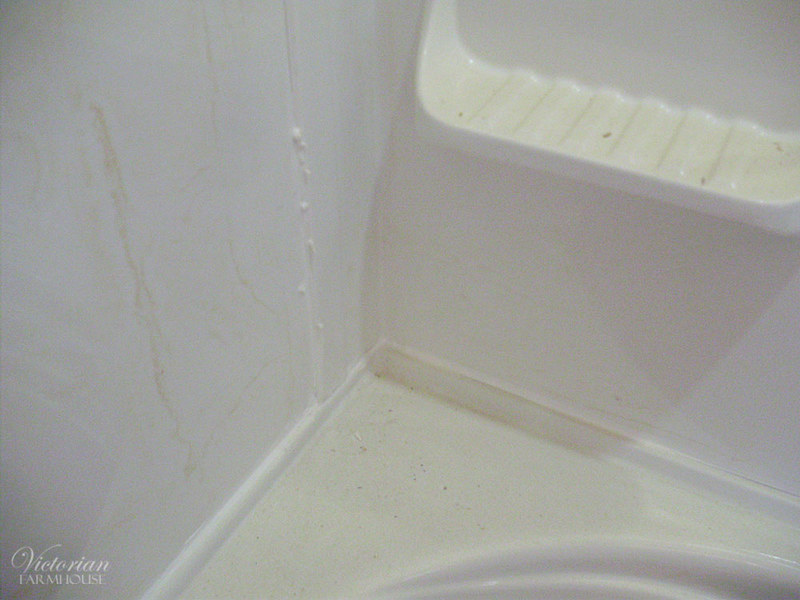
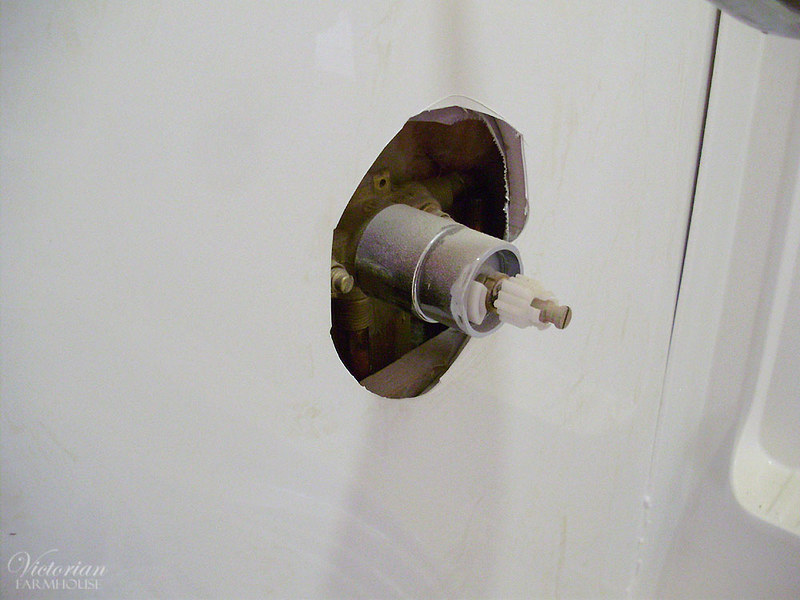
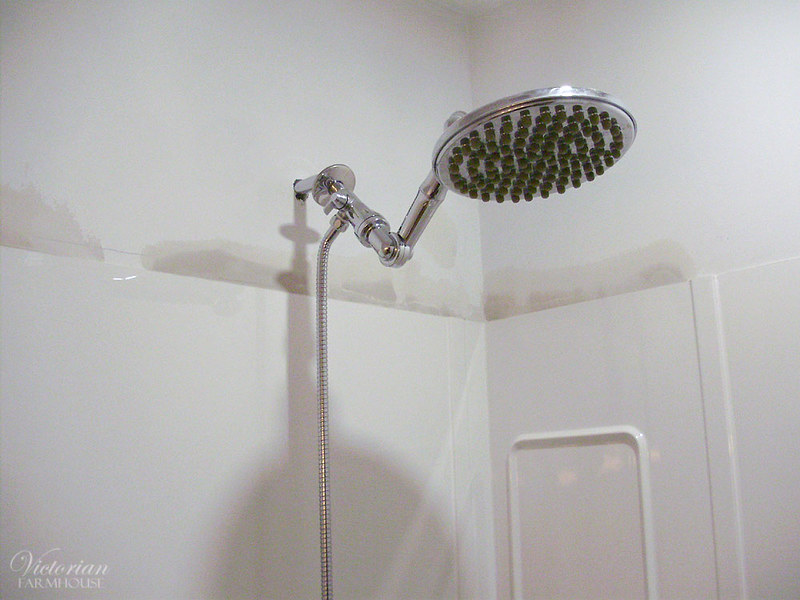
The next little problem was fixing the shower surround. In typical fashion, while we were gone, someone decided to install this for us. While I'm sure they meant well, they did a very poor job of it, and some of the joints were not glued in place properly, with impossible-to-fill 1/2" gaps. In addition, the panels were not cut properly so the entire top was staggered like steps.

PA130373

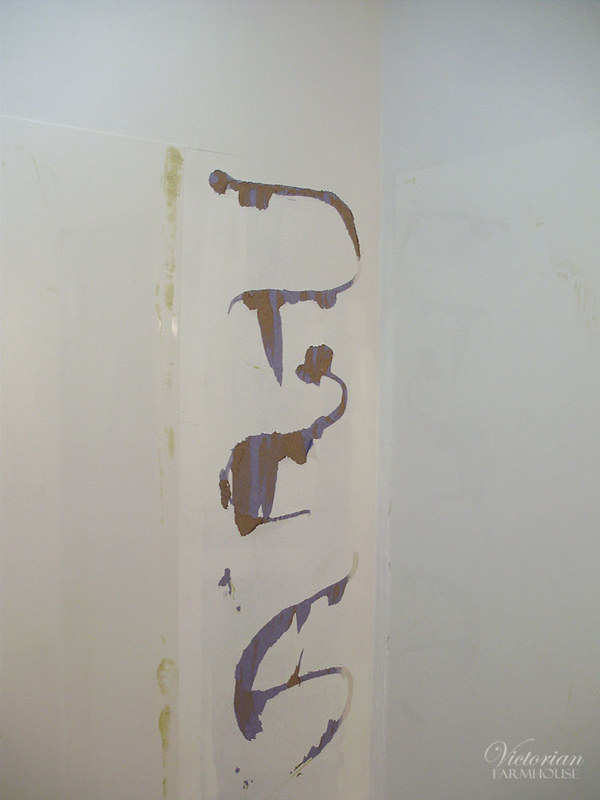
Adhesive smeared on the painted wall.

PA130374

PA130375

They had started some of the silicone, which looked pretty bad, too.

PA130376

Not exactly elegant, but at least this doesn't show.

PA130377

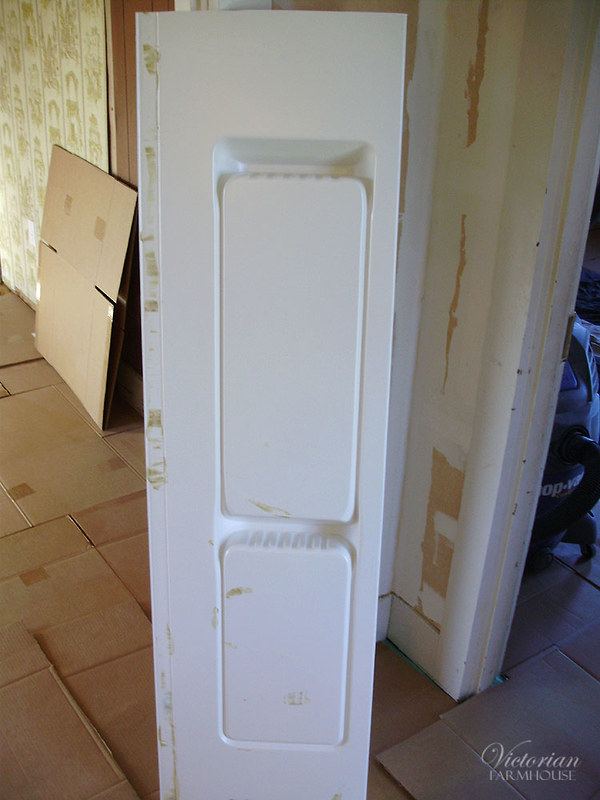
I had to completely pull-off the right side corner piece and scrape off the adhesive.

PA130387

PA130388

With the panel removed, Pierre and I were able to use a heat gun to soften the corner joint and open it up slightly. This made the entire section fit into the corner much better. We then reinstalled it. The tops of the panels were then trimmed slightly to make them look square and level. This was a lot of work that could have been avoided.

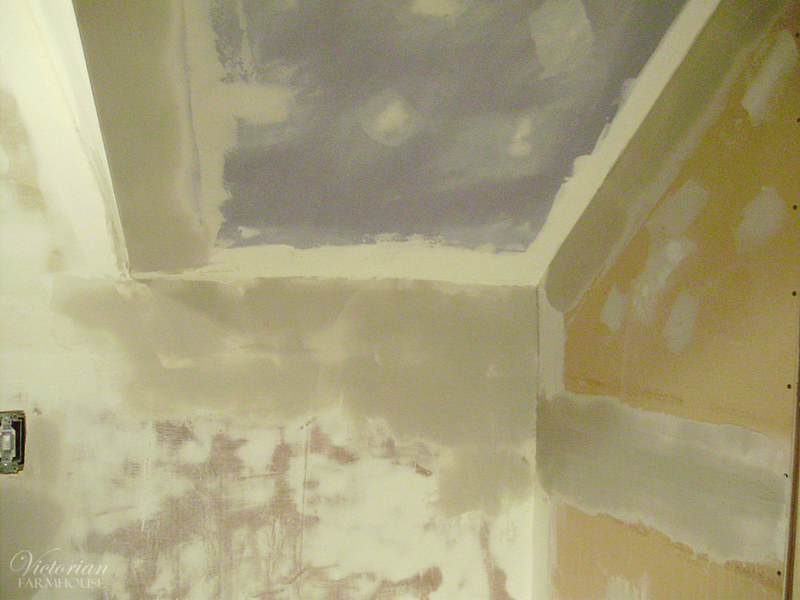
Lastly the glue was scraped and the drywall got patched.

PB290043

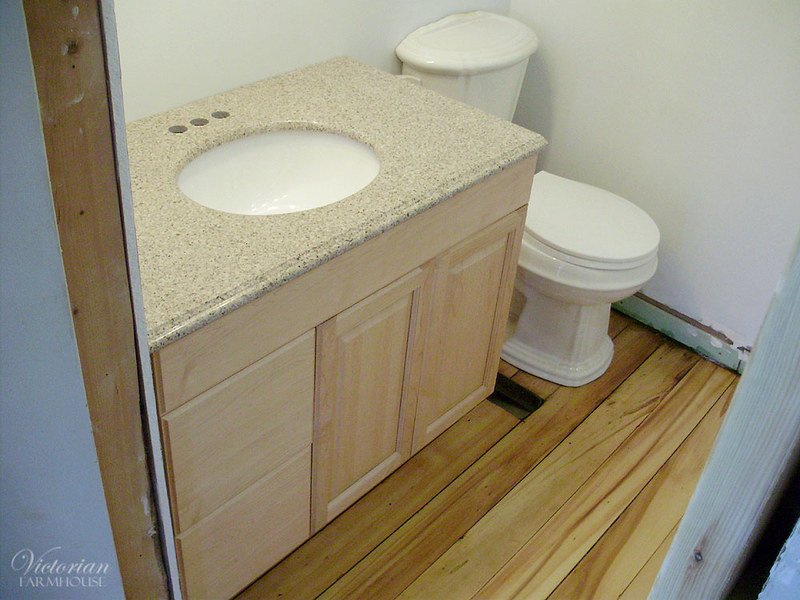
Another project was installing the vanity. This was supposed to be a quick and easy job, but it took most of a day. I worked on this largely by myself.

PA130383

Originally the drawers were on the left (like in the photo above), but later, I decided that they really should be on the right, so as to avoid any possible clearance issues with the door. Parts of the vanity had also been installed upside down, so that the door hinges didn't line up properly. I basically had to take it apart twice. I also had to take one of the doors home and trim it down because they were nearly touching in the centre (and they could not be adjusted farther apart).

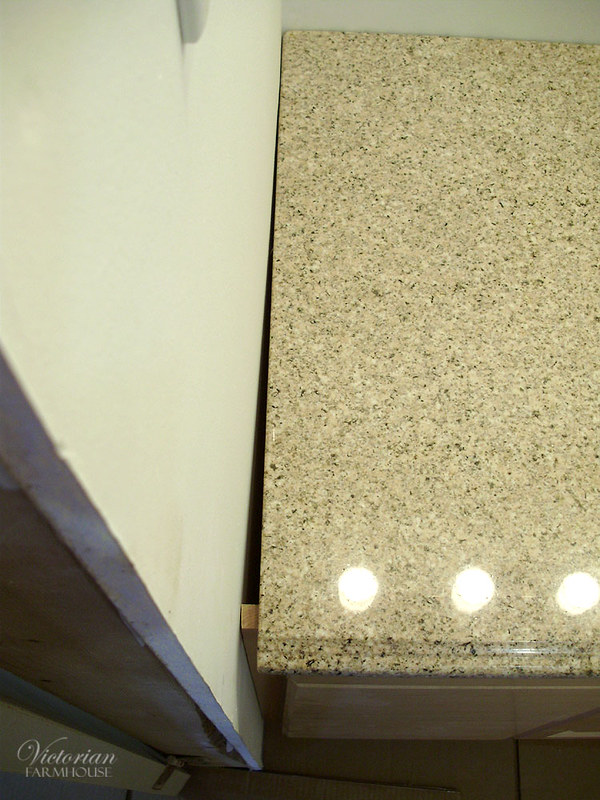
We also have a small issue with the short wall being crooked. Pierre wants to try to get another piece of granite backsplash to cover this (which would look great). The vanity only came with a back piece of backsplash. The door moulding will hide the worst of it near the bottom of the photo. Normally if you had granite installed, or if you had a particle board counter, you could just cut it to fit, but this is a pre-cut granite slab, and there's only barely 1/4" overhang on the other side (toilet side) so it's not wide enough to trim down.

PA130389

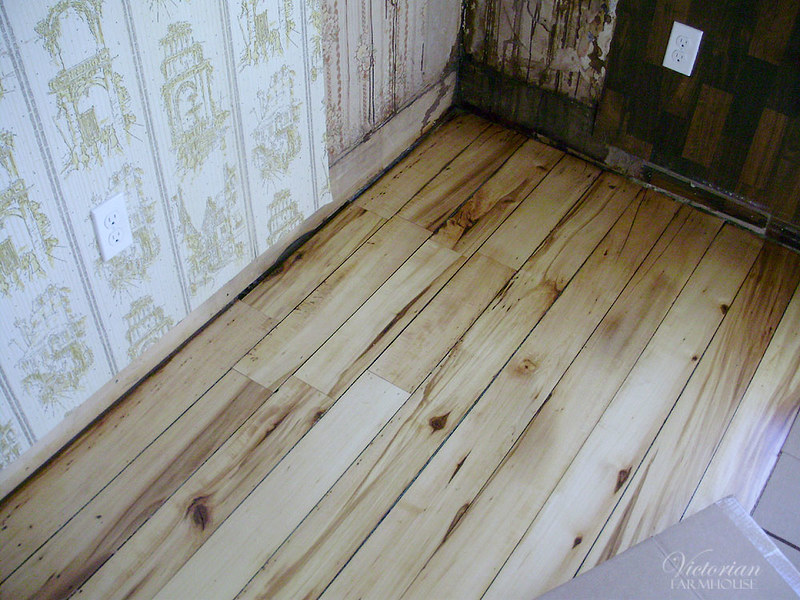
Here's a photo of the floor repair in the spare bedroom. This originally had a large circular hole for the wood stove pipe.

PA130386

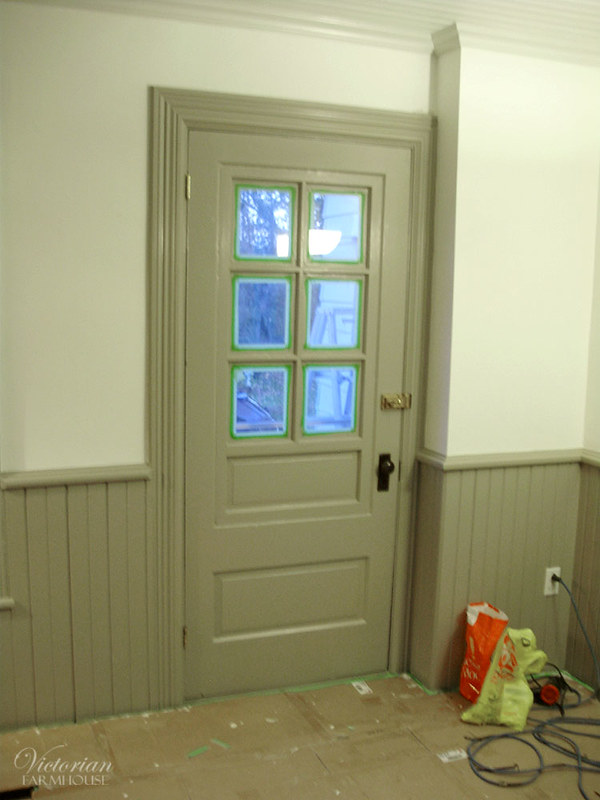
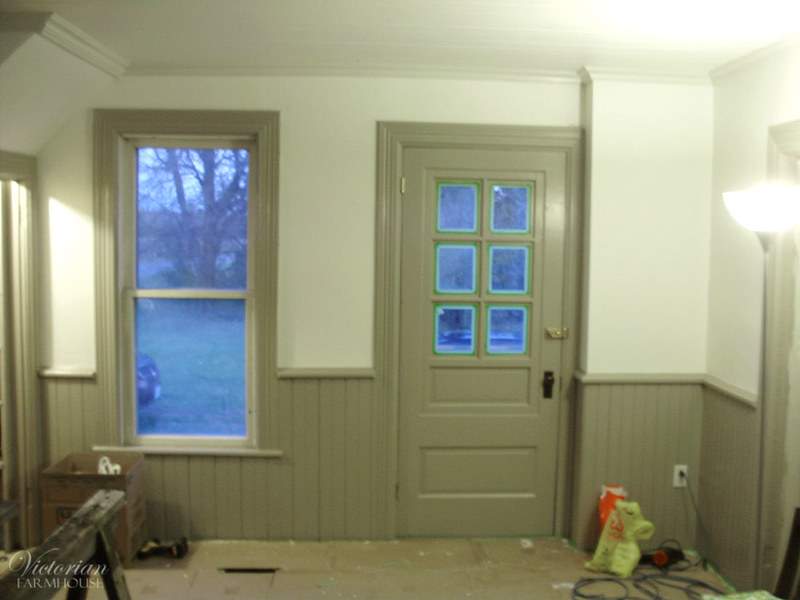
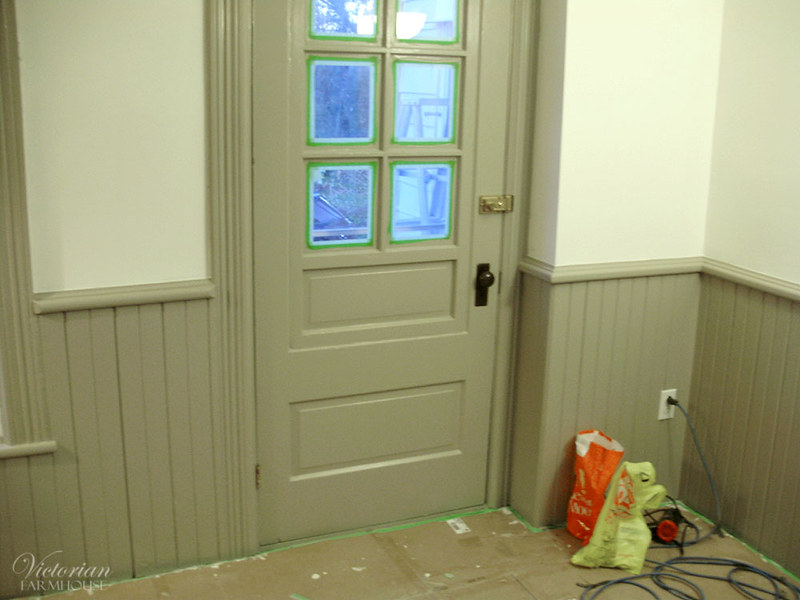
Here's the salvaged door now painted the same grey trim colour. This was a quick one day project that Pierre did while I worked on other things. We actually took down the door and removed the hardware to paint it.

PA150402

PA150403

PA150404

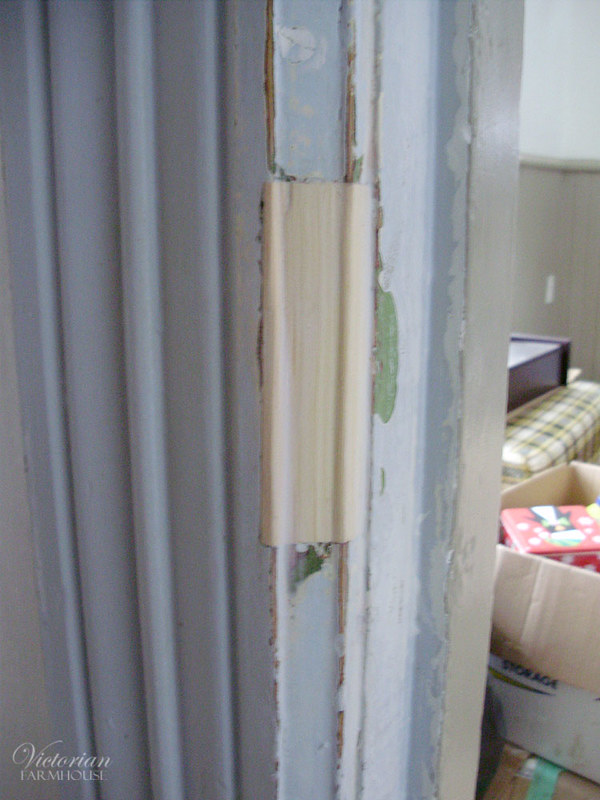
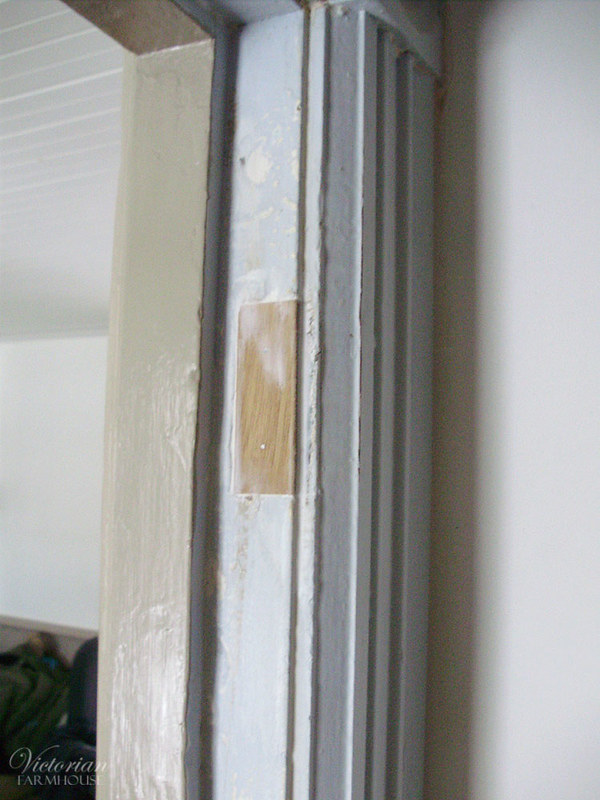
I was asked to fix some old hardware notches in the doorway into the main hallway. There used to be a door here, with door hardware like the doors upstairs. It makes no sense to ever put a door here again, so we wanted the holes covered up before painting. This is just a block of pine, chiseled and lightly glued in place, followed by Dap to fill the cracks.

PB280032

PB280033

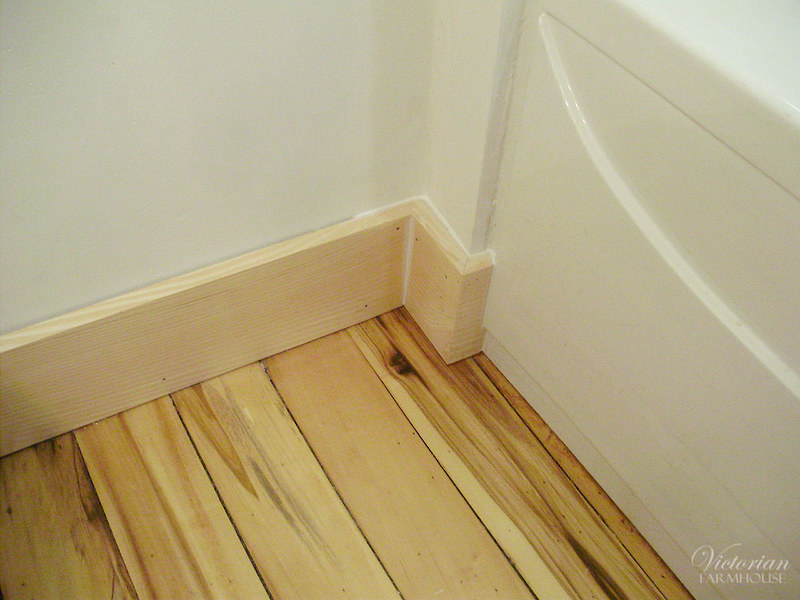
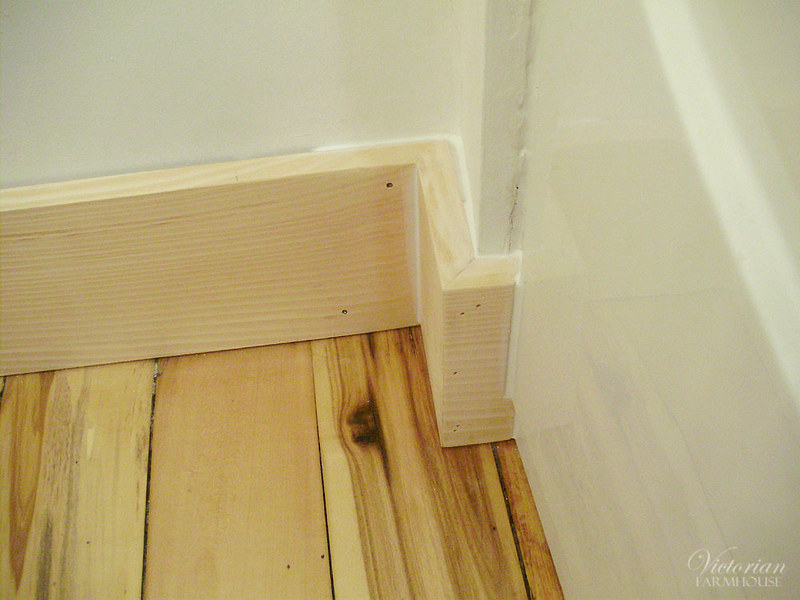
Mouldings in the upstairs hallway and bathroom.

PB280034

PB280035

PB280036

This corner was quite crooked, so I had to get a little creative (lots of Dap). I also had to partially cut the front edge of the moulding to fit the raised design on the front of the tub.

PB280038

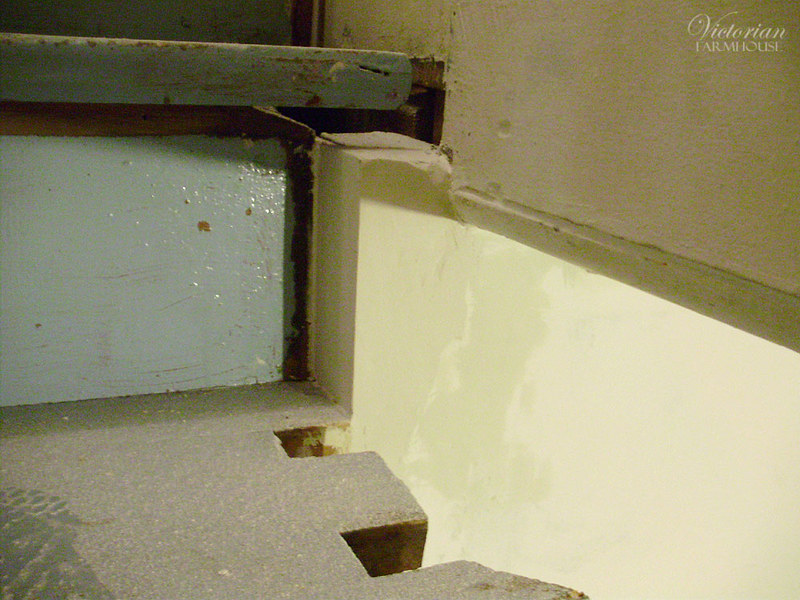
Here's the corner at the top of the stairs that was previously all broken up and covered with various bits of wood and mouldings.

PB290040

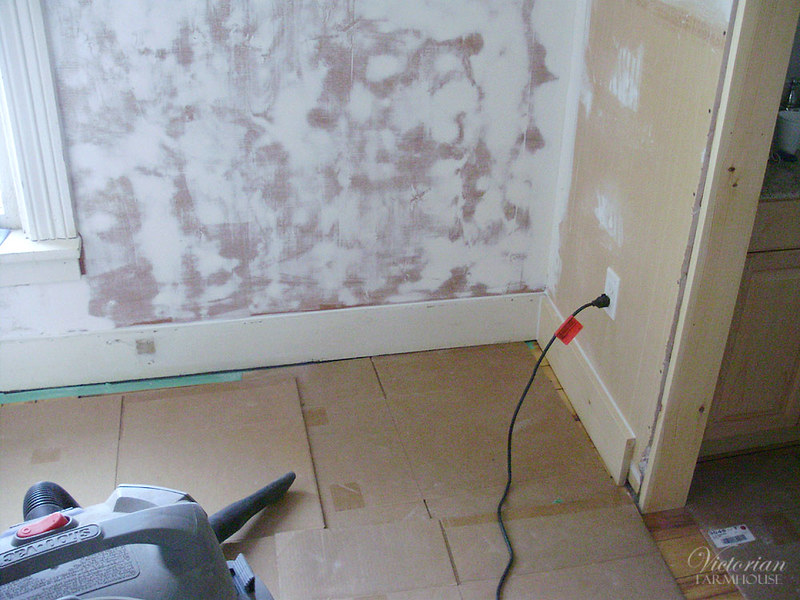
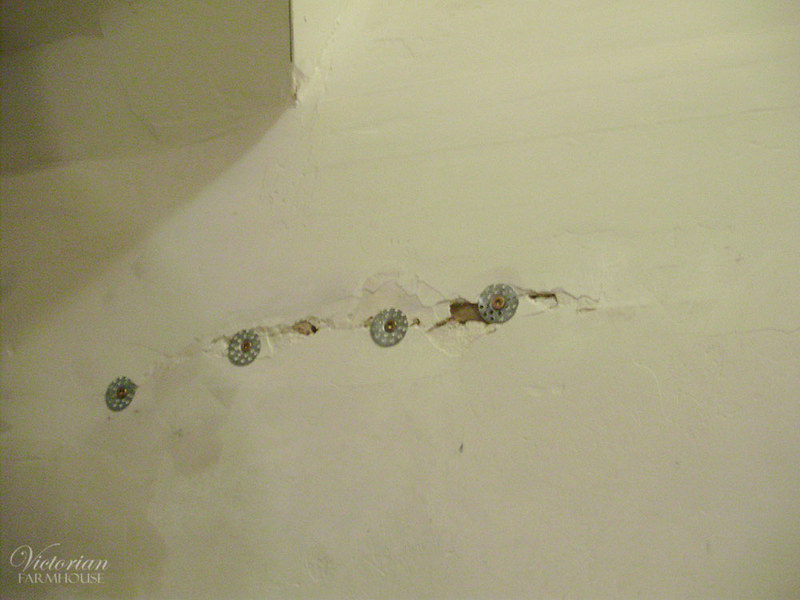
Some more plaster repairs in the stairwell wall.

PB290041

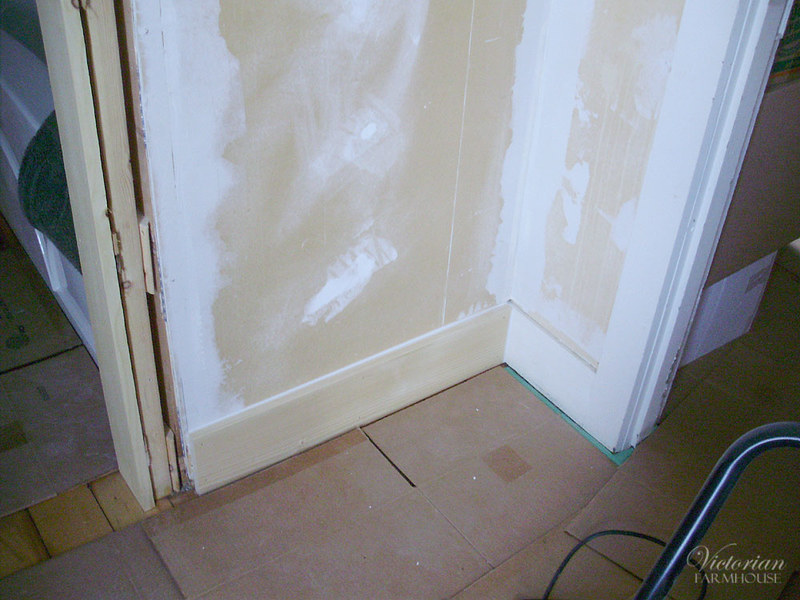
And yay! More drywall (upstairs hallway).

PB290042

Sunday, January 29, 2017

Victorian Farmhouse Part 24 - PAINT!

As mentioned previously, Pierre and Angie didn't take photos immediately after painting, so these are some that I took on my next visit after they had moved in some stuff.

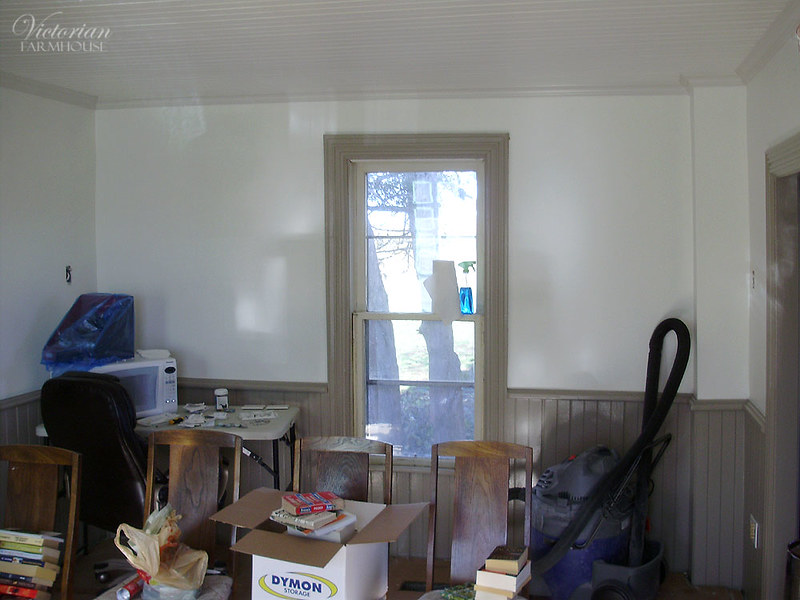
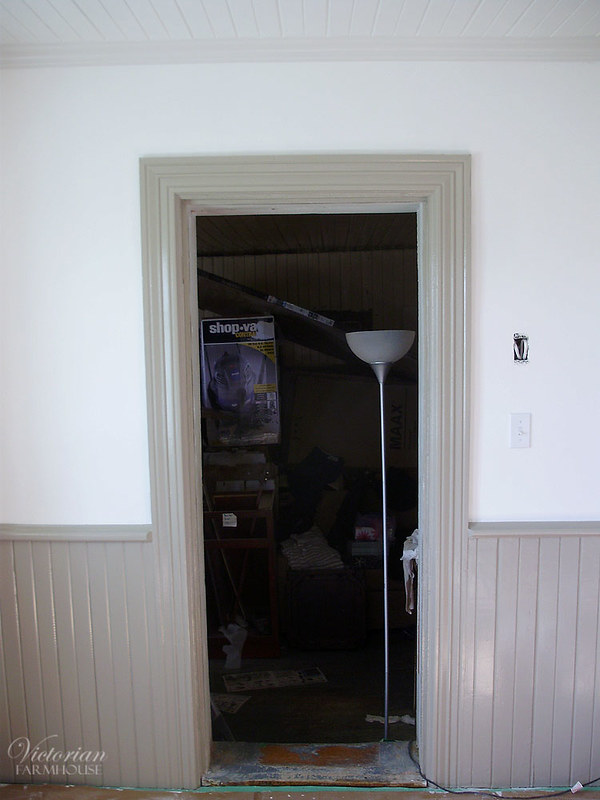
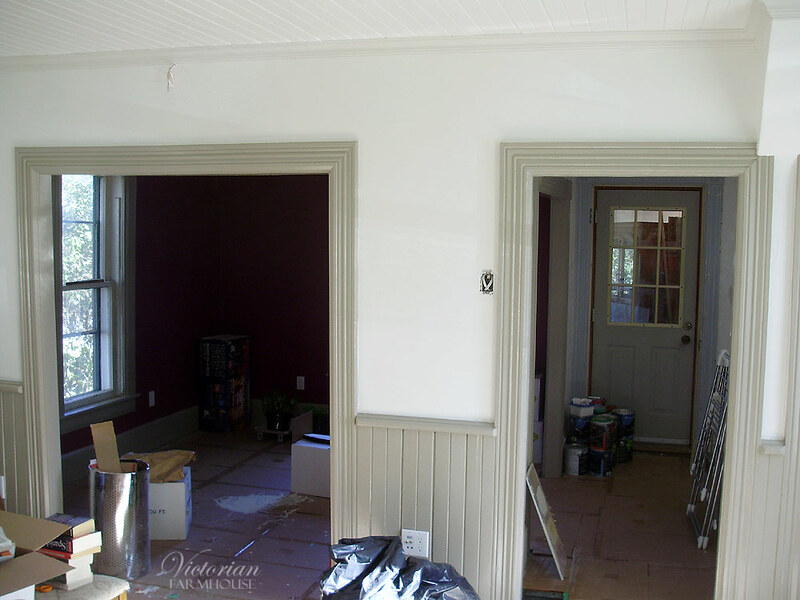
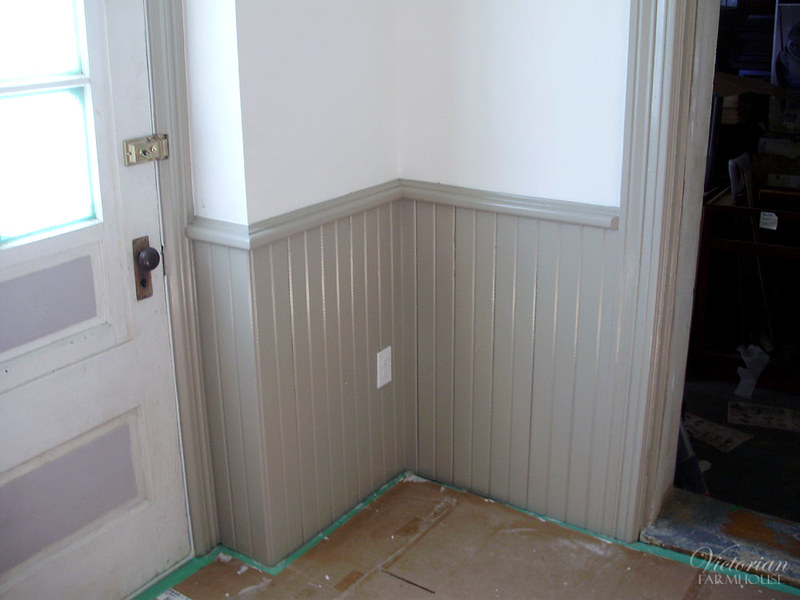
All the mouldings in the house will be painted in this shade of greyish-taupe. Because it's a colour that will be in every single room, it took us a LONG TIME to pick it out. Picking a shade of grey might not seem like a big deal, but it's incredibly difficult. Most shades of grey lean towards a certain colour. Many were too blue, too brown, or too red. In the end I'm really glad that Angie took her time and bought several samples, because the shade she picked out looks great!

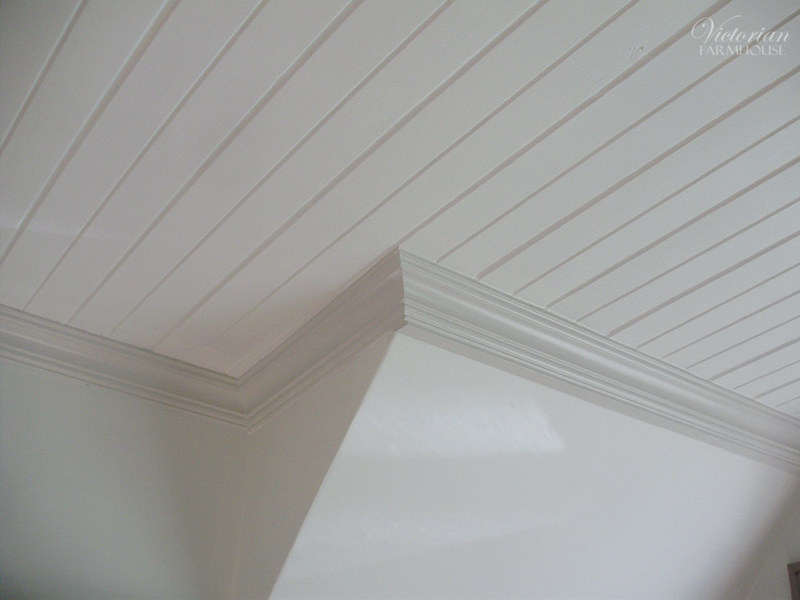
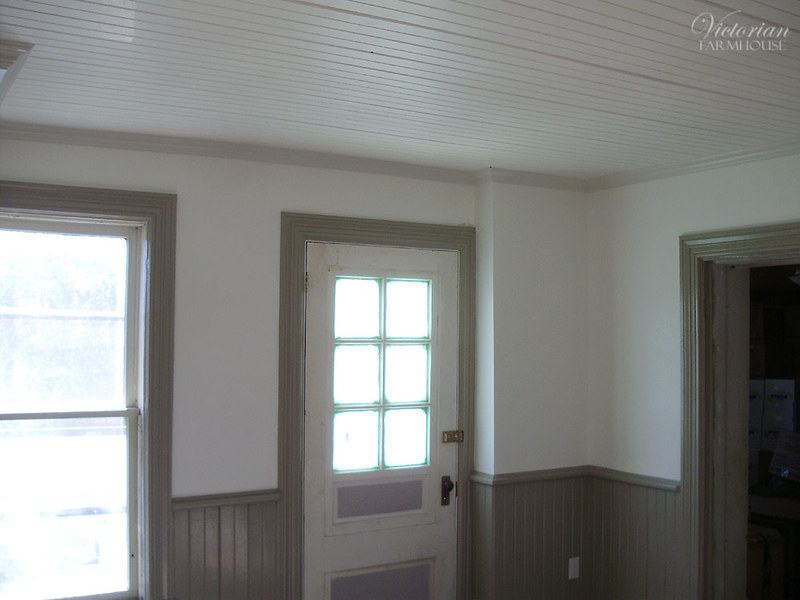
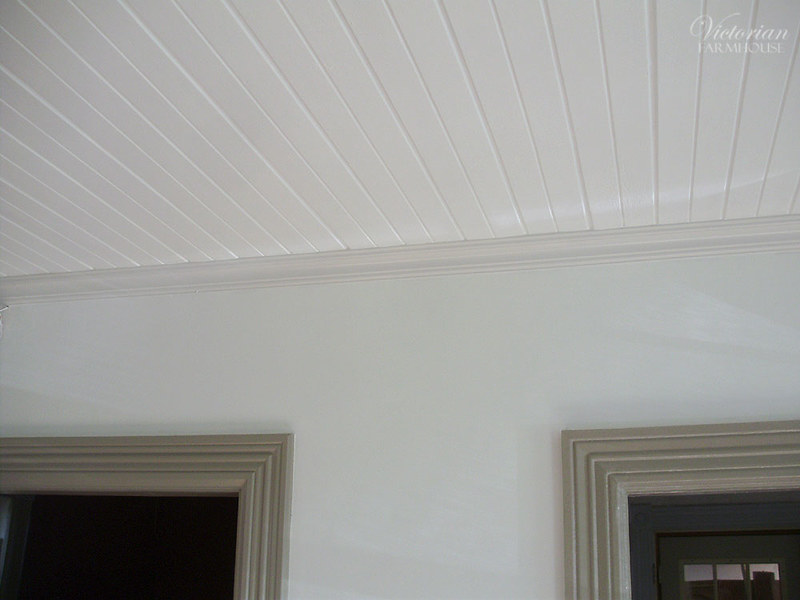
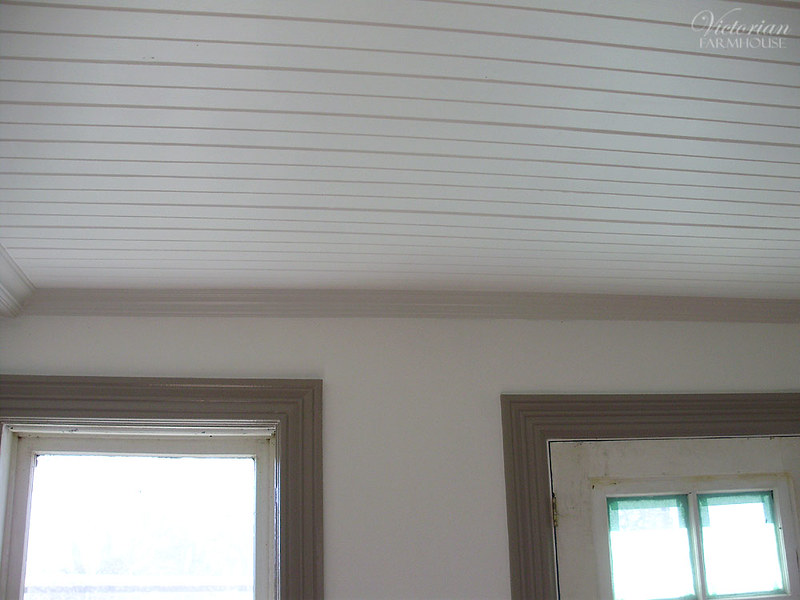
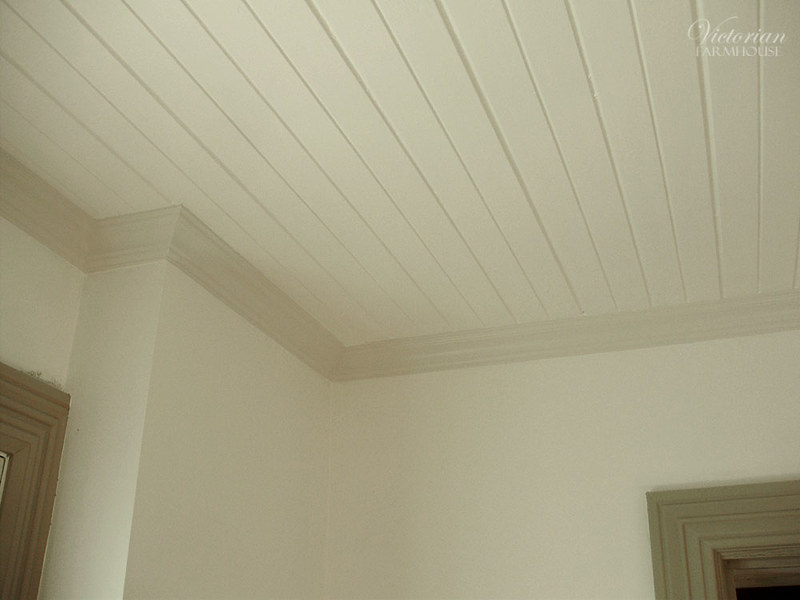
Here's the first shot of the living room. The walls in here are white (or off white), with the standard grey trim. Note that the crown mouldings are a very pale grey to make them stand out a bit.

PA130354

PA130355

The exterior door was also eventually painted the same trim colour. You'll see it in a later post. Likewise all the antique windows will need to be restored, and they will eventually be painted the same grey on the interior.

PA130356

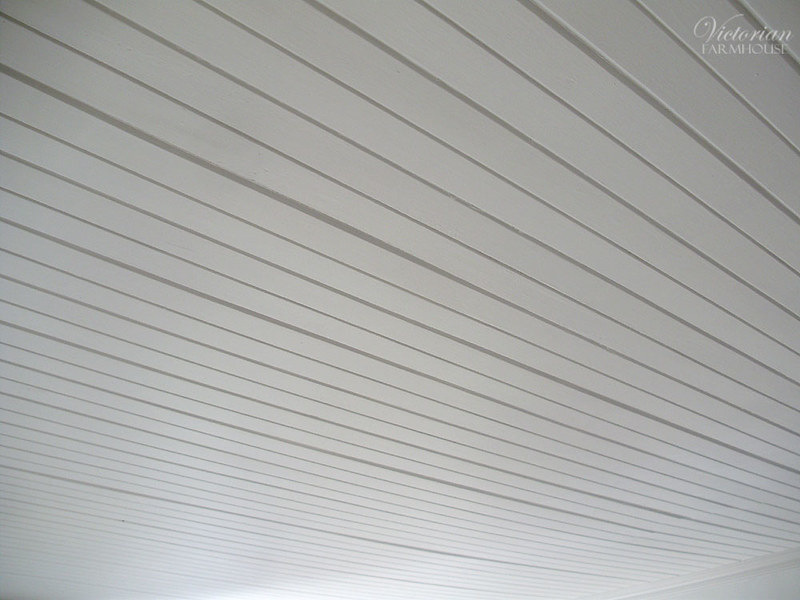
The living room ceiling turned out great!

PA130358

Doorway into the kitchen:

PA130359

PA130360

PA130361

PA130364

PA130365

PA130366

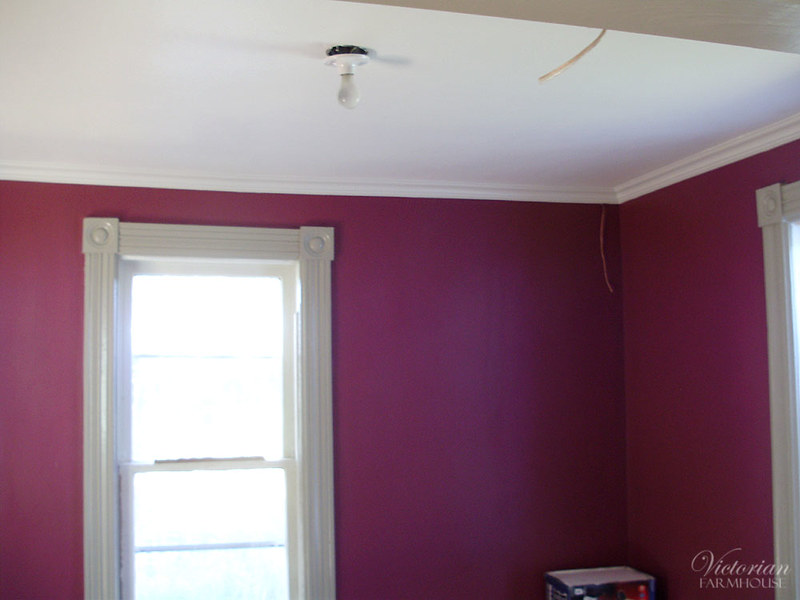
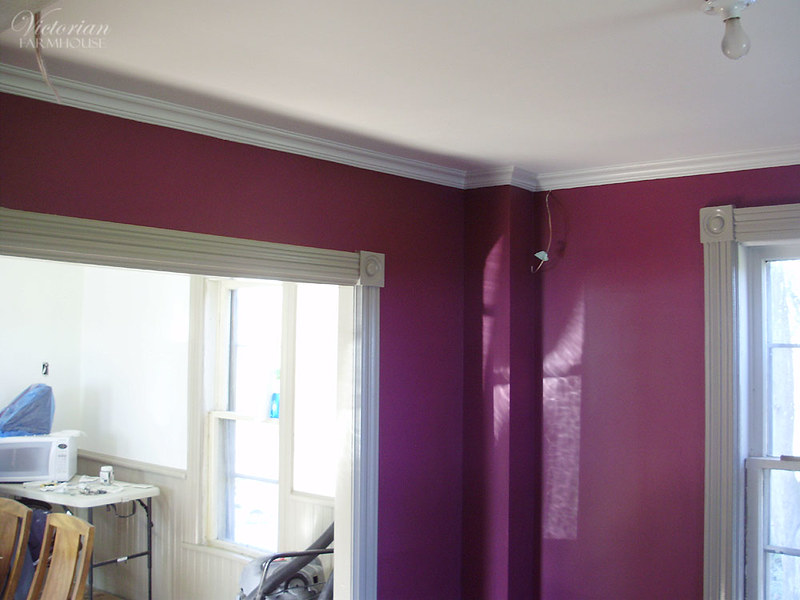
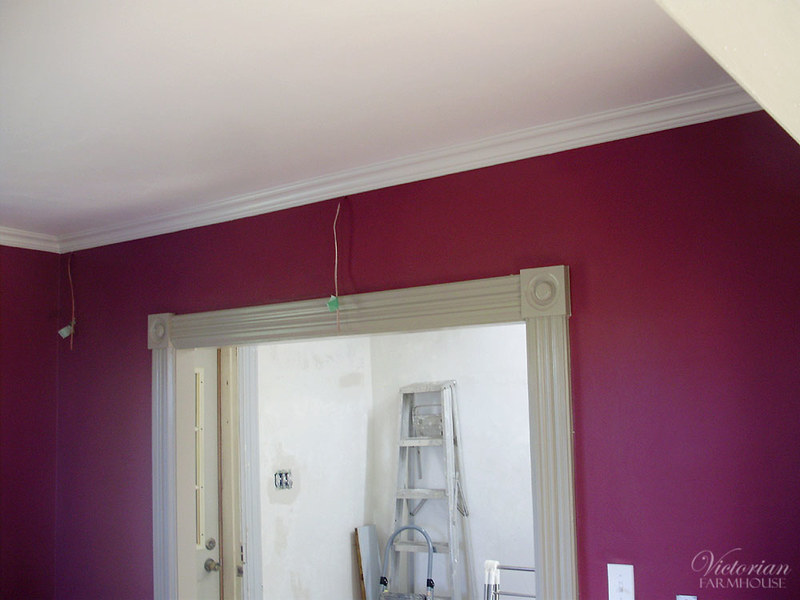
The office got a dramatic burgundy shade. Pierre and Angie wanted a dark colour for this room so that they wouldn't see the walls of the room as much while they watch TV (the TV will be in front of the narrow dividing wall). It is much less pinkish in real life than what the camera picked up. It actually leans more to a dark wine red with a touch of purple.

PA130363

PA130367

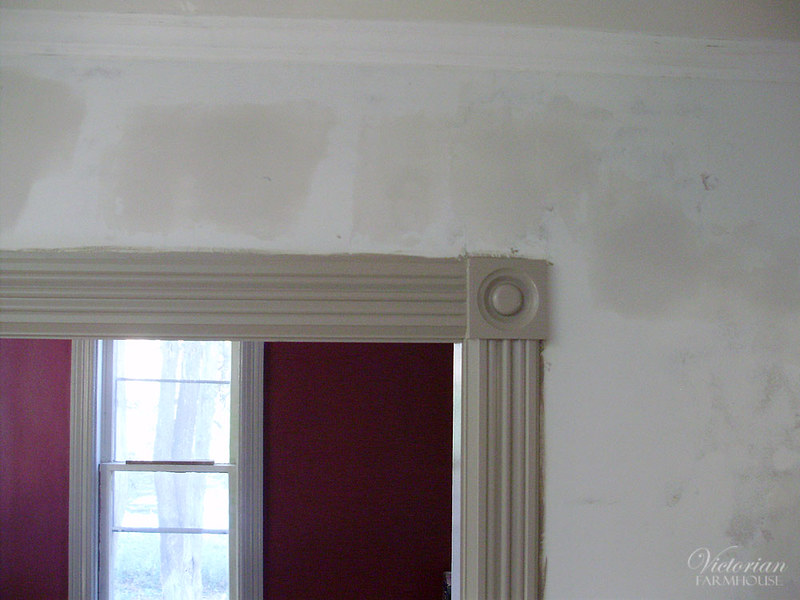
It's amazing how much difference you can make with just a bit of prep work, crack filling with DAP, and fresh paint. These mouldings almost look new, but they're the originals and they have many layers of paint on them.

PA130369

The ceiling is far from perfect but the fresh paint makes a big difference there too.

PA130368

The main hallway is not painted yet. Neither is the upstairs. These are the brand new mouldings (compare with the originals above).

PA130379