Saturday, April 26, 2014

Garage & Upholstery

It's been quite a while since I've posted any upholstery "Projects of the Month", so I thought I would share these two pieces with you guys. These are both from the same set, and both were horribly butchered and just awful. They took a lot of work to restore, and the before vs the after is so shocking you'd swear they're not even the same pieces of furniture.

I won't be re-posting all the photos here, simply because there are over 120 photos and a lot of text, so I will just post a before and after of the chair to whet your appetites:

Chair Before:
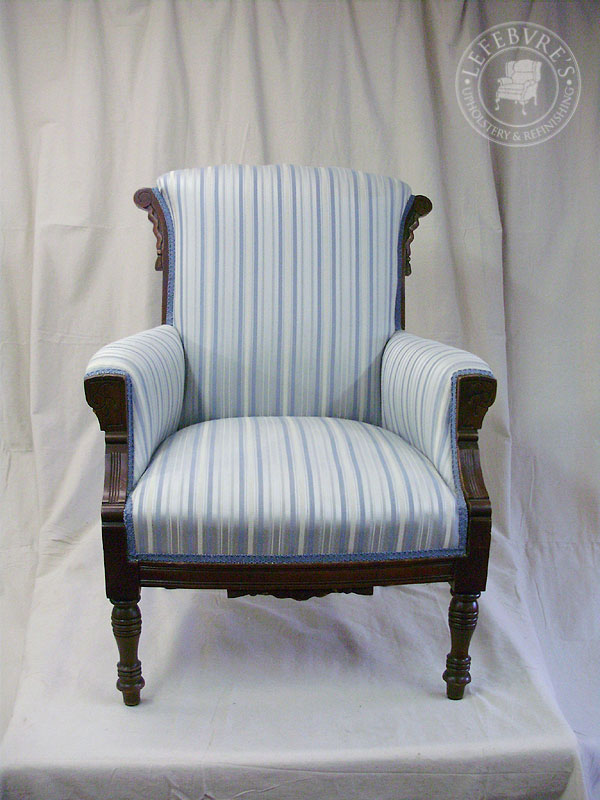


Chair After!:


Here are the links to the chair, and the matching settee (the settee was done first, and you should see that piece first since there are details done on the settee that are not shown again for the chair).

http://lefebvreupholstery.blogspot.ca/2014/04/fully-restored-eastlake-settee-red-toile.html
http://lefebvreupholstery.blogspot.ca/2014/04/fully-restored-eastlake-chair-red-toile.html

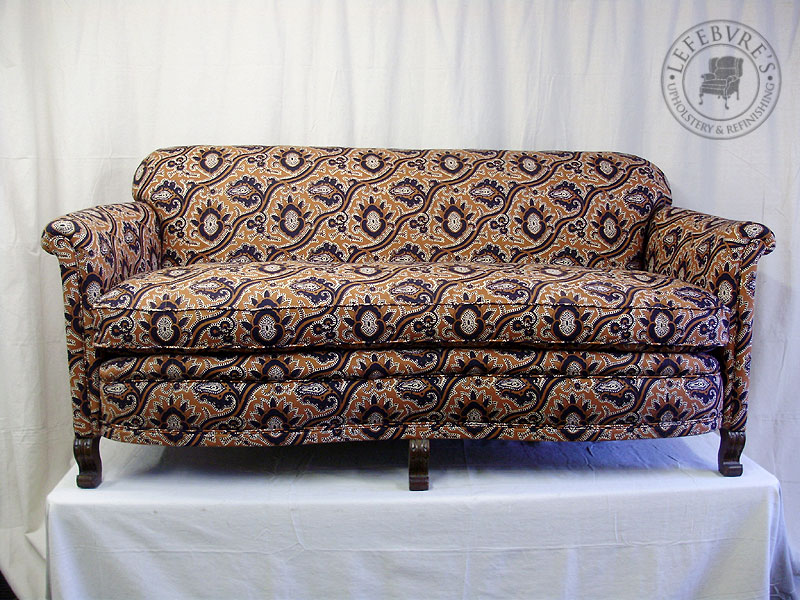
I'm also not sure if I ever shared with you guys the beautiful antique sofa that we redid (also for the same client, who has a ton of antiques). I really loved how this one turned out, and there was a lot of work involved in that one (so many coils to string, plus some frame repairs):

http://lefebvreupholstery.blogspot.ca/2014/03/wonderful-antique-sofa-bold-orange-dark.html


In that post you get to see me and my boss, Pierre, covered in feathers after we had to redo the seat cushion. This is the finished sofa. I love the fabric, and it would have looked great in my living room.


***

As for house renovations, I'm currently working on repairing the 28 foot long exterior wall of the garage. For now, I'm just cleaning up, and making room to work. Some of you who have been reading for a while will remember that a good section of this wall (almost half of it) is completely rotted and almost ready to collapse. You can see how much of a sag there is in the roof in this photo from my bedroom window. Compare the roof line to the siding on the neighbour's house.


I actually measured the sag of the roof last night, and it's surprisingly not as bad as I had thought. The lowest dip (the part shown above) is about 2 inches low.

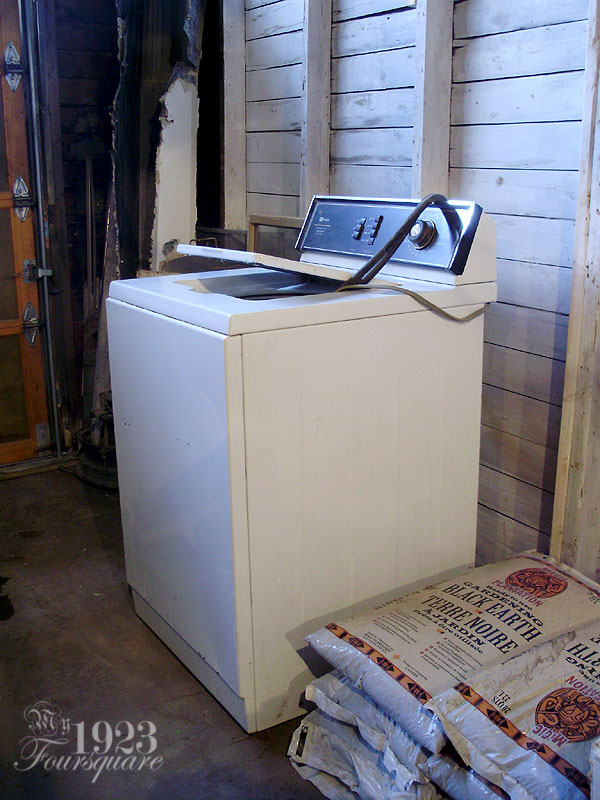
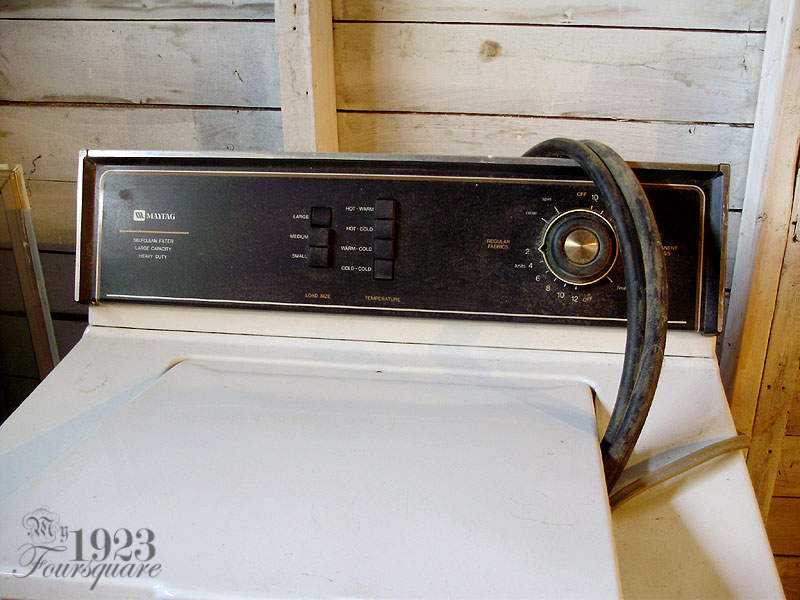
Just yesterday, I was able to finally get rid of the old washing machine that was in the basement washroom when I first bought the house in April 2010. I had wheeled-it up into the garage with a dolly, and it's been sitting there for the past 4 years. I wasn't sure if it worked, since I hadn't used it, but I knew the motor worked. I hated to just throw it away or have it scrapped, so I saw an ad for a local guy who picks up and sells used appliances. I contacted him and told him he could have it for free if he picked it up, so now it's finally gone!


I also bought a wonderful vintage Craftsman joiner on Thursday. I usually don't have much luck when it comes to nice old tools, because they are HEAVY, and difficult to move (remember that I don't own a vehicle). Since my Mom's latest car is now tiny (she went from a mini-van to a hatch-back to a small car) I'm pretty much on my own with these things now. Luckily for me, I took a chance and asked the seller if he'd be able to deliver it, and he was more than happy to drive it down (from just out of town) if I was interested in it. He even said I could plug it in and test it out, and that if I didn't want it, that it was okay as long as I'd help him load it back in his truck.

:D

So he came down and I was really happy with it (it's in excellent shape and works well - it just needs the blades to be sharpened), and the price was great.

I've wanted a joiner for a while now. I would have preferred something larger, but larger is just harder to move around, and I don't really need it to be much bigger.

It's a pretty small machine (maybe 3 feet long) but it's solid cast iron, and with the stand and motor, it probably weighs close to 100 lbs.


For those who aren't familiar with woodworking tools, this is a tool that is used to trim (and square-up) the rough edges of boards. It is extremely useful when you want nice flat square edges to glue several boards together. It can also be set to trim at an angle, and you can do fun stuff with it, like tapered legs.

More garage updates soon.

Monday, April 21, 2014

Small Project Updates

So as I mentioned the other day, I did some stripping for a few small projects, and here they are!

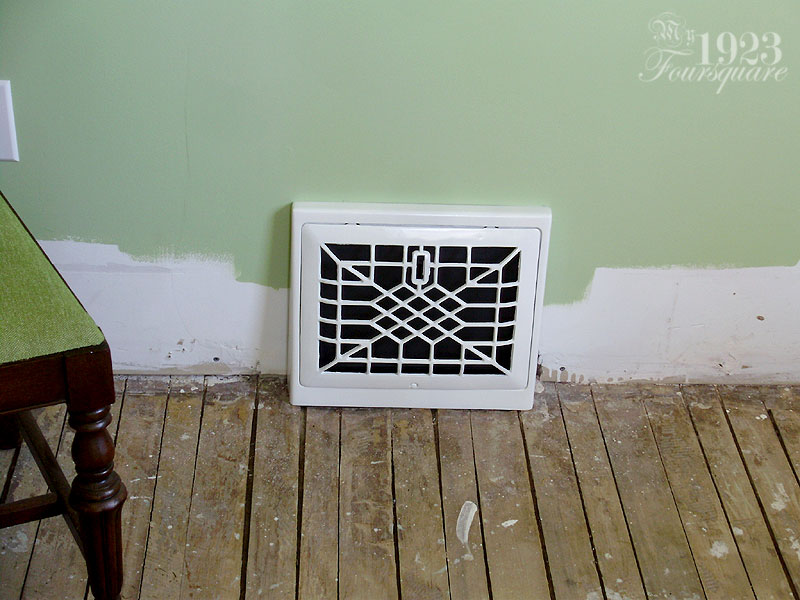
First off, it's nothing too exciting, but it was a *LOT* of work, and I want to show it off: the living room heating grate. It still needs the thumb latch, and I'm getting a copy cast for it:


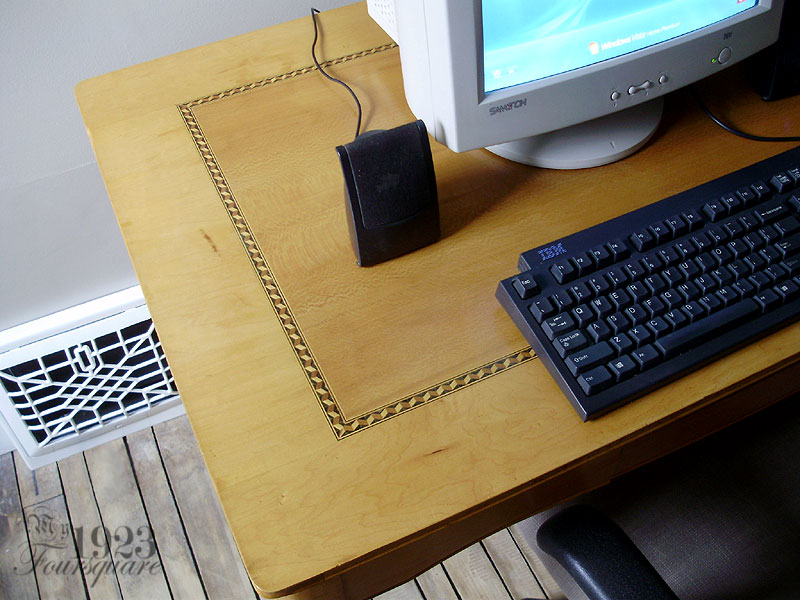
Next is the inlay maple desk/table. I can't tell you how thrilled I am to finally have some semblance of a proper desk after 4 years of dealing with a rickety card table. I also took the opportunity to thoroughly vacuum the floor, clean out the computer (inside) case, and clean all the wires.

The desk turned out pretty well. The finish isn't perfect (since it's hand-brushed), but it should be quite durable. I like the edge a lot better without the brown paint, and I also fixed the drawer and replaced the runner boards.

The only problem now, is that my office chair (which I reupholstered last week) is now too low (the lift on it is broken). So I need to fix it, since the desk is now about 2" taller than before. Two inches doesn't sound like much, but it's a big difference.


You can see the office's matching heating grate in these next two photos.


Additional notes: There was a bit of a burn mark in the wood which is still a bit noticeable in the photo above, but it's not enough to bother me. I also decided not to do any modifications to the top (I had thought of routing another profile on the edges, or sanding it flush to eliminate the double bead, etc. I also didn't bother to do any veneer repairs (there was one large-ish chip). Instead, I just used wood filler in a light golden yellow, and it was a close enough match to do all the little chip and nick repairs.

Saturday, April 19, 2014

Stripping

Most of yesterday was spent stripping. Not the sexy kind of stripping, though, the messy kind.

I have several projects that need stripping, and I've been putting them off for a while (mainly due to the weather, since I need SOME ventilation).

Some of the projects include:
- Antique front door
- Two antique chairs (needing new upholstery)
- The living room heat grate
- An antique (1920s or 30s) cedar chest
- The maple table/desk
- The antique Eastlake walnut desk
- Several clocks
- Etc., etc., etc...

There's no way I could handle all these in just one day (it takes hours), so I worked on a few items that have been driving me nuts, namely the maple inlay table/desk, and the living room heating grate (which you might remember had a TON of old paint sloppily applied).

No photos on the table yet, but that was a fairly simple stripping job, since everything comes apart into many small flat pieces (4 legs, 4 aprons, the drawer, and the top). The grate, however, was another story.

The grate was a huge pain in the rear to strip because of all the nooks and crannies. I had to mostly slather it in stripper, and cover it with cellophane to sit for a while. Considering how strong the chemical stripper is, I'm surprised that the cellophane doesn't melt into goop, but I've seen this trick elsewhere, and it worked well.

Grate before (as purchased from an antiques salvage store):


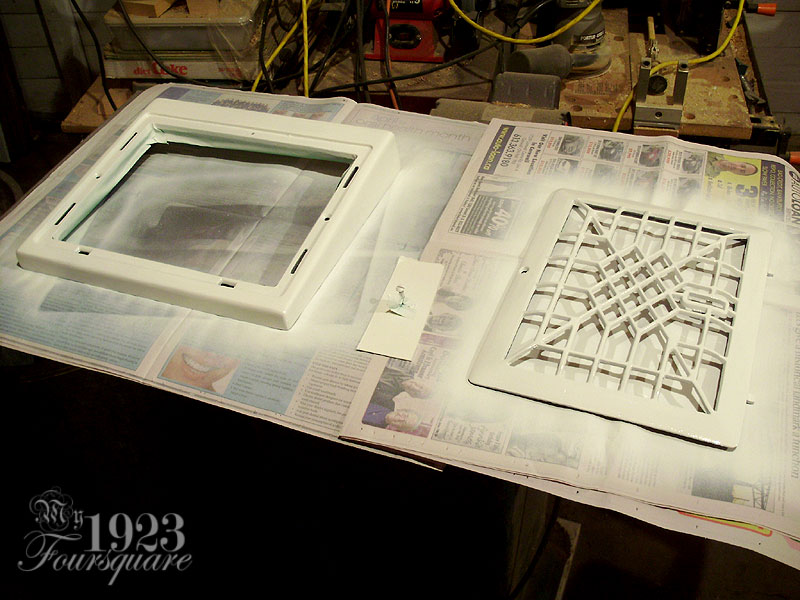
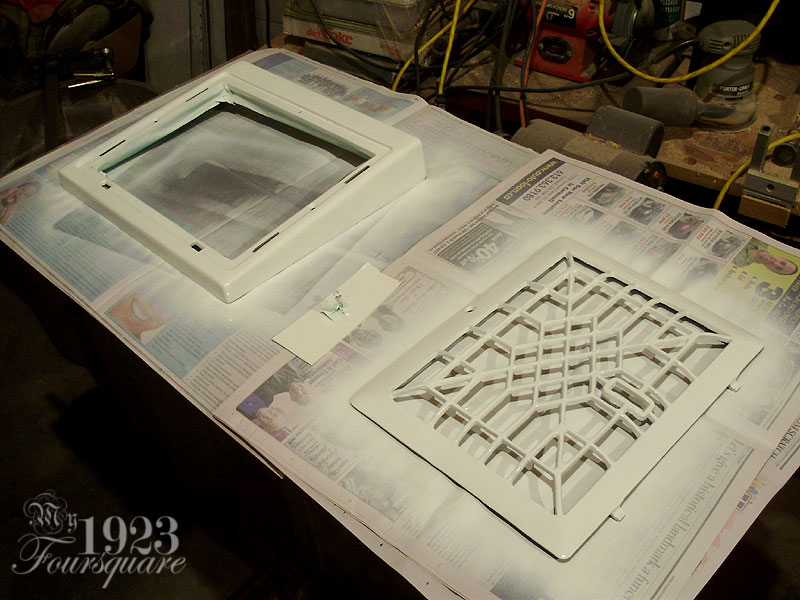
And after stripping, and new paint. I should have taken a photo of the grate stripped (it was a beautiful flashed copper look and in decent shape), but I was tired and looking forward to getting it DONE.


Note: The interior is flat black, with the front parts in gloss white. These are just standard oil based spray paints, applied in several coats.

Not shown are the 2 interior flaps (lever operated shutter), which also had to be stripped, buffed clean of rust, and repainted (also in flat black). Next, I will need to have a new latch cast for the one that's missing. I hope this won't be too expensive, but at work we know a guy who knows a guy who does casting, and he had done a few copies of antique dresser pulls for us, and they were gorgeous. The set of 2 pulls (with back rosettes) was something like 60$ for the 4pcs. I only need one piece, so I'm hoping it will be under 50$, since I can buy a whole other grate for 50$.