
This has been a looooooong ongoing project that got started years ago when I demolished and rebuilt the upstairs closets. I started this in 2011!
The main box/cabinet is here:
http://my1923foursquare.blogspot.ca/2011/11/lazy-blogger.html
Then the door got built and installed in Oct 2012:
http://my1923foursquare.blogspot.ca/2012/10/front-hallway-and-living-room-floor.html
Then in Nov 2012, I got the door painted, and the hardware installed:
http://my1923foursquare.blogspot.ca/2012/11/soooooo-excited.html
Then in 2015 I made the shelves... yeah, slow and steady progress here, folks!
http://my1923foursquare.blogspot.ca/2015/10/small-side-projects-2.html
Also, before I continue, I'm aware of the "3rd Party Hosting" issues with my old Photobucket account. I don't have an easy solution at the moment (other than forking over money). I don't know if they no longer support 3rd party hosting AT ALL, or if the monthly usage is spent and it will eventually reset. I currently have 868 photos in that "problem album", and to manually save all of these, then transfer them to another photo hosting site, and then re-edit each photo in each post one by one would be a HUUUUUGGGGGE undertaking. It already takes me hours to write, edit, check, and publish regular posts, so that would take me days/weeks/months of work. I'm not sure what to do about it yet. This blog is completely free (and largely for fun) and I have no sponsors or any kind of ads on it, so I'm not really motivated to spend a huge amount of my free time to fix the problem right now, which is really unfortunate for my readers.
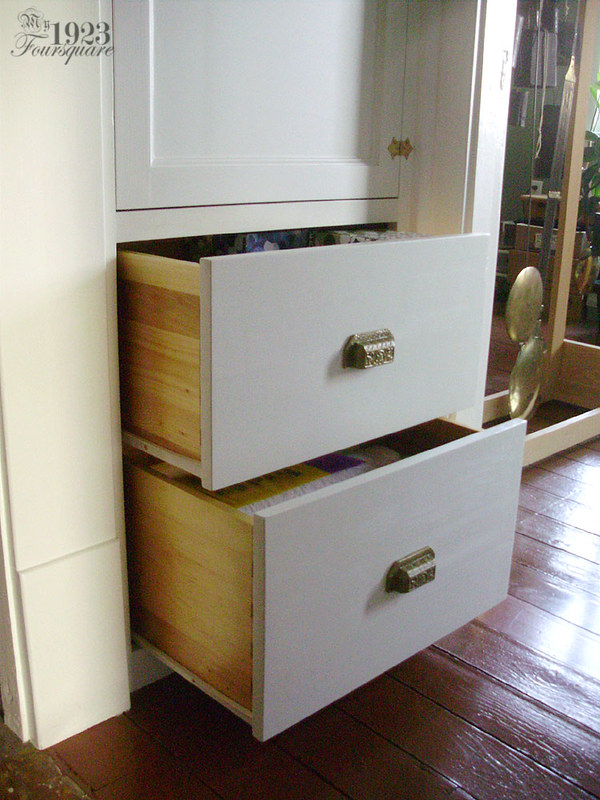
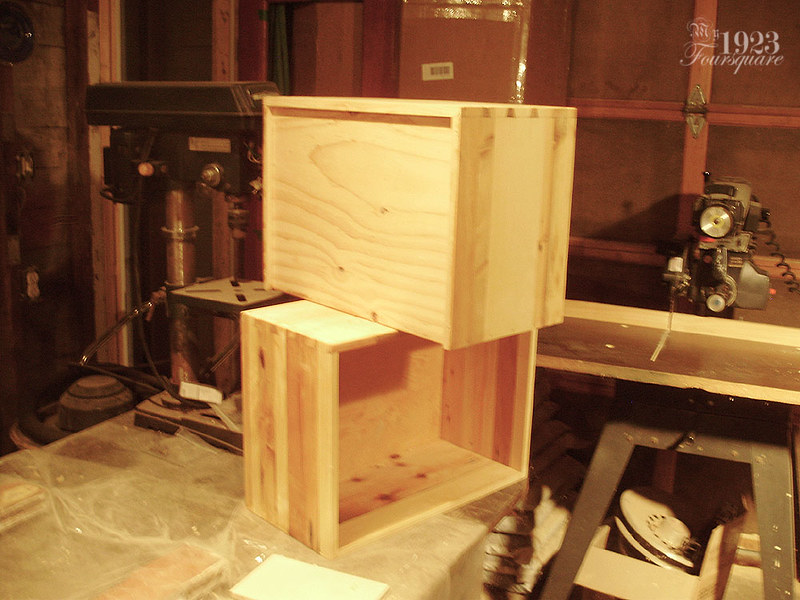
Anyhow, the drawers were the last part of the built-in to finish. Two drawer boxes, a pair of metal slides, and some drawer faces. I decided to use all kinds of short pieces of scrap wood for the drawer boxes. Not only is this a perfect place to use them, but the lovely mix of old and new wood will look great with the clear varnish. I used scrap wood on the back tongue-and-groove of my cherry bookcase, and it's one of the nicest details of the entire cabinet (which you don't even get to see when it's filled with books!)
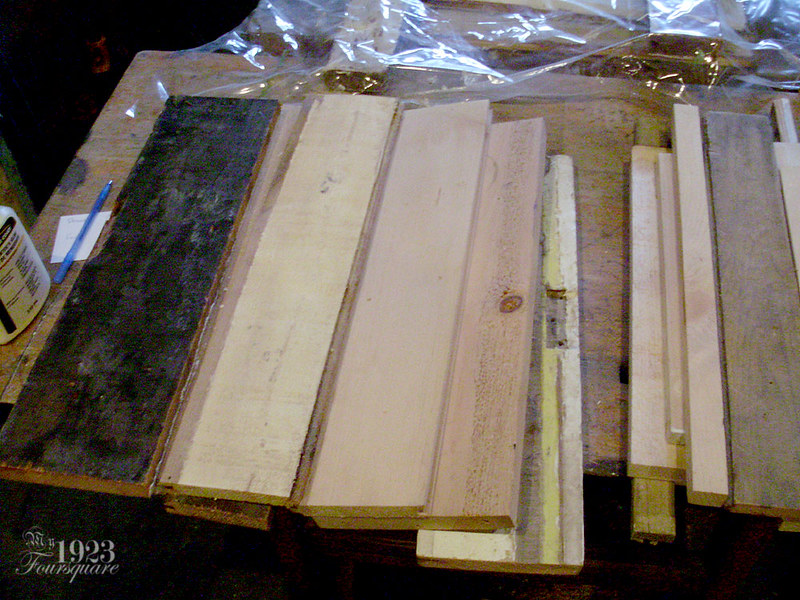
Here's what I dug out of my stock. It is all entirely random bits of wood. Large, small, thick, thin, and a mix of pine, spruce, cedar, and fir. Some was painted, some was stained and varnished, some was water damaged, and many of these boards had nail holes from previous use as something else. You can see one of the pieces is a chunk of a pine door jamb.
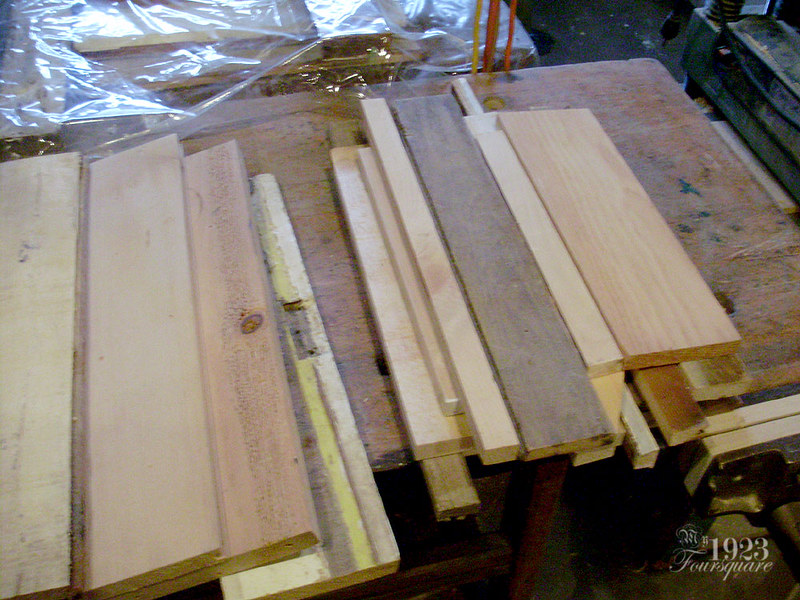
All these were squared-up, given a pass in the joiner, and then glued into panels. Once dry, those panels were planed down until everything was smooth on both sides. I didn't really care what the thickness would end up as (because I was using so many odd sizes and thicknesses), but it ended up close to 5/8".
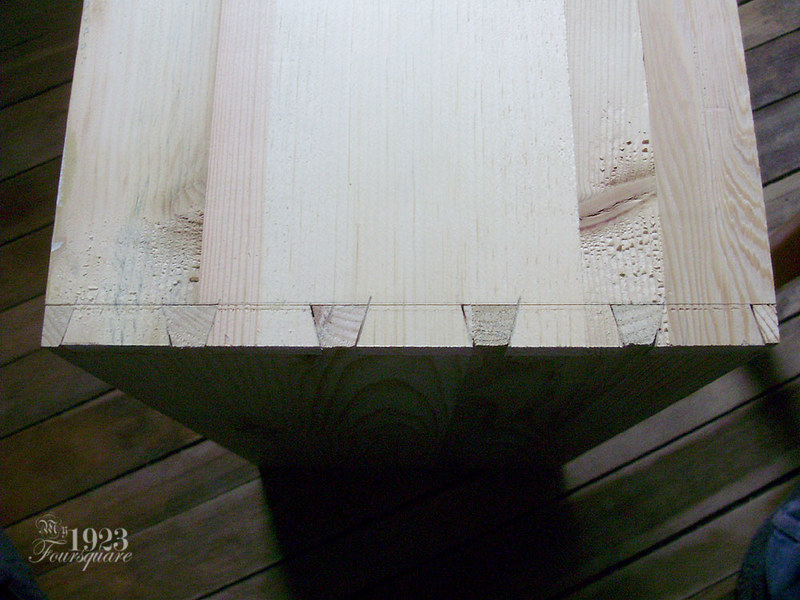
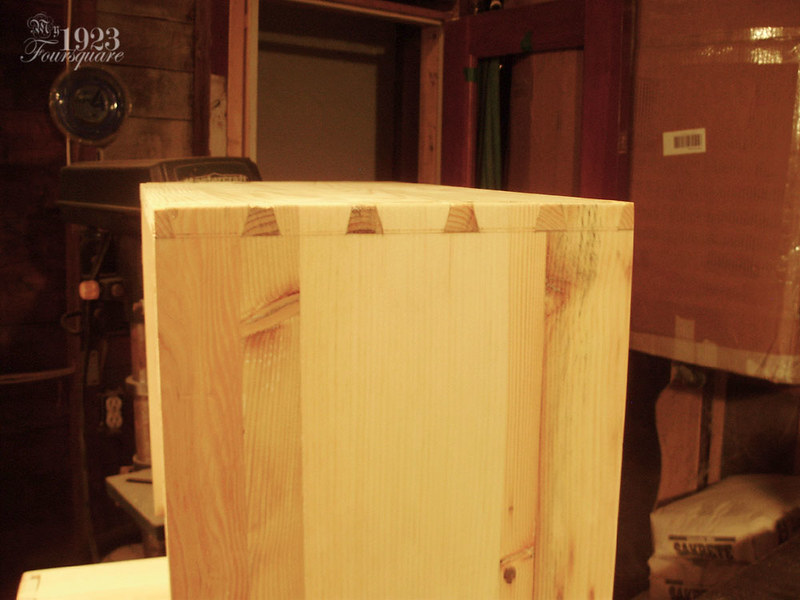
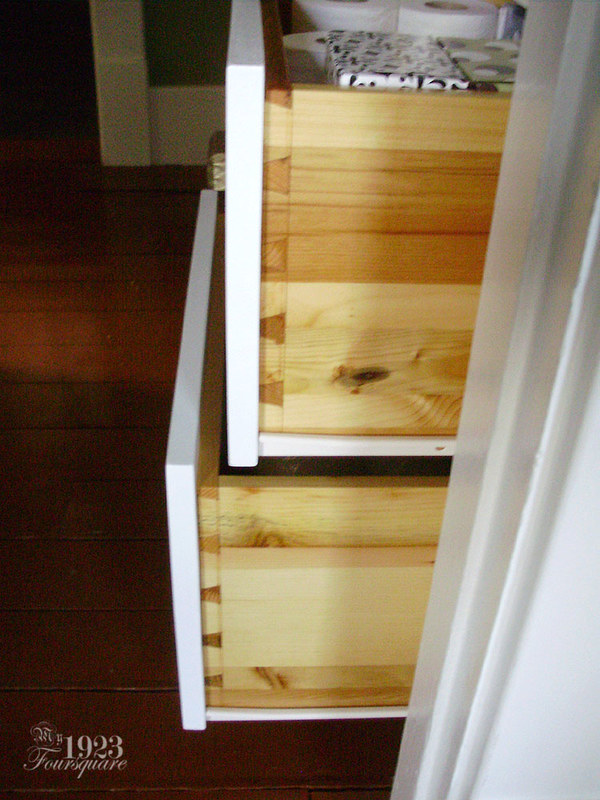
I decided that I wanted to have dovetails on these. I have a router dovetail jig that I never used, so I played around with it and even made a special base plate for my router, but I wasn't able to get good enough results with the setup I have (I need another size collar) so I decided to do HAND CUT dovetails instead. This is only the second or third time that I do hand cut dovetails, but they turned out pretty good! I used a combination of a Japanese hand saw, a scroll saw (to cut out the bulk) and a sharp chisel. You can also see some of the various wood grains in the drawer box sides.
Boxes done. The bottoms are 1/4" thick Fir plywood, which was a leftover, and which will match the interior of the built-in cabinet.
Dovetails puttied and sanded:
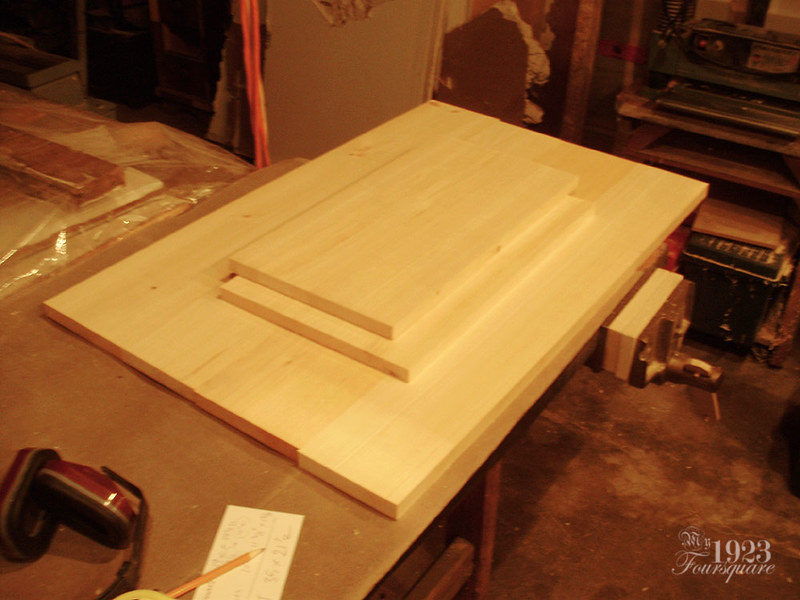
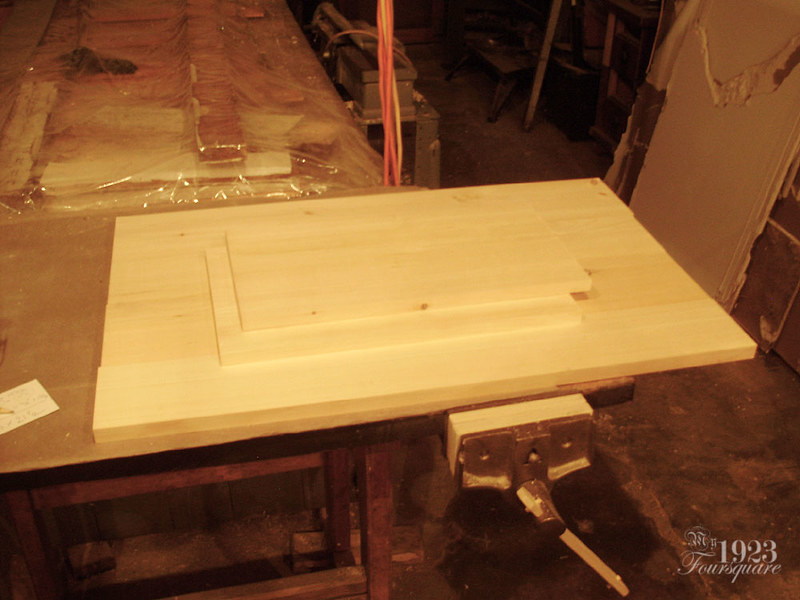
The two drawer faces are here (made from clear pine), and the other large panel is SPOILERS! Ignore it! Don't look at it! Shhhhh...
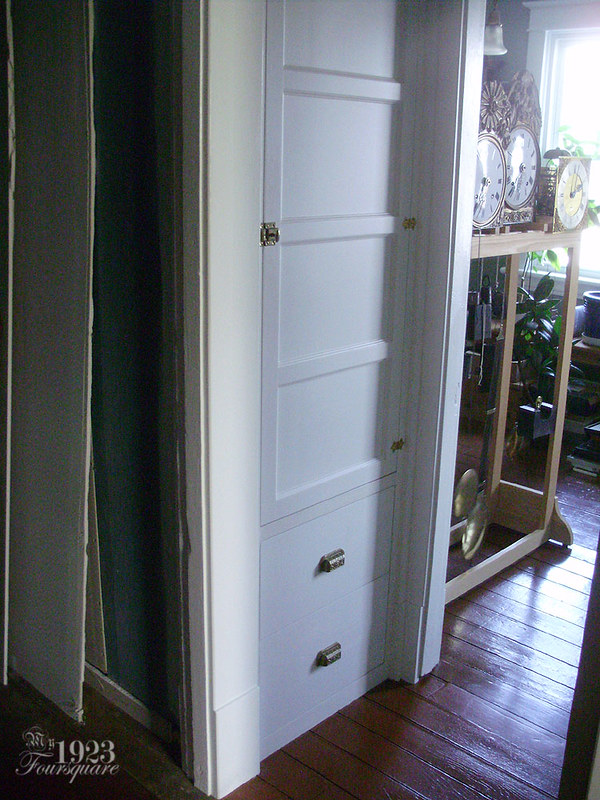
A bit of varnish, and some paint, and VOILA!
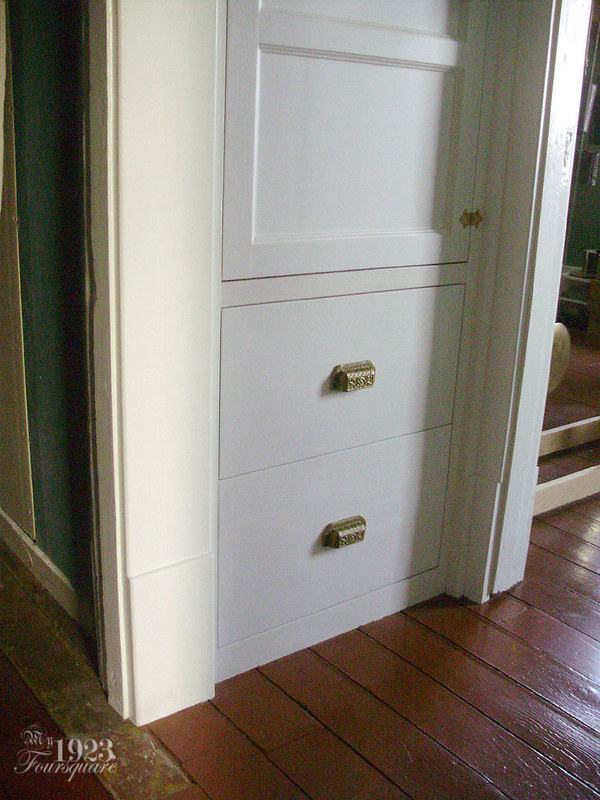
A quick side note to mention that the two drawer boxes are not the same size (neither are the faces). They are meant to look pretty much the same, but because of perspective (where you are always looking downwards), the bottom one is made larger to compensate. The bottom drawer box is about 10 1/2", and the top one is about 9". Because I wanted the same number of dovetails, they both had to be measured to different sizes using a divider/compass (using the traditional method). It's not a big deal, and it's a detail no one will ever notice, but I wanted to point it out. Also note the beautiful wood grain on the boxes!
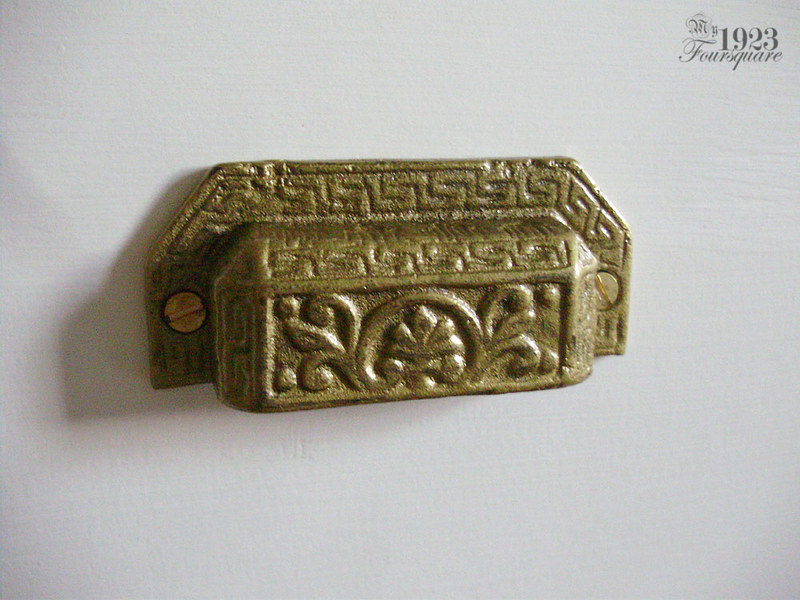
I agonized just a little bit over the hardware. Originally I was thinking of using two small wood knobs (two per drawer), but the drawers are not wide enough, so it would have looked dumb. Then I also had some XL wood knobs (one per drawer), but nixed those too. I had 2 or three other types of knobs and handles, but I ended up picking these cast iron cup pulls. I have 5 of them, and I kind of wanted to keep them together as a set, but since I will have similar Victorian style plates on my house doors (eventually), I thought these would match well with the rest of the overall house hardware. They were just raw grey, so I spray painted them gold, and I installed them with SLOT screws: a very important detail. If you are the kind of person who installs beautiful antique hardware with new modern Phillips screws, you make me want to cry!
So there we go. 6 years, piece by piece, but it's DONE now.