Friday, December 30, 2016

Victorian Farmhouse - Part 21 Laundry Room / Bathroom

This is some of the progress that's been done on the section just off from the kitchen. I haven't shown photos of this area in quite a while, because we didn't know what we wanted to do with the space yet. Angie decided that since we have opened up the original stairs into the basement, we could block-off the old cement stairs off from the kitchen. This gave the option of converting what used to be two very small rooms with a low ceiling, into a nice sized room with a taller ceiling, and 2 windows. The extra door was blocked off, and the old exterior door (which is only about 5 feet high) will be replaced also.

Here's some of the transformation of that area of the house. But just before I start, I'll show a floor plan to clarify (and in case some readers aren't too sure). The area we're talking about is rooms 1 and 2. The dividing wall was already removed in all of these photos.


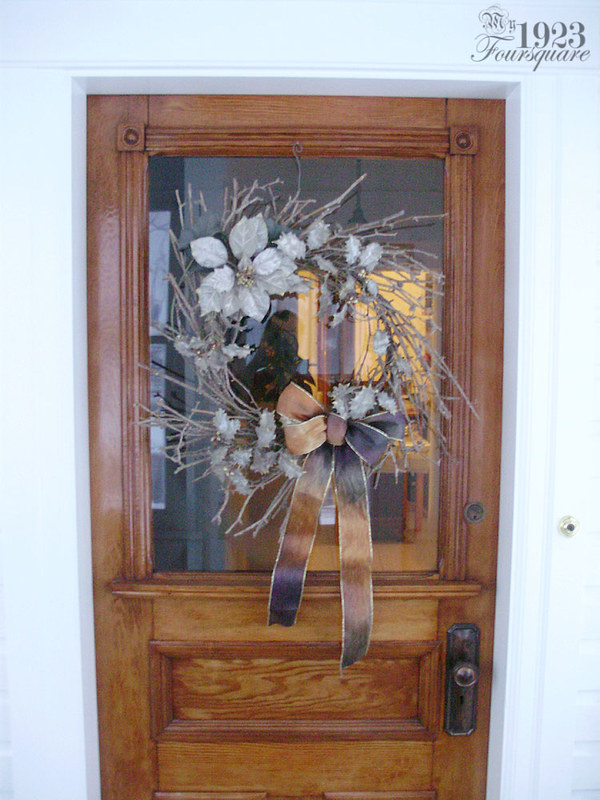
This is looking through the exterior door into room "3" on the plan.

P8120261

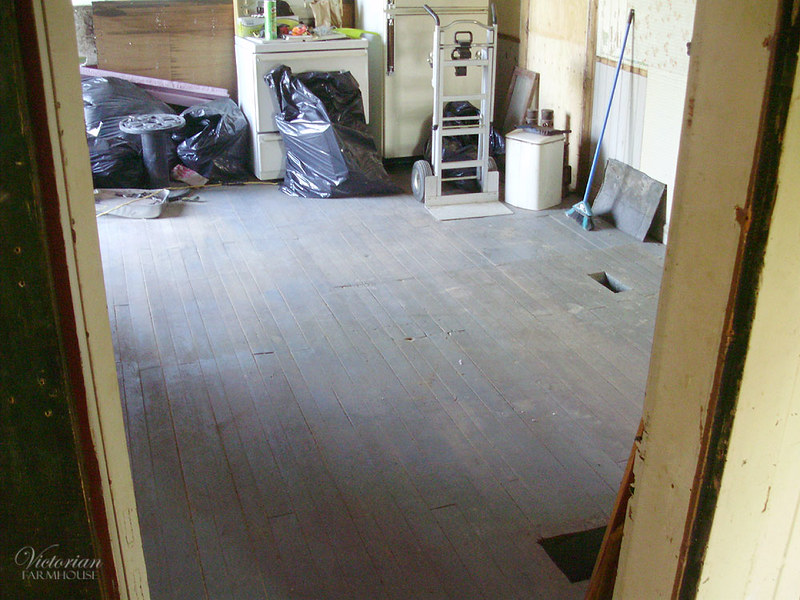
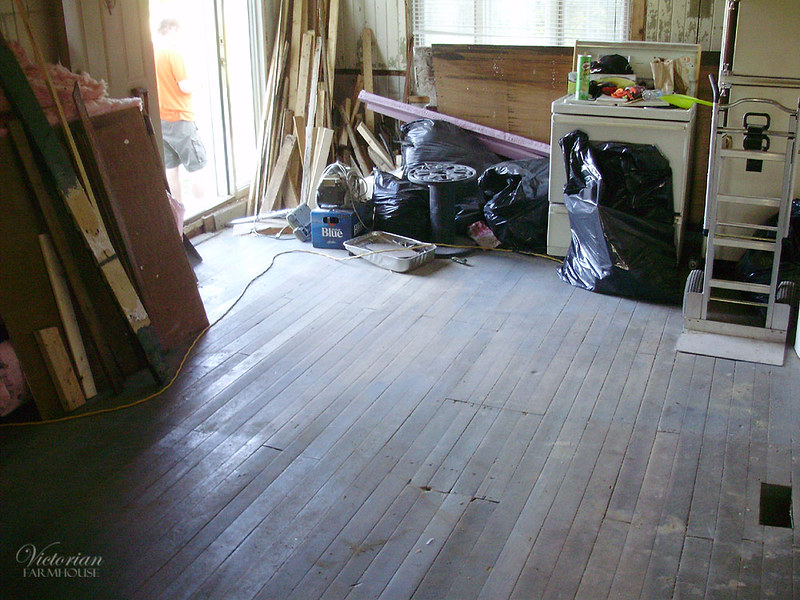
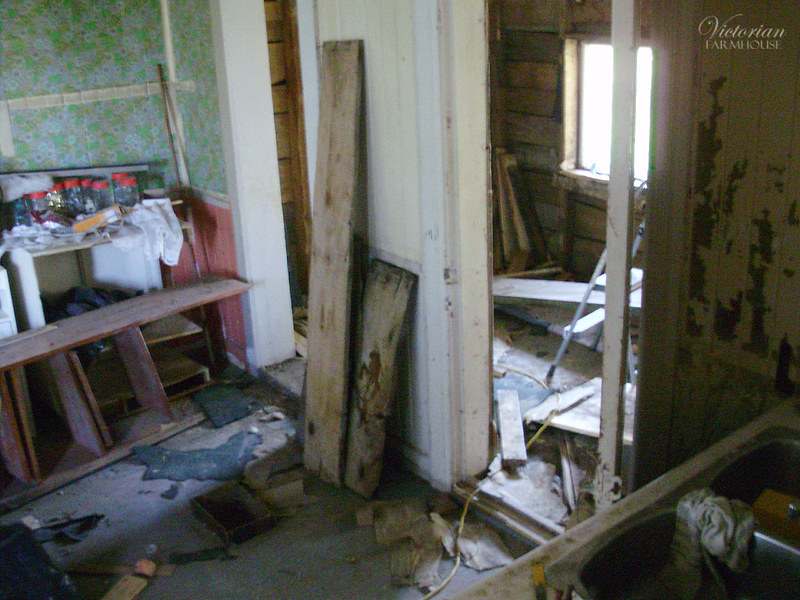
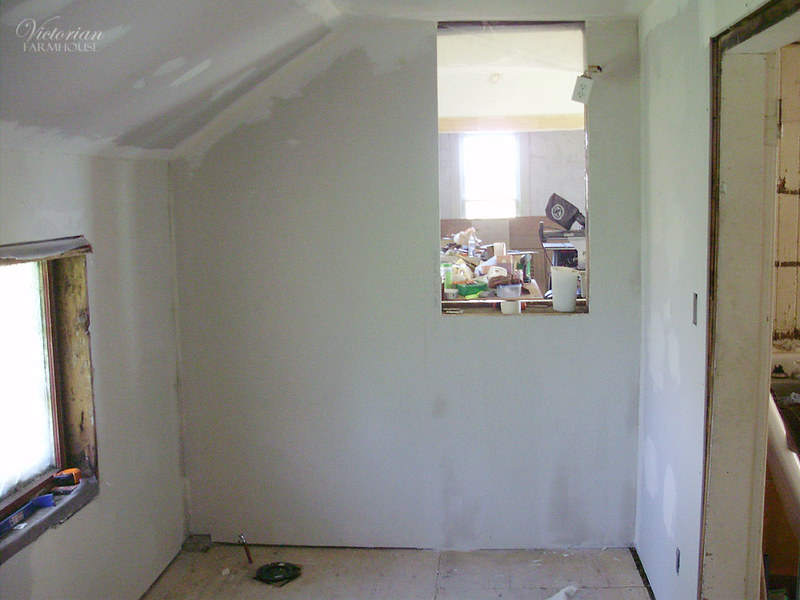
Looking into the kitchen from room 2:

P8120262

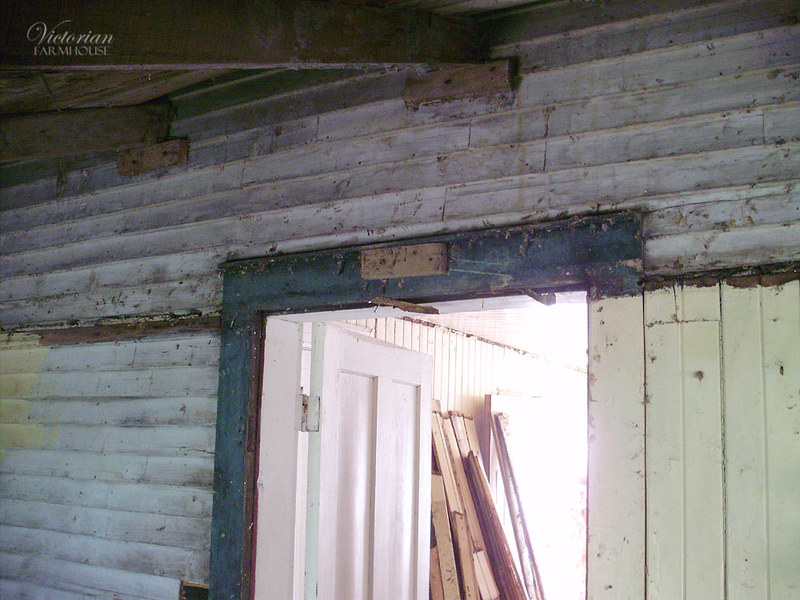
Room 1, looking into the kitchen. Note the exterior siding and door trim. This was probably an exterior porch at one point.

P8120263

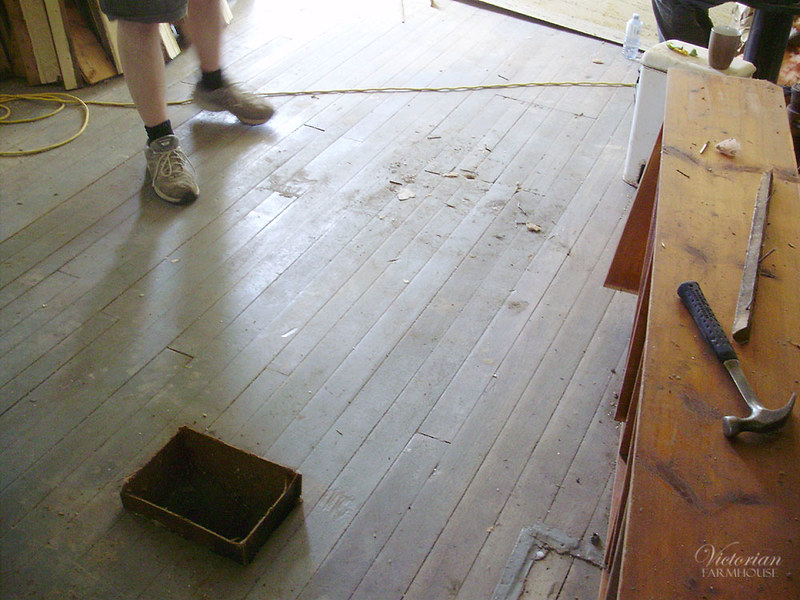
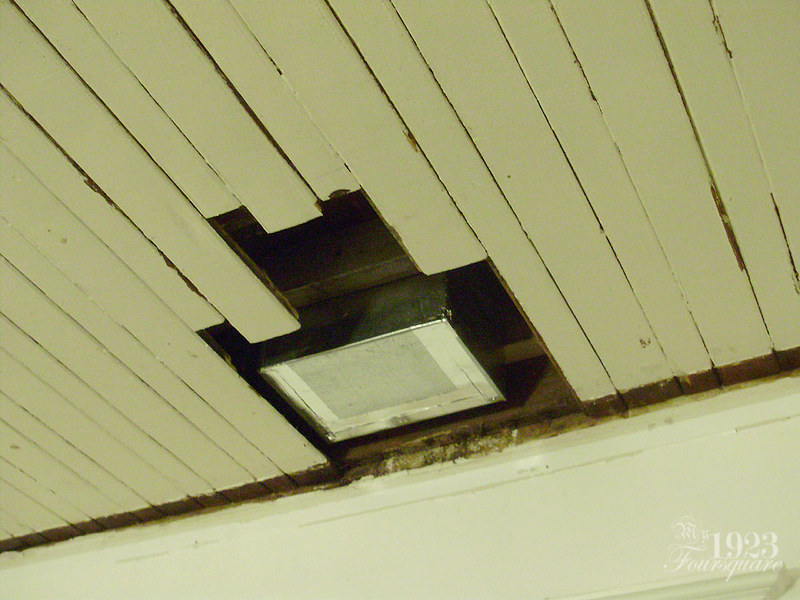
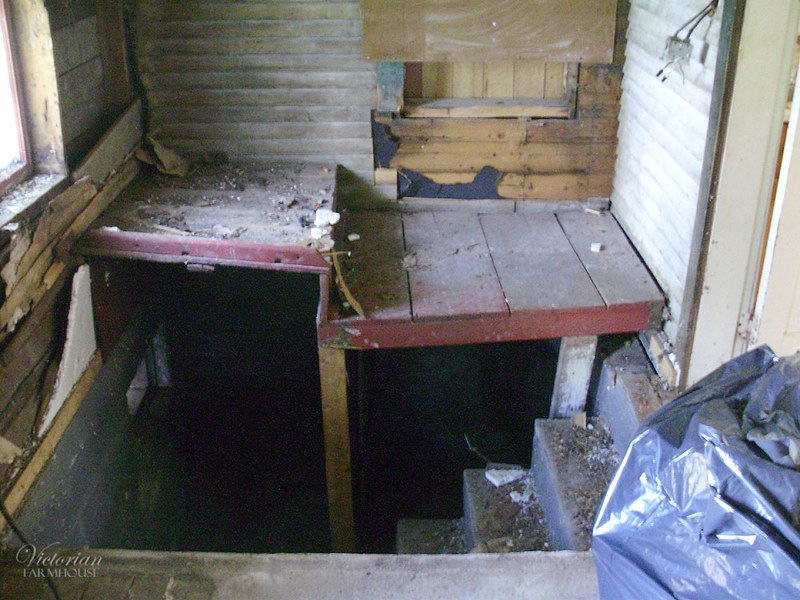
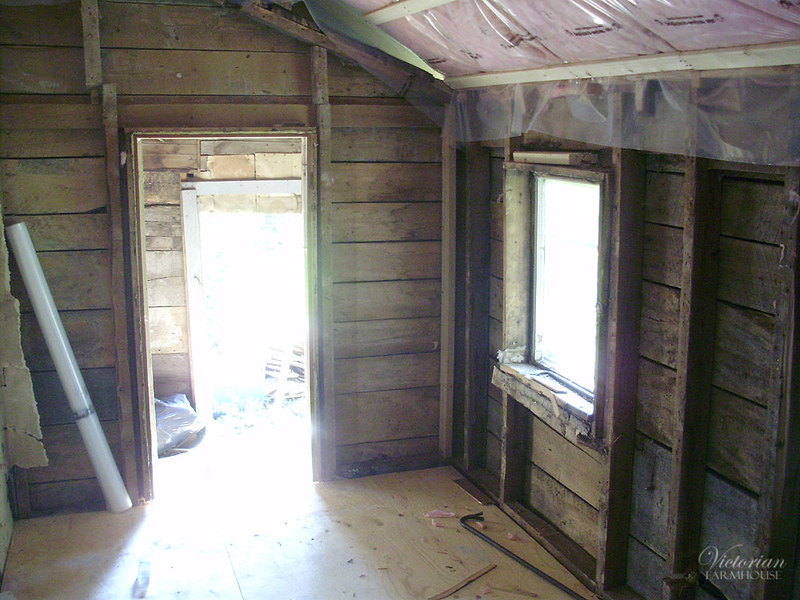
This shows almost all of room 1. The window opening is the original Victorian house, and it looks into the living room. That old red tongue-and-groove cabinet used to sit on the right side platform, and the door to the basement is directly below this platform, and in line with the window (roughly).

P8120264

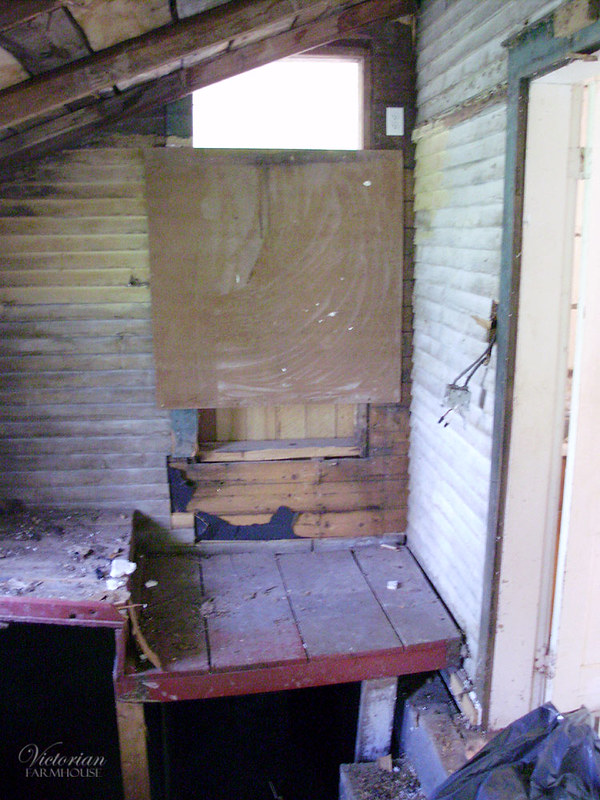
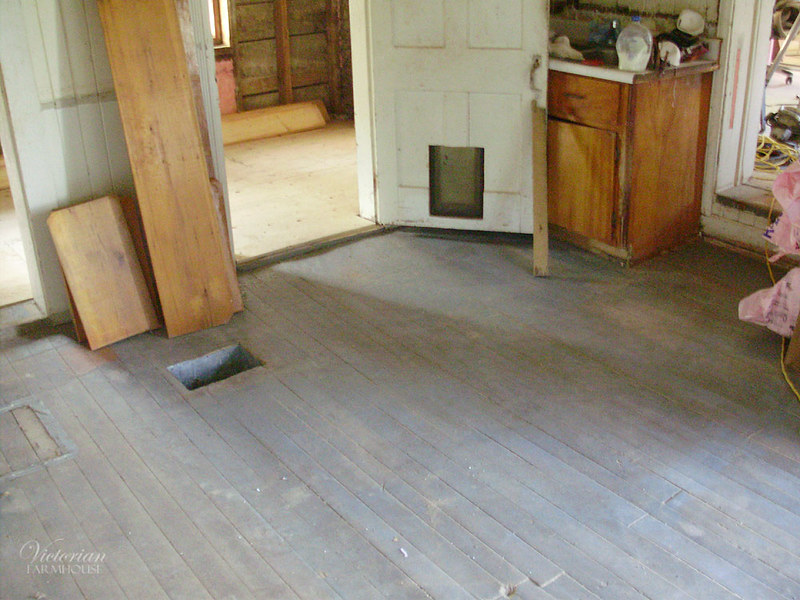
You can KIND of see some light in the opening of the basement door.

P8120265

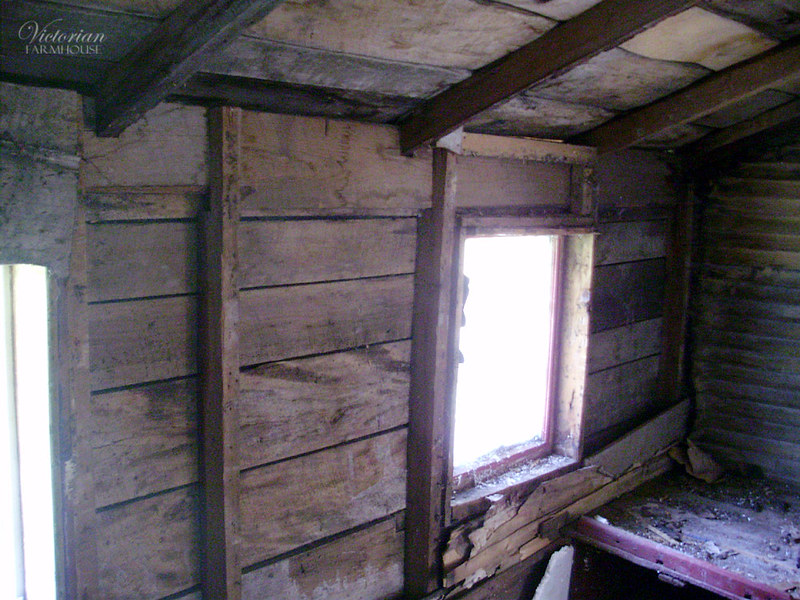
The two side windows:

P8120266

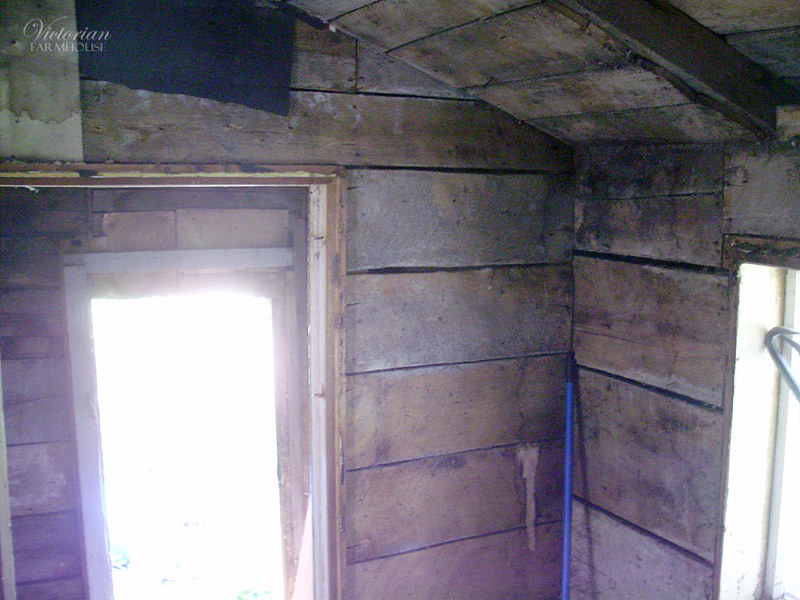
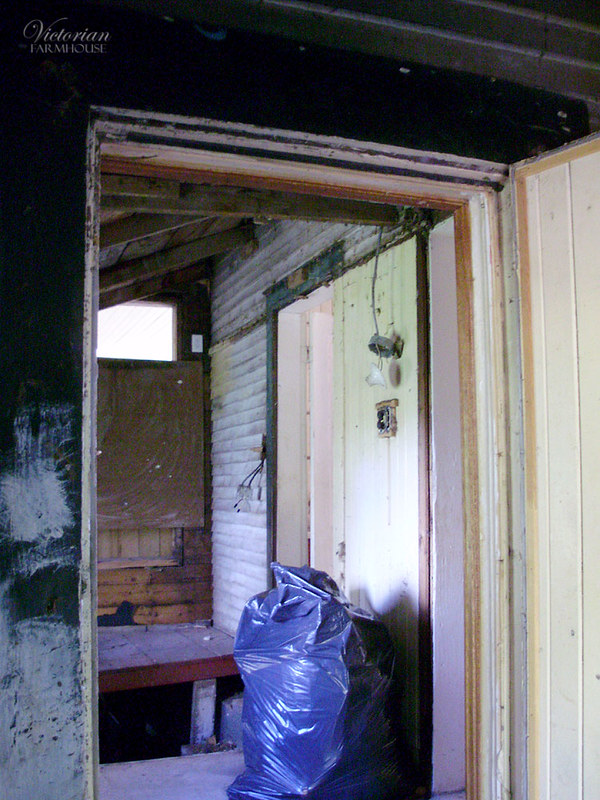
This is from outside, looking through room 3, and into rooms 2 and 1. This room 3 is not on a foundation (just in the dirt) and it has sunk a bit. The plan was to demo this room and have a small corner porch here. You can see that the floor of room 2 is a poured concrete floor.

P8120267

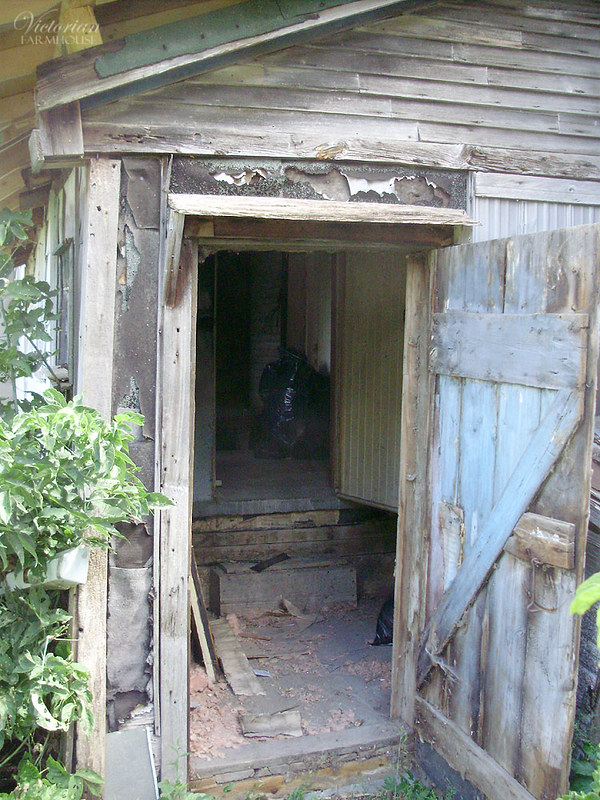
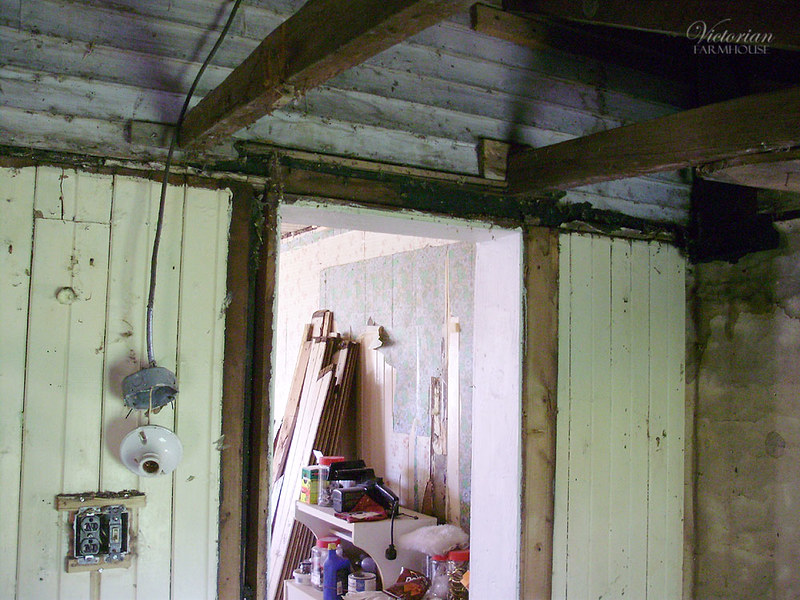
Inside room 3, you can see how short this door is, and there's a pretty steep step down. Also more exterior siding on this. The wall on the right is the attached barn, and there's a door on this side that leads into the barn.

P8120268

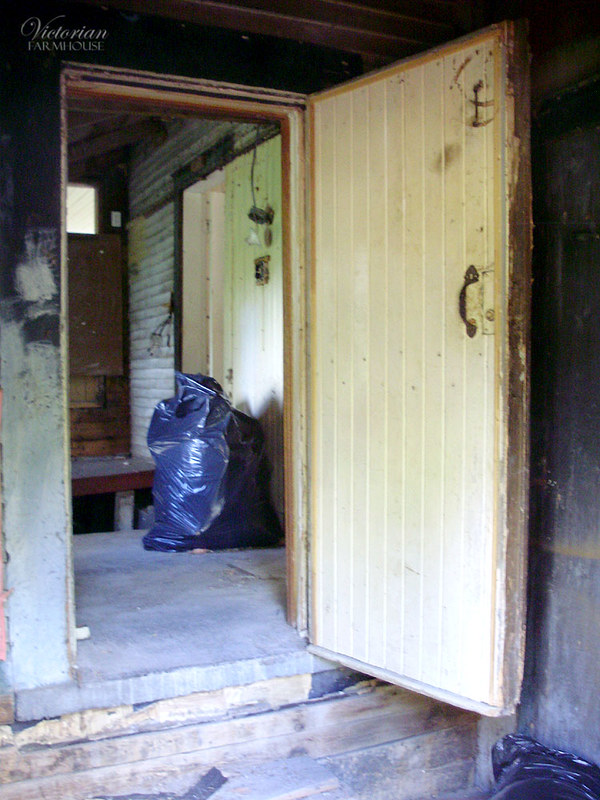
The door into the barn is the sort of lighter green on the bottom right. You can see the exterior siding on the exterior of room 2.

P8120269

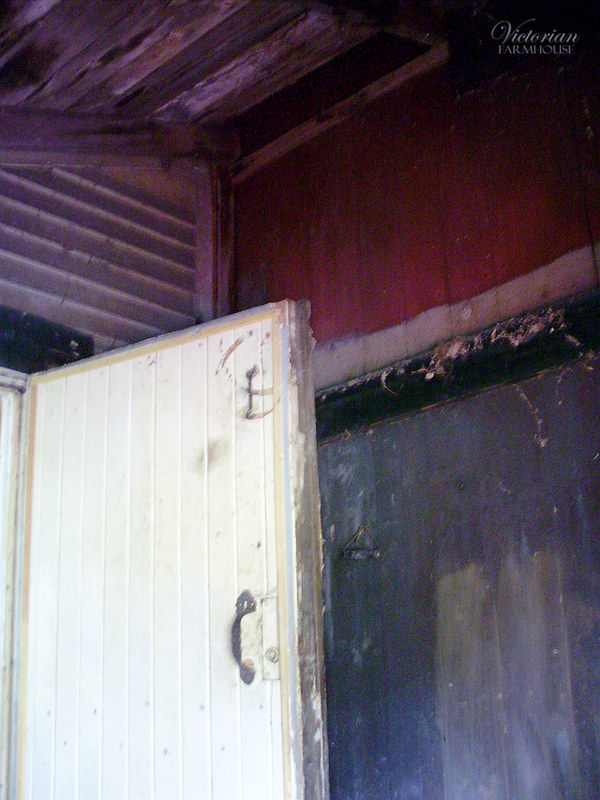
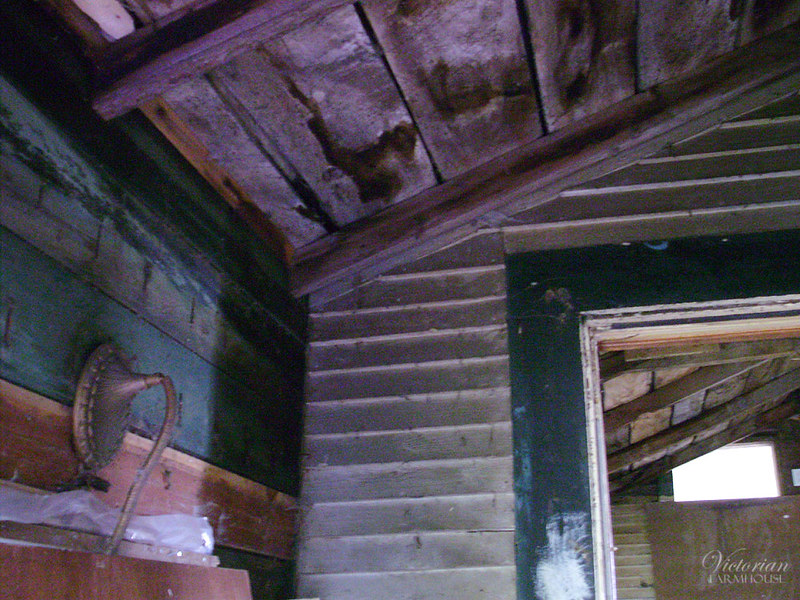
More angles from inside room 3. Yes that light fixture is an old desk lamp. It was connected by 2 or 3 long extension cords all the way into the garage (not safe).

P8120270

P8120271

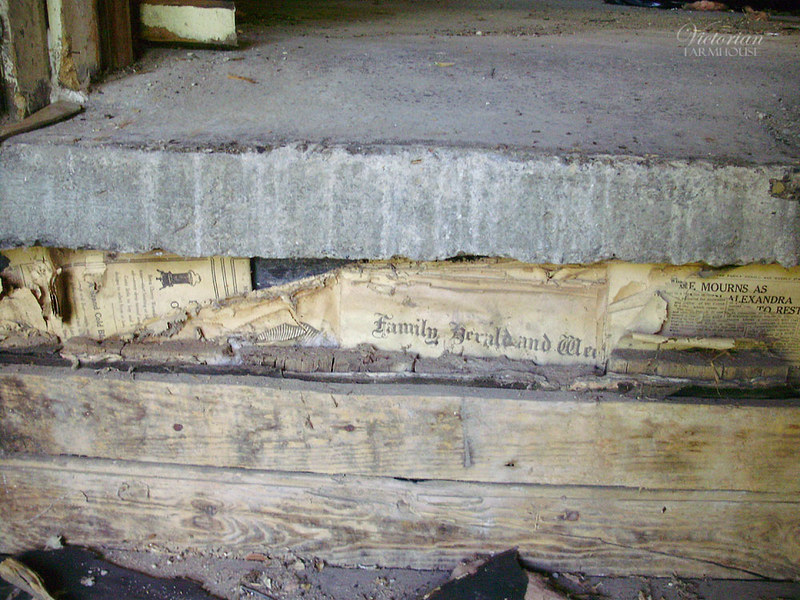
Here you can see the cement floor, and some old newspapers shoved into cracks as insulation. These are from a "Family Herald Weekly" and I think aother Montreal newspaper, and they date to the 1920s if I remember correctly. Look at the ad for the old stove (or heater?)!

P8120272

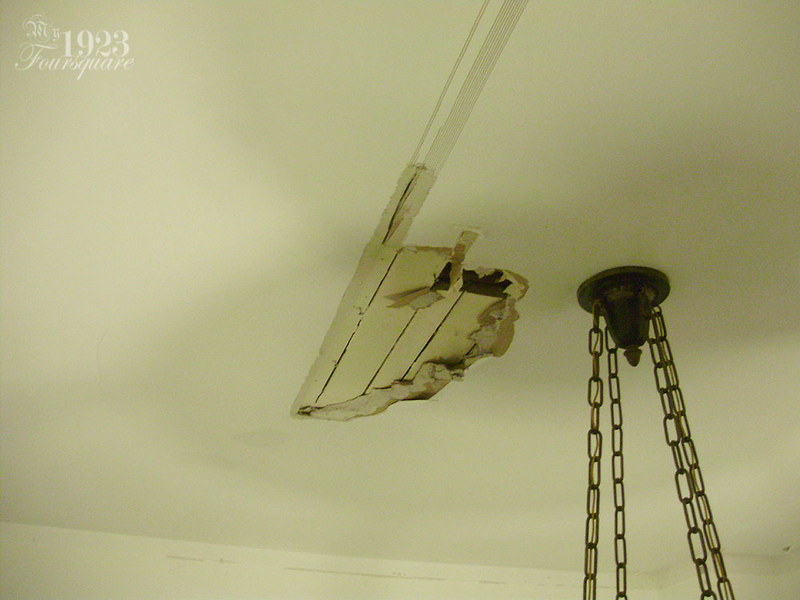
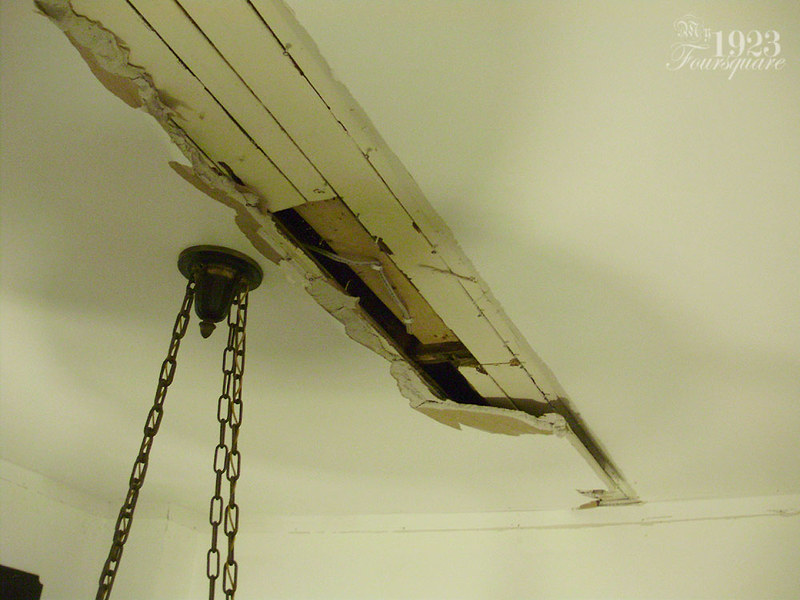
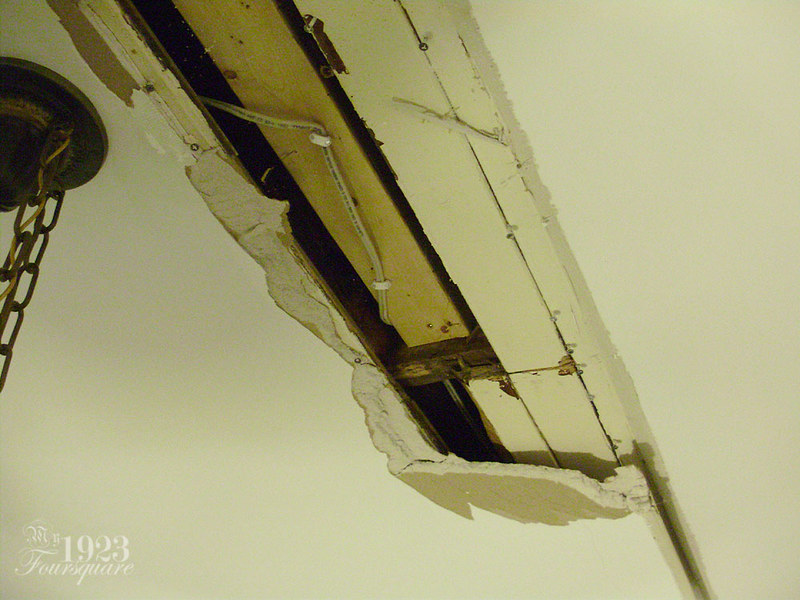
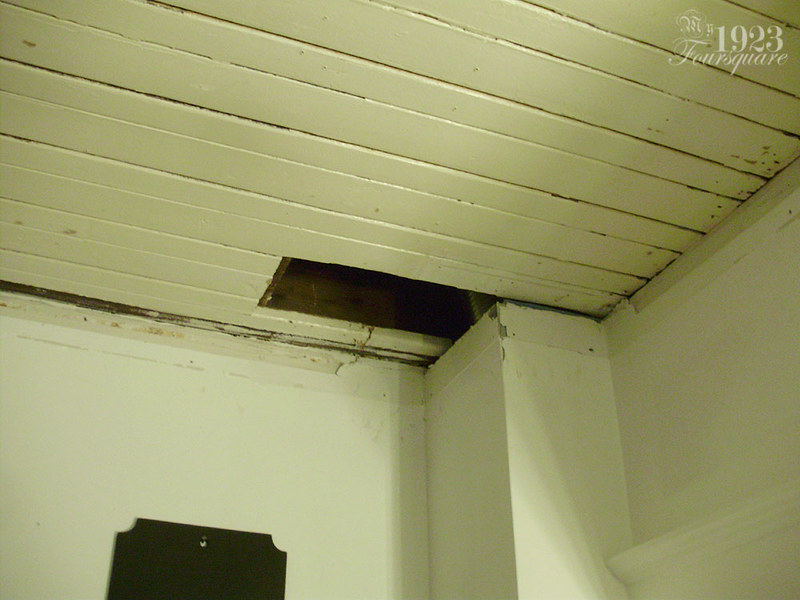
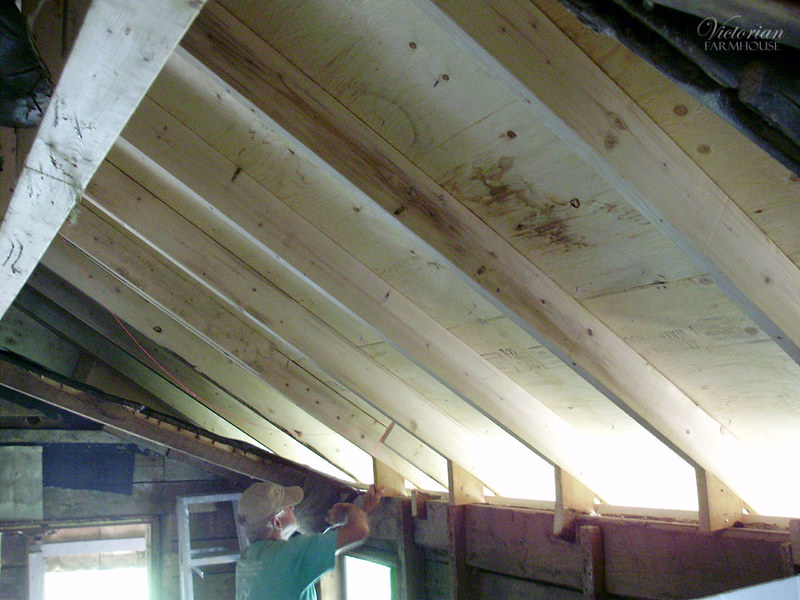
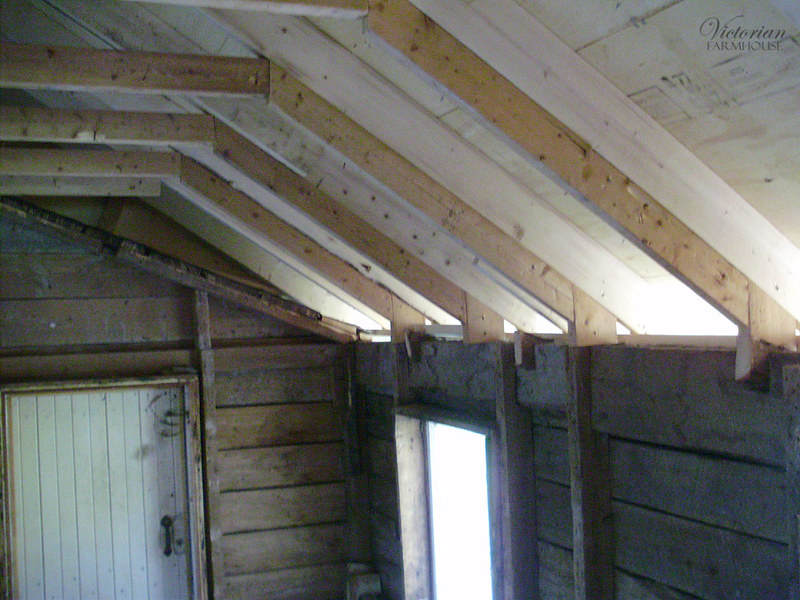
This shows the old low roof removed, with the new roof exposed.
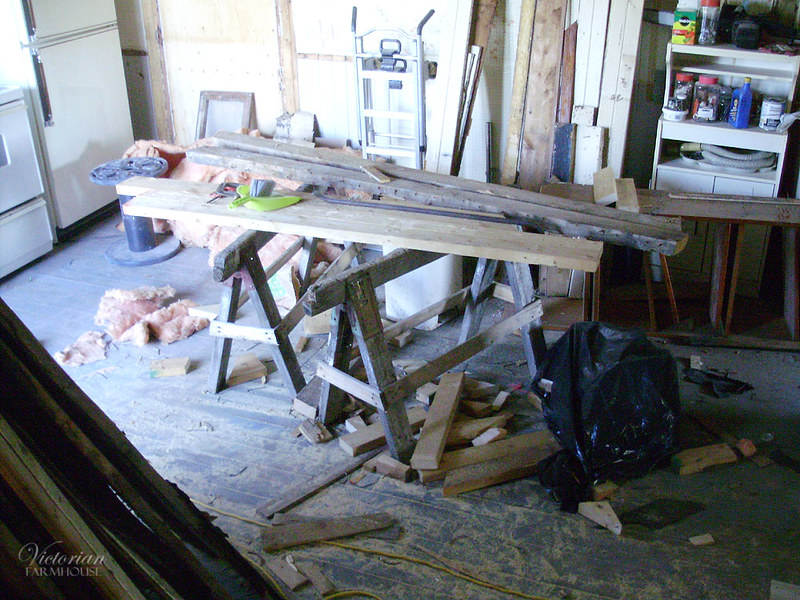
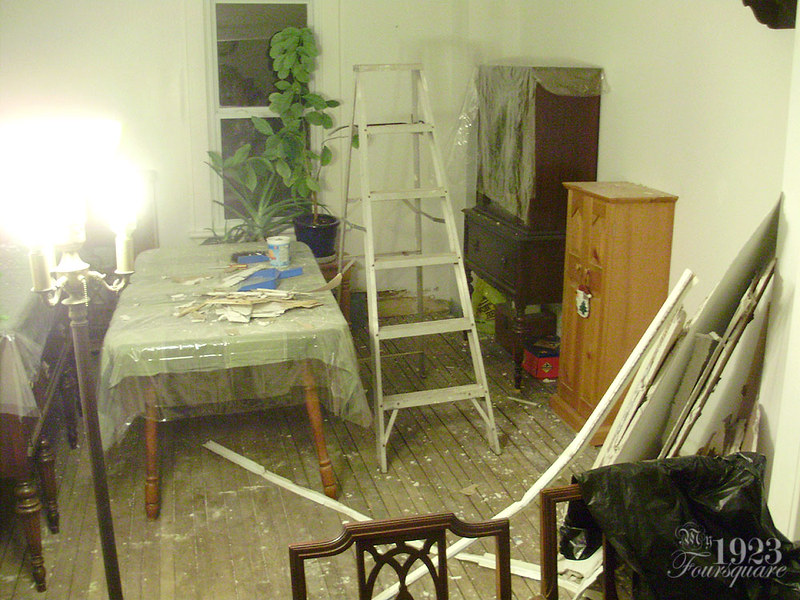
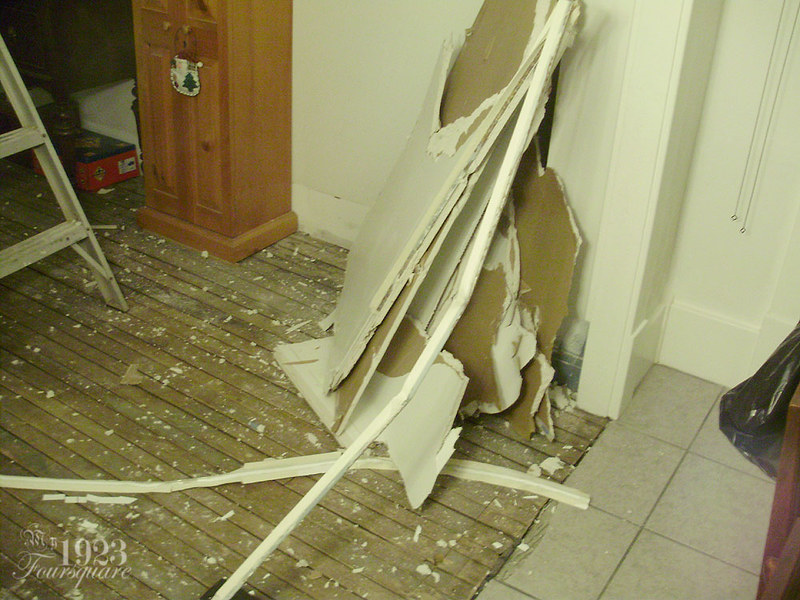
P8120277

P8120279

Some of the mess.

P8130286

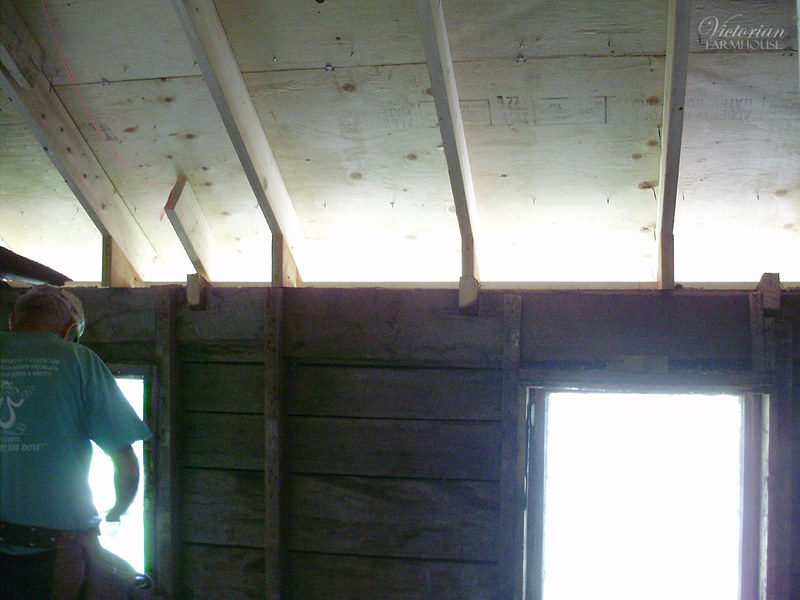
New ceiling being framed out.

P8130288

More mess.

P8130292

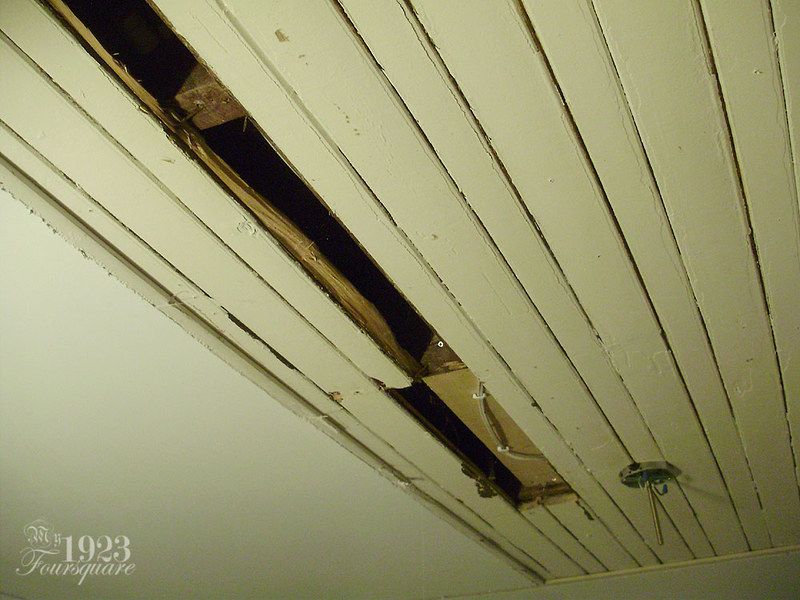
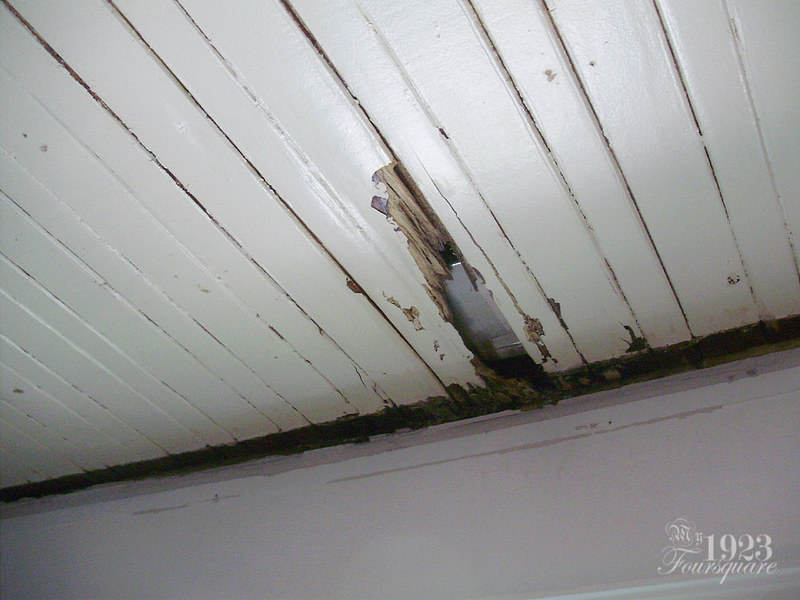
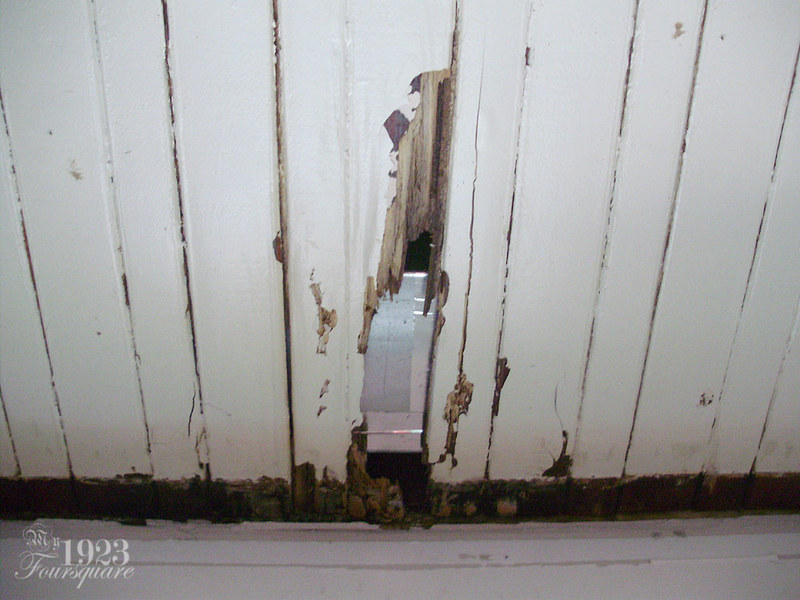
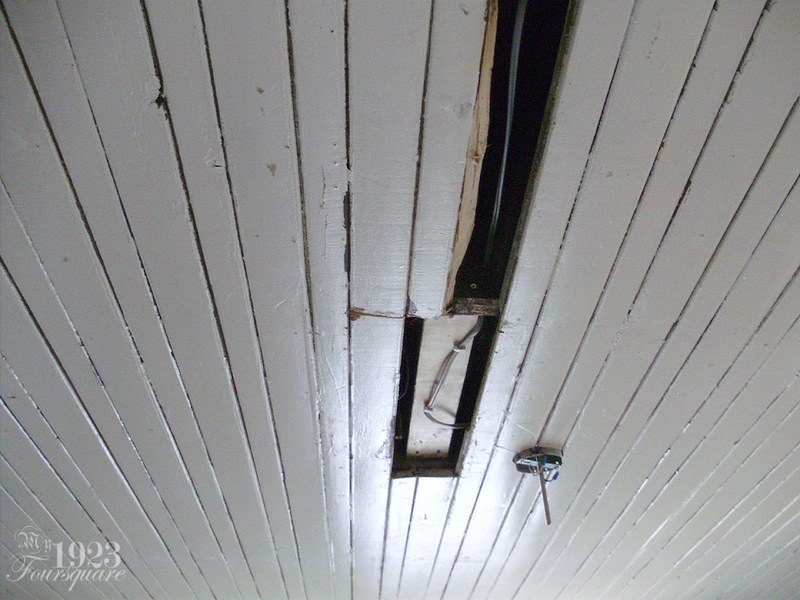
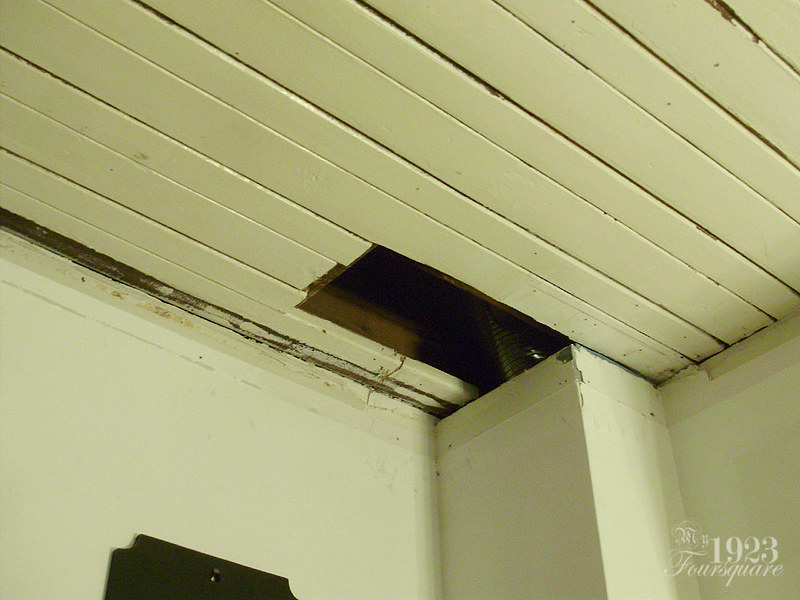
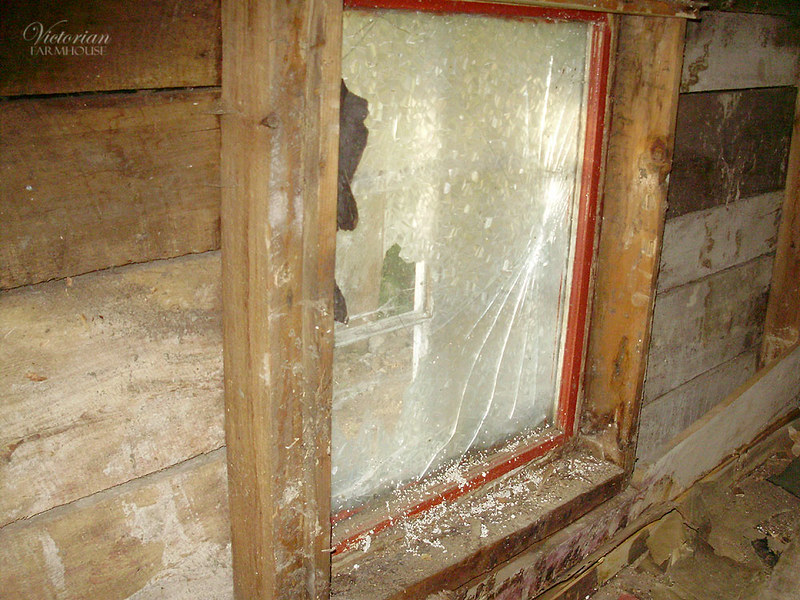
This is possibly the BEST "Fail!" photo I've ever taken. At some point someone drilled a hole into the exterior wall as a drain for the washing machine. They drilled this hole in the EXACT centre of a load bearing 2x4 stud.

P8130293

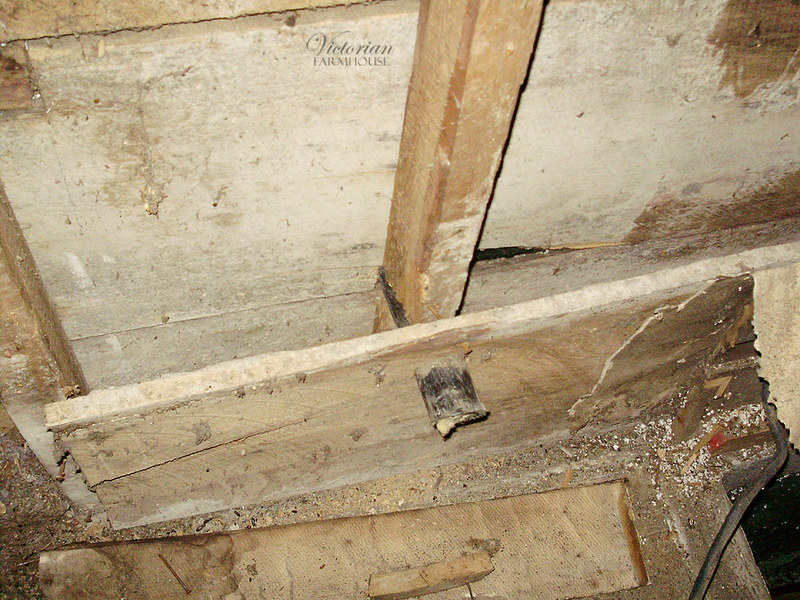
I don't remember if this was already broken, but it's broken now.

P8130294

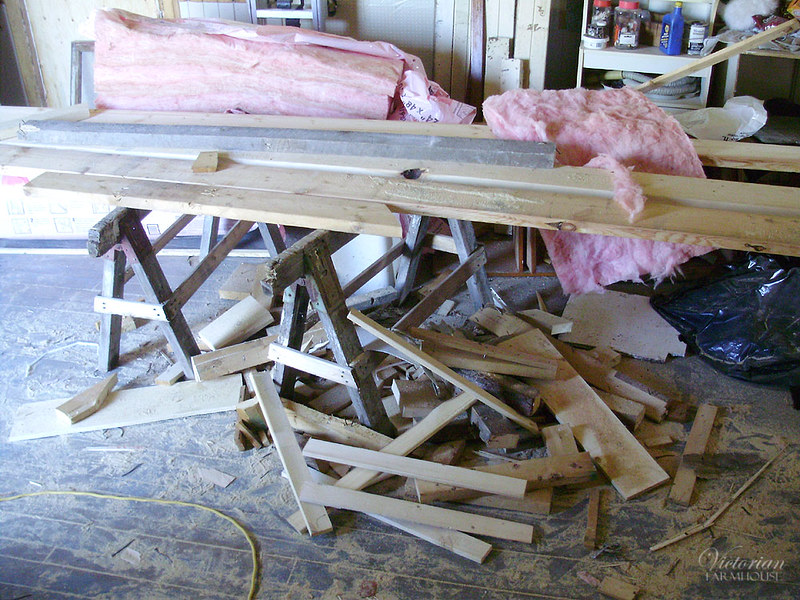
I shared a similar photo in the last post. This was the kind of mess that Pierre and I would clean up daily to save some work time for the uncles.

P8140295

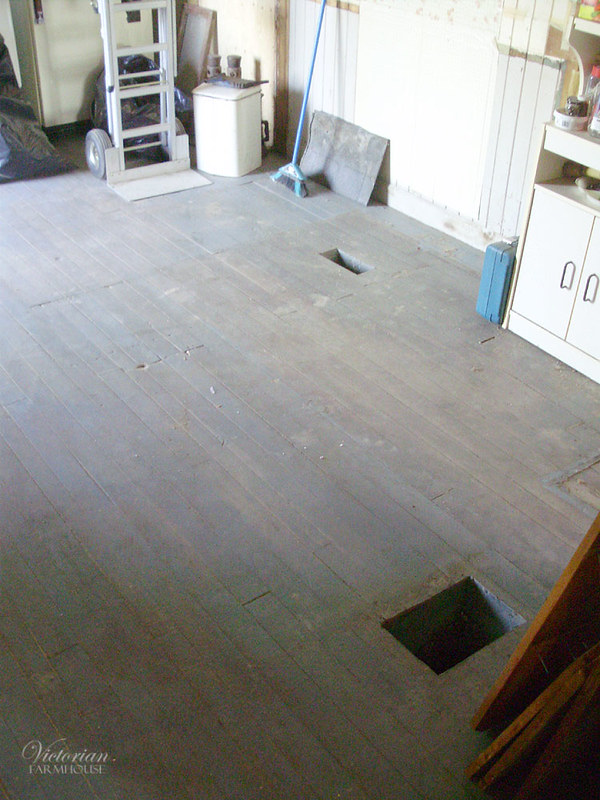
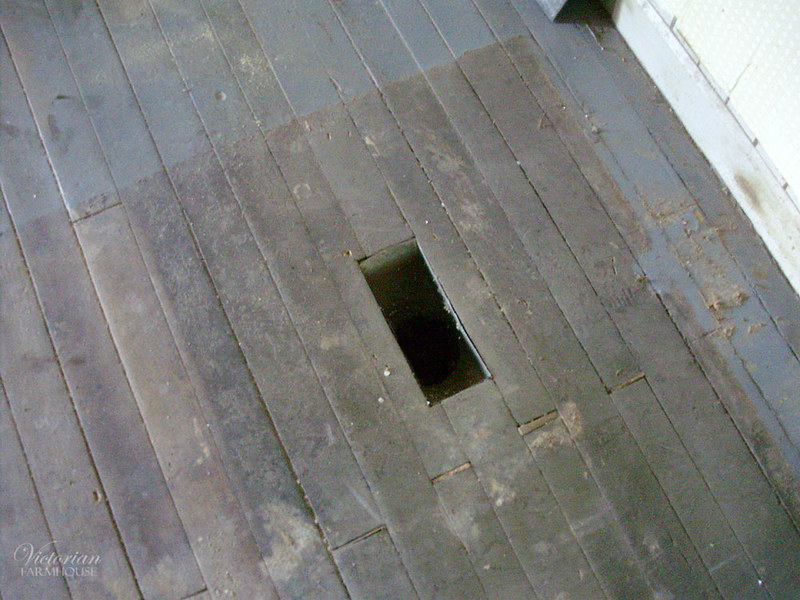
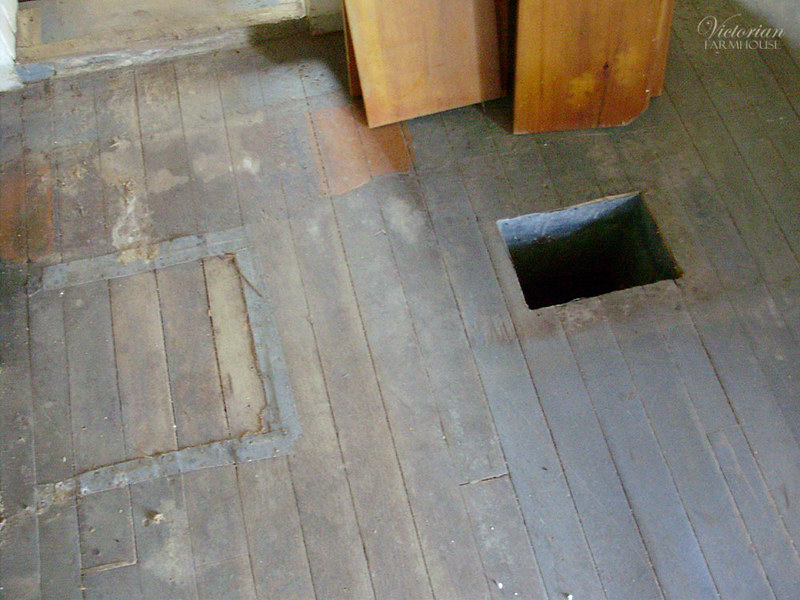
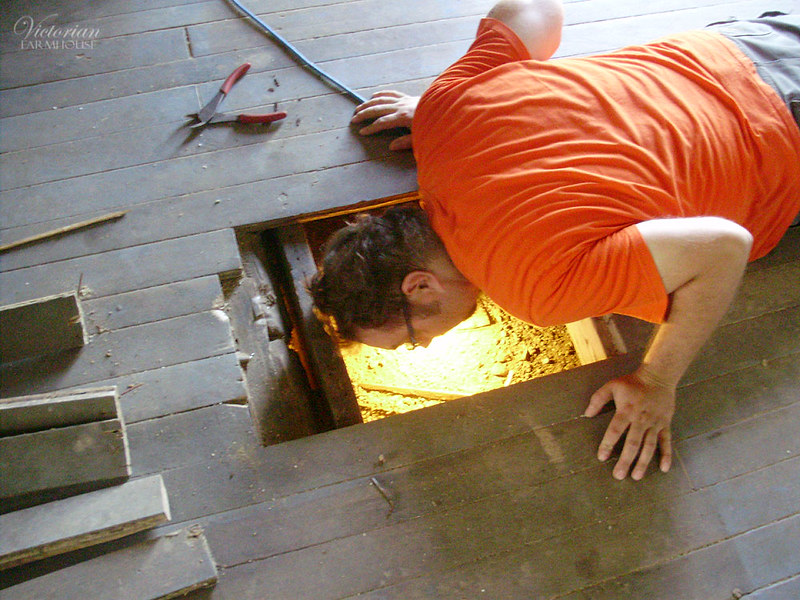
Before the new floor went in, we discovered a sort of trap door in the concrete floor of the laundry room (room 2). As it turns out, that entire side is basically a hollow concrete cube. It had no access hole other than the trap door (which I believe was nailed or glued shut), and it had nothing in it except a hole in the floor in one corner. It looked really creepy like a dungeon room. I wish I had taken photos, but I didn't think of it, and before I knew it, it was too late. New 2x6 floor beams were installed on the room 1 side, and plywood was installed across both rooms.

P8140296

P8140297

P8140298

P8140299

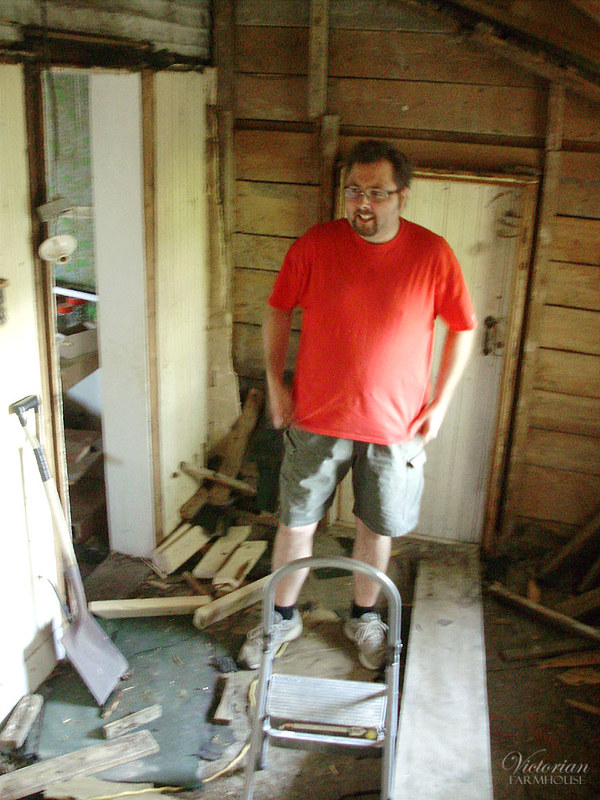
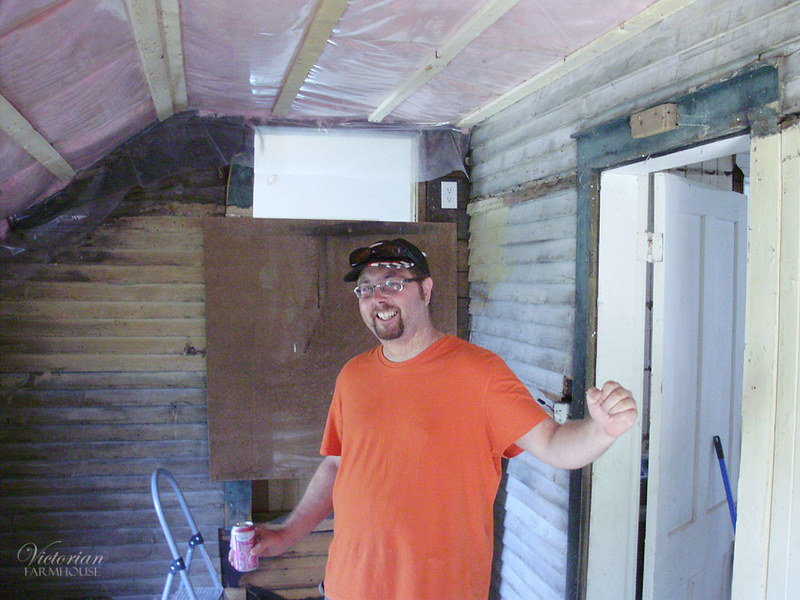
Pierre was happy to see some progress.

P8140300

Drywall, plumbing, and electrical. Unfortunately, some of the plumbing is not exactly where they wanted it, and the plugs are in REALLY STUPID locations, like RIGHT next to the window, even though the window casings will be almost 5" wide.

P8250002

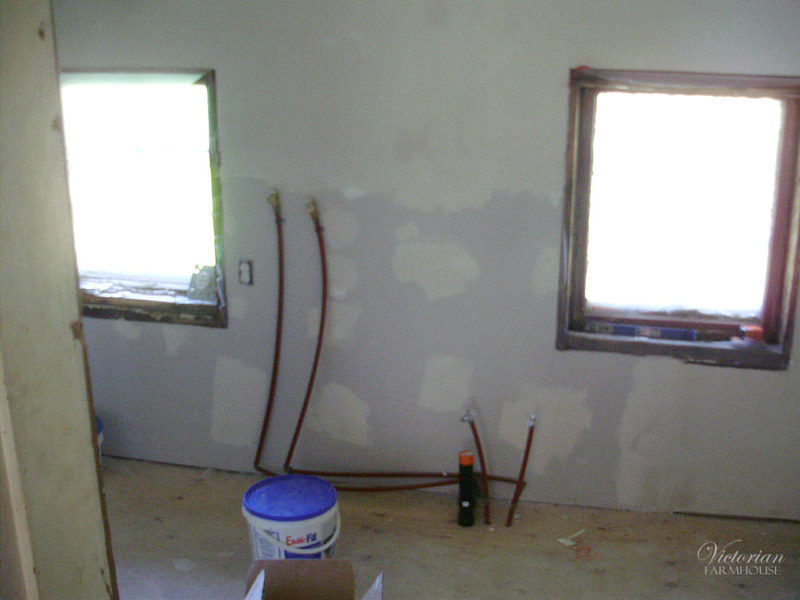
Not sure why the water intake for the toilet is coming out of the floor, instead of the wall (laziness).

P8250003

This gives you a much better idea of how short that door really is.

P8250004

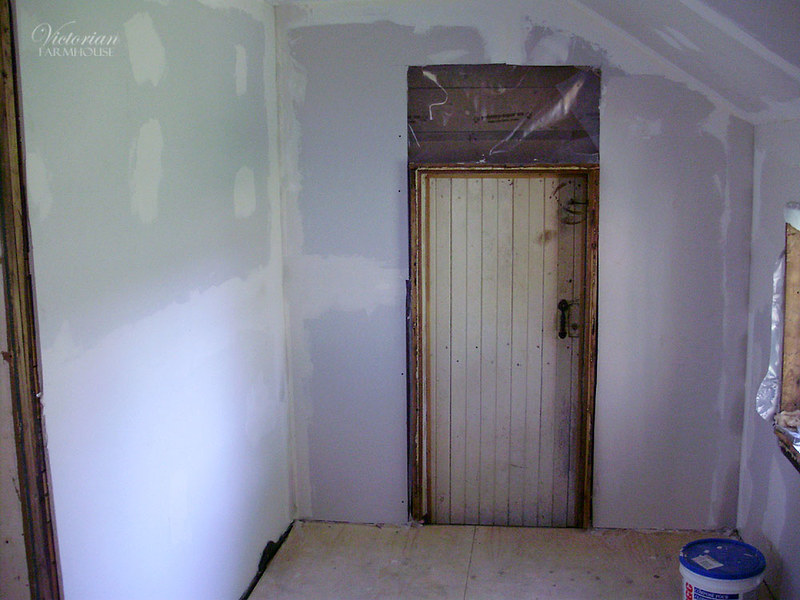
That's as far as things progressed for that room for now.

Victorian Farmhouse - Part 20 Kitchen Demo

This is going to be a bit short. Just photos of the partial demo of the kitchen (mainly the floor). Pierre worked on this while I was doing other (more complicated) repairs. At the same time as the kitchen was being worked on, the other section off the kitchen (formerly a laundry room, pass-through into the barn, and the stairway into the basement) were being modified and renovated into a laundry room and bathroom combo, which I will show in the next post.

Here's the first look at the kitchen floor. It appears to be the same kind (or nearly the same) of thick 1 1/4" tongue-and-groove solid maple floor as what's in the living room. It has been painted grey at some point.

P8120274

Angelina's uncles were hired to do the work in the laundry/bath and this is the kind of mess they would leave when they left for the day. Pierre and I spent some time cleaning up the scrap wood, and putting away the garbage.

P8130285

More views of the kitchen floor.

P8140304

P8140305

P8140306

P8140307

This spot in the floor is not exactly a trap door, but it's the only spot in this addition where you can access anything under the floor. It's a stone foundation, not very deep, and there are no openings anywhere else. The floor boards are loose, and nailed in place at the edges.

P8140308

All of these ducts had extension boxes built around them to raise them to the new floor height (now removed)

P8140309

P8140310

Pierre had a look under the floor. There's only about 2 feet of space under the floor, and some of that is taken up by the log beams. At least two of the log beams were damaged, and had cobbled-together repair posts under them.

P8140311

Thursday, December 29, 2016

Christmas 2016

I promised a quick Christmas post. This year was a bit more quiet than many previous years. I hardly saw anyone. My Christmas party only had 5 guests who could make it, Christmas dinner with my Mom got cancelled at the last minute due to weather, and my Dad had to work through the holidays.

In addition to all this, I was once again suuuuper broke this year. My job at the upholstery job barely had me employed for half the year, and I only did a handful of clock repair jobs. I've been just barely managing, but I'm going to have to go job hunting again. This all sounds rather sad, but I did have a nice time through the holidays. :D

I decorated for Christmas, but not quite as much as a few years ago. I used a "new" wreath for the front door this year. This is a wreath that my Mom donated to me several years ago and that I had never used. It's a beautiful wreath, but it has an odd mix of colours (silver and orange) which doesn't really pair well with most of my other traditional red and green Christmas things. HOWEVER, it does look great on the new front door.

PC070067

PC070068

The tree looks the same as the past few years, and I'm still loving the bow toppers. The mint green living room always looks great during the holidays.

PC070069

The dining room ready for the annual Christmas Dinner Party. This year I made boeuf bourgignon again, and my friend Devin also brought a homemade chili. We all had a wonderful time, ate a nice meal, exchanged gifts, and later played Cards Against Humanity.

PC070071

Here are a few of the handmade gifts I made for friends this year. These are small notebooks (5x7") covered in salvaged leather.

PC050064

One of the main gifts I made were handmade soaps. These were made with a store-bought glycerin and olive oil "soap base". I would have liked to make soap from scratch, but apparently they take a month to cure before they can be used, so I didn't have enough time for that. The soaps here are Lavender-Chamomile (at the top with the small flowers), Lemon (clear yellowish), and Oatmeal & Honey (unscented).

PC050065

Everyone also got a personalized Christmas ornament with a hand tooled leather label. I made about 20 of these, and even mailed a few of them out with cards. The hard felt shapes were bought in a pack, and I added the silver rings to them for either a ribbon or a hook.

PC050066

A last "artsy" shot in the dining room.

PC070072

I hope everyone had a wonderful holiday, and Happy New Year 2017!

Destroying the Dining Room

As promised (and briefly mentioned), I've decided to gut the ceiling in the dining room. Was this smart? Was this crazy? Am I sane? I had a perfectly good drywall ceiling (probably the nicest section of drywall in the house), and I ripped it all down. Why? Because there's an original hardwood tongue-and-groove ceiling under there.

As I sit here typing this, I have to admit that this may or may not have been the best idea. As it turns out, this particular ceiling is in TERRIBLE shape, but let's not skip ahead too far.

The first thing I did was carefully remove all the crown mouldings. These are all new, solid pine, and definitely still good. I installed them back in 2012. I know this because I had signed my name and dated them on the backs! I don't even remember doing that, haha! See: http://my1923foursquare.blogspot.ca/2012/11/finished-crown-photos.html

PC170131

Hopefully I can just fix the original ceiling and then reinstall these. I was able to remove all of them fairly easily except a small corner where a sliver snapped off (I'll just glue it).

PC170132

PC170134

I knew exactly where to start the demo because I had installed a patch when I had moved the location of the light fixture (it wasn't centered on the window, which bothered me).

PC170135

This looks really awful already, but this is the same thing they had done in the living room and in the office to run the new electrical. They butchered two boards and tore them out to pass the wires. The 2x4 was to hold the electrical box (which I had moved).

PC170136

PC170137

After removing the first section of drywall (which made a huge, HUGE mess, by the way), I found another hole in the ceiling, under the bathtub.

PC170138

After removing the second section, I started to really look at the ceiling and wonder if I should even continue. The ceiling was in TERRIBLE condition. The worst of all the rooms in the house. Everything is chipped, flaky, bumpy, plus all the drywall screw holes. In terms of detail and how it actually looks in real life, this is probably the best photo of the bunch.

PC170141

I decided to stick with it, and that even if it's going to be a LOT of work, "Hey I can fix this!" Hahahahaha... ughh...

I can really see why they abandoned all hope and slapped drywall up there.

PC170142

Another angle of the "main hole".

PC170143

This is as far as I got on the first night (the night before last - the 27th). There were just 2 full 4x8 sheets left.

PC170144

Some of the mess cleaned up. I worked carefully around the furniture, but everything else (all the clocks and fragile items) were taken out, and I put tarps on everything.

PC170145

PC170146

Next day (yesterday morning) I removed the rest of the drywall, cleaned everything up, and vacuumed. Right above the window was another damaged section of the ceiling. All rotten. I knew about this ahead of time. Years ago when I fixed all the duct work, I saw this spot was all rotten from the top (which is in the master bedroom). Tracked down the old photo:

Photobucket

It's actually not too bad. I can just cut out the bad bits and patch it. I just can't understand how it could have gotten to this point. Rot like this would be from years of water damage (think about how long a log takes to rot and decompose in the forest).

Maybe there was a leak in the original wooden window frame? But the wall doesn't seem to be rotted...

PC180149

A lot of this was so soft you could just poke through it with a screwdriver.

PC180154

A few photos in the harsh light of day.

PC180161

PC180162

For comparison, the other three ceilings on the main floor (which I just had to minimally repair where they passed the wires, and then paint):

PC180163

PC180164

PC180165

Yeah, AWFUL when you compare them.

So you might be asking yourself the question: "And how the hell are you going to fix that?" And yeah it's a great question. There are several options, each of which are a pain in the ass, time consuming, or expensive.

Option 1:
Give up and install new drywall on top (and cry) - not going to happen.

Option 2:
Strip all the flaky paint off (or hire someone to strip the paint), then repaint everything nice and fresh and clean - too messy/expensive.

Option 3:
Painstakingly patch it, smooth it, sand it, putty it, and agonize over every square inch, paint and pray it looks decent - I'm poor, so this is the route I'm choosing.

Yeah you read that correctly. I'm going to work on it in sections. I've already gone through half the ceiling and scraped off all the loose and really bumpy bits. The puttying is going to be the biggest job. I'm just going to use drywall compound. I've had really good luck with this, and it works well. I'll be doing a quick coat of shellac primer to make sure everything sticks nicely, and painting it the same semi-gloss trim colour as everything else.

SHOULD BE LOADS OF FUN! (sarcasm)

Earlier this evening I removed that 2x4, re-tacked the wire, and reinstalled the electrical box flush with the ceiling.

PC190168

I also trimmed a bunch of the spots where I'll need to patch the wood.

PC190170

I notched just a bit of one of the three boards here so it's not just a clean line (which always shows). I might have to also trim a 4th board. The edge of the outer board is pretty messed-up.

PC190171

As of tonight, that's where I am with the ceiling.