Saturday, July 25, 2015

A Small House Update - Light Fixture in the Guest Bedroom

I've had the fixture for the guest bedroom (or spare room, formerly "the laundry room/kitchen" upstairs) repaired, rewired, and ready to install for at least 2 years or more now. I was originally going to wait until the ceiling and drywall in this room were finished before installing it, but it was looking so sad just hanging in the basement gathering cobwebs that I decided to just install it now. It also helps with the low (crappy) lighting situation in this room. This is a small room (maybe 9x9) and it has no windows. Originally it would have had two windows, but one is now blocked by the building next door, and the second one has been converted into the door leading down to the driveway and garage at the back of the house. I plan to eventually replace the steel door with a salvaged one that has a window in it, which will give the room a bit of natural light.

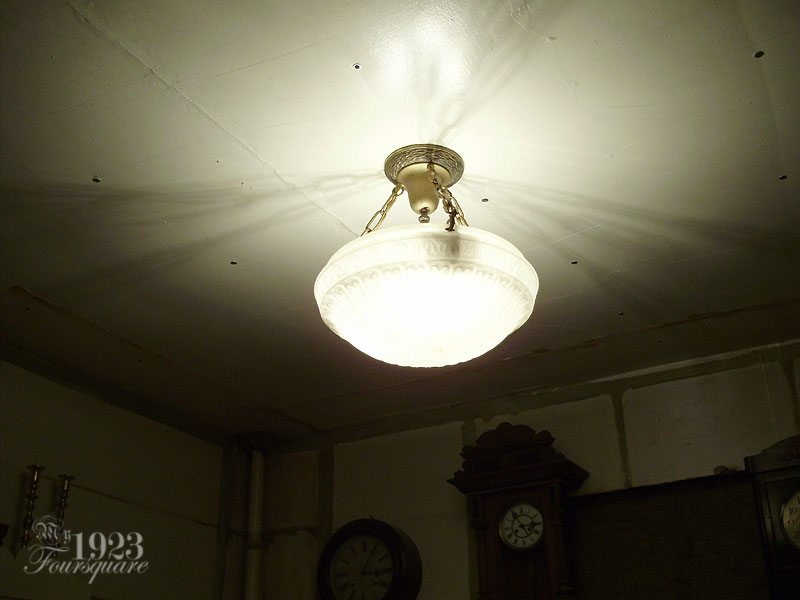
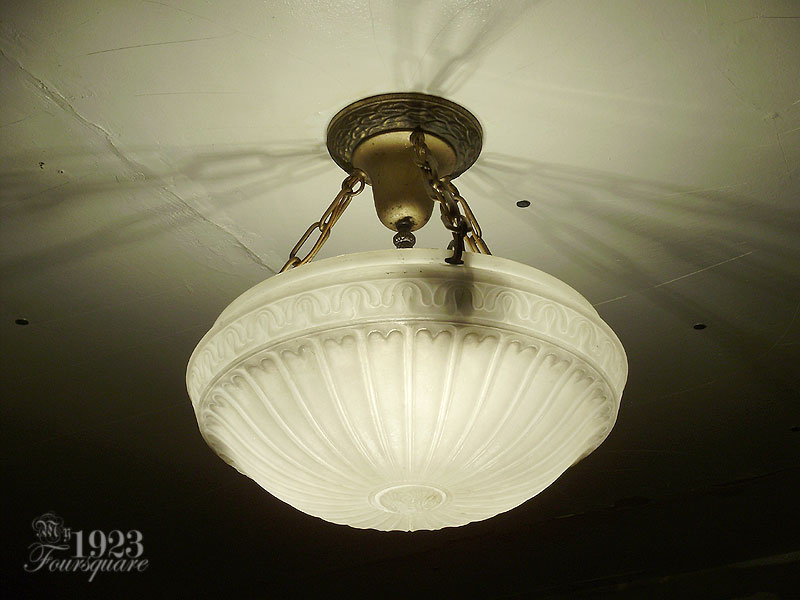
There's no real way to create nice shots for this fixture, since the ceiling is unfinished (and reinforced with screws/washers to counteract the sagging, and the room is also filled with junk at the moment. These are the best I could do, and at least you can get an idea of how this looks.

This type of 1910-20s fixtures is called a "gravity" shade fixture, although that isn't necessarily the best term. The globe in held in place with special clips that clip (and screw-tighten) onto the rim of the glass shade, while also carrying the bulb socket and a chain link. These fixtures are more commonly found in dining rooms, living rooms, er even places like stores and banks (with very long links). They occasionally have only 1 bulb (sometimes hanging down in the centre, or a bulb each (like this one).


Thursday, July 09, 2015

Stunning Antique Mirror Find

So back in May I went to a flea market with a good friend of mine and her boyfriend. I ended up finding a few clock magazines, and this gorgeous antique mirror. She paid for half (combined b-day and Christmas gift from last year) so this was a bargain find.

This is an American Gilt Wood Federal Mirror, and it dates from between around 1830-1850. This is a very small version, and it's about 19" high by 11" wide at the top. Standard mirrors like this are usually about 30" high, but there are a huge variety of sizes up to about 5 or 6 feet tall.

This one still has the wonderful original (very wavy) mirror, and the original "verre églomisé" (reverse-painted) glass. The gilt decorations and gesso are not in perfect shape (lots of chips) but that's not really a big issue. I chose to do a very light restoration on the gold by simply touching up most of the exposed white. A fair number of these mirrors have been stripped down, repaired, re-gessoed and re-gilt. That's not the look I was aiming for.

Before (as purchased):


There were two thin side areas without any gold paint (just mustard coloured paint). I repainted these since both sides were in bad shape.


After minimal restoration. All I did was touch-up the spots where white plaster was showing, and I repainted the mustard side strips which were very damaged. I have this mirror hanging above my nightstand in the master bedroom.


Repainted side(s):


The reflection in the mirror is fairly useless unless you're right in front of it, but the silvering is remarkably bright and clean. It also makes stunning splashes of light on the walls when light is hitting it.

Monday, July 06, 2015

Master Bedroom Grates

Here's something small that FINALLY got done just the other day. I had started to strip and clean-up the grates (these are the ones that go in the master bedroom) probably about a year ago, and it had not gone very well, so I set them aside for later.

I have been working on a few French comtoise clocks lately (see below), and as part of their refurbishing, the movement cages needed to be stripped and repainted. I decided that it would be a good time to finally finish the grates while I had the stripping chemicals out. Since there were mostly just a few stubborn paint spots and drips on the grates, I decided to slather them in stripper, cover them with cling wrap, and leave them to "stew" while I worked on the comtoise parts. This ended up working nicely, and the paint and grime came off nicely with a bit of scrubbing.

Here's the comtoise clock I'm currently restoring (more info on the clock blog):


Here is how the grates turned out. I am pretty sure they are cast iron, but they seem to have a copper plating on them. These were originally quite dirty, grimy, coated in paint, and I thought they were originally just rusty iron. They turned out looking quite beautiful, and the colour blends in nicely with the painted floor. I didn't photograph the second grate, but they look pretty much the same.


Here's an older "before" photo of how the grates looked before cleaning/stripping:


And here's an OLD original photo from when I first bought the house: