Before starting to demolish the old stairs, I laid two large old boards (2" x 12") over the basement stair opening. This made it easy and comfortable to work, and I was able to have a step ladder over these as well.

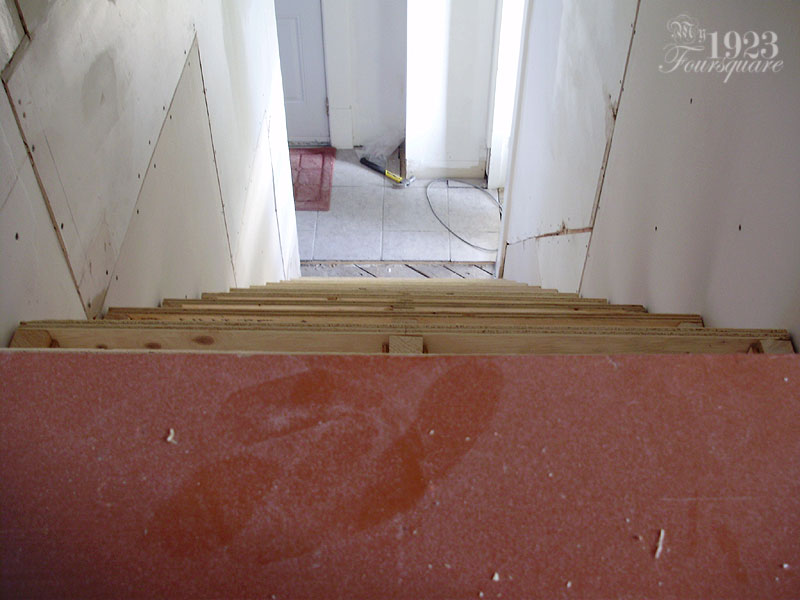
Removing the old shitty stairs (I don't normally curse, but these were absolutely awful) was probably the worst part of the entire project. It was messy, and none of the steps came off easily because they had been nailed as well as screwed down. The screws were puttied-over and painted so I didn't bother trying to find them. I used heavy prybars and a large crowbar.


I had started the demo late one evening, and I did the other half the following afternoon.
Another thing that made the demo worse was that the contact glue used on the rubber tread sections was still gluey and sticky, and any kind of contact with the glue meant a gross and difficult to remove mess. It was like honey, and the only thing that removed it was lacquer thinner. I was very careful to pile the old pieces carefully, and to completely avoid skin contact.


A lot of the rooms throughout the house (wherever they changed the drywall) have insulation in them. Kind of useless on interior walls, but I suppose it helps block sound a tiny bit, so I've left all of that there (and patched where bits were missing).

About 6 of the 12 old stair "points" broke off during demo.

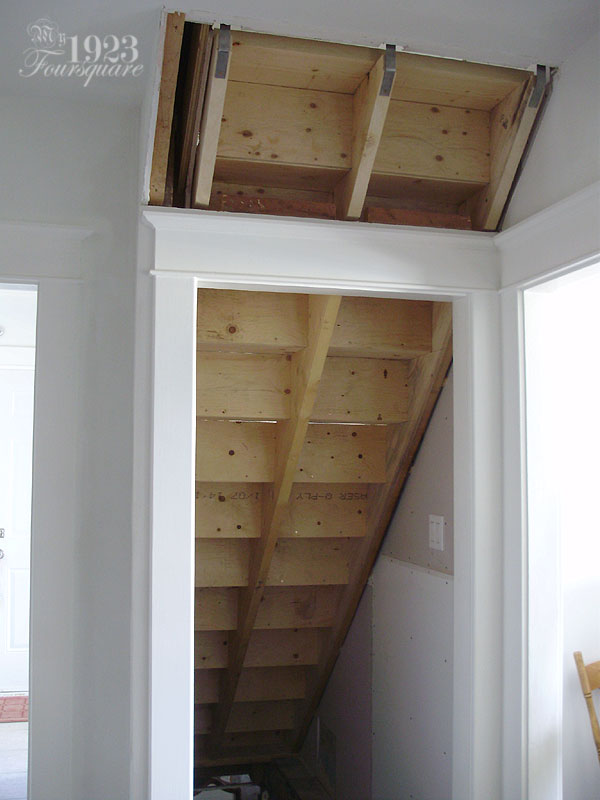
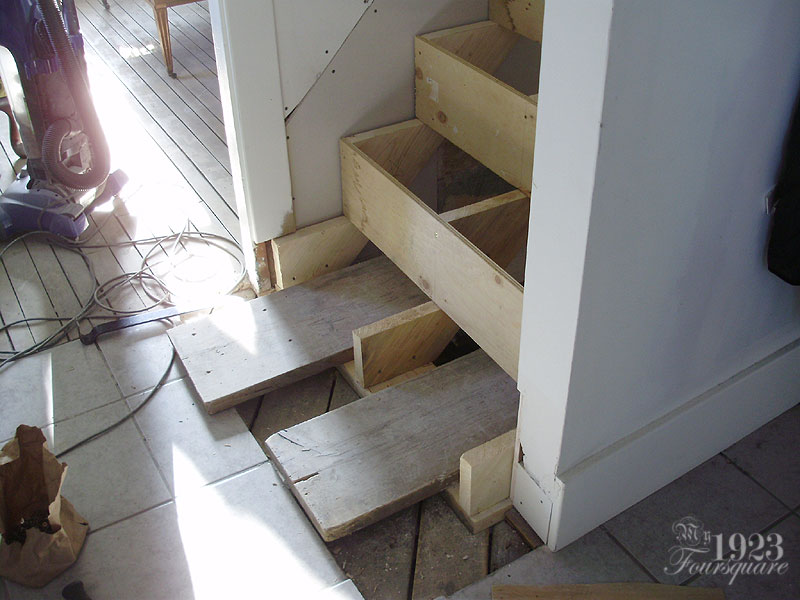
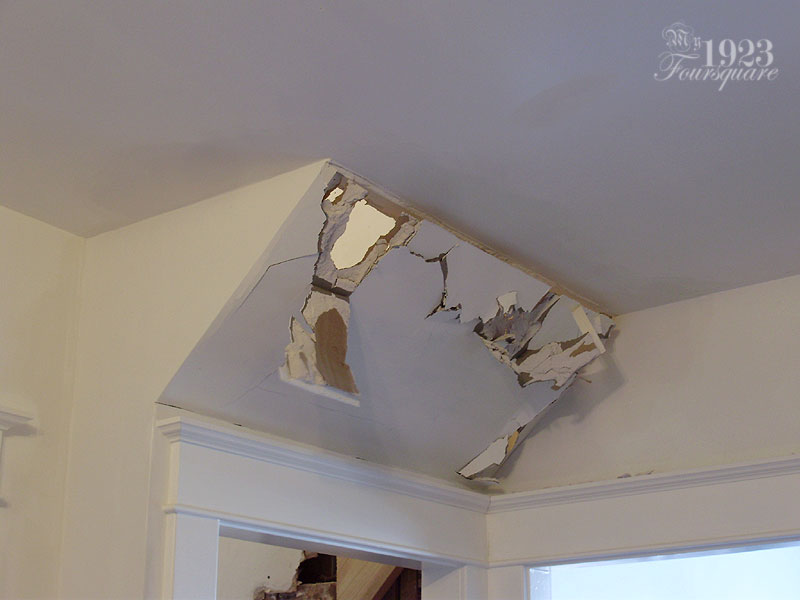
This was an "exploratory hole" done years ago, but some of the framing will need to be fixed now.


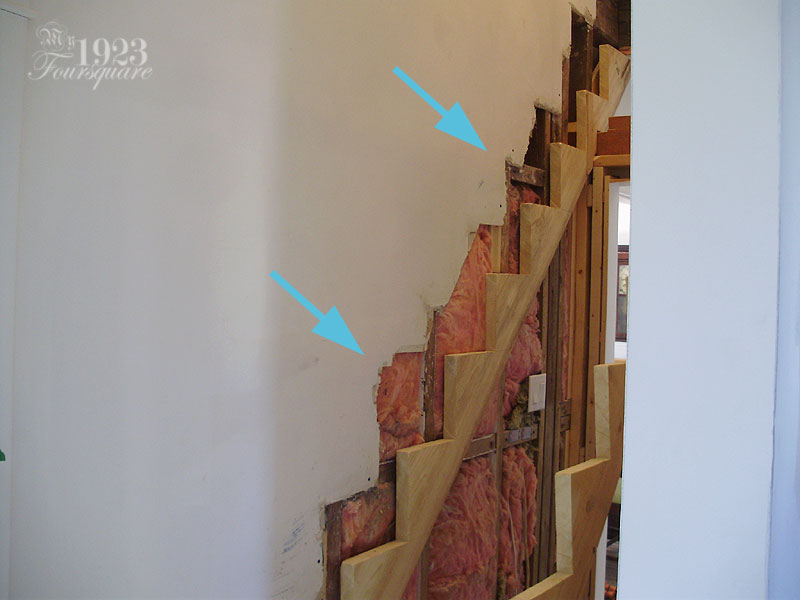
This is the wall that makes up the hallway (where I have the coat hook shelf with clocks on it). This wall was a later addition, which is why the construction is completely different.

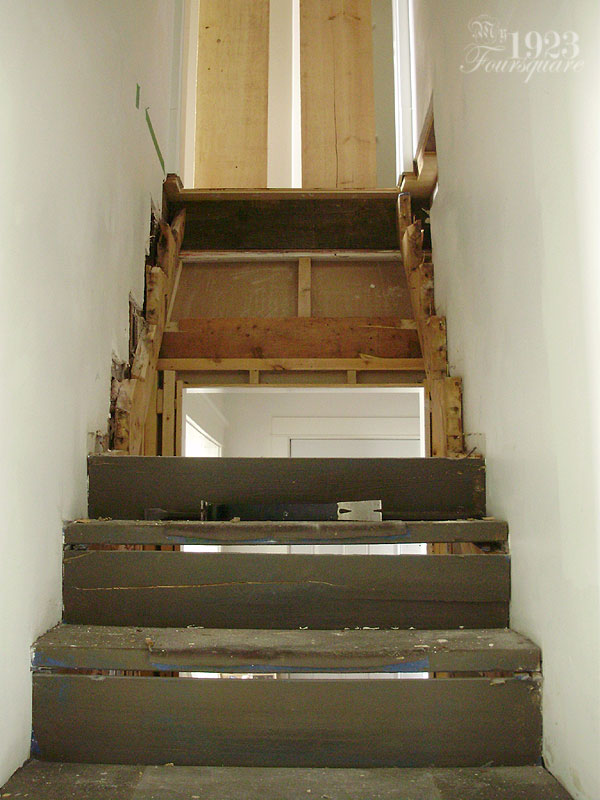
This is where I started to notice I had a big problem.

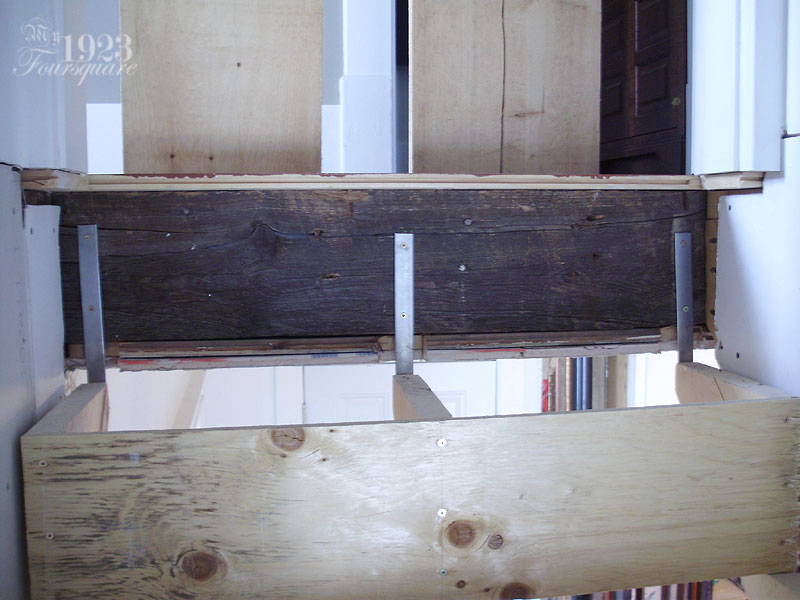
Illustrated below, is the height issue with the stringer. Basically, it needed to drop a good 2 or 3 inches, around the spot where the arrows are pointing. One thing I didn't really calculate earlier was that because of the adjustments, the height of the top stringer step had to land at 10 3/4" down from the finished floor. Again, to recap the math: 10.75 + 2.25 (my 2x10 rough step plus 3/4" hardwood) gives me my final 8 1/2" step.
That said, the nice drywall "angle" that I had done years ago, and that I was pretty sure would have AMPLE clearance was definitely going to have to go.
:(
Bye-bye all that hard work and planning.

At least I got a good shot.
Also note that this was a "controlled demo". All the edges (tape) were cut to minimize the mess, and make re-patching easier.

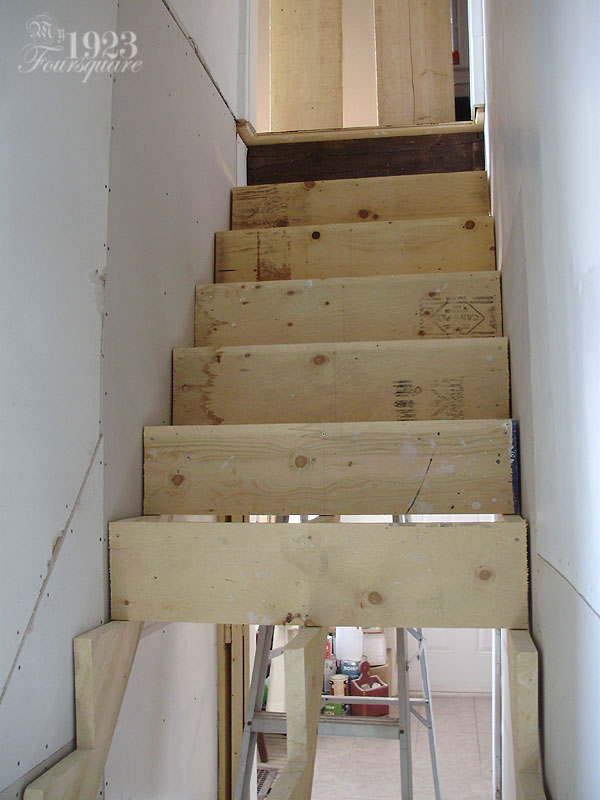
The stringers had to be notched. I didn't like doing this, but I had no choice, and I did NOT, repeat
*N-O-T* want to redo the entire doorway and arch.

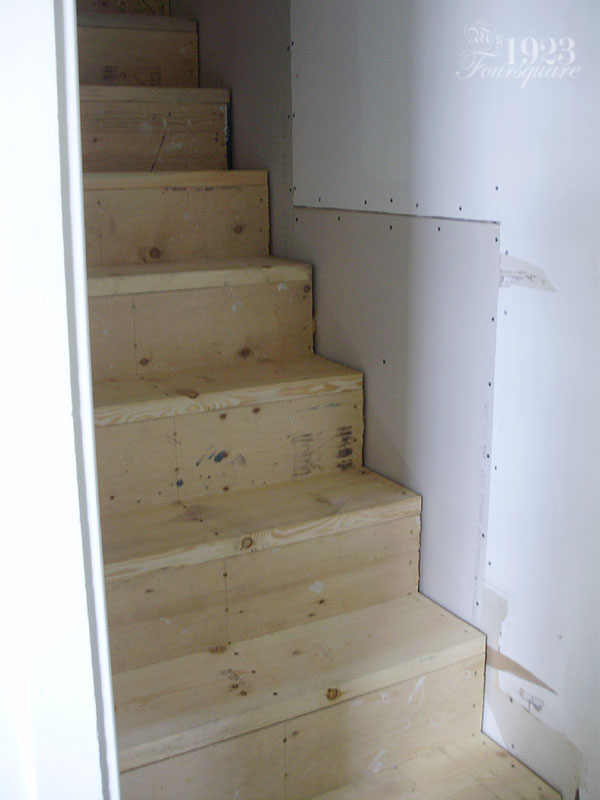
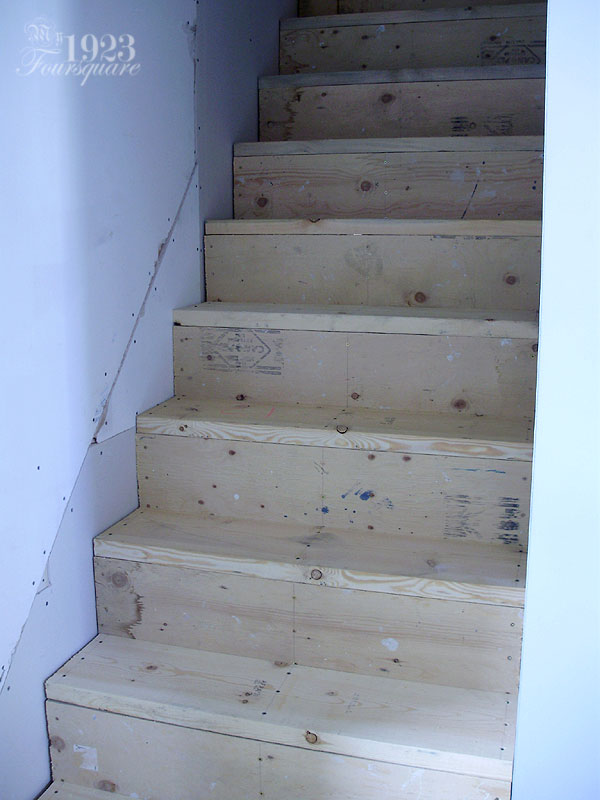
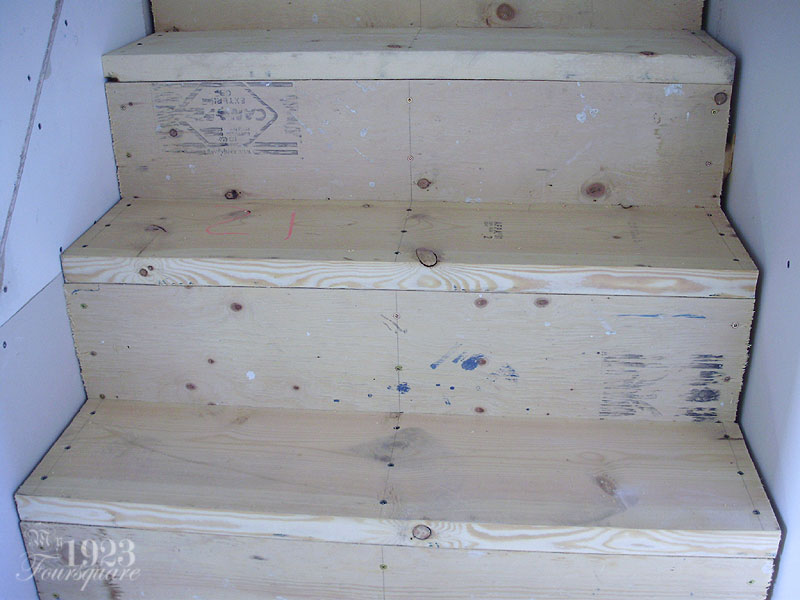
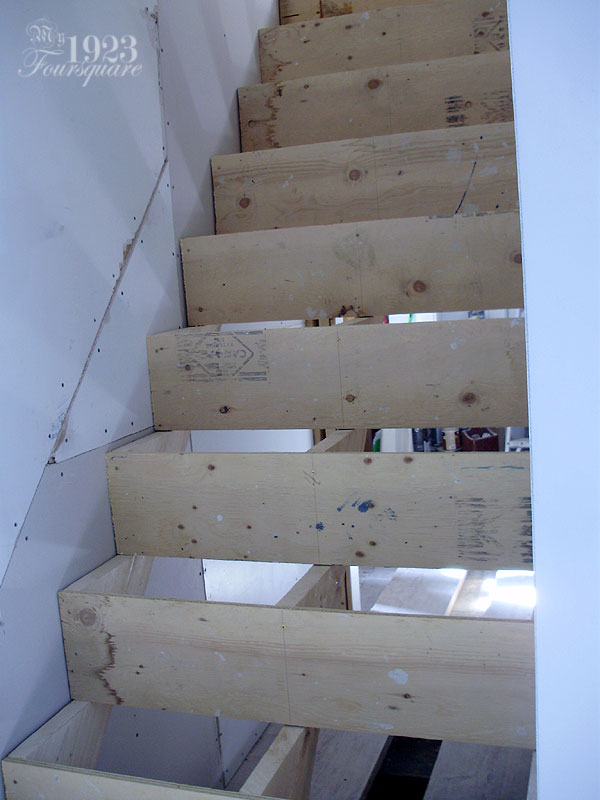
Rough fitting seems to work out really well.

On this side, I even had to notch the inside 2x4 a bit.

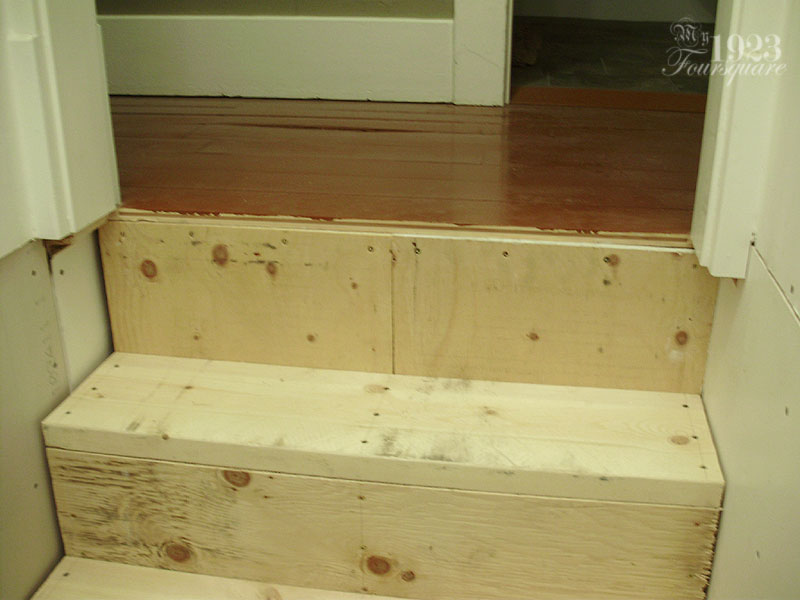
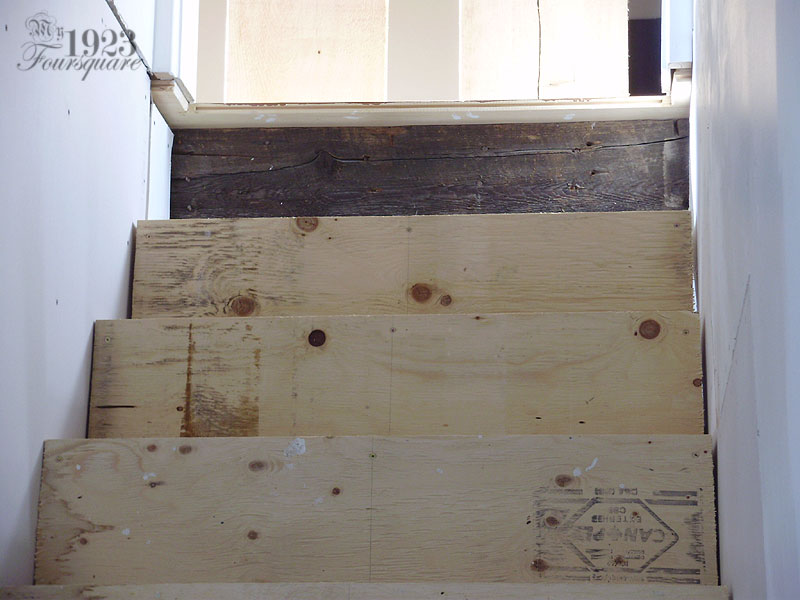
I am really lucky that the notched area landed in a good area of the steps, otherwise I would have been royally screwed (I would have needed to rebuild the entire basement doorway - AGAIN). The blue line is 3/4" that I removed later on to make the angled ceiling piece (the drywall angle over the basement door) land in a nicer spot.


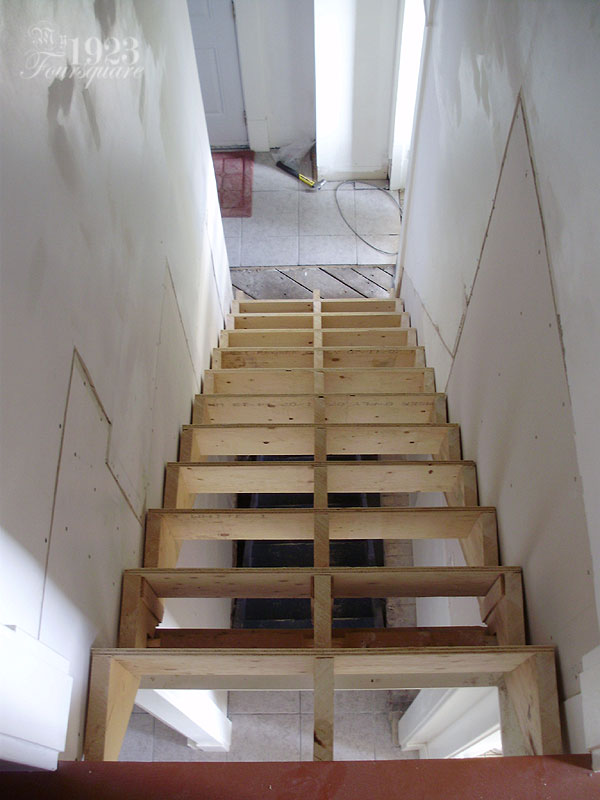
At this point, everything was good to go, except that now all the drywall was messed up due to the new (correct) location of the stairs. Part of this would be covered with mouldings, but a lot of it wouldn't.

I decided to fix ALL the drywall all in one shot for the best finish. This was a real pain in the butt, and it involved a lot of creative recycling and planning, since I had a very limited stock of drywall (old and new), and I also wanted to fix some of the existing problems on the staircase walls at the same time.
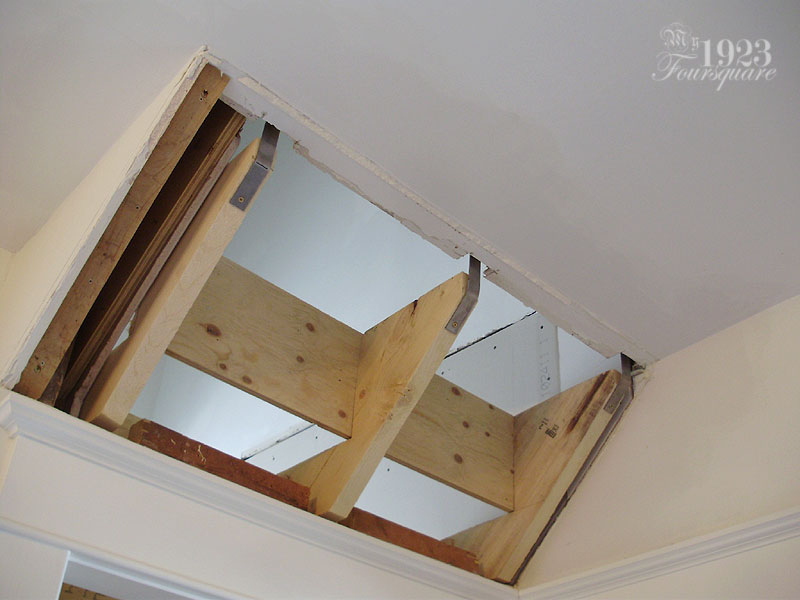
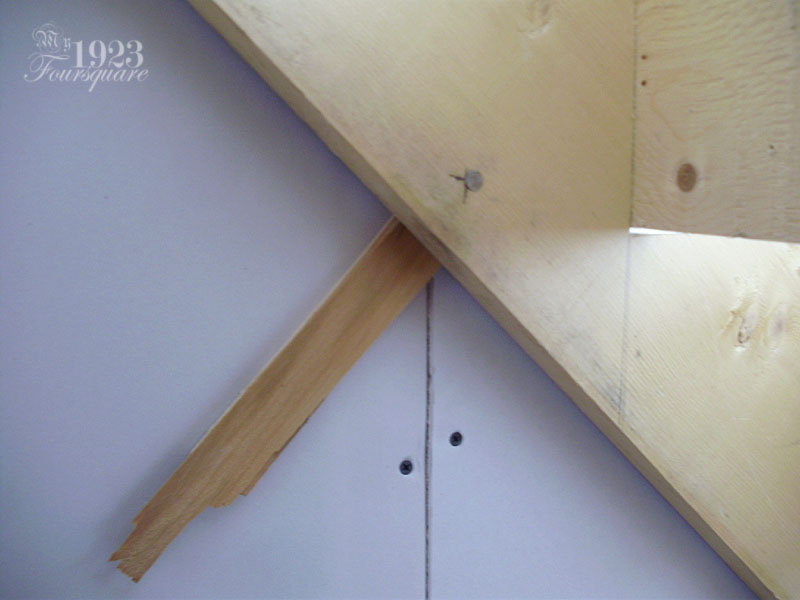
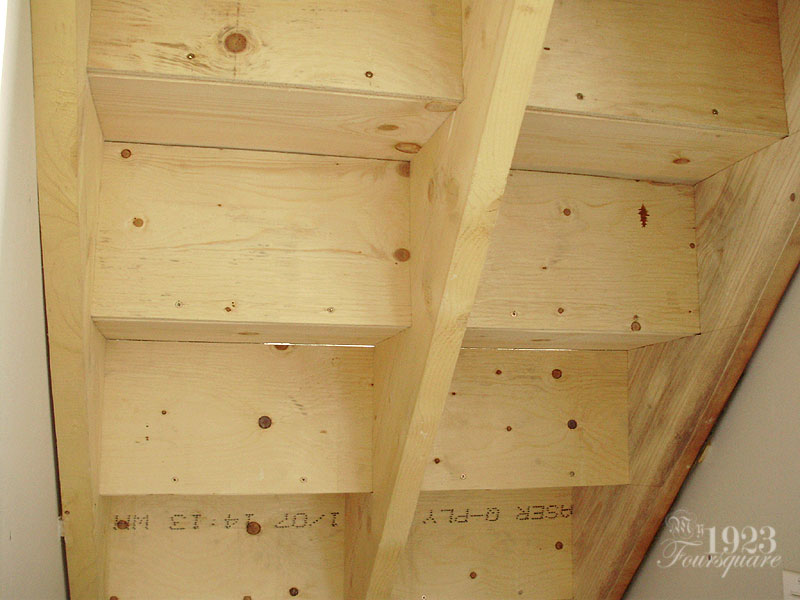
First, I finished the framing for this upper right corner. All the arrows point to new framing pieces. The plywood with pocket hole screws is a good trick for very tricky areas like this.

This is one of the only shots I took from upstairs. I luckily have the other rear staircase I could use during this project.

I believe this was end of day 2.

One of the complicated drywall patch pieces.

Middle of day 3, with most of the drywall done.


I don't normally show the mess, but trust me, there's always a mess.

The last sheet!