
Okay, so here we go. We're like a month or two behind, and I don't even know exactly where we left off. These are some of the flowers growing in front of the kitchen addition. They are being smothered by goldenrods which are invading the whole flowerbed.


OMG yes this is so much simpler with Flickr! It automatically loads the embed link the same as the previous photo. So much less clicking! Moving along...
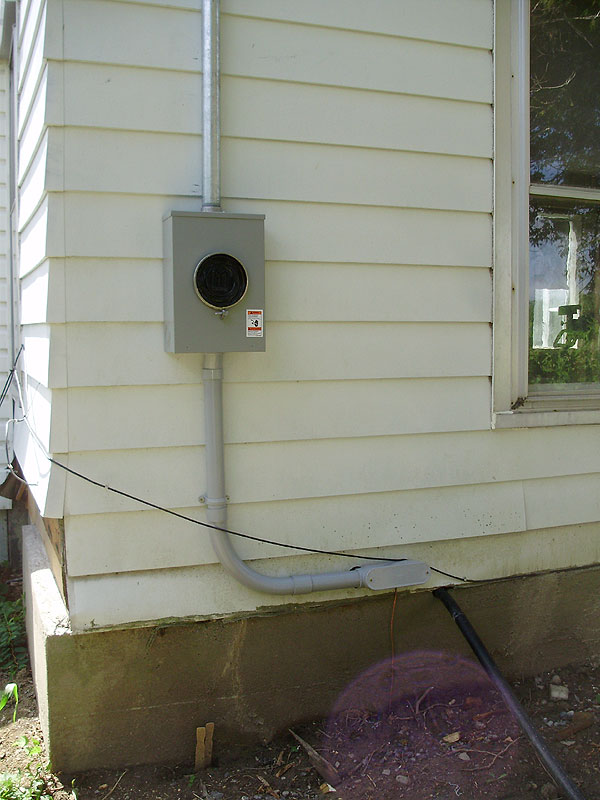
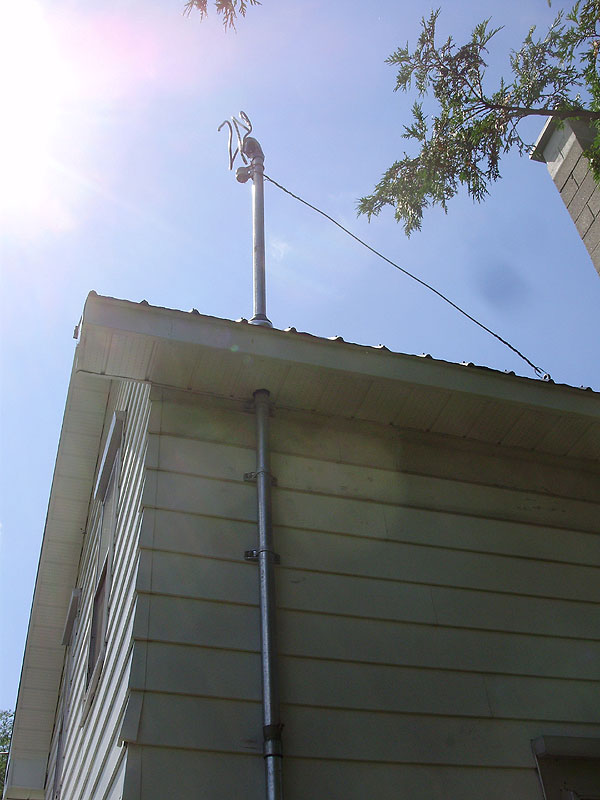
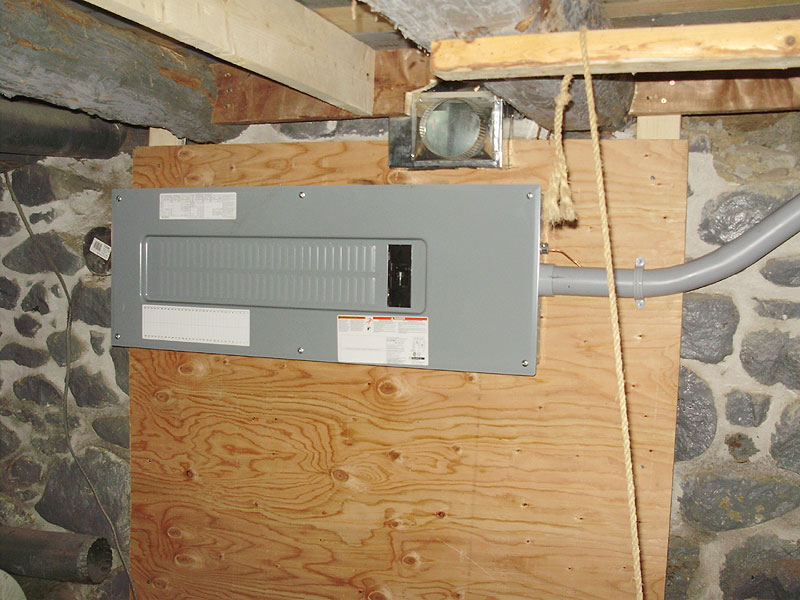
This was after a bunch of the electrical had been done, but before the power had been hooked up yet. We can see the new location of the meter, and panel in the basement (farther down).
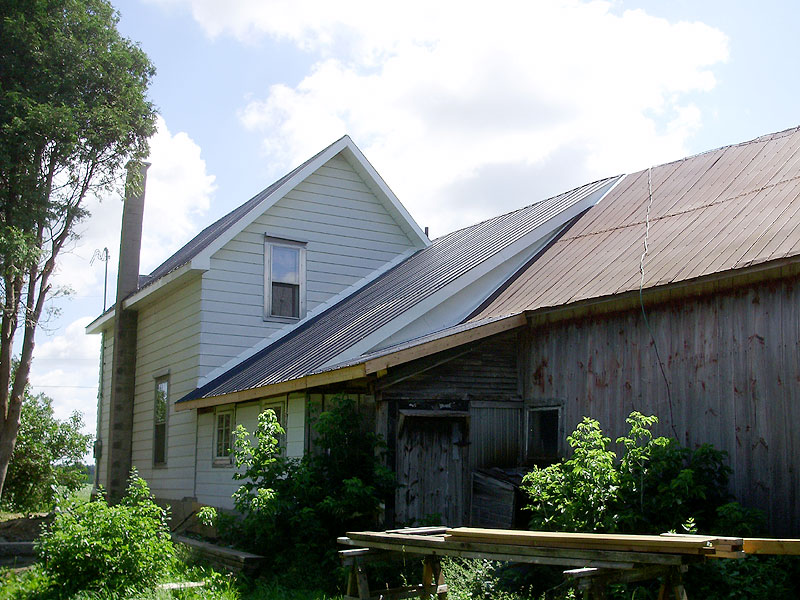
The flashing on the new roof is done.
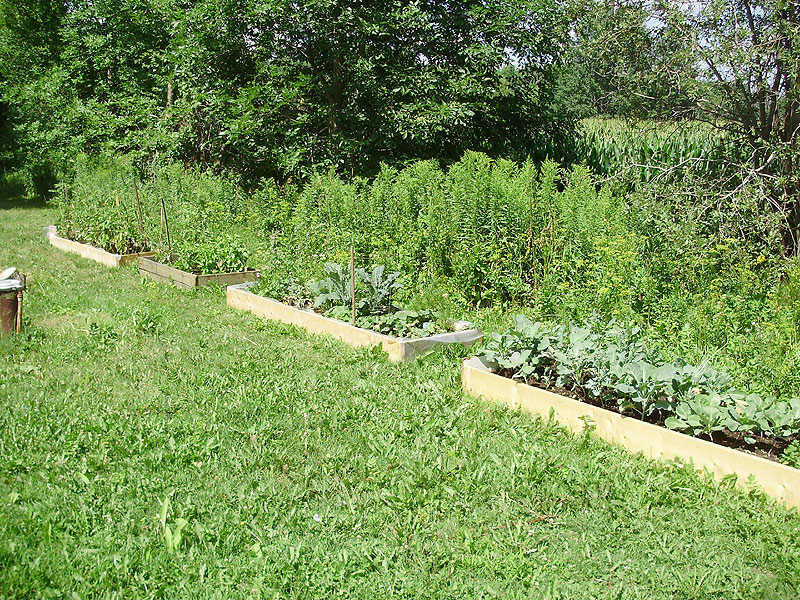
These are the 4 garden beds that were setup this year in the side yard. Angie's sister randomly bought a whole bunch of plants, and a bunch of them got planted throughout these beds. The farthest one is tomatoes, the second one is part tomatoes, basil, and eggplant, and the other two beds have an odd mix. We think there's broccoli, cabbage, kale, and some random flowers and herbs.
The new electric panel.
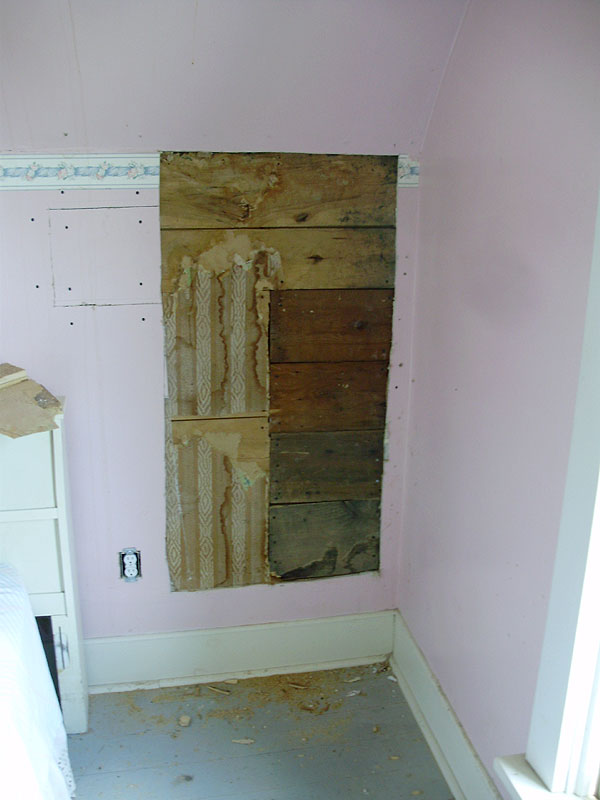
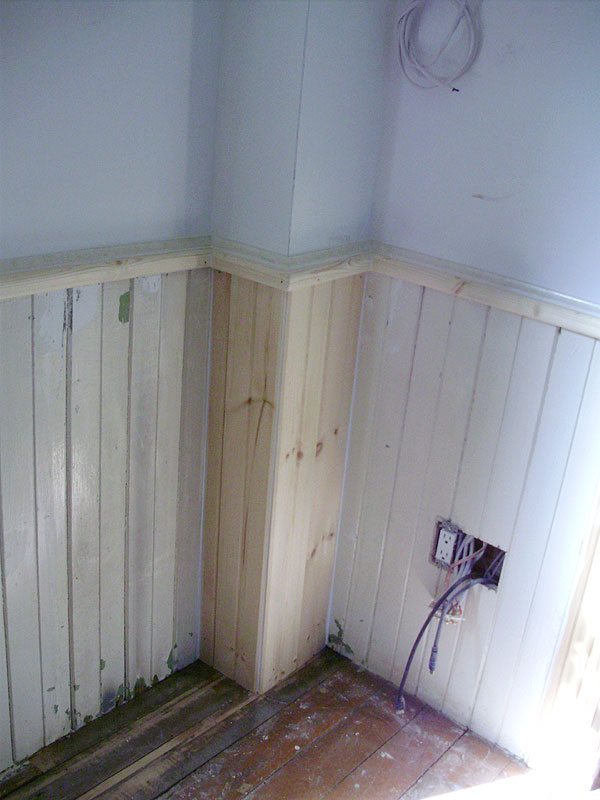
Upstairs in the master bedroom, the electrician had to install bolts through the exterior wall, so we had to open up this corner of the wall. The drywall was carefully removed so we could easily patch it back in.
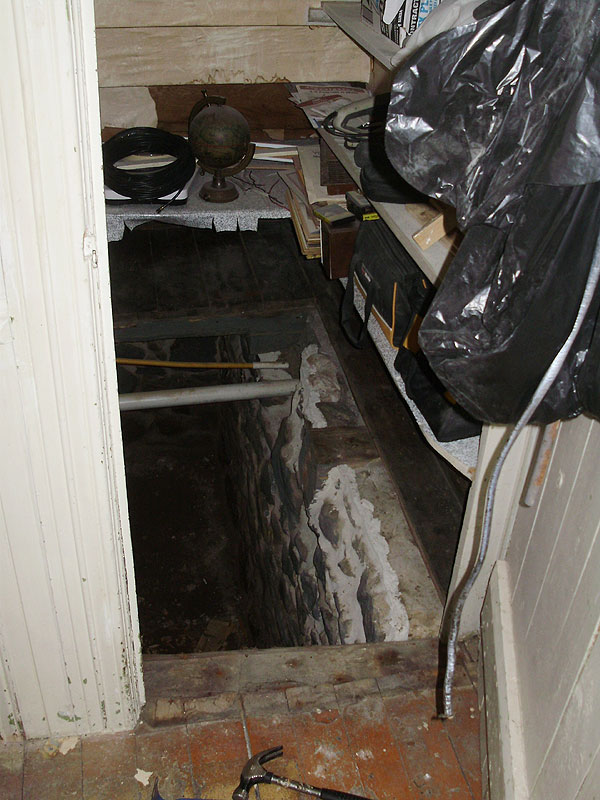
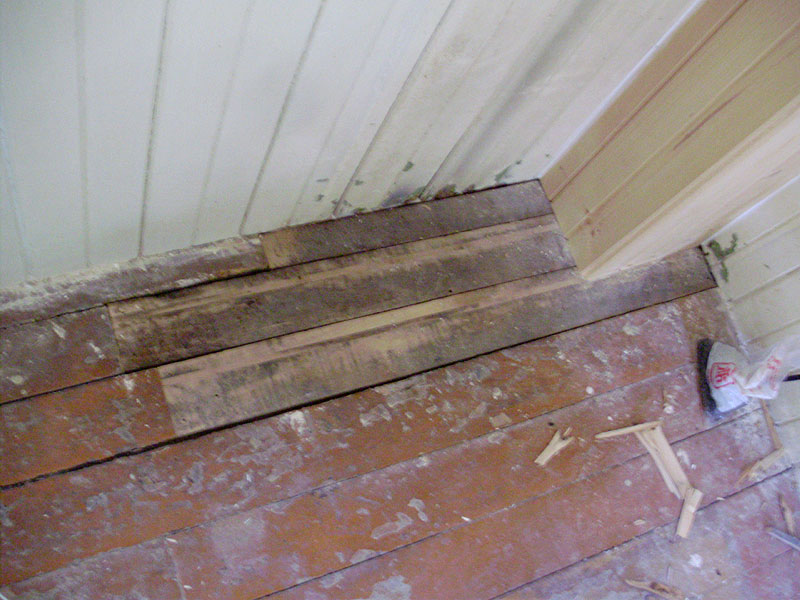
Due to some of the renovations, the existing stairs on the back/side of the house (the cement ones) would be getting blocked off, so we decided to reopen the original location of the stairs under the Victorian staircase. This had been VERY poorly patched, and it was very messy taking this out. It's very clear that the stairs were here because of the way that the logs were cut to form an opening here. The white vent pipe and gas line for the furnace will eventually be moved to the other side of the house.
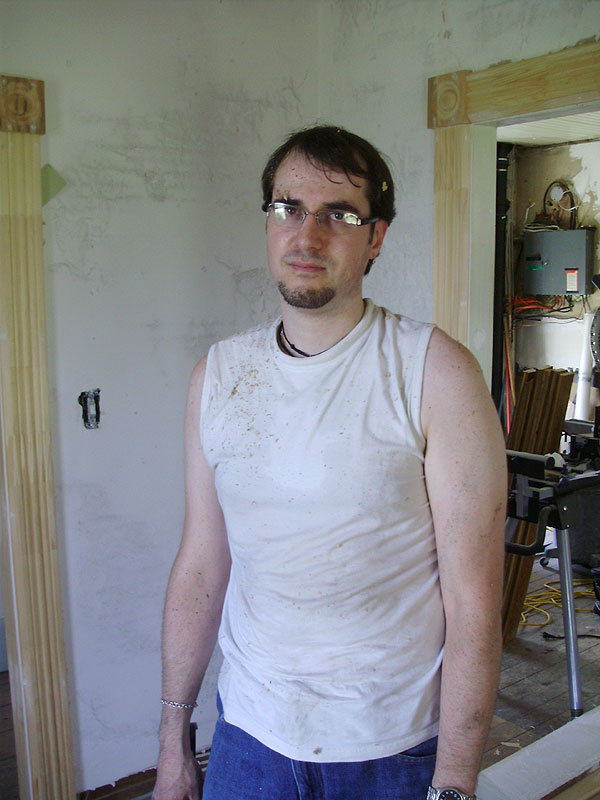
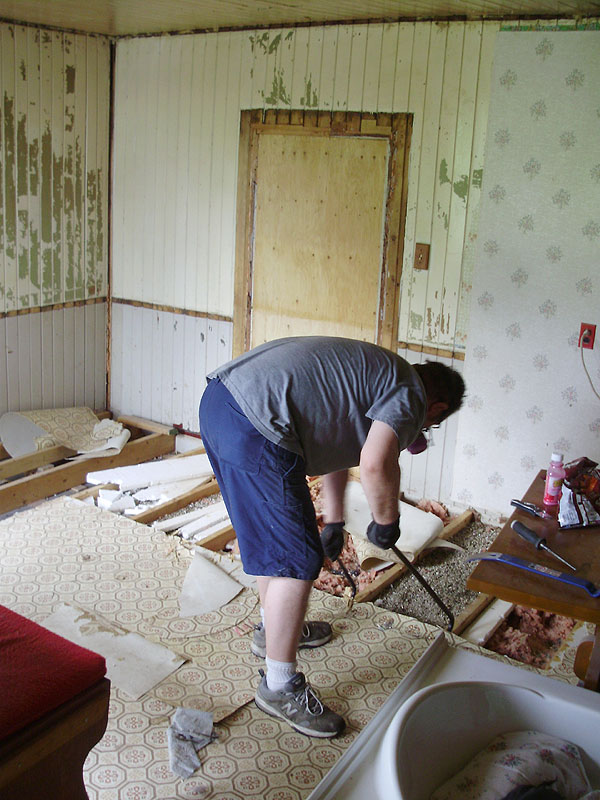
Here's a totally flattering photo of yours truly. This is pretty much how I tend to look during these renos. I know, totally hot, right?
While I worked on patching the floor in the living room, Pierre decided to start demolishing the kitchen floor.
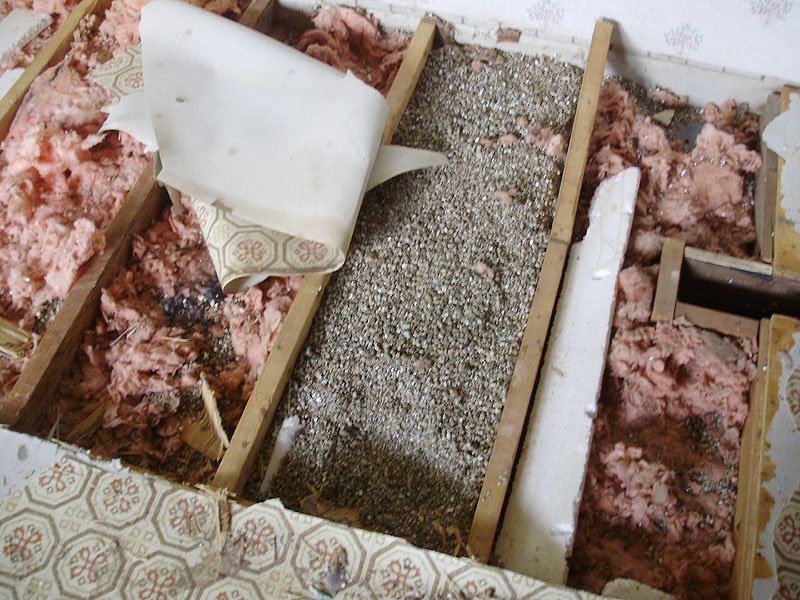
A nasty surprise, which halted the work, was this old vermiculite insulation. No one seemed sure how long it's been there, but there was a possibility of asbestos, so we decided not to work in there until we made a plan to carefully and safely remove it.
Here's the repaired floor in the corner of the living room. This was the most tricky (and least solid) repair, because there wasn't really anywhere that I could solidly anchor the floor. No one will be walking here, so it should be fine. The floor is nailed on the wall edge, and held with screws along the short corner wall. The front (longest) board is the most solid one, because it rests on the logs at both ends.
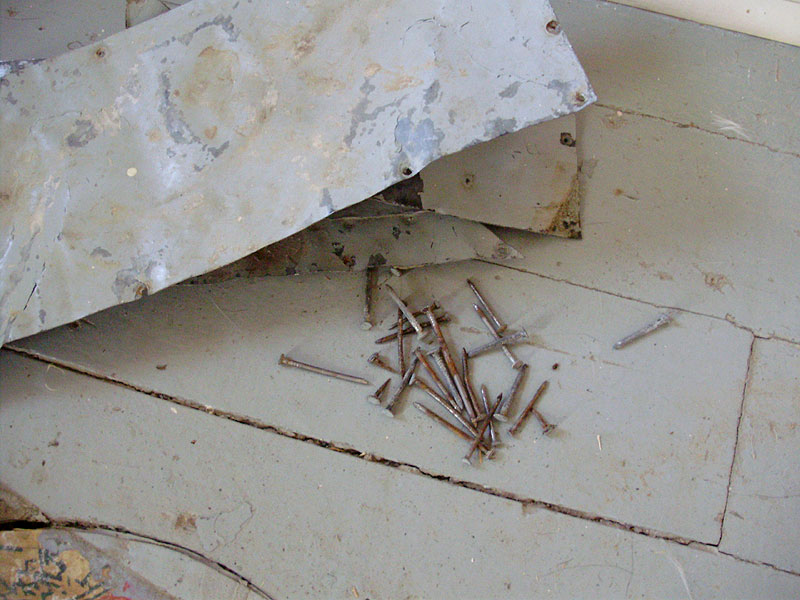
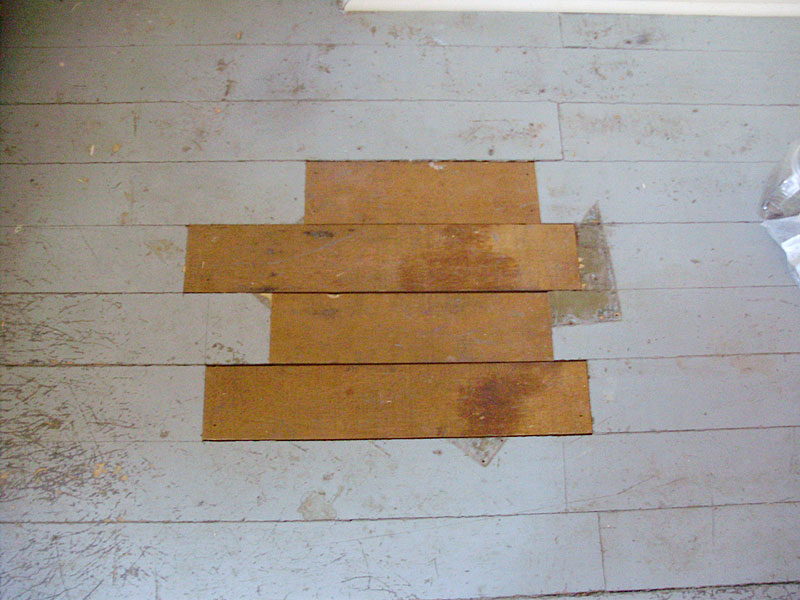
The next two floor patches were in the upstairs floor. I'm STILL not sure exactly what species of wood it is, but it seems like a hardwood, and it's 1 1/4" thick (very good quality). This was an old stovepipe style vent hole that passed through the hallway ceiling on the main floor, and through the master bedroom floor. It had been very sloppily patched with random bits of tin, wood, and cardboard. It looked really wonderful (sarcasm).
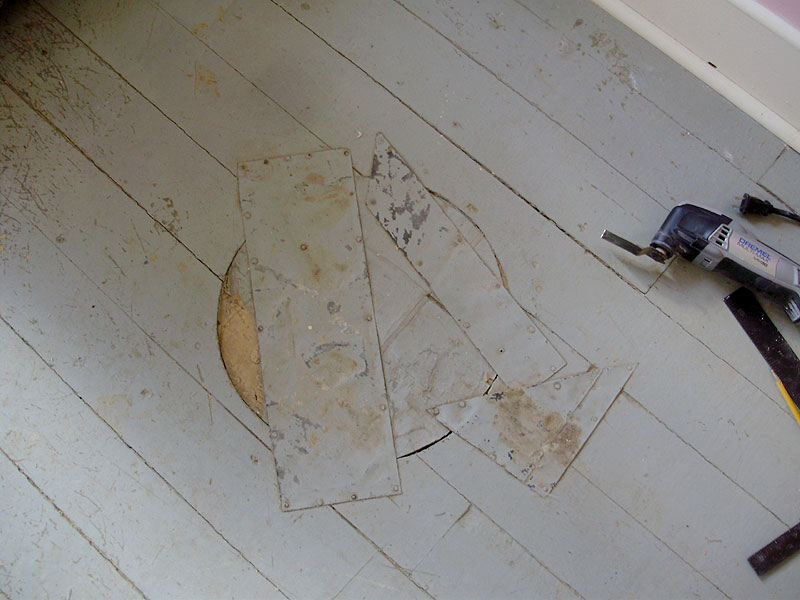
Not only were the pieces of tin random, so were all the nails. Long, short, and even short upholstery tacks.
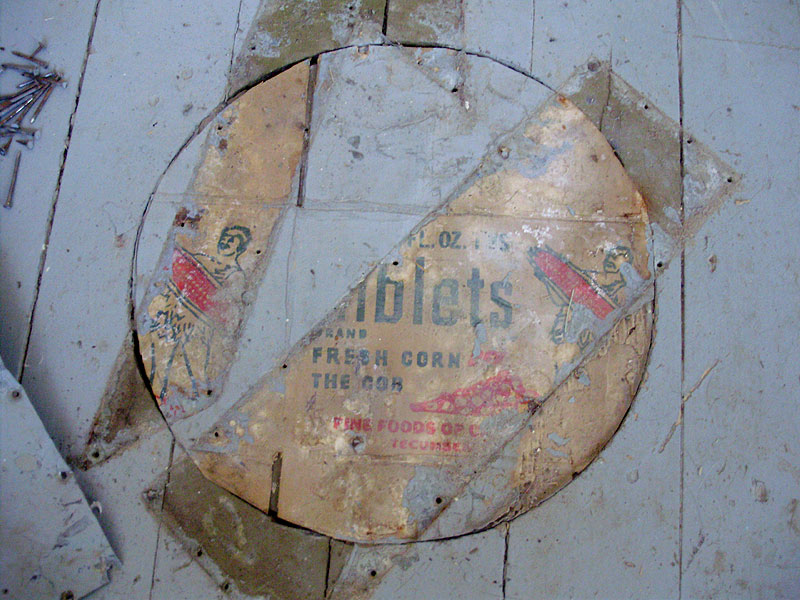
There was a cardboard cut from an old Green Giant Giblets box!
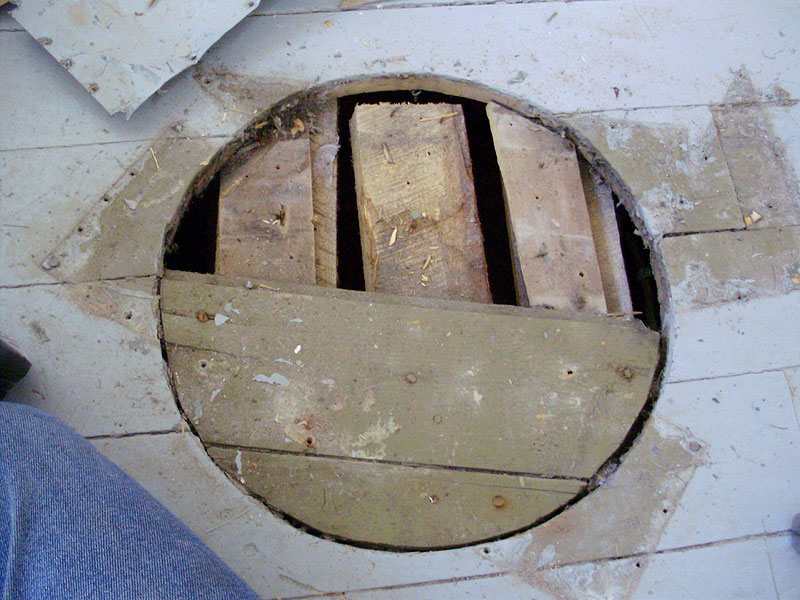
Garbage. It was very poorly nailed, too.
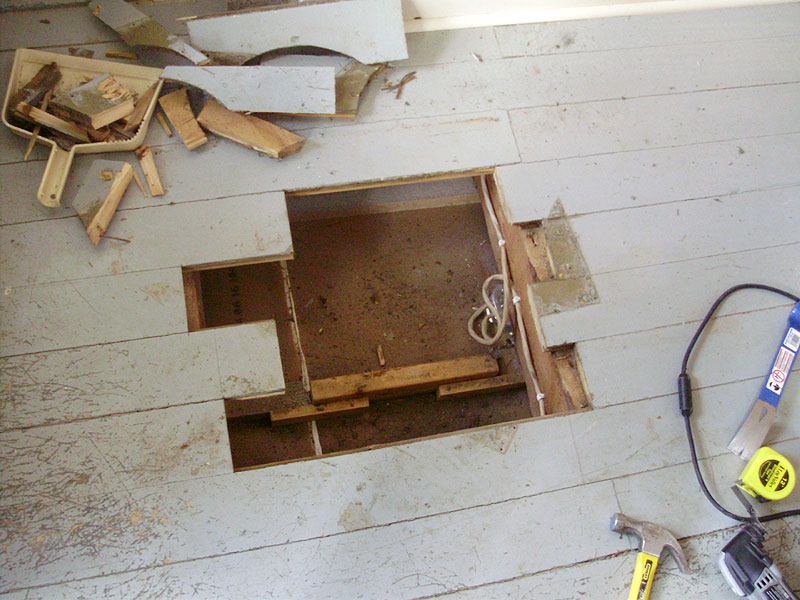
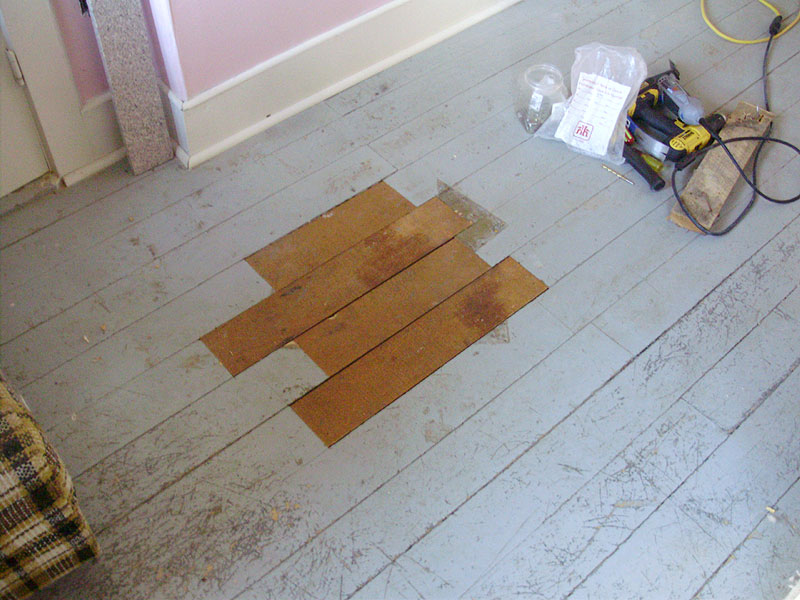
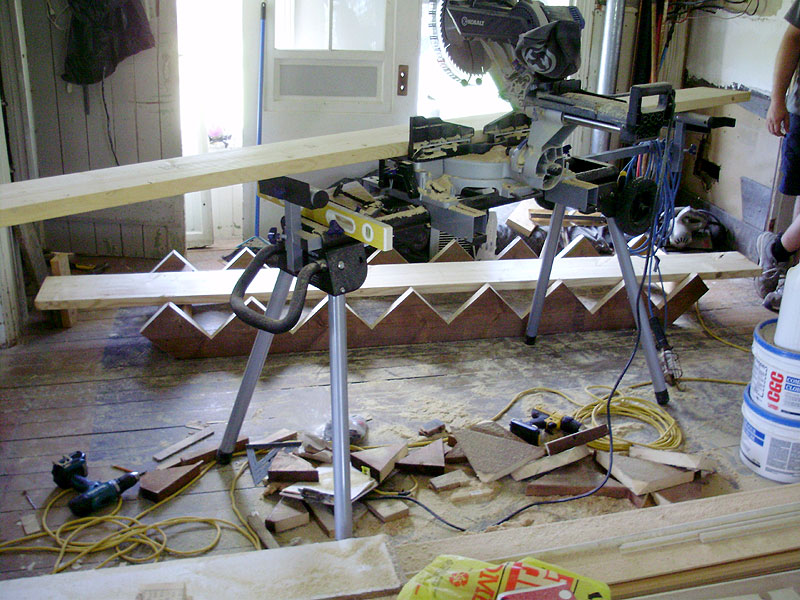
Always stagger the joints when patching a floor. Not shown is the 2x4 screwed to the left side beam, and the diagonal brace screwed in place to support the second and third boards.
So much better! The floor is salvaged from under the bathtub.
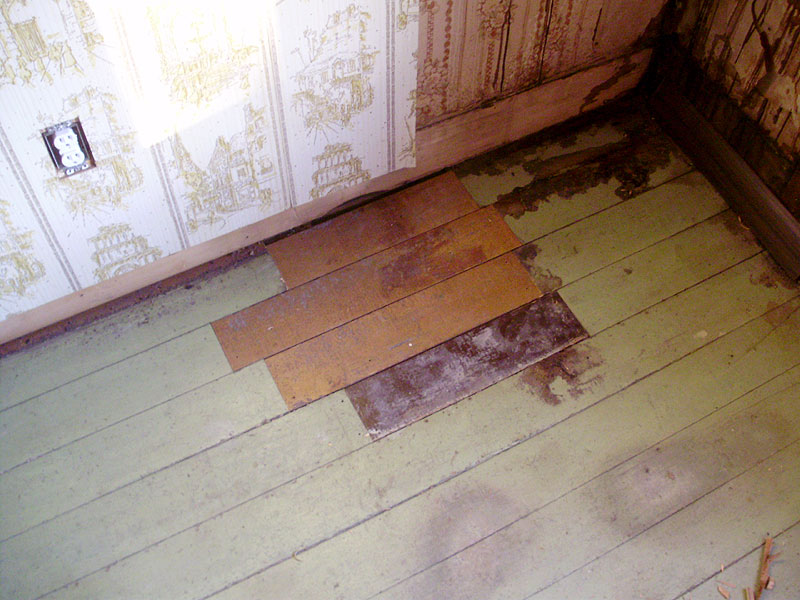
The same process was followed for the hole in the spare room (the one that was in the ceiling of the living room).
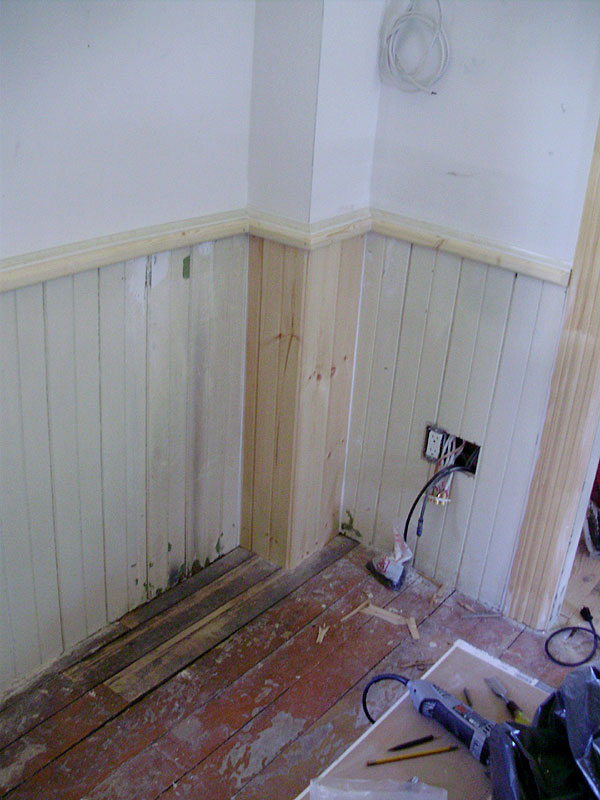
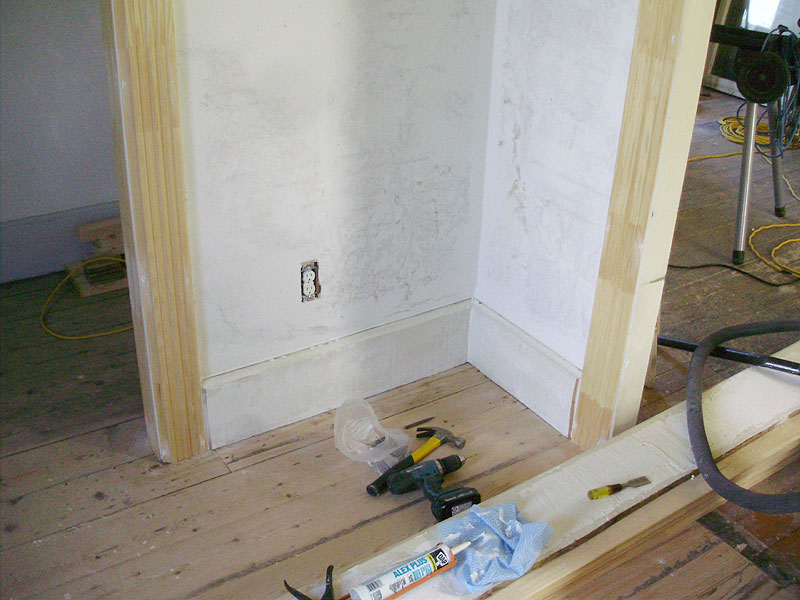
Here's the finished woodwork around the rebuilt corner in the living room.
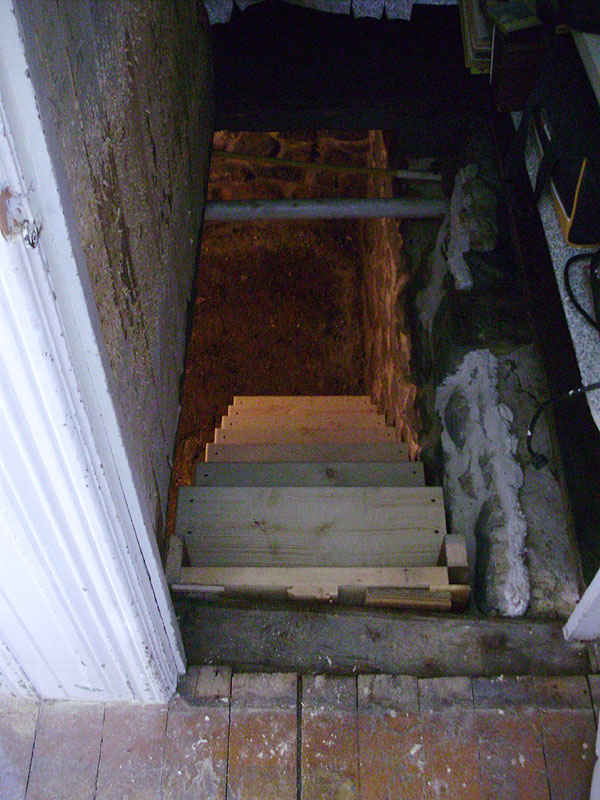
Our next project was rebuilding a set of stairs to the basement. Because of the odd size, I was barely able to fit the stairs to a good size. It would have been nice to have deeper steps, but this would have made the stairs too wide, which means your head would end up in the floor beam at the end of the opening. The height is around 8 1/2" which isn't too bad (same height as the old cement stairs on the other side).
The stairs look crooked in relation to the floor because they roughly follow the side of the foundation, and the beams are largely eyeballed. If you look at the wood tree trunk beam in the threshold, you can see it's curved, so once the floor is patched-in, everything will look fine.

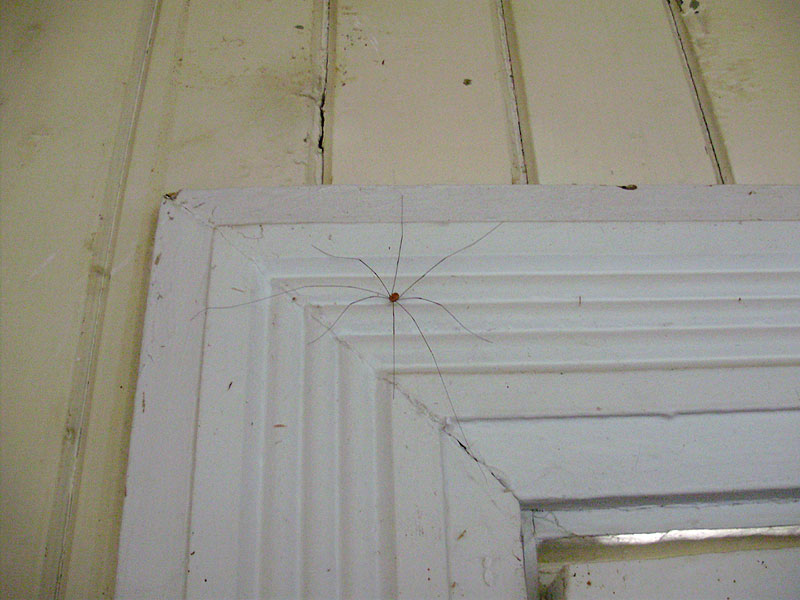
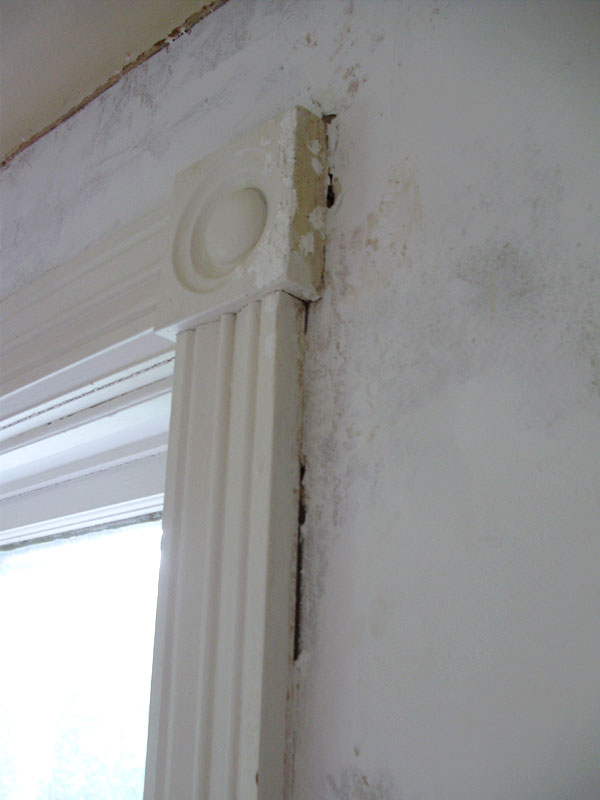
This is one of the largest daddy longlegs I've ever seen. The leg span was about the width of the entire casing (which is about 5"), yet the body was still half the size of a ladybug.
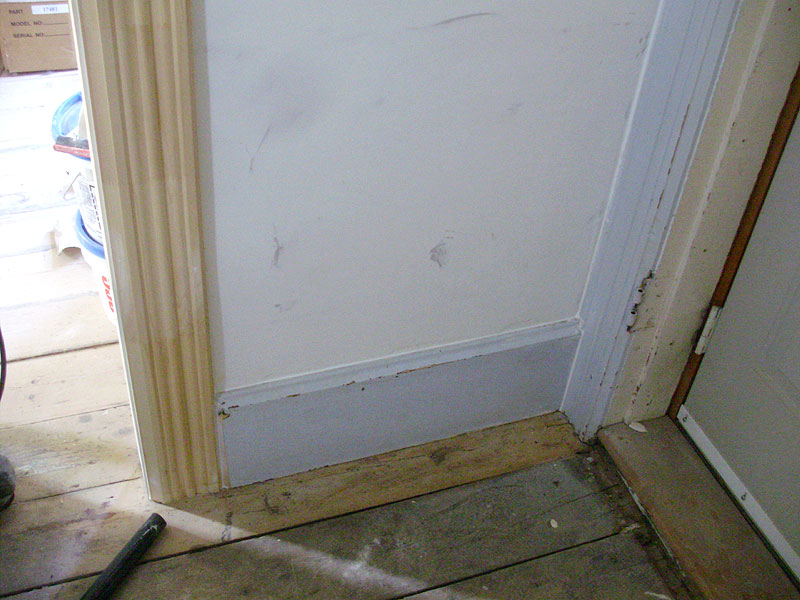
With most of the electricity finally inspected and passed, I was able to start reinstalling the baseboards in the hallway and living room. We were going to wait to have the floors sanded FIRST, but instead we decided to sand the floors around the edges of the room instead, and just install and finish the trim.
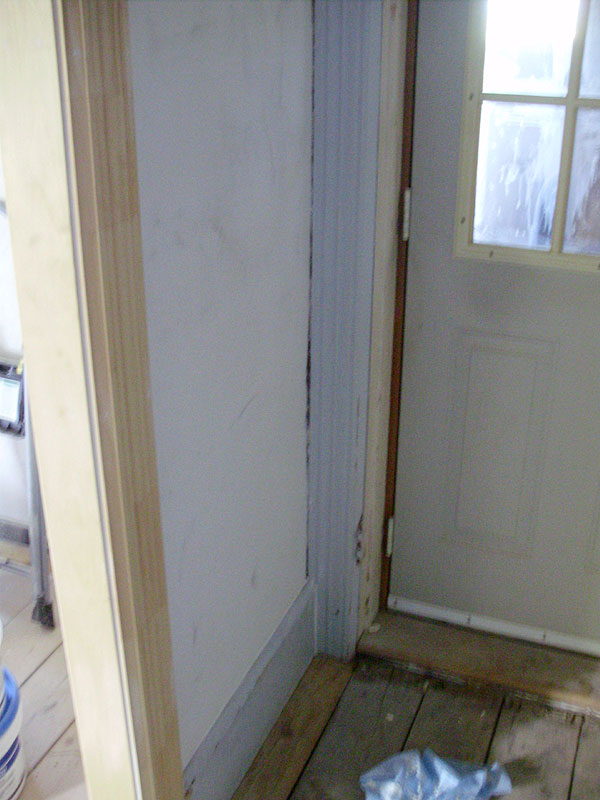
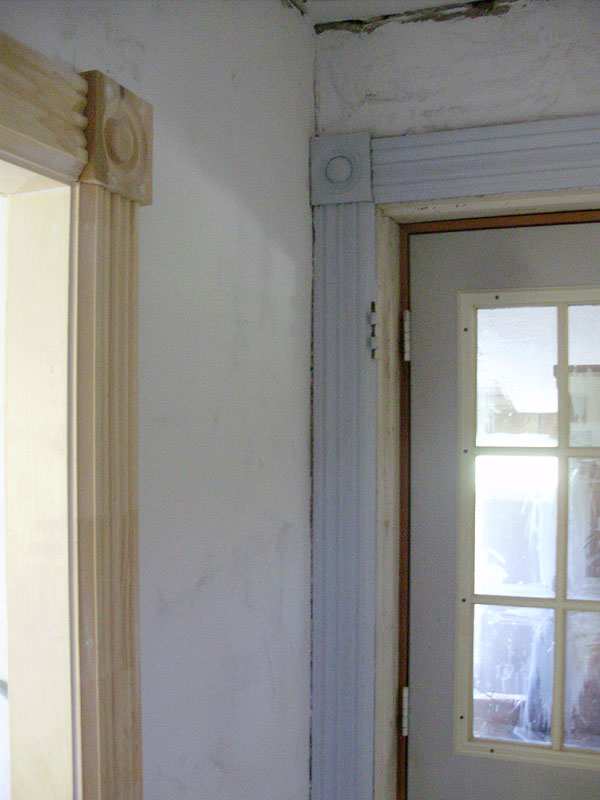
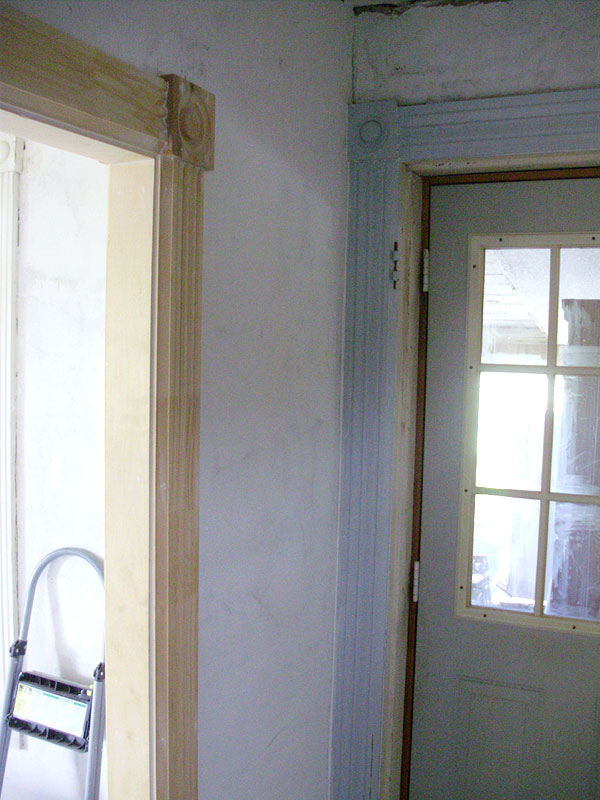
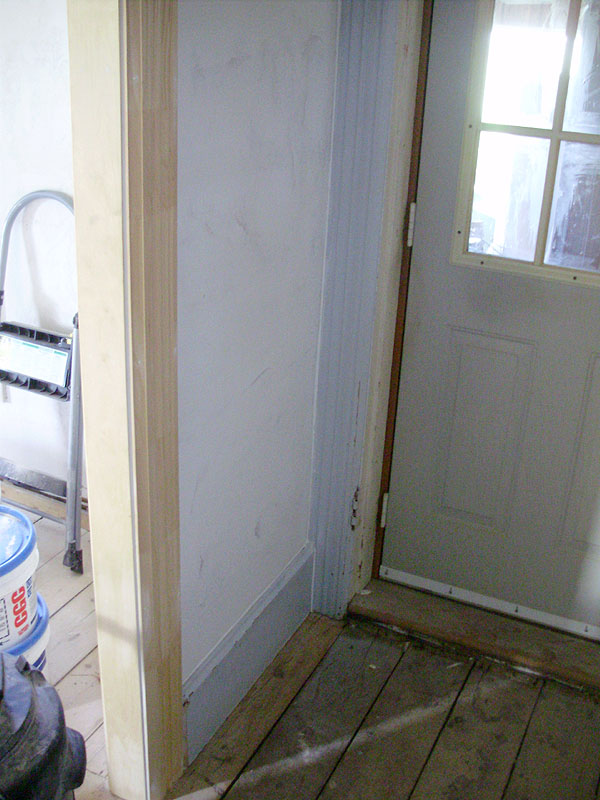
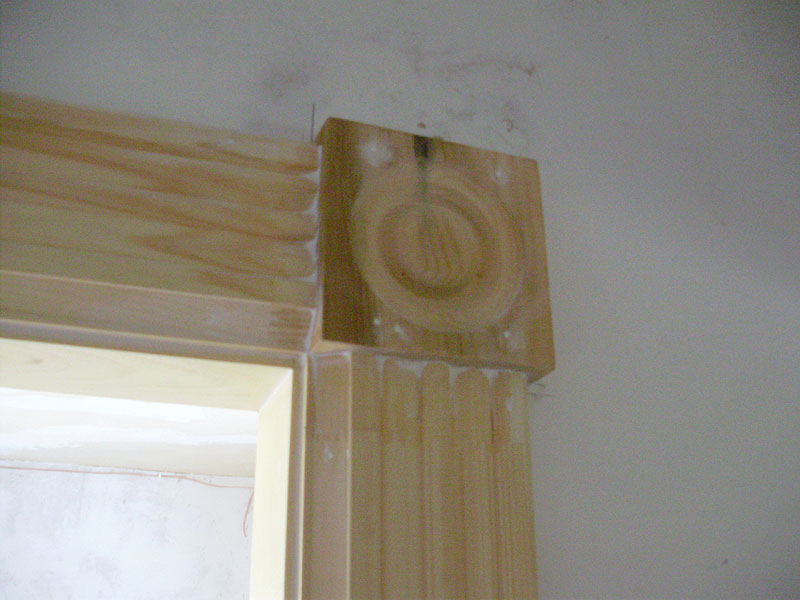
Along with the installation of mouldings, I did a LOT of crack-filling around all the old mouldings. These few photos give you an idea of all the gaps that were around the doors and windows.
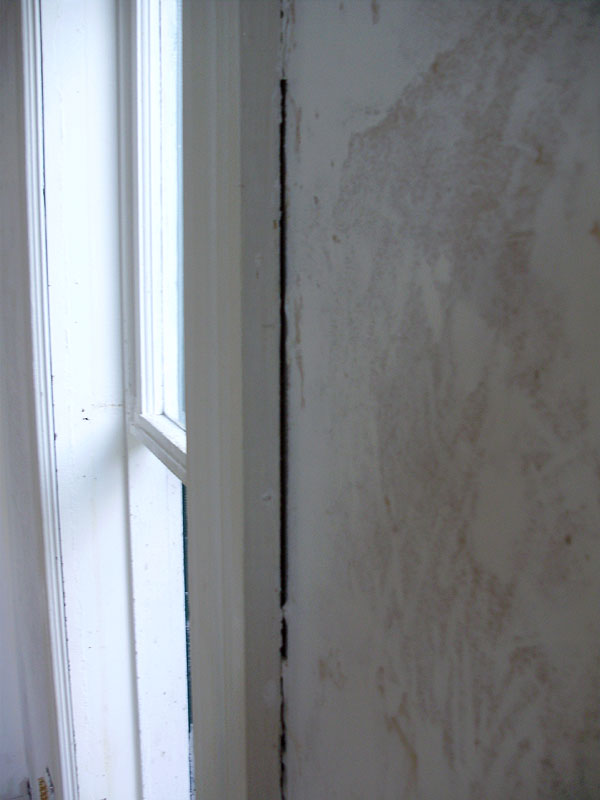
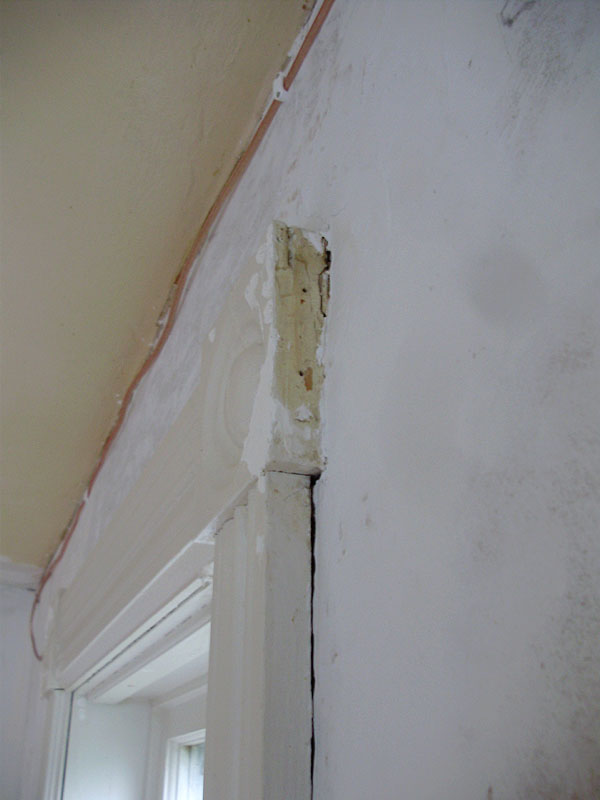
This gives a good idea of "before and after" crack filling to show just how much difference this makes.
More soon.
Glad to see you're back! I enjoyed the new updates!
ReplyDeleteStarting to really see the gem emerging from that diamond in the ruff- thanks for sharing! And, that isn't a daddy long legs, twas a grand daddy long leg ;).
ReplyDelete