Showing posts with label Repair. Show all posts

Monday, February 06, 2017

Victorian Farmhouse Part 26 - THE FLOOD!

Not long after the shower panels had been installed in the bathroom, Pierre decided to test the tub and take a bath. Much to his surprise, this caused a minor flood in the ceiling of the living room.

He kind of panicked and drilled some drain holes to let the water out, but it was basically a huge disaster.

I wasn't around when this happened, but these are some photos I took on my next visit.

PB260001

PB260002

PB260003

Luckily the water seems to have bypassed the woodwork.

PB260004

Several weeks later, after having found the source of the leak (which was in the bath drain*), I went over everything and patched the damage. This involved chipping away bubbled paint, filling holes, caulking, and puttying with drywall compound. We were thinking we might have to replace that length of crown, but it really wasn't that damaged.

PC010044

PC010045

Some good old BIN shellac sealer, and a few coats of pain, and this should all disappear.

PC010046

PC010047

PC010048

PC010049


* Because of how we assmebled the bath and drain assembly with ABS, we ended up with a slight misalignment, so the drain was not tight enough to form a good enough seal. We ended up cutting an access panel (a hole) in the spare bedroom wall to get to the bath drain and to check for more leaks.

Thursday, February 02, 2017

Victorian Farmhouse Part 25 - Odds and Ends

These are various small projects on the farmhouse that didn't really need their own separate posts. There are some that are continuations of projects I've already posted about, while others are new.

Exterior screen door. This was mentioned a while back, and I hadn't posted about it. The new door is about 2" shorter than the antique door, so the top of the door had a filler board installed to make things work. We still need to finish-up the mouldings and flashing around the door, but for now it will protect the old door from water and snow.

DSC_3543

DSC_3544

The next little problem was fixing the shower surround. In typical fashion, while we were gone, someone decided to install this for us. While I'm sure they meant well, they did a very poor job of it, and some of the joints were not glued in place properly, with impossible-to-fill 1/2" gaps. In addition, the panels were not cut properly so the entire top was staggered like steps.

PA130373

Adhesive smeared on the painted wall.

PA130374

PA130375

They had started some of the silicone, which looked pretty bad, too.

PA130376

Not exactly elegant, but at least this doesn't show.

PA130377

I had to completely pull-off the right side corner piece and scrape off the adhesive.

PA130387

PA130388

With the panel removed, Pierre and I were able to use a heat gun to soften the corner joint and open it up slightly. This made the entire section fit into the corner much better. We then reinstalled it. The tops of the panels were then trimmed slightly to make them look square and level. This was a lot of work that could have been avoided.

Lastly the glue was scraped and the drywall got patched.

PB290043

Another project was installing the vanity. This was supposed to be a quick and easy job, but it took most of a day. I worked on this largely by myself.

PA130383

Originally the drawers were on the left (like in the photo above), but later, I decided that they really should be on the right, so as to avoid any possible clearance issues with the door. Parts of the vanity had also been installed upside down, so that the door hinges didn't line up properly. I basically had to take it apart twice. I also had to take one of the doors home and trim it down because they were nearly touching in the centre (and they could not be adjusted farther apart).

We also have a small issue with the short wall being crooked. Pierre wants to try to get another piece of granite backsplash to cover this (which would look great). The vanity only came with a back piece of backsplash. The door moulding will hide the worst of it near the bottom of the photo. Normally if you had granite installed, or if you had a particle board counter, you could just cut it to fit, but this is a pre-cut granite slab, and there's only barely 1/4" overhang on the other side (toilet side) so it's not wide enough to trim down.

PA130389

Here's a photo of the floor repair in the spare bedroom. This originally had a large circular hole for the wood stove pipe.

PA130386

Here's the salvaged door now painted the same grey trim colour. This was a quick one day project that Pierre did while I worked on other things. We actually took down the door and removed the hardware to paint it.

PA150402

PA150403

PA150404

I was asked to fix some old hardware notches in the doorway into the main hallway. There used to be a door here, with door hardware like the doors upstairs. It makes no sense to ever put a door here again, so we wanted the holes covered up before painting. This is just a block of pine, chiseled and lightly glued in place, followed by Dap to fill the cracks.

PB280032

PB280033

Mouldings in the upstairs hallway and bathroom.

PB280034

PB280035

PB280036

This corner was quite crooked, so I had to get a little creative (lots of Dap). I also had to partially cut the front edge of the moulding to fit the raised design on the front of the tub.

PB280038

Here's the corner at the top of the stairs that was previously all broken up and covered with various bits of wood and mouldings.

PB290040

Some more plaster repairs in the stairwell wall.

PB290041

And yay! More drywall (upstairs hallway).

PB290042

Monday, November 14, 2016

Finally A Post About MY HOUSE

So this is going to be short and sweet, but it's mostly just a bit of an update post.

As most of you might know, I'm currently hella-broke, so I haven't been working on anything house related. I've been doing clock repair jobs and occasionally working at the upholstery shop (it's been very slow this year), so I'm just managing to pay bills.

If any of you would like to support me, or are looking for some nice inexpensive original art, framed and ready to enjoy, I have a selection of Rorschach paintings (not prints or copies) in my Etsy shop. Shop now and I can have them sent before Christmas! These are nice in a group, and I also have about 20 or 30 additional unframed paintings. Each is unique, and painted on archival black paper.
https://www.etsy.com/ca/shop/JCsArtPieces

I want to get into oil painting after having seen some amazing tutorials on painting still-life scenes. So far I have almost all my supplies ready, and I'm hoping to start that soon. If that goes well, it could be a way to make a bit more income.

As for the house-related bit of this post (hence the title) I've decided to tear-down the dinging room ceiling and the ceiling in the kitchen. I haven't started this yet, but the DECISION to do it has been made. After all the work on the Victorian Farmhouse (my friends' place - which is still under construction, but getting close to 90% done) I decided that I really REALLY want to expose and repair the original tongue-and-groove ceilings in the dining room and kitchen. They are currently covered-over with drywall.

The only part of this that sucks is that I will have to tear down all my nice crown moulding in the dining room, and hopefully be able to reinstall it. I COULD cheat and just cut the drywall flush with the crown and put another moulding to hide the drywall edge, but I want everything to match and be done properly, so no cheating.

I don't want to start ripping down the ceiling until after Christmas. There shouldn't be anything to buy for this demo/restoration other than maybe a bit of trim paint, so I might start that in early January.

Otherwise there's not too much new to report. I have about 6 or 7 more posts to do on the Victorian Farmhouse to catch-up (I just don't have the time), and I haven't really bought much of anything new for the house except a yellow throw pillow for the grey wing chair, and a few pieces of framed art (Victorian prints, lithographs, etc).

Thursday, May 26, 2016

Victorian Farmhouse - Days 10 & 11

This post covers days 10 and 11, which was April 16th and 17th.

A few major projects were started on these days, and some exciting things are starting to happen around the house. These include ripping-up the office floor (in order to re-lay it) and skim coating the raw plaster walls.

Upon our arrival, something that caught my eye were a whole bunch of randomly dispersed crocus across the front lawn. They were so pretty that I had to snap a few photos.


I've only ever seen purple crocuses so I didn't know they came in yellow. Apparently there are also white ones.


Since I was already across the lawn, and I knew that the roof would be replaced, I took some photos of the house from a distance. Angie really REALLY hates having the propane tanks visible, so they are going to be relocated to the other side of the house, and closer to the road (apparently they can be placed pretty much anywhere, even 100 feet from the house).


Note all the trees crowded near the barn (these are now cut down). None of the healthy trees in "good" spots were cut, but there were many trees growing right up against the buildings (house, attached barn, and barn).


This is around the other side of the house, facing towards the separate barn (not visible). All the stuff on the right are piles of branches from the removed trees.


This was a large (and nice) tree that came down recently in a storm, so the rest of it was cut down.


Looking back towards the road. Angie's father in the foreground, and the tree cutters in the back at their truck.


Some of the trees around the detached barn.


The barn door. I may make this into a watercolour.


On the inside, the decisions were made to replace all the non-matching mouldings in the old part of the house, so since we were also going to rip-up the floor, we decided to take off the casings from the archway into the living room. I found some really beautiful antique wallpaper under them. This is VERY old hand-printed (wood block printed) wallpaper. This would have been done with multiple patterns for each different colour, and printed by hand. The metallic paint was gold on the lower paper, and copper on the top border paper. I took quite a few photos of the wallpaper.


Here you can see that there is a second paper with a different print at the top. This might have been a large 2 foot high ceiling border paper, or just a contrasting band roughly at the height of the casings. Only part of it is left, so it's impossible to sell.


You can kind of make out the copper vs gold effect here (not much of the gold is visible).


Some of the floor boards around this vent in the living room were very damaged (insect-eaten and partially rotted). This whole area will need to be patched.


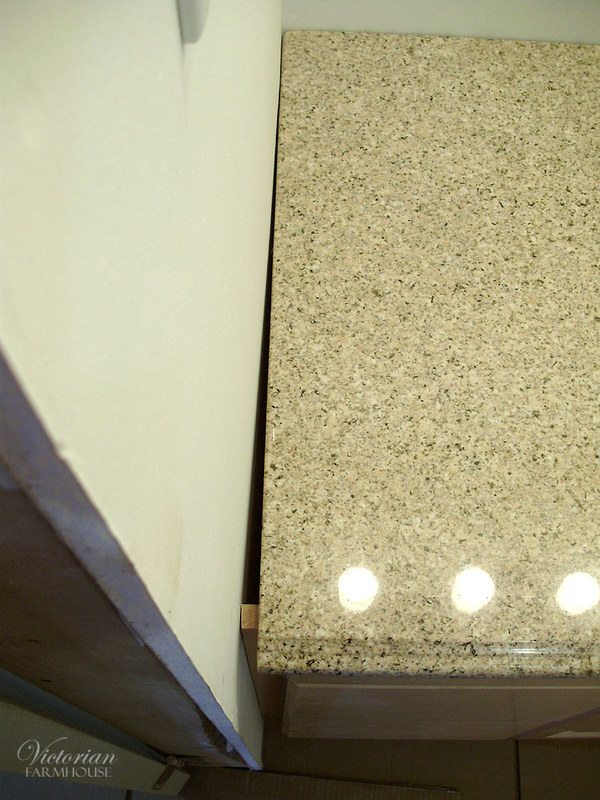
The original floor in this room is ONE AND A QUARTER INCH thick solid hardwood (I believe it's maple). This is a full half inch thicker than the "good" hardwood floors on the market today. This floor could literally be sanded down and refinished about a dozen times and still be good. It's just slightly thinner than "2x4" material if that helps you visualize it better.


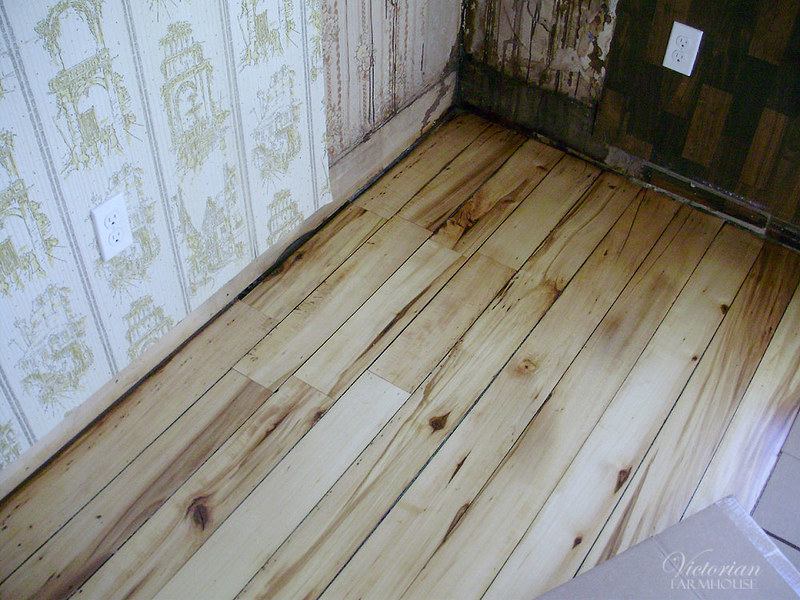
So now this floor. This floor is more of a rough barn wood floor, HOWEVER, it's still gorgeous antique wood, and we wanted to see if we could save it. As discussed earlier, some of the gaps were crazy (like half an inch), so the plan was to pull it up carefully and then reinstall it. The wall luckily passes over a pair of boards with an acceptable 1/8" or less gap. Everything beyond this would need to come up.


Last "before" shots...


All the boards were carefully numbered so we could lay it all back exactly the same (in case of any buckles, floor thickness variations, and to maintain the patterns for vents and openings).


Pulling up these boards was a lot harder than expected. We tried getting into the spots with the largest gaps, but in the end, we had to be a little bit more rough than I'd have liked in order to pry out the first board. Once we had one out, it was SLIGHTLY easier after that.


The edge of the foundation and beams were in slightly rough shape.


The few photos I took of the process represent HOURS of work. Even though the floor is only nailed across 5 beams, those damned square nails (which I love, BTW) grip VERY tightly. In addition to this, we also had a very hard time due to huge 4" framing nails that had been driven down through the top of the boards along the right hand beam and randomly in a few other places.


During a break... Trees around the barn are finally gone.


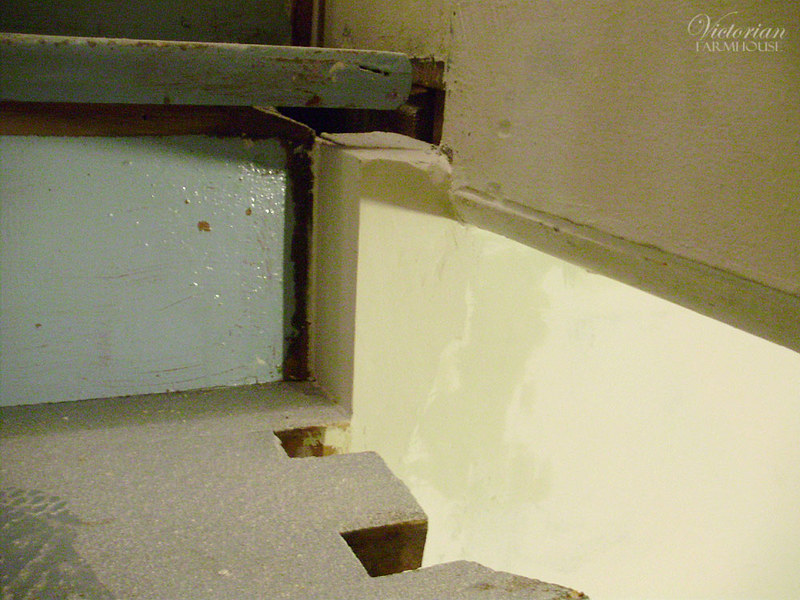
I discovered this problem spot, and a likely area where mice are getting into the house. This is a whole section of the outer beam (about a 7" square beam) that has rotted due to a leak in the base of the window frame of the front window. Years of water has rotted the wood.


Some areas were a complete nightmare, like this spot with THREE large square nails.


The north-facing wall. Note that the outer beam has drifted down slightly and away from the other beams. It's all perfectly solid, but it's a shame the foundation hadn't been maintained better. This could have been avoided.


Finally all done.


This will need to be patched and filled-in.


With the floor gone (read: set aside) we can now see the problem spots (like that one rock on the upper right, which was causing a HUGE bump), and we can start installing the additional floor joists.


Another thing to do will be to square-up this transition.


Braces installed. These were just across two of the spans. One across the third span would have been nice, but there were too many heating ducts in the way.


All the short cross beams had to be shaped to contour the beams. Cardboard templates were cut out very quickly with scissors to get the patterns. The one in the upper left also had to be notched for duct work.


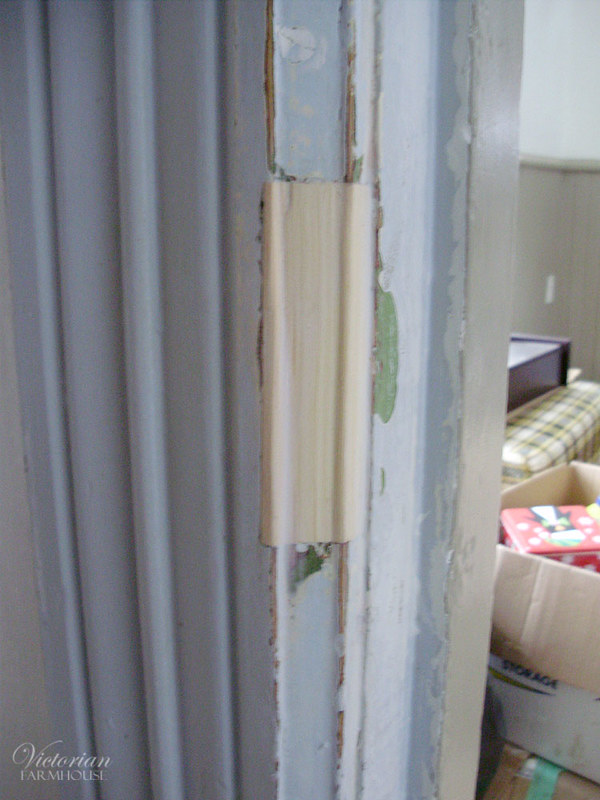
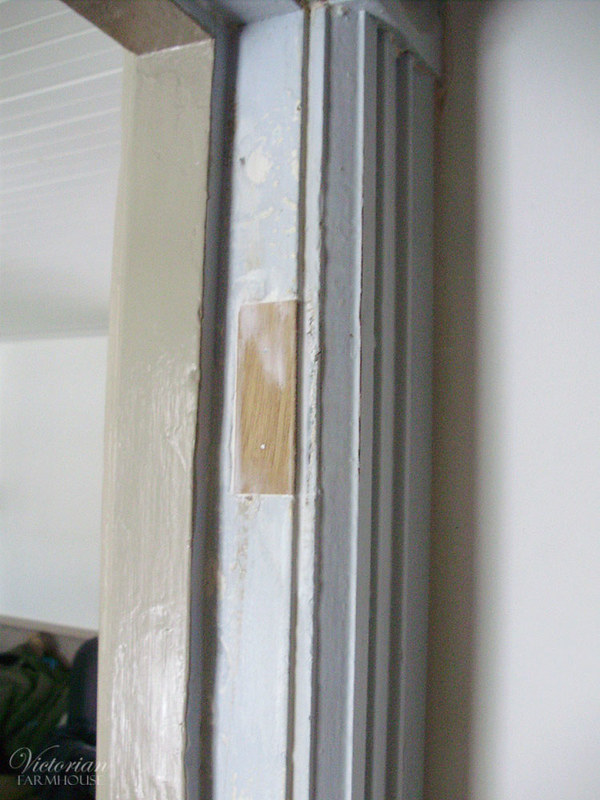
This is the sample of the new (nearly identical) mouldings to replace the missing ones. The excess width will be trimmed, so the outer edge won't be 100% match. Luckily this trim is an existing one in the company's collection of knives, so it will only cost around 2$/foot plus a small setup fee. If not, it would have been several hundred dollars extra for a custom set of knives to be made.


More trees around the barn gone. You can see the chicken coop in this shot.


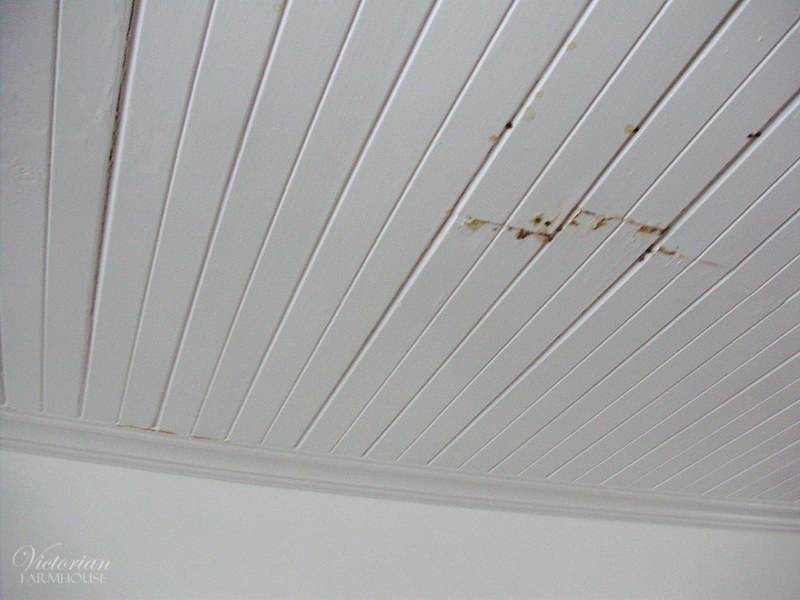
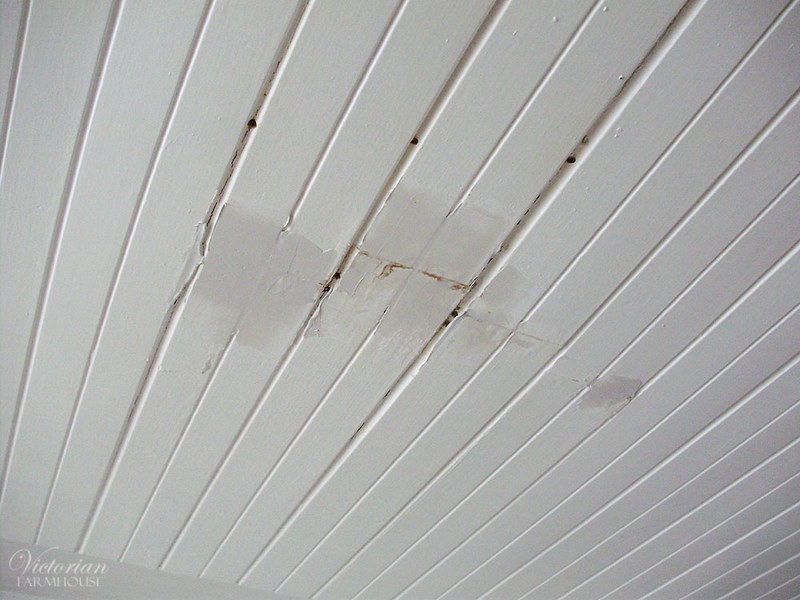
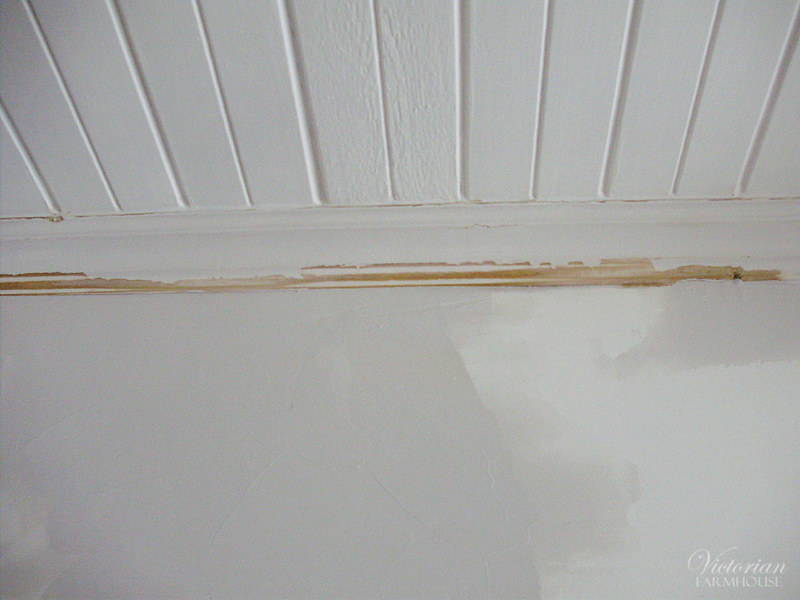
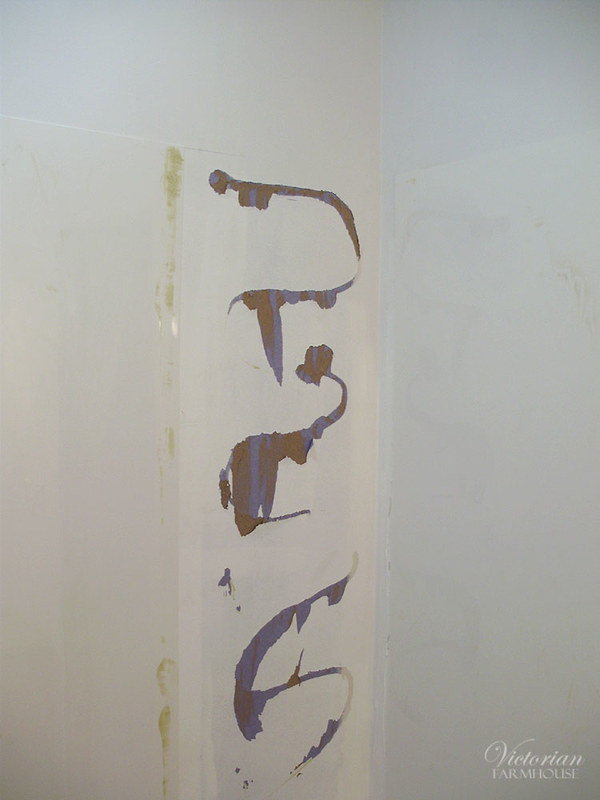
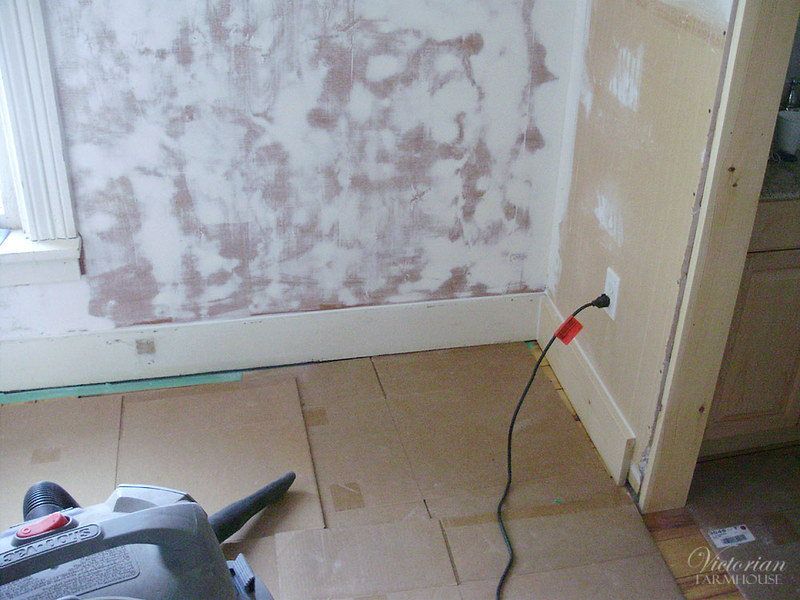
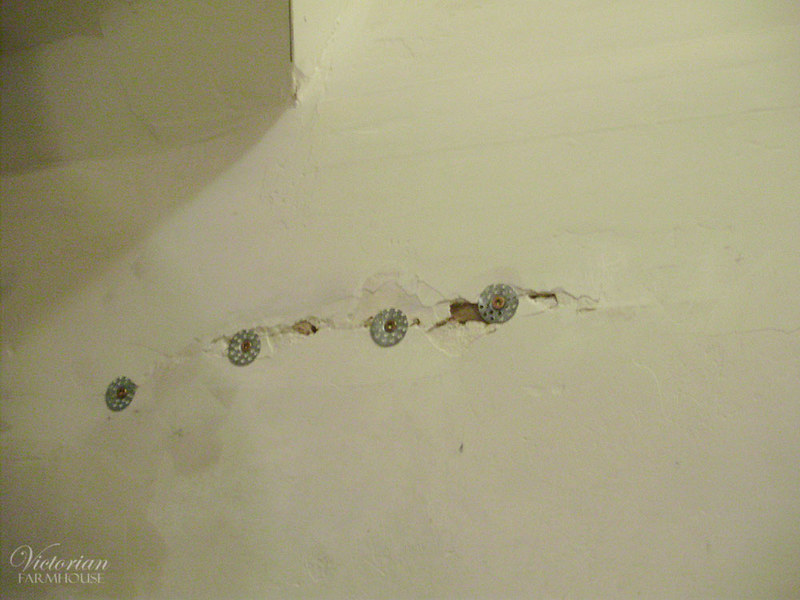
Next day. We were SO SORE from tearing out the floor that we decided to do a few easy jobs. I decided to start the skim coat on the walls. This might seem like it will be time consuming, messy, difficult, and not worth it (just rip everything out and install drywall), but it was surprisingly quick and easy. We had tackled all the deep holes and gouges (all the patch areas visible in prior photos), and this just went on with a big 12" trowel. I did the entire room (with a bit of help) in about 2 hours?


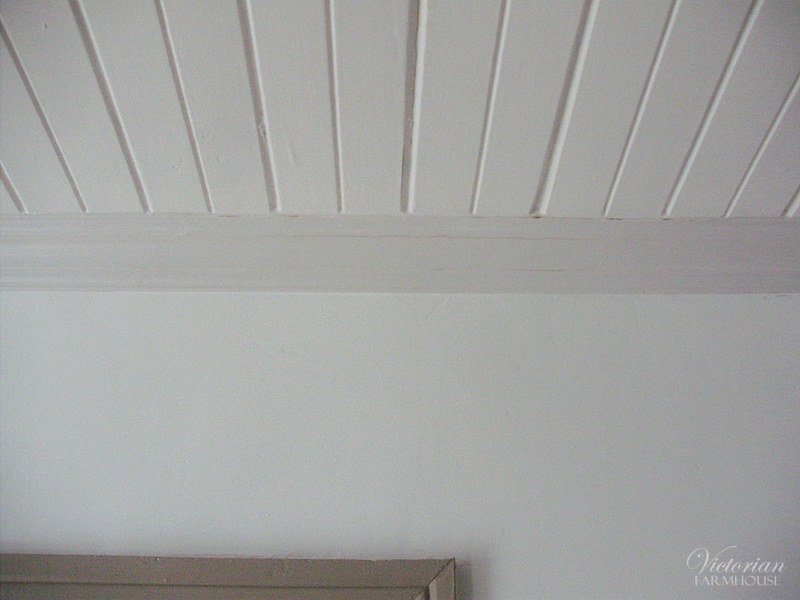
It does take a certain amount of practice to get the hang of it, but once you do it's quick, easy, and quite relaxing.


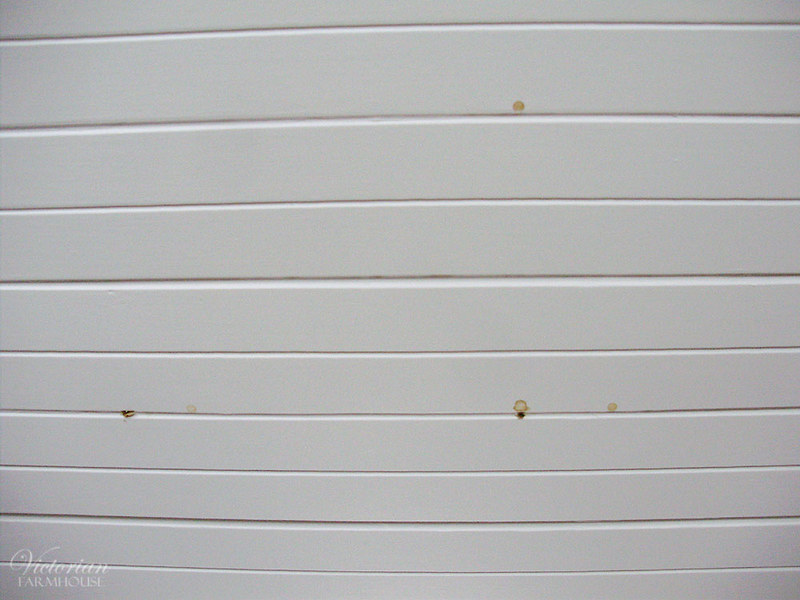
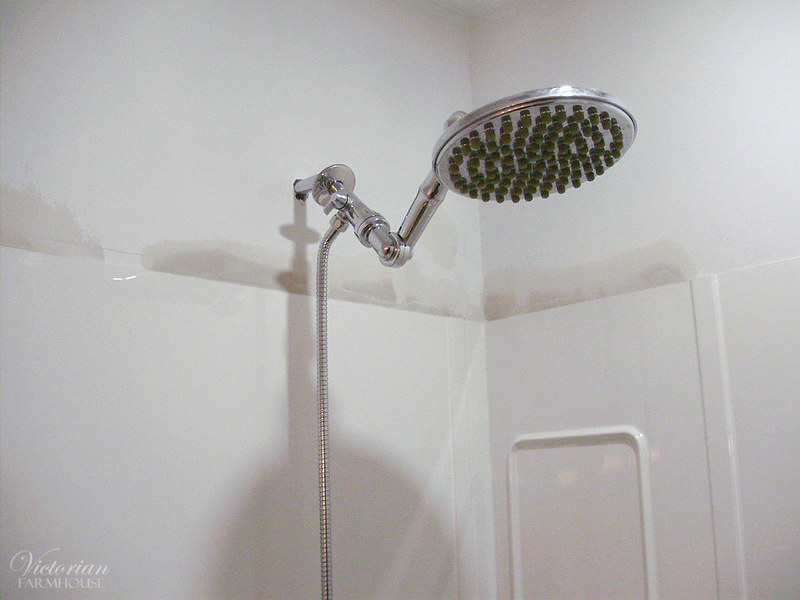
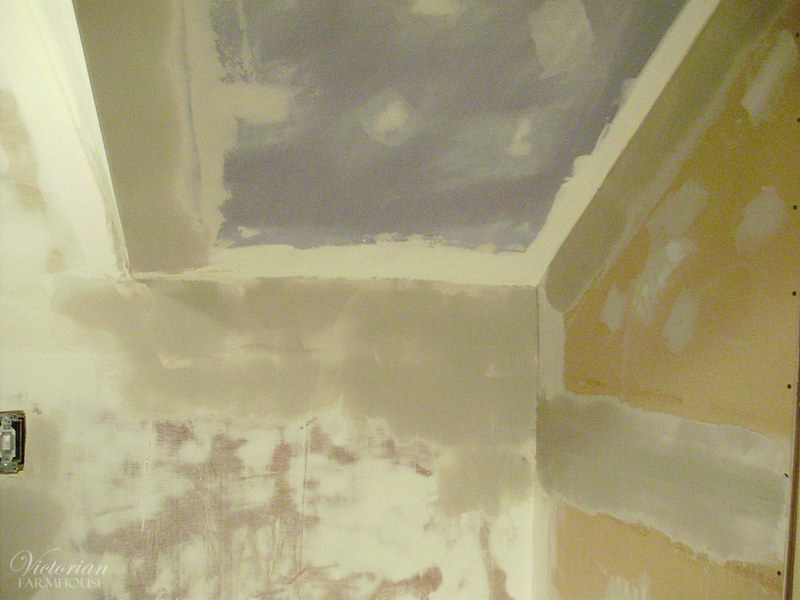
Since it's a pretty thin coat, it starts to dry pretty fast.


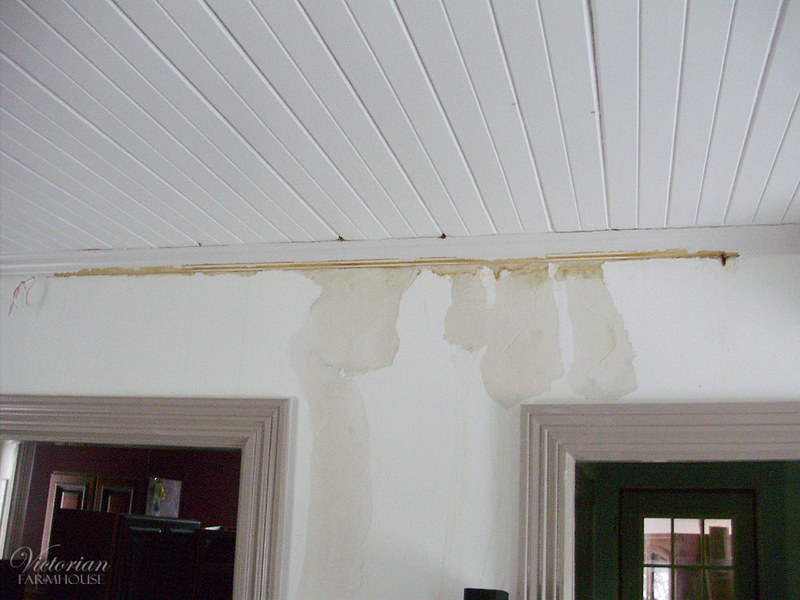
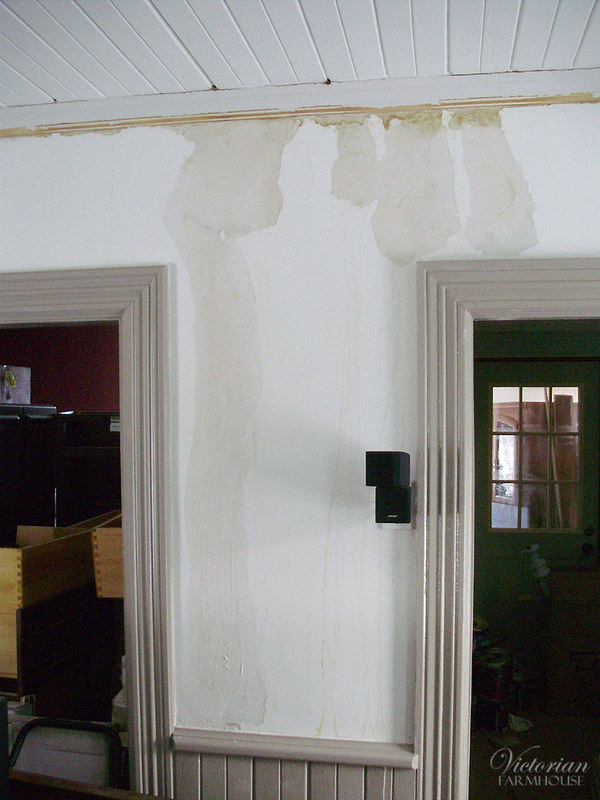
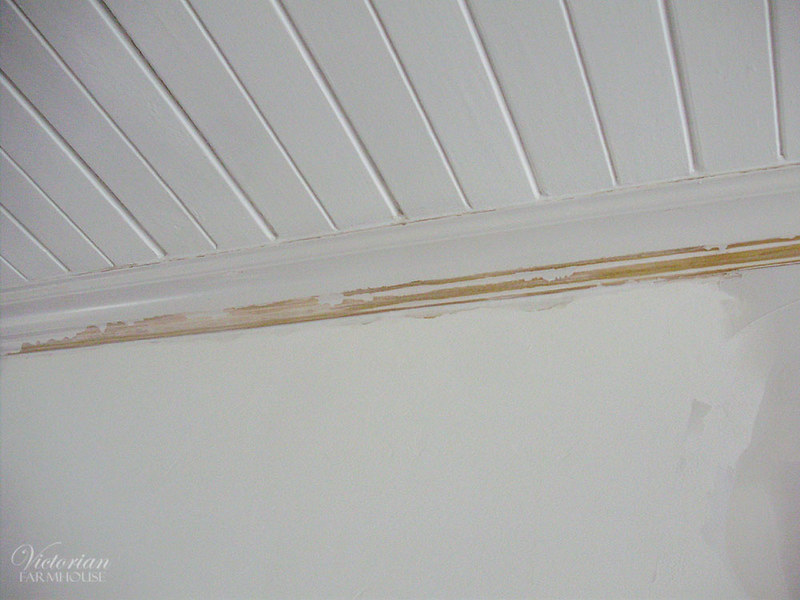
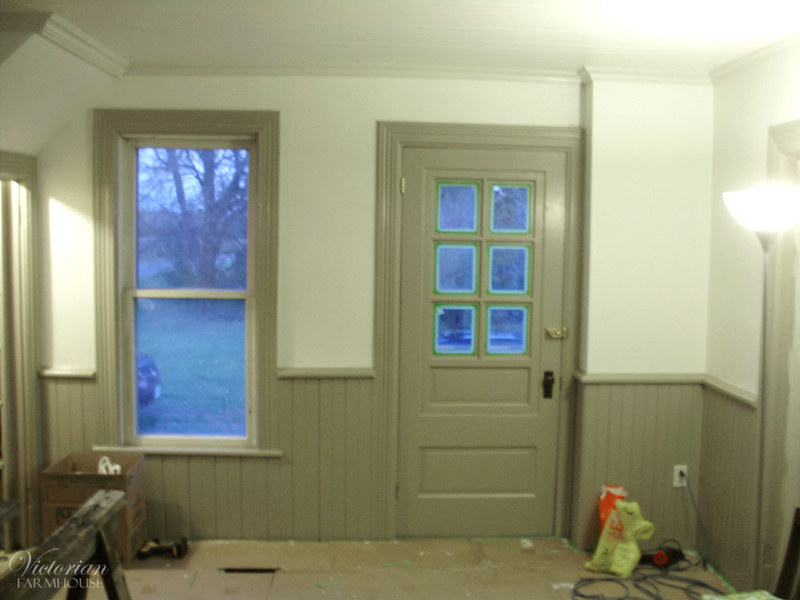
The room already looks so much more amazing with this simple change.


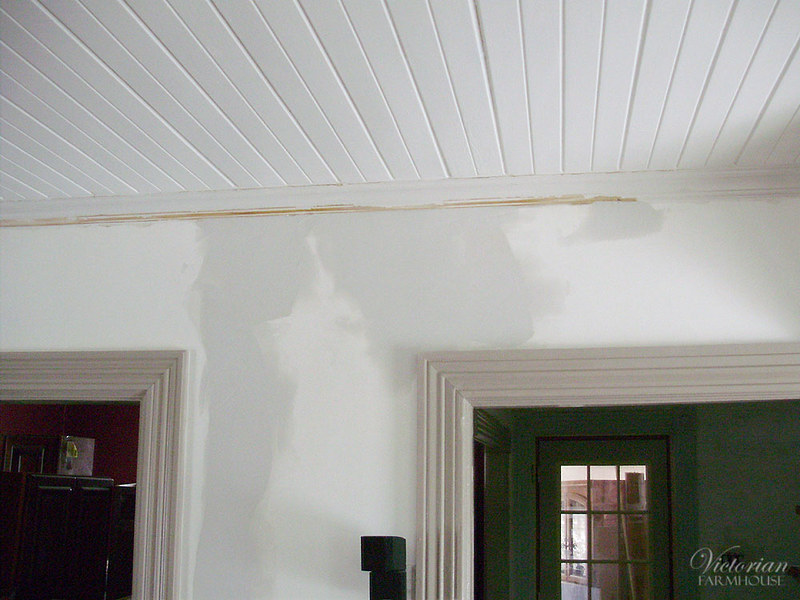
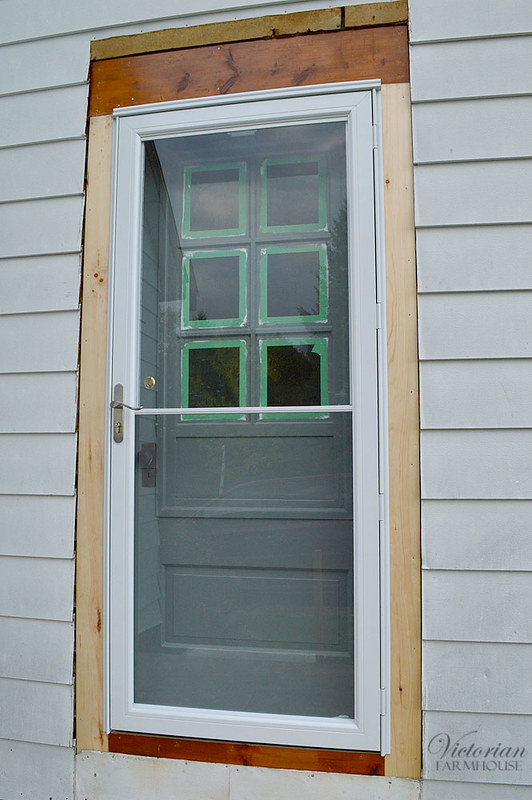
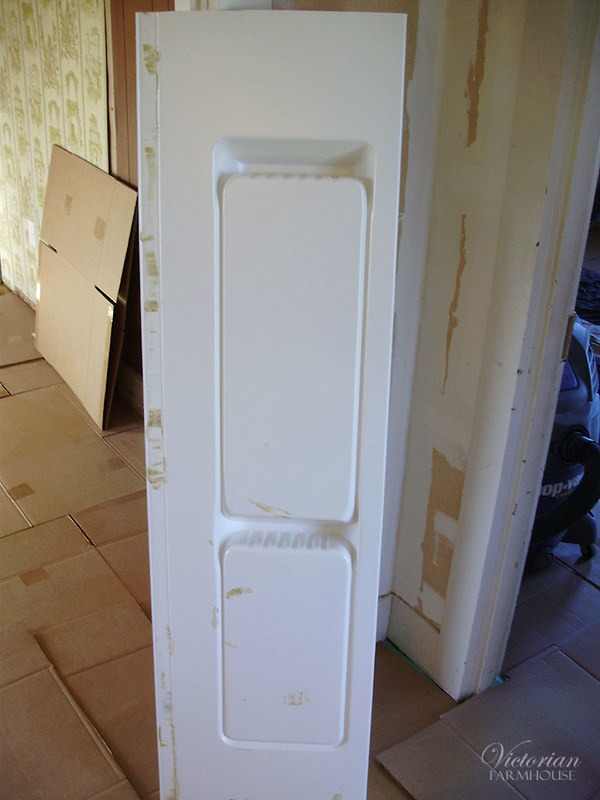
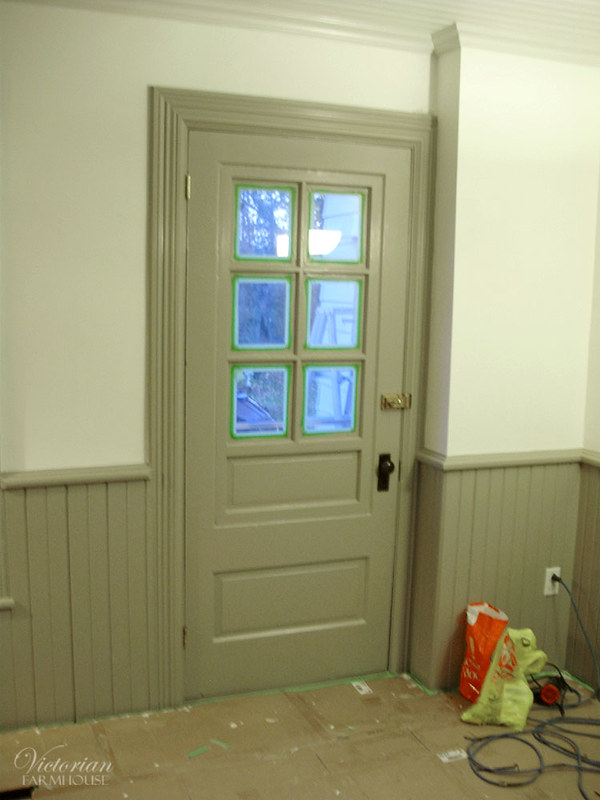
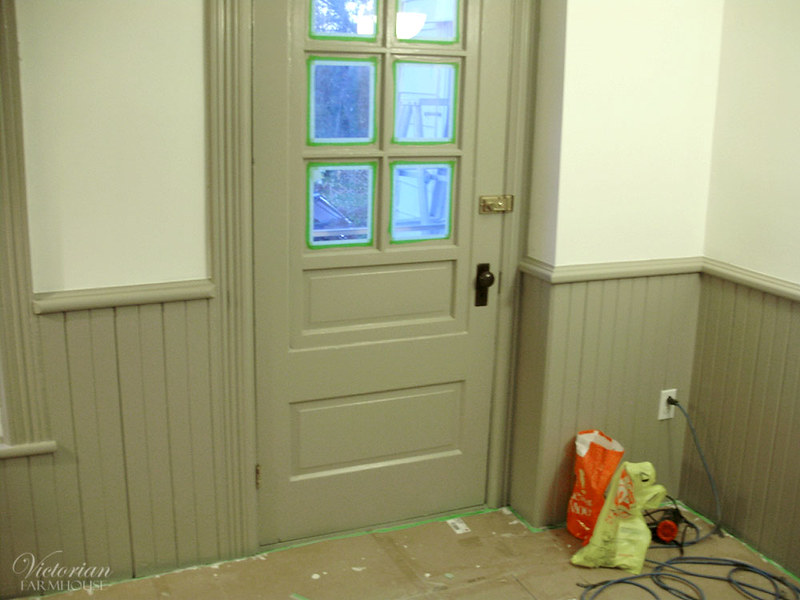
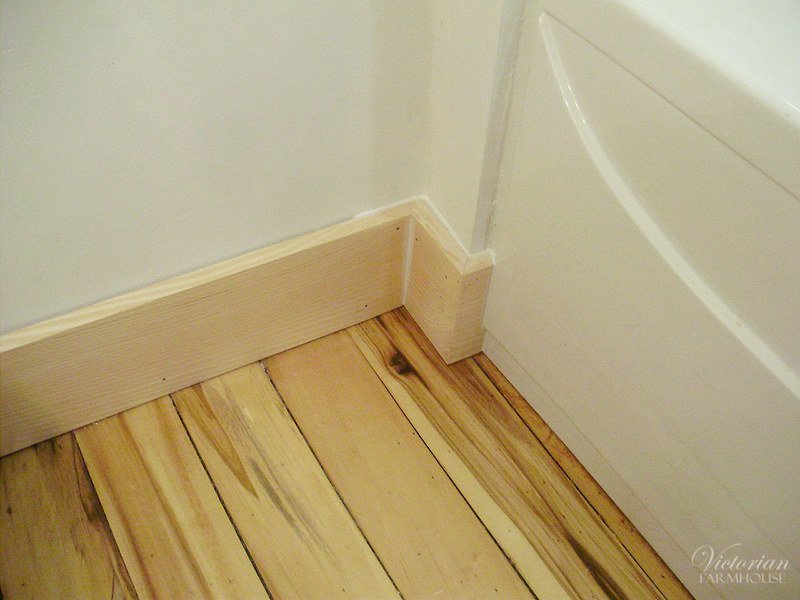
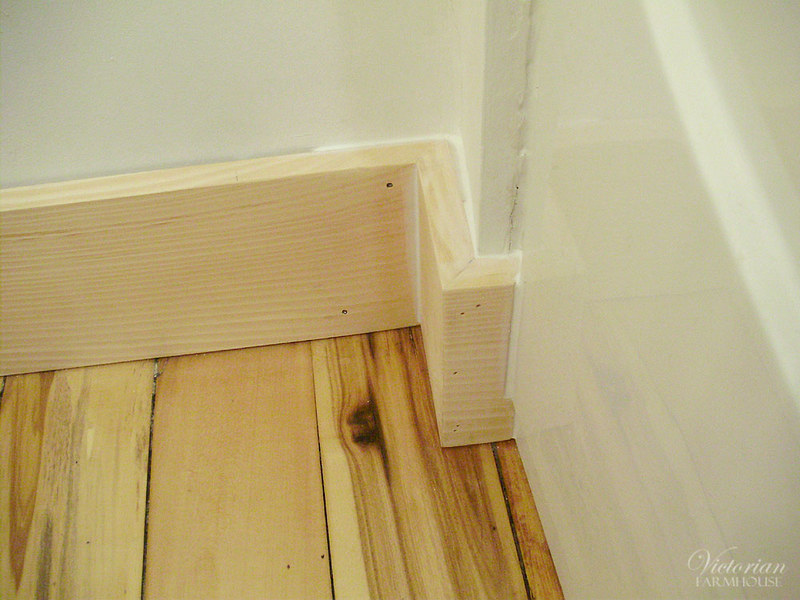
Another quick job I did was to install the new door jamb in the office/front hall.


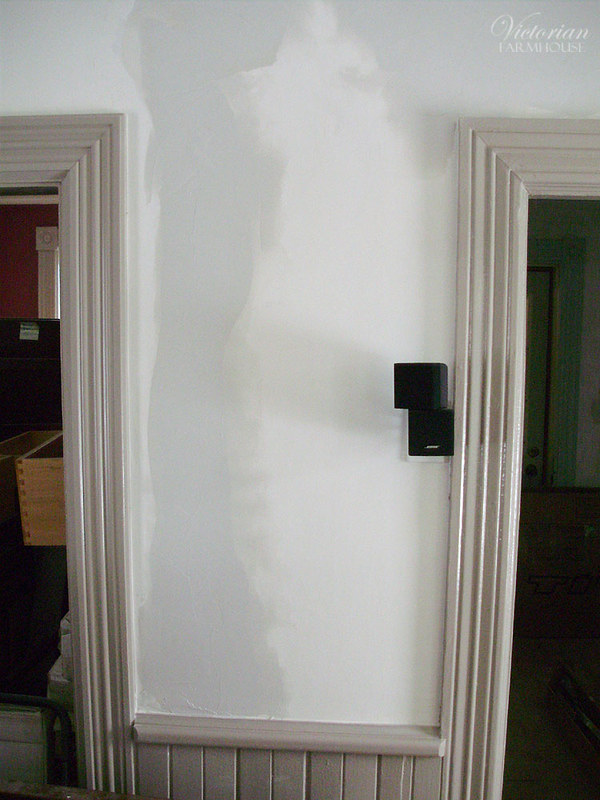
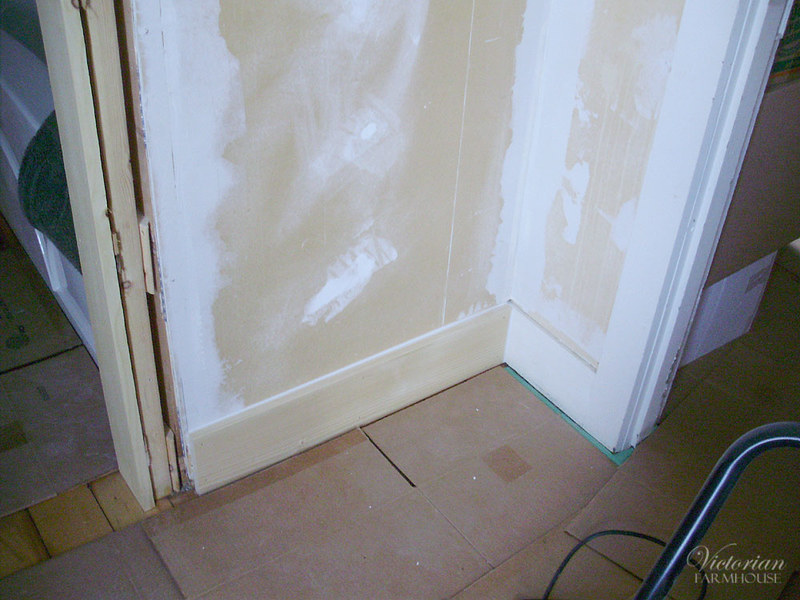
The last shot shows a dry area after a very quick sanding to knock off the bumps and high spots. It looks SO GOOD! Pierre and Angie were very impressed with the results. So much easier (and cheaper) than ripping everything down and installing new drywall.


It's very late, so I haven't proof-read this, so hopefully there aren't too many mistakes.