* Note: I only call it the "L" room because it's L shaped.
I had started to tear down the closet walls ages ago, but I did a lot more work recently by opening-up the hallway wall. The reason for this is to add a built-in linen closet. The house has very little storage space other than the basement, so I wanted a spot near the bathroom to store bath towels, bedsheets, toiletries and other items.
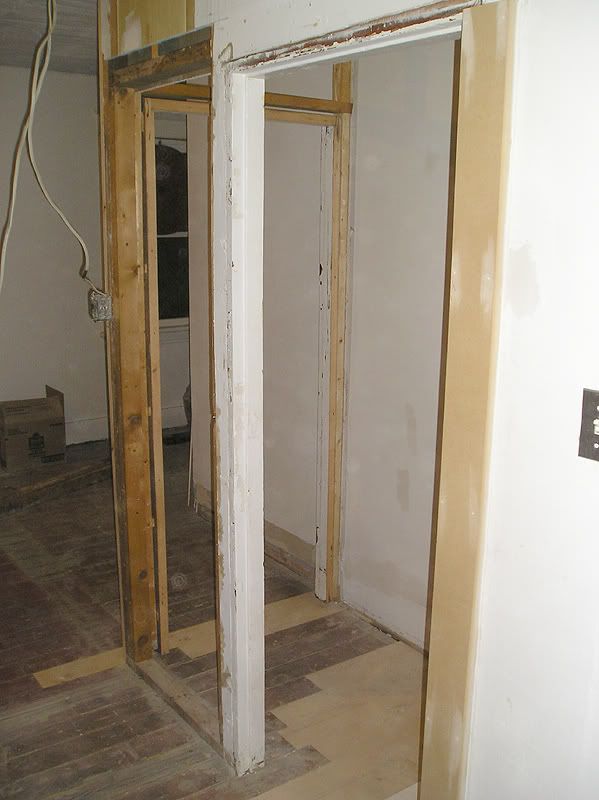
Here's the spot where the built-in will go. I originally wanted to make it almost up to the ceiling, but I took a look at all sorts of gathered photos of old 1920's built-ins, and none except for very rare exceptions were taller than an average door, so I plan to make this one the same. This means that all 3 openings will be done in one set of continuous casings(mouldings), with the doors to the spare/guest room, and the "L" room on each side.
This is viewed from the bathroom door (the doorway to the right is the main staircase).
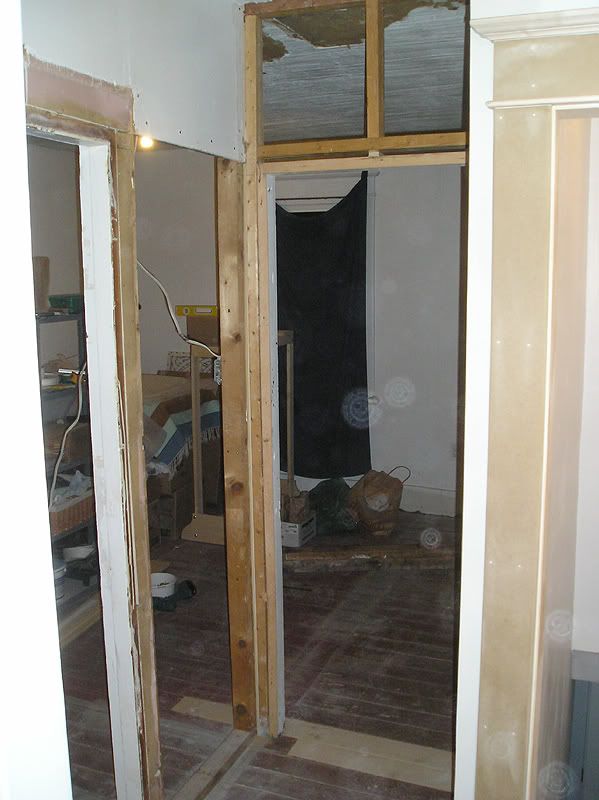
Doorway to the "L" room:
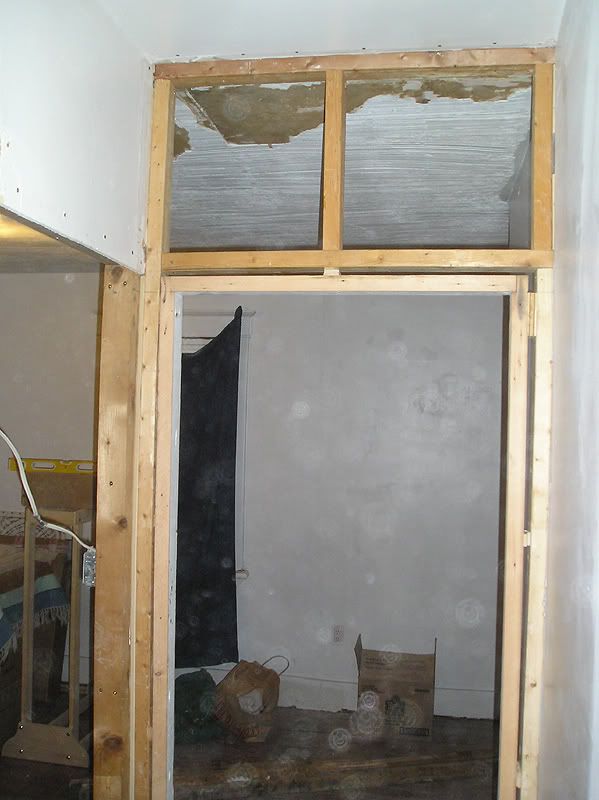
From the "L" room looking towards the bathroom:
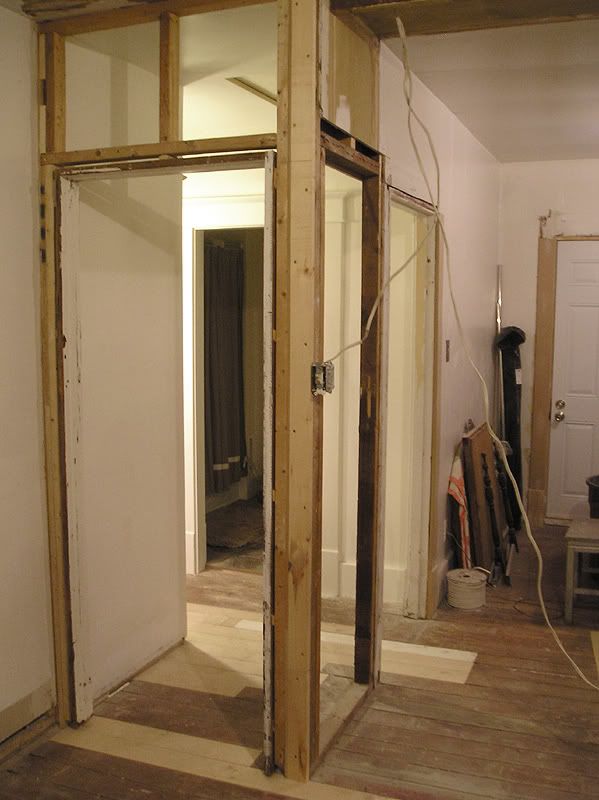
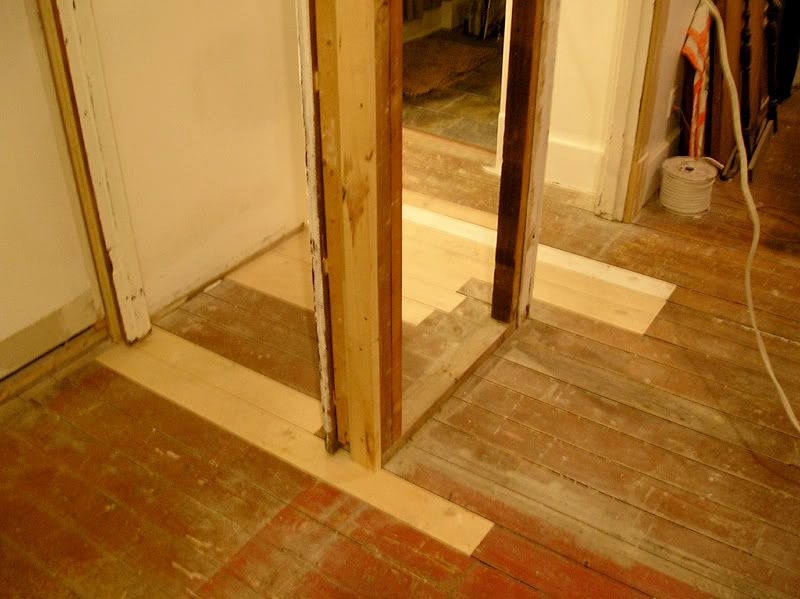
From guest room (aka Laundry room):
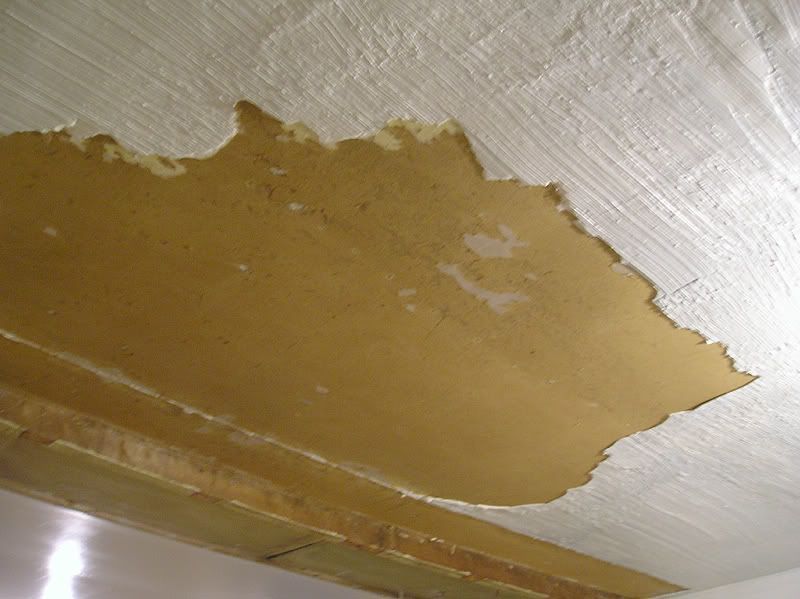
The ceiling in the "L" room will be a fun job. I plan to drywall over this, but some of the plaster/mud that they added is caked-on super thick in places. If it's still fairly easy to scrape off, I might take it all down, otherwise I'll keep going until I'm at a relatively thin spot.
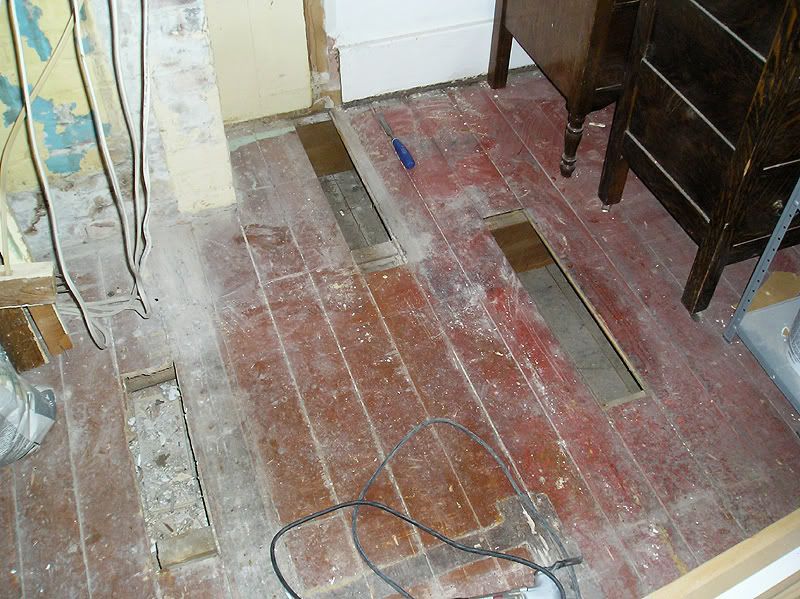
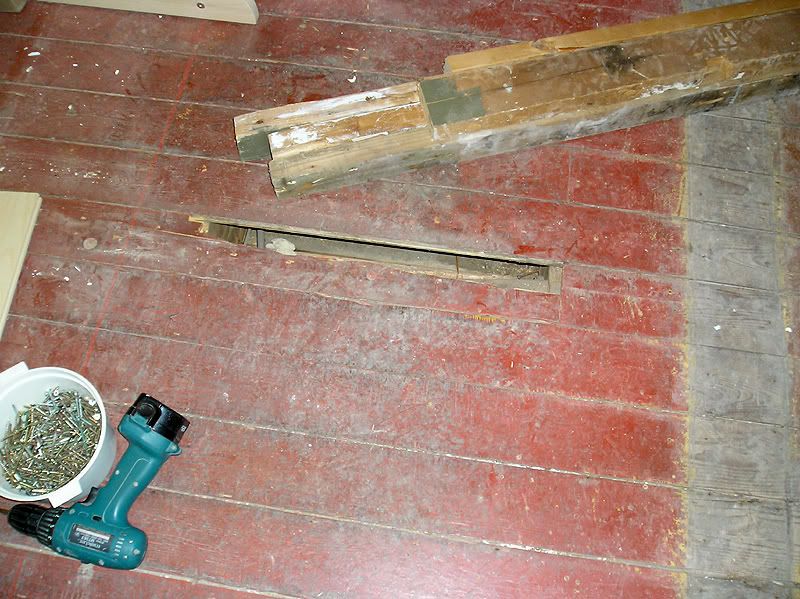
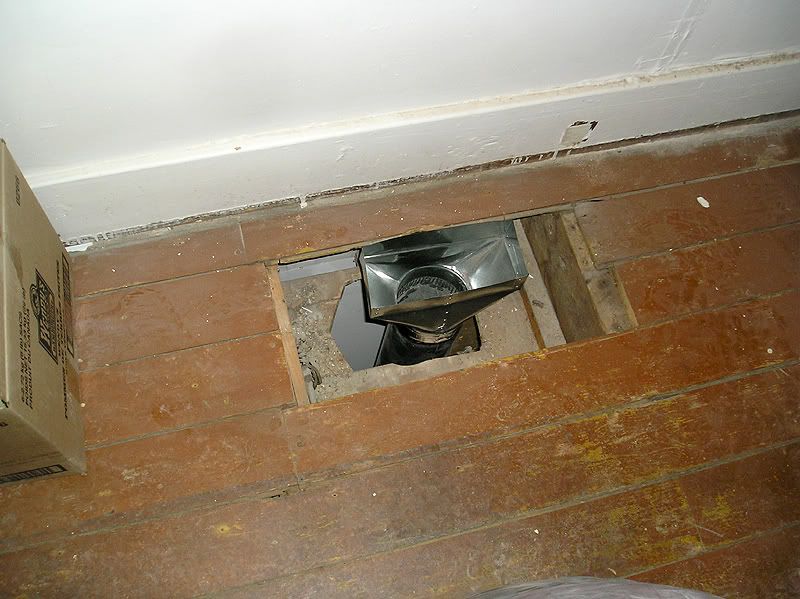
I also started to patch the floor. These are spots left to fix.
Lastly is the porch window. I removed the porch window in spring or early summer so that I could replace the missing muntin in the bottom (see main blog photo for the before).
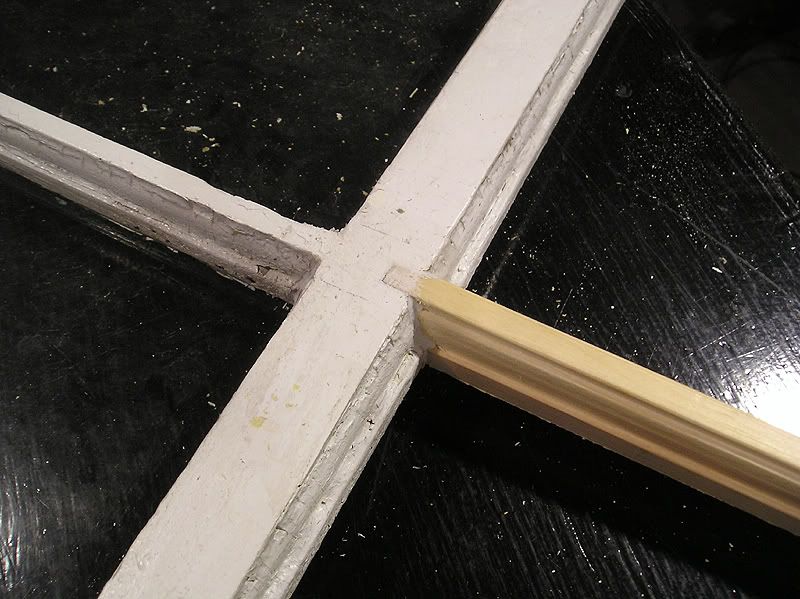
I don't think I posted about the muntin repair here, so here's a very quick recap.
Match the profile (as close as possible) on some clear pine. In my case, I was able to do it entirely on the table saw (close enough profile that no one will notice a difference).
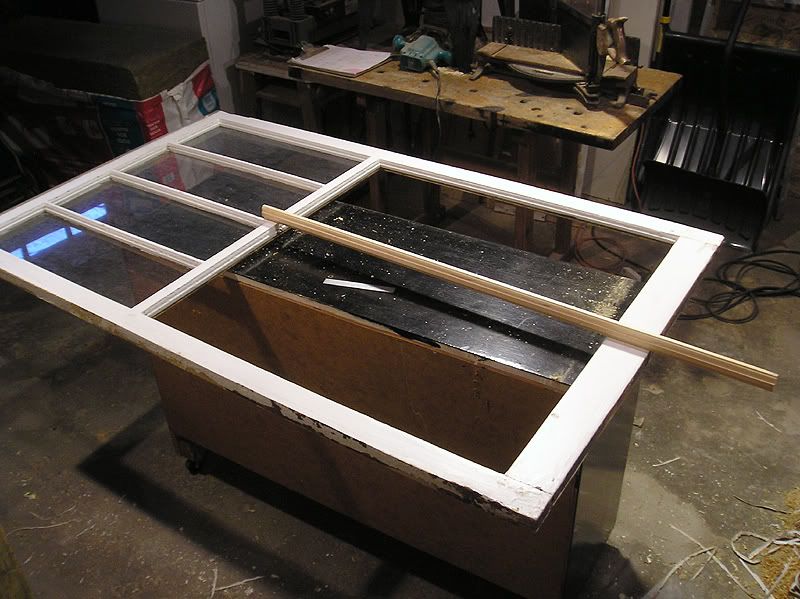
Carefully cut and notch your pieces to fit (measure carefully, and aim for a snug fit).
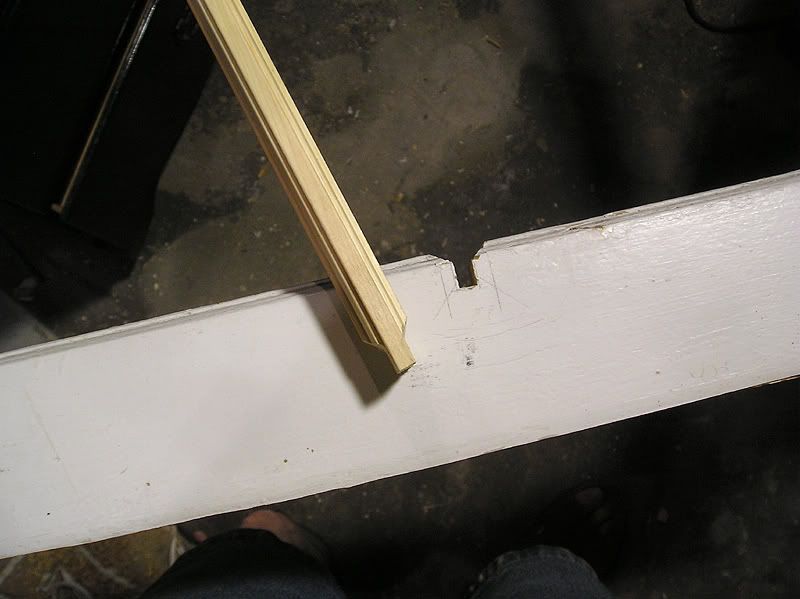
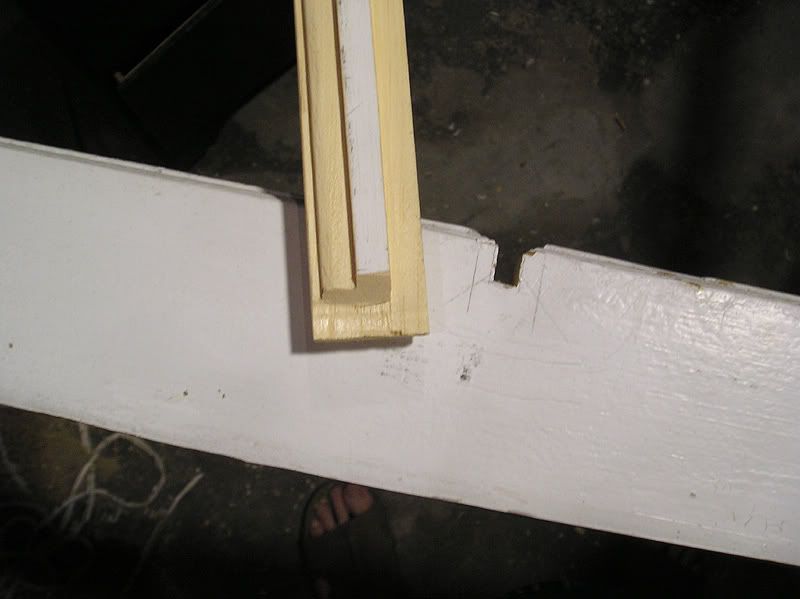
Glue, clamp, putty, sand, prime.
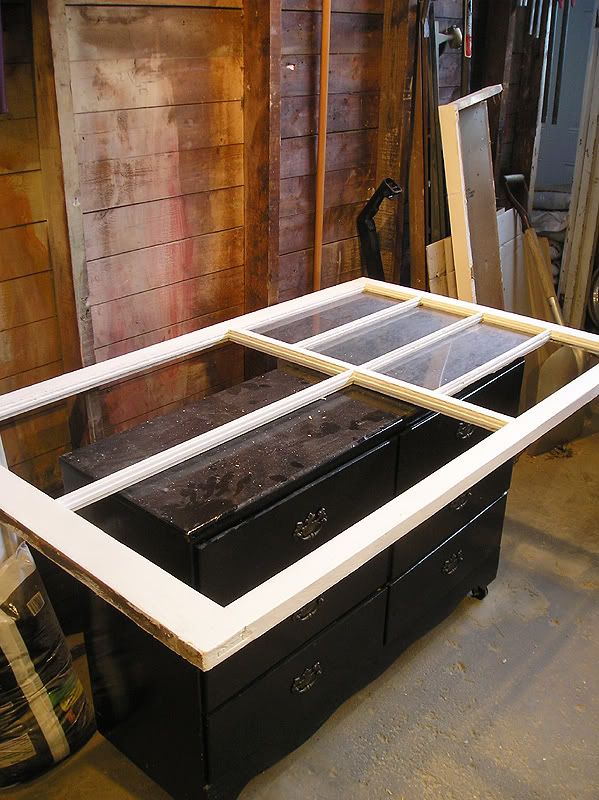
So yeah, fast forward to Monday night, when I finally decided to install the glass and do the glazing. I did the top 2 1/2 panes on Mon night, and the large bottom 2 last night. For an idea of size, the window is 3 feet wide by 5 feet high.
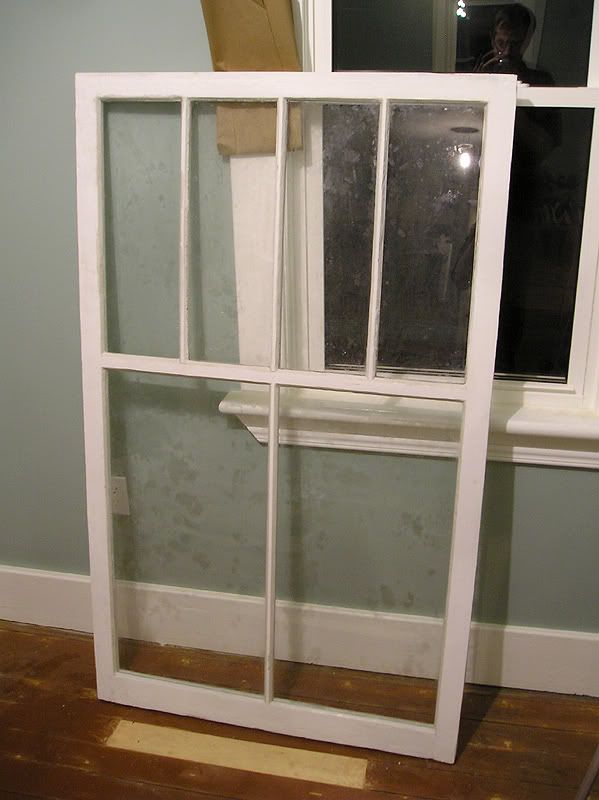
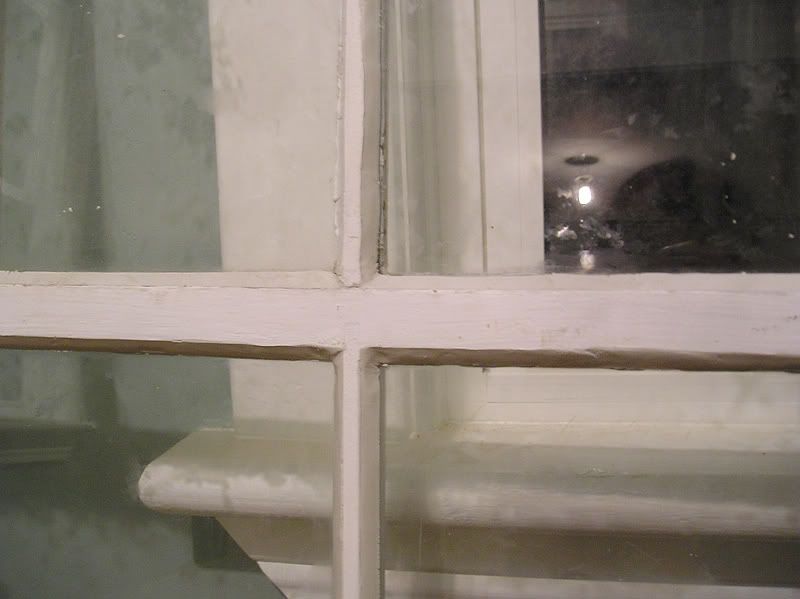
The glazing job isn't perfect, but the entire window is in rough shape, with many edges gouged, chipped, puttied, filled and re-filled, etc. But the new centre muntin one looks great!
This is what the porch has looked like pretty much all summer/fall. Notice all the dead leaves starting to drift in by the opening.
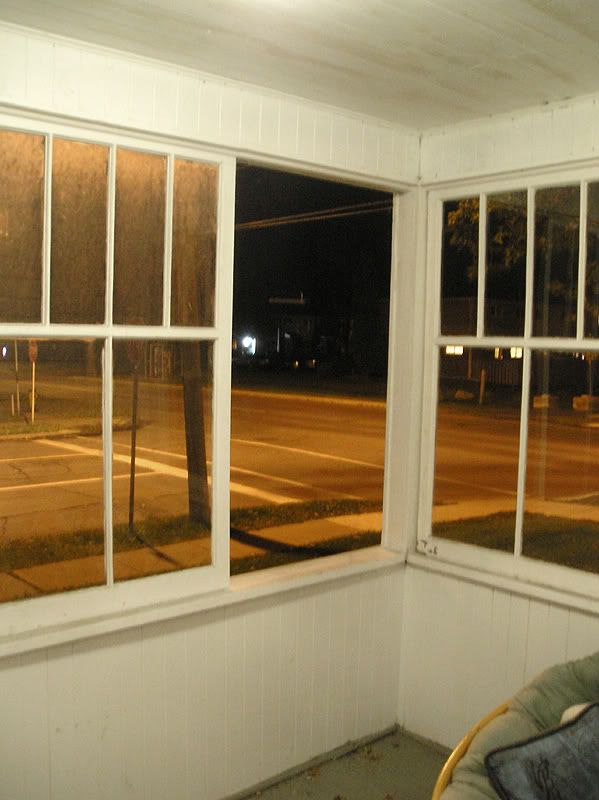
I have the window in the MB (since there's lots of room to work), so I'm hoping that the crappy Dap33 will dry in a week or so. I'd like to paint and install the window before winter.

I used DAP33 on the window that I just finished. I gave it a week, and then primed and painted. There was a small amount of crinkling in some areas, but overall I was happy with it. I couldn't imagine waiting the 2-3 weeks that's sometimes recommended!
ReplyDeleteI'm hoping it will be fairly dry in about a week, especially since it's inside in a heated space. I can always wait a bit longer if I really need to.
ReplyDeleteHi JC,
ReplyDeleteWow, I am enjoying the photographs of your progress. God bless you for the hours and hours of labor on your old house, and sharing your methods through photos with all of us. It puts an exclamation point !!! on the phrase "labor of love".
Incredible work JC. Seems like the list of projects requiring your skillful hands and mind never stops. It is wonderful to follow the healing of your old house.