I'll start with the light fixture. This is another lovely 1910-20 fixture like the others I've bought, but this one was a gift from one of my readers, Mrs. D from 1893 Victorian Farmhouse. She is a wonderful lady who, with the help of her husband, are restoring a wonderful old Victorian. You should check out her blog. She has done a really great job so far, and she's in one of my top 10 favourite "old house" blogs. She is also an artist (currently working on building a studio), upholsterer, and handy woman.
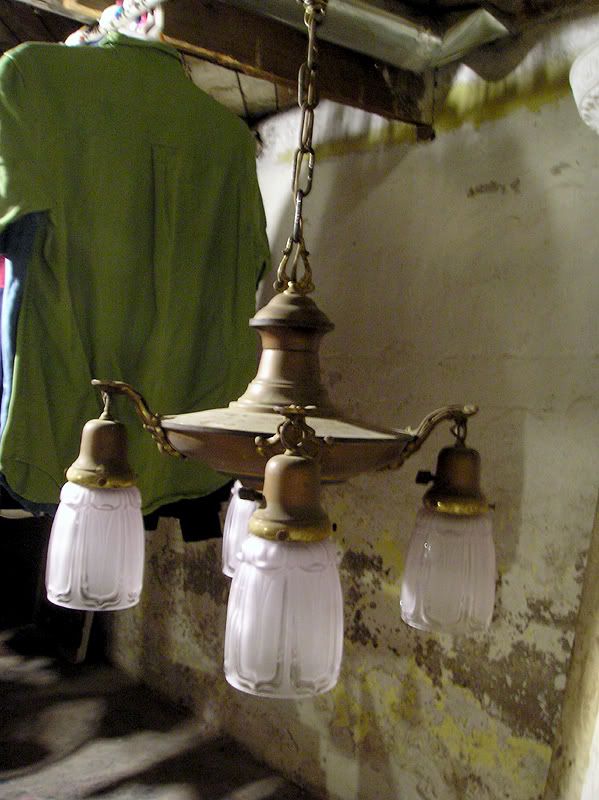
The fixture is complete, and in nearly perfect shape (the paint isn't flaking or scratched-up), and I hope to rewire it soon-ish. When I first got it, it was fitted with 3 (of 4, 1 is missing) floral fitters to make it a "bare bulb" fixture, with these unscrew, and I'm using it with shades (which I haven't bought yet). The shades pictured below are 4 of the set of 6 that I'll be using in the Master Bedroom on the two matched fixtures (I needed 5 matching but I'll have a spare). These are to give an idea of how it will look with shades on it. I also hung it temporarily in the Office (where it will be going) to see how it would look.
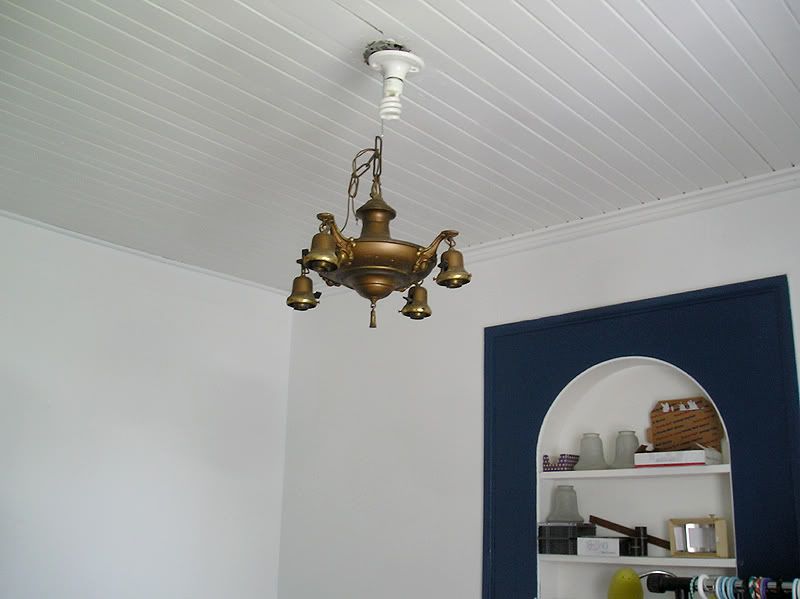
I can't wait to redo that ugly blue built-in (mine will have casings to match the doors/windows in the house, and 2 glass doors).
Duct Work:
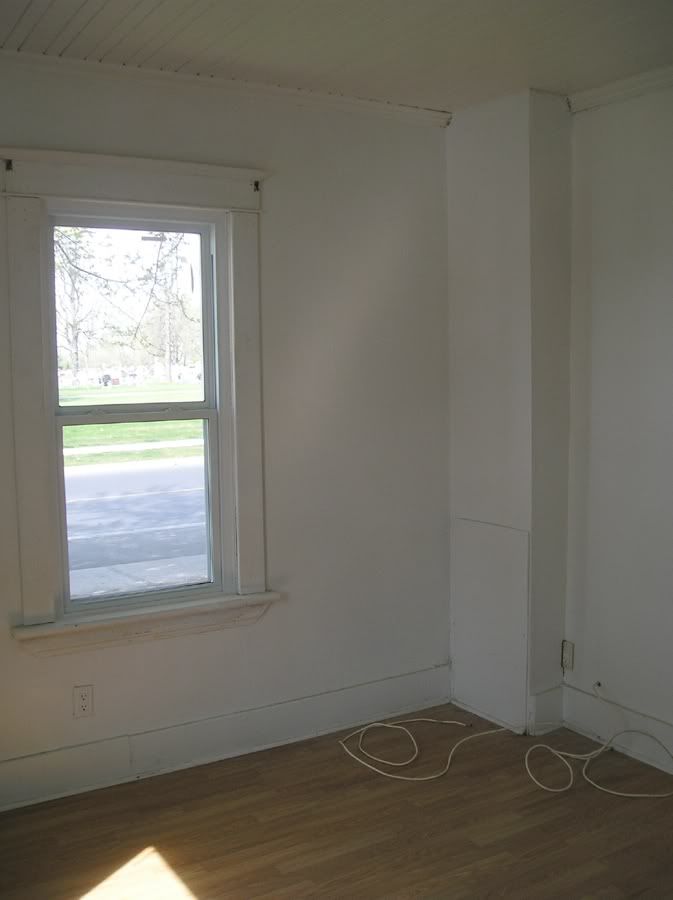
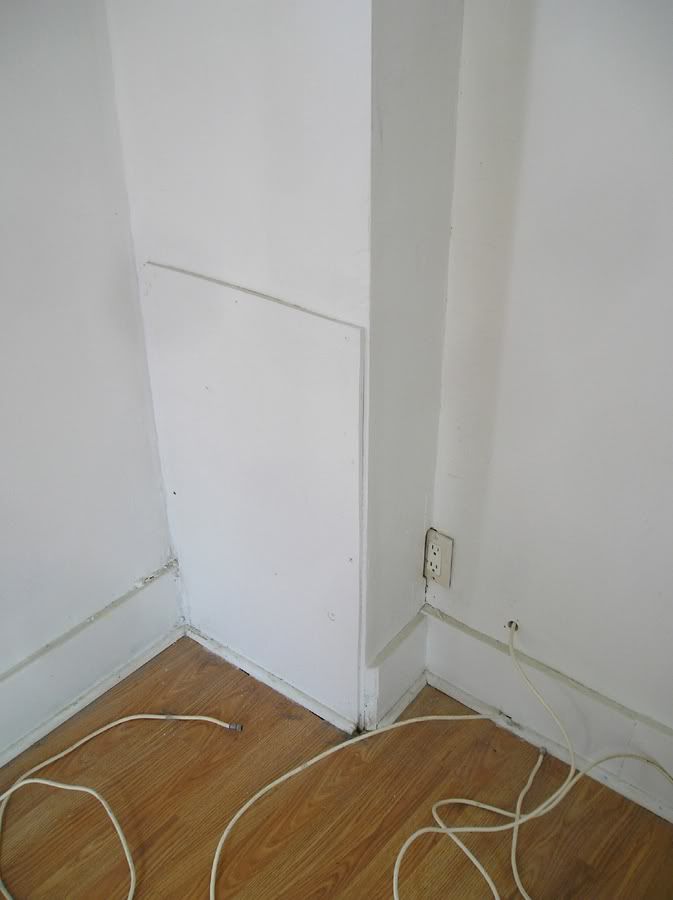
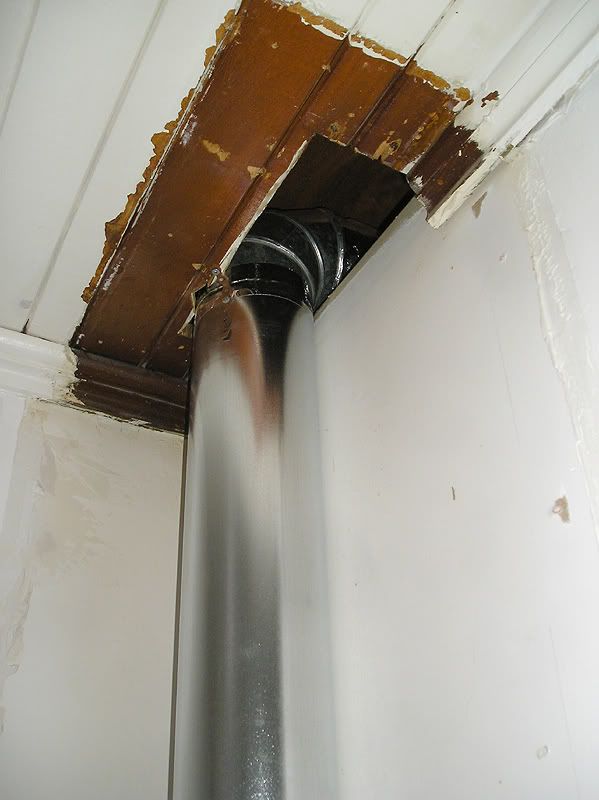
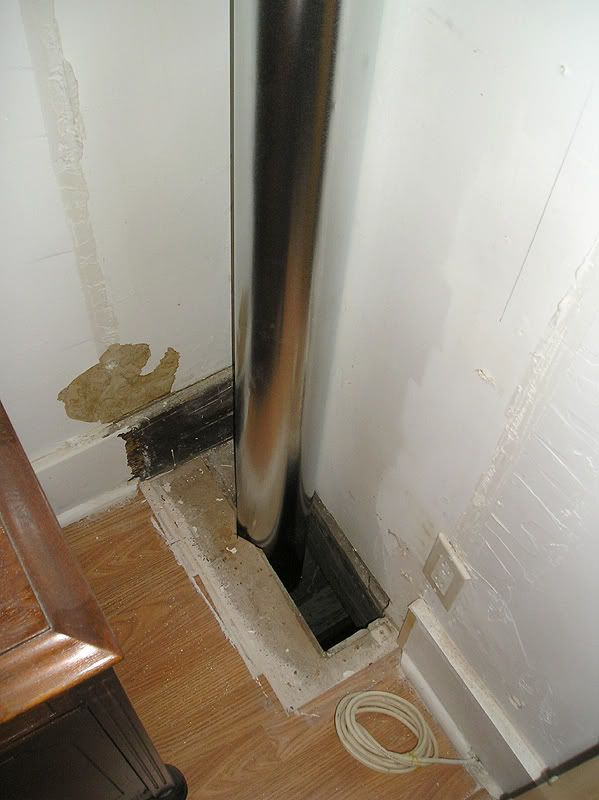
As usual in all the projects, the demolition is the most fun part. This is then immediately followed by a lot of head shaking, and eye-rolling. I think that the next few photos speak for themselves. To note is the location of the outlet. These are two really good "before" photos from when I bought the house back in April 2010.
Here's the demolition... And no I didn't bother to move any clocks/plants, etc. I was pretty careful.
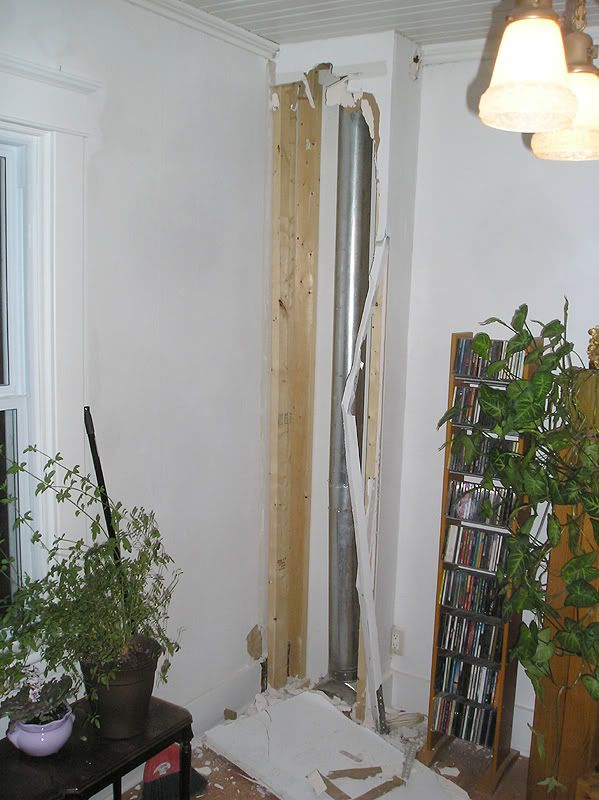
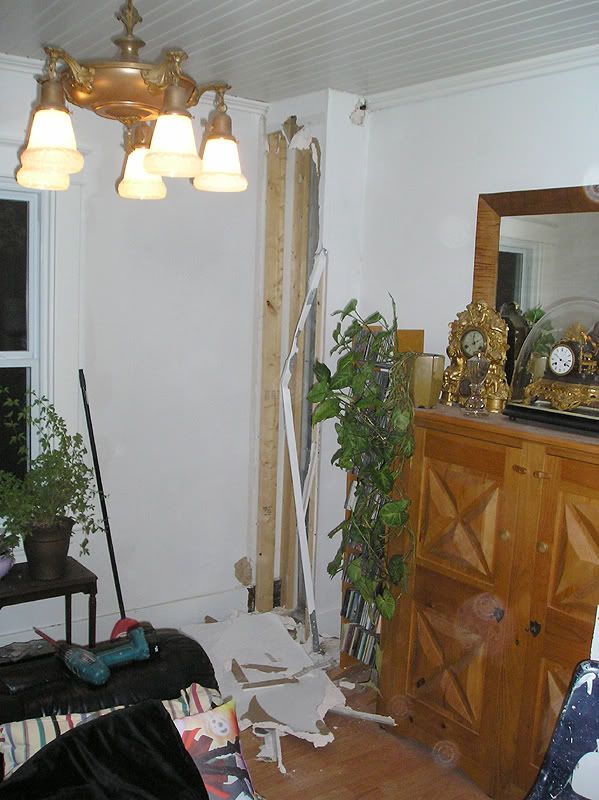
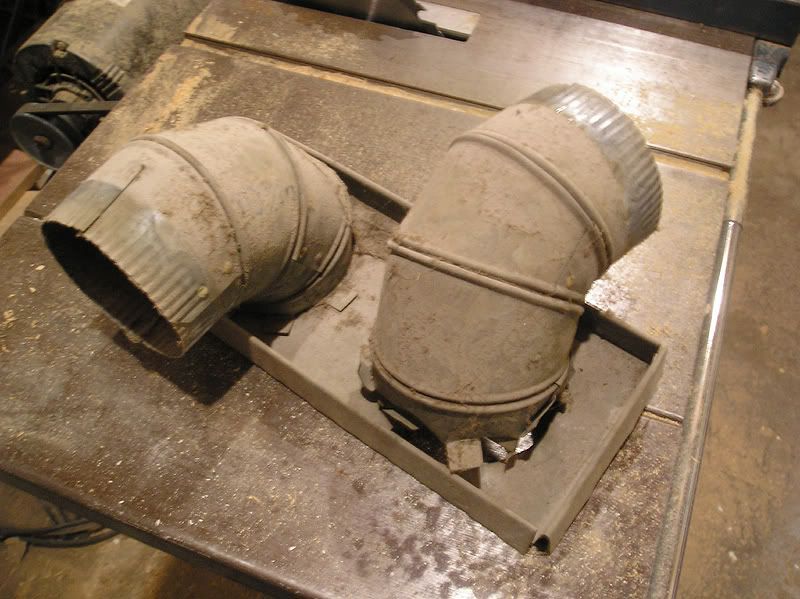
Notice all the patched-together pieces.
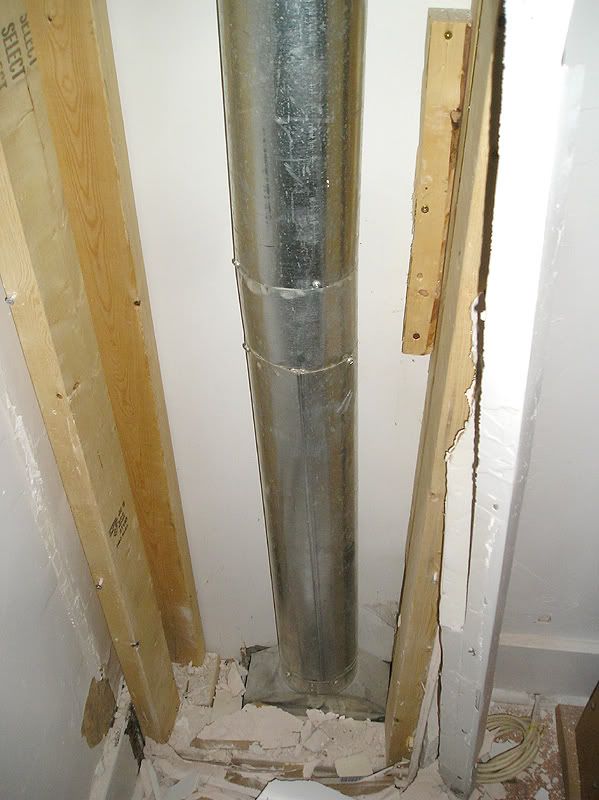
...yeah. In a way I'm really glad they did it the lazy/complicated way, since this avoided cutting the crown.
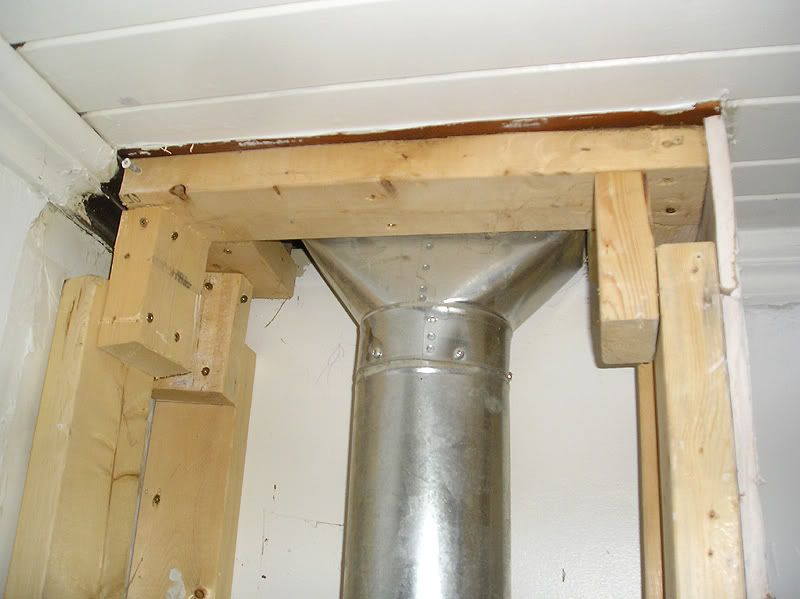
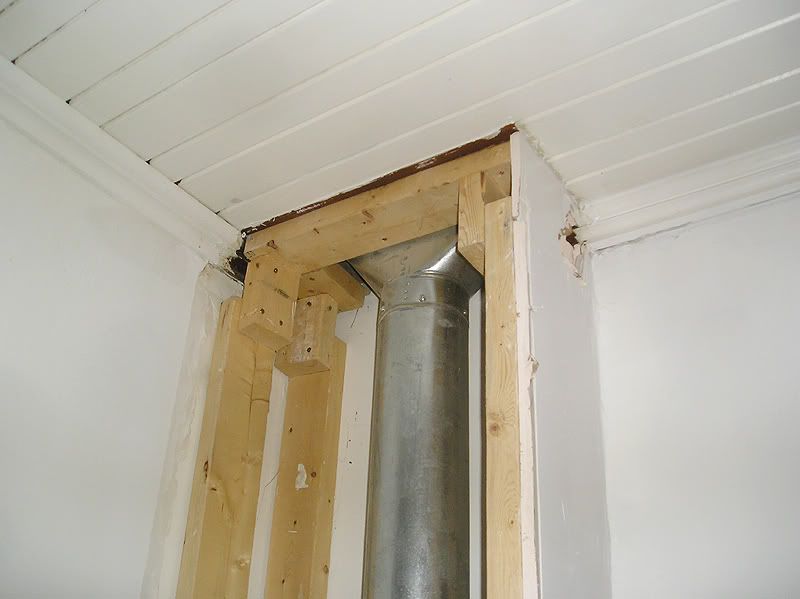
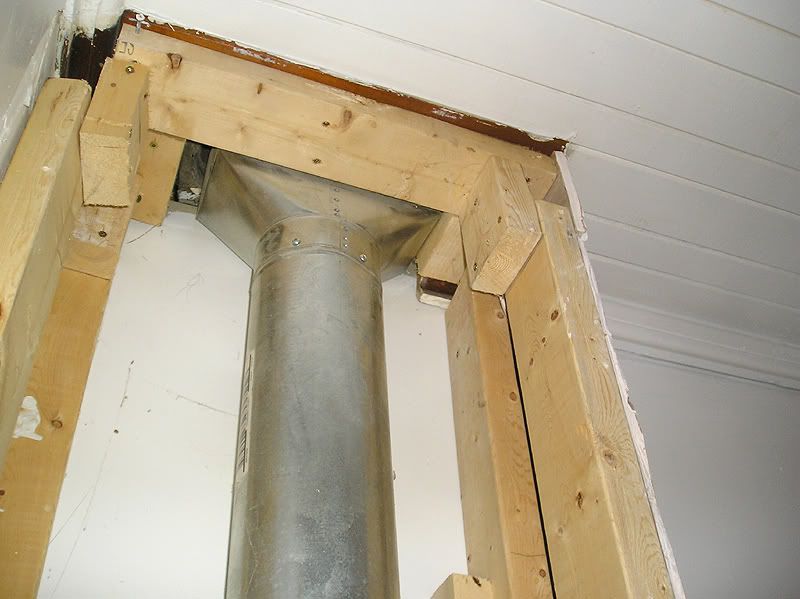
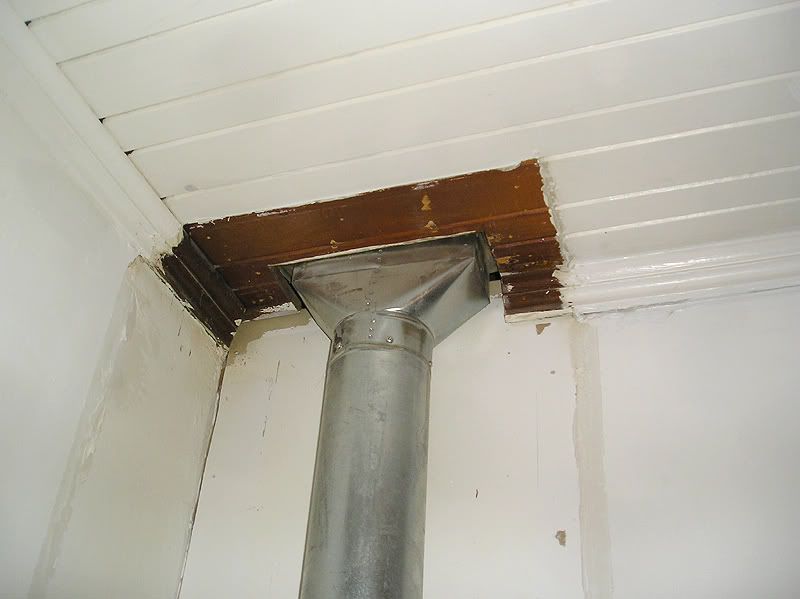
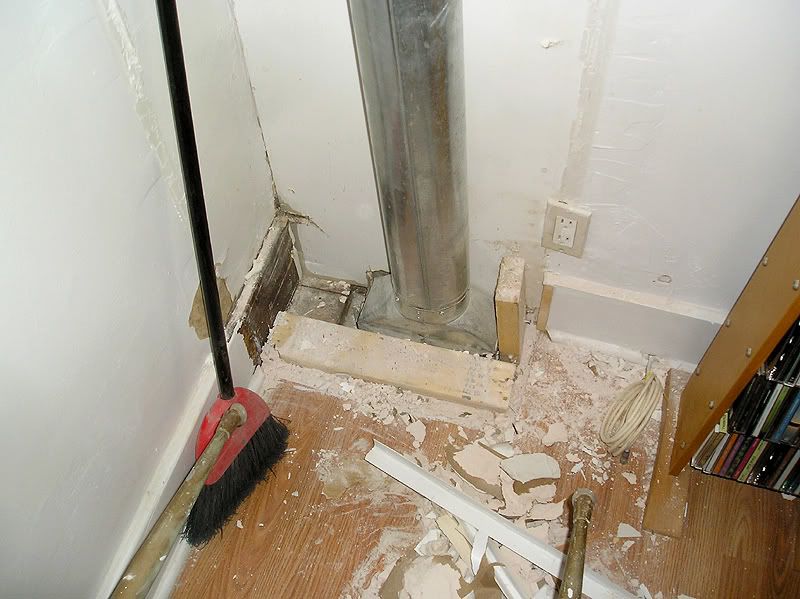
Now to fully understand the amazing-ness of this botchery, you need to realize that from the basement, it looked like this: (Apparently I've lost the photo). Basically, the connection going up from the basement was an overly long and unnecessarily coiled snake-like mess of couplings, finishing in an angled boot fitting (one of those 5x10 that connects to a 5" round pipe) which was screwed to the floor (or rather the ceiling in the basement). In the living room (the photos you see above), the connection was made with another boot at the bottom, which was NOT CONNECTED in any way. You could swing it back and forth. The top was another boot fitting that was screwed to the t-g ceiling, and not really connected to this:
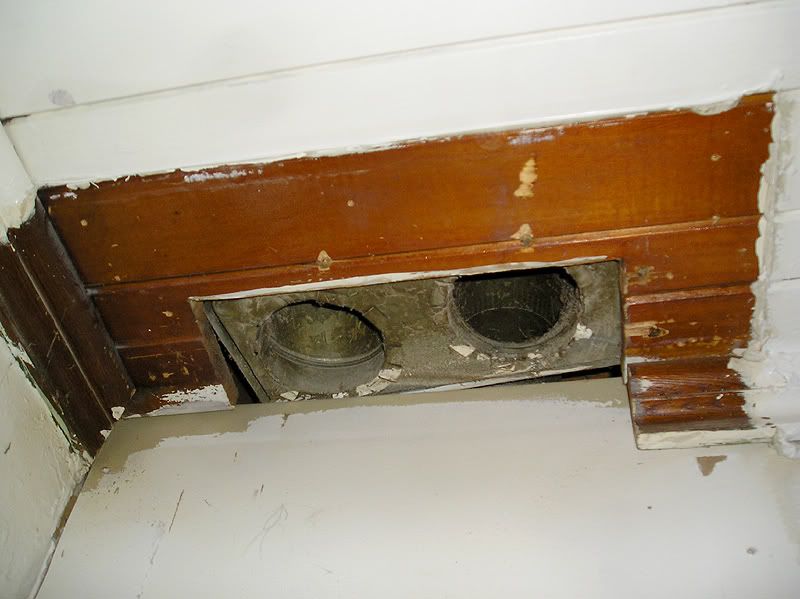
That's an old connection that divided in two directions going to both floor registers in the MB. I think these are from the 50's or 60's maybe? I'm sure they were originally hooked up with a rectangular duct.
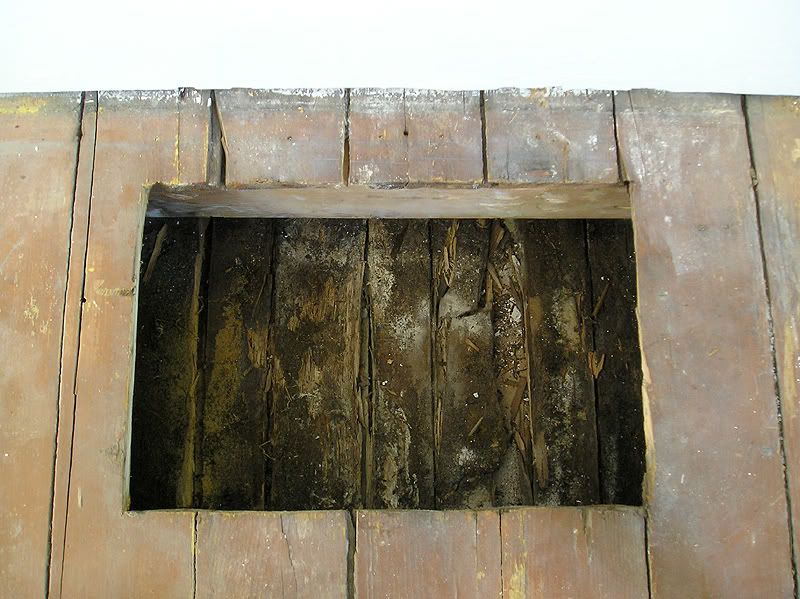
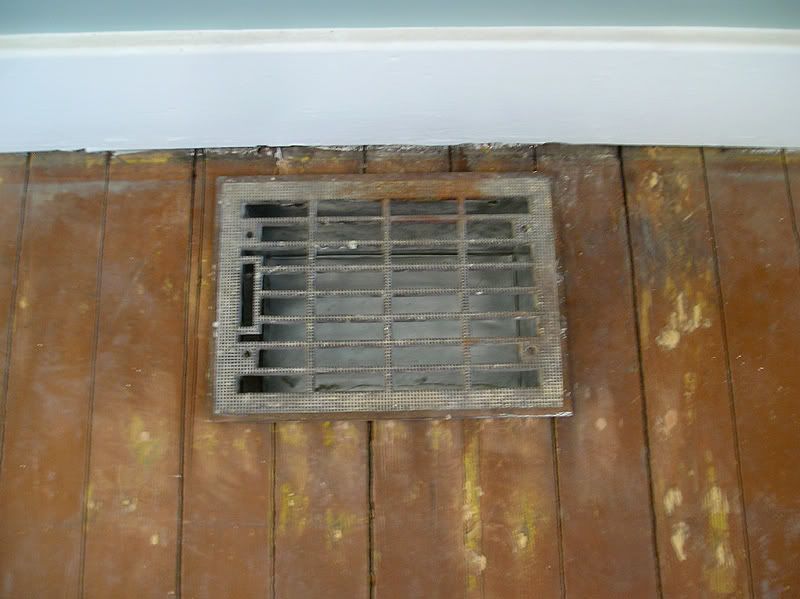
Also, as a side note, I had previously mentioned that the vent on the North side (over the dining room) had a lot of water damage to the original t-g ceiling in the dining room (which is probably one of the reasons that they covered it in drywall). You can see the damage in these comparison photos of both floor duct openings.
North (damaged) one:
South vent:
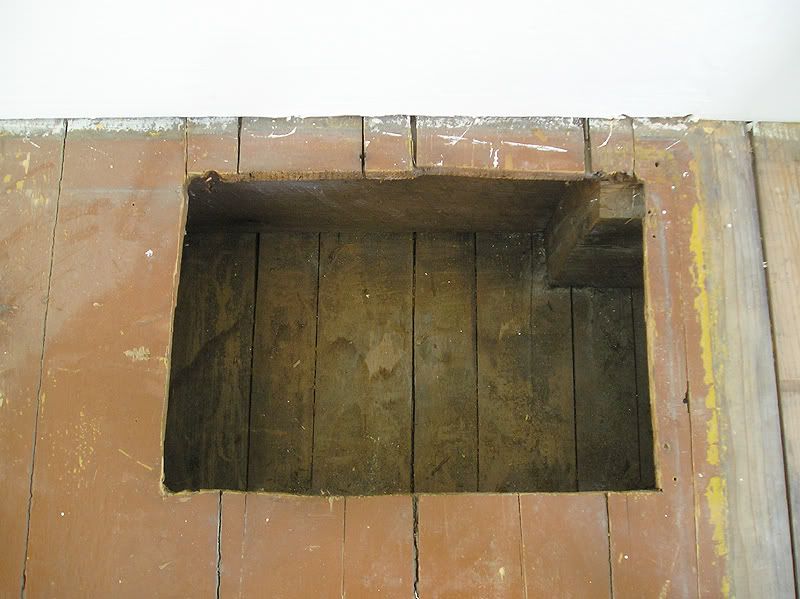
I haven't redone the South one, but it will be a challenge with that odd corner piece in there. All the rest of these are all of the North vent(cold air return).
Here's my fancy hand-made tin box. This was made from scratch, using only leftover pieces of round ducts, flattened-out, scored, cut, folded, and held together with some "pop rivets".
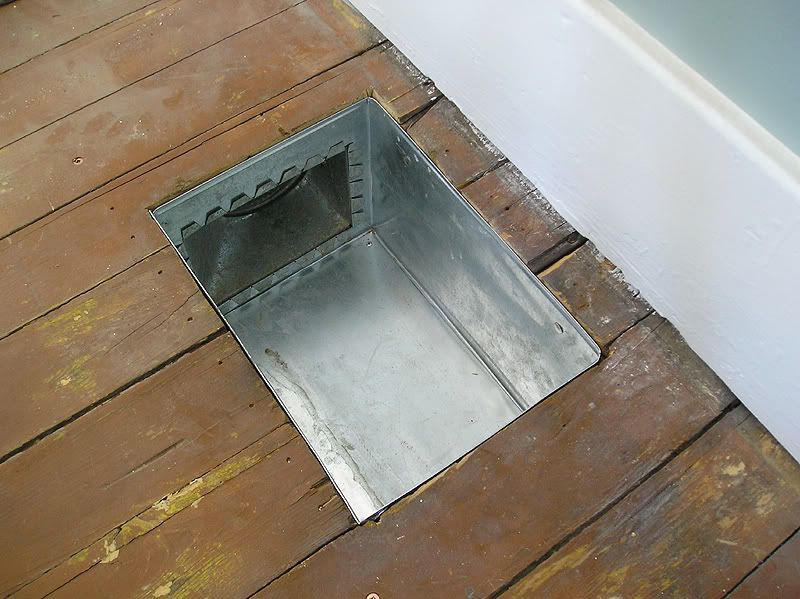
I had to add a 2x4 along the edge that was away from the wall, which is why there's a long row of patched nail holes. I used a screw on each end in the solid boards.
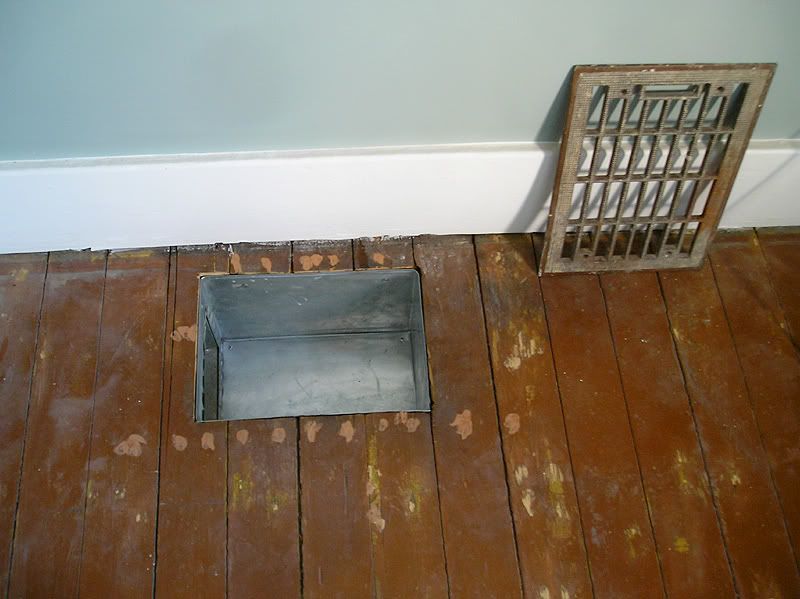
And this is with all the little chunks of broken wood trimmed and reglued, and all the holes patched and sanded.
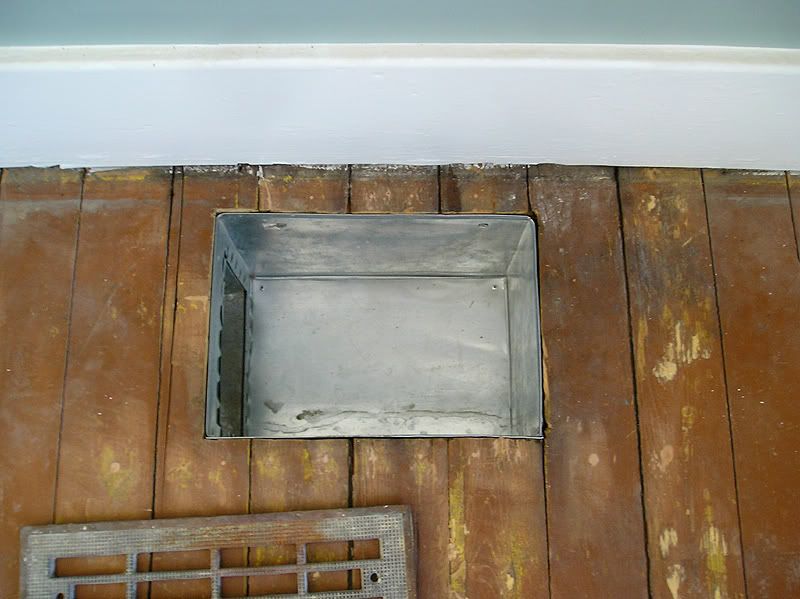
The connections in the floor (about 5 feet long of straight duct) was done the same way that the old duct was done: in 3 sections (just long enough that I could slide them in between the floors through the 12x8" register opening. Once in the floor, they were assembled and the joints were taped. Getting all the fittings together in the final assembly was very tricky, but not too hard.
Here's the finished job.
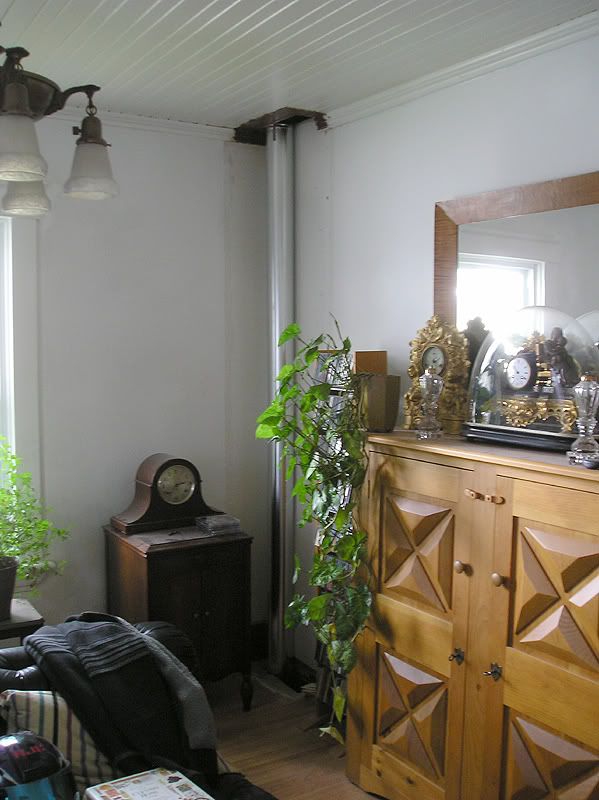
From basement: I have no idea why they didn't do it this way in the first place. There was NO REASON why they couldn't just do a straight L shape, even if they had used the stupid boot connection (which was stupid).
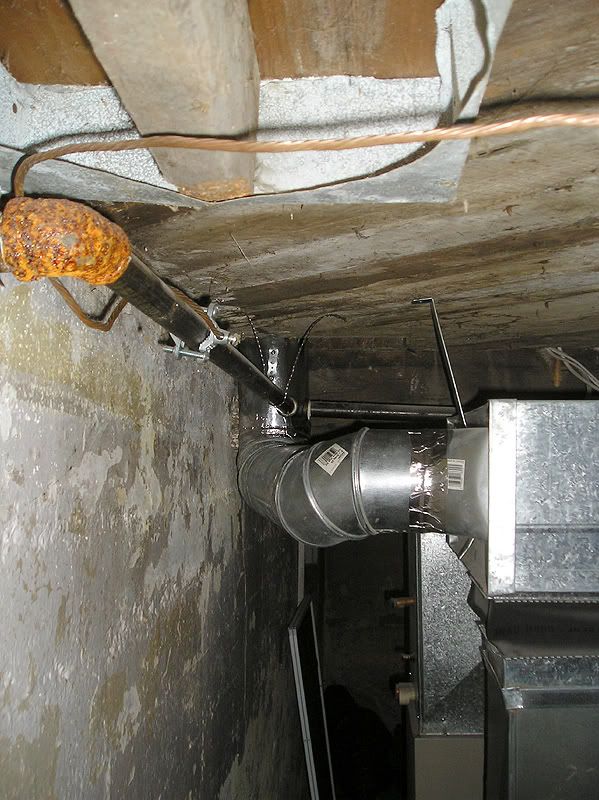
And yes I plan to buff-off the rust and repaint that iron gas pipe fitting.
It's getting late, so I'll actually cover the rest ("L" Room closet/built-in and floor, and the reglazed porch window) tomorrow.

No comments:
Post a Comment