
I'm at the point where I'm so far behind that I'm skipping some boring bits, and hopping around between projects, so posts might not be in correct chronological order, however, they will be more focused on specific areas. Hopefully no one really cares about that and they just enjoy the photos and the progress.
As of right now, the floors have all been refinished, and half the main floor is all beautifully painted. We did have one major disaster but I'll get to that later.
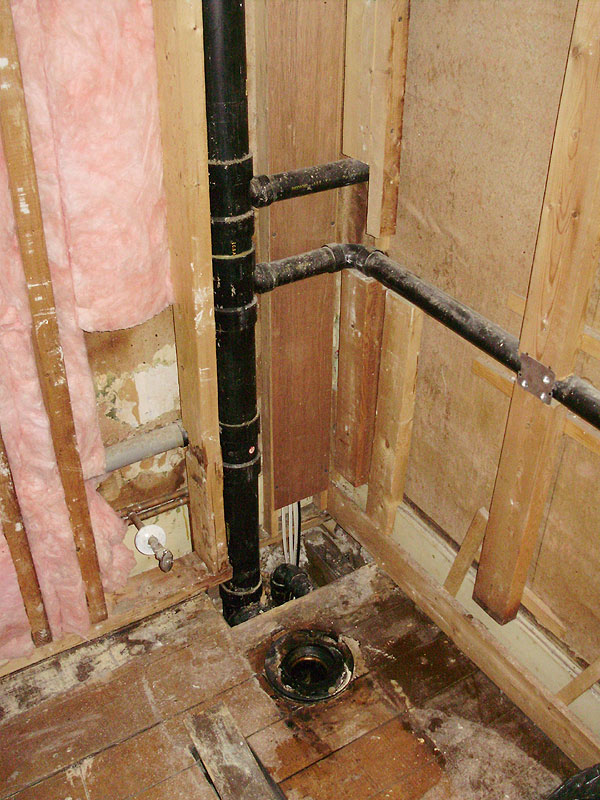
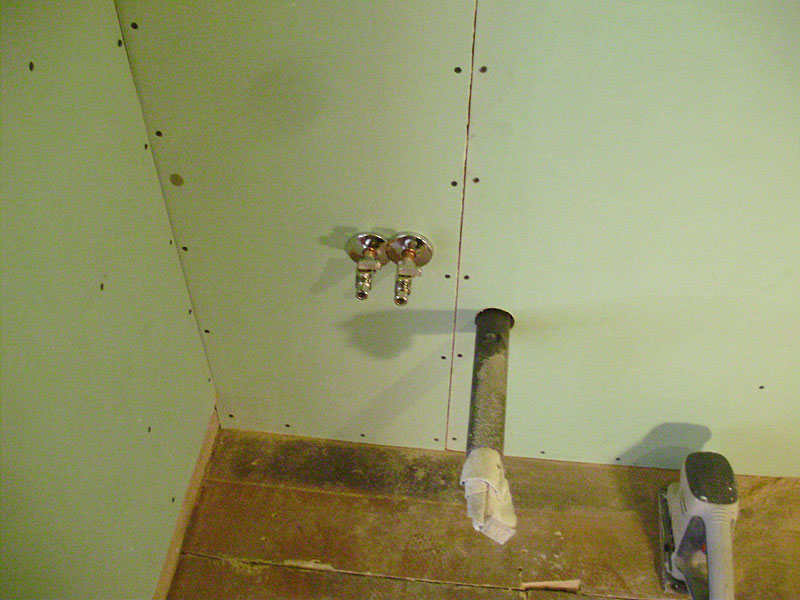
So the bathroom. In order to be able to have a working toilet, and install the drywall, we decided to pull out the old one, fix the floor, and sand the area around the toilet.
We also filled the back wall with insulation and installed vapour barrier.
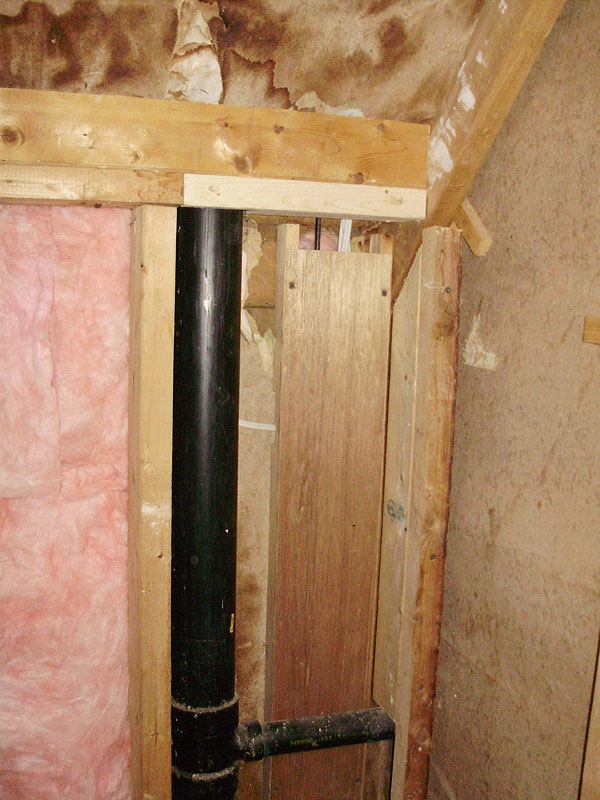
You can see the board that was chopped for the plumbing. This was poorly nailed, so I cut and fit a new one.
In case Pierre and Angie (or any future owner) needs to pass any wires up to the attic, we built a small wooden trough to prevent the insulation from trapping the wires.
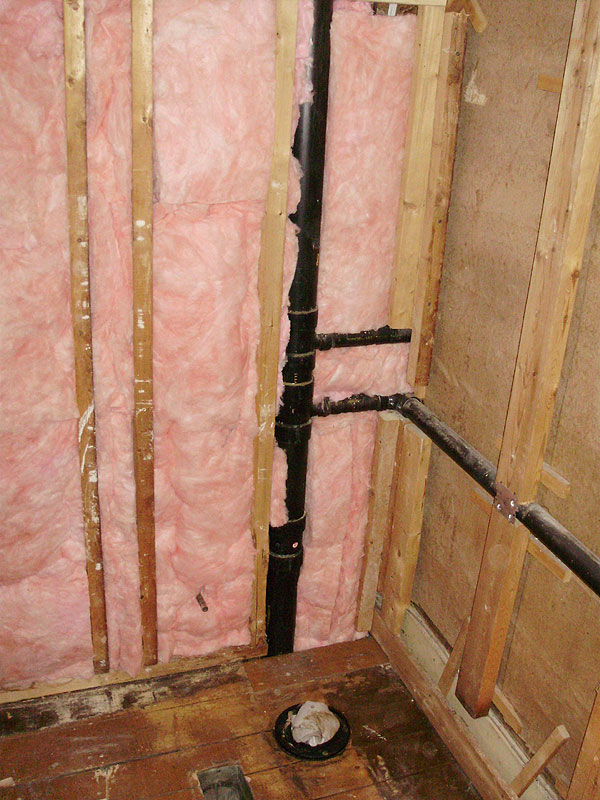
Insulation installed, and new floor patch, bracing, etc. installed.
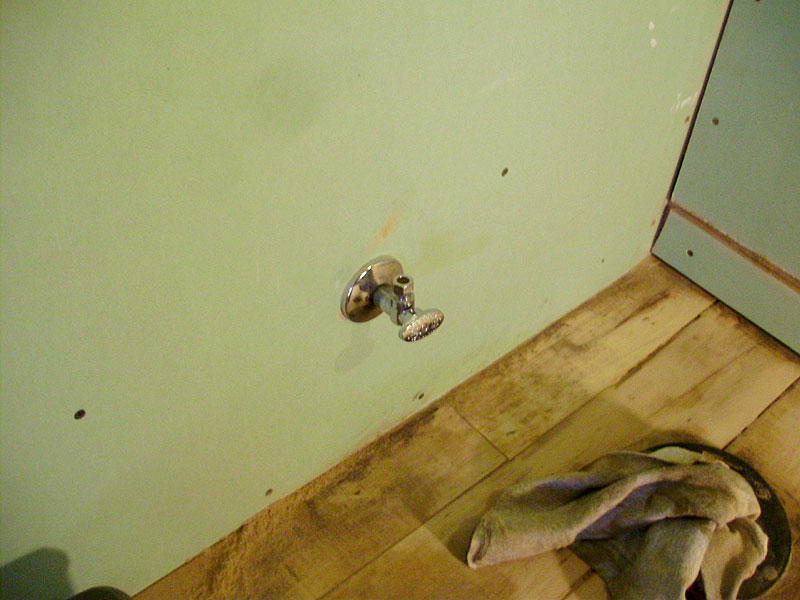
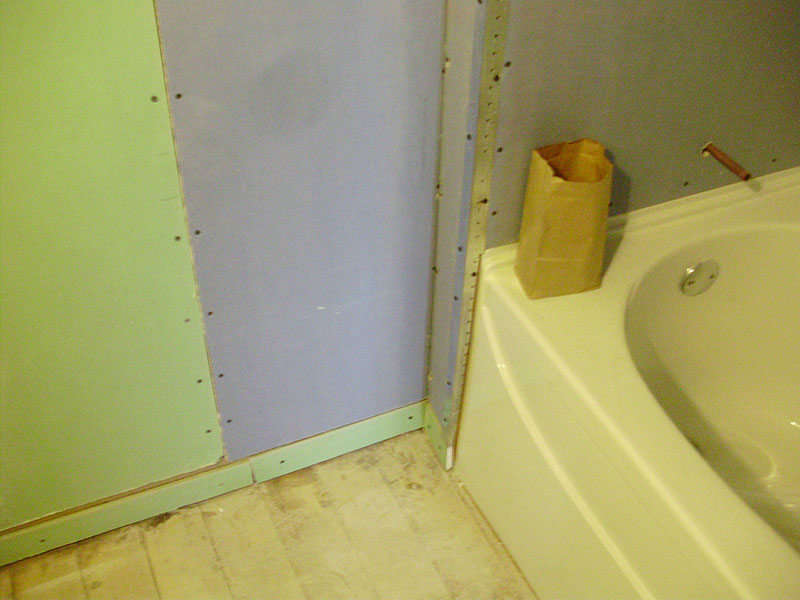
New moisture proof drywall, and the floor partly sanded. Pierre and Angie had the floors professionally sanded, but we did just this part around the toilet, and at the edge of the bath.
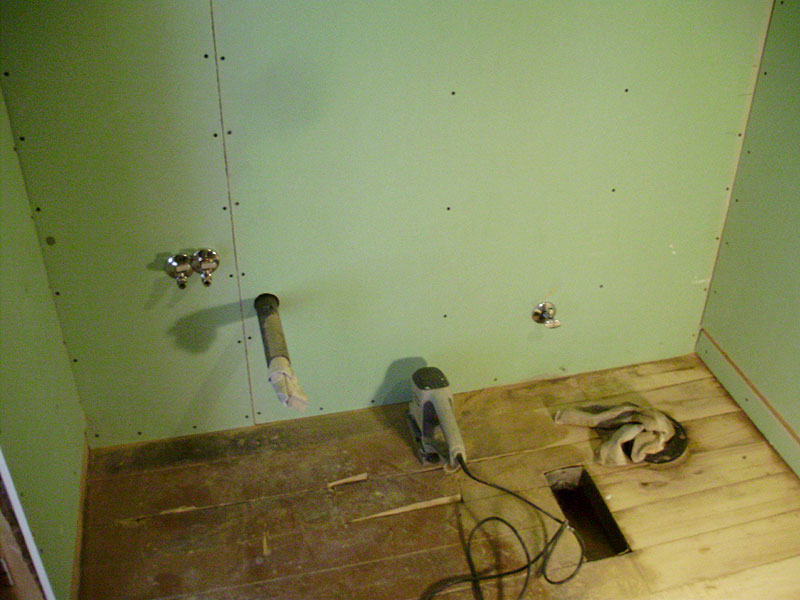
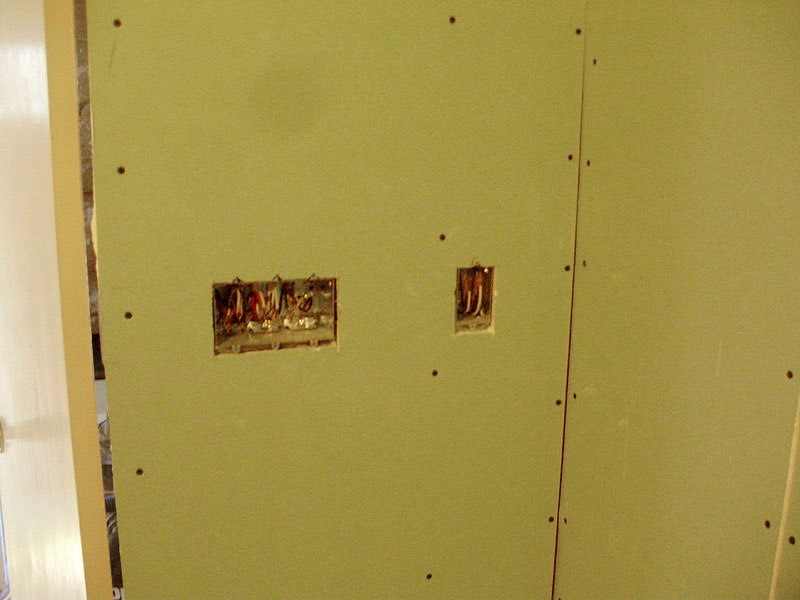
Light switches and outlet above sink.
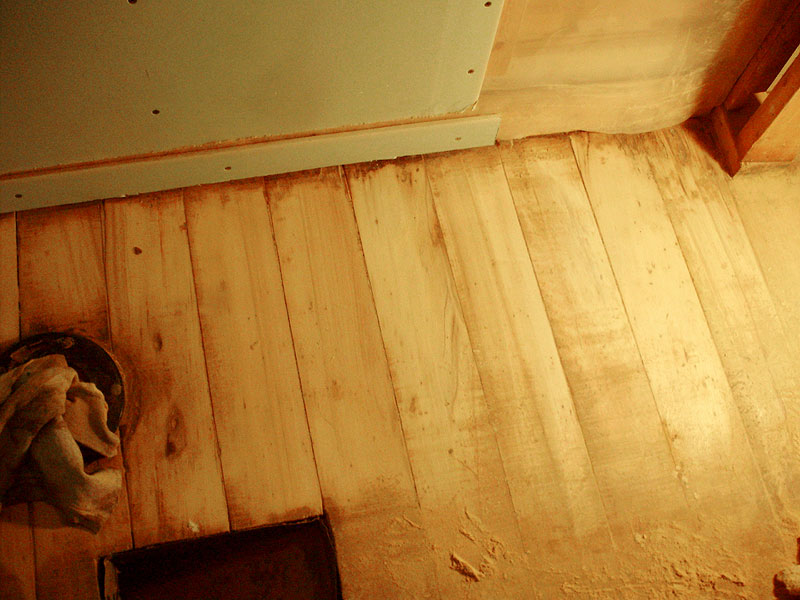
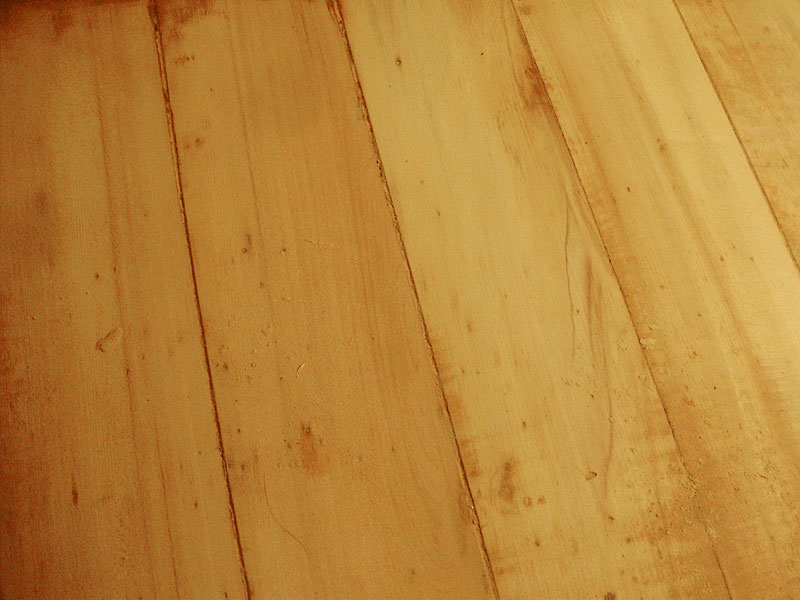
At the time, we weren't sure what kind of wood this was. It has very little grain, and slight colour changes. It's definitely a hardwood, and I suspected it might be Basswood. It turns out I was correct.
Bath Installed:
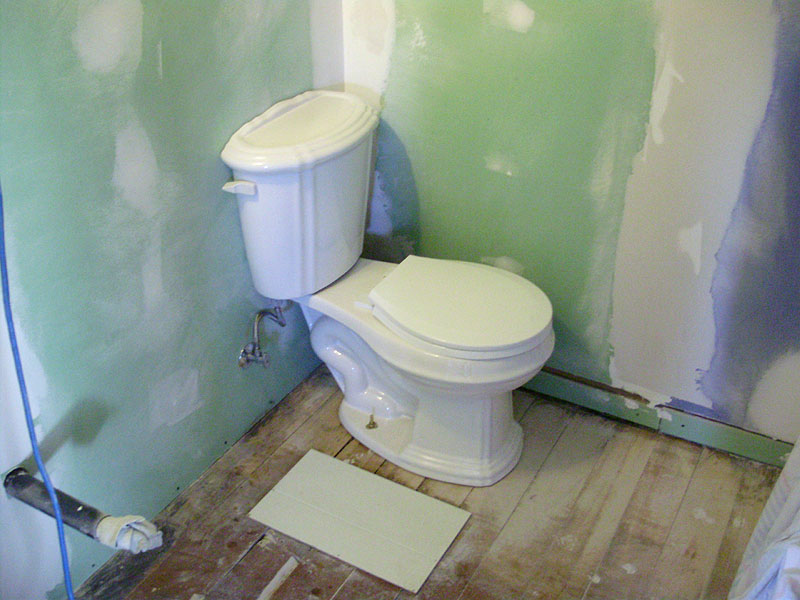
Toilet Installed. Quick story about that! This is the 3rd or 4th toilet we had to buy before we had one that fit correctly. The sandard spacing from the drain to the wall is 12". This one was closer to 11" or 11.5". The nice toilet (identical to this one) that P&A had bought did NOT fit. There was about an inch difference and no way to cheat the spacing. The other toilet they had (for downstairs) also didn't fit, and we had also got another toilet very early on (used) and I think that one was returned.
When we went to a local store, we checked all the toilets, and even though the spacing was supposed to be standard, it really wasn't. Generally the spacing is called the "backset" but most toilets DON'T TELL YOU what it is. We looked at all the floor models on display and measured them. We found this toilet below (same as the one they liked) and luckily it was pretty well priced. This is something you definitely need to check when renovating an old house.
I read all your posts but have not commented much lately. Thanks for keeping up with blogging. I well know how demanding it can be at times!
ReplyDeleteThanks Ross. I know you're one of my regular readers, so I don't expect a comment on each post. Hopefully now that I'm starting to get the feel for Flickr, I can move along and continue to post.
Delete