
Now, if you're an avid reader, or a close friend, you might be asking yourself: "Wait... didn't you want marble for the vanity?" and the answer is YES! This was a compromise for now. This pine counter top cost about 30$ (10$ of pine, 20$ for the varnish). Let's call it a "temporary" top. I don't know when I'll have the cash to get a custom marble top (it could be another few years) so for now, this is a decent alternative. From what I gather, the marble top would be in the range of 300$ - 400$ installed. I still have loads of other large expenses, so in the meantime I want to use my sink/vanity (especially for guests).
Alright, so for those who were wondering about the spoiler image in the last post, it was the vanity top underneath the drawer fronts.
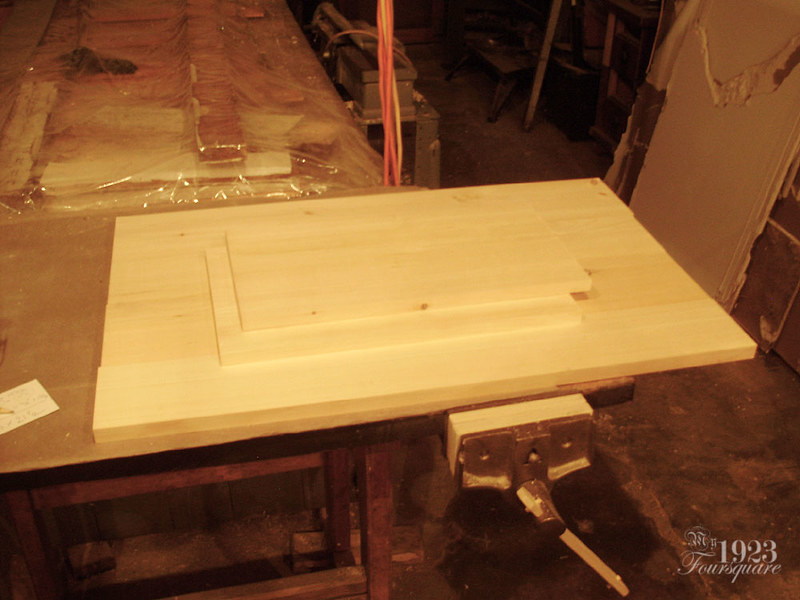
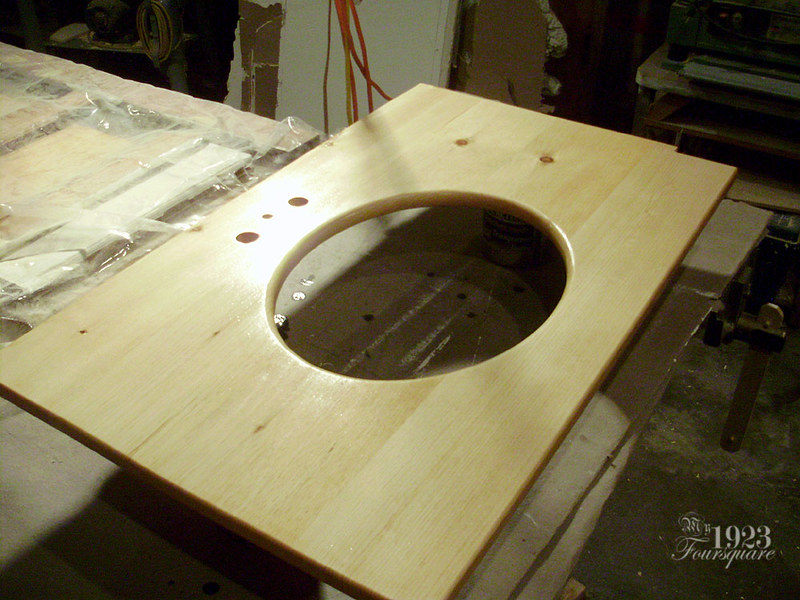
I used some pretty nice clear-ish pine (with very few knots) and glued up the slab. I had to make it in two sections, plane them, and then glue them in the centre with one glue joint (to sand). This is fairly typical for gluing large panels that need to be planed (my planer is only 12", and most large ones are only 20"). I buy my pine from "the big orange box" as rough boards 12" x 1" thick. These are dirt cheap because they are not planed or prepped in any way. The majority of the boards have large knots (because pine trees have lots of branches - which is something people don't seem to understand when they want "no knots") and other defects like cracks, broken edges, or bad knots (dark ones that are likely to fall out). HOWEVER, if you have the patience to sort through the boards, you can find some REALLY nice ones. These boards are about 1.20$/sq.ft. or less which is pretty good. In addition, this is kiln dried, and perfect for furniture.
So. Since I plan to eventually reuse this sink for the marble top (whenever that might be), I wanted to keep the original paper template for the stone company. I traced a copy, and used that for my pattern.
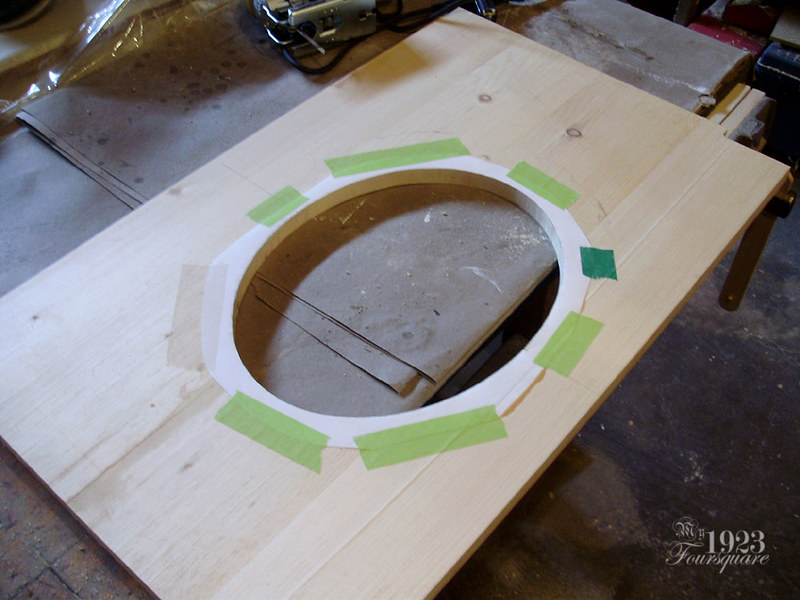
It's important to try to cut this oval as accurately as possible. This is HARD, and any screw-ups end up being very obvious. As a side note, I bought a brand new jig saw to cut this, so I guess TECHNICALLY the top cost 30$ + 160$. I bought the saw on sale/discount as well (120$), but then I got stuck also buying 20$ of blades plus the taxes. It's not a waste, however, because I've wanted to buy a decent jig saw for several years now. It will come in handy for a multitude of projects.

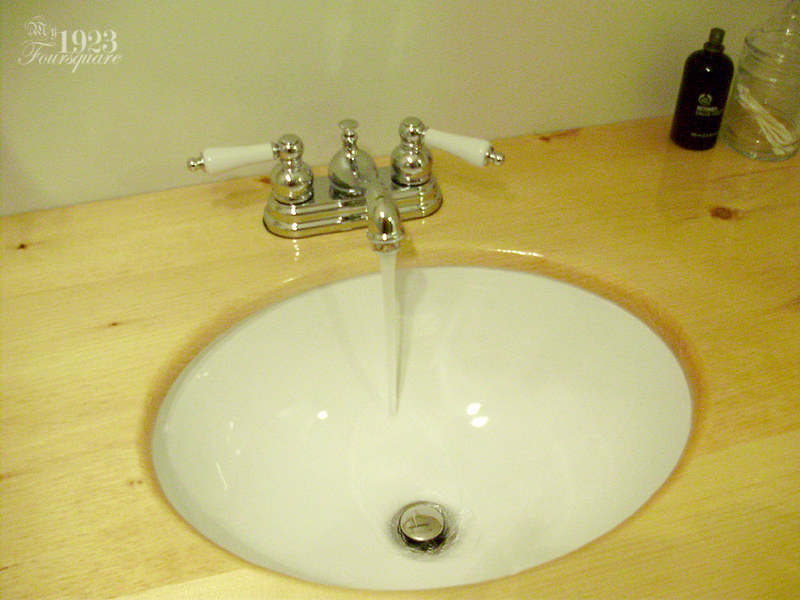
This is after sanding, and routing the profiles on the edges. A large round over on the sink lip, with smaller round overs on the other edges. I couldn't wait for a bit of a preview, so that's why the faucet is sitting in place.
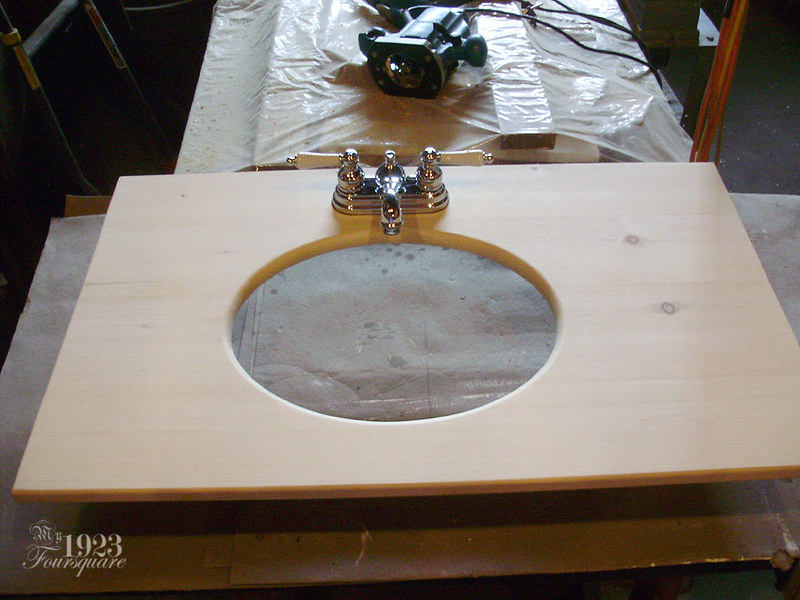
I wanted this to be WATERPROOF, so this vanity top got FOUR coats of spar (marine) varnish in a high gloss. This was taken on the second or third coat.
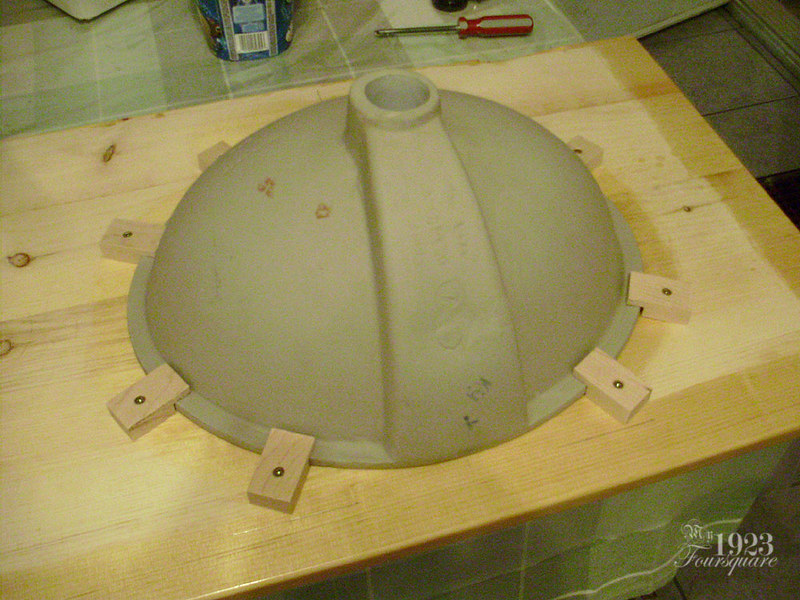
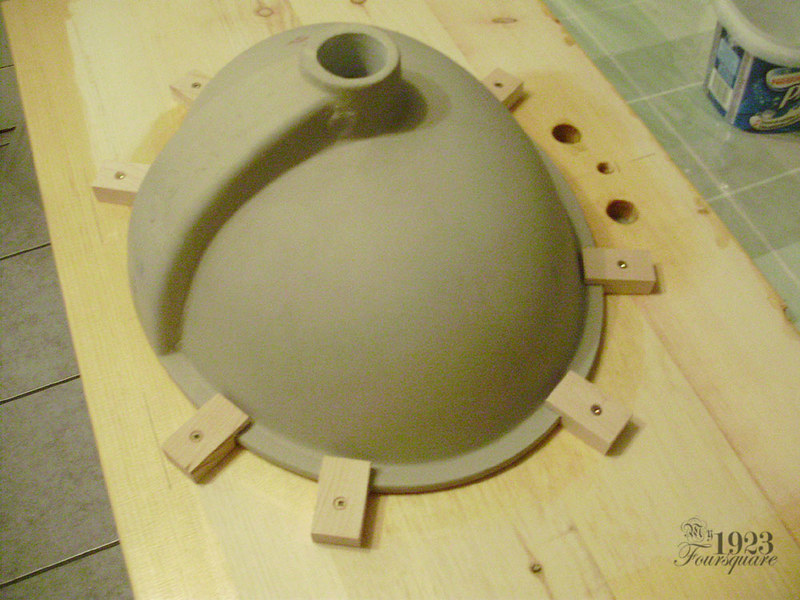
Since the sink is under-mount, I had to make custom clips for it. When stone is used, they also have a few special clips that fit into slots cut in the stone, plus they also use adhesive. My brackets were made from hard maple. The sink edge is uneven in thickness, so I had to make some of these slightly different sizes.
Note the pencil lines at the front edge. These were to show how close I could get to the front edge of the cabinet.
I haven't decided if I should install a backsplash or leave it like this. I wanted a backsplash with the marble, but since this is temporary, I don't know if I should bother. You can see that I had even planned out the height of the wall outlet for the backsplash.
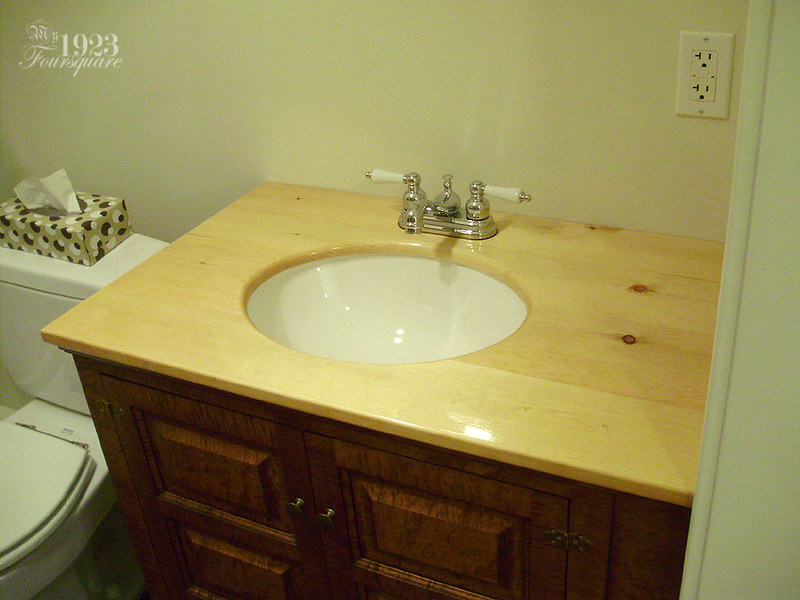
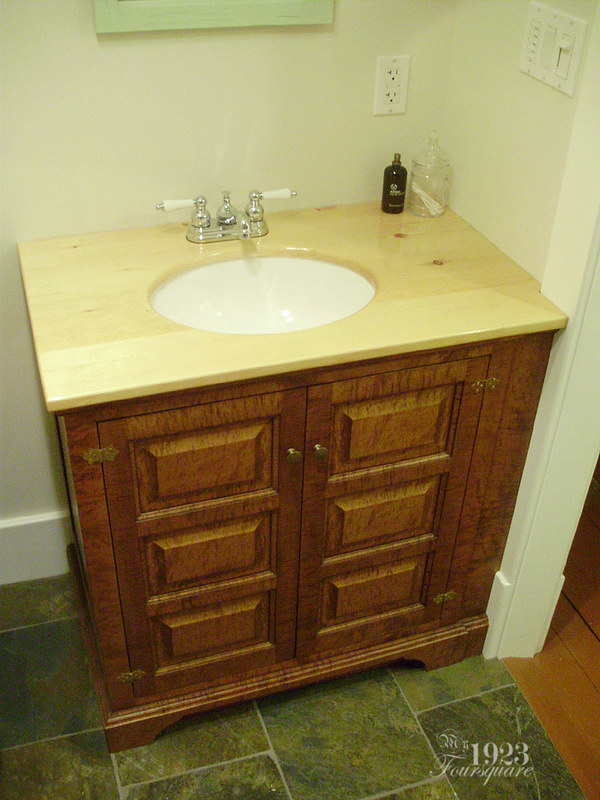
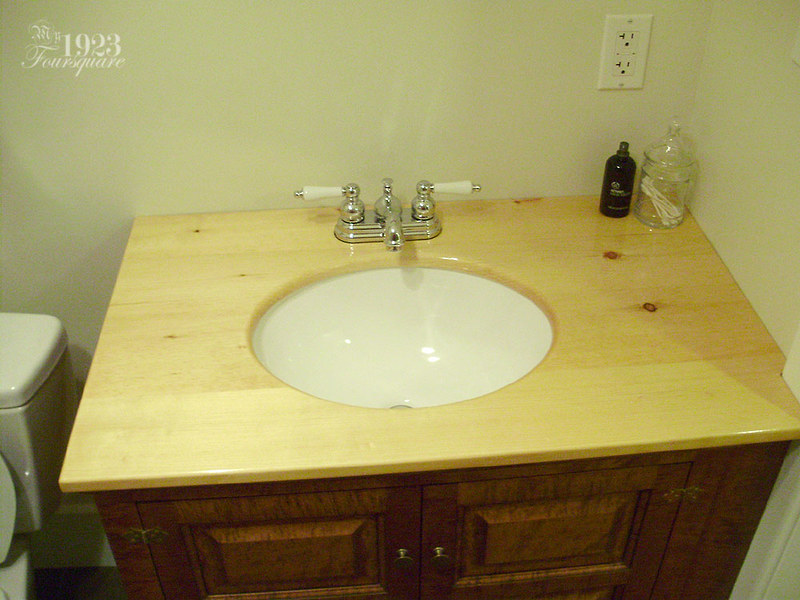
It took 7 years to get to this point. I still remember the sink that used to be here. Side note: There is white caulking along the inside top edge to seal the gap, but otherwise I fit the sink in place only with those brackets (which are quite tight, but not waterproof).
BEFORE:
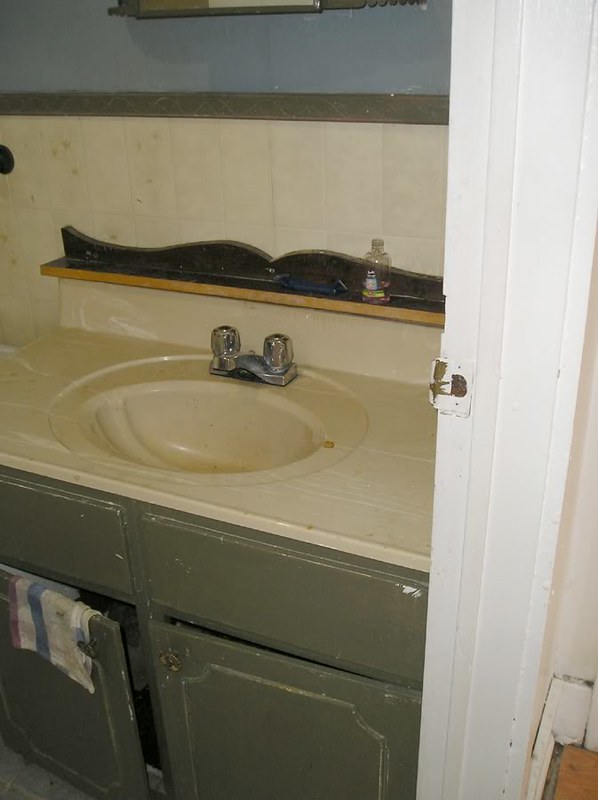
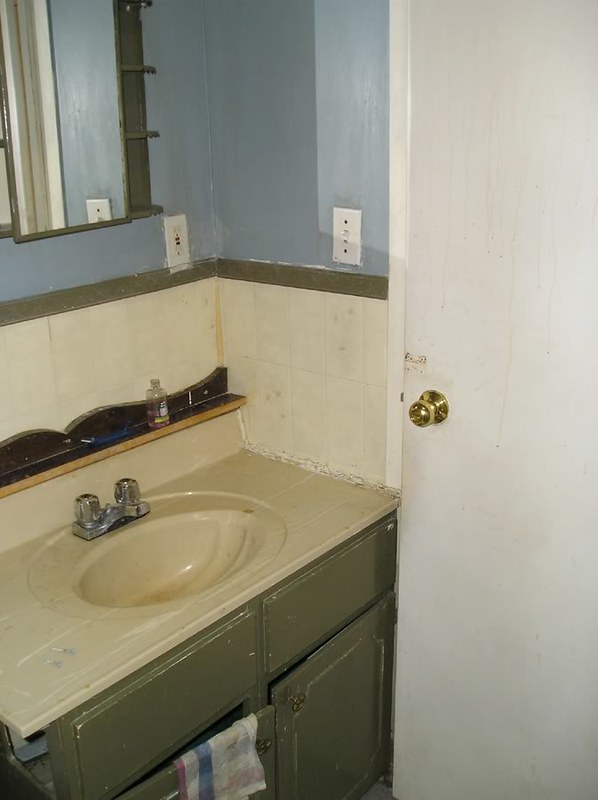
I'd say even if the top stays just pine, it's a slight improvement over what was there before, yes? I still cringe at some of the old photos. The house is nearly unrecognizable in many places, but in a good way.
It is truly beautiful!
ReplyDeleteWow, that's great work! Saying it's a slight improvement is a woefully gross understatement!
ReplyDeleteI'm always impressed with your fastidiousness and attention to detail, even (or especially) in making low-cost materials into handsome finished products.
I think it looks quite good without a backsplash. I also think most people would think it looks just as nice as a marble top.
Lastly, I made the kitchen countertops in our last house myself out of Corian. I had wanted to do soapstone, but came across similarly-colored Corian too cheap to pass up. I understand the tediousness of glueing up and cutting them firsthand. I used the template provided with the sink, and still ended up with areas that I didn't quite like (it turned out the template wasn't the greatest match to the sink, something I should have checked more carefully first). I made plywood templates for all the pieces, cut the fabricated corian to rough shape with a saw, and then used a bearing pattern router bit to make the final cuts.
I have soapstone as a maybe for the kitchen (or part of the kitchen) counter top(s). I've worked with Corian quite a bit at my previous job. I have a love/hate relationship with it. It's basically glorified plastic, but it does have a lot of good features. I loved how easily you could join/glue pieces together, and fill gaps, but I hated the smell of cutting or sanding it.
DeleteThe only reason I'm not thrilled with having a pine counter top is because it's on a curly maple base (a much higher quality wood). If the base was just painted or a cheap modern particle board cabinet, then the pine would look just fine.
Anyhow, thanks for your comment. :D
Yes, Corian wasn't my first choice, but we were happy with it. It was close enough to the look we wanted, and quite nice to live with everyday. I buffed it to a low-gloss finish, which looked good. So much less fadish than granite too. Most people would ask what it was.
ReplyDeleteIt did make a horrible mess fabbing in my garage. The thin shavings would get a static charge and stick to EVERYTHING!
You have a good point about a pine top with nicer wood cabinet, but I still think only perfectionists would notice ;-)
In excited to see the reveal of your next project!
Hi Seth, the next project got finalized last night, so I will be posting it... MAYBE this weekend.
DeleteOh yes, a slight improvement indeed!
ReplyDeleteCongratulations!
Thanks Ragnar! ;)
DeleteI wish all my temporary solutions looked as good!
ReplyDelete:D
DeleteThat looks great! Because you really like wood working, I think the different species are kind of fun together and can be a sort of point/counterpoint.
ReplyDeleteThanks Derek. I still would much rather have marble, but this is a good "in-the-meantime-but-will-probably-be-there-for-10-years" solution.
DeleteYour new counter top is beautiful!
ReplyDeleteI scrolled back through some of your posts, and in June, you noted that you have a couple of basement windows that will need replacing. Instead of brick or concrete, have you considered using glass block? We used that in a couple of basement windows that needed replacing but we still wanted the light, such as it was. They looked good inside and out, and no maintenance.
Hi Gail, thanks for your lovely comment. The issue with the window is not really with the actual window itself. The window that is in there is a newer vinyl slider that some previous owners put in. The issue is that the wooden frame around the window (which touches the concrete foundation) is all rotted. The bugs crawl right through it. It wasn't properly painted or sealed from the outside.
Delete