Alright, first of all, the built-in itself. I made this built-in "box" in the most basic and easy to assemble way possible. ANYONE with even the most basic woodworking skills can do this. Even though I'm an exceptional carpenter, I don't really have any great tools to work with. My table saw(s) are both crappy yard sale finds, and neither can cut anything wider than maybe 10" or so. I needed sides, a top, bottom, and shelf that were 14" wide. To solve this issue, I used some tricks of the trade, which I'll share with you.
Out of all my current readers, I think that Alex will be the only one with any serious interest, but I'm posting it anyways.
I started by marking out my pieces on the 4x8 sheet of plywood with a sharpie. My pieces were all marked slightly larger than needed (at least 1/4 inch or slightly more). To cut them out, I propped-up the sheet over both table saws (as saw horses, basically) and cut them with a circular saw. I did not try to be overly accurate at this point, and I cut them freehand.
Next, to make my accurate cuts (to size) I used a trick that we use every so often at work, which is to use a router with a straight-edge. You can use any kind of straight-cut bit for this, and if you planned out correctly, you should only be taking off about 1/8" cut (depends how much you oversized your pieces). The only measurements you need, in order to make this work accurately, is the distance between the cutting edge of the bit, and the edge of the router's face plate (for the sake of this example, let's say it's 1 3/4") and your final dimensions (14" in this case).
Draw one line off your good edge (in this case, the good edge was the factory edge of the 4x8 sheet), and mark your good measurment (14"). Your second line should be 1 3/4" less than this (depending on your router's base plate), so for this example, a line at 12 1/4". This is where your straight-edge needs to be clamped in place. Do a test cut on a scrap to make sure your sizing matches (sometimes you need to move your straight-edge in or out 1/16" or so to make it work well, so once it's good, save that measurement for all your other pieces.
For this built-in, I needed 3 shelves (one top, one bottom, and one centre shelf), and 2 sides. My sides were something around 78" x 14", and my shelves were cut to end up with a cabinet width of 22 3/4" (so they are 22 3/4" minus the thickness of the two sides = 21 5/16" since the sheets aren't exactly 3/4").
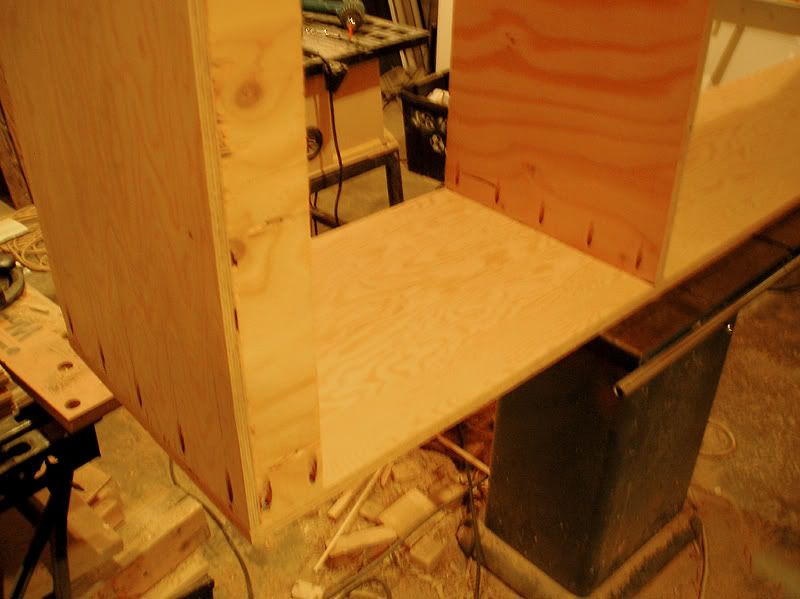
To assemble the box, I also added two braces that were made from scraps (any convenient size will work). All three shelves and braces were drilled for pocket screws (a very nifty, inexpensive, and sturdy cabinet making option). This is a fast, easy, and very simple way to put together this kind of furniture. In my case, all the pocket holes will be hidden (they will be on the outside of the cabinet, which will be covered with walls, or underside the centre shelf, which will have drawers.
The whole thing took maybe 2 hours tops, and that included all the measuring, sanding, drilling, and assembling.
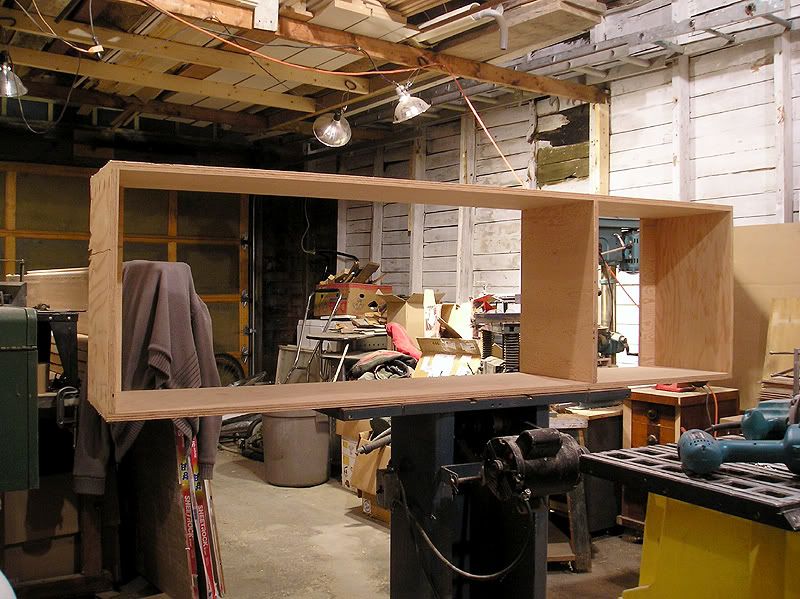
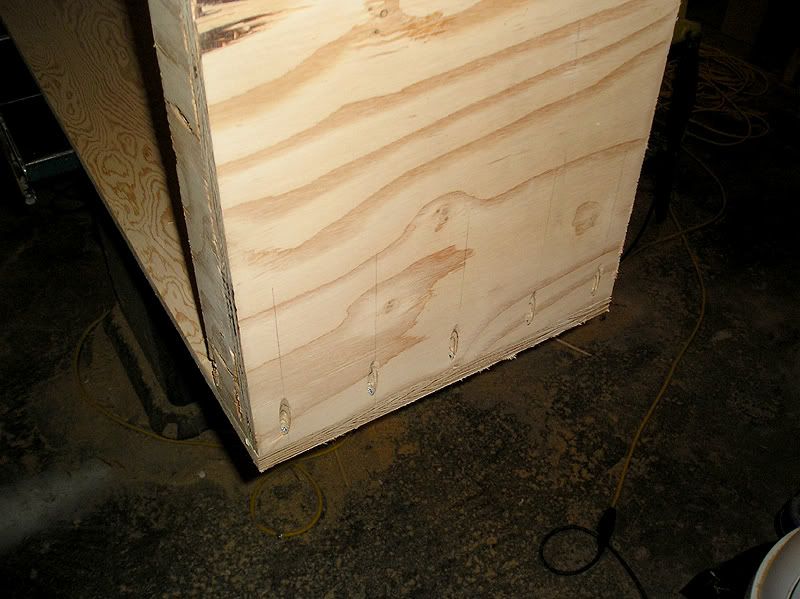
This photo has really poor lighting, and it's blurry, but it shows off the pocket screw layout really well. I only used screws (no glue), and it's very sturdy. Glue is a good option, but it's messy and hard to clean up any smears, runs, or drips.
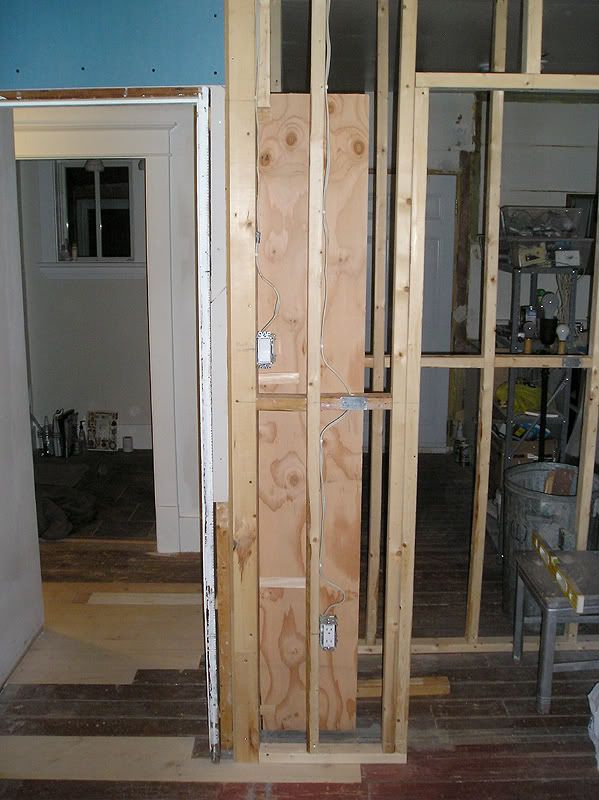
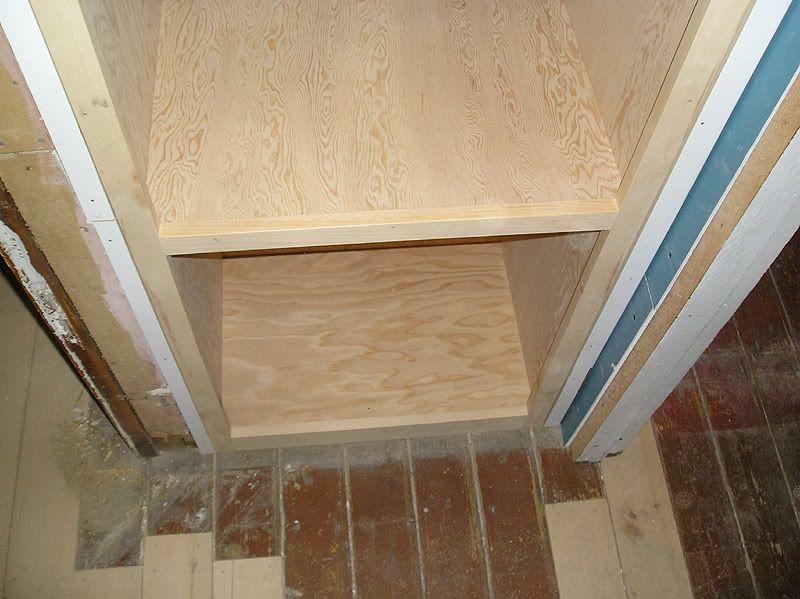
Installed:
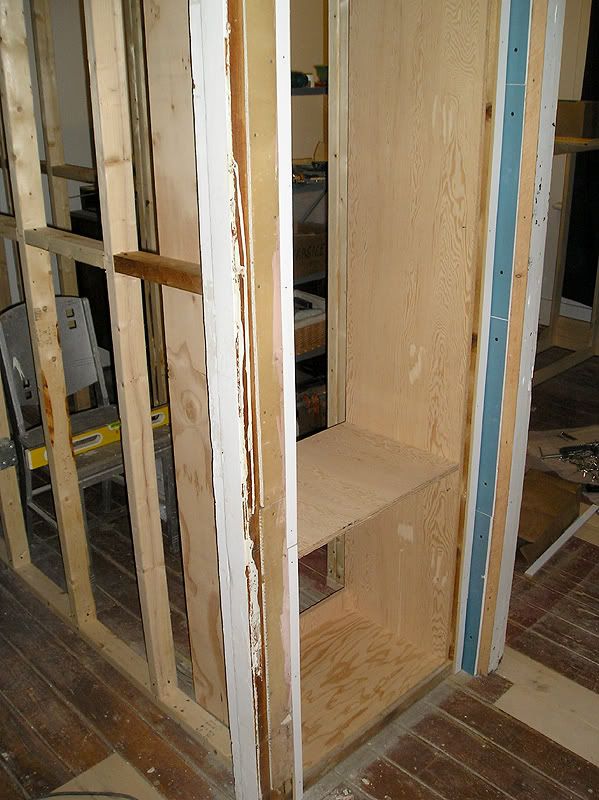
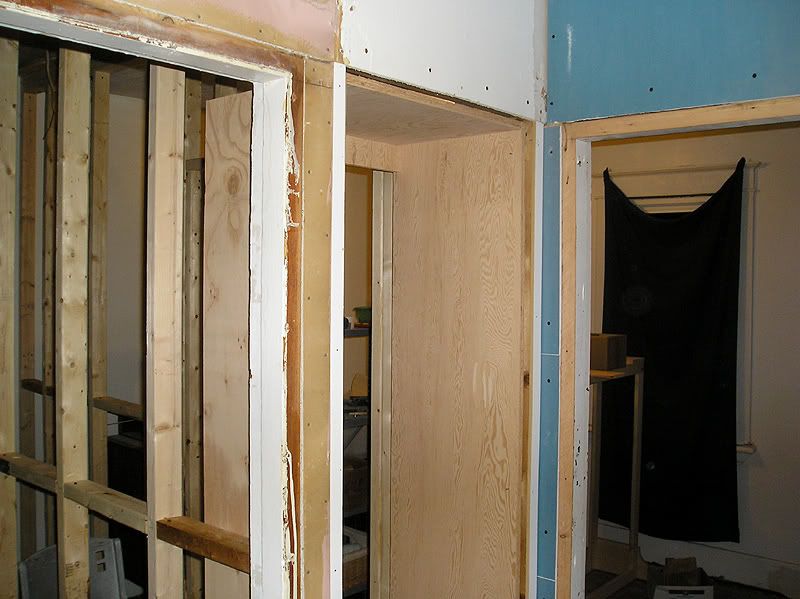
It's an awkward area, so I took several angles.
The face frame was likewise made in an "easy peasy" fashion. I just cut several strips of pine to 1 1/2" or 2 1/2" (larger pieces on top/bottom), and glued/screwed them together from the sides. Here, glue in the joints is important to avoid shrinkage/splitting in the joints, which would create seams later. The face frame was palm-sanded on the front, but not on the back (no point since it will be nailed on). The edges were also smoothed out.
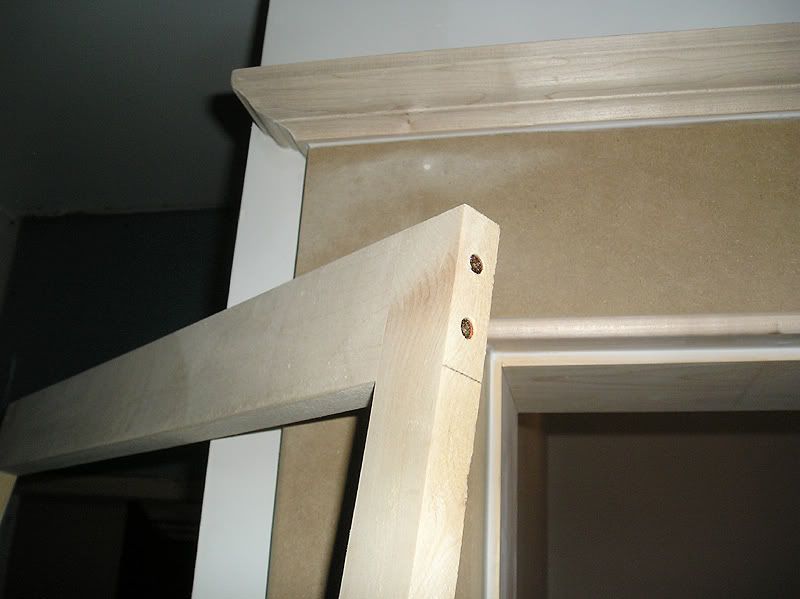
Face frame installed. Note that I installed the cabinet recessed-back 3/4" from the drywall, so that once the face frame was installed, it would end up flush to the drywall and ready for casings.
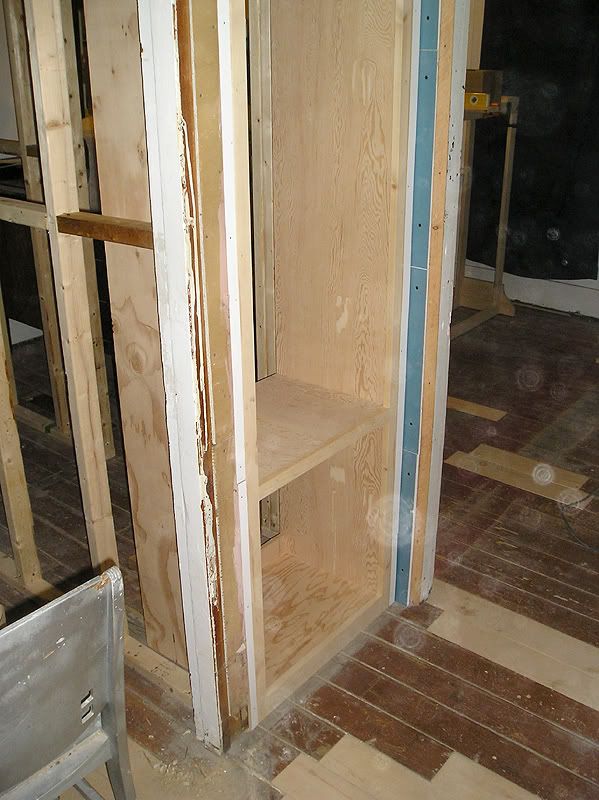
I've decided that I want to add a dividing bar between the two drawers. I should have done it before, but it's too late now. The new bar will go in with pocket screws instead of glue/side screws.
So now that everything in the hallway is "ready" I've been looking forward to adding the casings and painting the rest of the trim. But before I can do that, I need to finish patching all the drywall, so I did most of that the past 2 days.
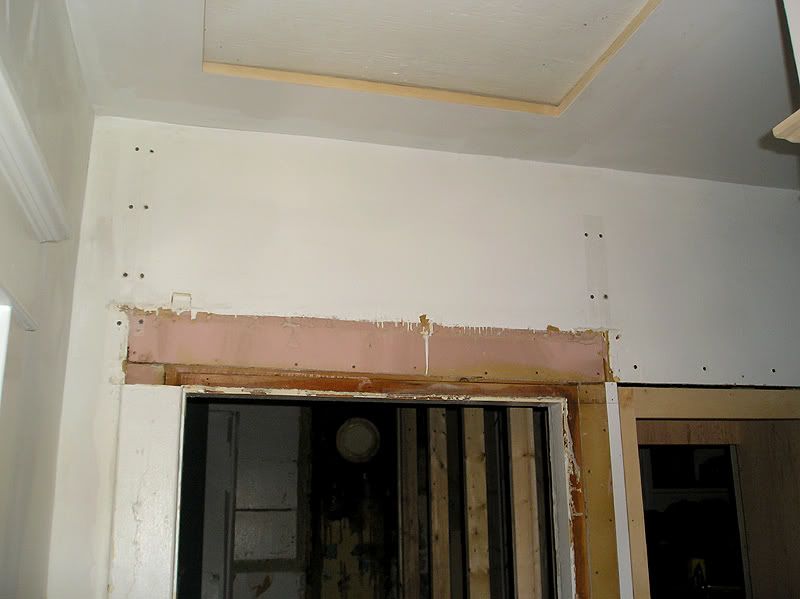
Note: I'm not sure if that pink is the original hallway paint colour. The "paint"(?) is rather flat and dull (no gloss to it).
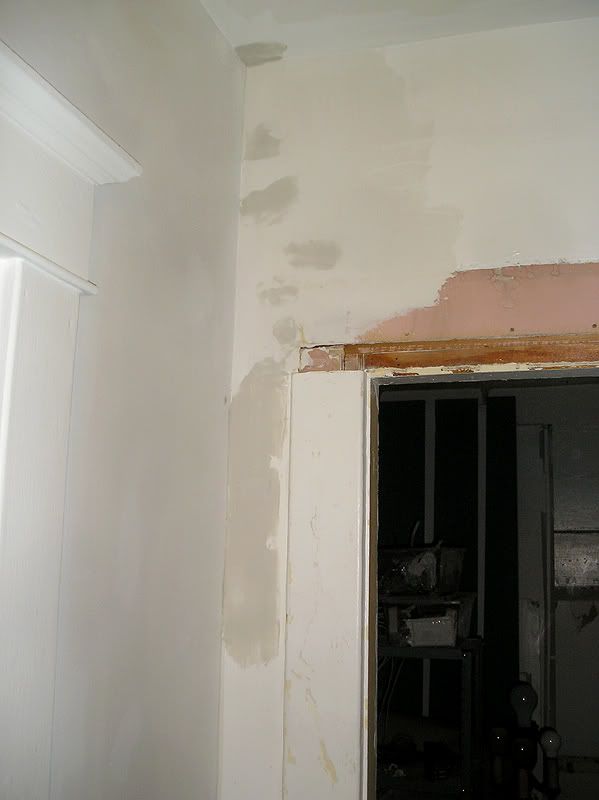
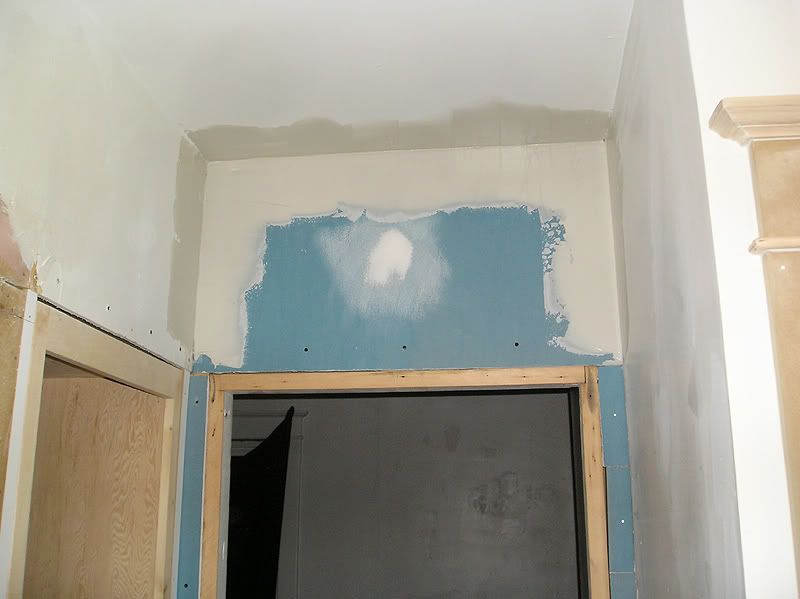
So what do you guys think so far. Can you get an idea of how it will look, or does it just look like a big mess right now?

I think it's looking good. The face frame does dress it all up very nicely and sitting flush and ready for casing will make it look perfectly finished. Pocket holes and screws are wonderful things, no? Also, I've had that exact same experience of getting things nailed into place and then realizing I would have liked to have done it a bit differently. But yes, it's looking good.
ReplyDelete