This fixture needed to have several small dents removed, several paint touch-ups, a complete clean and rewire, and I had to find 5 matching shades. I also converted these two fixtures from pull-chain to turn-key since I have no other pull-chain fixtures (and I didn't like the look of the chains).
The reason I didn't work on the second fixture is because I'm missing a piece for it (which I haven't ordered yet).
I think it turned out very nicely. Another side note: The fixture looks REALLY nice and shiny in the photos, but I did not refinish or polish any parts on it. It's exactly as-is (original finish) except that I cleaned it, and touched-up a few paint chips (mainly on the shade holders).
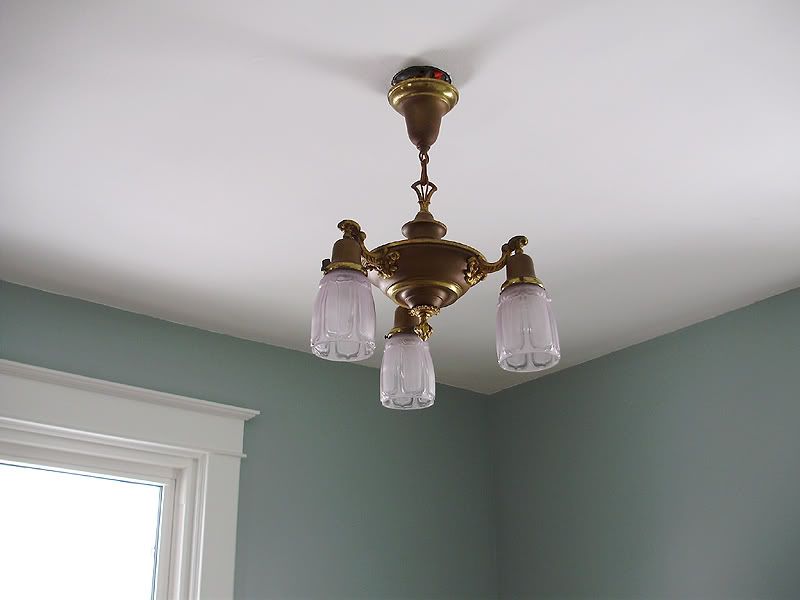
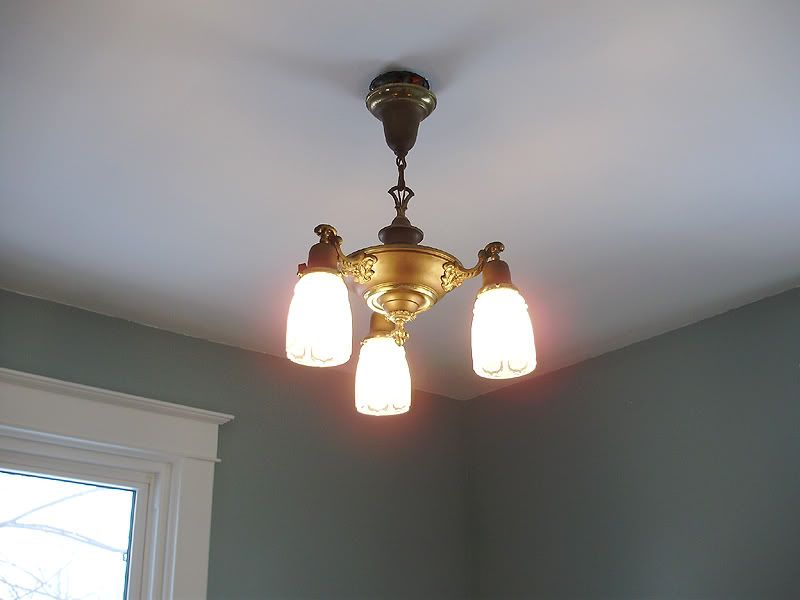
Note that the shades have a somewhat lavender/purple shade to them. This is not a camera or lighting effect, they are in fact this colour. I'm not sure why, and I'm not too fussy about this, but again: I had to find at least 5 matched shades for the two fixtures (I actually have 6 in this set), and they are very hard to find, so I'll just live with them. They were well priced, too, so I can't complain too much. They look wonderful when lit.
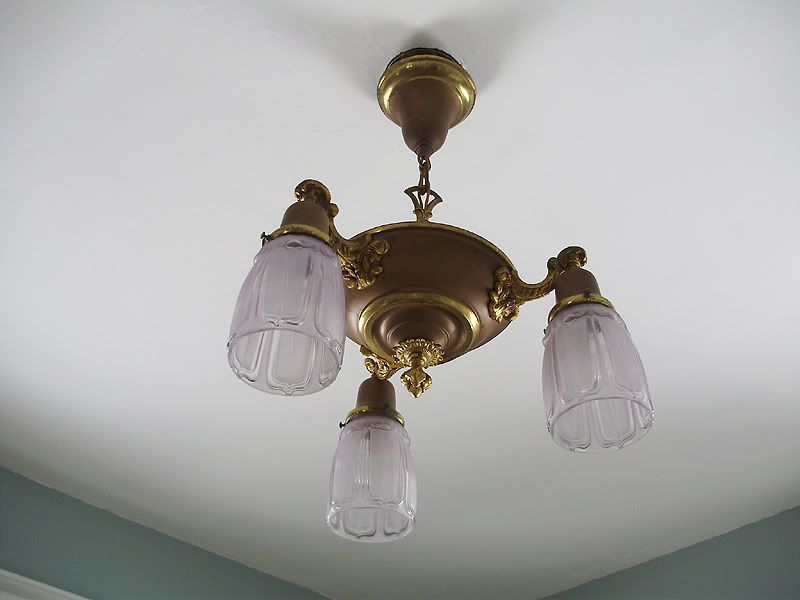
Side note: I somehow lost or misplaced the two screws for both canopies on this pair of fixtures. I thought I had them, but I couldn't find them. I ended up modifying an existing spare screw that I had (perfect fit) and painted it a dull brown to match. So now the canopy is in place, but I didn't take new photos since the daylight is now gone.
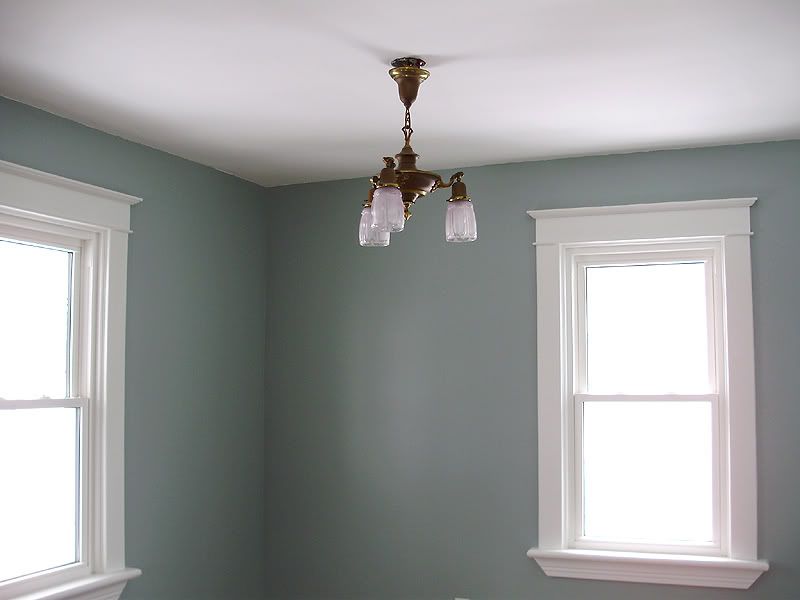
Boxing Day:
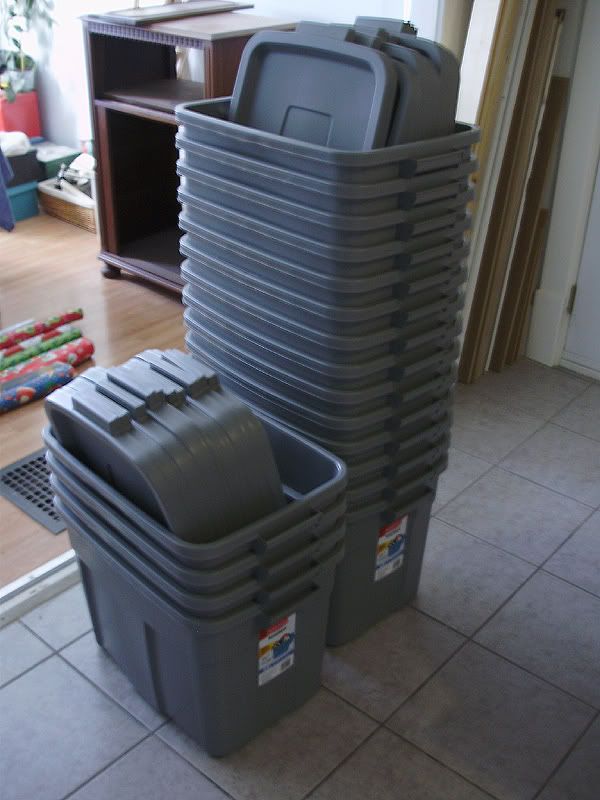
Since this is a short side note (and I don't want a third separate entry for it), I went out on boxing day and bought 18 of these nicely sized 68L Rubbermaid bins at Wal-Mart. I have been wanting to get some good plastic bins like these for the items I'm currently storing in the basement (which sometimes leaks in heavy rainfall), so over the past few days I've been reorganizing/repacking boxes in the basement. Already I've gained a LOT of extra space since I can pile these bins at least 3 high.

Those fixtures look amazing. You were so lucky they were in the house already. Buying them would have cost a pretty penny I'm sure.
ReplyDeleteWelcome to my blog, Archguy!
ReplyDeleteAs for your comment, thanks, but the house came with ZERO fixtures (only those really ugly bare bulb ones) and I got these on eBay (as with most of the other fixtures). This is why I mentioned needing to get shades, since most reasonably priced fixtures on eBay don't have shades included with them.
Here's one or two "Before" photos of the Master Bedroom (note the lighting/windows/closet/electrical/floors, etc):
http://i1018.photobucket.com/albums/af308/clockmaker15/HOUSE/P4306853.jpg
http://i1018.photobucket.com/albums/af308/clockmaker15/HOUSE/P4306852.jpg
http://i1018.photobucket.com/albums/af308/clockmaker15/HOUSE/P4306851.jpg
Your light fixtures are beautiful. You've done good. Richard from My Old historic House.
ReplyDeleteI think that slight lavender adds immensely to the light fixture, even if it might be harder to find matching sets of shades. The color of the room looks great!
ReplyDeleteMark: I would have preferred "satin glass" (flat white like the bathroom and dining room shades) or clear, but these are "clear enough" that they're going to stay put. I have way too many other projects to do, so I'm just moving along to something else. Thanks for the kind words, though. :D
ReplyDeleteThat's a beautiful light fixture. You're doing a great job.
ReplyDeleteMy understanding is that the color of glass is affected by the minerals that are in the sand that's used to make the glass. Here's an article on how different minerals are used to make different colors of stained glass:
http://geology.com/articles/color-in-glass.shtml