
The room isn't finished yet, though, but everything above the baseboards is finished (with the exception of the built-in doors/varnish). The room needed all sorts of repairs:
- New (and repairs to) electrical outlets/switch. (Link)
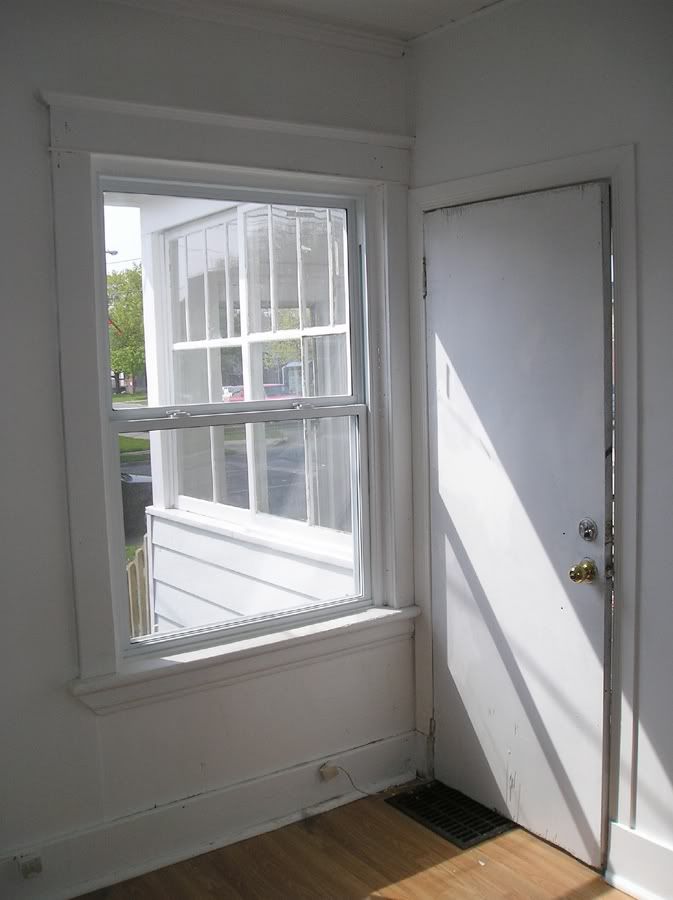
- Rebuild the entire door frame/jamb/mouldings. (Before Photo)
- Ceiling t-g repair and new light fixture elect. box. (Link)
- Rewired antique fixture (this one was a gift and is still one of my favourites).
- Rebuild the drywall corner. (Link) (Link) (Link)
- Patch the ceiling and floor of old duct location. (Link)
- Move duct work for heating vent from floor in the doorway to the wall (and patch floor hole). (Link) (Link)
- Remove damaged (cheap) laminate and plywood to expose original hardwood floor. (Link)
- Replacement some missing "historical" crown (custom) pieces. (Link)
- New window trim (detail) mouldings.
- New built-in cabinet to replace the earlier (poor) one. (Link) (Link)
- Custom mini access door (for phone & cable wiring in duct column). (Link)
- Painting. (This Post!)
The room still needs:
- Original floors sanded and refinished.
- Baseboards re-installed, caulked, & painted.
- Wall heat grate stripped and repainted white.
- Finish built-in doors (leaded glass), and get glass shelves cut for it.
So it's 80% done. The floor will be a fairly "big" job, but shouldn't be too hard.
Here's how the painting process came along:

If you've seen my previous painting posts, you'll notice that I prefer to "painter's tape" everything. A lot of painters prefer to "cut-in" with a paint brush, but I find the tape method to be much quicker and easier, and gives me good results. It's not perfect, and you need to take a lot of time to tape everything carefully (and straight) but this method works for me. The taping took me at least a half hour.
And yes this method uses A LOT of tape. I end up with a huge ball of used tape after it's all removed, but for me it saves me a lot of time and hassle.
A note on green painter's tape: I've found that some brands are better than others. I do NOT like the "Frog Tape" green painter's tape, since I find that it tears easily when you're trying to remove it, and sometimes it's not sticky enough to stay put. I believe the "in house" Rona brand is good, but I am not often at their end of town. The last bunch that I bought (the stuff I used on this room) was by Cantech, and worked excellently (keep in mind that the new crown moulding was freshly painted just 2 days ago, and the tape didn't peel off the paint).
I have no idea why this next photo turned out blurry.

This next photo might amuse you guys. I still had my computer plugged in, with music playing, and I didn't want to shut it off/unplug it, so I left it in place, and just moved the "desk" *cough*crummycardtable*cough* to the centre of the room, and taped around the outlet(s). The electrical outlet on this one actually needs to be changed, since it's an old dirty/scratched/partially painted old one, so I wasn't worried about possible paint smears on it (just the plug).

As I started to do the corners, I was worried this was going to be too dark. It's pretty bold.
Remember, my sample really didn't look too dark:

This is the exact same paint as on the sample board.


I decided to keep going, and hoped it wouldn't be too bad once it was dry.


The finished colour ends up looking very velvety and rich looking, which I like. It's definitely a more modern colour (which I like), and compliments the white trim well. I do love it, but I'd have liked it to be just a hair lighter. I might have to really double-check the colour I want for the Living Room before I buy it.
Final Reveal! These were taken just a half hour ago in late morning light, and I adjusted the photos in Photoshop to look as accurate as possible.


Ignore the "Box O' Crap" on the floor here.

This is the wall over the computer desk where I want to do an "art wall".


I was really excited about installing the little mini door, but I forgot that I ran out of small slot screws for the hardware, so I won't be able to install it until next week. It will have 2 butterfly hinges and a catch like the built-in doors.


I finally took some nicer shots of the antique fixture. When I took it down yesterday to paint the ceiling, I took the time to clean it, and wash the shades before putting it back up.


Lastly, here's a moody evening shot:

Very nice... Warm and inviting.
ReplyDeleteThanks. It's a pretty nice neutral colour. I had a pretty good idea of what to expect, since this colour was used in my boss' son's living room and kitchen.
DeleteLove what you have done with the room! And i really love the colour, its cozy and inviting while still light enough to draw the light in. Did you ever decide on the colour for the L-room?
ReplyDeleteAnyways i can really see the office coming together, especially with the kind of desk you have in mind and the art-wall. You'll wont want to come out! ;o)
Jenifer from germany
Thanks so much, Jenifer. I decided that I really like the light green sample colour that I showed in this post:
Deletehttp://my1923foursquare.blogspot.ca/2013/01/l-room-progress.html
So that will be the colour for the upstairs "L" Room. The Living Room will also be going green, but in a darker shade.
LOVE THE COLOR--BUT I like DEEP COLORS....
ReplyDeleteThanks Nancy! I love the colour too, and it will go well with my antiques, it's just that I'm not used to it. All my life I've lived in white rooms, or very light pastel ones, and I'm sick and tired of white, so this is quite a change for me. I'm not afraid to use darker colours (I love the dark colour in the upstairs hallway, which is nearly the same shade as the Office, but a bit darker).
Delete