
As I sit here typing this, I have to admit that this may or may not have been the best idea. As it turns out, this particular ceiling is in TERRIBLE shape, but let's not skip ahead too far.
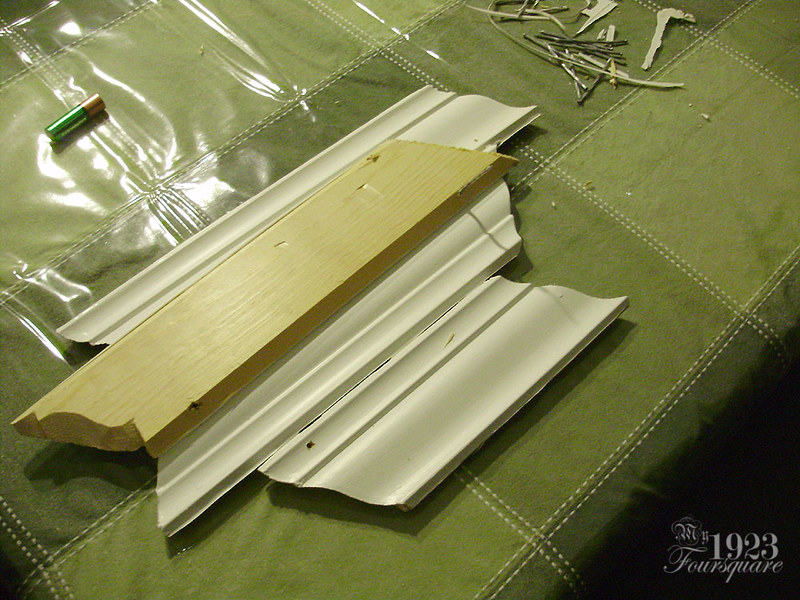
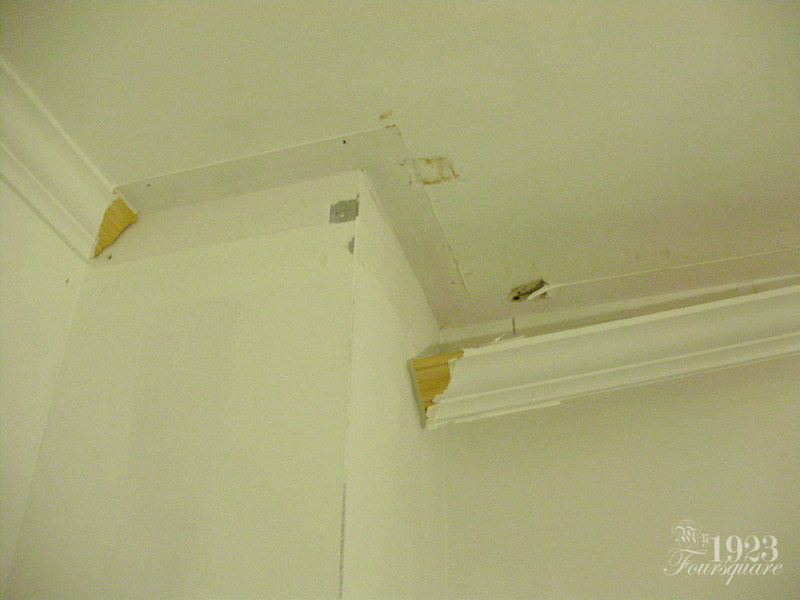
The first thing I did was carefully remove all the crown mouldings. These are all new, solid pine, and definitely still good. I installed them back in 2012. I know this because I had signed my name and dated them on the backs! I don't even remember doing that, haha! See: http://my1923foursquare.blogspot.ca/2012/11/finished-crown-photos.html
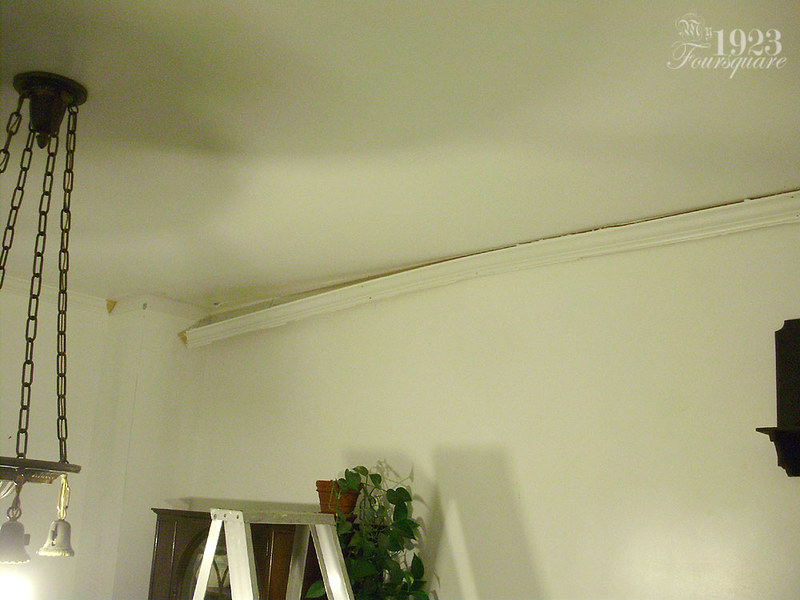
Hopefully I can just fix the original ceiling and then reinstall these. I was able to remove all of them fairly easily except a small corner where a sliver snapped off (I'll just glue it).
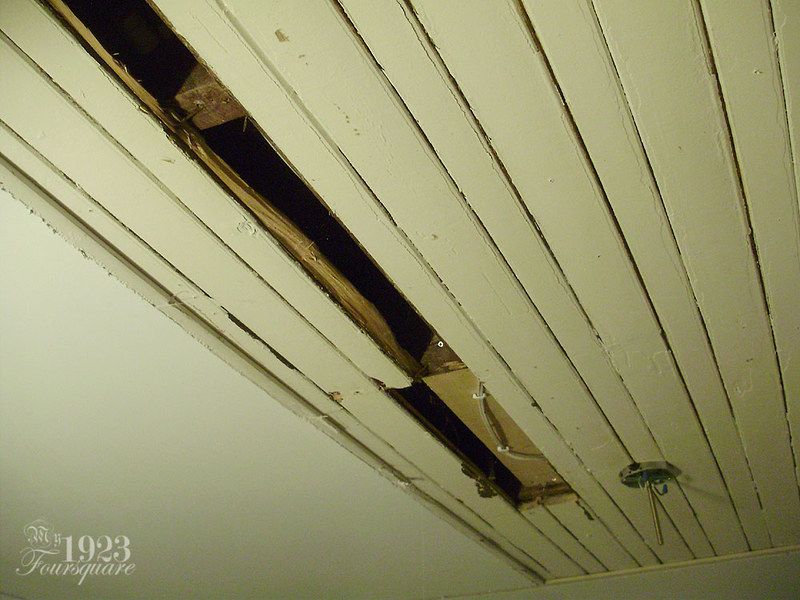
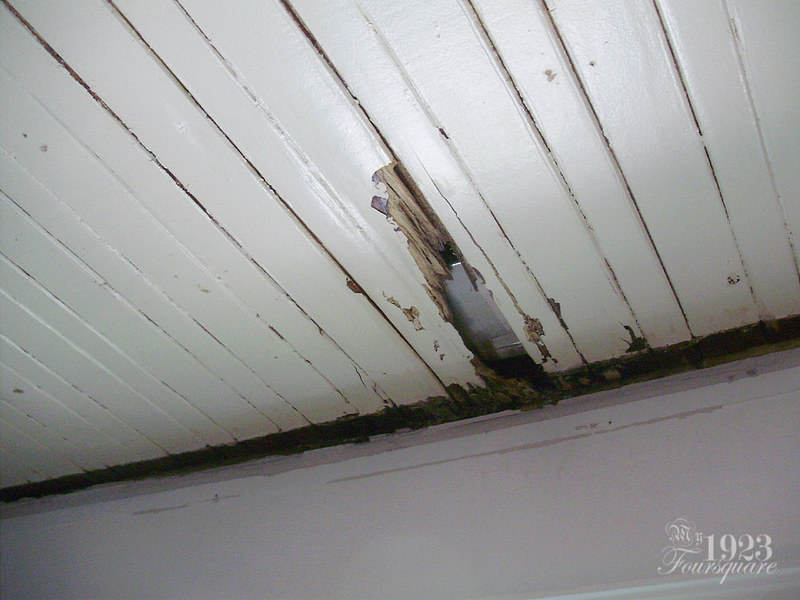
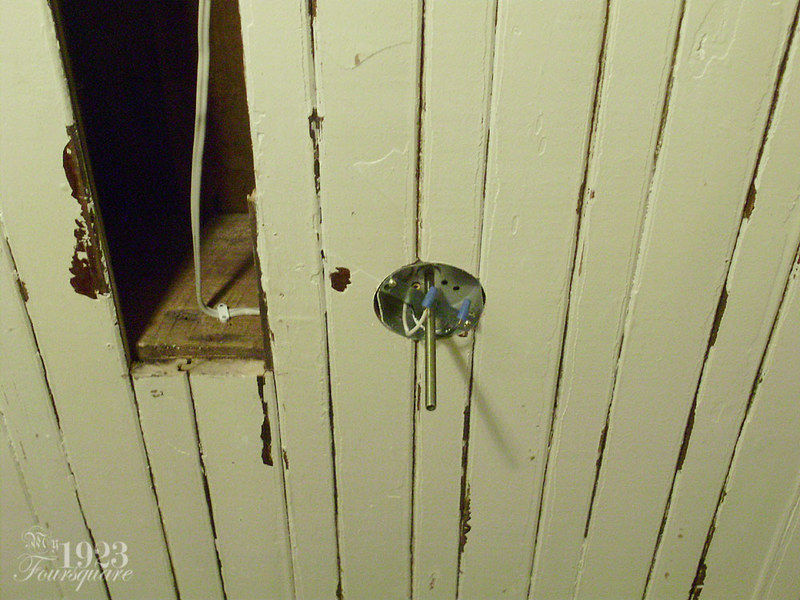
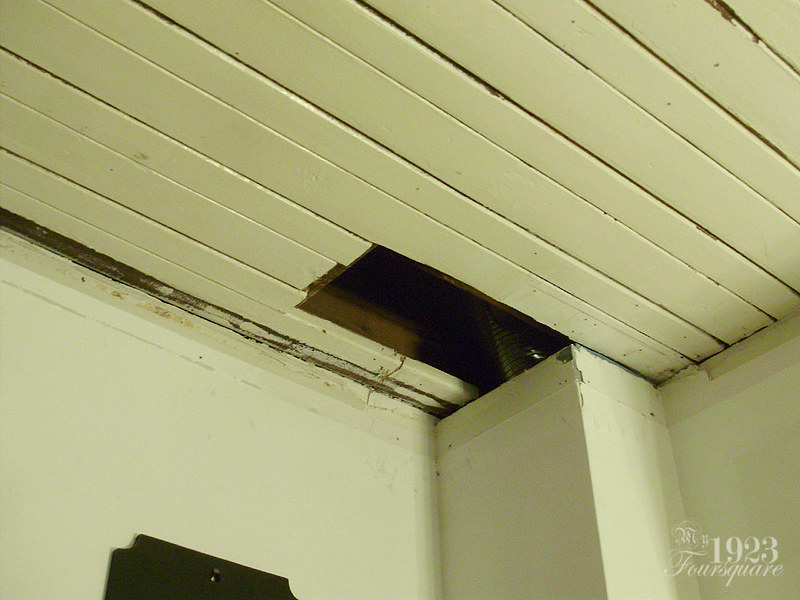
I knew exactly where to start the demo because I had installed a patch when I had moved the location of the light fixture (it wasn't centered on the window, which bothered me).
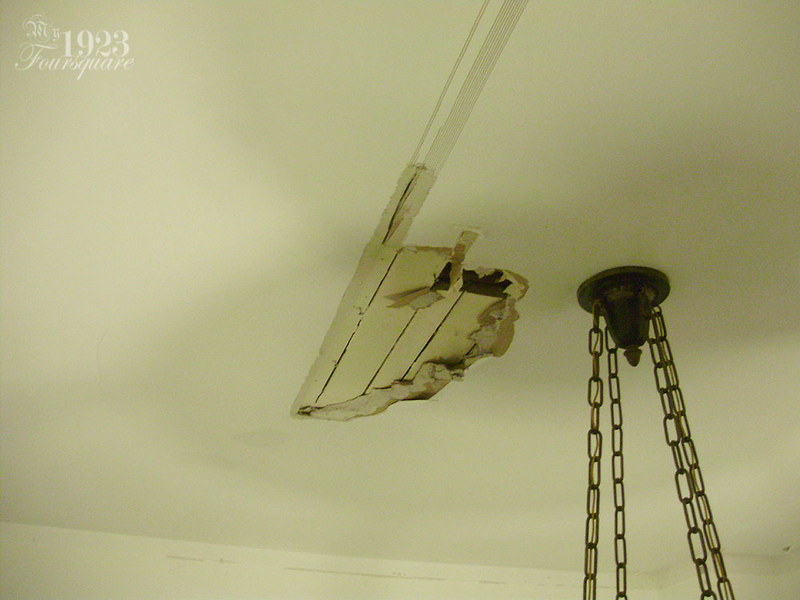
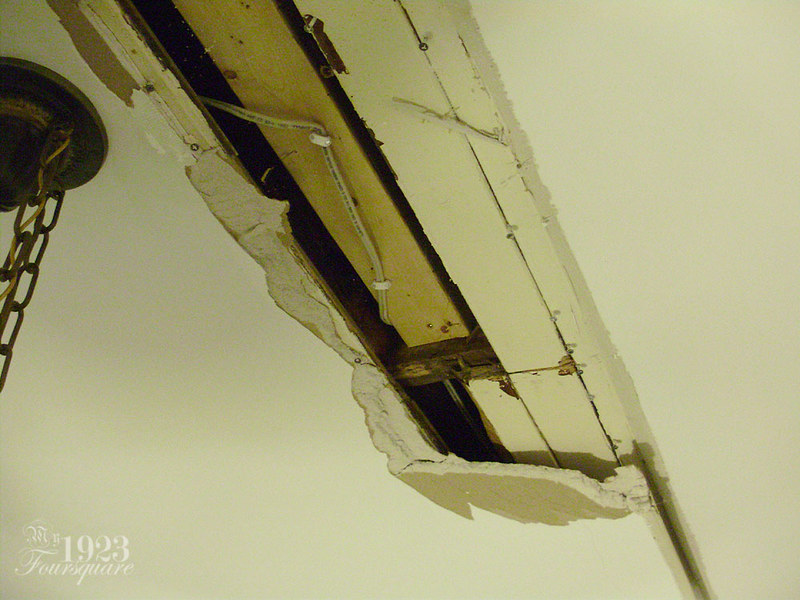
This looks really awful already, but this is the same thing they had done in the living room and in the office to run the new electrical. They butchered two boards and tore them out to pass the wires. The 2x4 was to hold the electrical box (which I had moved).
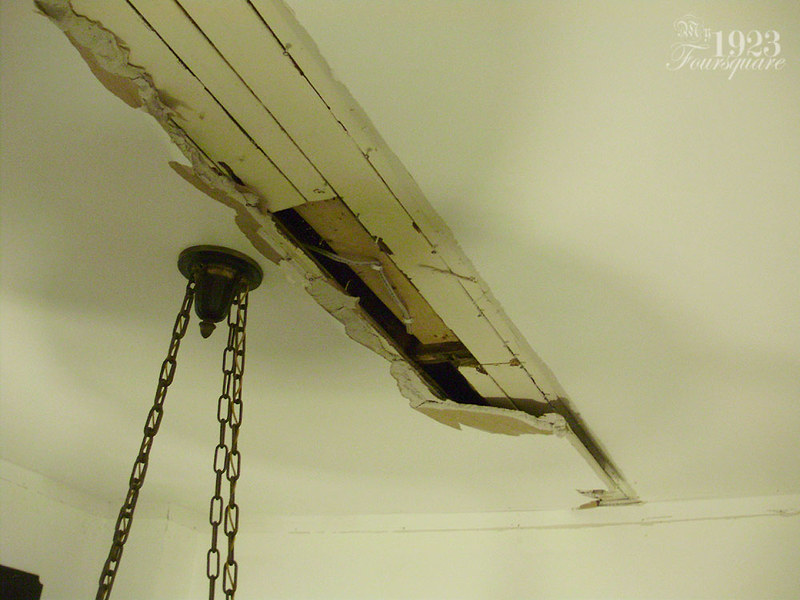
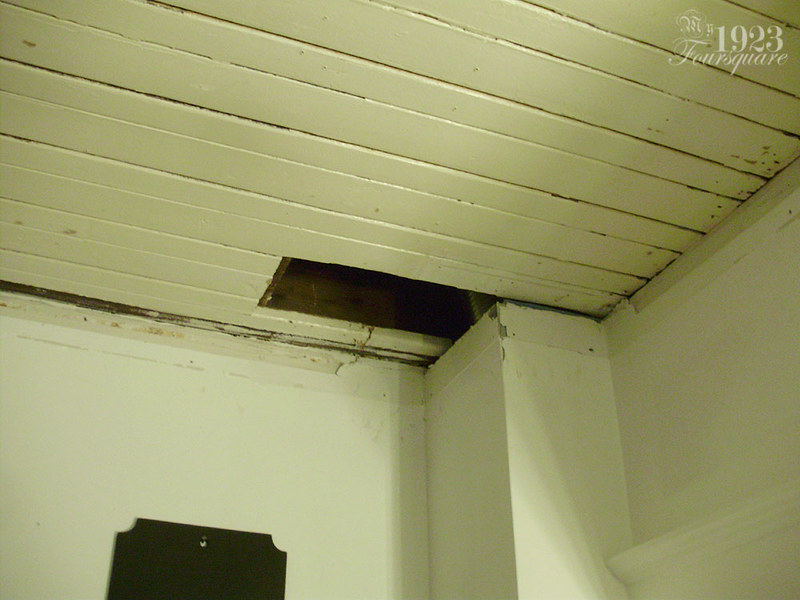
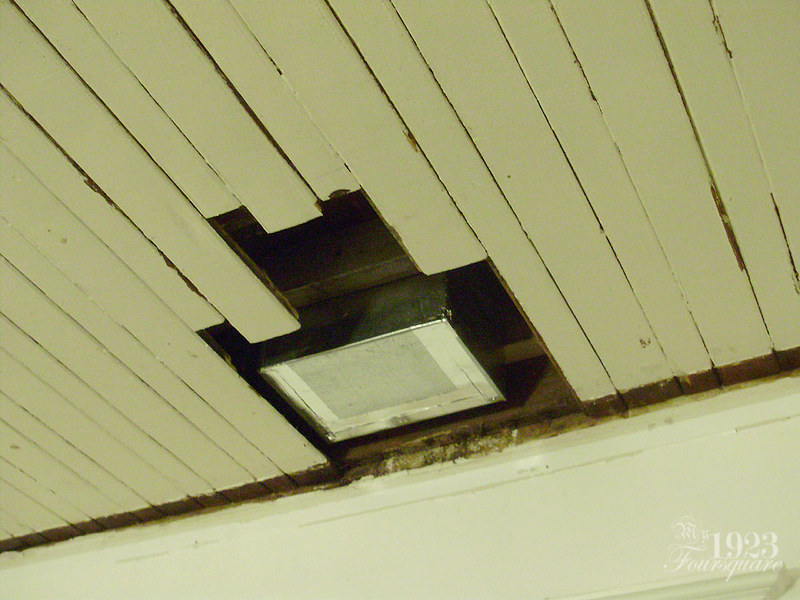
After removing the first section of drywall (which made a huge, HUGE mess, by the way), I found another hole in the ceiling, under the bathtub.
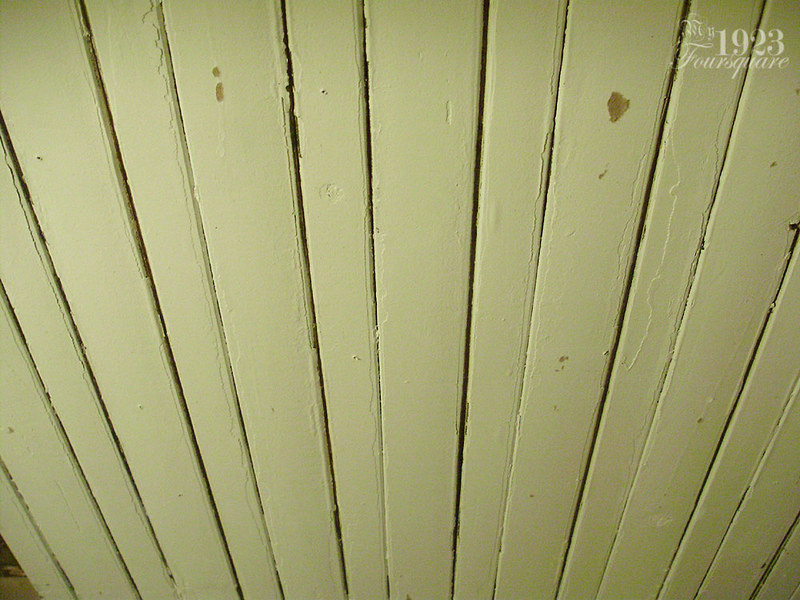
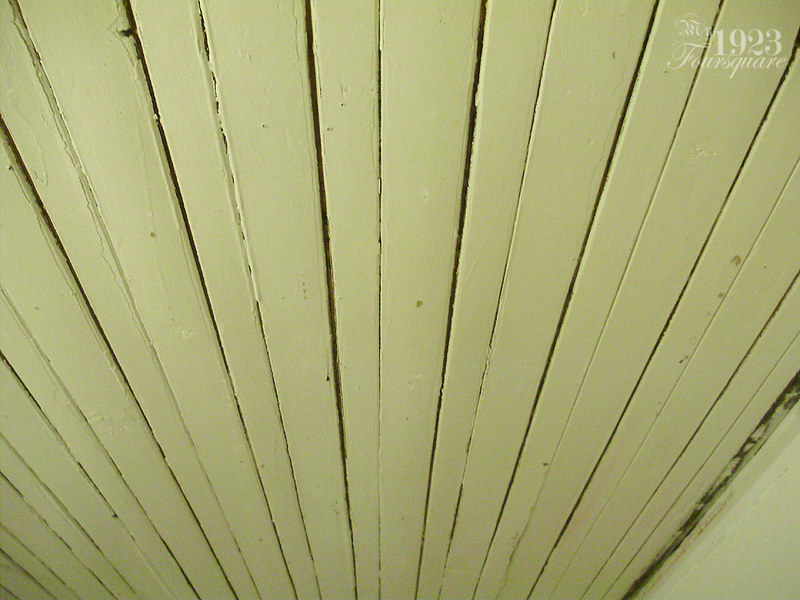
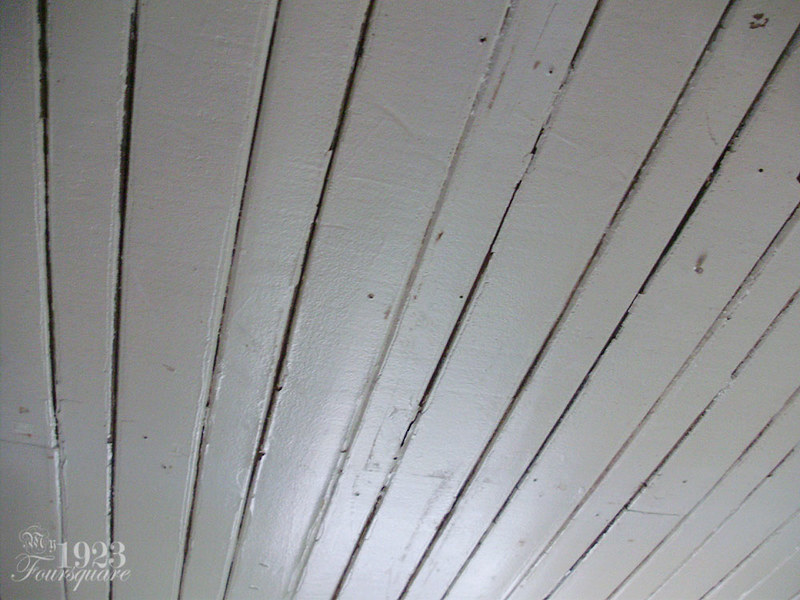
After removing the second section, I started to really look at the ceiling and wonder if I should even continue. The ceiling was in TERRIBLE condition. The worst of all the rooms in the house. Everything is chipped, flaky, bumpy, plus all the drywall screw holes. In terms of detail and how it actually looks in real life, this is probably the best photo of the bunch.
I decided to stick with it, and that even if it's going to be a LOT of work, "Hey I can fix this!" Hahahahaha... ughh...
I can really see why they abandoned all hope and slapped drywall up there.
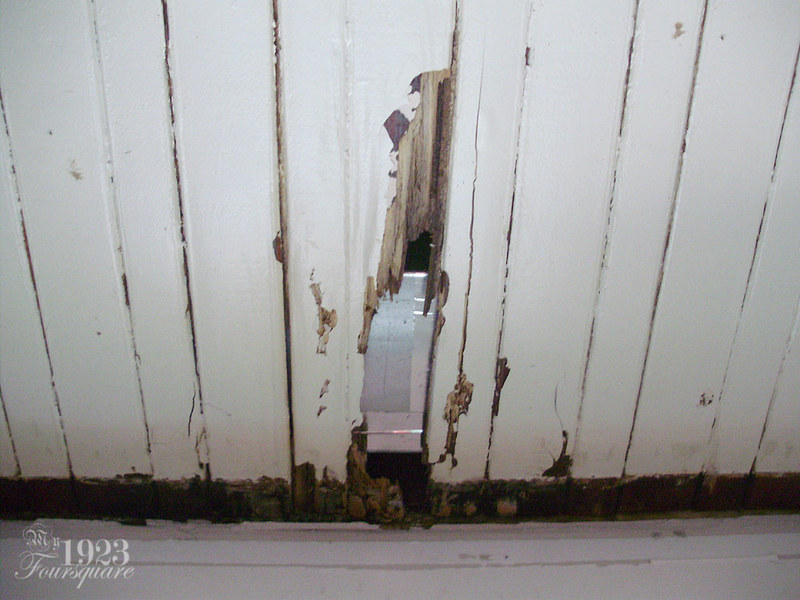
Another angle of the "main hole".
This is as far as I got on the first night (the night before last - the 27th). There were just 2 full 4x8 sheets left.

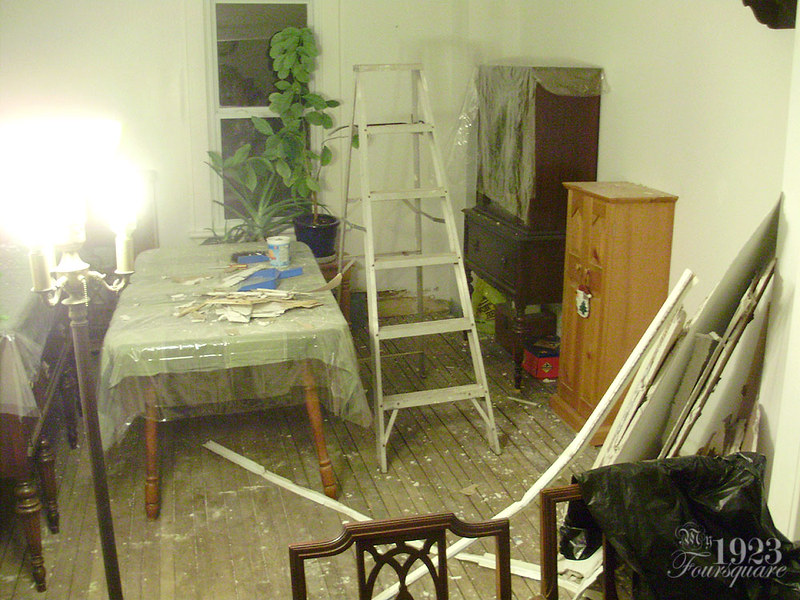
Some of the mess cleaned up. I worked carefully around the furniture, but everything else (all the clocks and fragile items) were taken out, and I put tarps on everything.
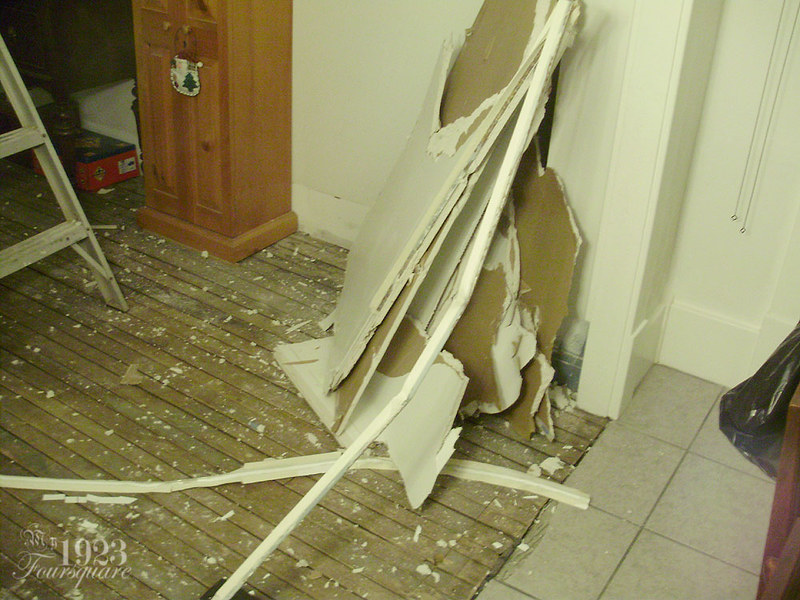
Next day (yesterday morning) I removed the rest of the drywall, cleaned everything up, and vacuumed. Right above the window was another damaged section of the ceiling. All rotten. I knew about this ahead of time. Years ago when I fixed all the duct work, I saw this spot was all rotten from the top (which is in the master bedroom). Tracked down the old photo:

It's actually not too bad. I can just cut out the bad bits and patch it. I just can't understand how it could have gotten to this point. Rot like this would be from years of water damage (think about how long a log takes to rot and decompose in the forest).
Maybe there was a leak in the original wooden window frame? But the wall doesn't seem to be rotted...
A lot of this was so soft you could just poke through it with a screwdriver.
A few photos in the harsh light of day.
For comparison, the other three ceilings on the main floor (which I just had to minimally repair where they passed the wires, and then paint):
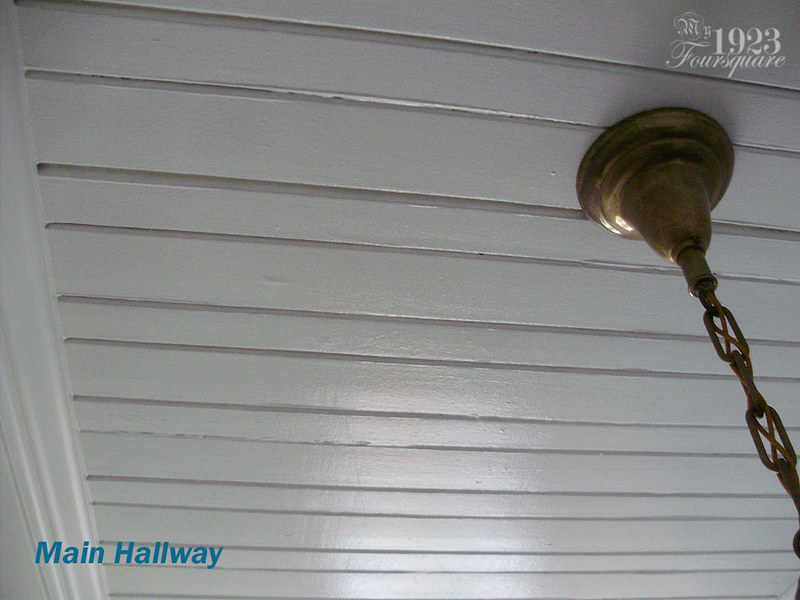

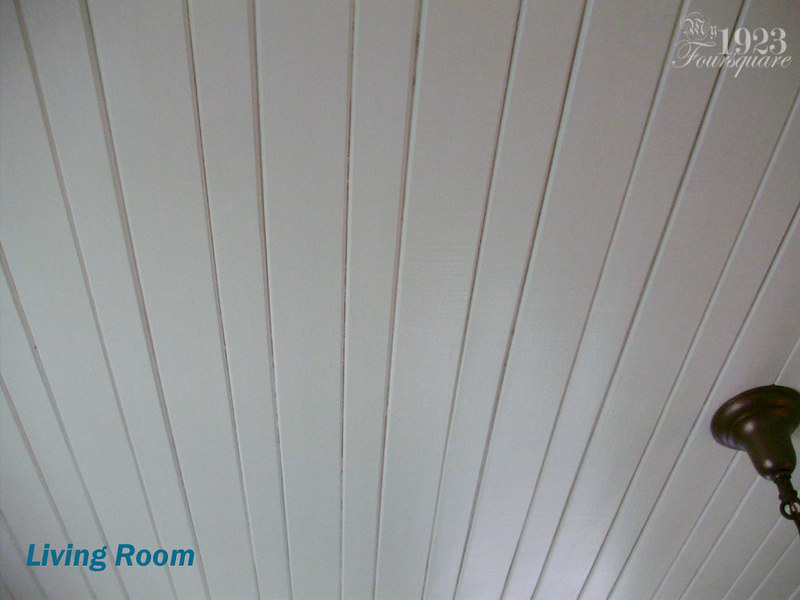
Yeah, AWFUL when you compare them.
So you might be asking yourself the question: "And how the hell are you going to fix that?" And yeah it's a great question. There are several options, each of which are a pain in the ass, time consuming, or expensive.
Option 1:
Give up and install new drywall on top (and cry) - not going to happen.
Option 2:
Strip all the flaky paint off (or hire someone to strip the paint), then repaint everything nice and fresh and clean - too messy/expensive.
Option 3:
Painstakingly patch it, smooth it, sand it, putty it, and agonize over every square inch, paint and pray it looks decent - I'm poor, so this is the route I'm choosing.
Yeah you read that correctly. I'm going to work on it in sections. I've already gone through half the ceiling and scraped off all the loose and really bumpy bits. The puttying is going to be the biggest job. I'm just going to use drywall compound. I've had really good luck with this, and it works well. I'll be doing a quick coat of shellac primer to make sure everything sticks nicely, and painting it the same semi-gloss trim colour as everything else.
SHOULD BE LOADS OF FUN! (sarcasm)
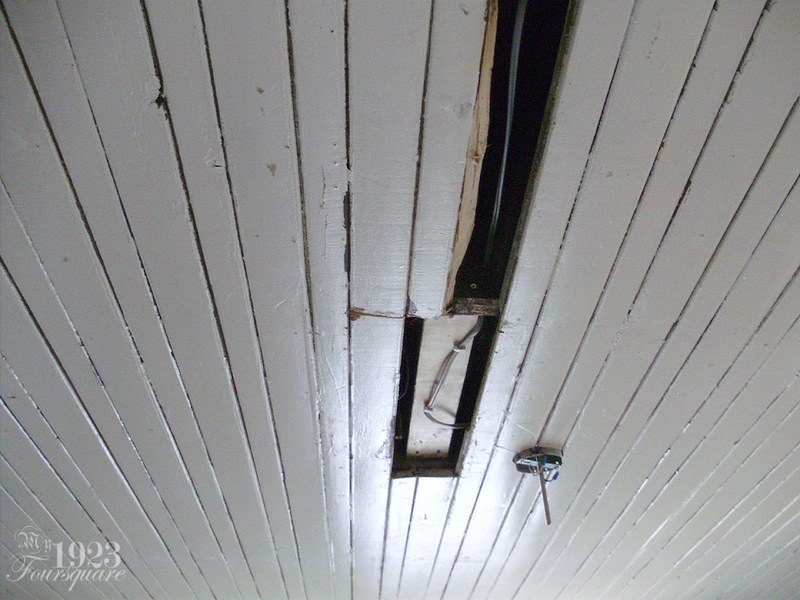
Earlier this evening I removed that 2x4, re-tacked the wire, and reinstalled the electrical box flush with the ceiling.
I also trimmed a bunch of the spots where I'll need to patch the wood.
I notched just a bit of one of the three boards here so it's not just a clean line (which always shows). I might have to also trim a 4th board. The edge of the outer board is pretty messed-up.
As of tonight, that's where I am with the ceiling.
Ugh! What a terrible job!
ReplyDeleteHowever, I totally get why you are doing it. What choice do you have!
Even an imperfect old wood ceiling is light years better than a new sheetrock ceiling.
Oh, do you know about infrared strippers?
I'm a firm believer in "paint can hide a multitude of sins" but in this case, I'm going to have to do quite a bit of creative touch-ups as well. It can't possibly look any worse than the two windows in the "L" Room upstairs (which were even worse than this ceiling, and those look fine now. Obviously not perfect, but definitely serviceable.
DeleteWow, that does look like a lot of work! I commiserate with your minimum-materials, maximum-labor route, as that's the one I often find myself going.
ReplyDeleteI faced a similar decision when exploring the soffits on our house. They were originally beadboard, but had been skinned over with corrugated aluminum. After removing a few panels and seeing large missing sections and the rot in what remained (due to previous lack of maintenance of the original built-in gutters), I quickly accepted the aluminum (which was very well done), and simply added new bed molding to recreate the original look. Perhaps I'll revisit it years ahead, but for now there are much more obvious areas to restore.
Kudos to you for your enthusiasm!