
This is the last of the flooring that needed to be fixed before the flooring guys were coming to sand and refinish everything. As you will remember, the original floor in the "fancy" part of the Victorian has rough cedar plank floors because it likely had nice (expensive at the time) carpeting. The back half with the simpler mouldings (no rosettes) had just "plain" maple flooring.
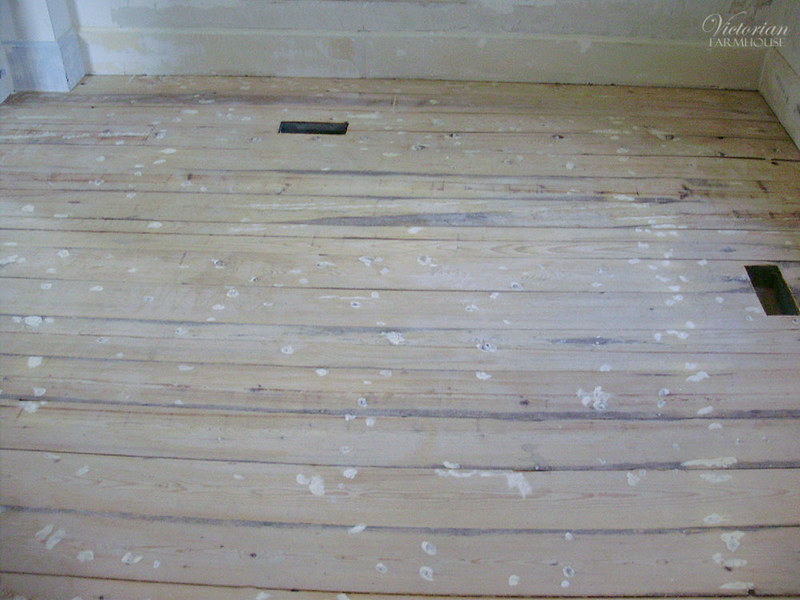
Because this floor was not necessarily meant to be visible, it's been really mistreated over its life, and now it has HUGE gaps in it from shrinkage, along with nail holes, old paint and lots of dirt. To fix the gaps, we had previously pulled-up all of the office floor and reinstalled it. See: http://my1923foursquare.blogspot.ca/2016/06/victorian-farmhouse-reinstalling-floor.html
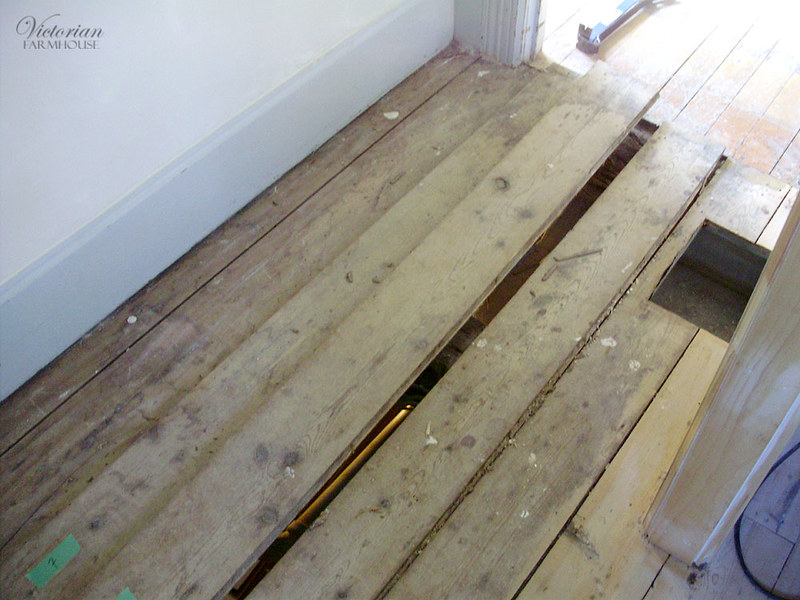
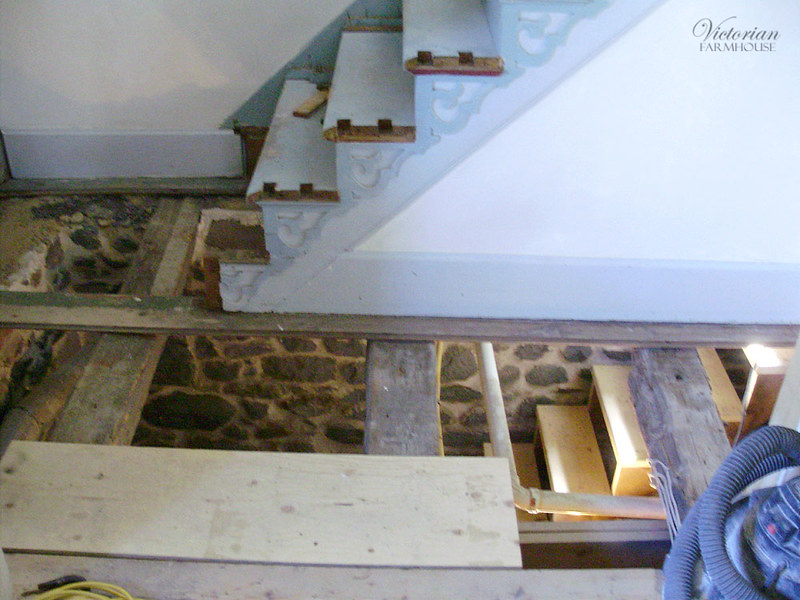
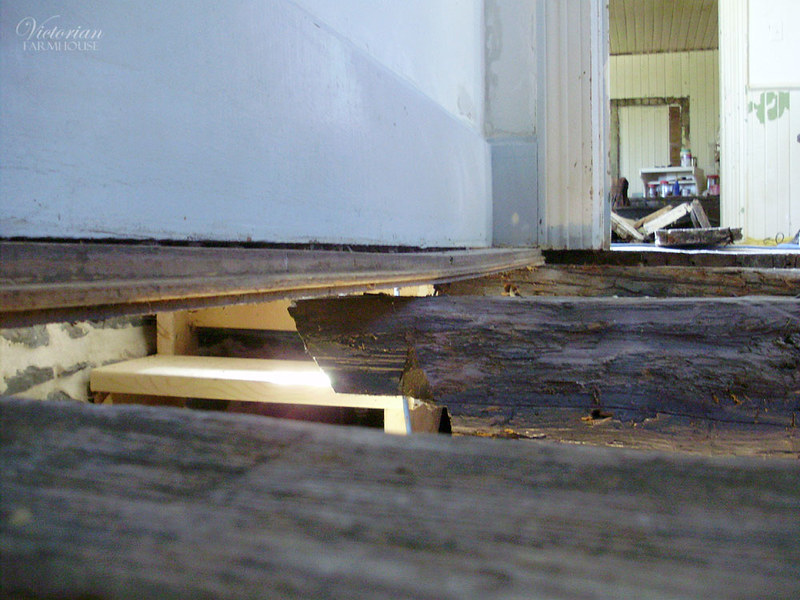
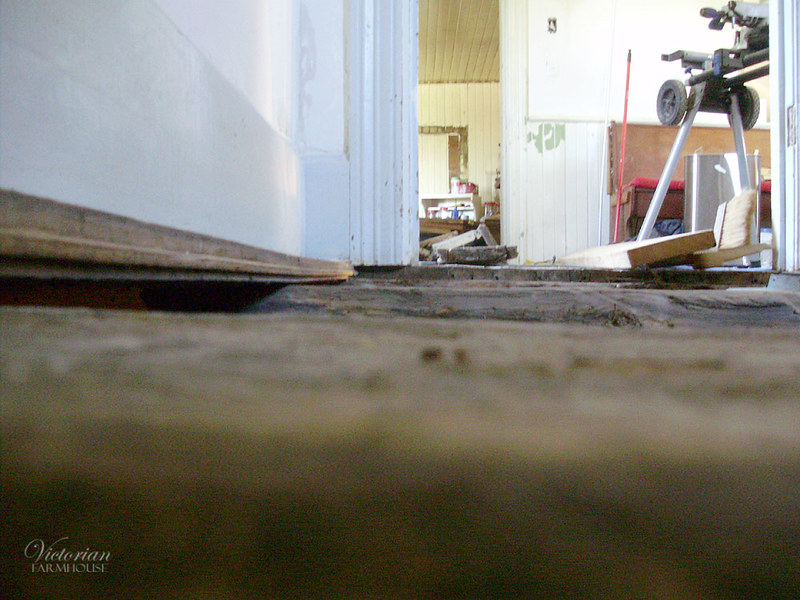
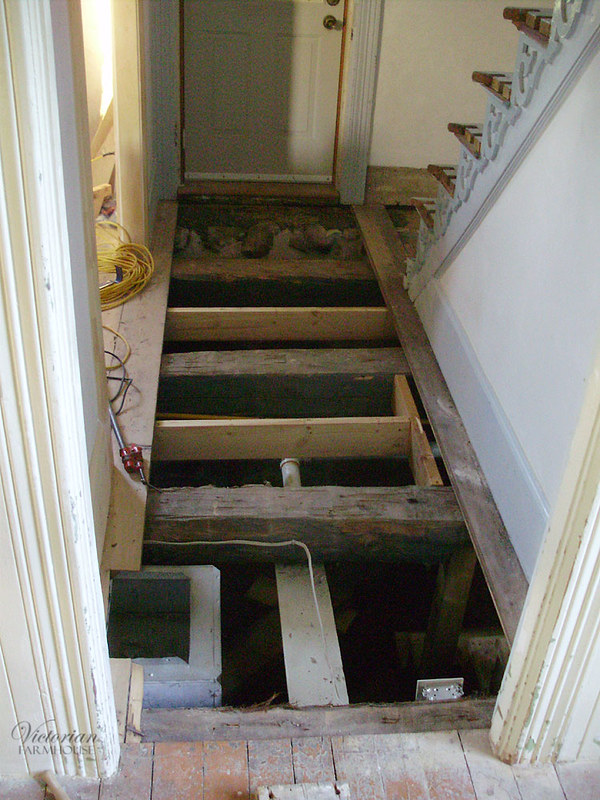
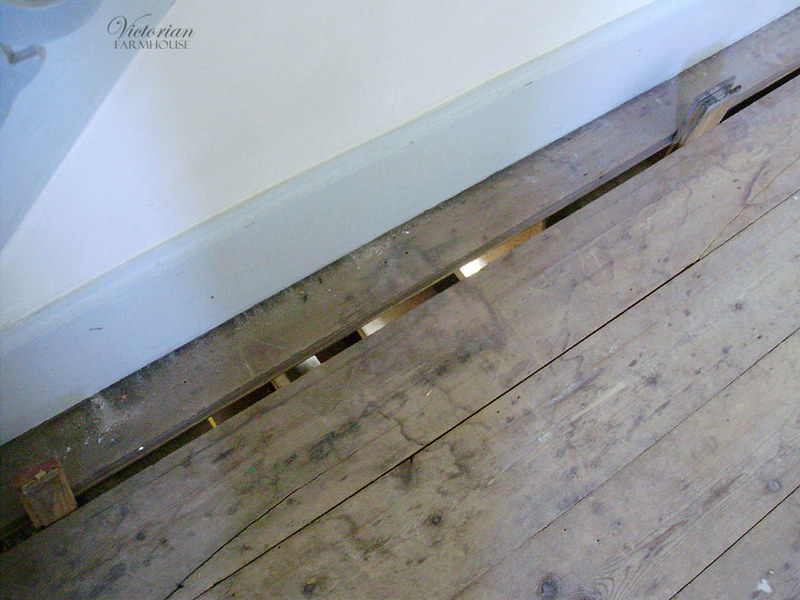
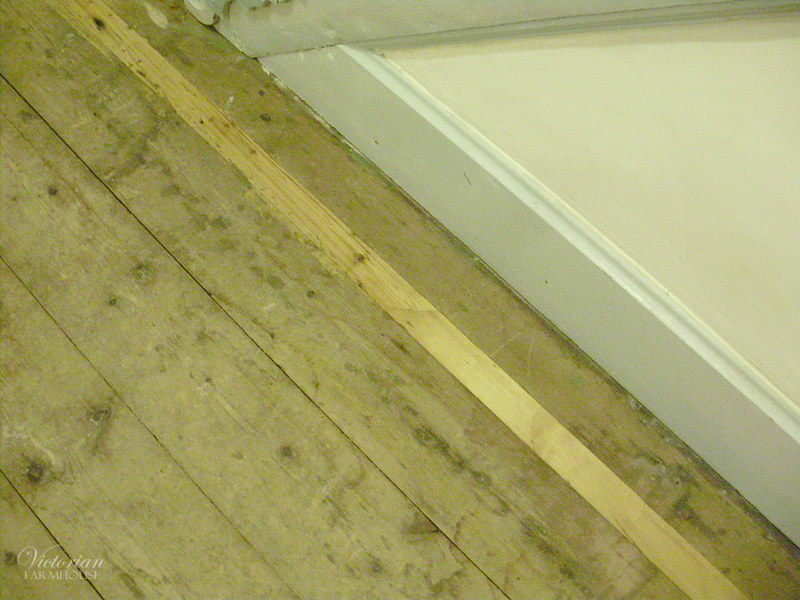
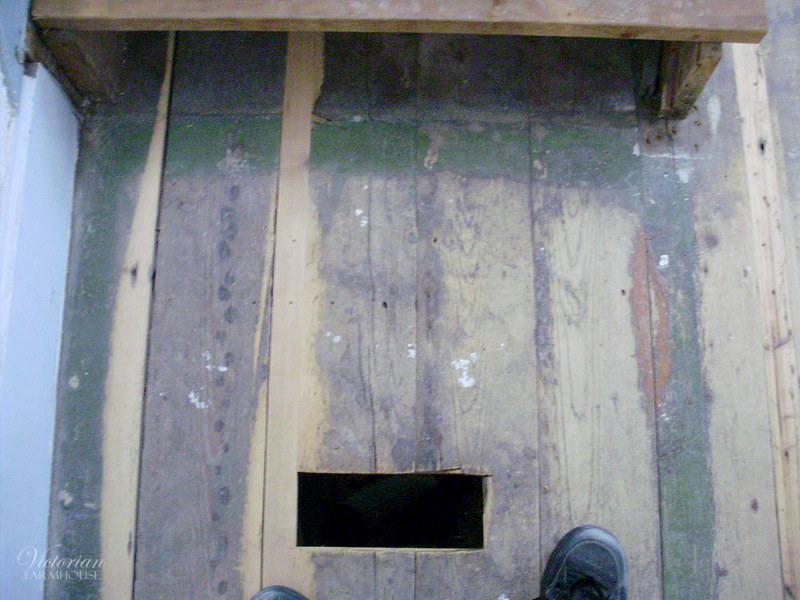
Anyhow, we had stopped at the arch, and we were either going to leave the hallway as-is, or fix it later. Well, we decided to fix it. Here are some before photo showing some of the gaps.
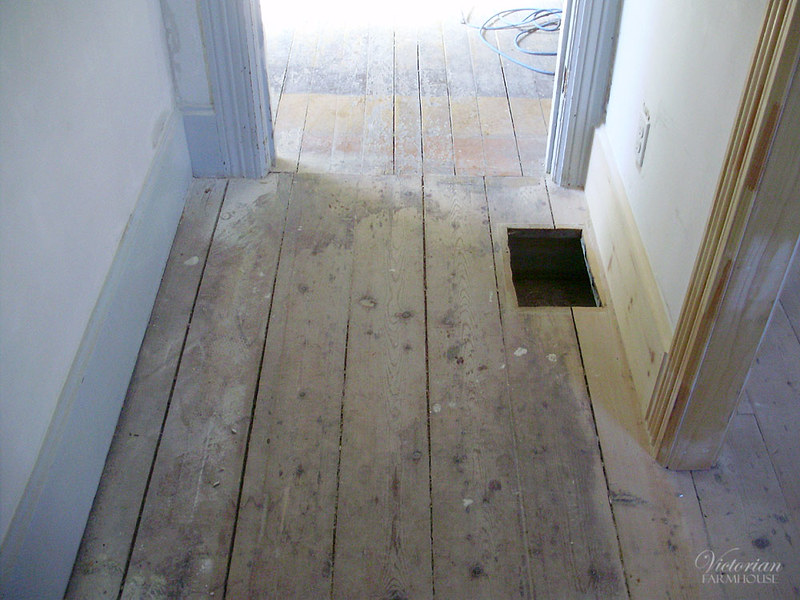
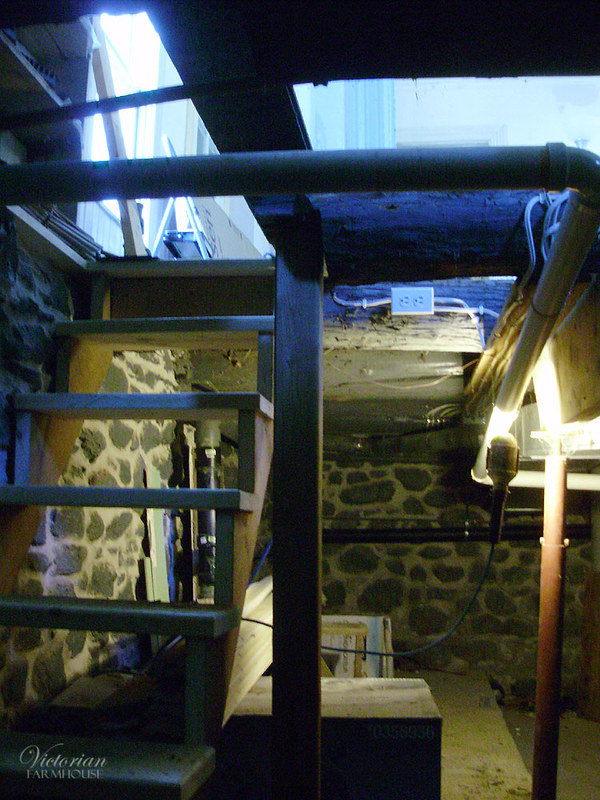
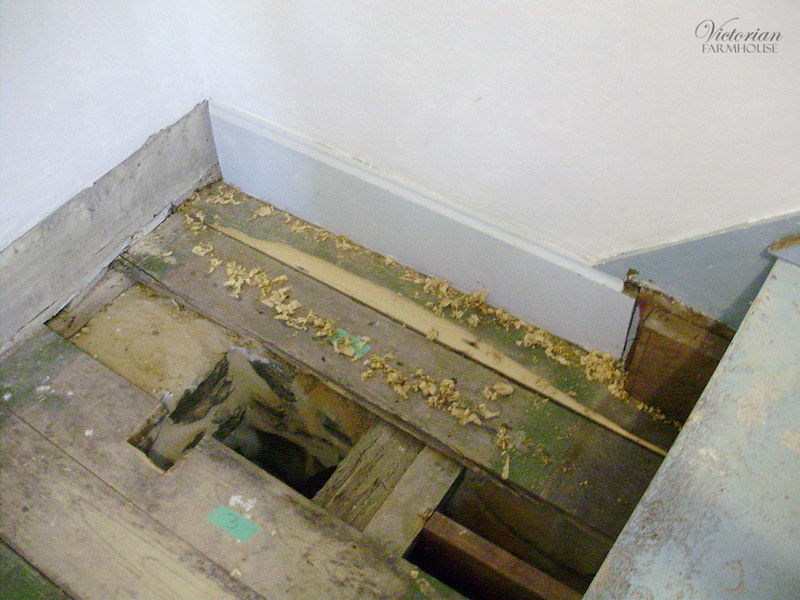
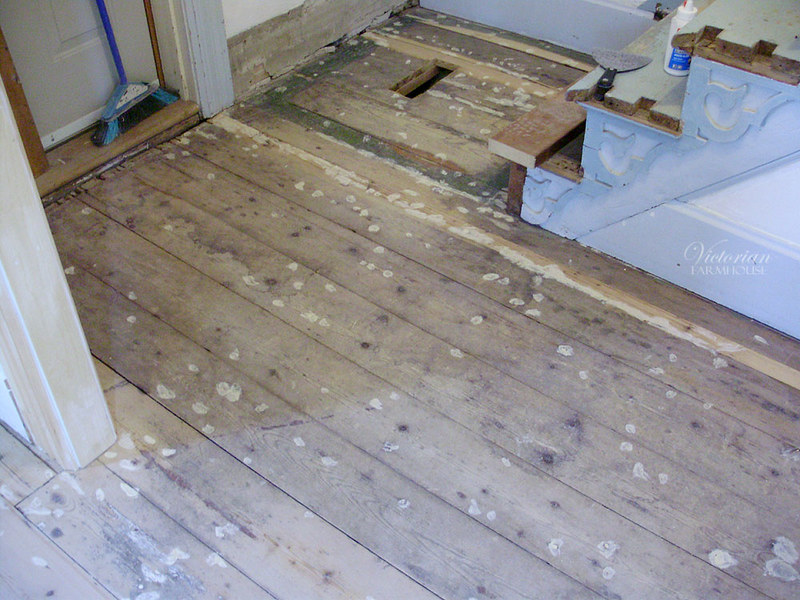
The worst part of the floor was the huge buckle and gaps near the base of the staircase. This was made worse by a past owner having installed a heating grate here, which is a terrible place for it.
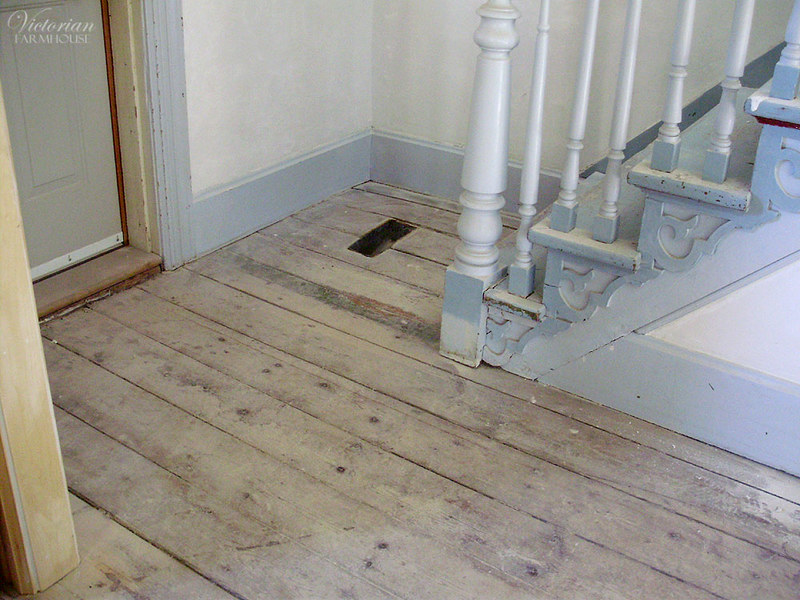
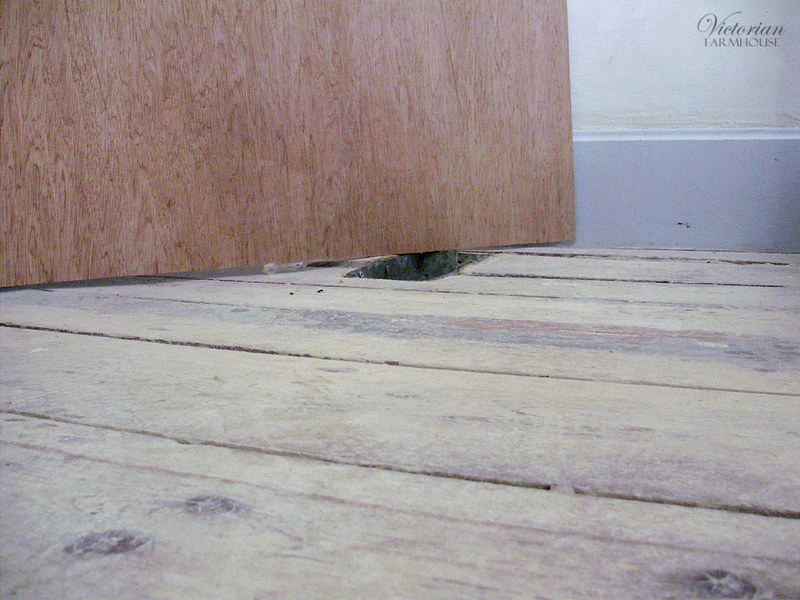
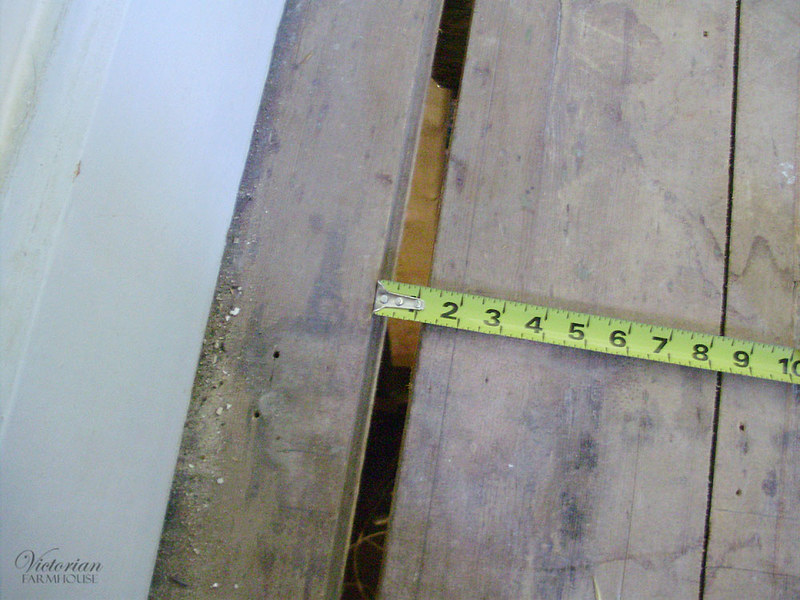
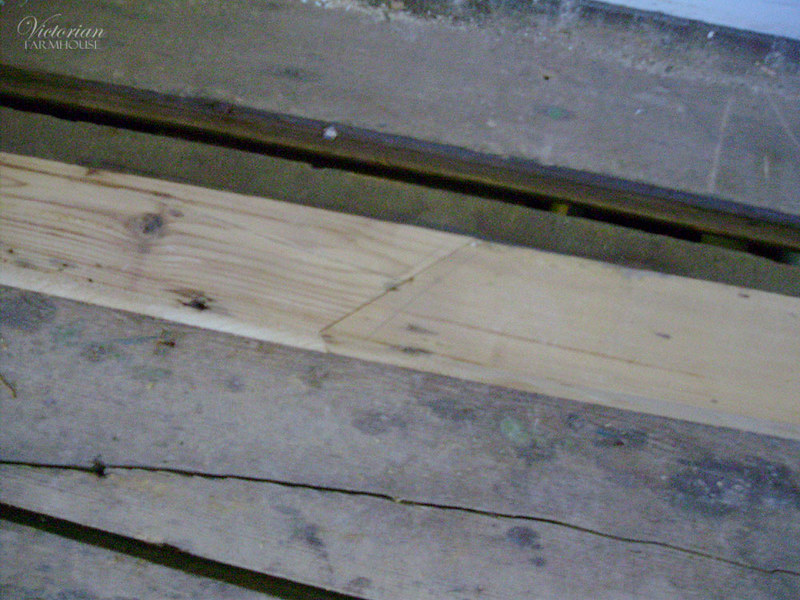
You can KIND of see the buckle with this piece of plywood across it. There's almost an inch difference and it's all wavy and terrible. The gaps near the vent were also 3/8" or more.
The hardest part of this is getting the first board(s) loose without breaking everything in the process. This was made even harder by the fact that we couldn't take everything out due to the staircase.
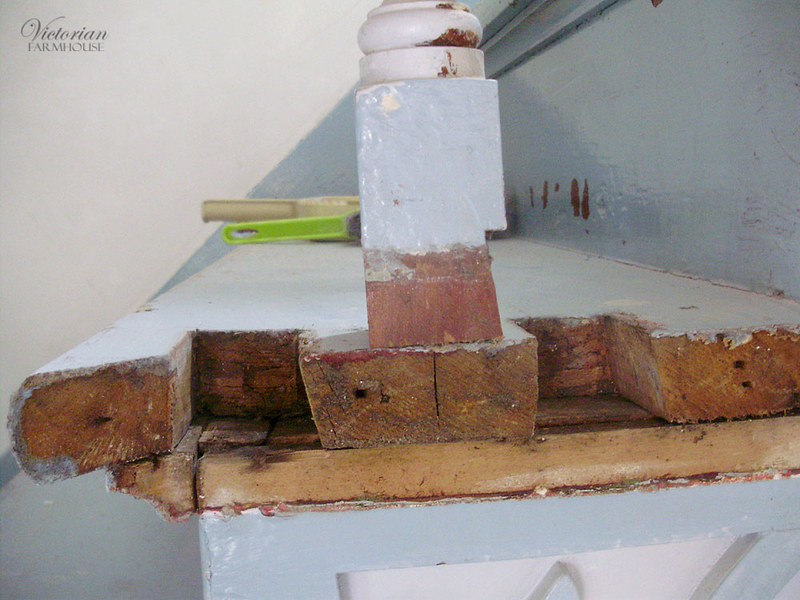
In order to make things easier, we numbered and removed all the spindles and the railing. The plan is to sand and stain the railing and the post, and sand and varnish the stair treads. The rest will be painted unless someone changes their mind again.
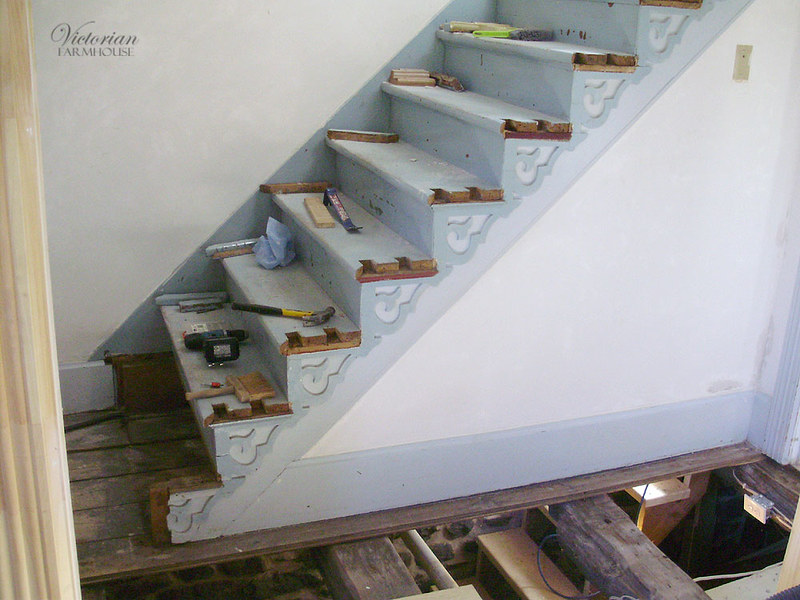
The bottom step was also removed so we could remove the floor, and to make it easier for the floor guys.
Notice how all the spindles are dovetailed to "lock" them in place. They are a bit shrunken and loose now, but we can fix that with a few thin shims, and glue (when we reinstall them).
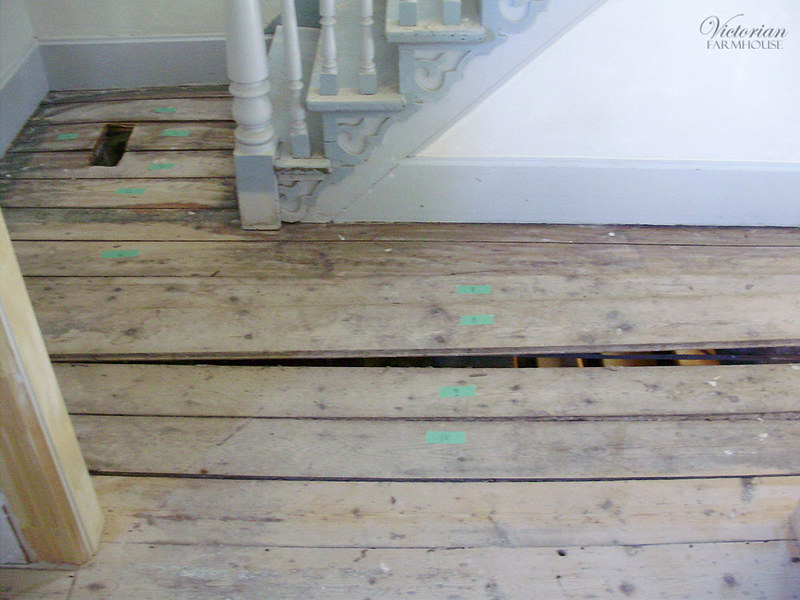
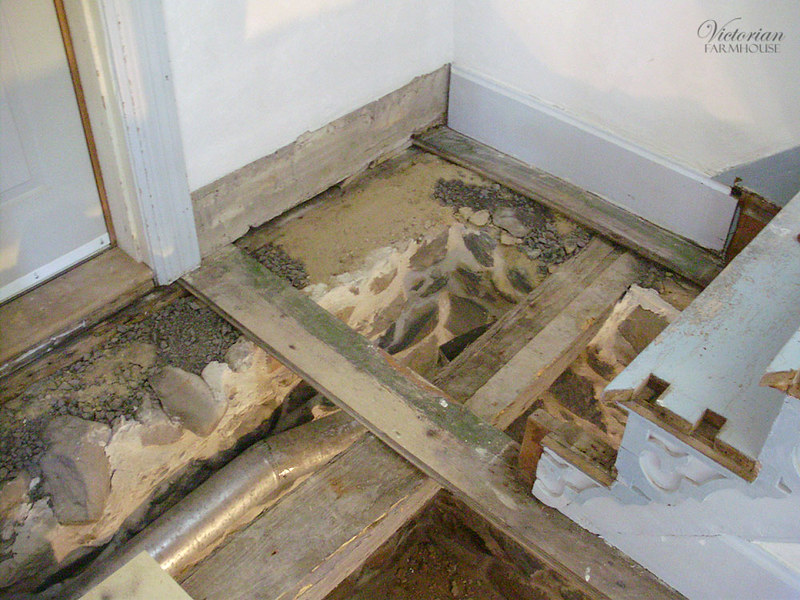
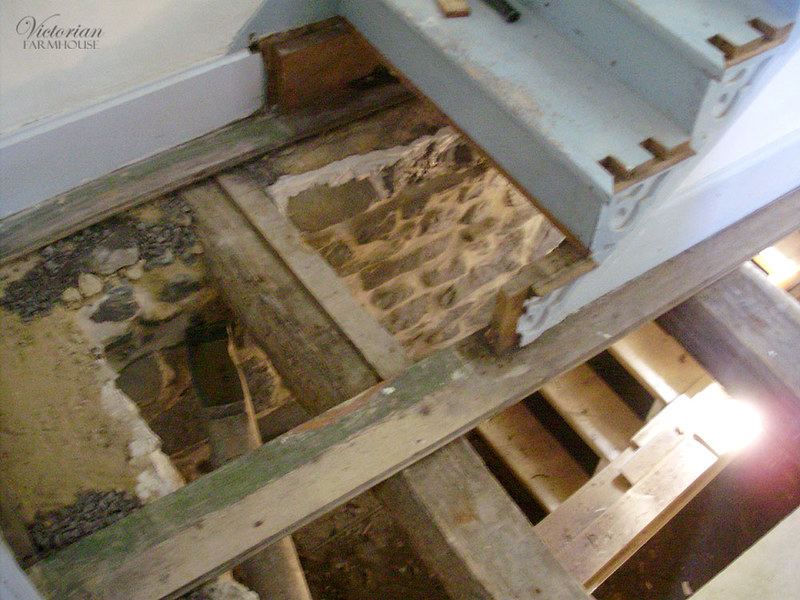
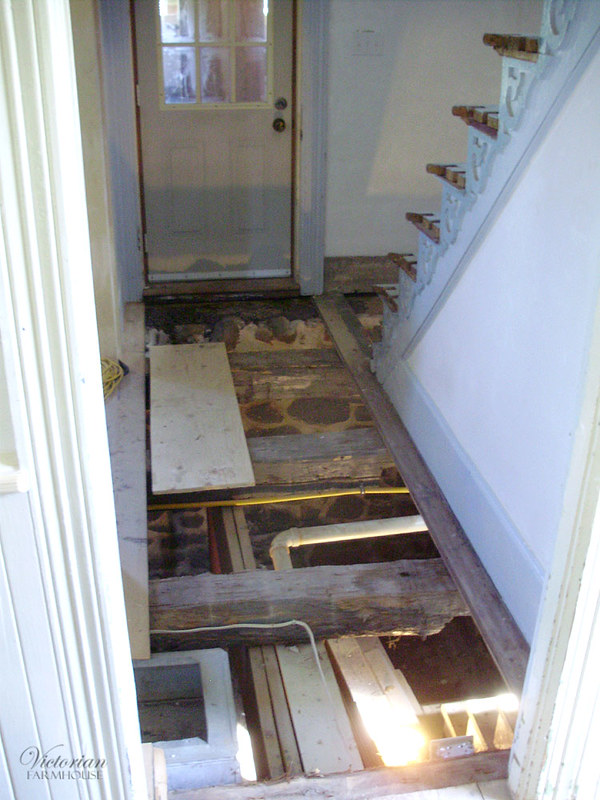
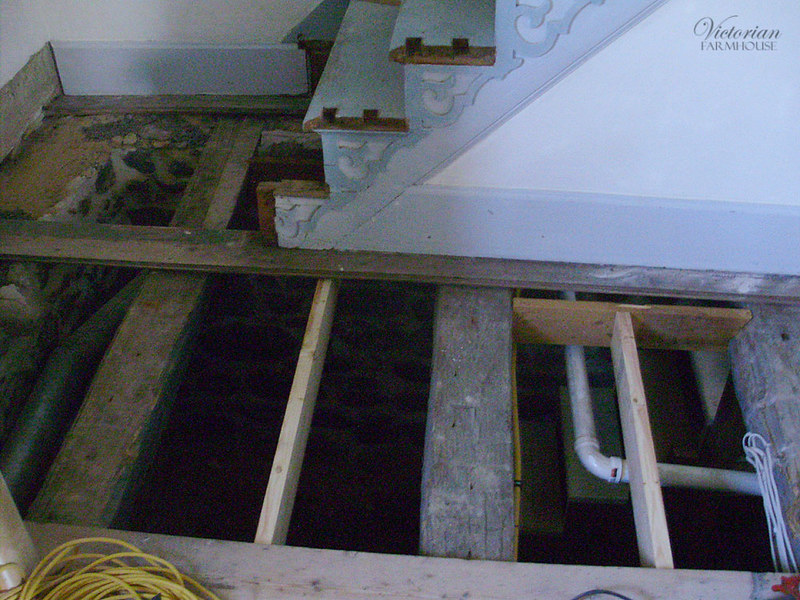
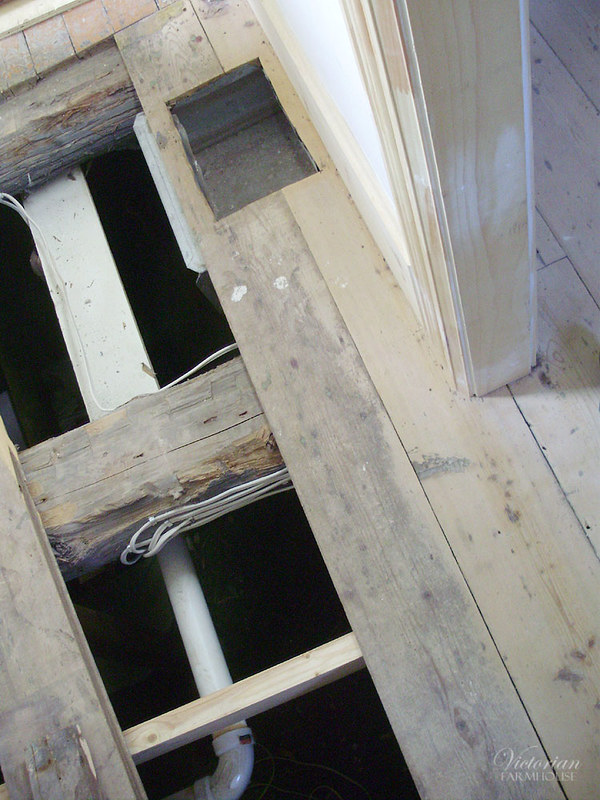
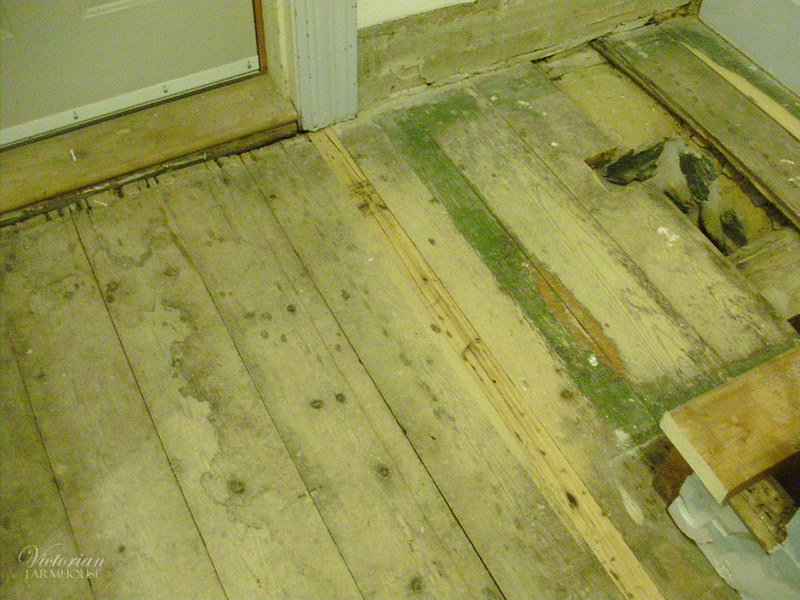
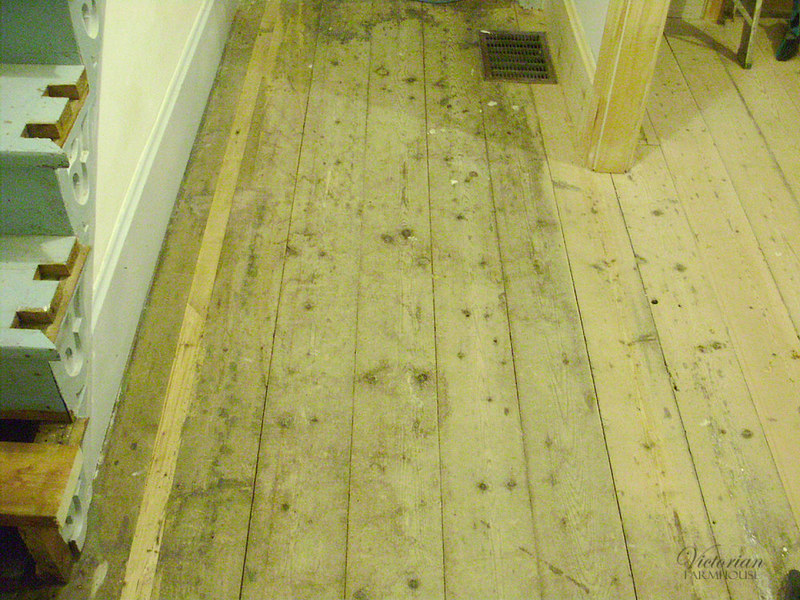
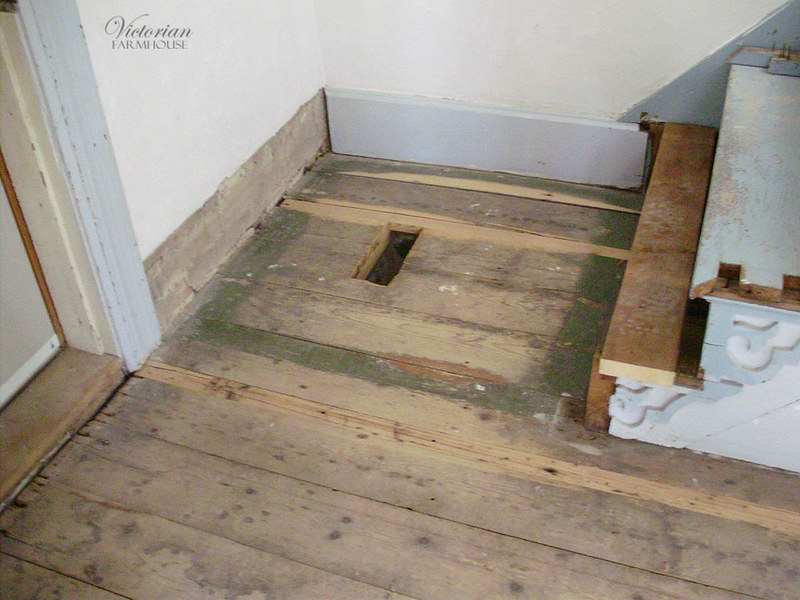
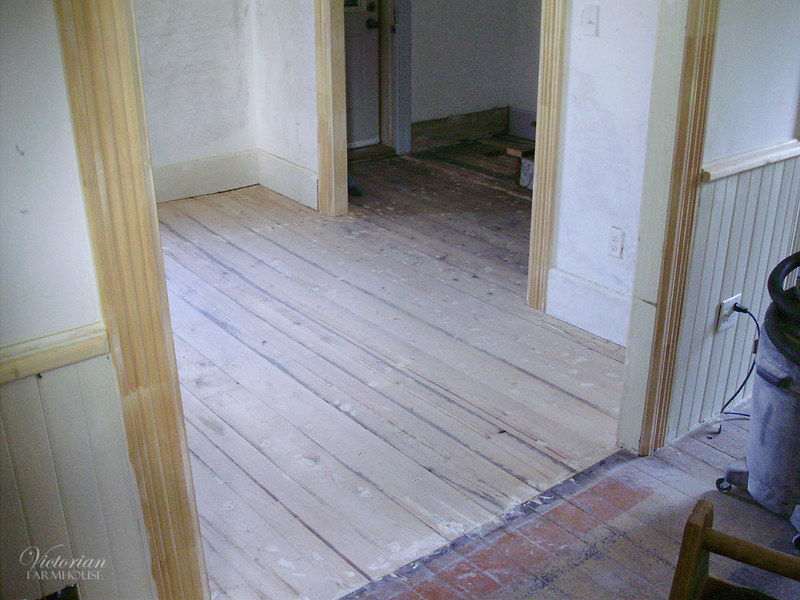
This is as much as we could remove of the floor. Pretty much everything except the short board near the wall, and the one running under the staircase.
Again we had lots of gaps and holes and we filled them with just gravel. The high spots were also adjusted.
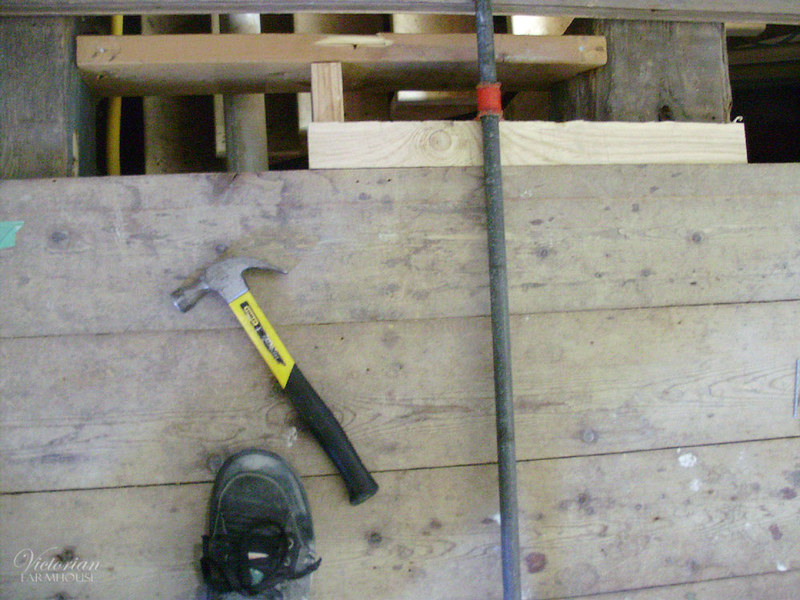
I really need a new camera...
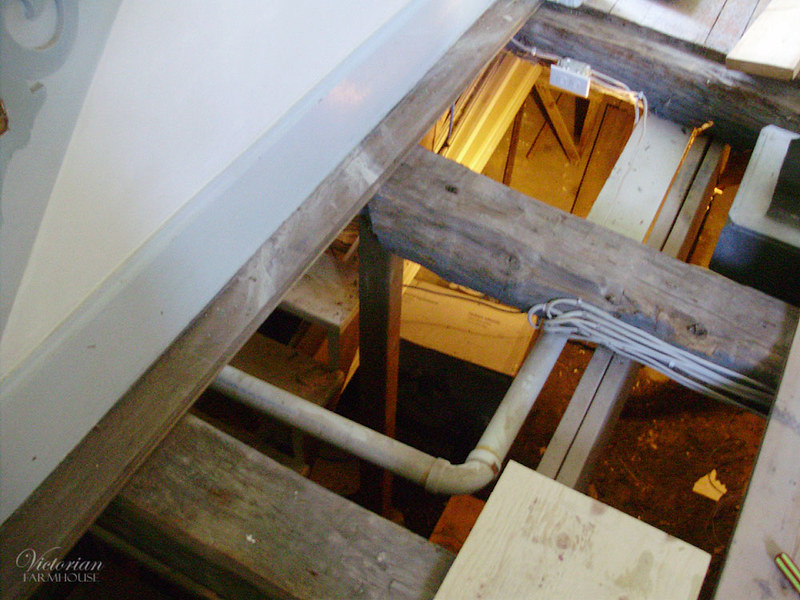
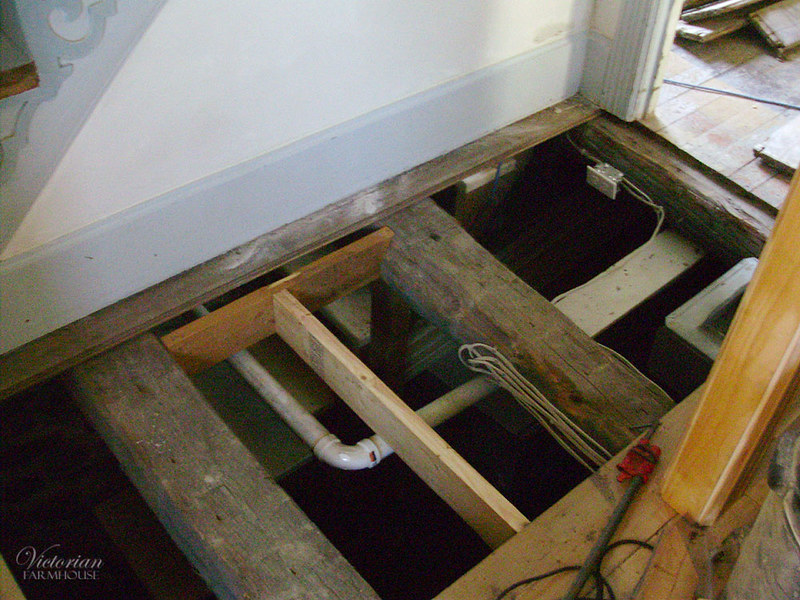
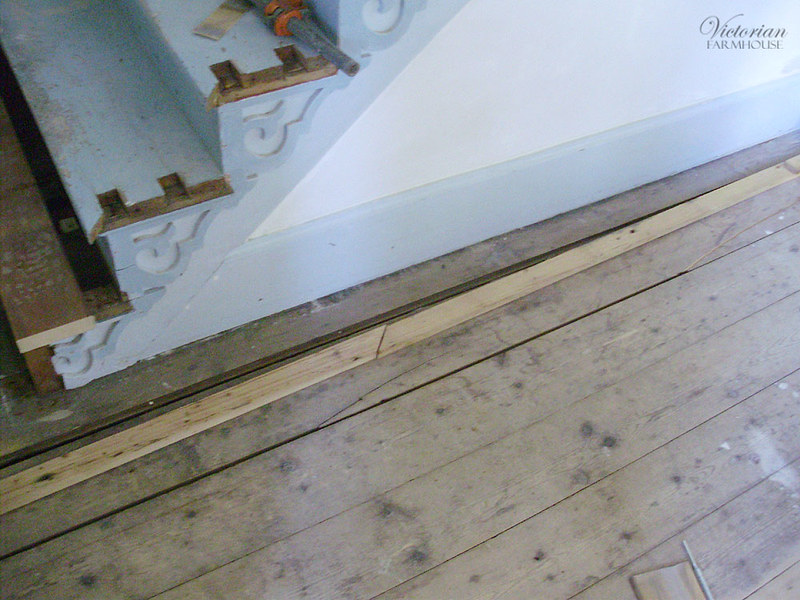
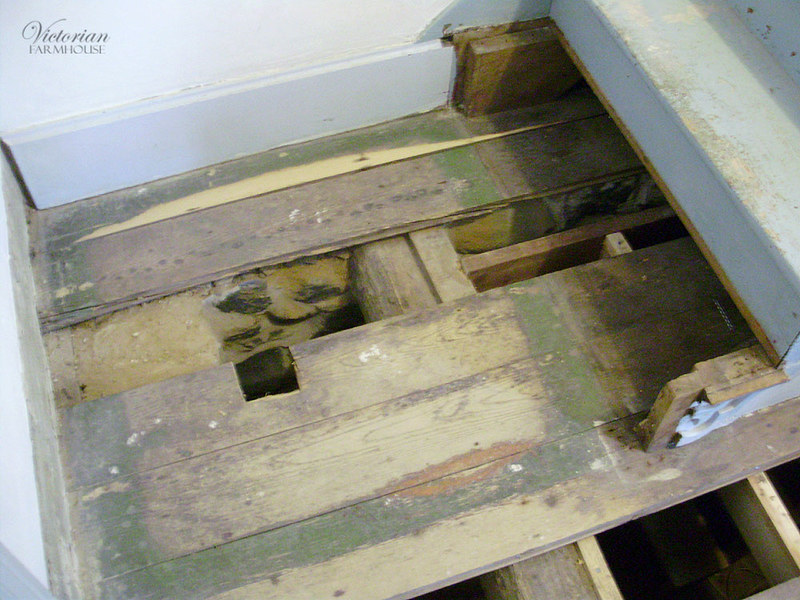
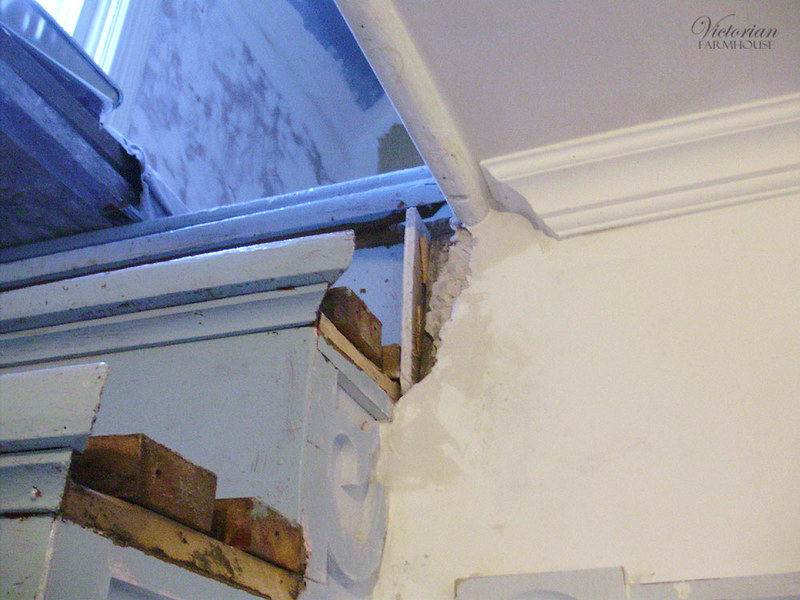
One of the structural issues we had to fix was this beam. Originally it had a leg holding it up. This is clearly visible by paint shadow lines and by how it's been cut and notched. The previous owners had installed a big cross beam of 2x10s with 2 or 3 metal support columns (you can see it in the photo above), but because everything is uneven tree trunks, it didn't really work too great. Note the gap between the floor and the baseboard also.
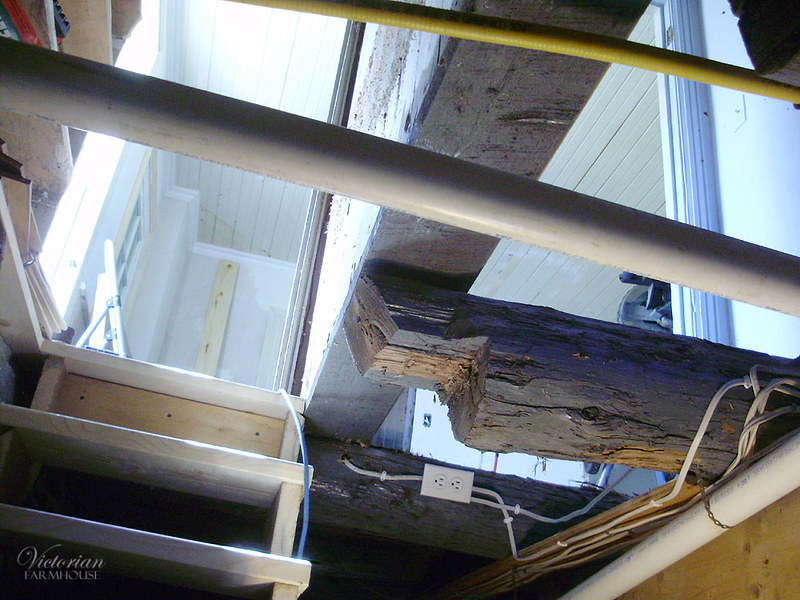
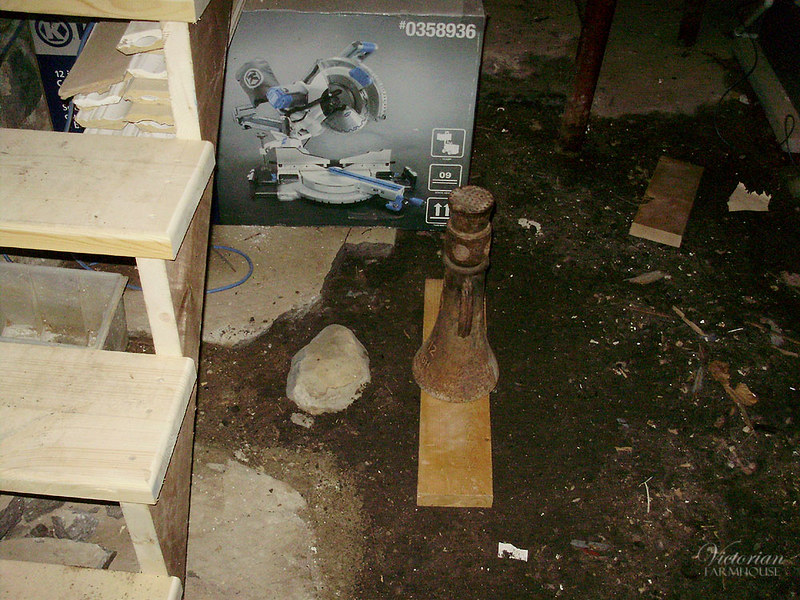
To fix this, we used an old jack to raise the beam, and then we installed a 4x4 sitting on a large stone.
In this photo it still looks a touch crooked, but I can assure you that it's only the floor board that is bent. The baseboard is now touching, the beam is tight to the staircase, and all the tops of the hand hewn beams line up perfectly. Having fixed this also straightened out the staircase by about an inch. The staircase wasn't too crooked, but every little bit helps.
With the new 4x4 post firmly in place, we removed the gig clunky (and poorly installed) 2x10 beam underneath, and we installed new 2x6 beams in between for better floor support (like we did in the office).
I started in the corner because it was the easiest to work on. Pierre was busy elsewhere and he helped me with the longer boards.

JUST this first board was already so much better that it "ate up" about 1/4" of floor space. This meant that the metal of the duct didn't fit anymore and I had to re-trim the hole! CRAZY!
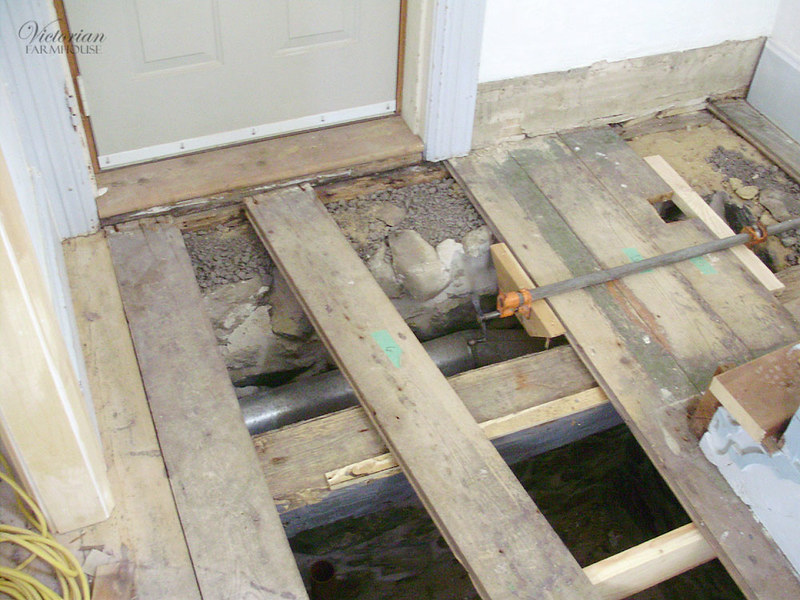
This floor went in place SO MUCH easier than in the office, because we didn't have that insane idiot plane all the boards (I don't even want to get into it but you can read allllll about it in the office flooring posts). I used a large board across the archway to clamp and pull the boards tight. Pipe clamps are essential for this. You might not think you need them, but some of these needed hundreds, if not thousands of pounds of torque to hold them exactly where they needed to go.
Nice tight seams:
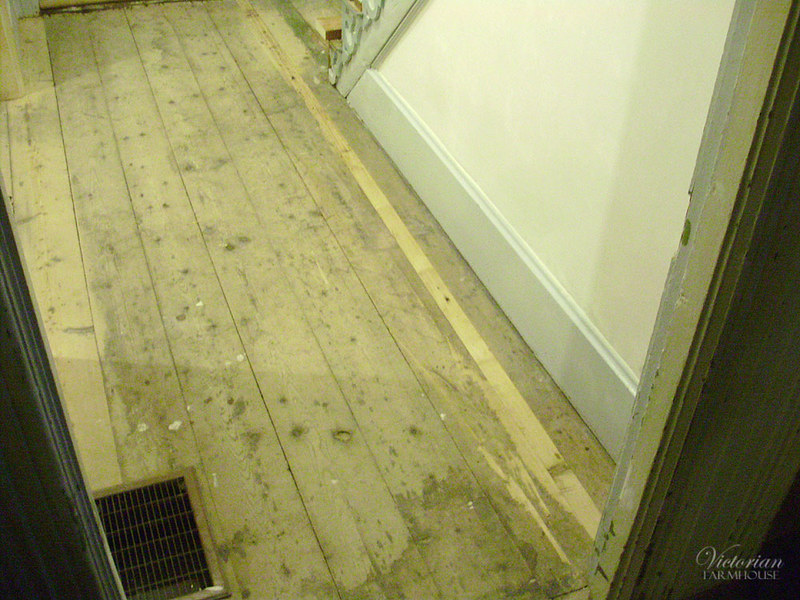
So here's how much gaps we took-up by reinstalling the floor. Maybe about an inch in just the width of a hallway.
Obviously we need to patch this with something, and luckily we had spare wood from the office (the last two boards that were against the far wall). HOWEVER, because everything is kind of randomly tight and loose and nailed in place, the entire gap varied in width. How to fix this? Easy. Since I'll be gluing fresh wood to widen the existing board, it will need a fresh square edge. All I had to do was cut a 2" wide tracing block, and follow the edge of the staircase board to transfer a line. The new line will not be straight, but the new "patching wood" will be a perfect 2" and I can cut that on the table saw. This is essentially more scribing, which is used often in cabinetry and installation jobs.
The old board was cut on the line, the salvaged wood was trimmed to 2" and it was glued onto the floor board. Easier said than done, especially with limited tools, and not enough clamps, but it worked out. Since I had 2 boards, I used a mitred cut to join the three pieces together (see photos).
The last board at the bottom of the stairs would also need to be widened in the same way. It looks like a short piece, but the board extends a few feet under the stairs. A very high spot on the edge was hand-planed to help the floor guys a bit.
The finished board was then grooved on the staircase side to go over the tongue, and it was a nice TIGHT fit. We had trouble getting it in place, and I had to take a few shavings off from it in one or two spots, but in the end, it fit beautifully.
Here's the joint. In an ideal world I would have had enough old wood to salvage, but these were the only pieces I had.
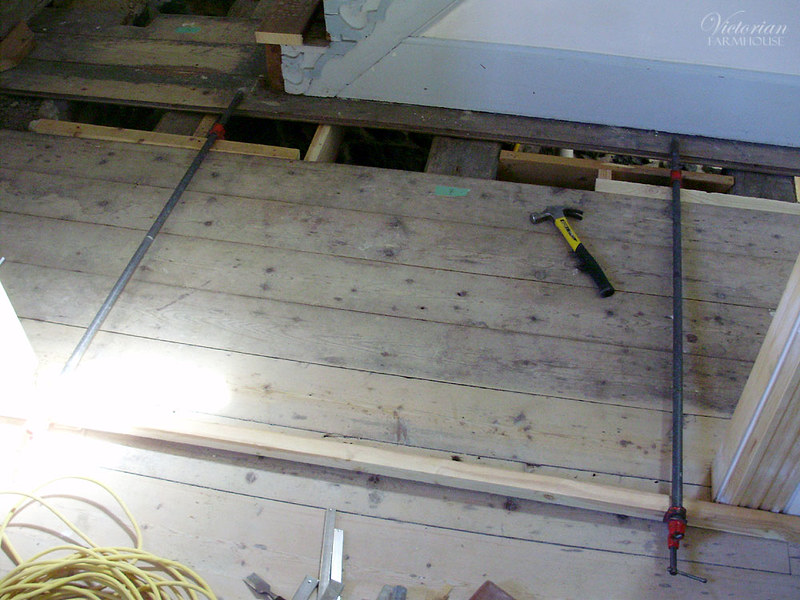
The last board was still being glued up. This was the end of the day (poor evening lighting).
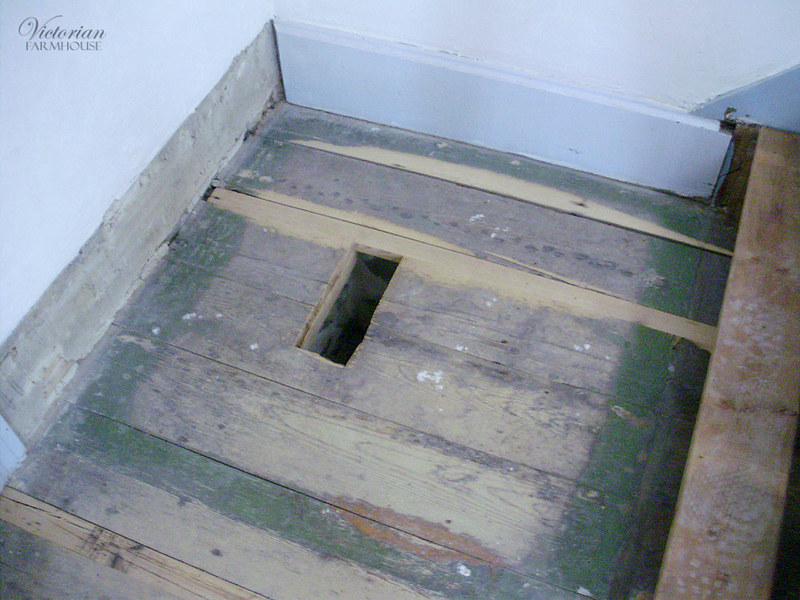
Next day with the last piece installed. Under the vent, I also installed two cross-braces perpendicular to the boards to lock everything together. You can see a bit of one peeking through the hole. These extend across 3 boards (tight against the stone on one side).
There's still a TINY bit of a wave, but it's infinitely better than it was.
I made a whole bunch of plugs in cedar to patch all the giant nail holes. These were mostly only along the last beam in the office.
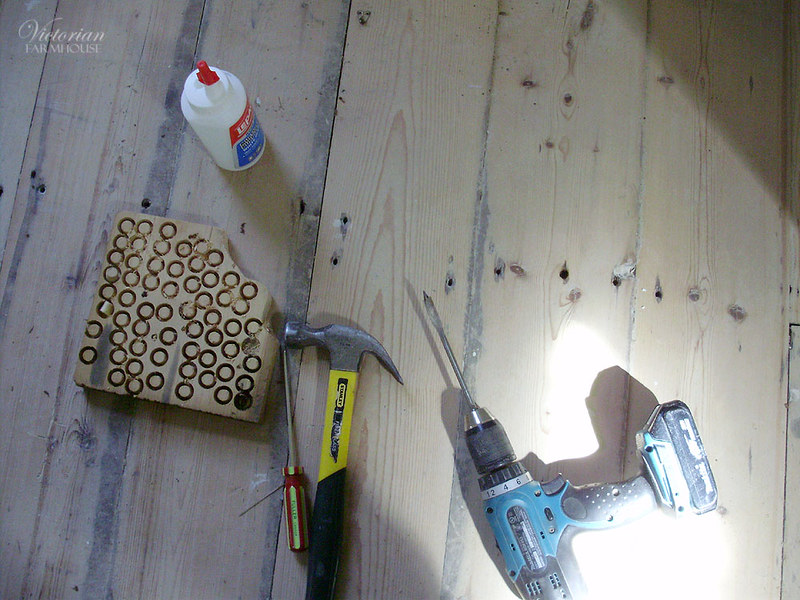
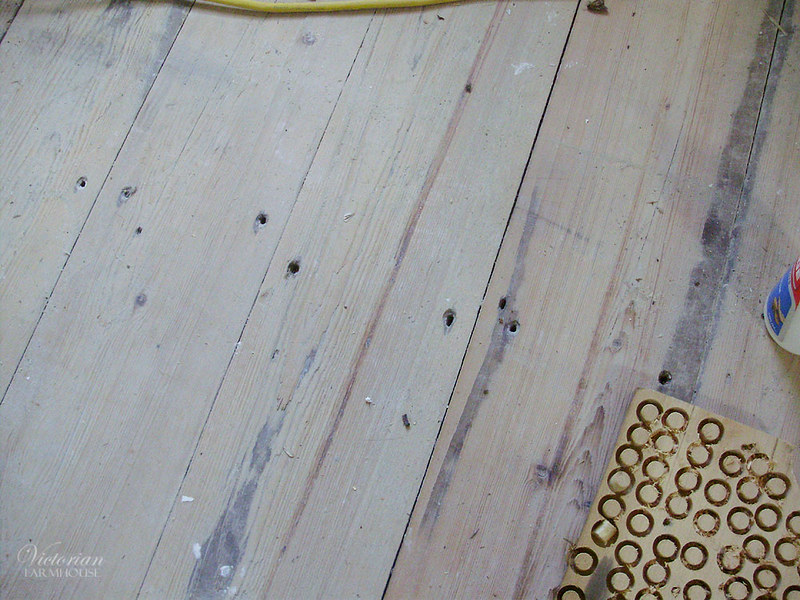
We puttied all the nail holes we could find. 90% of these will be completely sanded out, but a few will show. I also filled 2 other knot holes, and the old electrical hole in the archway.

You will gag when you see how gorgeous the old floors turned out!
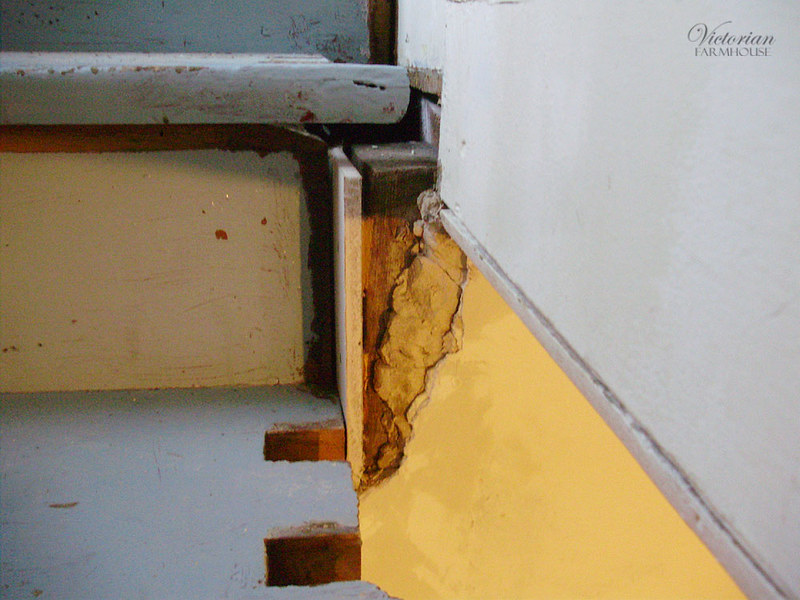
The last little bit of work we did which is related was fixing up this corner. Sadly I don't remember if I had a proper before photo, but this corner has a spindle mostly in front of it, and there were bits of plywood and moulding boxed around the corner to hide some damage or poor joints.
You can sort of see how close that spindle needs to slide in to fit. We patched this with drywall to make a nice corner again. If I have to, I'll trim part of the dovetail to fit that one spindle.
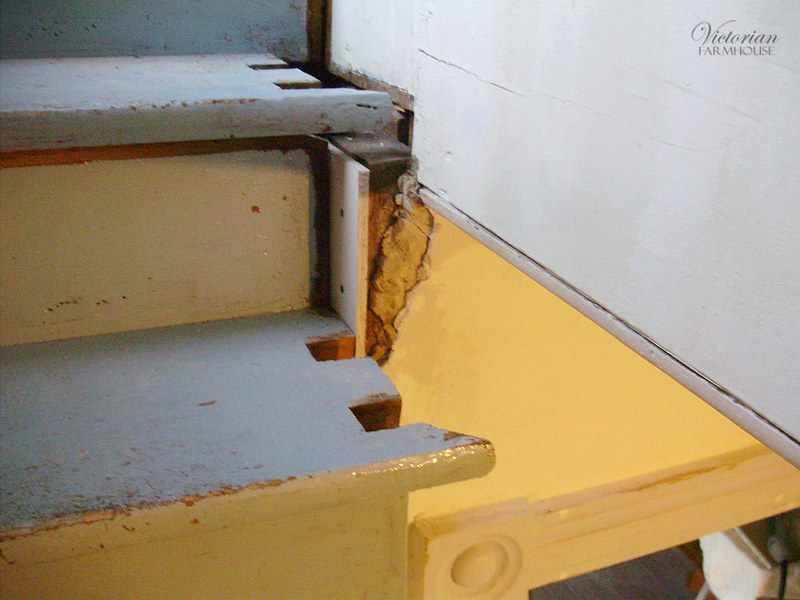
This will be filled with compound, and a paper corner joint. On top I'll install a small wooden cap, since it extends past the step (otherwise we could just box it in).
WOW WOW WOW. What a great series of photos! When you're done your sense of satisfaction will be tremendous. We used to live in a large 120 yr old four square home and did tons of work too. Now we live in a tiny converted grain bin. Its easy to heat but your pics make me miss all the space we once had.
ReplyDeleteI half-jokingly told my friends their house was going to wind up looking even nicer than mine. :(
DeleteGeez! What a lot of work! Cannot wait for the Finished images!
ReplyDeleteI'm looking forward to post them too. Soon. There will also be photos of the painted living room and office.
DeleteLooking great!
ReplyDeleteThe one-sided dovetails on the balusters are very cool. I have yet to deal with finished stairs, so I'm not that familiar with the joinery, but I wonder if that was a common detail? Seems like it would add a lot of stiffness, sine more than just the newel is locked in.
It's a very simple cut to make (since it's in the end of the steps) and it's infinitely better than some of the modern methods (which is usually just a nail, a dowel, or possibly a screw.
Delete