The first messy job was to gut the room. There was nothing at all in the room that I wanted to save. In the end, the only things that survived were the window, and the shower head.
The tile installation was so shoddily done, that a few whacks with a hammer made the tiles shatter and bounce off the subfloor.
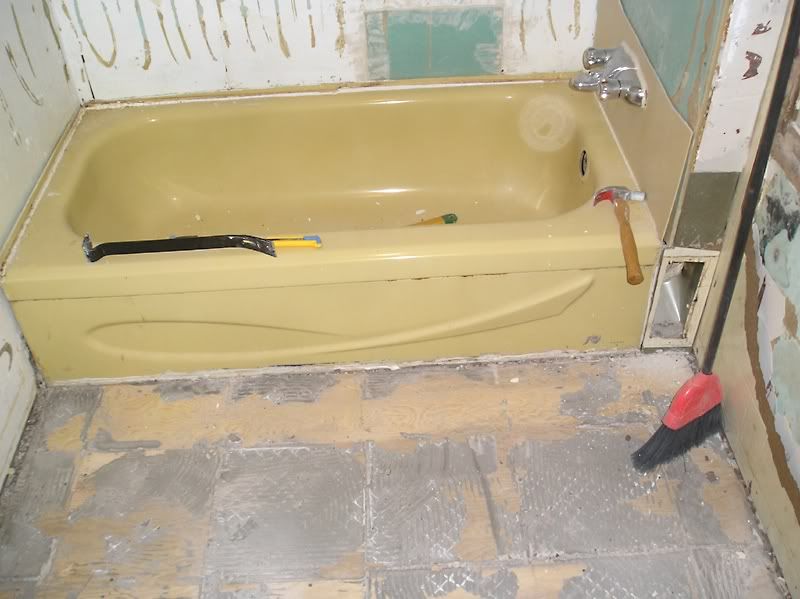
The sub floor turned out to be a layer of 1/4" plywood screwed (randomly everywhere) over another layer of 1/4" which was nailed in place with spiral nails (like the rest of the upstairs). Many sections were just awful patch jobs, and there were many weak areas in the floor, which had caused tiles to crack (see before photos).
The toilet valve was in the most retarded spot you can imagine, which was pretty much directly against the floor. I had a very hard time turning off the water to get he toilet out. The toilet was so gross and dirty that I just went and put it at the road.
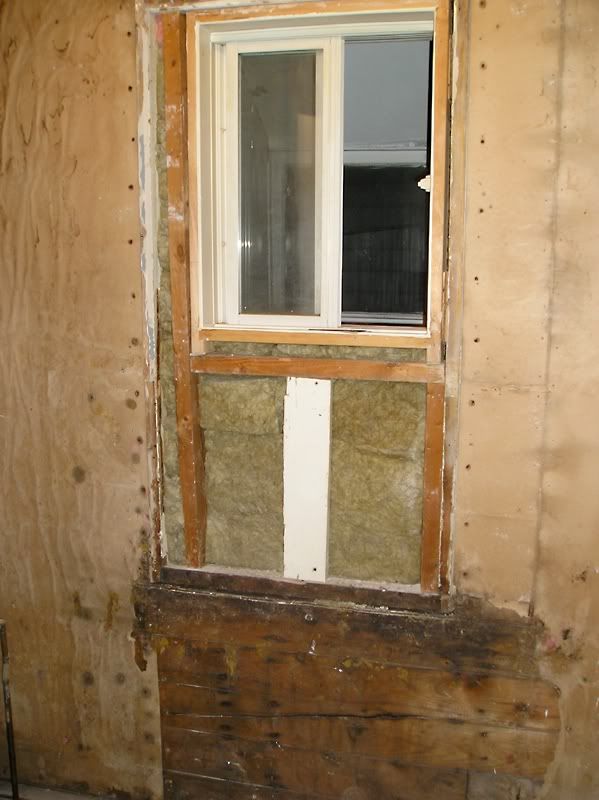
The cheap wall-board tile was also hiding a very poor patch job on the wall under the window. Because the room originally had an old (large) window, when they fitted a smaller one, they didn't flatten out the existing ledge (where the window frame met up with the drywall originally. Instead, they just cut drywall to fit around it, and plastered over the wood frame. I'm not sure if I got a good photo of this, but if I did, I'll post it.
The tub was interesting. I had never removed one before, and I wasn't sure how they went in. I had to look it up. I was going to buy one of those special drain tools, but in the end, I just used a large pair of pliers (held in the open position against the tabs inside the drain) and unscrewed it with the help of a hammer, acting as a lever.
When I took the tub to the road with my dad, we didn't even have time to go get back down the stairs with the vanity, when someone was already loading it into their van. They were going to bring it to the scrap yard (to get cash for the steel).
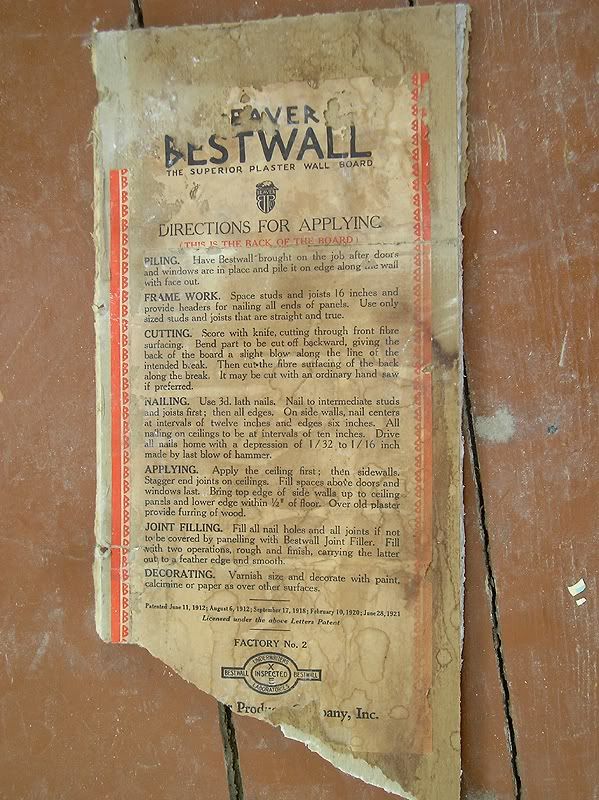
During the wall demo, I found out a few interesting things. the first was one of the labels from the original drywall in the house, which had patent dates up to 1921. The drywall is by the "Beaver Products Company" and is marketed as "Beaver Bestwall". This original drywall is 3/8" thick, so remember this for later.
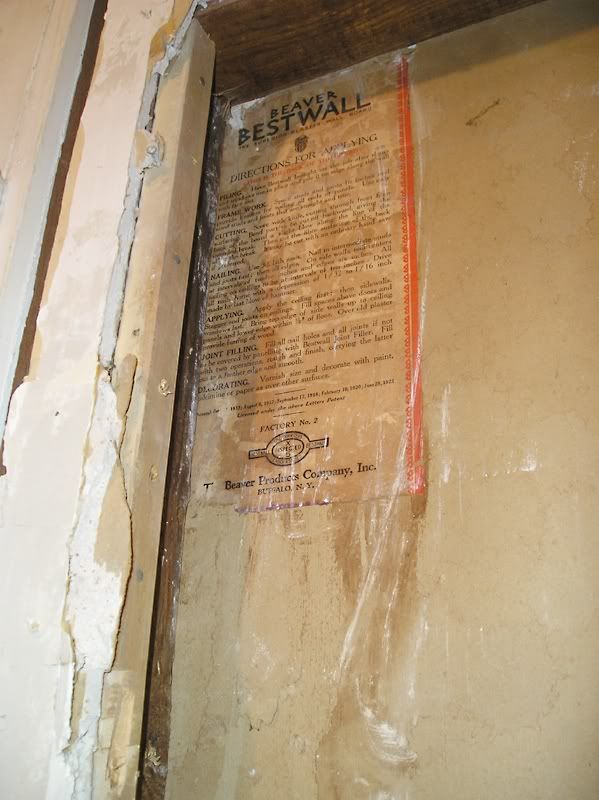
Here's a more detailed photo of one of these labels:
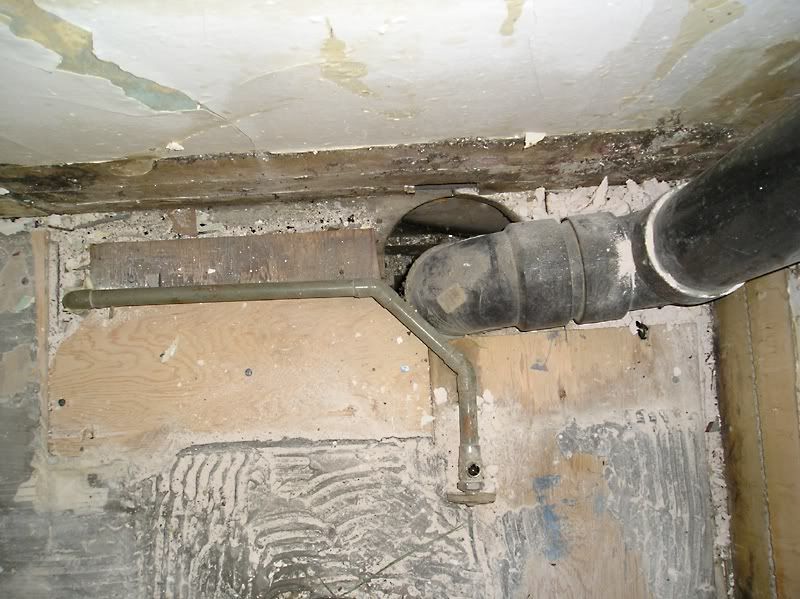
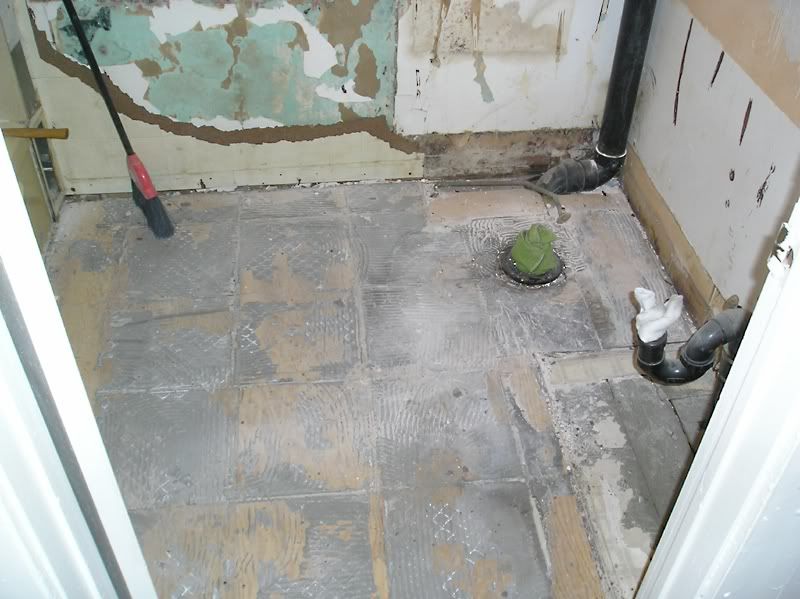
After I got all of the floor patches out, I was left with a large open hole in the floor, with easy access to most of the plumbing. A few problems were easy to spot. The first, was that in their floor-screwing frenzy, they had drilled a hole into the bath tub drain line, the second was that the toilet seal had been leaking slightly, and the third was that there was still some old galvanized steel piping in use (cold water).
I thought I had more photos posted with the floor patches, etc (I did take many photos of everything), but it's not that important. Anyways, long story short, I ran all new copper piping. Sounds expensive, but it really wasn't (since I did it all myself). I needed something like 4 lengths of pipe, maybe 5 (at 18$ each) as well as a bunch of elbows/corners.
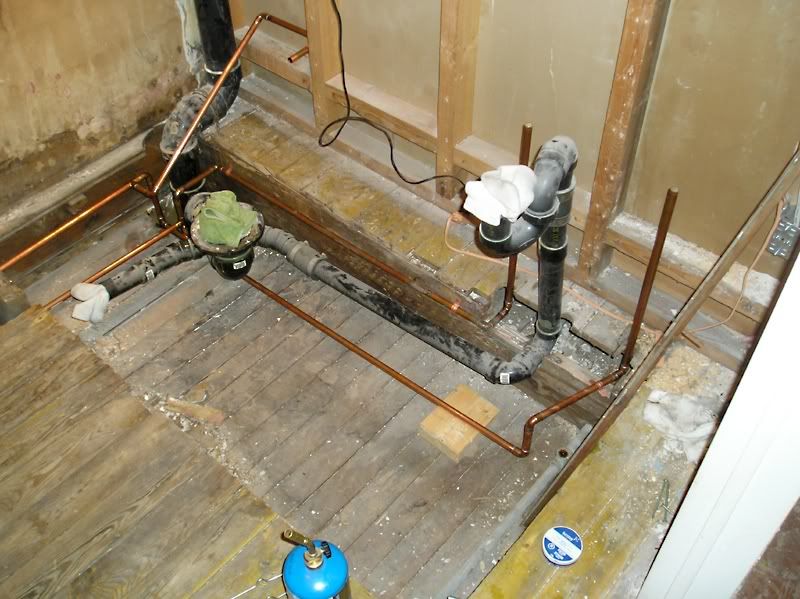
You can also see the rubber flex-type joint for the sink drain (near the toilet flange), which I ended up replacing with an ABS joint/glue instead.
Now, something that was interesting is that half the outer (hallway) wall was old (the part with the label above), and the other, which had the door, was newer. The newer section of wall was installed crooked, and I chose not to fix this since I would have had to re-drywall half the wall in the hallway. In hind sight, I probably should have fixed this, but it's WAAAAAY too late now.
Not only was the wall off, the studs were not the same size. The original wall studs are 2" x 2 11/16" (really odd size, but that's what they were). So the new ones were only 2 1/2". I had to add some 1/4" flat shims over the studs to make this work.
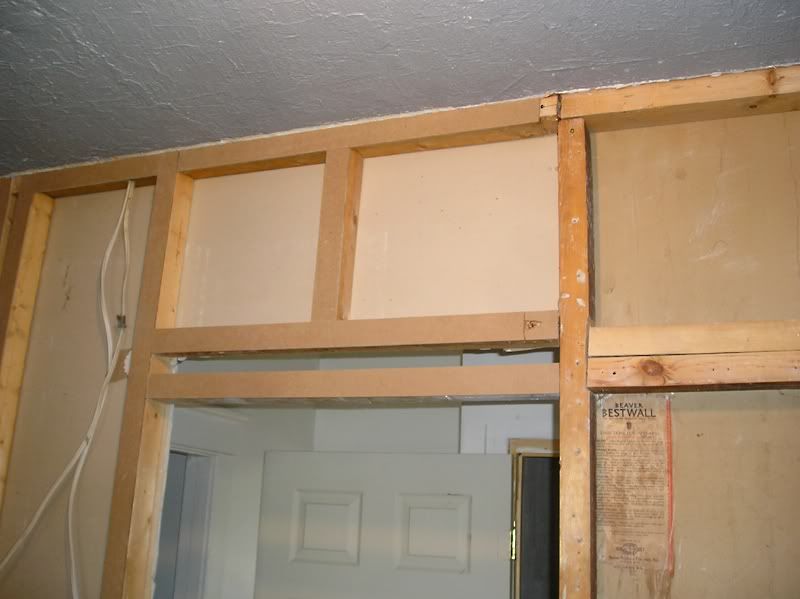
They had also made the doorway taller than all the other ones in order to use a store bought door (80" tall). I shrunk down the opening to the same size as the other original doors (~78").
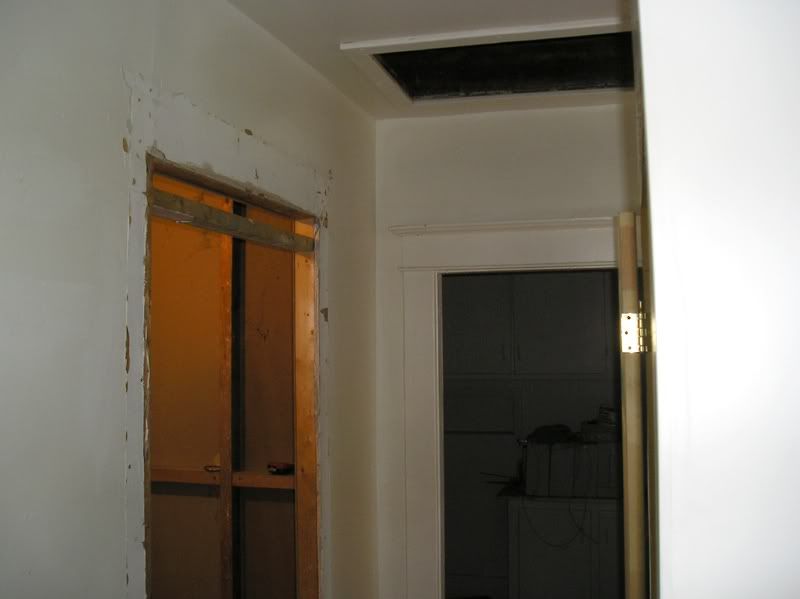
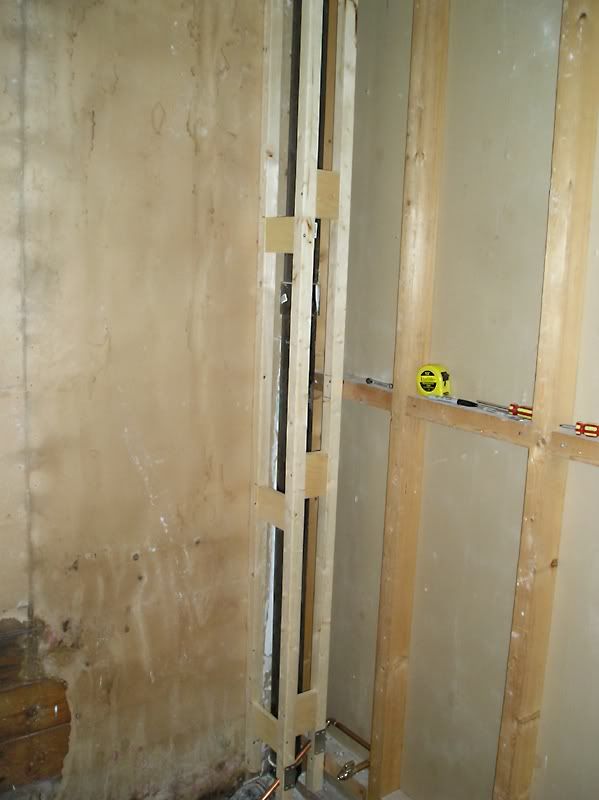
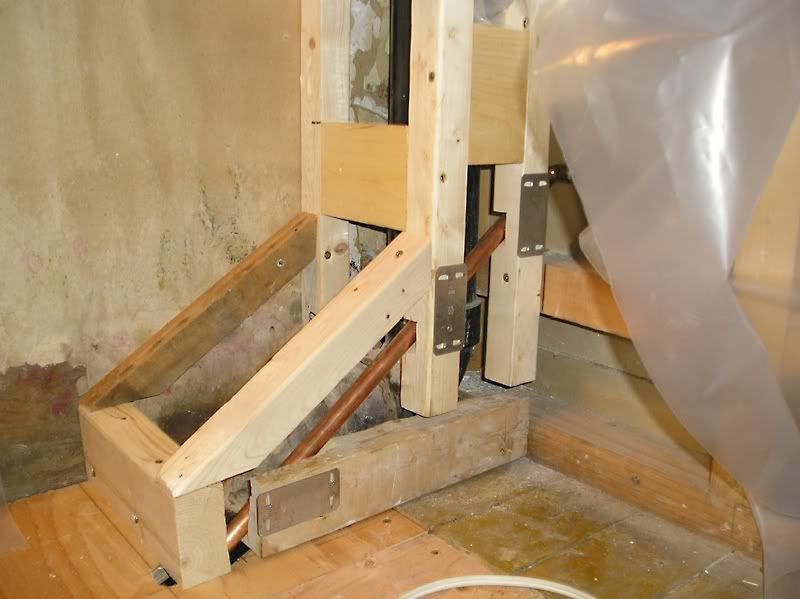
I drastically shrunk-down the plumbing stack, and decided that I would make the base kind of like a shoe (with an angle), but I couldn't make the base until I had the new plywood (sub)floor down.
Then came the electrical.
As-is, the room had one overhead light switch, which was on the same grid as the laundry room (just a light switch and overhead bulb). Apart from this was a GCFI plug over the sink on it's own circuit.
I decided that I wanted wiring for an overhead fixture (I originally wanted pot lights) some wall sconces on each side of a mirror, and a bath fan. I disconnected the existing switch and bulb, and I ran a new wire up from the basement. This fed into the light switch box, and then to the three items listed.
I had never done house wiring except for very simple circuits, so this was a bit scary (but only because I wasn't sure if I could have these 3 things on the same breaker or not - my dad confirmed that it was perfectly fine, and that I could have up to 6 plugs and 2? light switches on a single breaker, so this was still pretty "light" duty). I had to figure out how to wire this circuit "in parallel". This means that all the items on the circuit have power independently, and that each one could be turned on/off without affecting anything else on the circuit. Once I figured out how to do it, it was pretty simple, but I had to do a lot of trial and error using spare sockets and light bulbs:
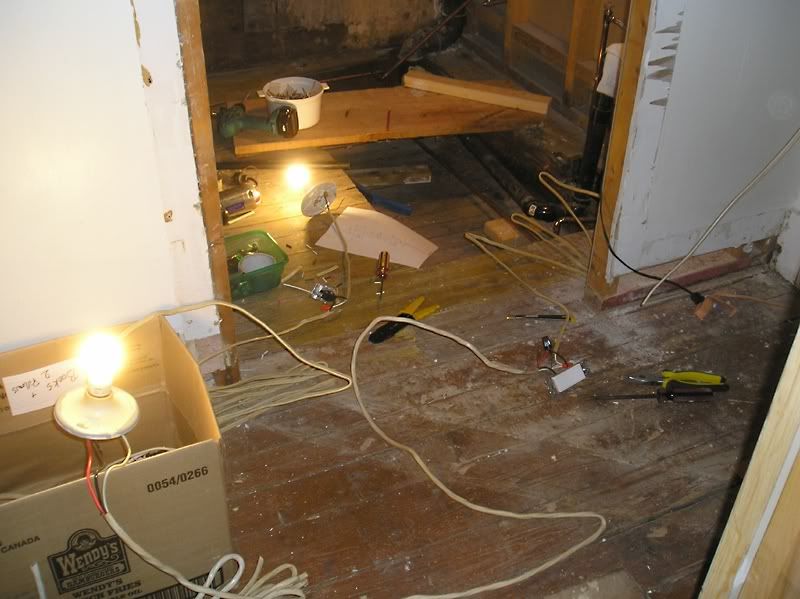
I was actually REALLY proud of myself after I had everything wired properly. Don't worry, the house will NOT burn down.
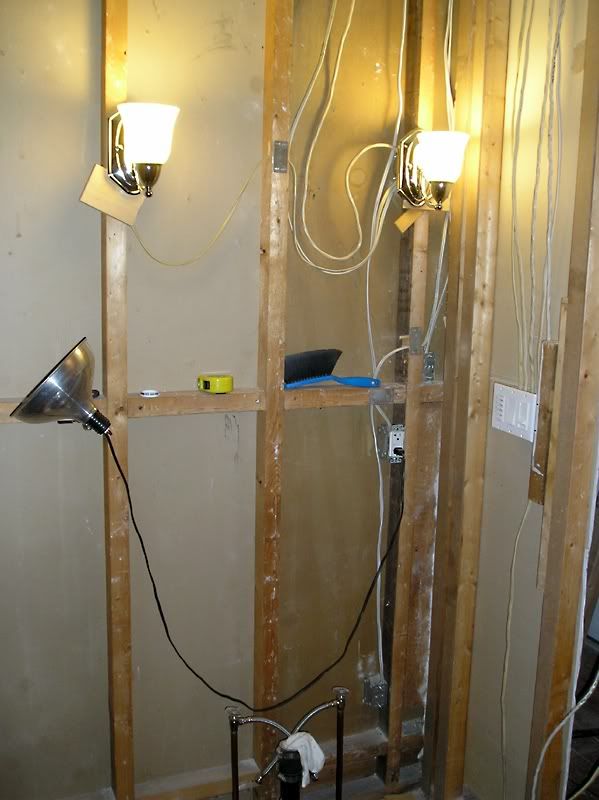
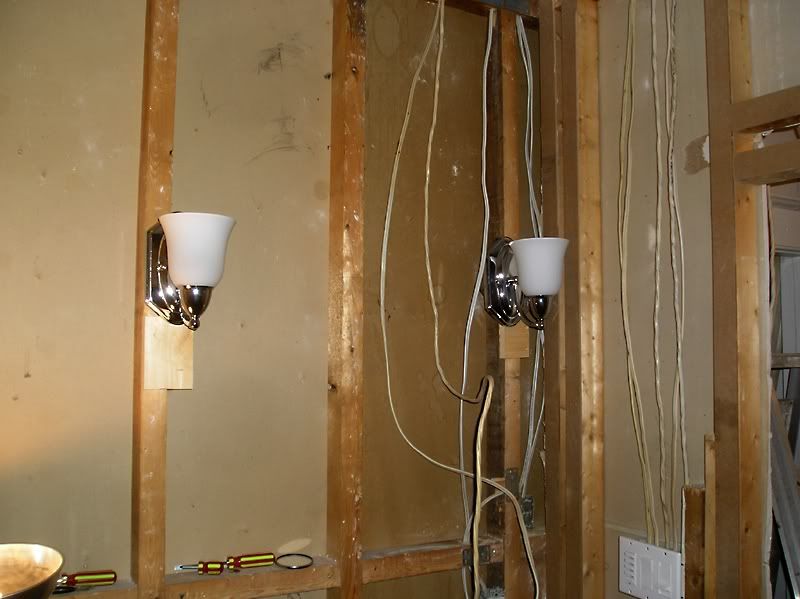
I then addressed the window issue. I took a while to decide weather or not I should re-install a large window, but in the end I decided that the small one was much more useful, since I could have either a towel bar or a small cabinet underneath it (there is no other wall space available in the room).
So I redid the crappy hack-job that they had in there, and cut some proper studs, with sloped bases to match the angled board at the base of the window opening (which they had not done).
BEFORE:
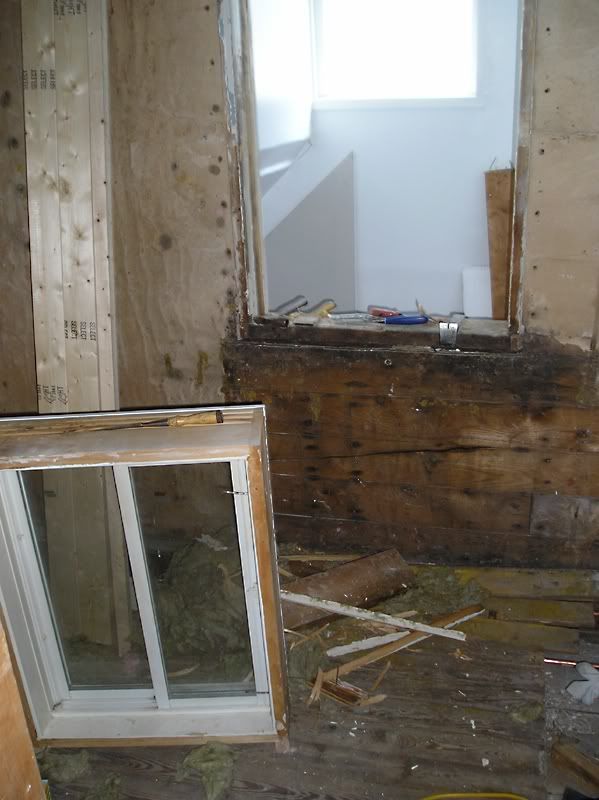
This is viewed from the back staircase just outside the bathroom:
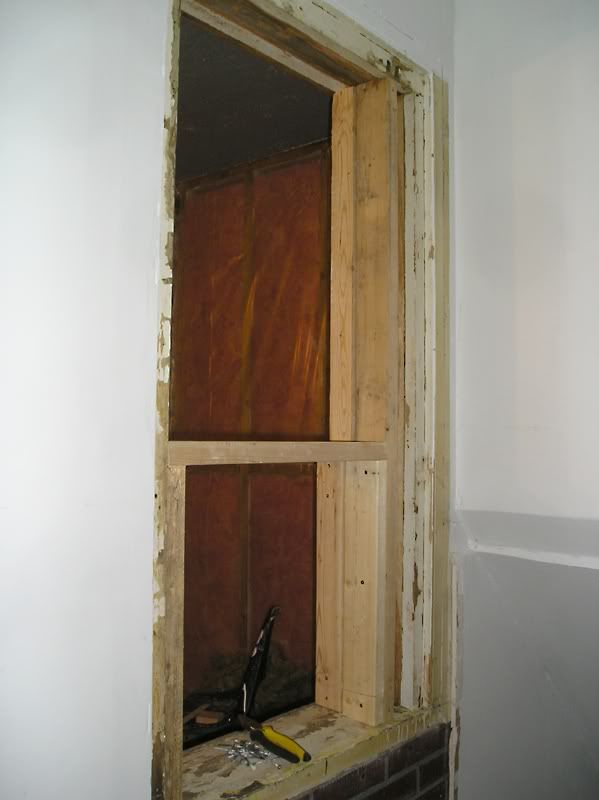
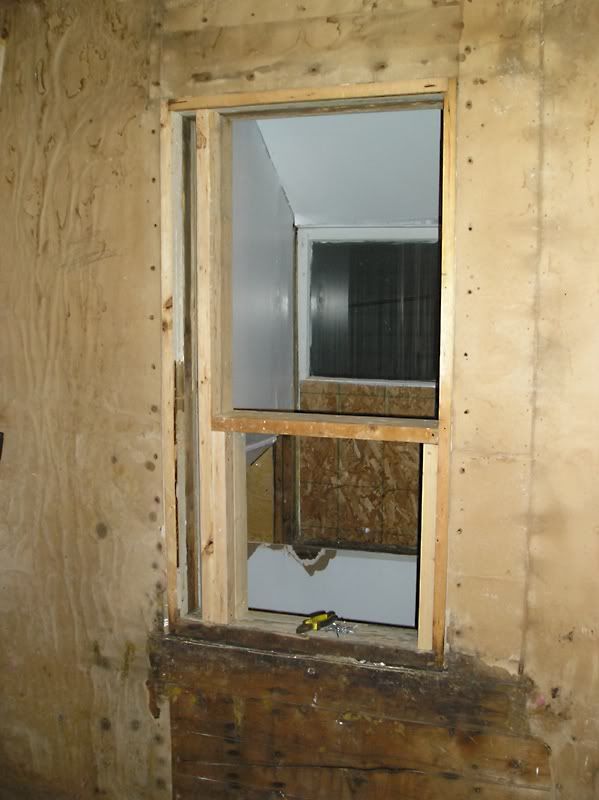
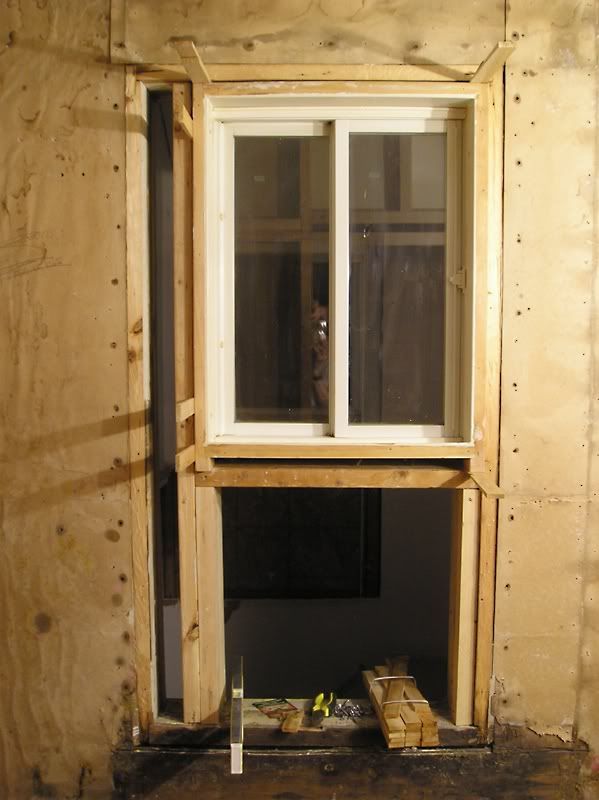
I also chiseled-off the wood frame flush with the exterior tongue and groove wall (so that it could be covered with drywall properly).
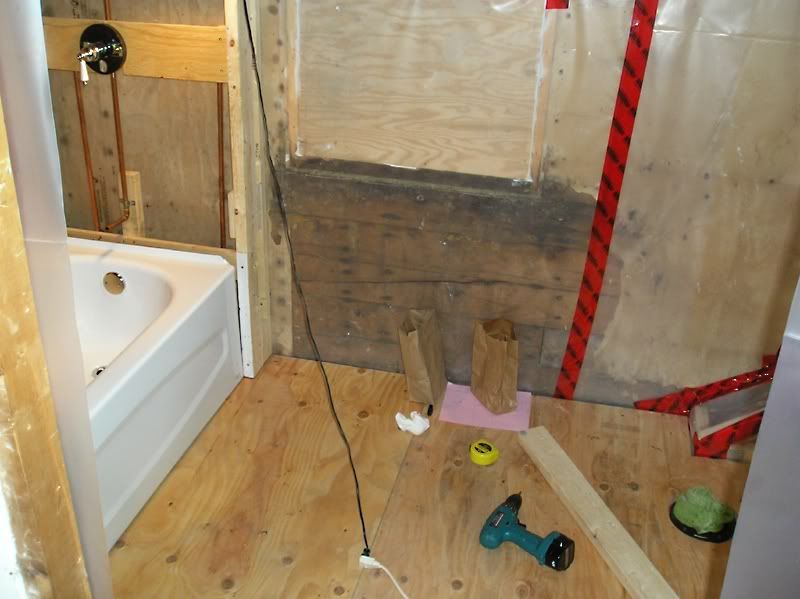
Once I finished with the plumbing, bath drain, and plumbing wall for the shower, I laid down my new subfloor, which was a 3/4" plywood, screwed all over the place (avoiding areas with pipes/drains) and I even used 3" screws into the joists. I wanted a solid base for the tiles. Some people say that I should have used the Schluter-System, and others say that I needed thinset cement as a base over the plywood, but I didn't want to walk up a step when I got into the bathroom, so I didn't use anything else.
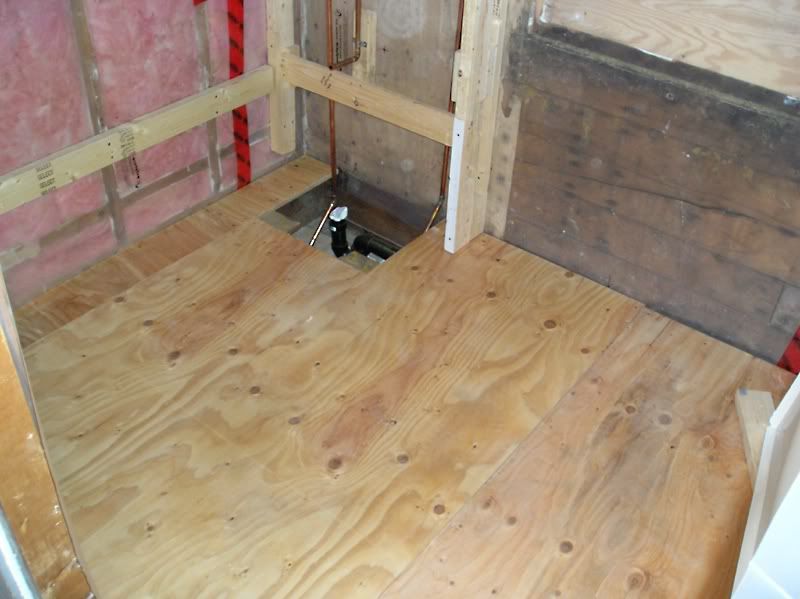
Here's the plumbing stack "foot" with very trickily-installed toilet pipe going through it.
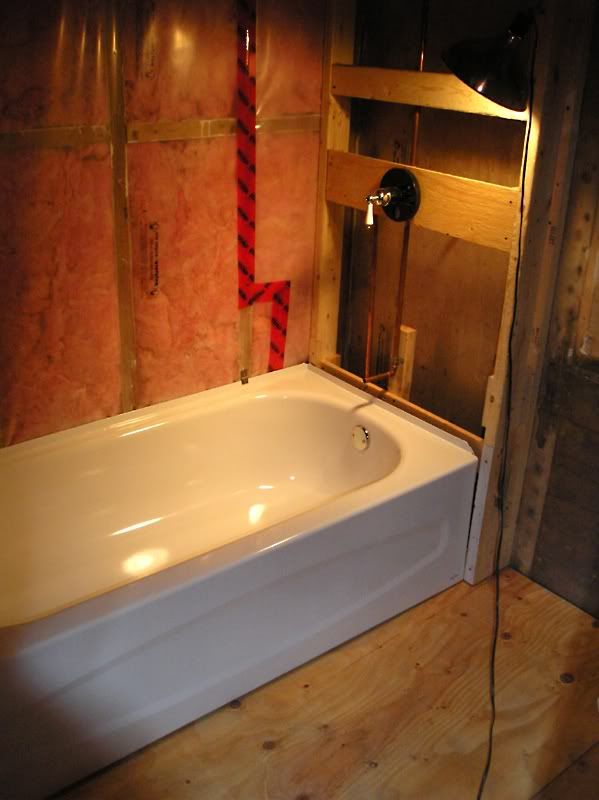
TUB! I bought the cheapest tub I could find, but I wanted an enameled steel one, not acrylic or any of that other junk. I was hoping to find a decent second hand one for 60$ at the Re-Store, but they only had 2 white ones, and one had a rusty drain opening, the other had a huge chip. So... this one cost 200$. :(
Continue in Part 2...

The first home we restored {an 1856 farmhouse} had mushrooms growing around the toilet.
ReplyDeleteWhen we pulled up all the flooring the joists were so rotted it was amazing the toilet and cast iron claw foot tub never fell thru the floor. We had rot and mold to deal with. When it done it was my favorite room in the house! :-)
Awesome job JC.
Smiles,Miss. Dolly
Eeeek! You were lucky indeed. But then again, I find that a lot of these older houses were "overbuilt" and it takes quite a bit for them to fall apart.
ReplyDelete