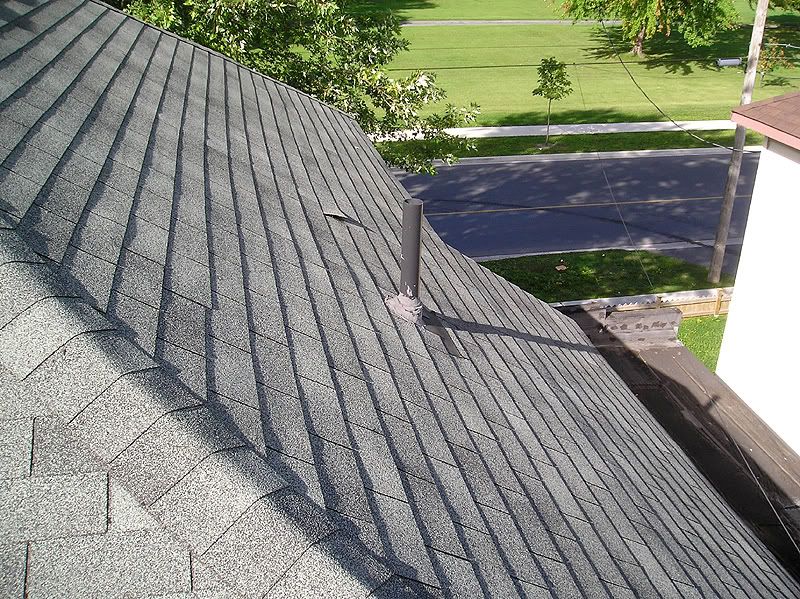
To start the job, I looked at a few on-line videos, and I quite like the ones by "Ask The Builder.com". In it, he shows an easy way to locate the best spot for the hole, which is to just put a nail into the roof from the interior. You can see the shingle that's raised-up by the nail in this photo. This is where the vent will go.
As I mentioned previously, the hardest part was the actual drilling of the hole. For further details on that, just go back to the previous entry. Once I had that done, my aluminum 4" duct was easy to install, using 3 small stainless steel screws.
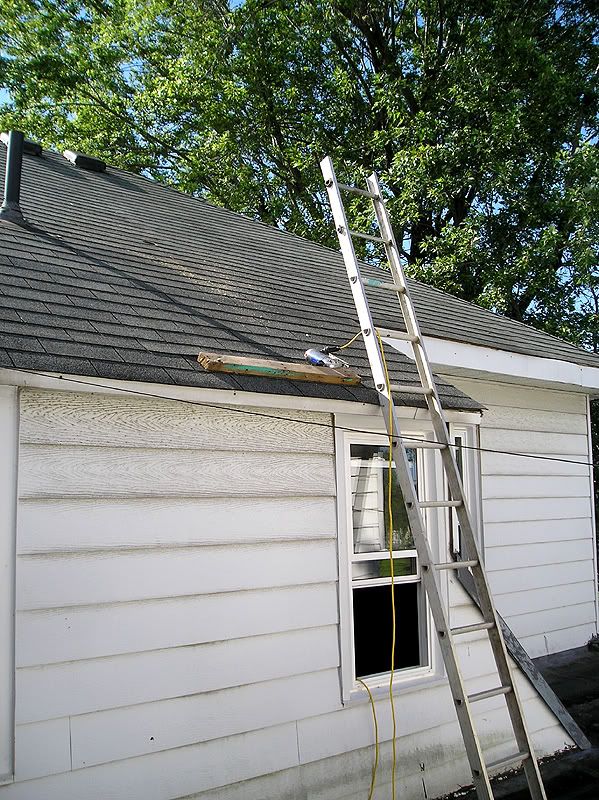
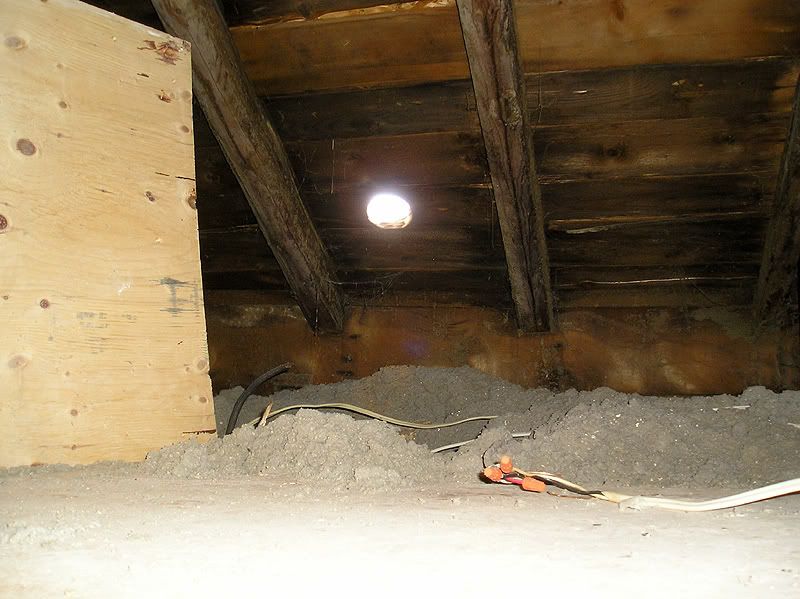
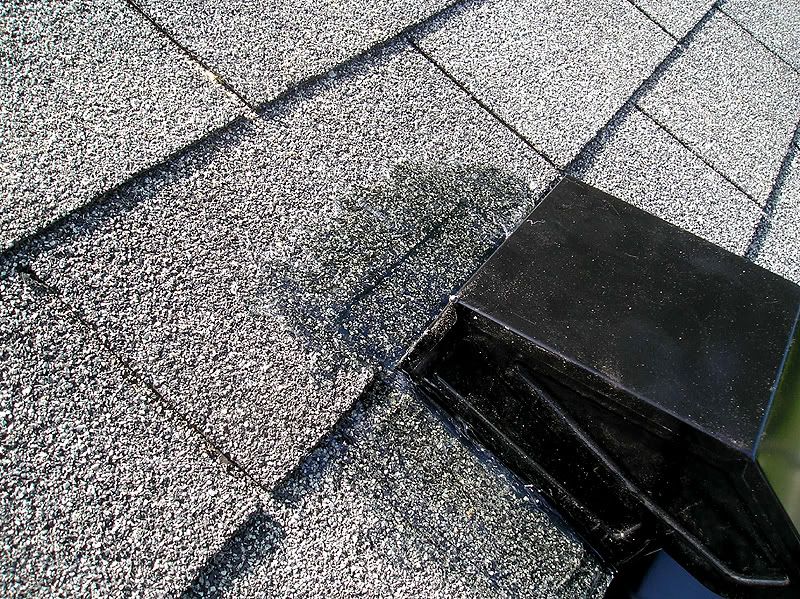
The next step was to remove the nails that would be in the way of sliding the vent into place, and to trim the shingles. Now this is where I screwed up. I had my measurements with me, but I cut an inch off the top shingle, and I shouldn't have. If I had brought-up the vent with me on the roof I would have caught this mistake. In the end, I was able to just piece-back the 1 inch strip, and bury it in clear roofing cement (along with the underside, and edges and anywhere that would help against leaks).
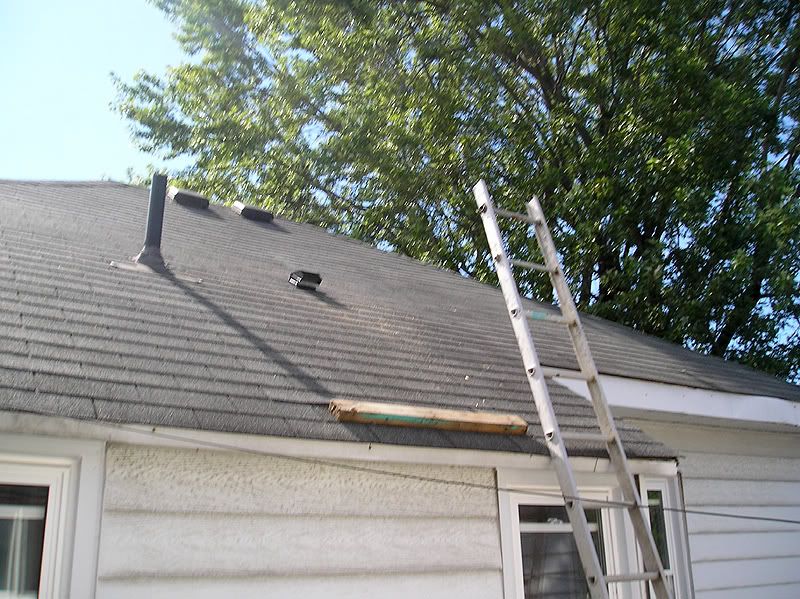
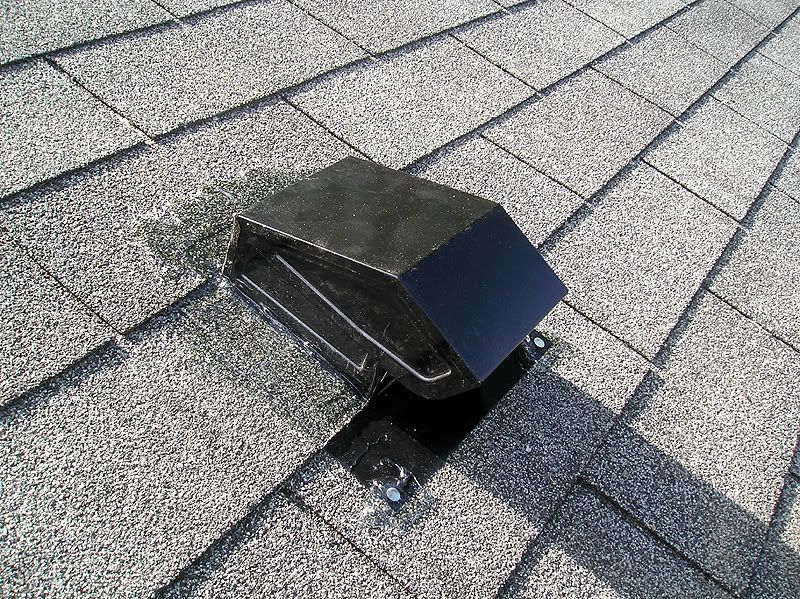
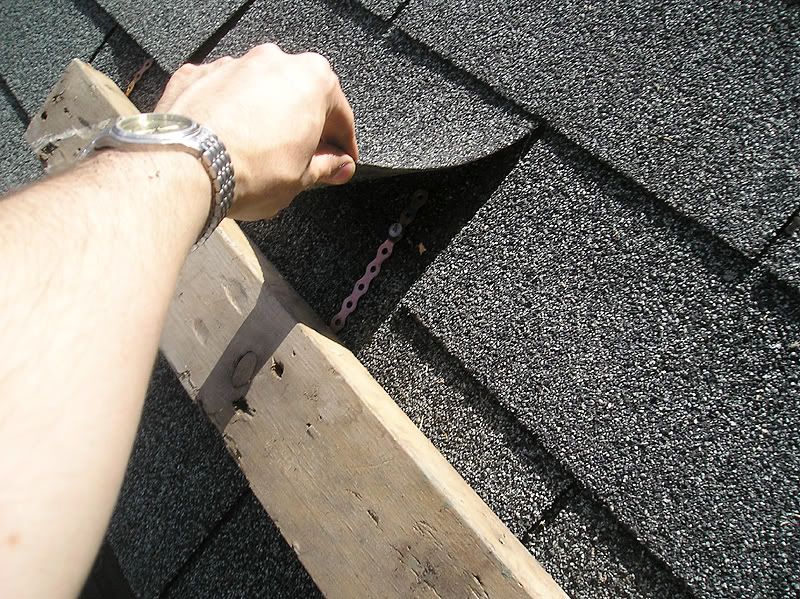
You can see the goof here. The cement is clear, and it's laid-down pretty thick here (about 1/4 inch thick) over the edges of the vent.
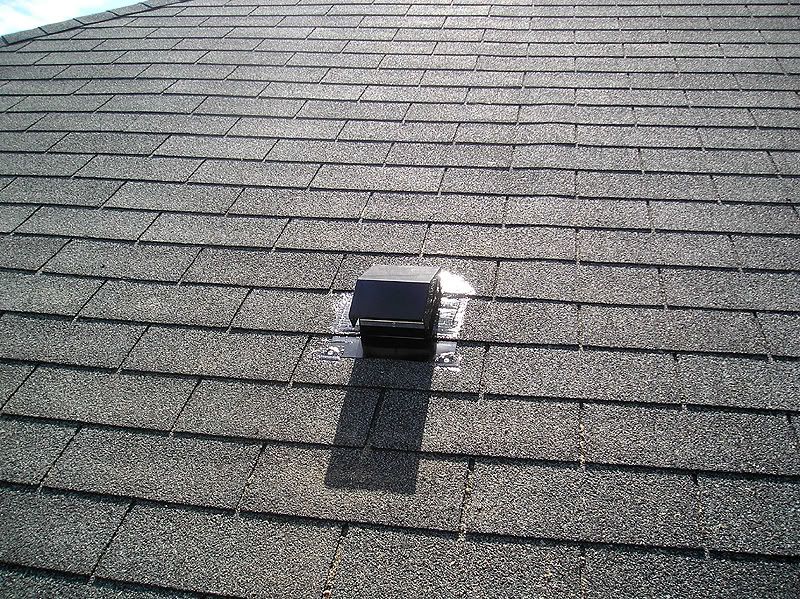
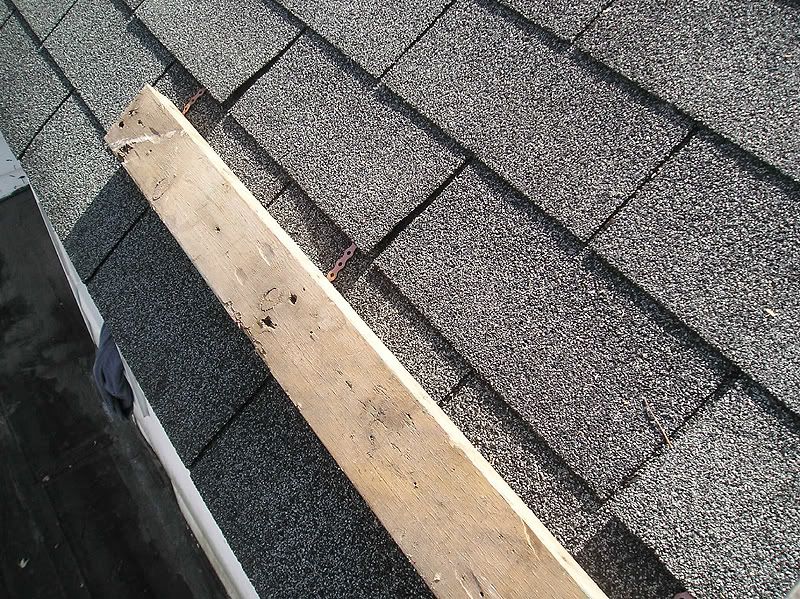
Lastly, here is my homemade ledge. Very crude, but it did the trick.
Yay! All done.
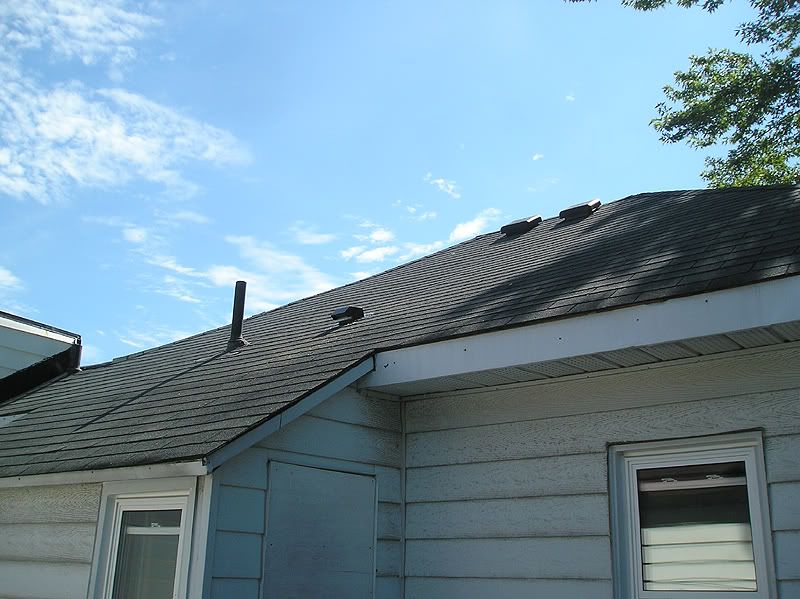
Now that it's been a few days, I've had the chance to use the fan, but I think there might be a problem with the top flap/shutter. It seems like after a few minutes of running the fan it then suddenly sounds like it's being obstructed. This means I'll have to crawl back up there again. Ugh...
Also, while I was up in the attic, I decided to run the "spare" wire that used to feed the bathroom light into a permanent overhead attic light with a switch next to the attic door. The attic actually used to have a working light in it, but it was on the old knob and tube system, and it's not connected anymore (the socket is also missing from the fixture).
***
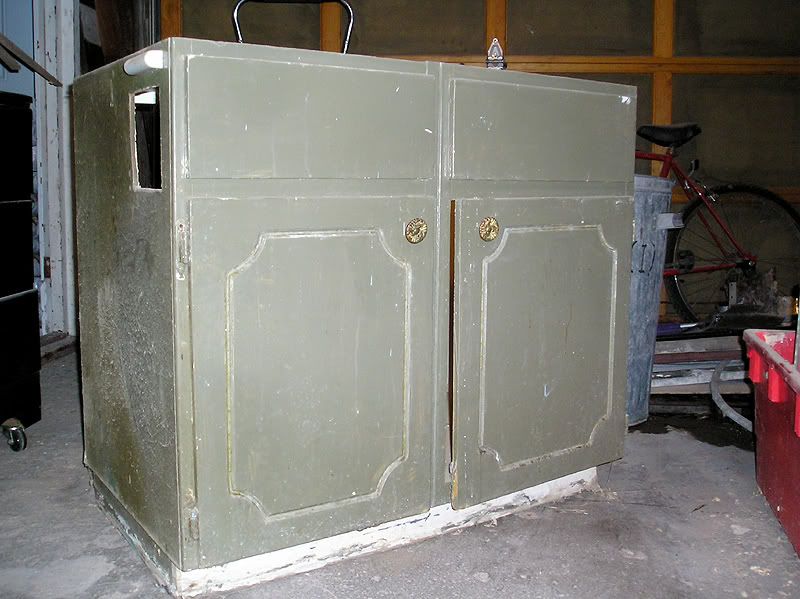
Another fun side note is that while cleaning the garage last week, I finally decided to get rid of the old vanity. My dad had suggested that I should keep it and use it for storage, but it's just so disgusting that I dragged it to the road. I did take a few "glamour shots" of it for you guys. LOL. I'll spare you and only post the ONE photo, but do take a moment to bask in its hideousness.

JC, your temporary ledge was a very neat job. I'm not familiar with the holed frisket hanging from the screw to the temporary ledge. There are always new things to learn at your site, and I am becoming a handyman — at least vicariously.
ReplyDeleteHi JC! You made a very detailed account about doing your vent, but I think you overlooked some problems there. I’m so glad that you found it soon before it got worse. Anyway, I hope you aren’t having any troubles with it now so that you can prevent moisture damage to the wall and ceiling surfaces.
ReplyDeleteLakisha Autin
What did I overlook? Everything was installed as described in the instructions that came with the vent. I haven't had any problems in over a year. The small piece that got cut too far was not cut far enough to cause a leak, so I don't understand what I overlooked.
Delete