Anyhow. I went and bought some more spray paint, and I'm not quite sure how helpful the new colours will be (copper and gold). I think I will really need to play around with it to get the look I want.
I also happened to come across a local add recently for this "Moving Man's General Store" (The Moving Man is a local company that does moving, as the name suggests). So it's this big flea market type store filled with a mix of antiques, collectibles, and junk. Just the kind of place I love visiting. And it's actually back at the little strip-mall where I used to live (I lived in an apartment over the mall).
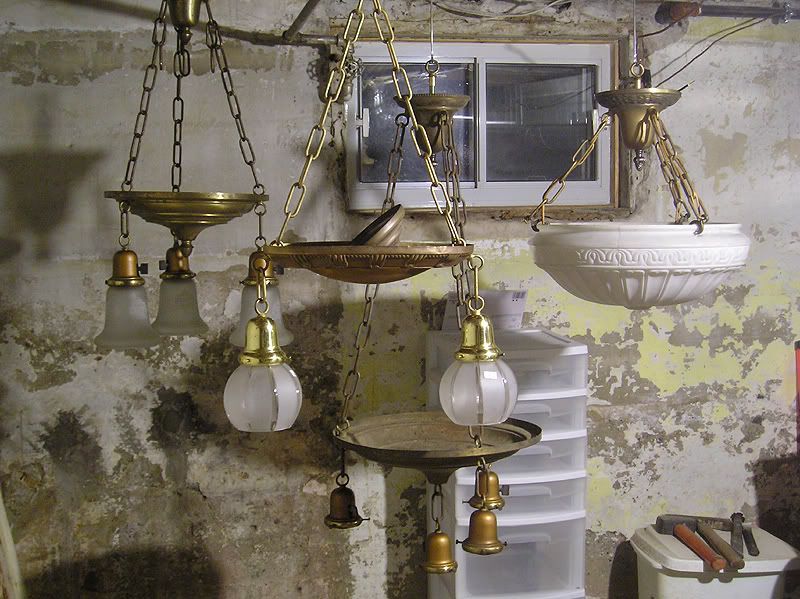
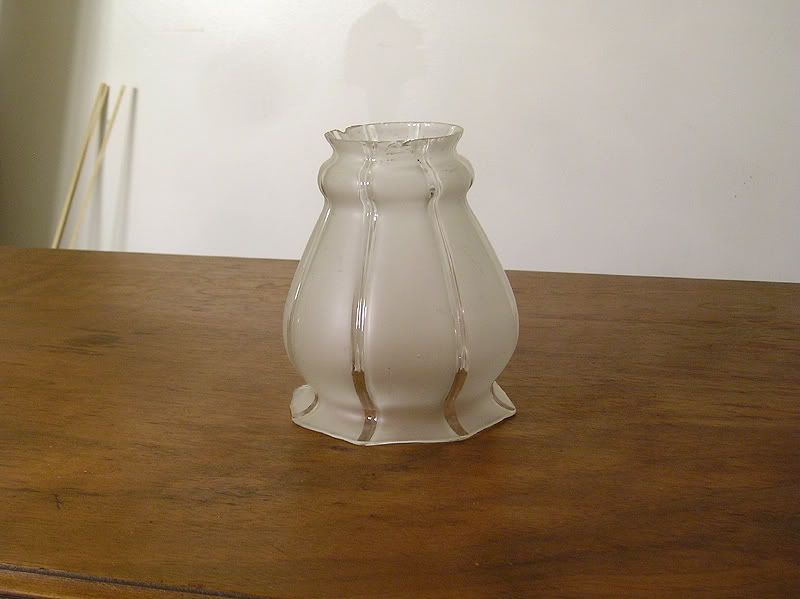
The store was much larger than I had thought it would be, and I found 3 antique glass shades at only 1$ each! I bought 2 matched round ones, and a matching "squash blossom" shaped one in the same pattern. I decided that the round set would look good on my "spare" fixture, so I assembled it this evening and it looks quite good. The other shade will be a spare.
My basement is really starting to look like an antique lighting store, LOL.

You'll note that the oval fixture with the round globes has the canopy sitting inside it. I haven't drilled the holes in it to mount the loop rings for the chains. I also set up the other fixtures-up with some temporary loops (to have them hang down straight).
Here's the other shade:

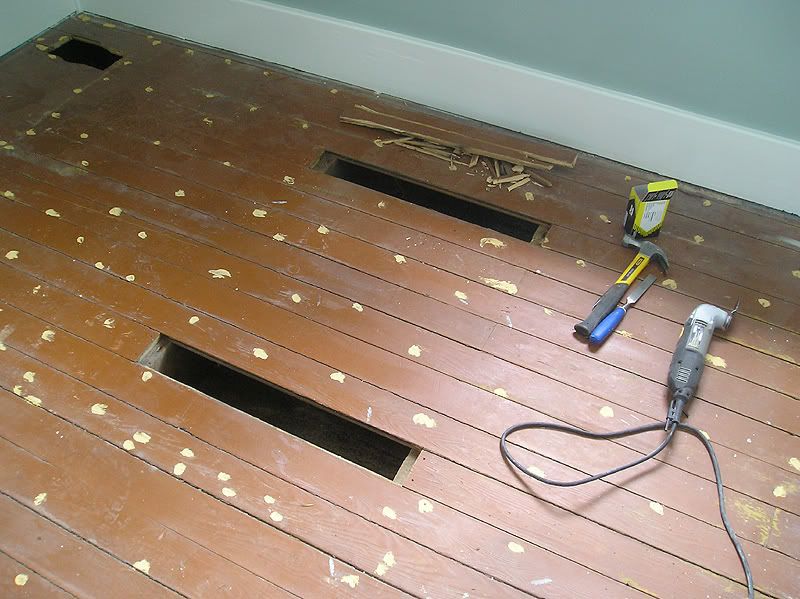
I worked some more on the MB floor this afternoon, and I finally decided that I would patch the two "so-so" damaged boards, so I got started on that.

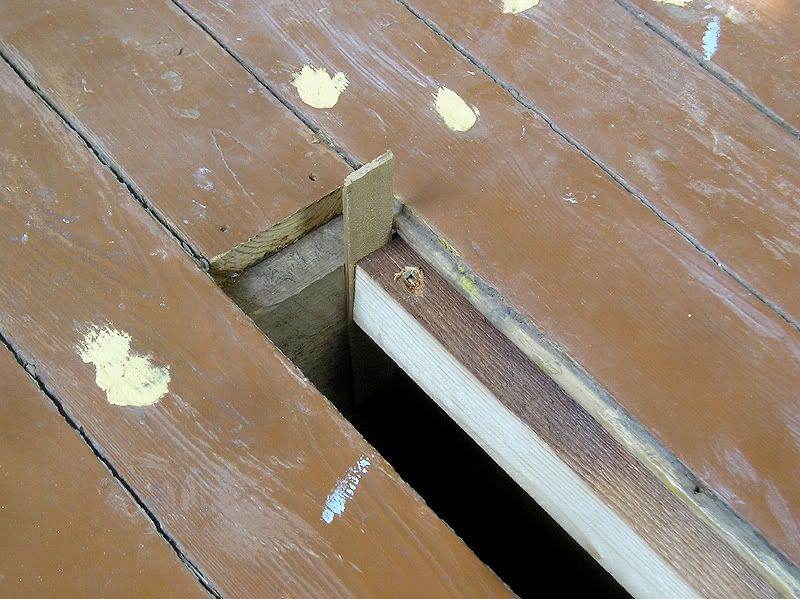
I installed my reinforcement blocks too. I just cut a piece of 2x2 and wedged them in place tightly, followed with a long screw at each end (into the joists). These will serve as support for the side of the board that will have the bottom groove (of the tongue and groove) cut away to fit into place.

More soon.

No comments:
Post a Comment