When working with t-g flooring, you must remember that all edges of each board need support. So when you cut out old boards, it's not always possible to slide them back into place (where the tongue and groove on each side is held in place). In some areas, such as a small patch, you may need to cut the bottom half of the groove to be able to slide the board in place. In this case, you will need to provide a support underneath that edge, otherwise it will snap when you put your weight on it (the exception to this is if you have a sub-floor. In that case there's no problem since the entire board is supported.
I was lucky with the odd layout and gaps in the bottom of the stair wall (since it was added over the laminate (not a bright idea but I'm not rebuilding the entire thing including the MB closet to fix this), so for the most part, I was able to slide almost all my boards in place.
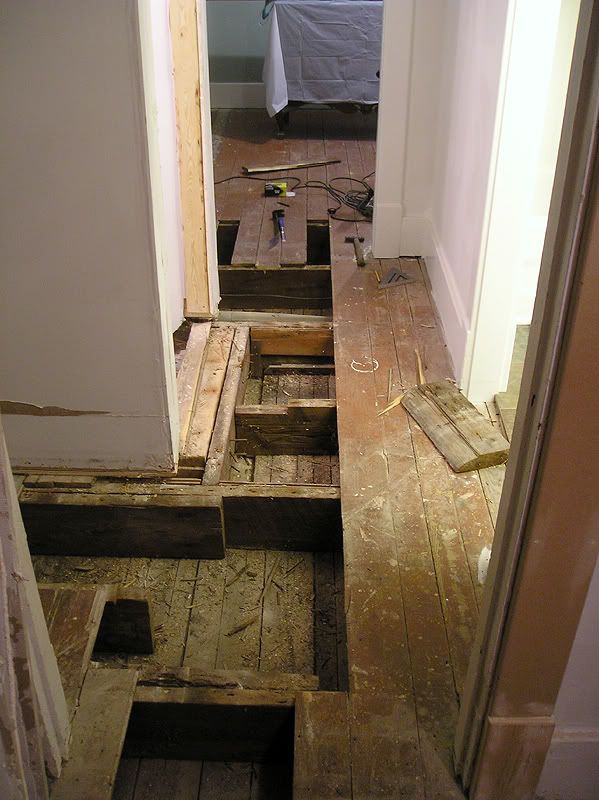
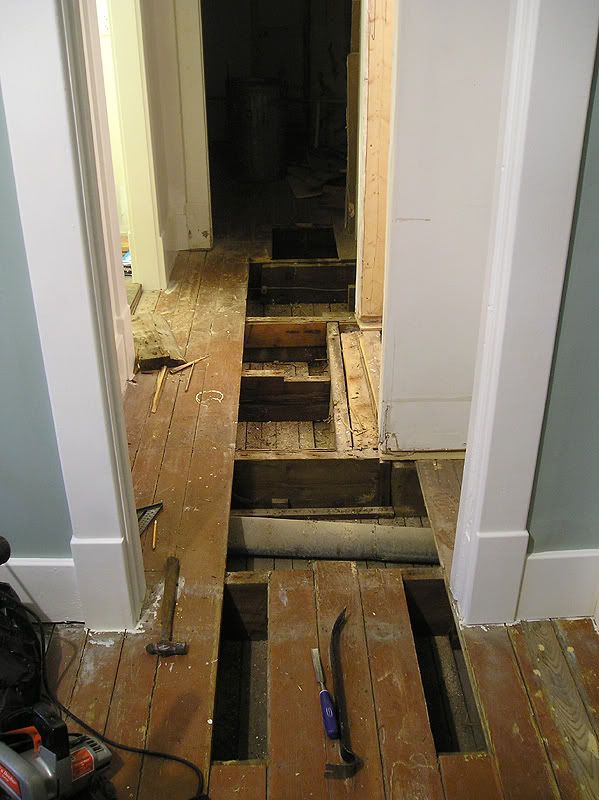
The first step was to cut away all the bad spots. When ding this, try (as much as possible) to stagger the joints.


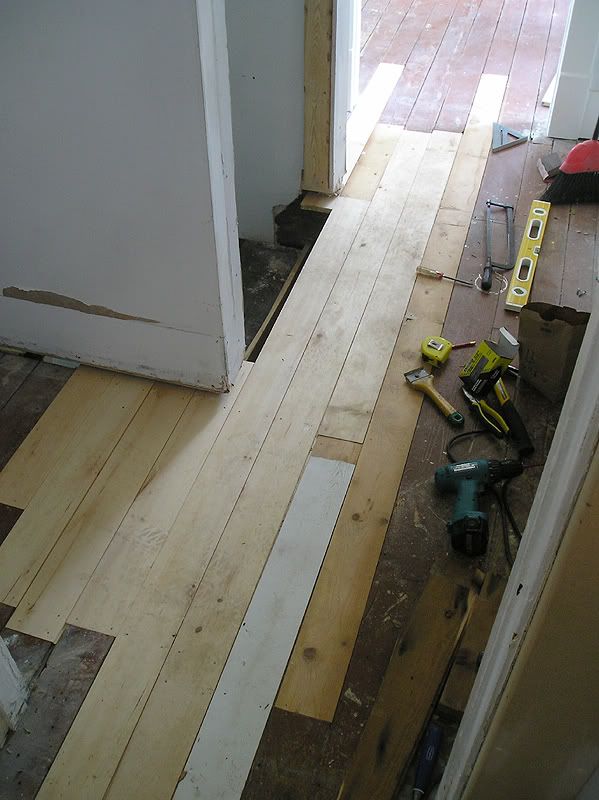
In my case, I was just top-nailing all my boards down on the joists. I didn't take many "during" photos, since there wasn't much to see. On several of the long boards, I had to carefully slide them in place, then use a large hammer and a block to drive them in. If you do this, make a bit of a rounded end on the edged of the tongue and groove at the end of the board, to help it slide more smoothly.
Finished patch job:


Wow. Those are the types of fixes where we just throw up our hands and say, "forget it!" You have a lot of patience!!!
ReplyDelete