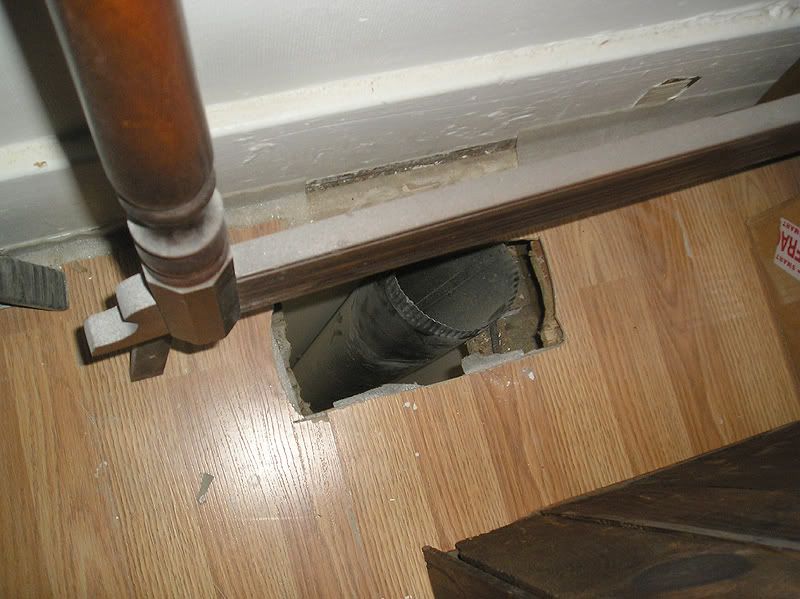
This whole area deals with the heating "stack" for the upstairs "L" bedroom, which runs next to the living room door and next to the front door. I took down this drywall stack so that I could fix the botch job they did. First, they were covering a light switch, which I'm sure isn't legal, since you need to be able to access it, and there was a really hideous "access door" at the bottom.
This is the best views I have of it:
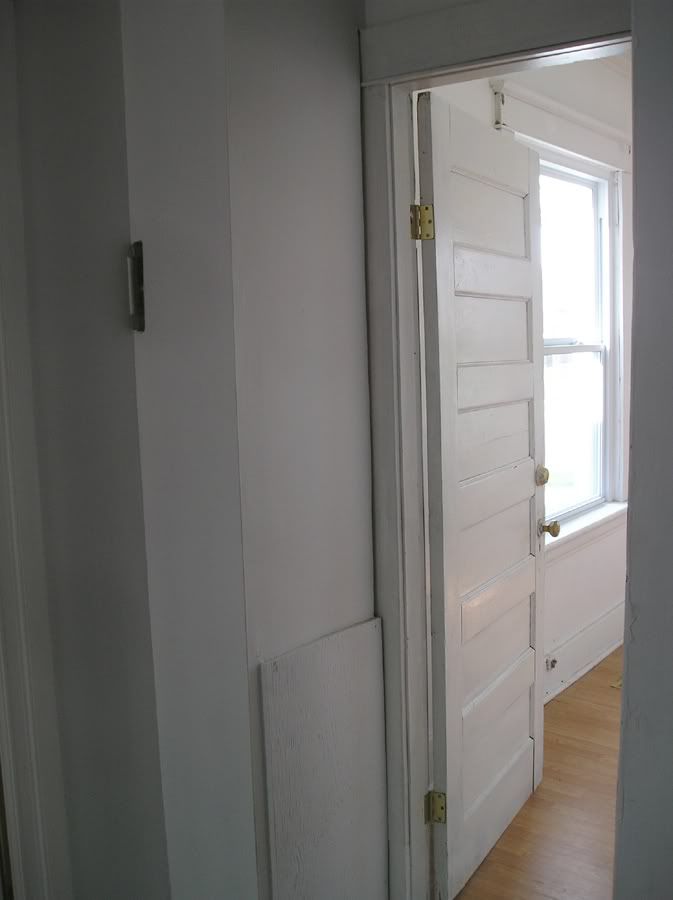
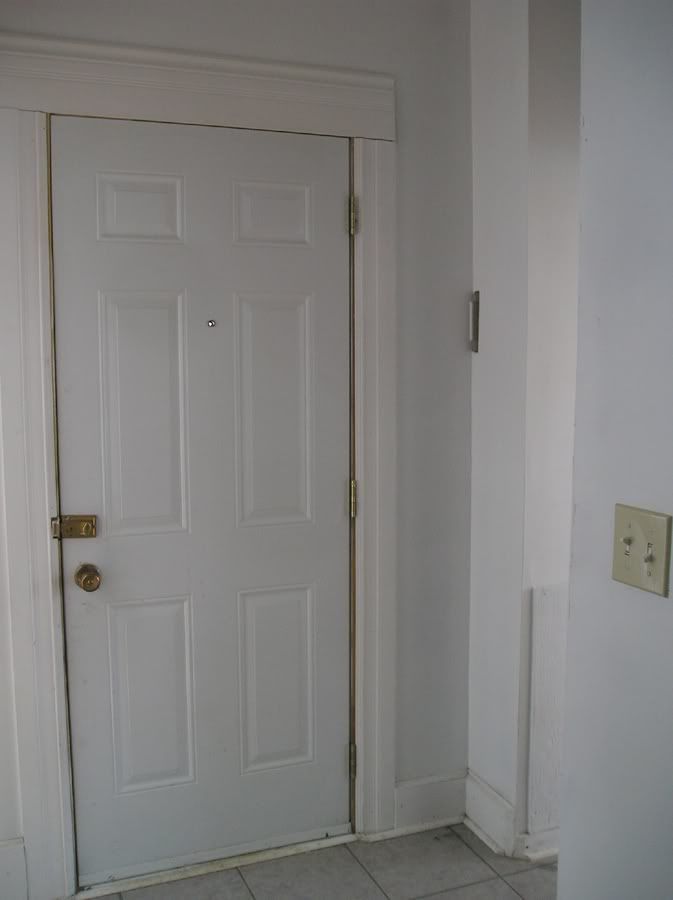
I love demolition. Can you tell?
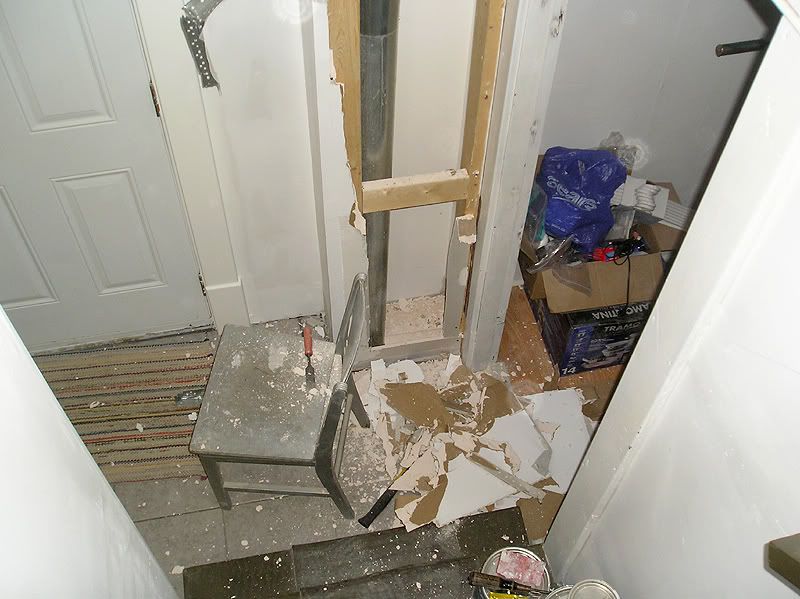
What a botch job.
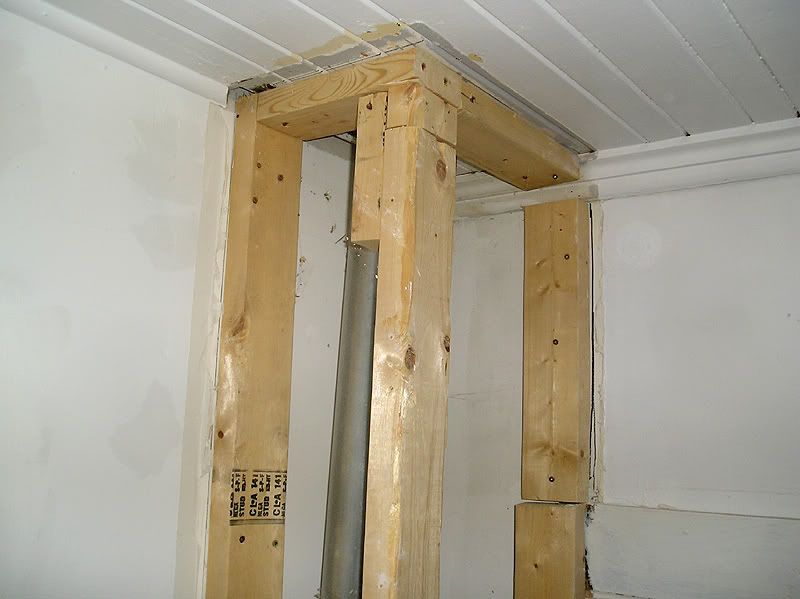
Really?
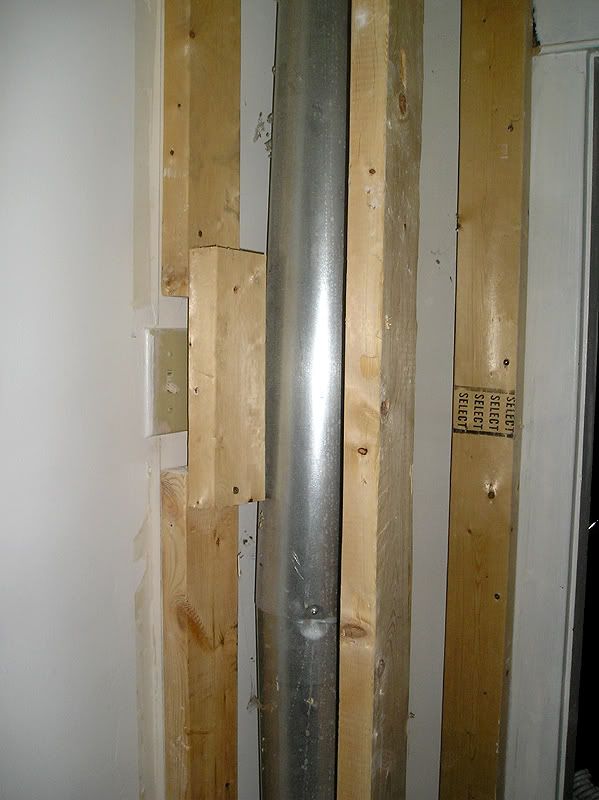
Note where the hole SHOULD have been made...
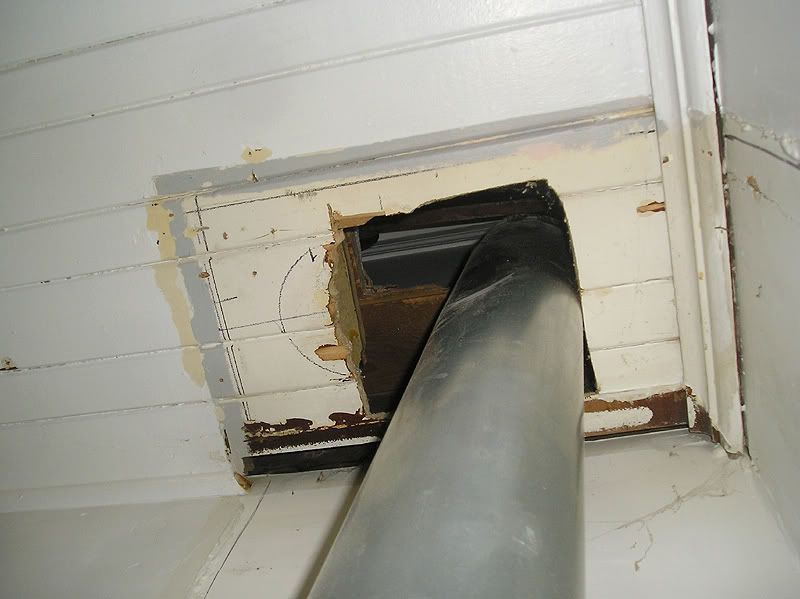
And just so you realize the true butchery of this whole thing, this is how it looks from the bedroom. The register does not even fit in that hole.
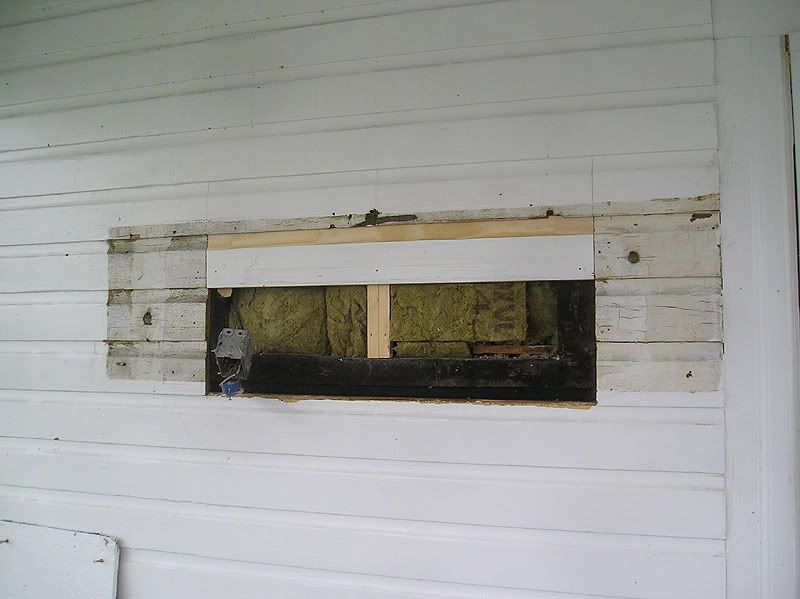
So the reason that this repair got so complicated is because of the large patch that I decided to remove in the porch. For months (or nearly a year at this point) I had been wondering what was behind it. I don't have any good photos of it, but it was an OBS boards, screwed down and painted white.
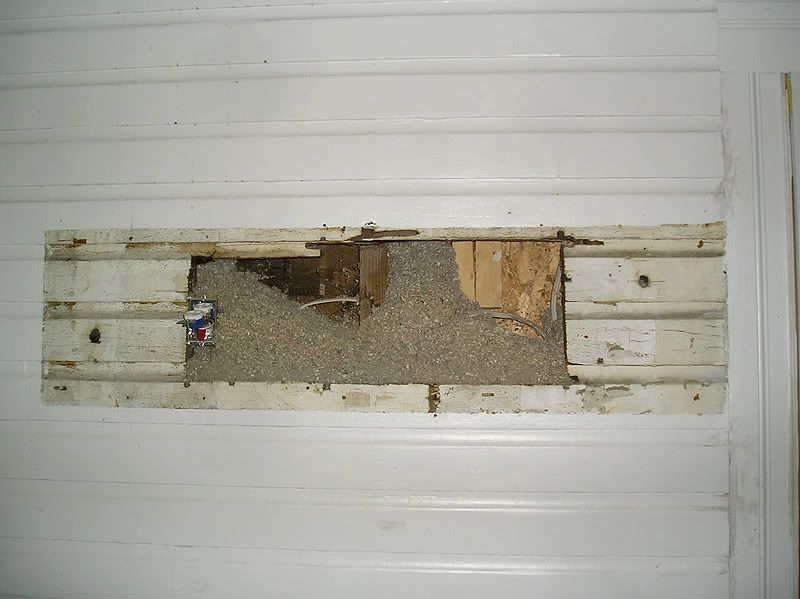
The reason I removed it, is because from this spot, I had clear access to the wires/plug/etc to move and rewire the new switch.
Once I had the switch moved, I re-packed the wall with insulation.
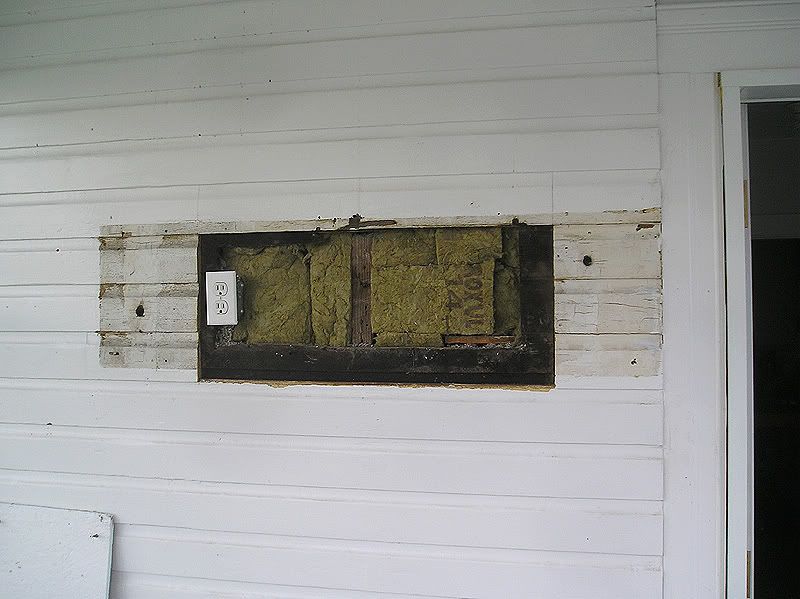
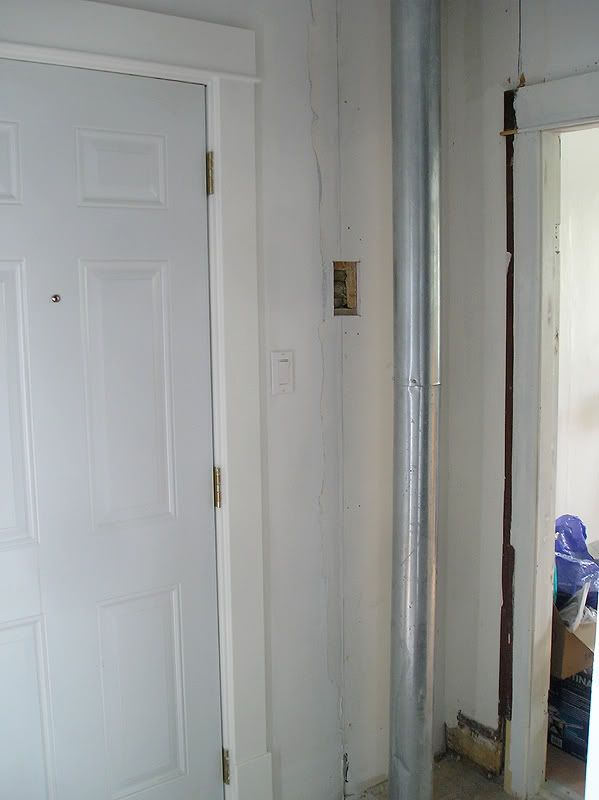
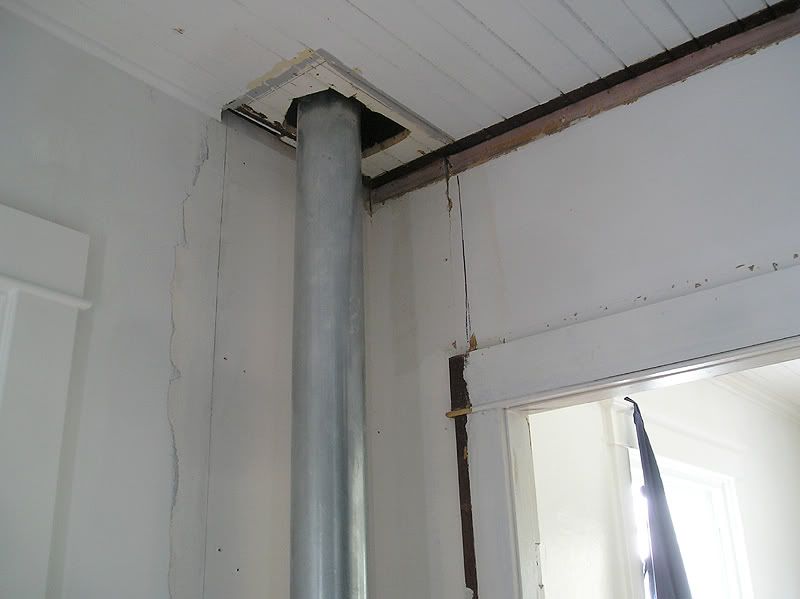
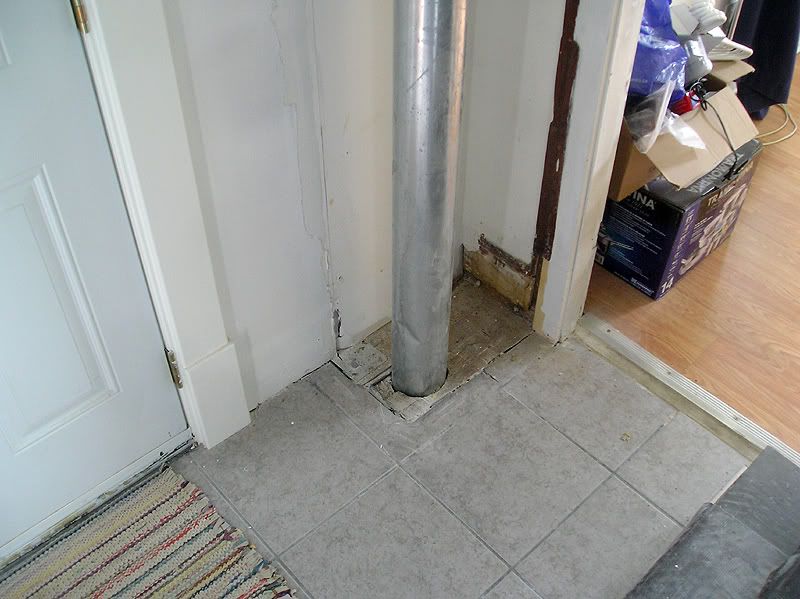
SO much better.
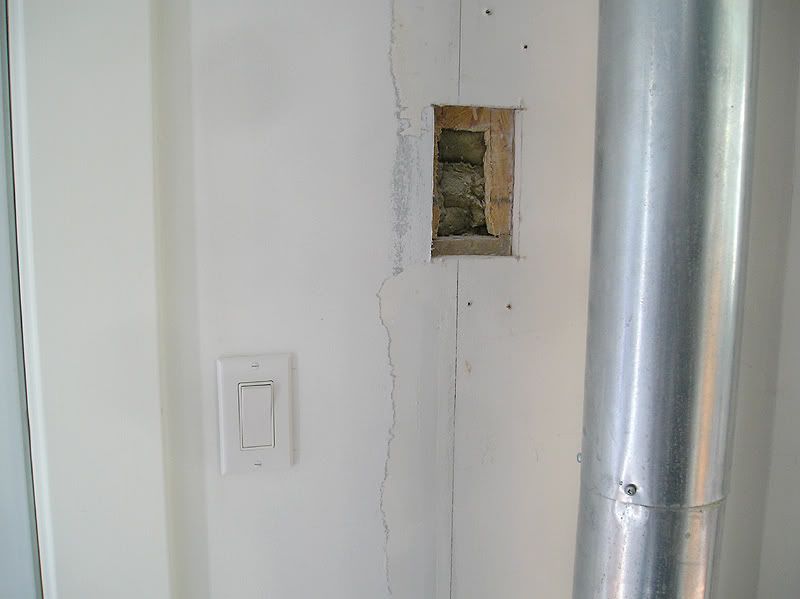
But now I had a huge unsightly hole right at the front of the house, which has a glass window porch. Not good.
So I got the work making some patch pieces. In this whole process I discovered that the original siding is cedar! I love cedar (smells wonderful and doesn't rot easily).
I made the boards on the table saw only. The only other tool I used was a sander, and clamps.
For most people, a table saw has limited use, but to a cabinetmaker, there's all kinds of great things you can do with one, including cove mouldings. To make cove on a table saw, you need to match the curve of the blade to the profile you need. You need to run your boards through the blade at an angle. The angle depends on how narrow or wide your cove will be. You ABSOLUTELY MUST use guide blocks on both sides to do this. You must also do it in several light passes. You CAN go through the blade even at 90 degrees for a very shallow curve, but you have to go much slower.
This is the best shot I could get of how to match the curve by eye.
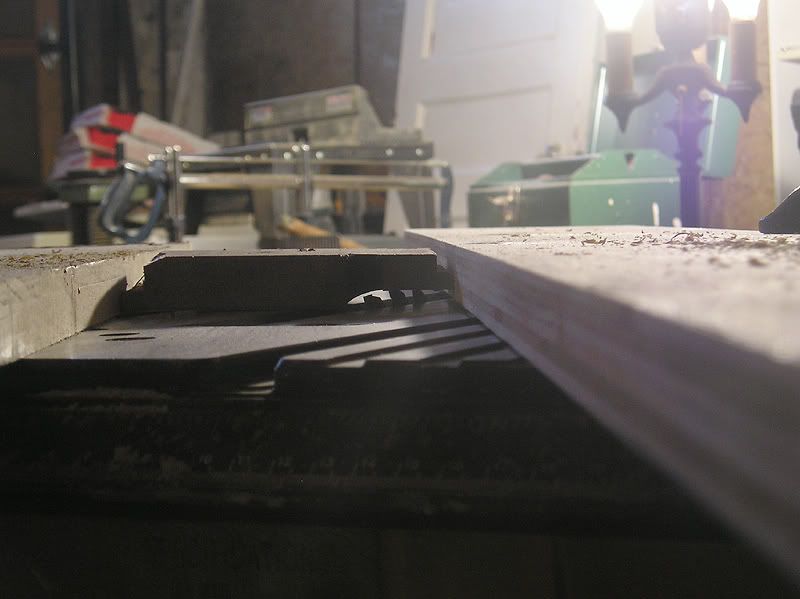
Guide blocks, secured in place by clamps.
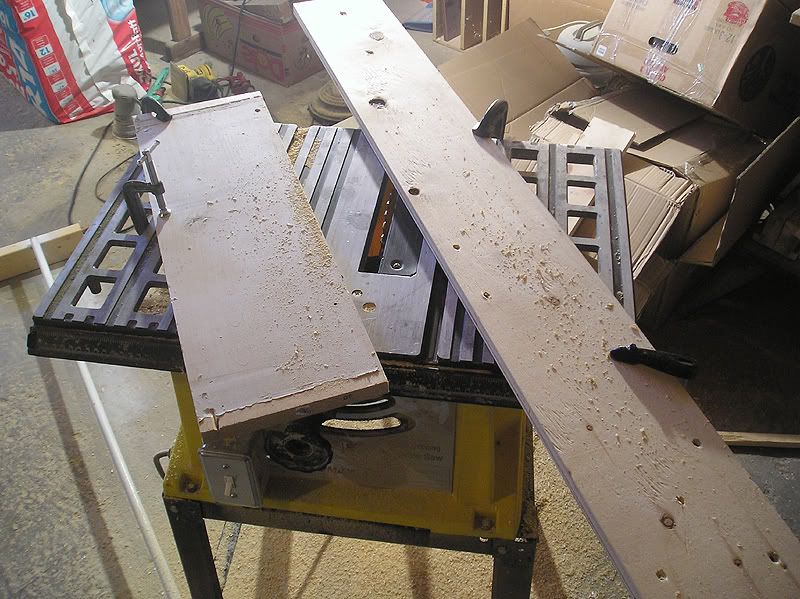
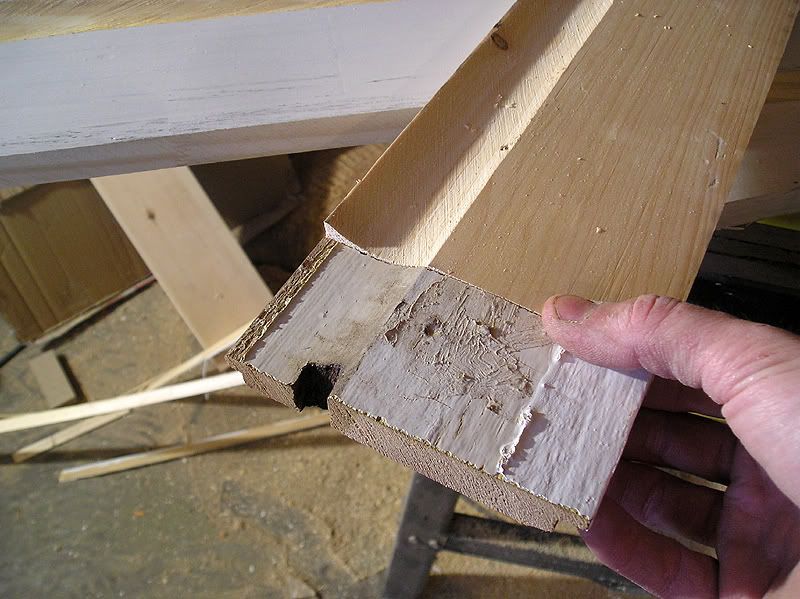
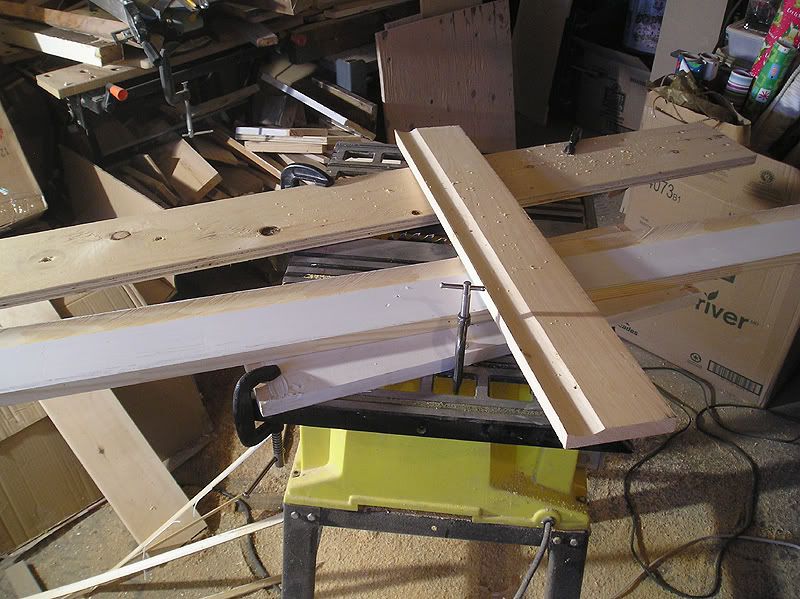
Next, I had to remove the lip, and create the rest of the grooves/cuts, which was pretty straightforward.
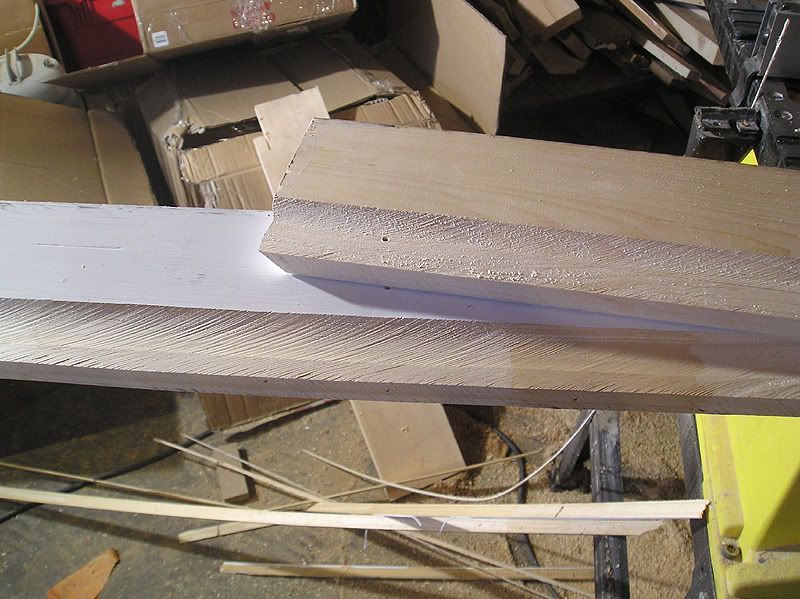
Sanding wasn't too hard since I was using pine. If you are doing this with hardwood, it will take a lot of scraping/sanding to get a nice profile.
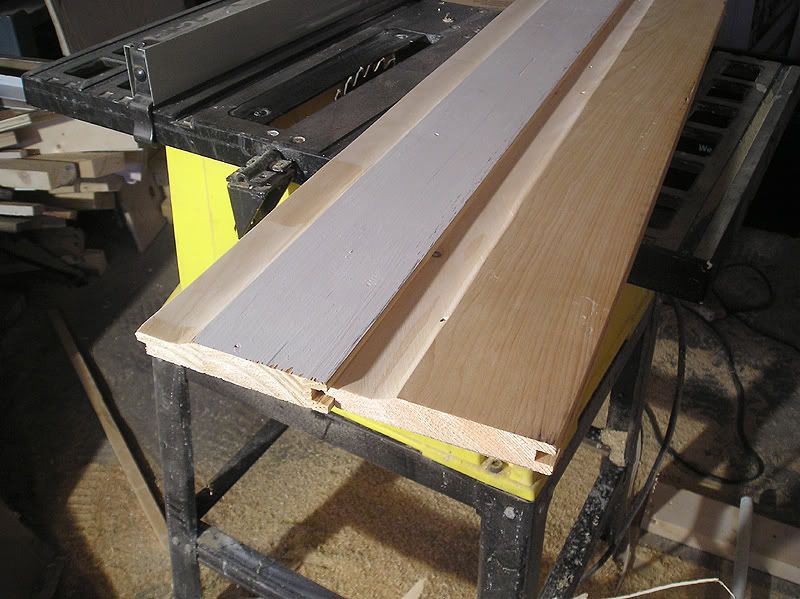
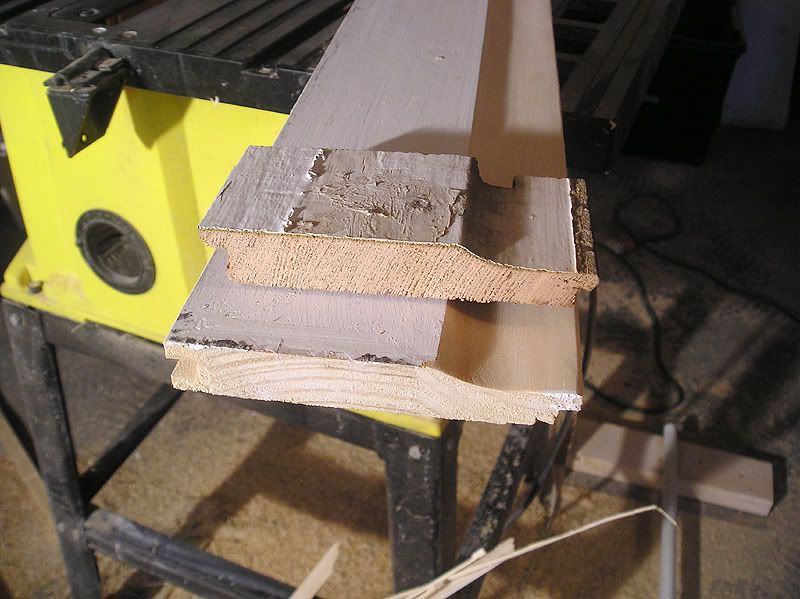
All that's left now was to install them. I found that the profiles matched better when lining up the curved cut rather than the bottom edge, since many of the bottom edges seemed irregular (paint drips, small chips, etc).
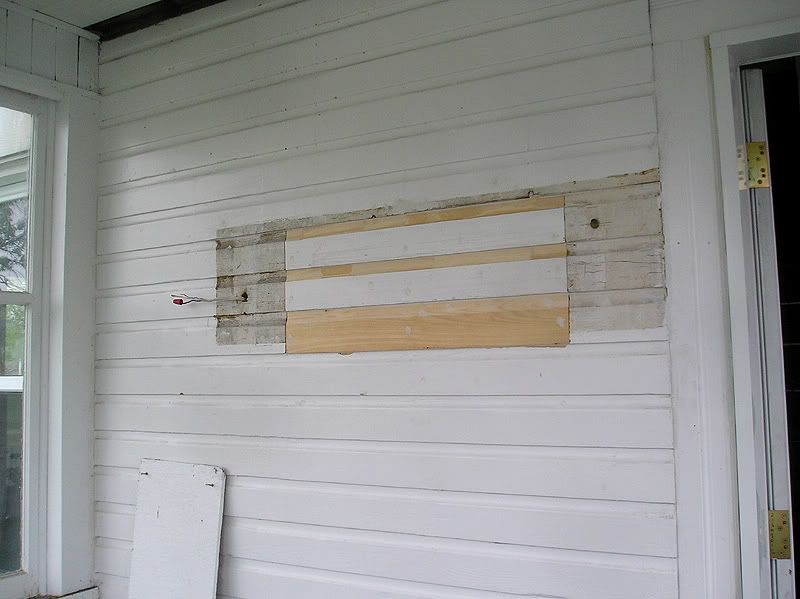
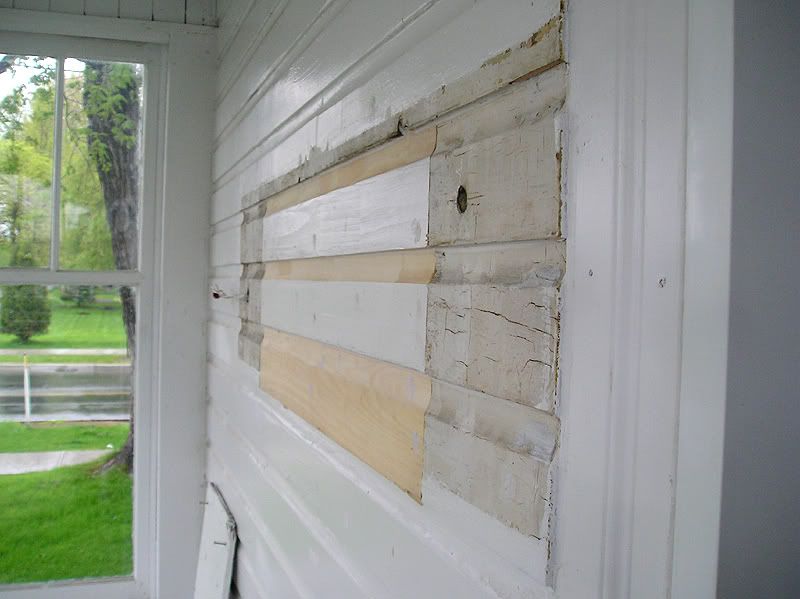
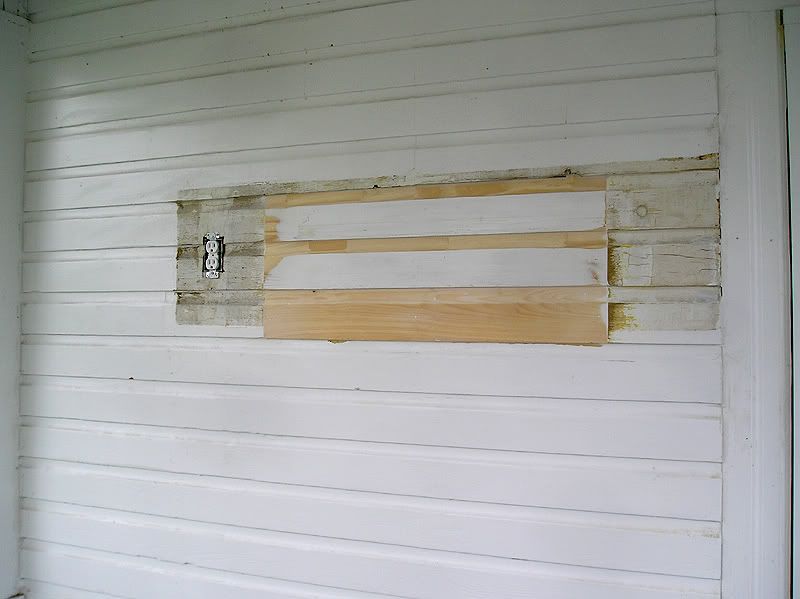
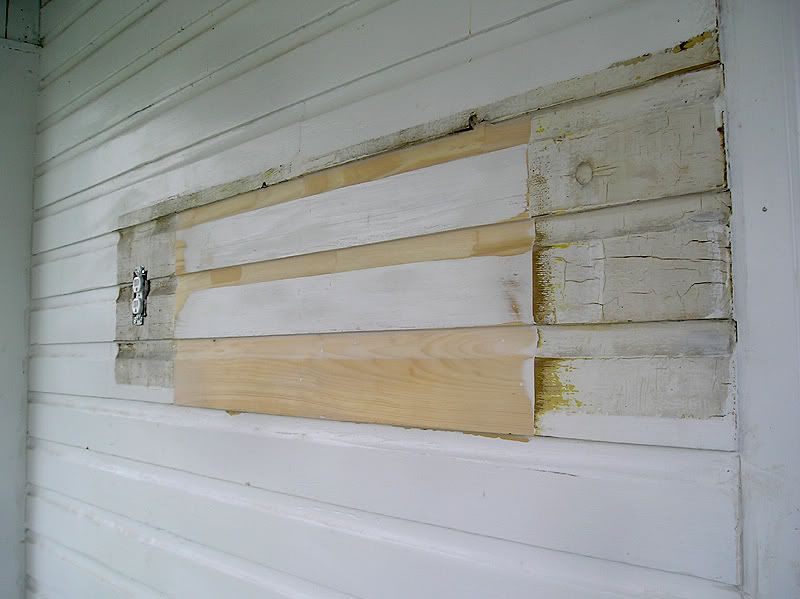
A bit of latex silicone on the joints, a bit of putty, and a quick coat of paint, and you can hardly see the repair! I did do a bit of sanding over the joints also.
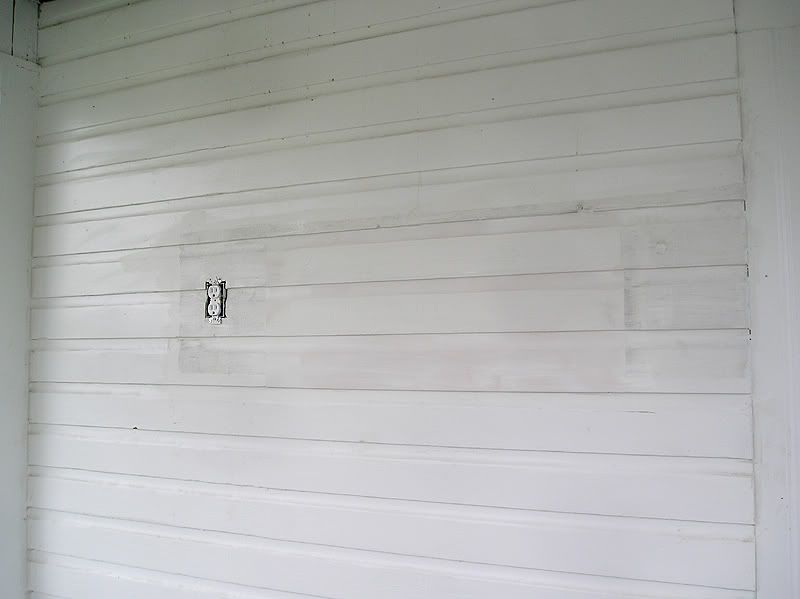
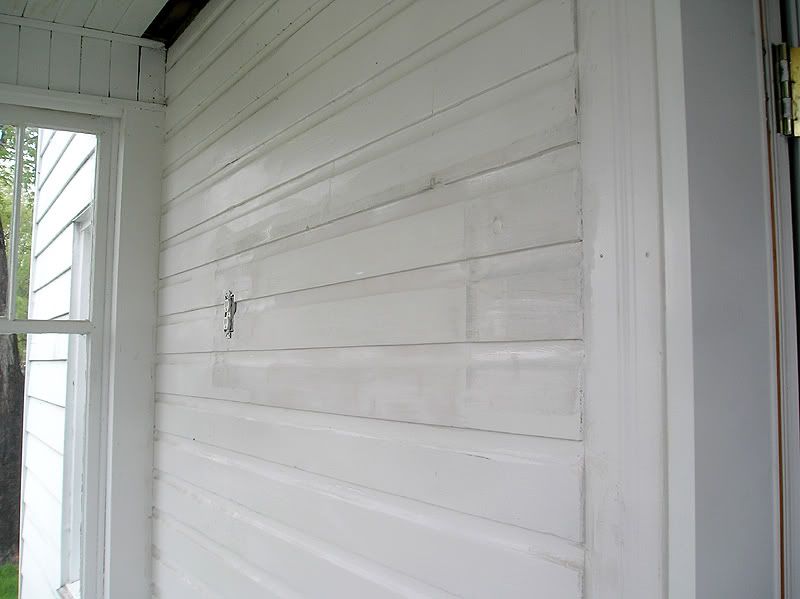

Great job!
ReplyDeleteJC, your project is a super posting! My brother works with wood, and when I got to that last photograph and saw how beautifully your reconstruction turned out, I had to give him a call and direct him to this site. Well done, sir!
ReplyDeleteThanks Mark. Not bad considering it was done on a chepie no-name table saw that I picked up for 20$ and even has a rather dull blade in it. You should see the kinds of stuff I do with *good* equipment.
ReplyDelete